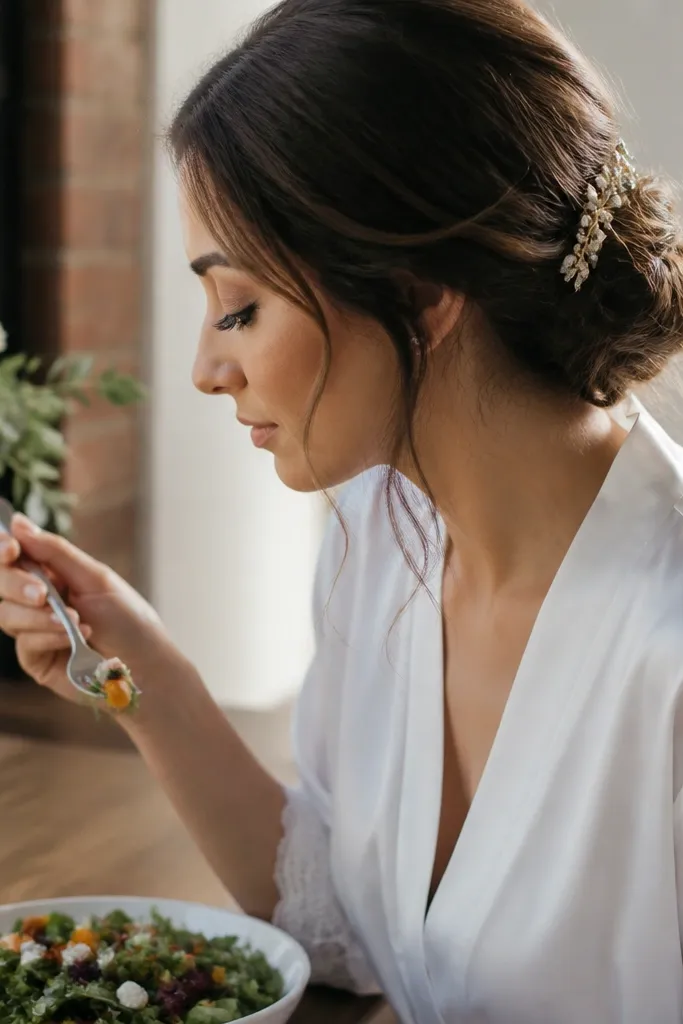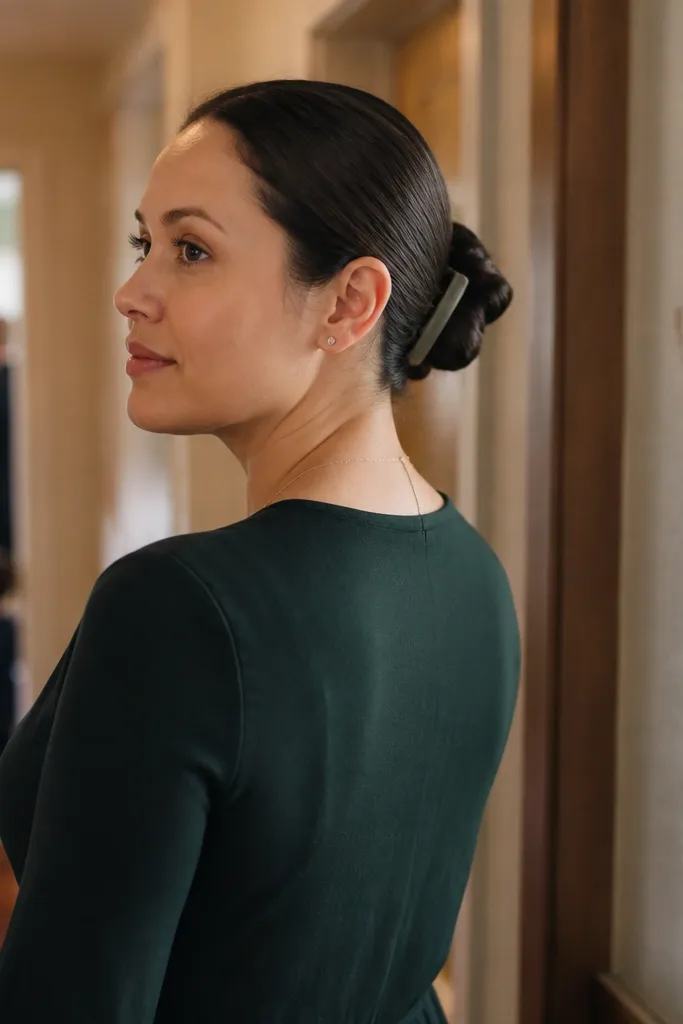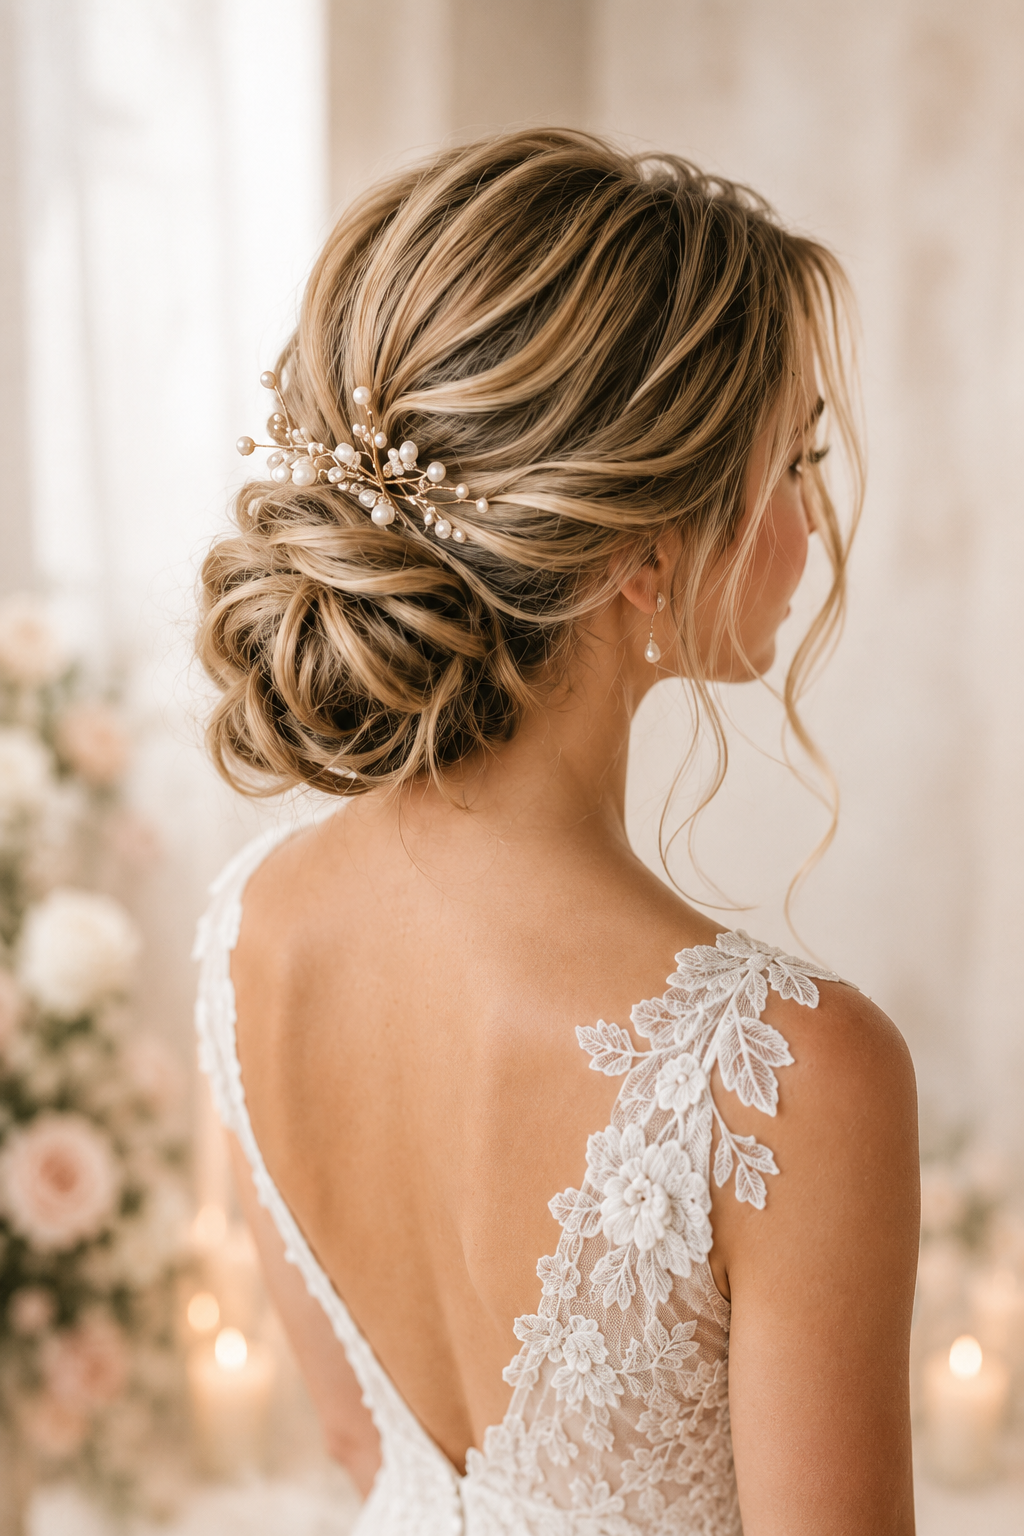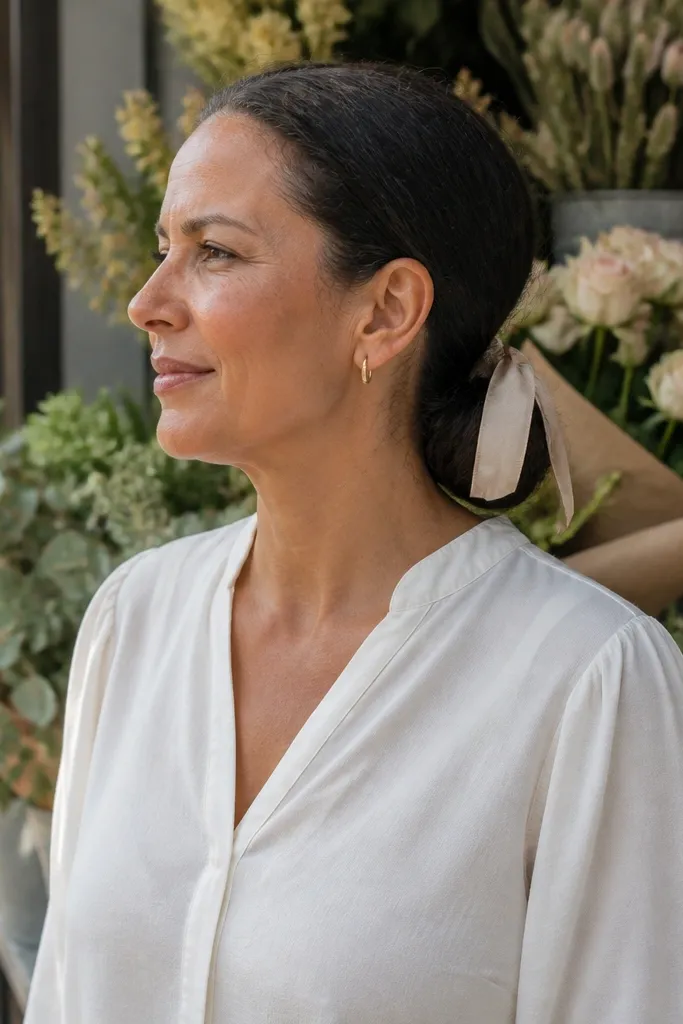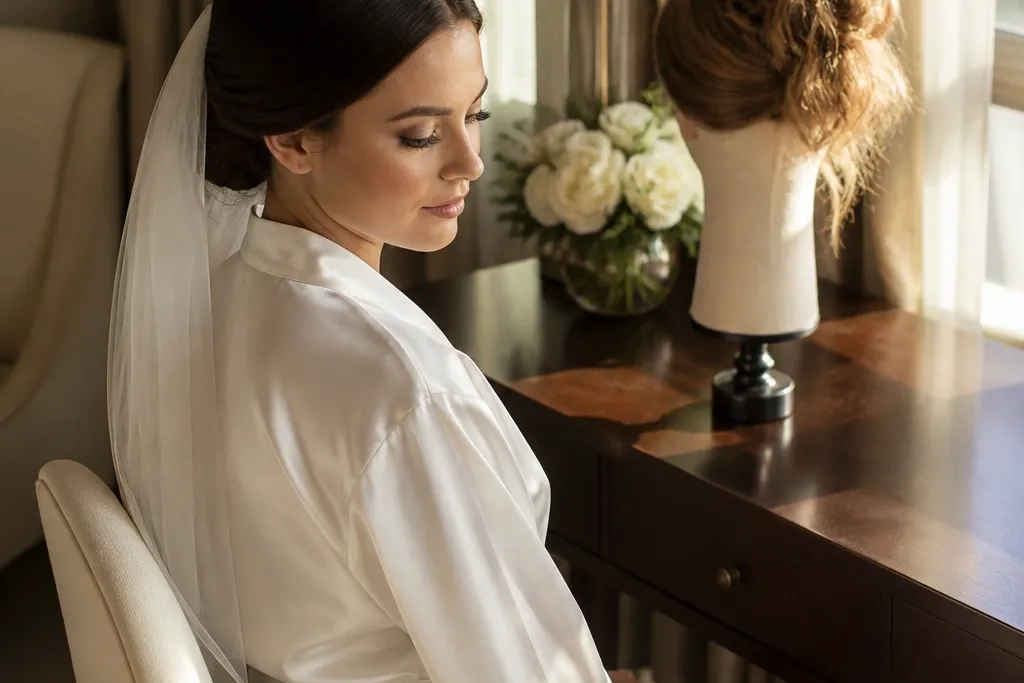
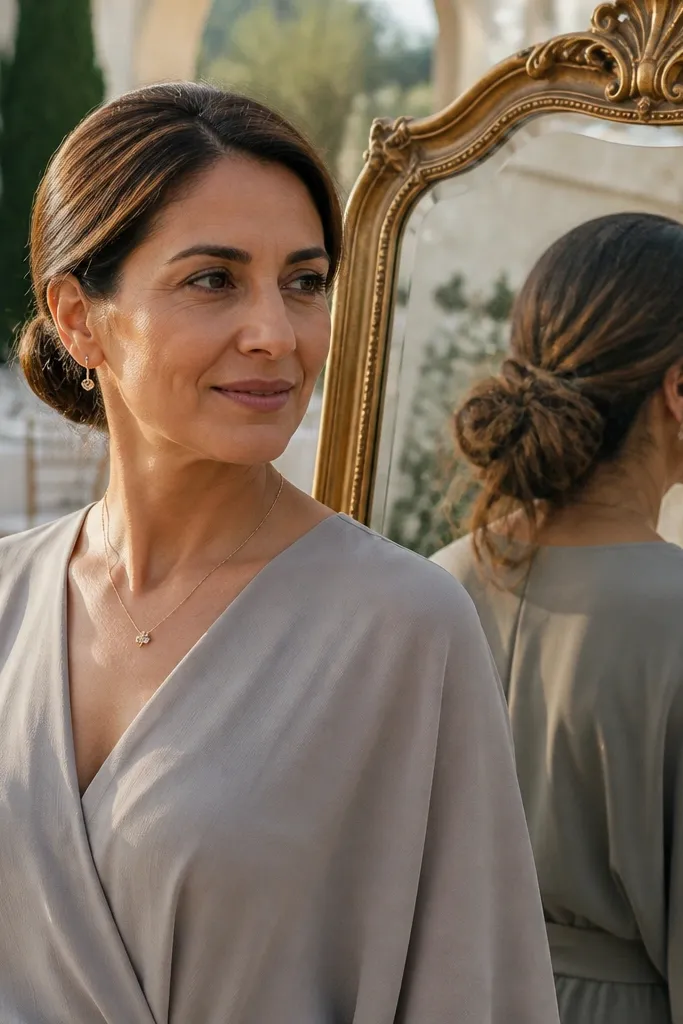
1. Sleek Low Bun with Glassy Side Part
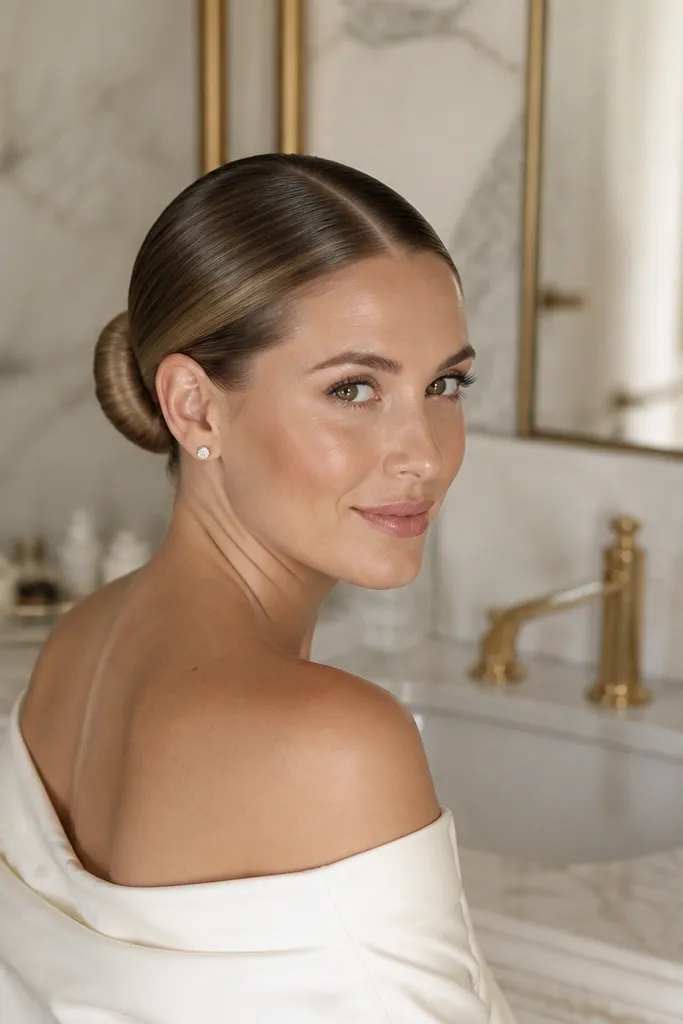
This is the low bun wedding hair option when you want your hair to look polished in every flash photo. The defined side part gives structure to a medium-length cut, and the bun stays visually tight so it doesn’t blur into your dress details. It’s especially flattering with strapless, sweetheart, or off-shoulder necklines because the hair reads clean and intentional around your jaw. Choose this if your hair is fine or straight and you don’t want to fight frizz.
Start by blow-drying your roots and smoothing the mid-lengths with a brush so the part sits crisp. Then create a low ponytail at 2-3 fingers below the nape, wrap the hair around the base, and pin in a triangle — two pins on each side and one crossing through the center. Finish with a small amount of shine serum on the outer surface, then lock with firm-hold spray from 10-12 inches away.
Quick tipIf your hair slips, use a thin elastic plus one extra bobby pin at the base before wrapping.
Skip thisSkip heavy dry shampoo right before the ceremony — it makes a sleek bun look chalky under flash.
2. Twisted Rope Low Bun with Loose Front Tendrils
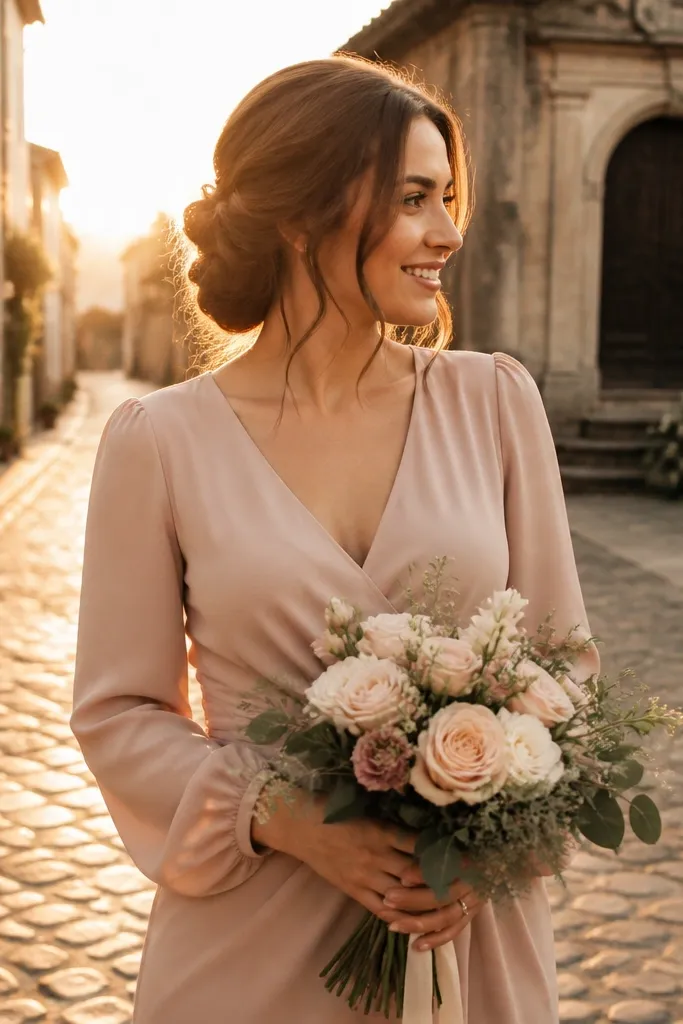
A rope twist looks romantic without going messy, which is exactly why it beats a messy bun for wedding photos. Medium hair works well here because the twist creates length and thickness, even if your ends are fine. The loose tendrils soften your face and make the bun feel light instead of stiff. This style is a great match for boho dresses, satin slip gowns, or anything with lace sleeves.
Start by parting slightly off-center and twisting two sections from the sides down into the back. Gather all hair into a low ponytail, then split it into two and twist tightly like a rope before wrapping around the base. Pin every 1-1.5 inches along the wrap, then pull the tendrils forward and lightly curl them with a 1-inch iron for shape.
Spray tendrils lightly with flexible hold so they move in photos but don’t fall flat.
Don’t twist with wet hair — it stretches and loses tension by the time you’re seated at dinner.
3. Low Bun with Micro Braided Crown
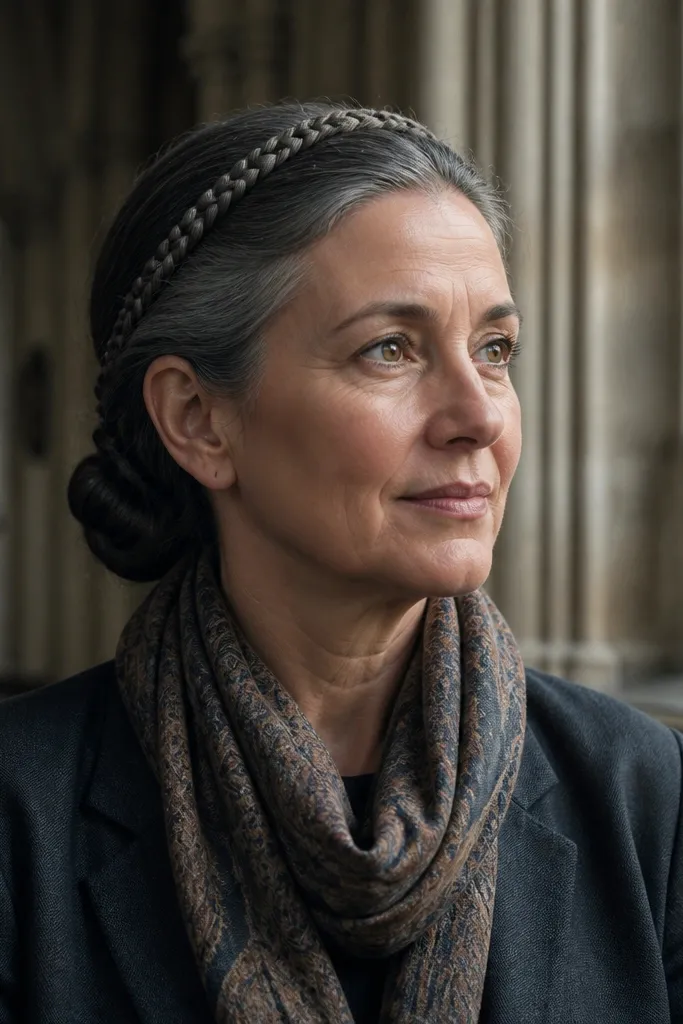
This look gives you that “done” feeling that messy buns try to fake with texture. The micro braid across the crown adds a neat line that reads well in close-ups, even with medium hair that doesn’t have a lot of volume. The bun stays low and clean, so it works with veils and headbands without fighting the accessory. It’s perfect if you want romantic detail but still want a structured finish.
Start by creating a small braid across the crown using three tiny sections, stopping before the sides start to thin out. Secure the braid with a clear elastic or bobby pins, then gather the remaining hair into a low ponytail. Wrap into a bun and pin through the braid area so the braid and bun lock together. Finish by tucking any flyaways under with a light mist and pressing them flat with your palm.
Use a pin that matches your hair color for the crown — contrast pins show in flash.
Skip a thick braid if your hair is medium-fine — it can look heavy and flatten the top.
4. Classic Low Chignon with Hidden Seam
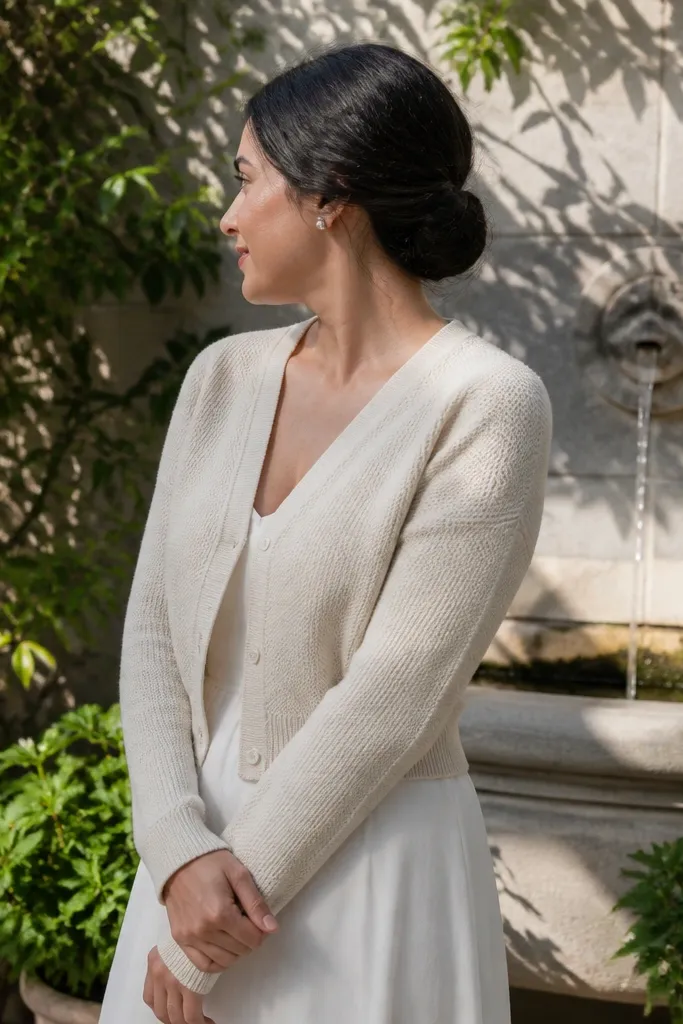
A chignon is the low bun wedding hair choice for people who want timeless and accurate. The trick is the hidden seam: the wrap line disappears, so your bun looks like it grew there. For medium hair, this matters because shorter lengths can create visible gaps if you don’t manage the wrap direction. This style looks incredible with structured gowns and clean jewelry because it doesn’t compete with the outfit.
Start with a low ponytail and twist the ends into a tight loop in the same direction each time, so the seam stays in one spot. Pin the seam under the bun first, then pin the outer edge to smooth it. If you have thin ends, use a small hair donut only under the wrap, not on top — you want the surface to look like your hair. Set with firm-hold spray, then gently press the bun with a soft brush to remove bumps.
Quick tipDo a quick tug test: if the bun moves more than half an inch, add one more pin through the base.
Skip thisDon’t leave the seam on the side — it shows in candid photos when your head turns.
5. Low Bun with Soft Bouffant Crown
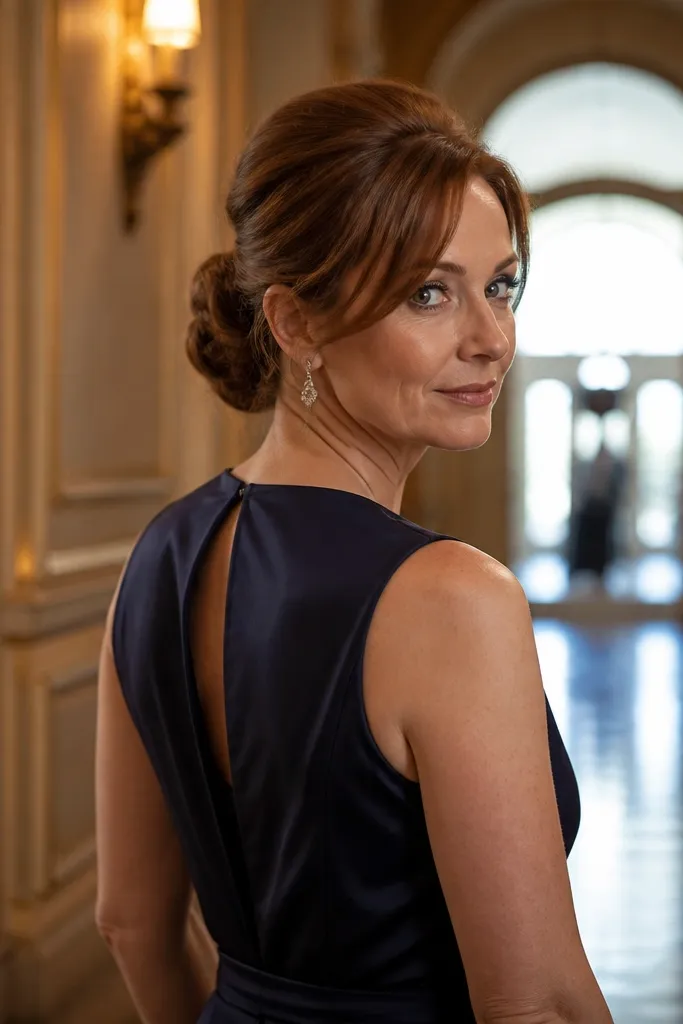
If your medium hair tends to look flat, this is the low bun that fixes it without looking like a helmet. The soft bouffant at the crown creates height so your bun reads elegant from the front and doesn’t drag your face down. It also makes the bun feel more secure because the volume gives you something to anchor pins into. This is a strong pick for outdoor weddings where wind can mess with sleek styles.
Start by sectioning the top hair and teasing only the roots of the crown — keep it small, about 1.5-2 inches wide. Smooth the outer layer over the tease so it stays invisible. Build the low bun at 2-4 fingers below the nape, pin through the base, then add one pin that crosses from the crown area into the bun. Finish with a light mist of hairspray, then use a shine spray on the outer smooth layer.
Tease dry hair only; wet teasing collapses fast.
Skip over-teasing — the crown can look too tall and make the bun feel unbalanced.
6. Messy-Looking Low Bun That Stays Controlled
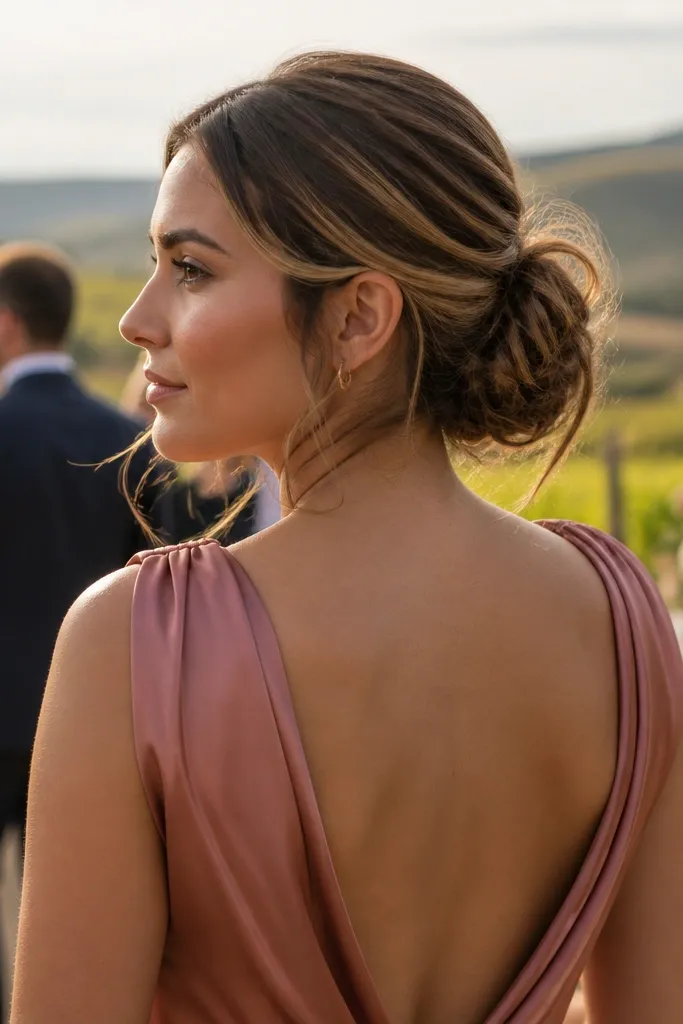
This is the compromise when you want the vibe of low bun wedding hair vs messy bun, but you still want it to photograph like a wedding. The base is tight, then you loosen only a few strands to make it look effortless. Medium hair works because you can pull out thin pieces from the twist or wrap without losing structure. It’s great for garden weddings, airy fabrics, and anyone who hates a totally sleek look.
Start with a low ponytail and wrap into a bun that’s pinned tightly first — don’t skip this step. Then pull out 3-5 wispy pieces from around the front and sides, focusing on the cheekbone area. Curl those pieces with a small iron for a soft S-shape. Finish by spraying the bun base firmly so the loosened strands don’t travel during the ceremony.
Quick tipLoosen after the bun is pinned, not before — you control placement better.
Skip thisAvoid fully unpinned “messy bun” construction — it collapses and looks uneven in photos.
7. Low Bun with Waterfall Braid Accent
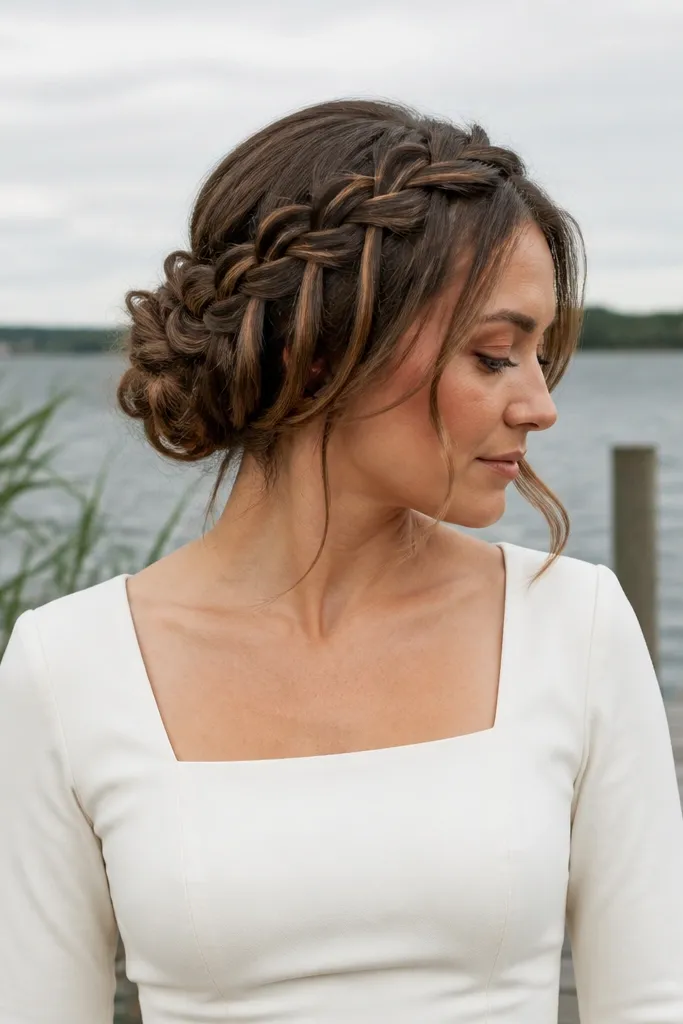
A waterfall braid gives movement that reads beautifully in videos and candid shots, without turning into the loose chaos of a messy bun. The braid acts like a frame for your face and neck, and it adds dimension to medium hair that can look plain when tied back. It’s especially pretty with thin straps, square necklines, or dresses with a lace bodice because it echoes the pattern. Choose this when you want something romantic and image-worthy from the side.
Start by creating a side section and weaving a waterfall braid along the front — let one strand “fall” each repeat, so you get that cascading look. Secure the end of the braid with a small elastic behind the ear. Gather the rest of your hair into a low ponytail at the standard height and wrap into a bun, then pin the braid end into the bun so it looks integrated. Set with medium-strong hairspray and smooth the outer surface around the braid for contrast.
Quick tipUse a comb to keep the braid width even; uneven braid thickness shows in close-ups.
Skip thisDon’t braid too tight — a tight braid makes the look flat and less bridal.
8. Low Bun with Beehive-Style Crown and Minimal Flyaways
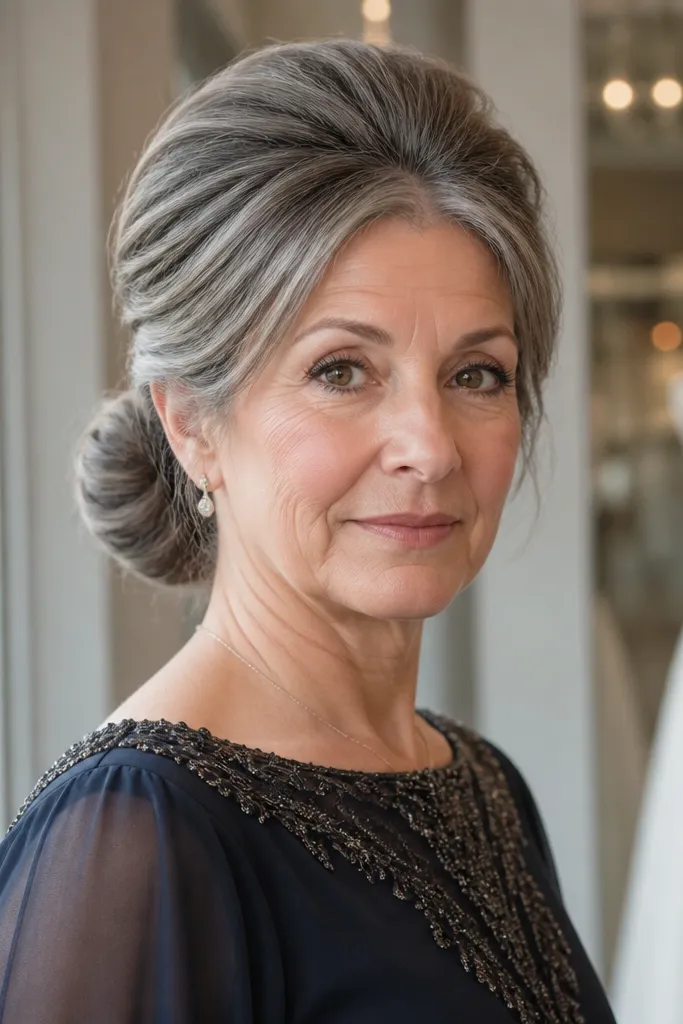
This is for people who want drama but still want the look to feel refined. The softly structured crown gives you height without the messy texture that a messy bun can bring. For medium hair, the beehive-style lift gives extra anchor points so pins hold better and the bun doesn’t sag. It looks stunning with dramatic veils, high-neck gowns with clean lines, and statement earrings.
Start with a root-lift product or dry texture spray at the crown, then tease only the top layer roots. Smooth the top layer down, press it flat, and pin it so it stays in place. Make a low ponytail and wrap into a bun, then pin through the bun base and into the pinned crown section. Finish with a strong-hold spray and use a toothbrush to tame flyaways around the hairline.
Quick tipIf you’re wearing a veil, pin the veil comb to the crown section before you set the final spray.
Skip thisSkip flexible-hold hairspray — you need firm hold so the crown doesn’t deflate.
9. Low Bun with Faux Bob Ends
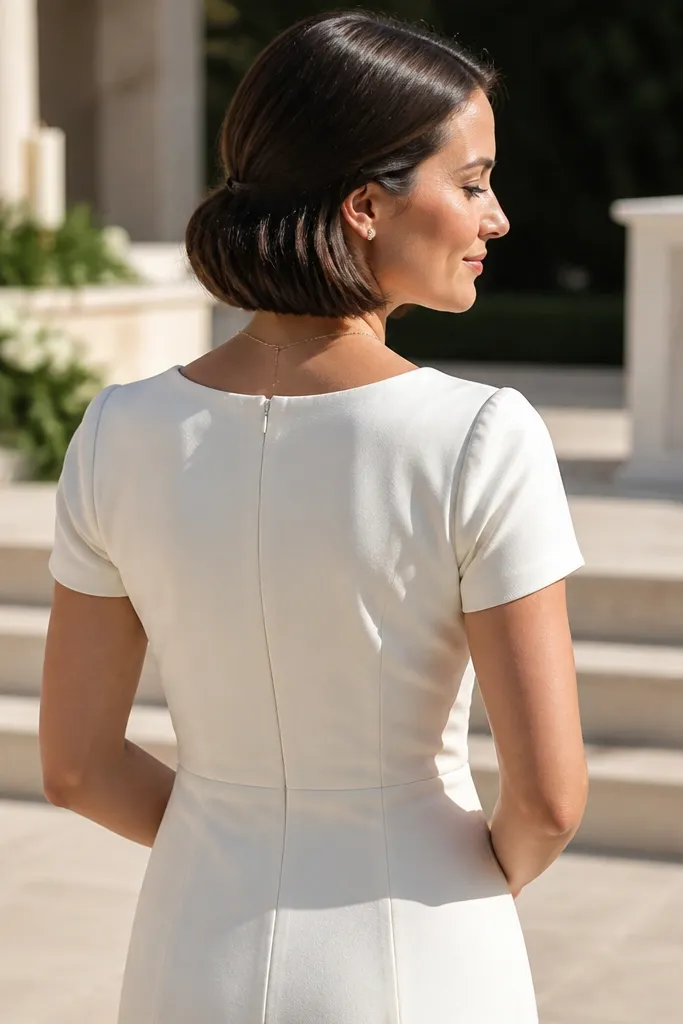
This is a smart solution for medium hair that won’t curl or hold its ends well. The faux bob ends create a rounded, finished edge around the bun so it looks fuller and more intentional than a messy bun. It also makes your hairline look neat from the front, which matters when you take photos at the altar. This style works well with simple dresses and clean makeup because the hair becomes the focal point.
Start by curling just the ends with a 3/4-1 inch iron, then brush through lightly so the curl turns into soft waves. Create a low ponytail and wrap the hair, but tuck a few ends outward around the base to form the “bob edge.” Pin those ends down with two cross pins so they hold their rounded shape. Spray the outer edge with firm hold, then touch up with shine so it doesn’t look dry.
Quick tipCurl the ends before you wrap so the shape stays even after pinning.
Skip thisDon’t tuck everything fully inward — the outside edge is what makes the look special.
10. Low Bun with Side-Swept Twist and Clip
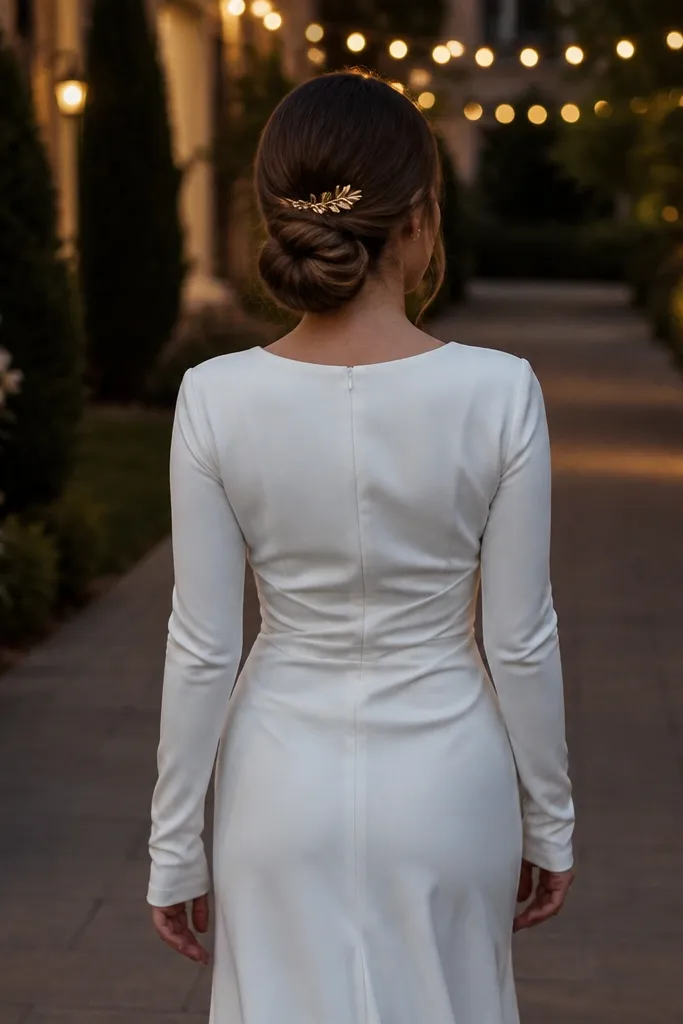
A side-swept twist gives you that romantic asymmetry, and the clip turns it into a bridal look instantly. This is a strong choice if you want your hair to look good even when you’re moving around, because asymmetry looks intentional in motion. Medium hair is perfect here since the twist can use shorter layers without needing lots of length. It also works with veils because you can place the clip opposite the veil comb.
Start by making a deep side part and twisting the longer side toward the back, securing with bobby pins. Gather all hair into a low bun and pin tightly, then add a decorative clip on the side where the twist meets the bun. Use one pin behind the clip to anchor it to the bun base so it doesn’t slide. Finish by smoothing the front section with a light serum to keep the twist glossy.
Match the clip metal to your earrings — silver with silver, gold with gold.
Avoid placing the clip directly over the hair elastic — it creates a visible ridge.
11. Low Bun with Braided Halo Loop
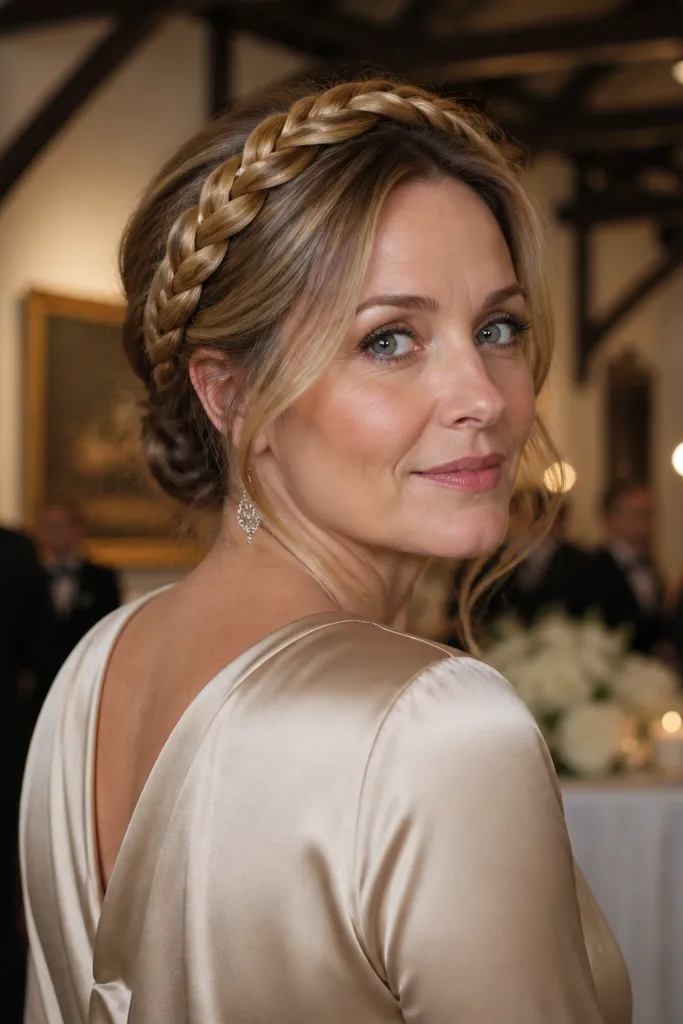
This braided halo loop adds a crown-like detail without making the rest of your hair bulky. It’s photogenic because it creates a clean circular line that catches light and frames your face. For medium hair, the loop helps you build the look even if you don’t have thick volume. It’s a great match for bridal styles that include pearls, floral pins, or a comb veil.
Start by braiding two thin sections from the sides and securing them behind the head. Place the braid loop on top of the bun area like a halo, then pin it to the bun base so it stays centered. Build the low bun underneath with a standard low ponytail and wrap, then pin through the loop at 2-3 points. Finish with a light hairspray and gently tug the braid edges for shape.
Quick tipKeep the braid loop tight enough to stay centered, not loose enough to drift.
Skip thisDon’t tug the braid too much — exaggerated loops can look messy in flash.
12. Low Bun with Feathered Texture Waves
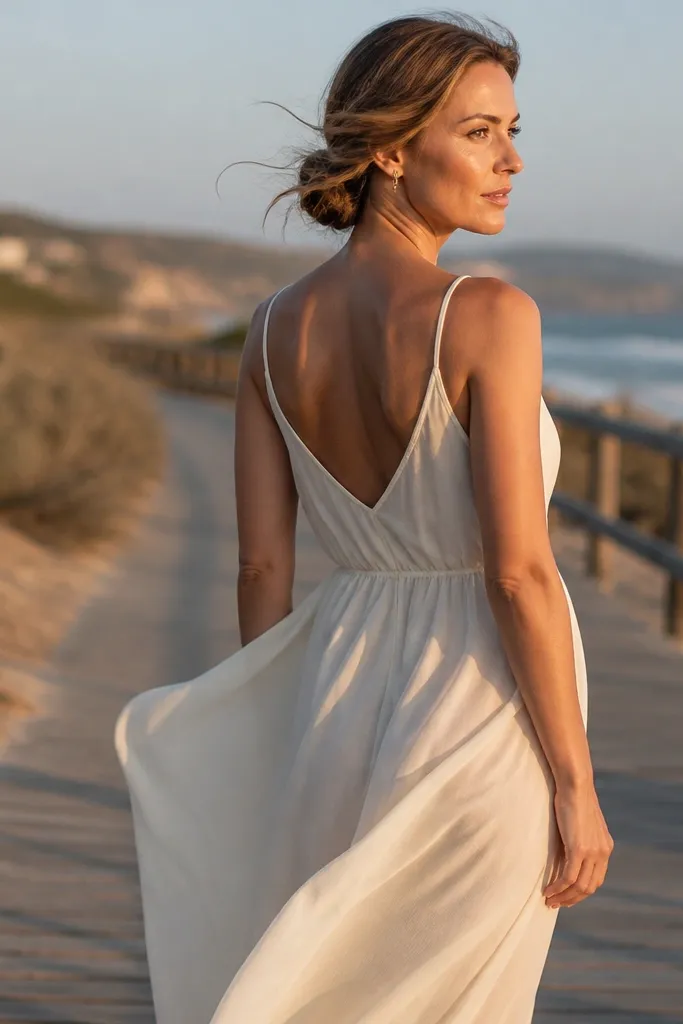
This look is for medium hair that needs texture to look full, but you don’t want the messy bun randomness. The feathered waves create a soft, airy frame around the bun, giving you movement without losing shape. It’s beautiful for beachy locations and warm seasons because the hair reads light, not heavy. Choose this if your hair holds waves well or you’re willing to use a curling iron for consistent texture.
Start by creating waves from mid-length to ends, then let them cool fully so they set. Make a low ponytail, then wrap and pin the waves into a bun while keeping the outer layer slightly looser. Pull out small feathered pieces around the bun edge, then pin just enough to keep the bun stable. Finish with a flexible hold hairspray and avoid heavy oils that flatten waves.
Quick tipCool the waves for 5-8 minutes so they hold during the ceremony.
Skip thisSkip brushing out the waves too much — it removes the feathered texture.
13. Low Bun with Rose-Shaped Twists
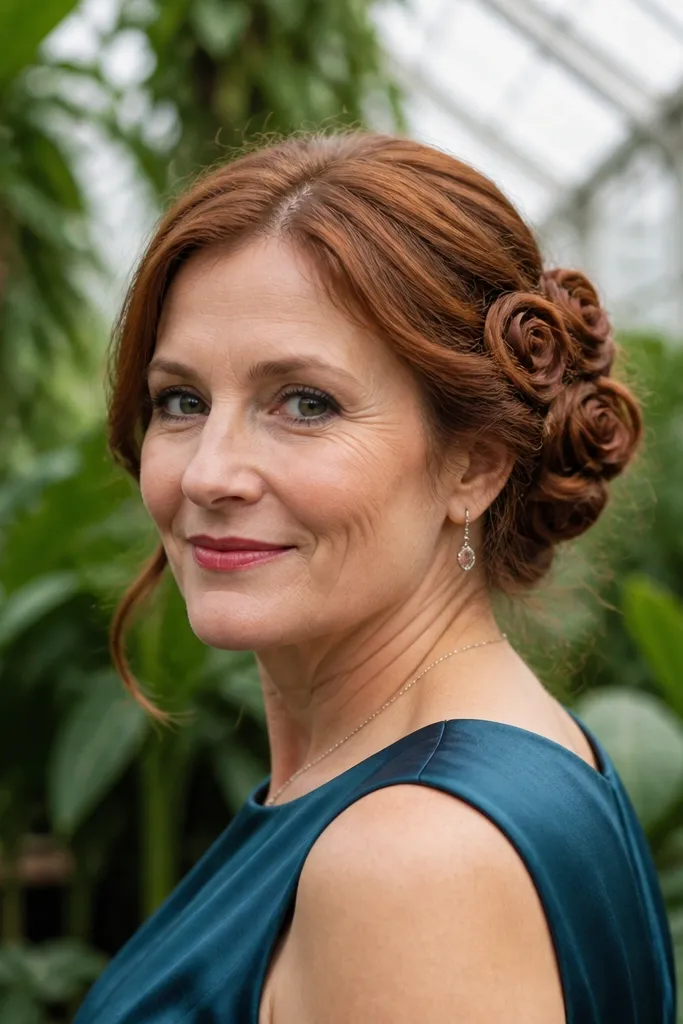
Rose-shaped twists look romantic and intentional in a way messy buns rarely do. The “petal” arrangement makes your bun look dimensional from the front and side, which matters for medium hair that can otherwise look like a simple knot. This style works best when your hair has enough length to roll into small sections, usually collarbone length or slightly above. It pairs beautifully with floral details, lace sleeves, and soft neutral makeup.
Start with a low ponytail and divide the hair into 4-6 small sections. Roll each section into a tight spiral, then pin each spiral to the base so they stack like petals. Keep the center slightly higher than the outer petals for a rose effect. Once pinned, tug lightly at the edges of each spiral to widen the “petals,” then set with firm-hold spray.
Quick tipUse smaller sections than you think — big sections make the rose look lumpy.
Skip thisAvoid skipping the center pin — without it, the petals separate as you move.
14. Low Bun with Braided Chignon Wrap
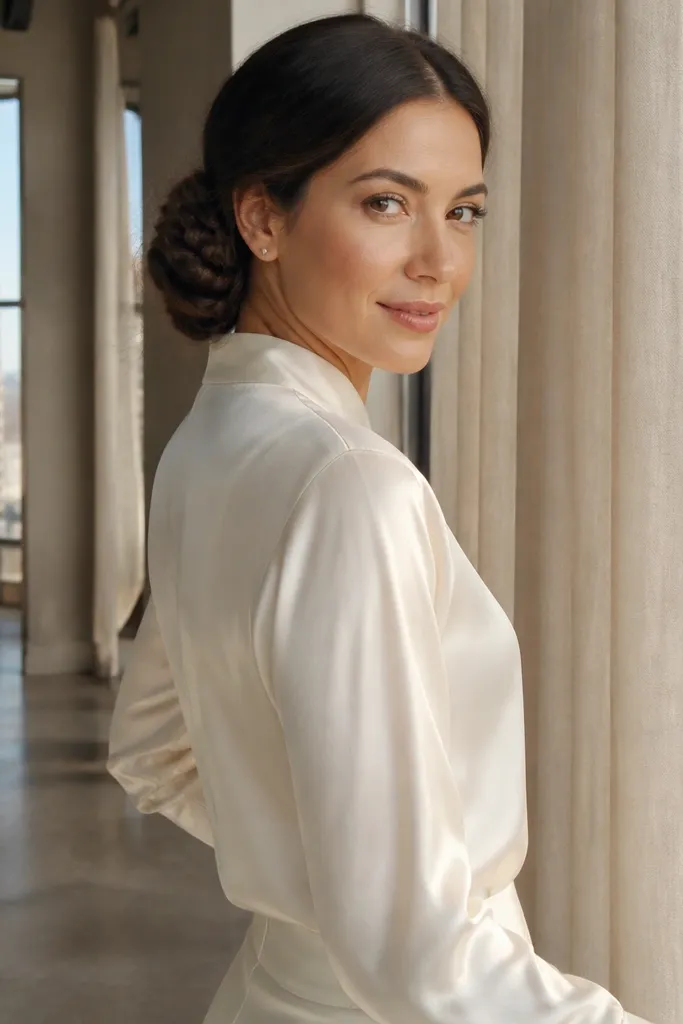
This is the low bun wedding hairstyle for medium hair that wants texture but not frizz. The braid wrap creates a patterned surface that looks expensive in photos, and it hides uneven ends. It’s also forgiving if your hair is slightly shorter because the braid can “carry” the look. This style works well with glam and classic outfits, especially with satin, silk, and beaded bodices.
Start by creating a low ponytail and wrapping hair into a base bun, pinned tightly. Braid the remaining hair or take a small section from the bun edges and braid it into a 3-strand braid. Then wrap the braid around the bun in a spiral and pin the ends underneath. Smooth any flyaways and spray the braid wrap so it stays defined through photos.
Quick tipPin the braid at the underside every 2 inches so it doesn’t float.
Skip thisDon’t braid too loose — loose braids look messy and lose the clean finish.
15. Low Bun with Veil-Friendly Base and Clean Sides
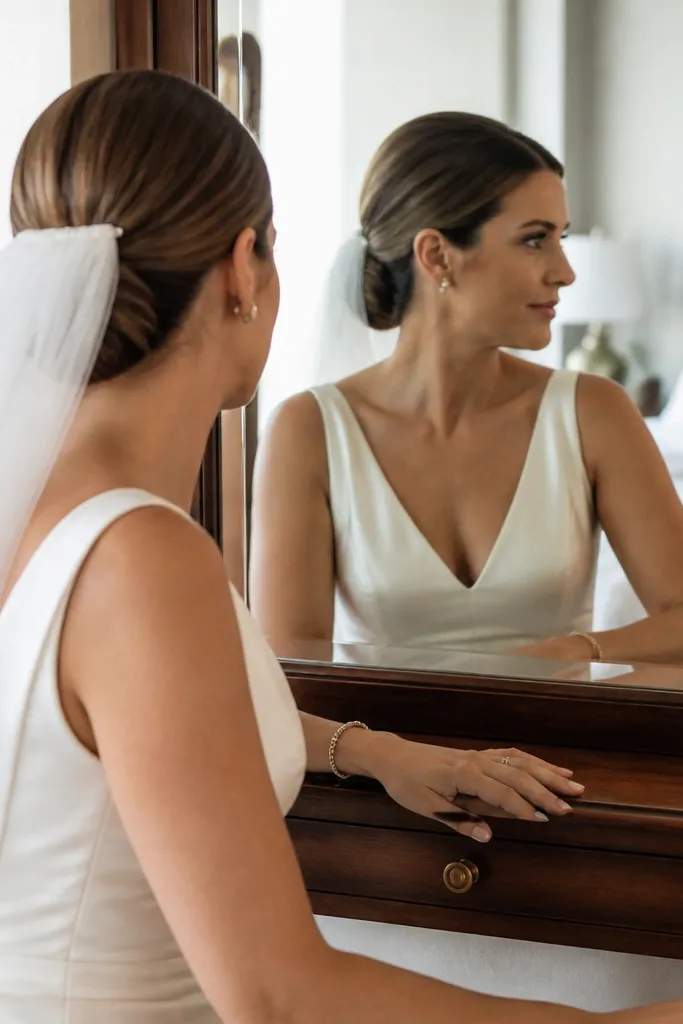
If you’re wearing a veil, this is the low bun wedding hair option that protects the look from snagging and shifting. The key is a stable base plus clean sides so the veil comb sits without pulling your bun out of place. Medium hair benefits because you can anchor the bun where the veil needs support. This style photographs well from behind too, with no messy edge where the veil meets your hair.
Start by positioning the veil comb on your head first, then place your bun so it sits below that anchor point. Build a low ponytail at 2-4 fingers below the nape and wrap into a bun, pinning through the base firmly. Add a second layer of pins around the sides so the veil can’t tug the bun when you move. Finish by smoothing the sides with a light serum and setting with firm hold spray.
Bring your veil with you to hair trial - the comb placement changes the bun height.
Avoid a bun that’s too high — it collides with the veil comb and makes hair look crowded.