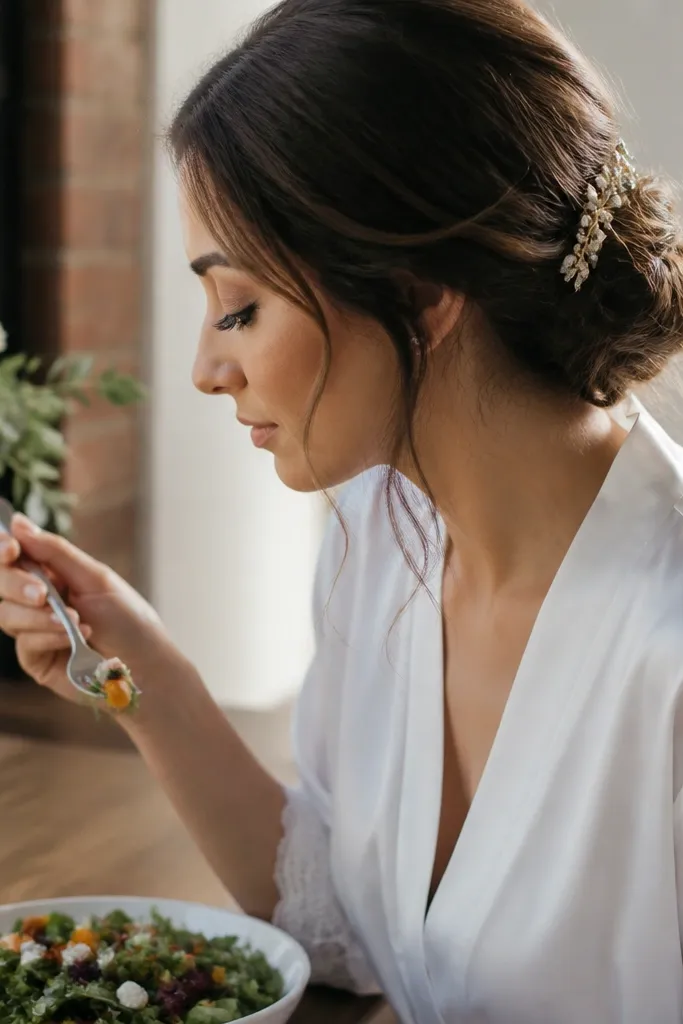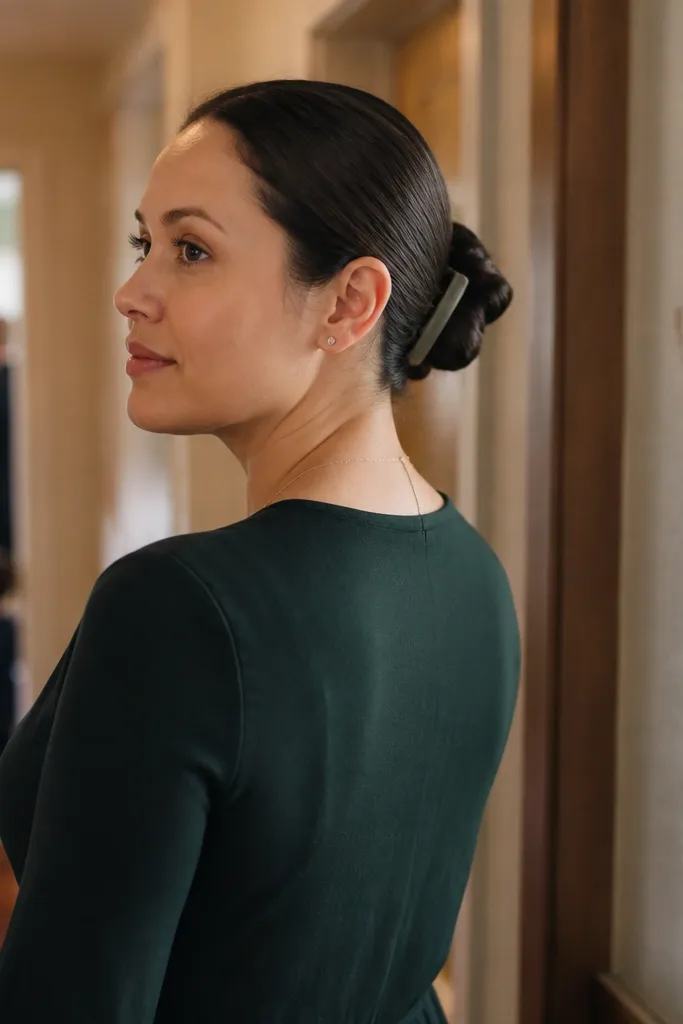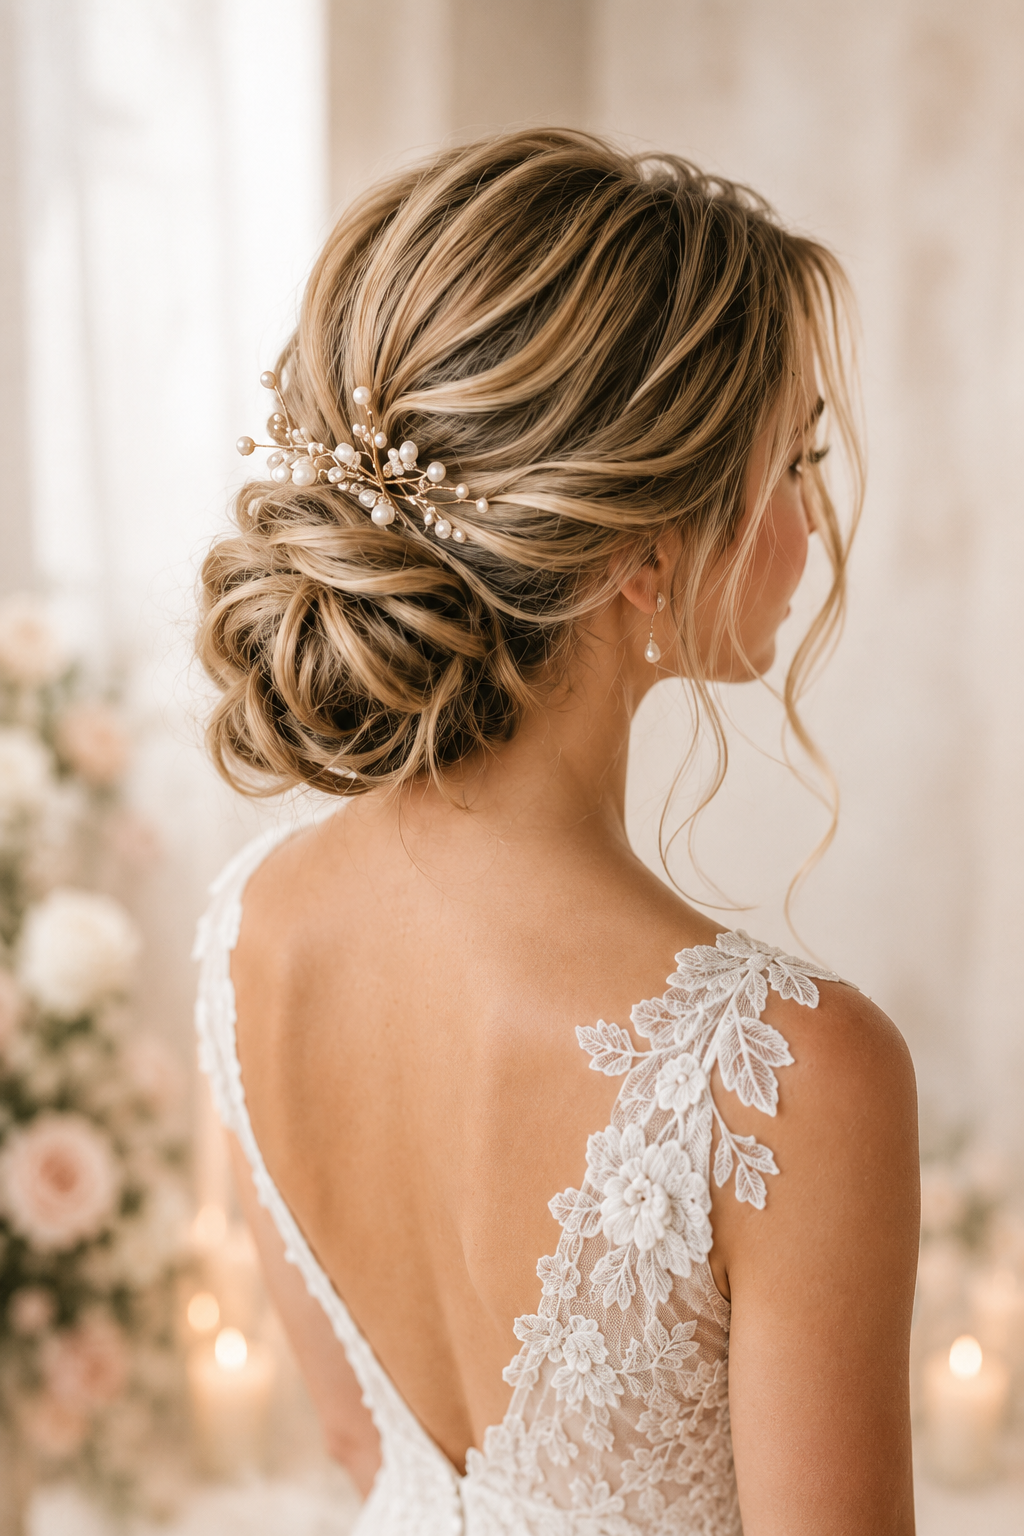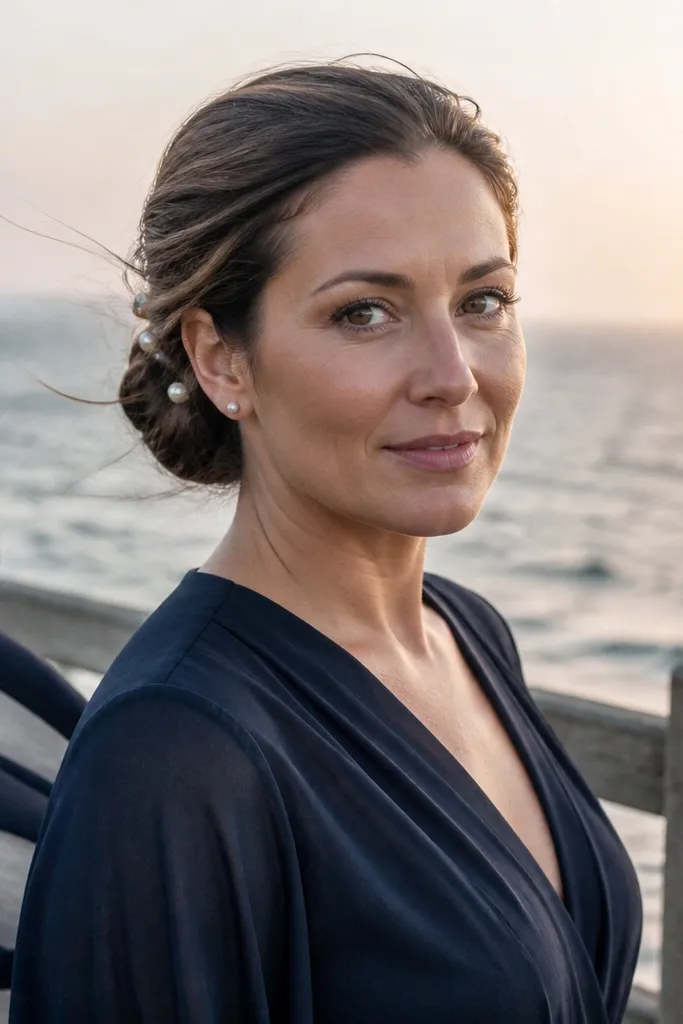
1. Sleek Center-Part Low Bun with Glassy Finish
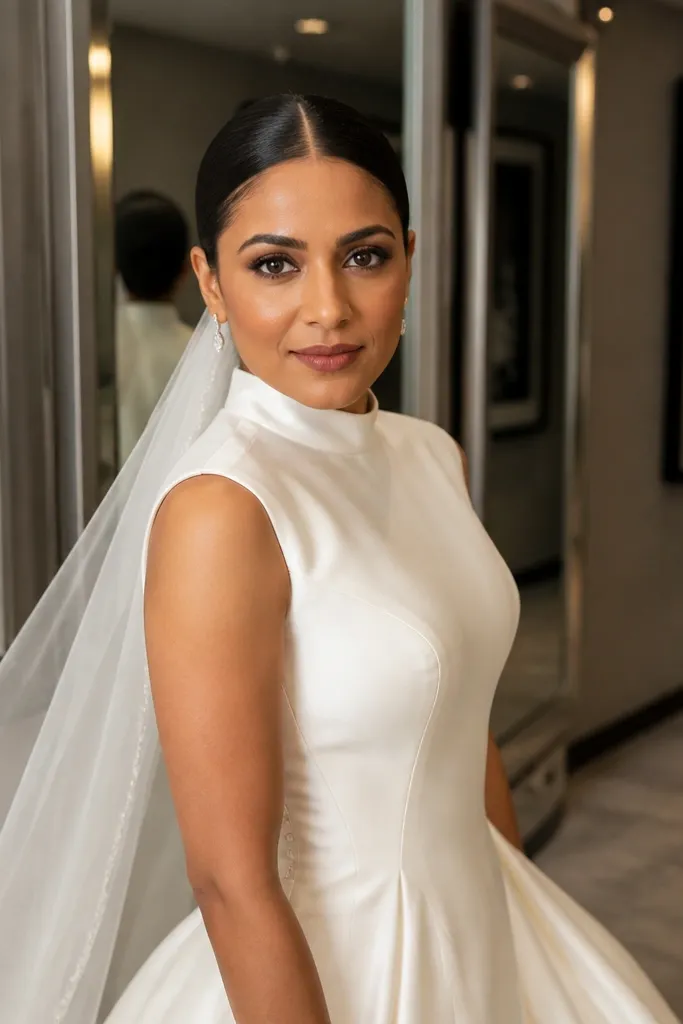
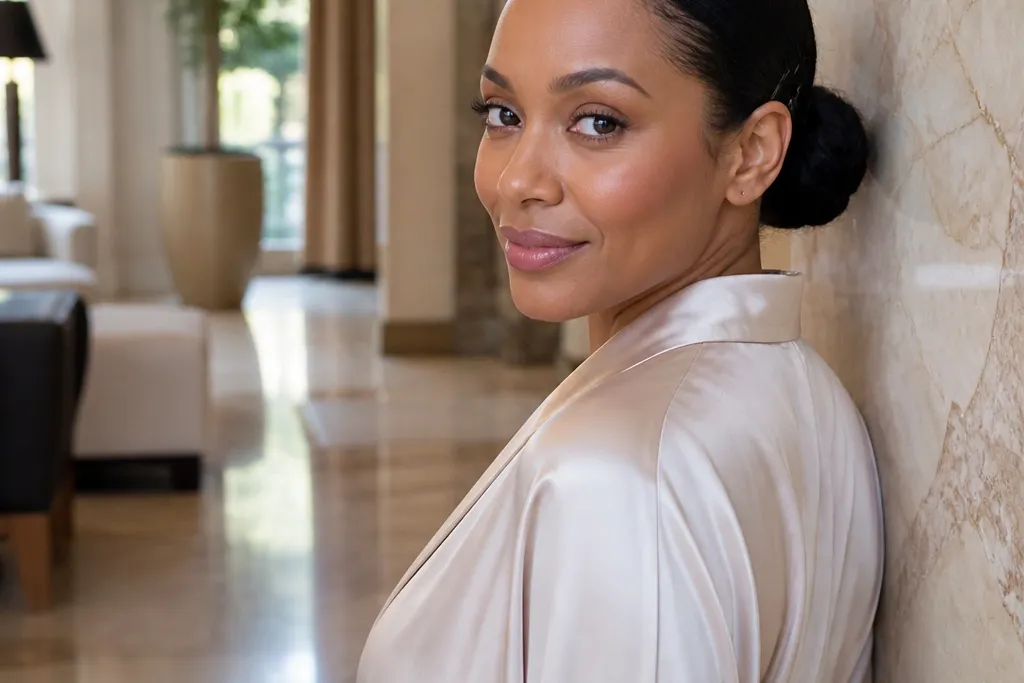
This is the “clean and expensive” option for affordable low bun wedding hair because the silhouette is simple and the details do the work. The center part makes the bun look symmetrical, which is what cameras reward. Glossy finish reads polished under daylight and flash, especially if your dress has structured fabric like satin or mikado. It suits most face shapes, but it’s especially flattering if you want your earrings to be the star. It also pairs well with veils that sit flat, since the hairline stays smooth.
Start by blow-drying your roots smooth and straight, then brush hair into a low pony about 1 to 2 inches above the nape. Apply a pea-size amount of smoothing cream to the pony and sides, then wrap the hair around the base and pin in a tight circle. Finish with firm-hold hairspray, then lightly mist a second time over the top for shine, not frizz. If you want extra security, add 2 bobby pins crosswise through the bun base before you spray.
Use firm-hold spray in short passes so you don’t get wet-looking shine in flash photos.
Don’t leave the sides fluffy — it breaks the clean line that makes this look work.
2. Low Bun with Micro-Braid Headband (Satin Ribbon Pairing)
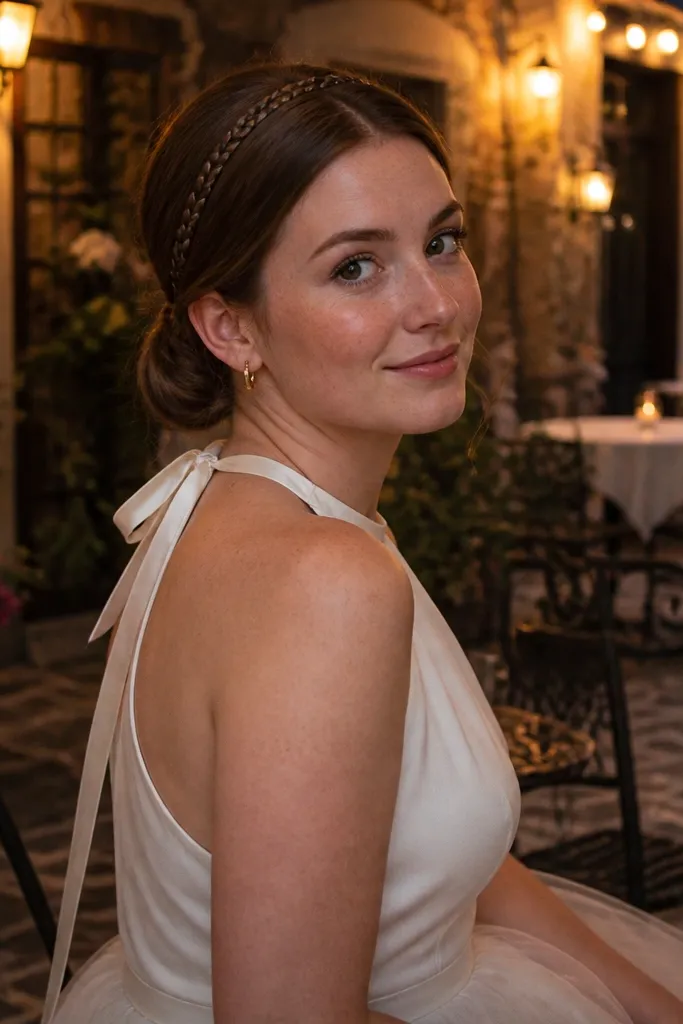
Part your hair slightly off-center, then section a thin strip across the front hairline on both sides. Braid each side strip into a tight 3-strand braid and pin them across the crown like a headband. Gather the remaining hair into a low pony, wrap into a bun, and pin the bun base so it sits flat under the braid. Tie a satin ribbon around the bun base or weave it through the braid once everything is pinned, then lock it with a light mist of hairspray.
A thin braid headband makes the bun look styled even when you keep the rest simple, which is exactly where budgets save money without the look falling flat. The micro-braid creates a delicate texture that catches light, and it frames your face without adding bulk. This is a great choice if you want a romantic vibe but still want the bun to photograph sleek. It works beautifully with strapless, off-the-shoulder, and sweetheart necklines because the braid visually connects your hair to your neckline. Add a satin ribbon only after the braid is pinned so it doesn’t shift.
Skip thisDon’t braid too thick — a chunky headband makes the low bun look heavy.
Quick tipCut your ribbon ends at an angle and seal with a quick heat so they don’t fray in photos.
3. Twisted Low Bun with Side-Swept Tendrils
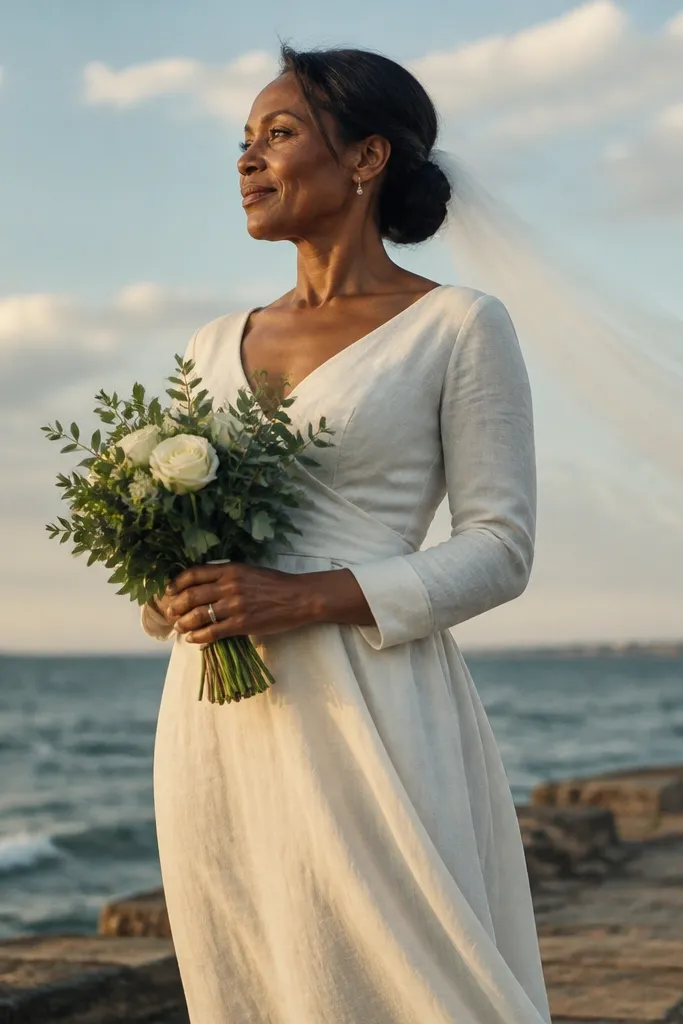
Twists add structure without needing a donut, so this is a smart affordable low bun wedding hair pick for medium to thick hair. The twist pattern creates natural dimension, and tendrils soften the face so the bun doesn’t look severe. It’s a strong option if your dress has long sleeves or a high neckline because the tendrils break up the straight lines. Photographically, the twists show depth and shadow, which looks great in both bright outdoor light and indoor venues. This look also tolerates a little humidity better than a fully sleek style.
Start with a low pony, then split it into two sections and twist each section tightly toward the bun base. Wrap each twist around the base and pin every 1 to 1.5 inches, keeping the tension consistent. Take a small section near your face, twist it lightly, and pin it so it sits just above the ear. Finish with a flexible hold spray so the tendrils move slightly without falling flat.
Pin tendrils with one pin vertically and one horizontally so they stay put through photos and dancing.
Don’t over-spray — crunchy tendrils look stiff on camera.
4. Pin-Curl Low Bun for Soft Volume at the Crown
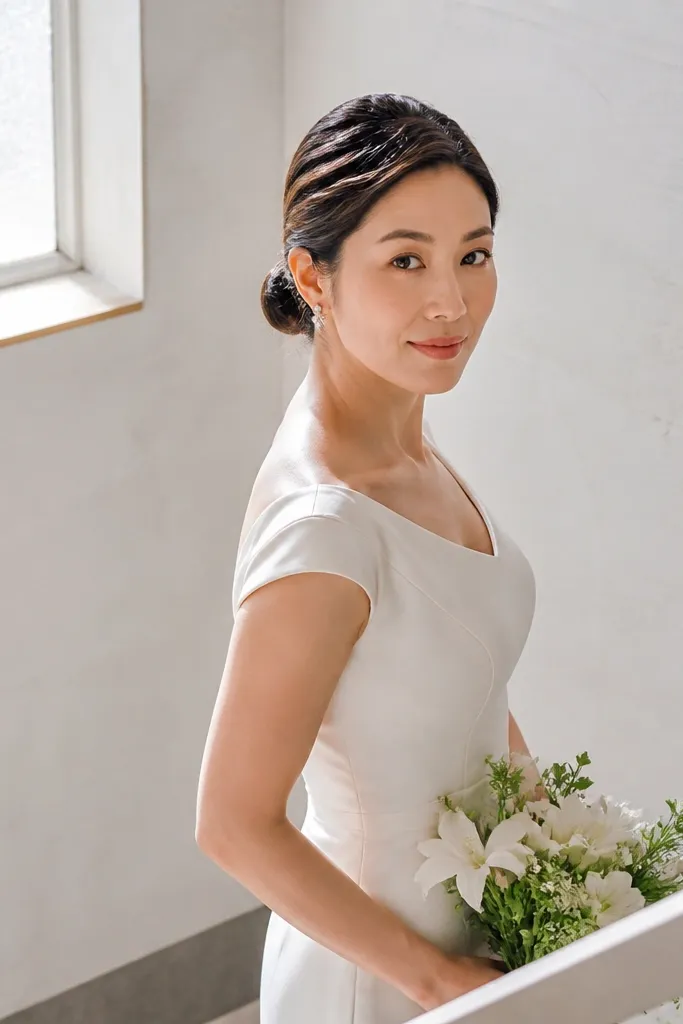
If your hair is fine or flat, pin curls give you lift without using bulky hair pieces. The bun stays low, but the crown looks fuller, which makes the whole hairstyle read “bridal” instead of casual. This style photographs well because the volume is controlled and sits right where cameras see it. It works especially well with veils and hair accessories because the crown has shape to hold them. Choose this if you want soft romance without the bun looking messy.
Dampen hair lightly, then create 6 to 10 small pin curls near the crown and secure them with bobby pins. Let them set fully, then brush out gently and gather into a low pony. Smooth the sides, wrap into a bun, and pin with extra focus at the corners where curls can shift. Mist with firm-hold spray, then remove any visible pin-curl bumps by lightly pressing with your palms.
Set pin curls the night before if you can — it’s the easiest way to get stable volume without extra styling time.
Don’t comb hard — you’ll lose the soft shape and end up with frizz.
5. Sculpted Low Bun with Hairline Baby Hairs
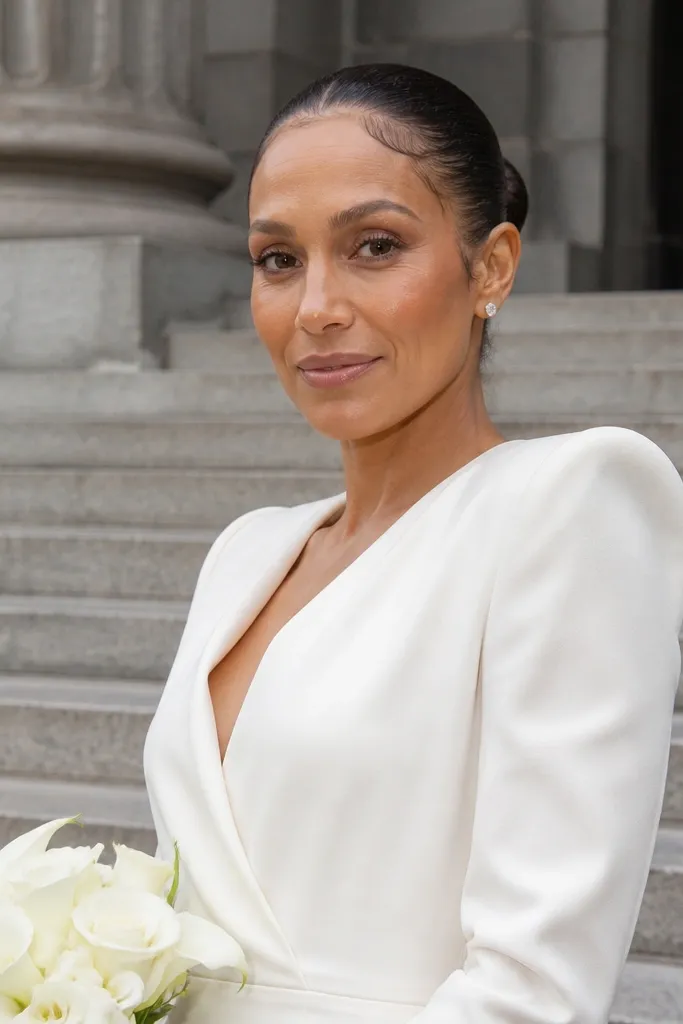
Create a deep side part or a center part, then smooth hair into a low pony with a brush and a light smoothing cream. Wrap into a bun and pin tightly, then add hairspray to the hairline. Use a tiny amount of styling gel on a clean toothbrush to shape 3 to 6 wisps at the front, then press them into place with one finger. Finish with a light mist so the wisps stay flexible.
This look is clean, polished, and slightly editorial, which makes it a standout for affordable low bun wedding hair. The bun is sculpted tight, while tiny wisps at the hairline soften the transition from forehead to style. It’s ideal if you wear makeup with defined brows and want the hairstyle to match that sharp, intentional vibe. Cameras love the smooth forehead-to-part line, and the wisps keep it from looking too strict. It also works with both minimal earrings and statement pieces because the hairline draws attention upward.
Skip thisDon’t skip the smoothing cream step — wisps on top of frizz look messy fast.
Quick tipUse gel sparingly — one swipe too many turns wisps into clumps on camera.
6. Low Bun with Rope Braid Wrap
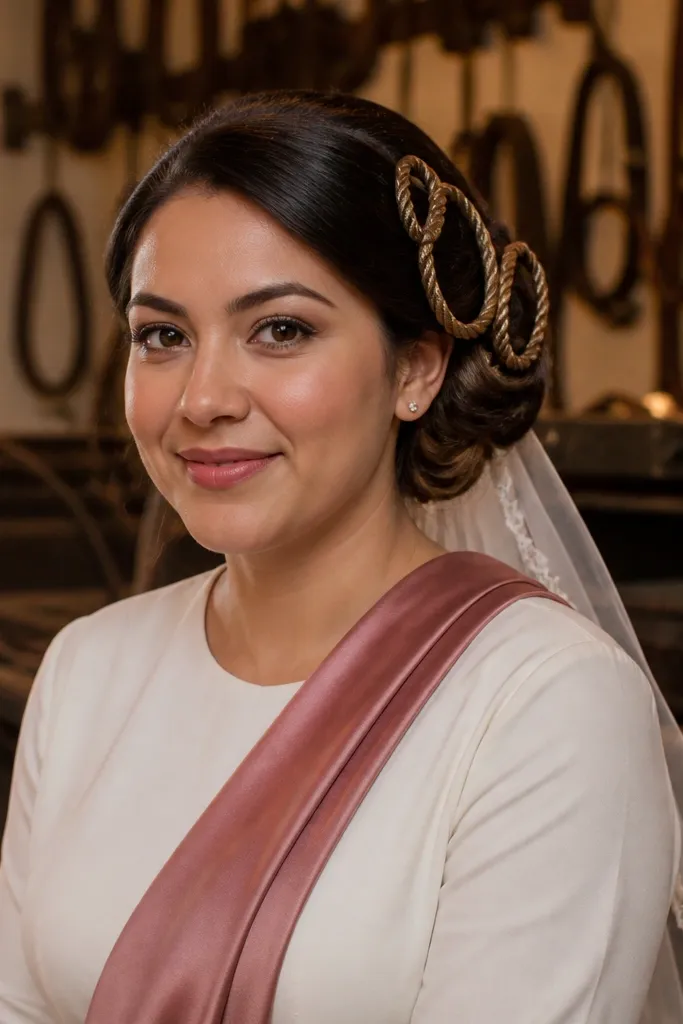
A rope braid wrap looks intricate but is straightforward once you know the technique, which makes it perfect for an aesthetic without overspending. The braid creates a raised spiral that reads “designed” in photos, even if your dress is simple. This style works best for medium-length hair, because you need enough length to wrap the braid around the bun base. It also pairs well with sleeveless gowns and clean necklines since the braid becomes a visible detail. The rope texture also hides minor flyaways around the edges.
Create a low pony, then split into two sections and twist each section away from your face. Cross the two twisted strands over each other repeatedly to form a rope braid, then secure the end. Wrap the rope braid around the bun base and pin at intervals so it stays snug. Add a final firm-hold hairspray pass, focusing on the braid edges where it meets the bun.
Use clear elastic under the bun base so you don’t see a band line in flash photos.
Don’t make the braid too loose — slack rope texture collapses into a flat look.
7. Half-Up Crown with Low Bun (Veil-Friendly)
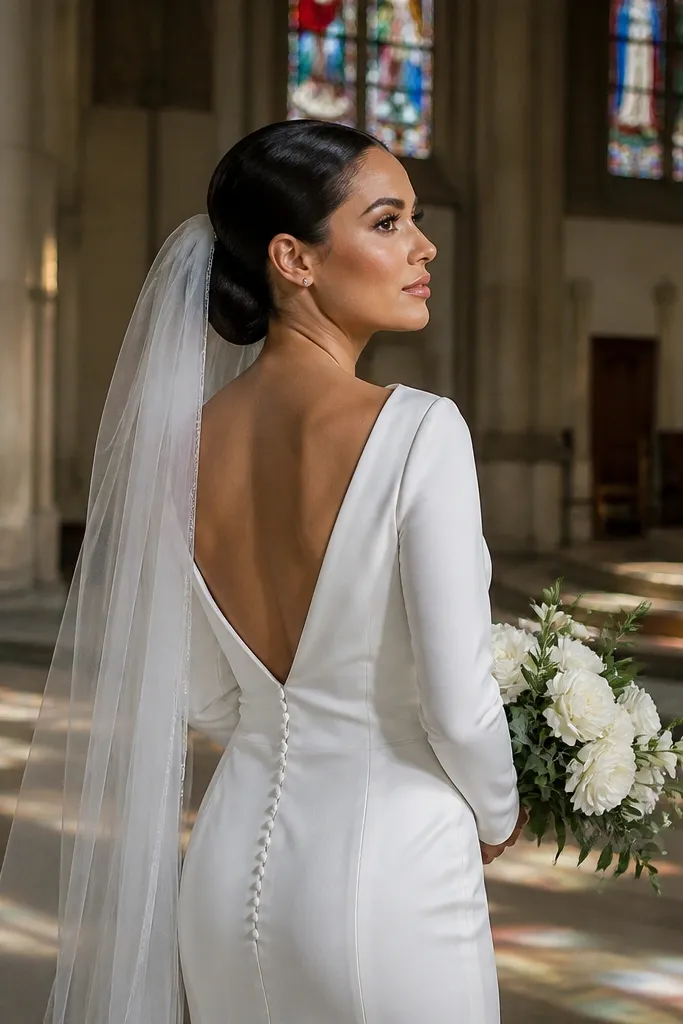
This is one of the most veil-friendly affordable low bun wedding hair options because the crown holds the veil while the bun stays low and sleek. The half-up crown gives you a lifted look without building a high bun, so your neckline stays open. It’s great for strapless dresses because it adds structure at the top and keeps the hair from falling straight down. Photographs look balanced because the crown section frames the face and the bun anchors the rest of the style. If you’re wearing a veil with combs, this layout helps distribute tension.
Part hair and take a section from temple to temple for the half-up crown. Smooth that section, twist it slightly, and pin it at the back of your head, then gather the remaining hair into a low pony. Wrap the pony into a bun and pin securely, then add veil combs into the pinned crown area. Mist hairspray lightly over the crown and bun, then press the veil comb area so it sits flush.
Before styling, test your veil comb placement on your head — move the combs until they sit where your hair is thickest.
Don’t pin the crown too low — you’ll lose the “lift” and the bun can look disconnected.
8. Low Bun with French Braid Sides and Center Part
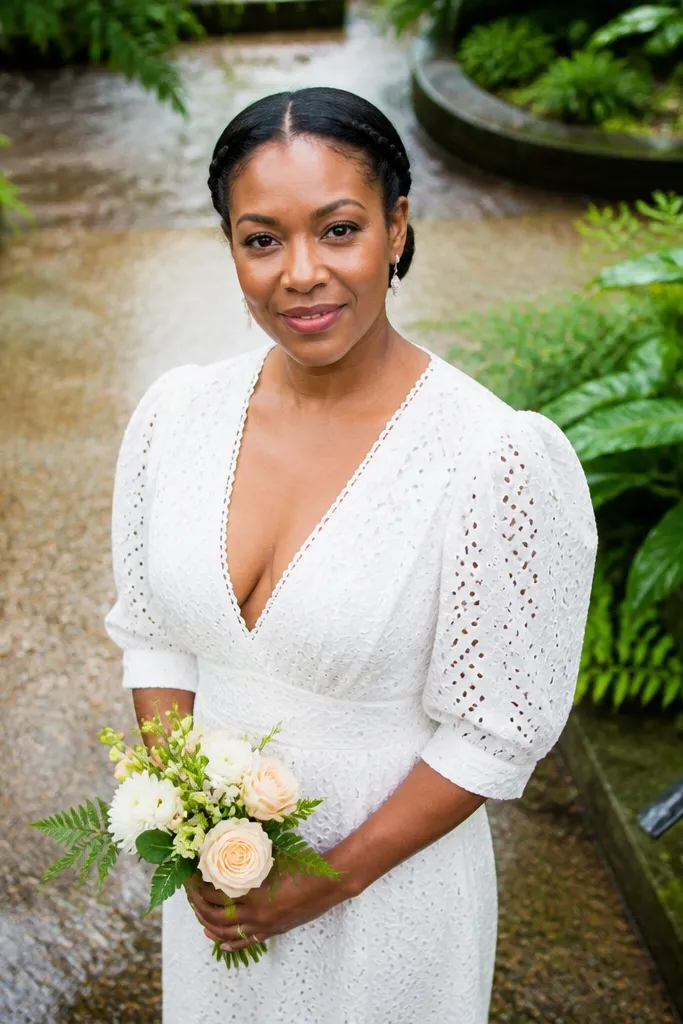
Create a center part, then start French braiding from just behind the ears, adding hair as you braid backward. Once both braids reach the back, combine them with the rest of your hair into a low pony. Wrap into a bun and pin through the braid ends so they lock the bun in place. Finish with firm-hold hairspray and lightly smooth any braid tails so they don’t stick out.
This look reads romantic and structured at the same time, and it’s one of the best affordable low bun wedding hair choices for taming flyaways. French braids on both sides pull hair back cleanly, which means the bun stays smooth even if you sweat a little. The center part makes it extra symmetrical and photo-ready. It pairs well with lace sleeves, high necklines, and classic ballgown silhouettes because the braids echo the gown’s structure. In photos, the braids create depth along your cheeks and jawline, which is where cameras focus.
Skip thisDon’t leave braid edges fuzzy — clean braid lines look sharper in photos.
Quick tipSecure braid ends with pins before you wrap the bun so they don’t unravel during the day.
9. Messy-Sleek Low Bun with Intentional Texture
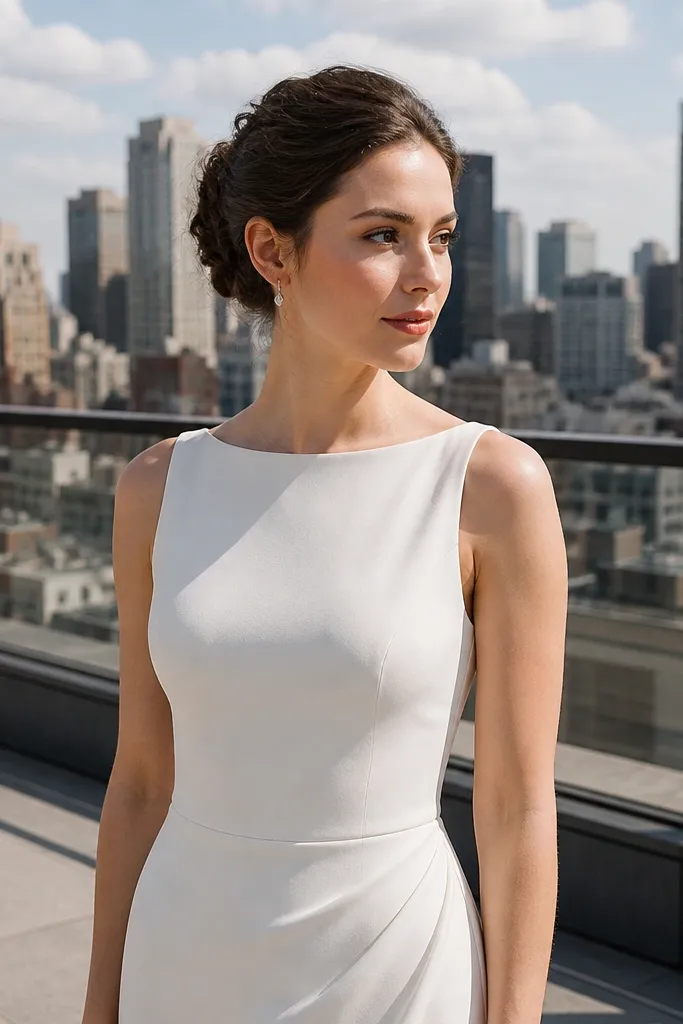
Create a low pony, then tease only the crown lightly — stop before it gets fluffy. Smooth the sides just enough to avoid lumps, wrap into a bun, and pin firmly. Pull 3 to 5 thin strands free around the hairline and sides, then twist them lightly and tuck back in with two pins. Finish with medium-hold spray so the texture stays flexible and doesn’t go frizzy.
This is the aesthetic option for brides who hate the “too perfect” feeling and want their affordable low bun wedding hair to look styled, not stiff. The trick is to keep the bun low and secure while letting a few strands texture the top and sides. Cameras like this because it creates natural shadows and dimension instead of flat shine. It suits beachy venues, outdoor ceremonies, and any dress with movement like chiffon or tulle. If your hair is naturally wavy, this becomes easier and looks more authentic.
Skip thisDon’t skip firm pins — messy looks still need a stable base or they slide.
Quick tipPull strands from the underside, not the top — it looks messy-sleek instead of random.
10. Low Bun with Braided Crown and Sleek Back
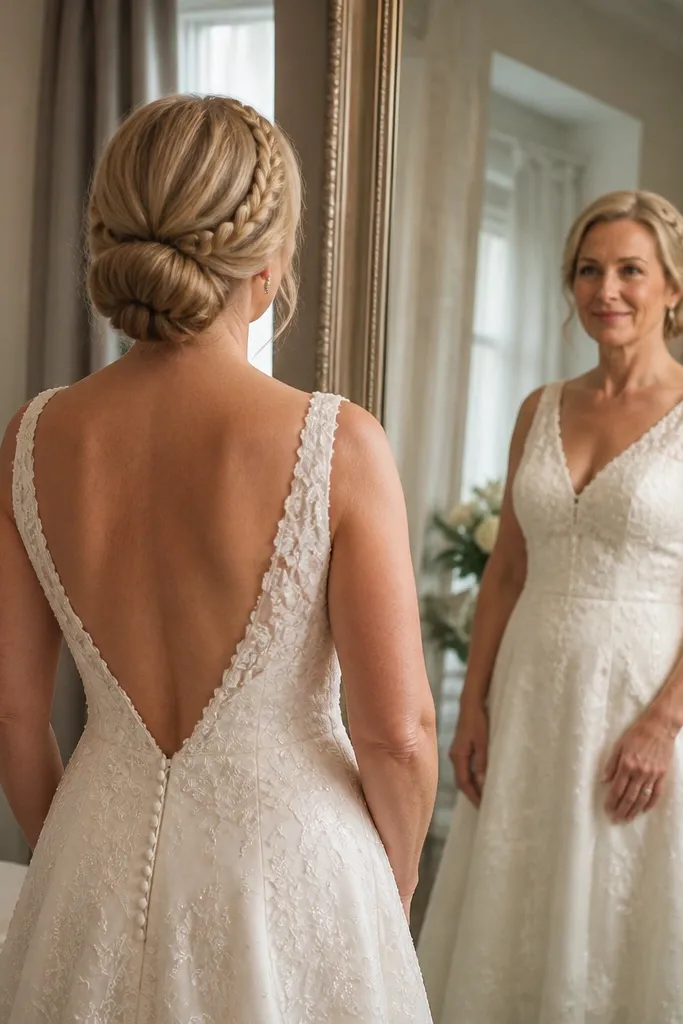
A braided crown makes the hairstyle feel bridal without adding bulk to the bun itself. The back stays sleek, so your photos from behind look sharp, especially if you have an open-back dress. This style works well if you want your hair off your shoulders but still want a detailed top. It’s also a good match for formal venues where you want structure and polish. The braided crown creates a strong horizontal line across the head, which looks great in portraits and when you’re seated for dinner.
Start by parting hair and taking a front section from one temple to the other. Braid that front section into a crown braid, pinning it flat as you go. Gather the remaining hair into a low pony, smooth the back with a brush, and wrap into a bun. Pin the bun and tuck the ends of the crown braid into the bun base, then lock with firm-hold hairspray.
Pin crown braid sections with flat pins close to the scalp so they don’t show through veil fabric.
Don’t braid too loose — crown braids that wobble ruin the sleek back look.
11. Low Bun with Halo Pinch Braid at the Nape
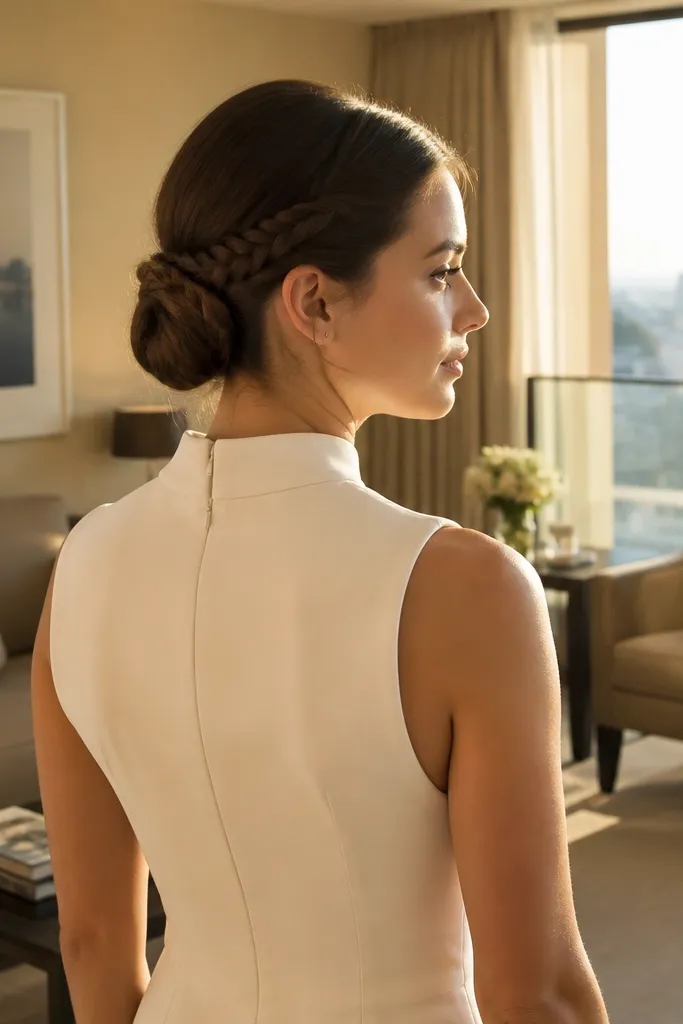
Create a low pony and wrap into a bun, then pin the base so it sits flat. Take a small section from one side of the bun base and braid it into a tight 3-strand braid. Pin the braid around the bun base like a halo, then secure the end under the bun with bobby pins. Mist with hairspray and press the halo braid down for a smooth ring effect.
This is a subtle detail look that still photographs because it sits where cameras catch hair movement — at the nape. The halo pinch braid creates a neat “ring” effect around the base, which makes the bun look intentional even if the rest is simple. It suits minimalist dresses and brides who want a clean aesthetic without visible hair accessories. It also works great for short-to-medium hair because the braided detail can tighten the shape at the base. For wedding photos, it gives you a defined anchor point in the back.
Skip thisDon’t braid thick — a chunky halo looks bulky in back photos.
Quick tipUse two pin types: one for grip (bobby) and one to hold flat (hairpin) so the halo stays smooth.
12. Low Bun with Ribbon Tie and Hidden Pins
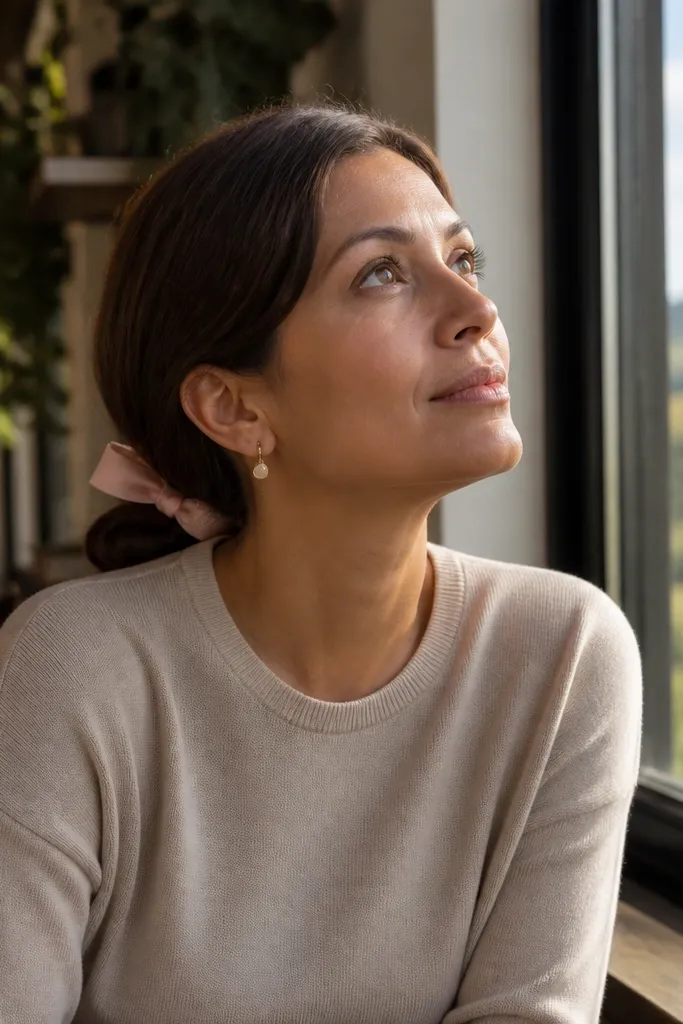
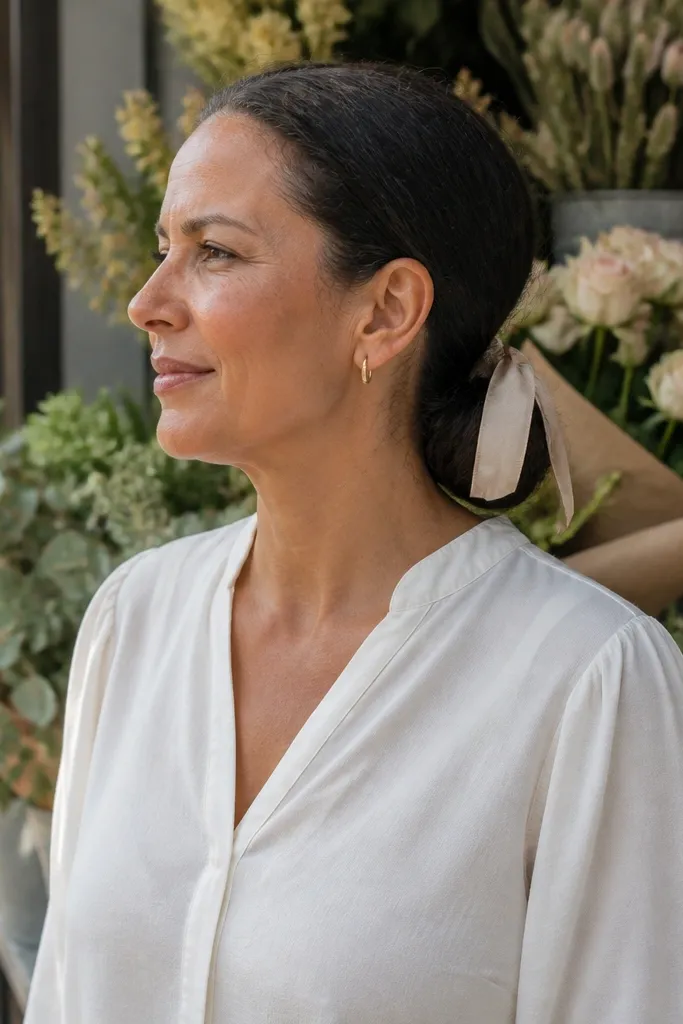
If you want affordable low bun wedding hair that looks styled even when you skip expensive hair accessories, a ribbon tie does the job. The ribbon covers the pin area and gives the bun a finished look, which matters most in close-up photos. Choose satin or grosgrain in a shade that matches your bouquet ribbon or dress undertone. This look is especially flattering for brides who like soft, romantic details. It also works well for outdoor weddings because fabric adds movement while the bun stays secure.
Make a low pony, wrap into a bun, and pin the base tightly so it doesn’t shift. Leave one side slightly looser, then tie a ribbon around the bun base once, not twice, so it doesn’t flatten your bun. Tuck the ribbon ends under the tie and pin them under the bun so the knot stays clean. Finish with firm-hold hairspray around the bun base, then lightly mist the ribbon for a soft sheen.
Match ribbon width to hair thickness — use about 1/2 inch ribbon for fine hair and 3/4 inch for thick hair.
Don’t use slippery ribbon — it loosens during photos and you’ll see the knot drift.
13. Sleek Low Bun with Braided Side Accent and Minimal Pins
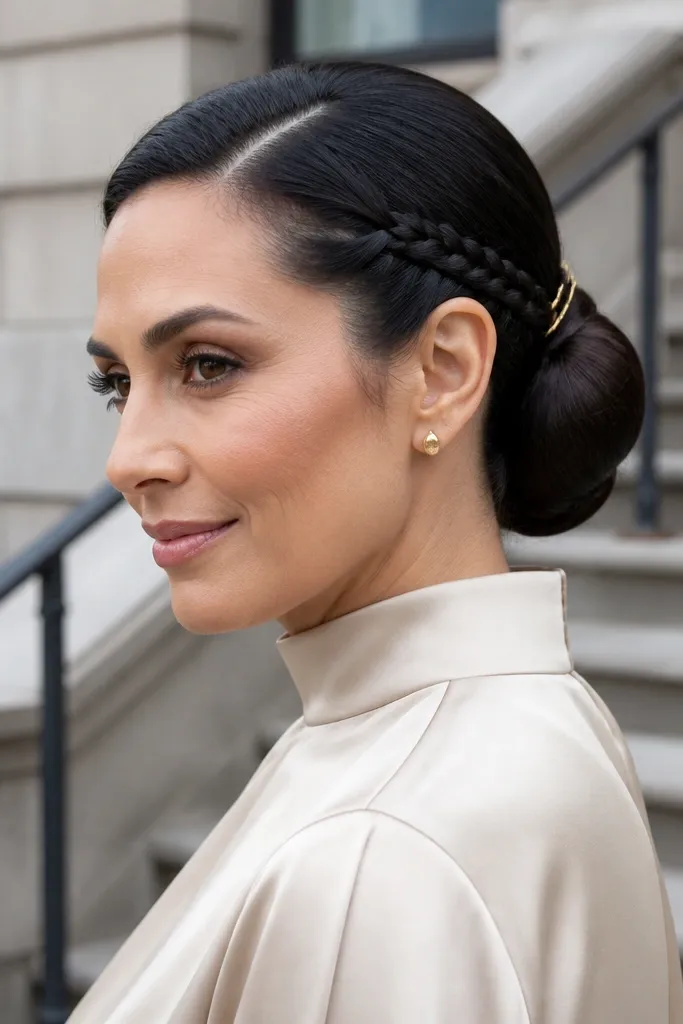
This one is a clean, modern option when you want affordable low bun wedding hair to look chic without lots of texture. The side accent braid gives you a visible detail, while the bun itself stays sleek and controlled. It’s a great choice for brides with shorter necklines or high collars because it keeps the hairline tidy and doesn’t compete with the dress. Photos look crisp because the braid creates a single focal point instead of a busy crown. This is also a smart pick if you’re wearing statement earrings since the braid sits away from the face.
Part hair with a slight off-center line, then braid a thin section from the side near your part. Pin the braid back at the nape lightly so it holds in place. Gather the rest into a low pony, smooth sides, wrap into a bun, and pin tightly. Finally, tuck the braid end into the bun and spray the bun surface for a sleek finish.
Keep the braid accent thin so it looks intentional, not like a random strand.
Don’t hide the braid completely — you need a visible arc for the look to read in photos.
14. Low Bun with Faux Bangs Twist (No-Clip Hairline Illusion)
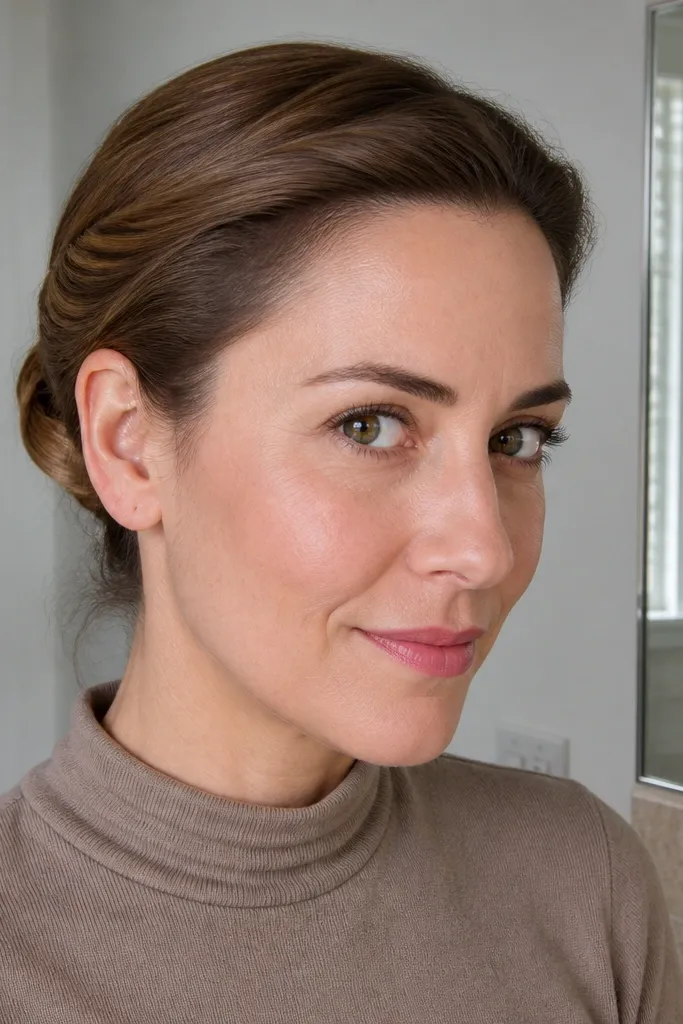
This is a clever option for brides who want a smooth, covered hairline without wearing a full fringe. The faux bangs twist uses front sections pinned under the bun line so your face stays framed and the bun stays low. It photographs well because the front looks intentional and the rest is pulled tight. This works for weddings with windy outdoor photos or venues where you’ll be walking a lot. It also helps if your hairline is uneven or you have baby hairs that never sit right.
Take two small front sections and twist them toward the center, pinning them under the pony line so they sit flat. Smooth the rest into a low pony at the nape and wrap into a bun. Pin the bun base tightly, then add firm-hold spray to the front twist area. Tuck any loose ends under the bun and secure with one extra pin before you spray again.
Pin the twist under the pony line, not at the very top — it keeps the illusion smooth in photos.
Don’t make the twist too bulky — faux bangs should feel flat, not like a separate hair piece.
15. Low Bun with Waterfall Braid Front Into Bun
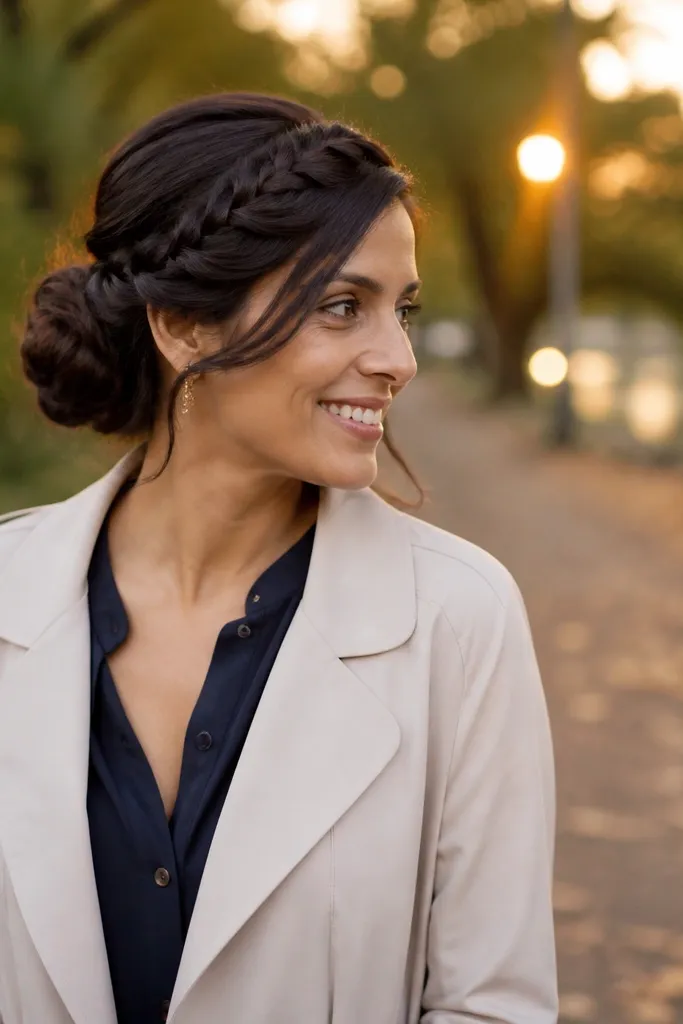
Start the waterfall braid at one side near the part and braid across by letting the bottom strand drop and picking up a new strand from above each time. Continue until the braid reaches the back, then secure it and gather the remaining hair into a low pony. Wrap into a bun and pin around the waterfall braid ends so they lock in. Finish with hairspray and smooth flyaways with a small amount of styling cream on your fingertips.
A waterfall braid front adds a romantic, flowing pattern that reads beautifully in wedding photos while the bun stays practical and secure. The “waterfall” sections fall forward and then meet the bun, so you get movement around the face without loose hair everywhere. This style is best for medium to long hair because you need length to create the cascading effect. It works well with off-shoulder dresses and strapless gowns since the braid frames the collarbone. In bright photos, the braid shows contrast lines that make the hairstyle look designed.
Skip thisDon’t choose a too-thin braid — a wispy waterfall can disappear in pictures.
Quick tipUse a slightly tighter braid near the center so it doesn’t separate in flash photos.