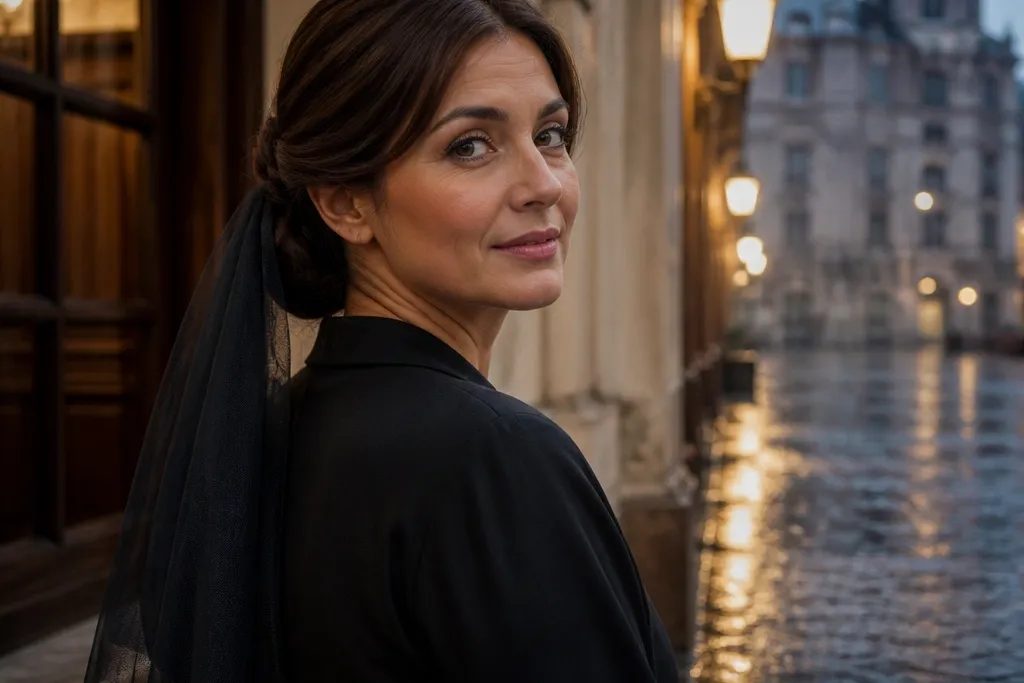
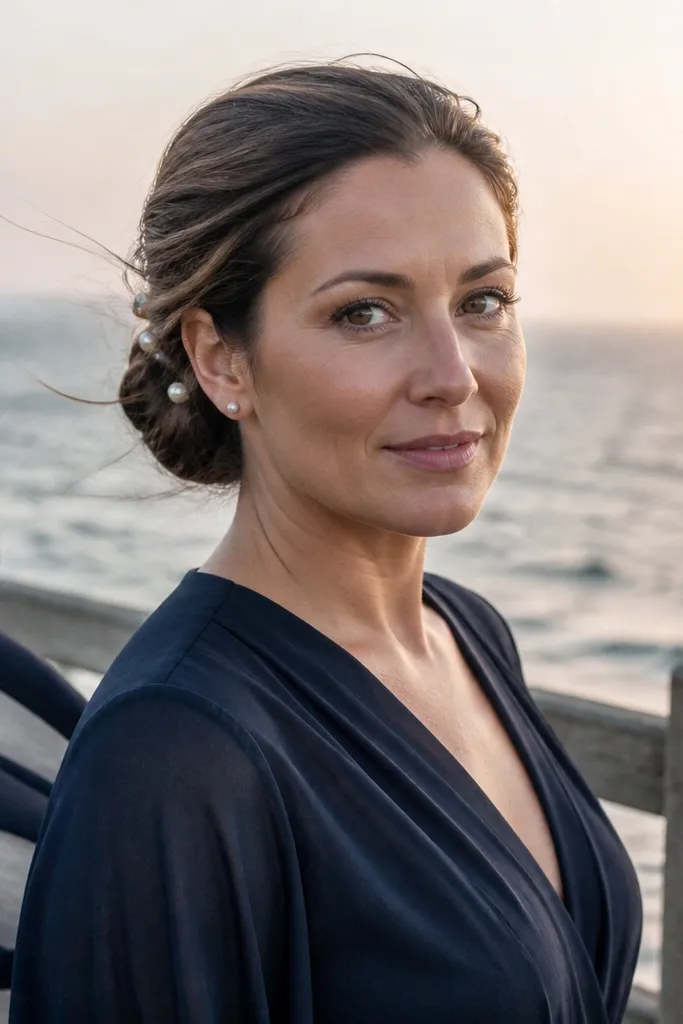
1. Nape-Skimming Rope Twist Low Bun
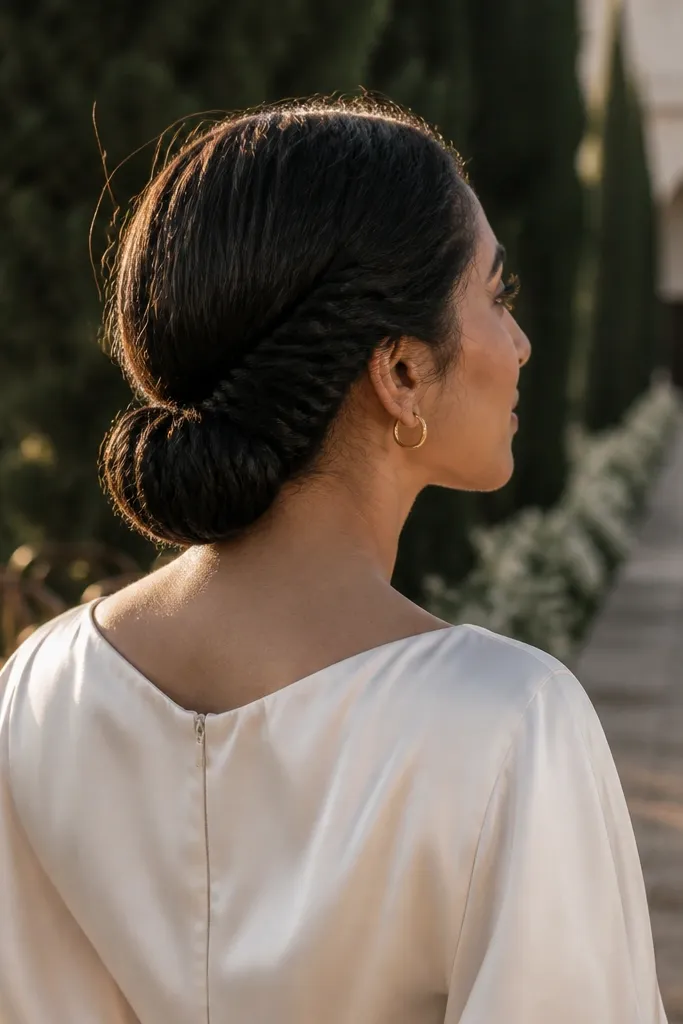
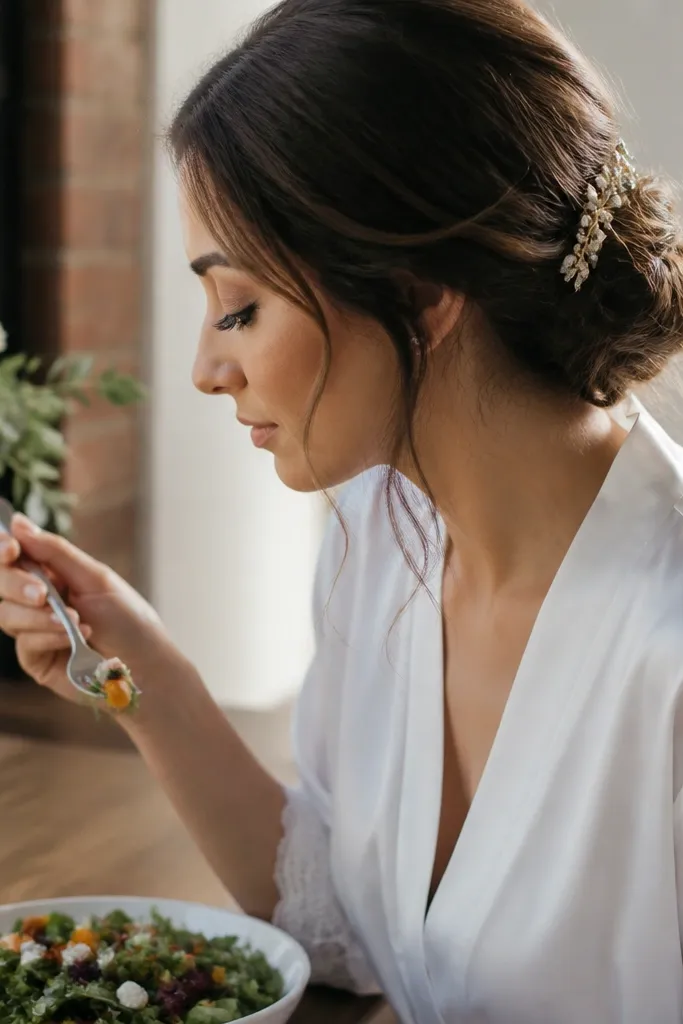
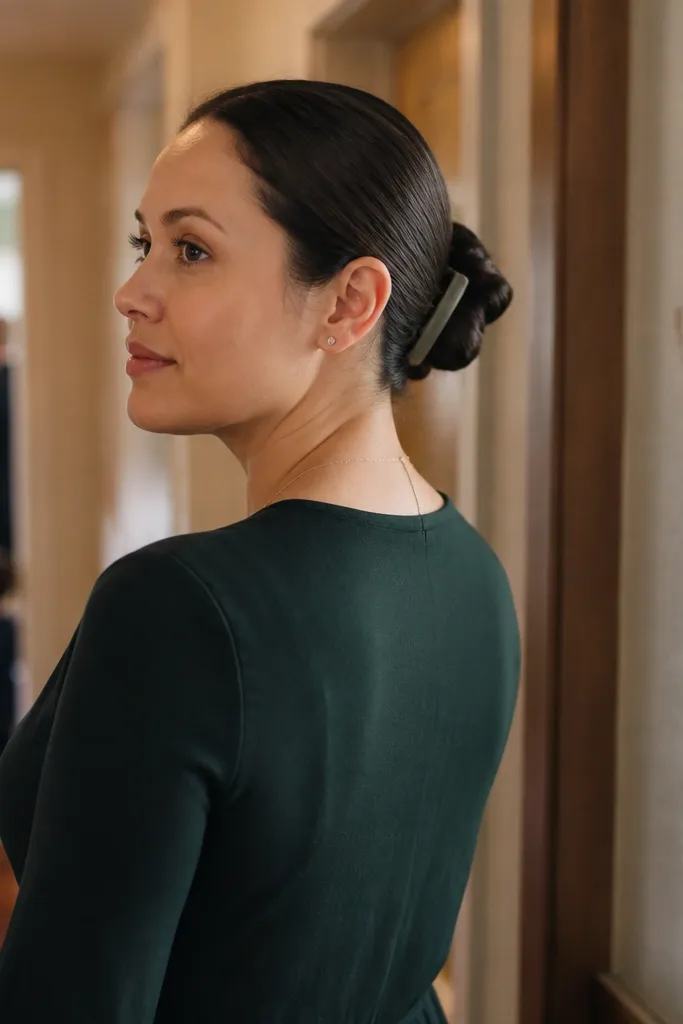
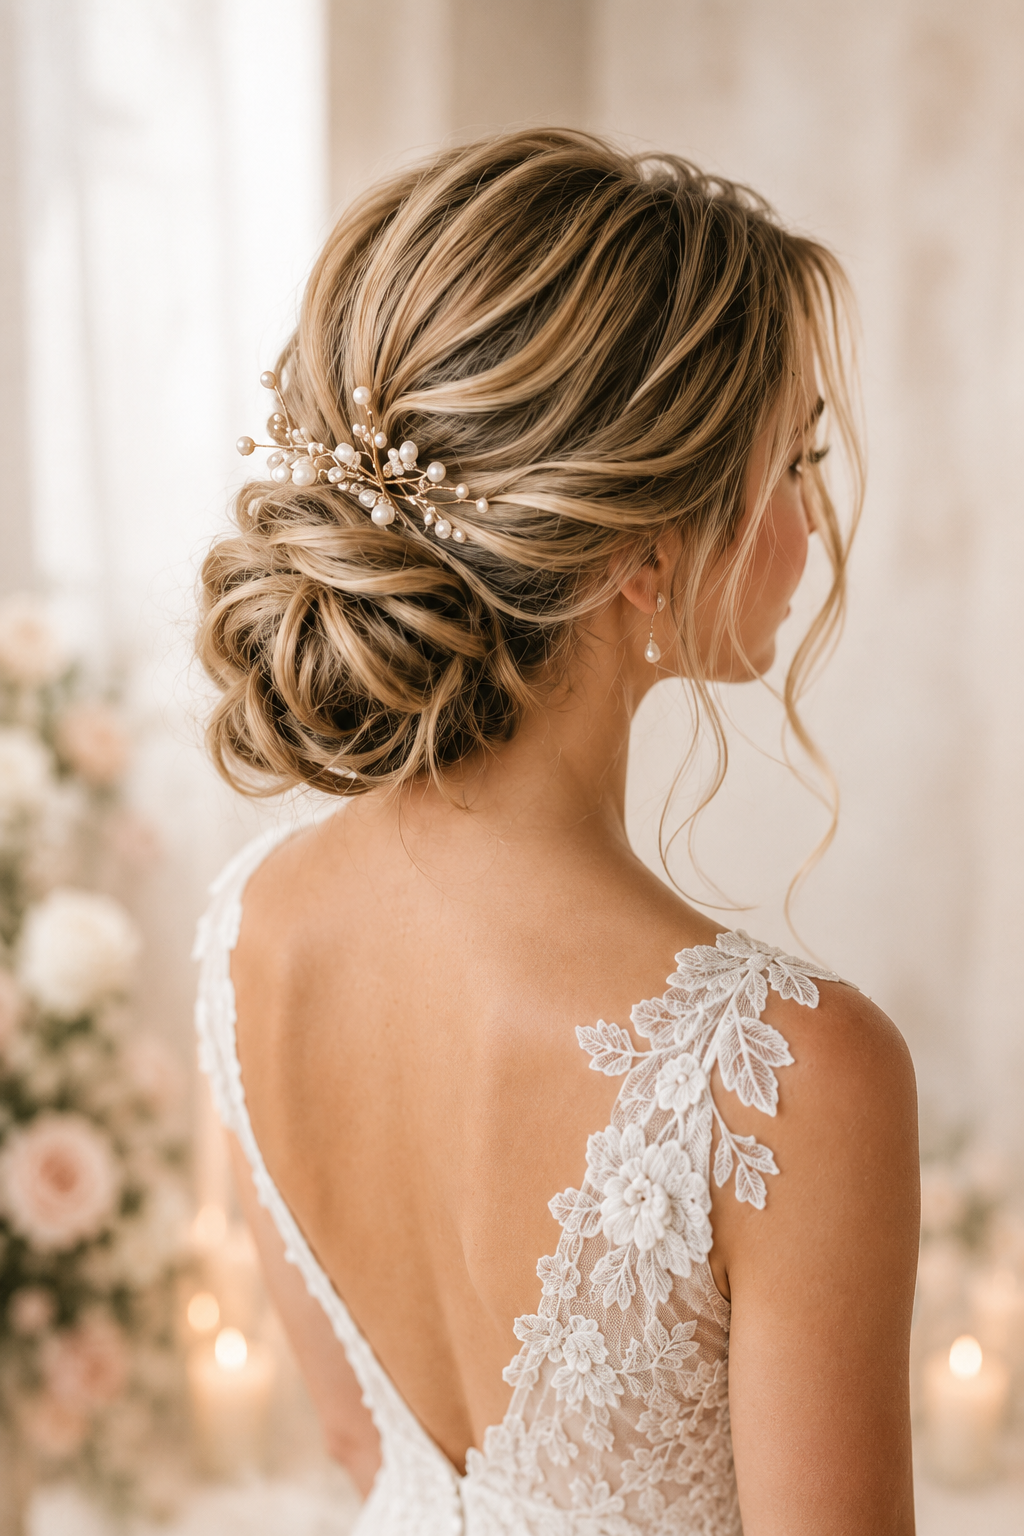
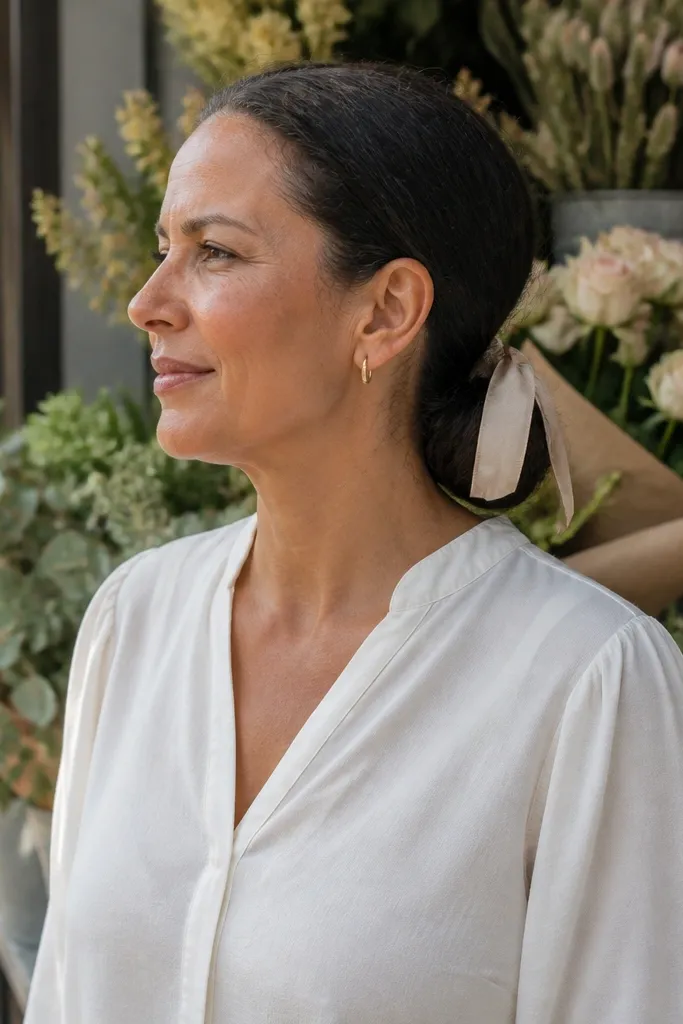
This is the cleanest low bun for year round low bun wedding hair because it stays compact even when hair is slightly damp or flyaway-prone. The rope twist creates natural tension, so you don’t need to overwork the hair. It looks polished with simple earrings and also works under most veils because the bun is tight at the base. It’s a strong pick for outdoor ceremonies where wind can lift loose ends.
Start by gathering a low ponytail at the nape and brushing the outer layer smooth. Twist the ponytail into a tight rope, then wrap it around the base in one direction while keeping tension. Secure with U-pins at the sides first, then add bobby pins across the top edge of the bun. Finish with a focused hairspray mist over the bun only, not the whole head.
If your hair is slippery, add dry shampoo only to the roots before you twist, then don’t touch it again until pins are in.
Skipping the cross-pin pattern leads to a bun that slowly rotates during photos.
2. Soft Pull Low Bun with Side-Swoop Clips
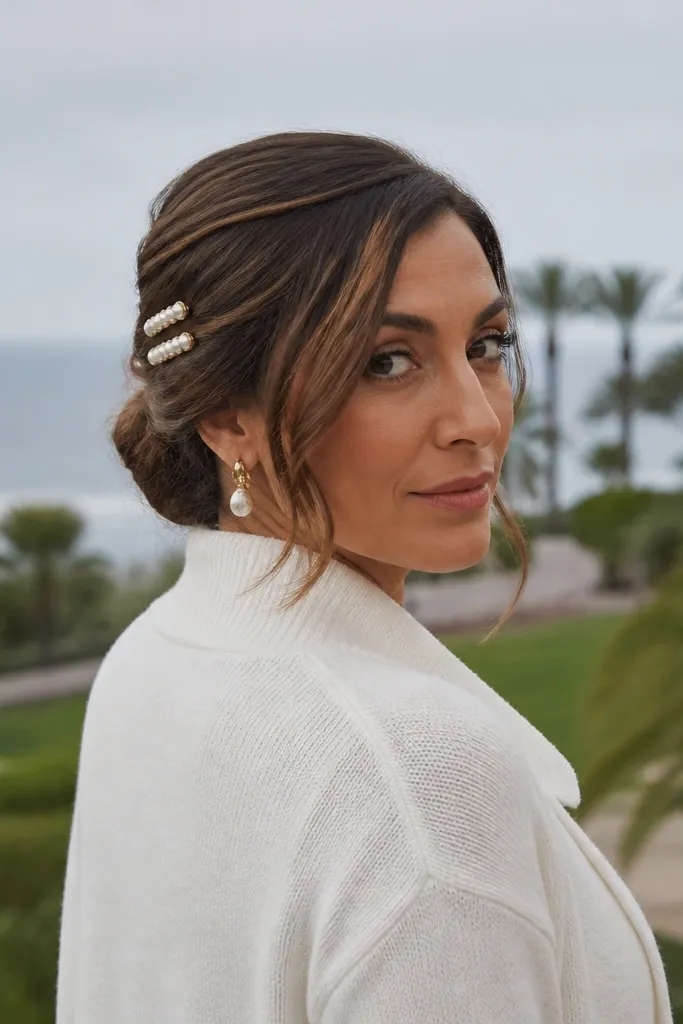
This style gives you the romantic look without sacrificing hold. The bun is still low and secure, but the sides are shaped with a controlled, soft pull so it looks intentional instead of tight. It’s great for wedding days with lots of close-up moments — think portraits where you want your face to look framed. Choose this if you want less “helmet bun” energy and more polished softness.
Quick tipUse two side anchors before you add any decorative pins so the bun doesn’t shift when you attach the accessory.
Start by making a low ponytail, then pull the sides slightly forward before twisting. After you wrap into a bun, place two small pins or clips at the side swoop area to anchor the shape. Mist medium-hold hairspray on the sides, then smooth with a brush to remove any bumps. Finally, add pins through the bun base to lock everything in place.
Skip thisDon’t create the swoop after the bun is pinned — adjusting later tears the smooth finish.
3. Chignon-Style Low Bun with Hidden Elastic Loop
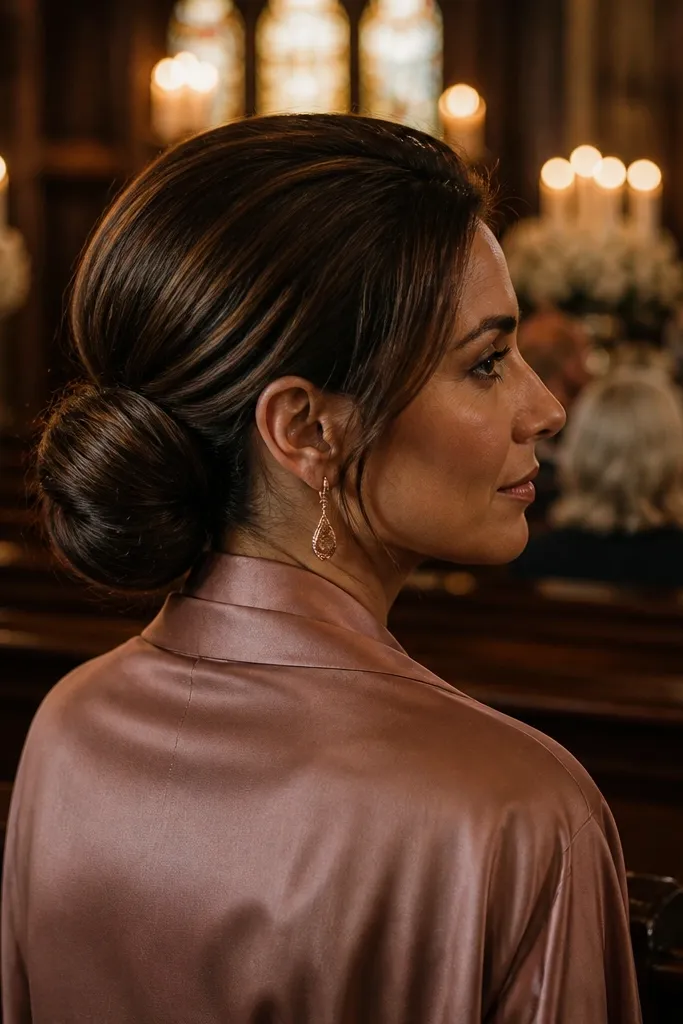
If you hate seeing pins or you want a cleaner silhouette, this is the low bun wedding hair approach that stays tidy. The hidden elastic loop helps keep the wrap tight and reduces the chance of sagging later in the day. It’s particularly good for medium to thick hair because the bun holds its shape and doesn’t need heavy teasing. Works well for indoor weddings where you still want longevity for dinner and dancing.
Start with a low ponytail, then twist and wrap once around the base. Before you fully pin, place a second elastic (matching your hair color) around the bun to create a temporary loop grip. Pin over that loop with bobby pins, then remove the extra elastic once the pins are stable. Mist hairspray lightly and check the underside where the bun meets the nape.
Keep the second elastic hidden by placing it under the first wrap, then pin over it right away.
Over-misting early can make hair too stiff to tuck ends cleanly.
4. Twist-and-Tuck Low Bun for Fine Hair
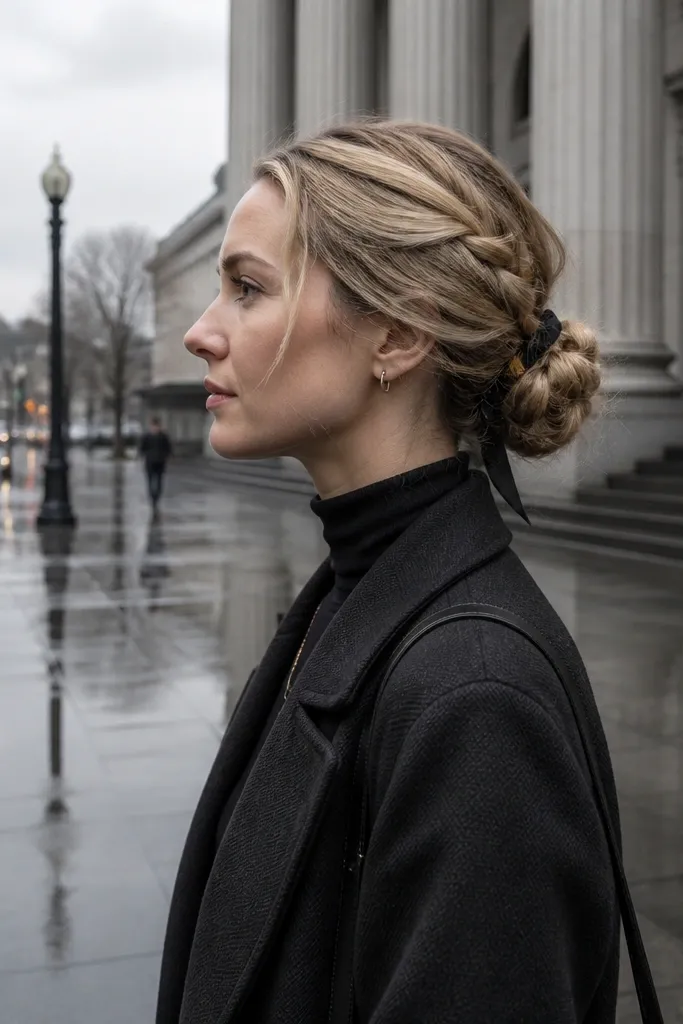
Fine hair needs grip and structure, and this style delivers without bulky teasing. Instead of one big twist, you do smaller twists and tuck them around the base. That means more pin contact points and less slipping, which matters in humidity. It also looks fuller than a flat low bun because the tucked sections create subtle dimension.
Start by adding texturizing spray to the roots and lightly backcombing only the top of the ponytail base. Divide the ponytail into 2-3 sections, twist each lightly, then tuck each section around the base. Secure each tuck with 2-3 pins, working in a circle so the bun can’t open. Finish with medium-hold hairspray and lightly tap down flyaways with your fingertips.
Use smaller sections if your hair is fine — larger sections look pretty at first and then fall loose.
Skipping root grip is the fastest way to get a bun that loosens halfway through the ceremony.
5. Braided Base Low Bun with One Side Braid Tail
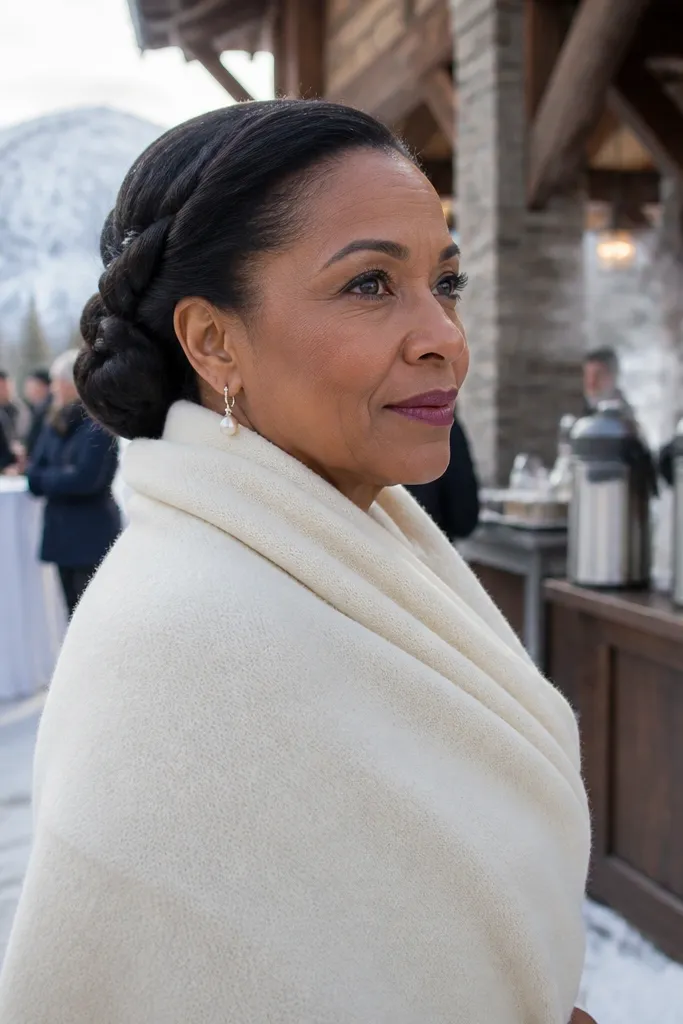
A braided base gives you built-in structure, so you get hold with less pinning. The braid also helps the bun resist frizz because the hair is already organized. This works beautifully for winter weddings when static makes loose strands act up, and it also holds up in summer because the braid reduces flyaways. If you want something that still looks wedding-soft instead of purely sleek, this is a great middle ground.
Start with a low ponytail, then braid it into a tight three-strand braid. Wrap the braid around the ponytail base to form the bun, then pin at the crown of the braid wrap. Let one braid tail create a gentle side curve if you want face framing, and pin it flat. Mist hairspray over the bun wrap, then press down the braid edges with a brush.
Make the braid tight enough that it holds shape when you pull the braid slightly — loose braids unravel and loosen bun tension.
Using a loose, airy braid creates a bun that looks great for 20 minutes and then collapses.
6. Low Bun with Looped Crown Volume and Smooth Sides
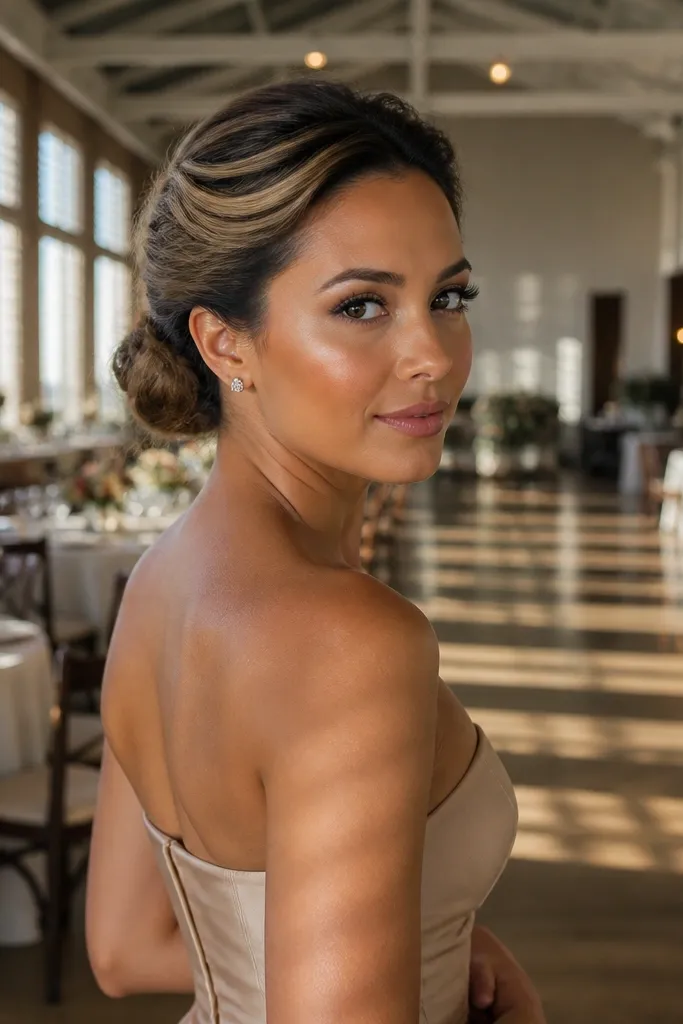
This look gives you height at the crown without pushing the bun higher. The looped volume keeps your head from looking flat in photos, especially if you’re wearing a strapless dress or a simple neckline. It’s also helpful if your hair is thin — you get lift where it matters most while keeping the bun secure at the nape. Pick this if you want a 'soft lift' rather than a full updo.
Quick tipPin the crown loop first, then build the bun around it so you don’t have to fight pins later.
Start by creating a low ponytail, then section a small strip at the crown. Form a loop with that strip (twist gently and pin it in place) before you wrap the rest into the bun. Secure the bun base with U-pins, then pin the crown loop so it can’t shift. Smooth the sides with a tiny amount of serum and mist lightly over the top only.
Skip thisTeasing the whole head makes a low bun look messy when you sweat or sit.
7. Sleek Low Bun with Scalp-First Pinning
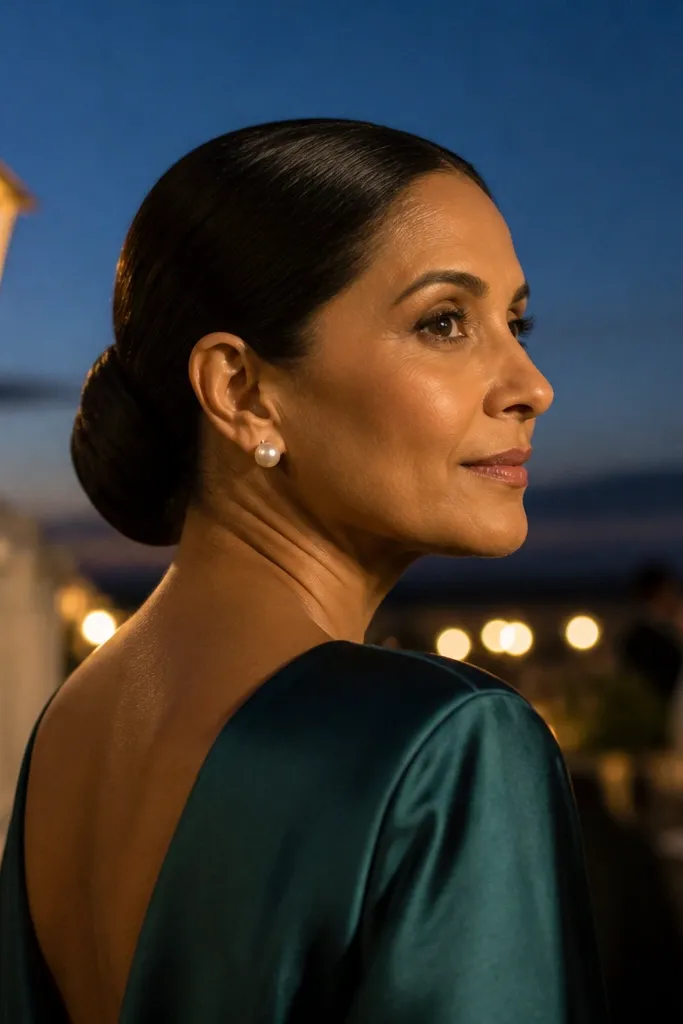
This is the best option when you want ultra-smooth hair that matches a clean dress silhouette. Scalp-first pinning keeps the bun tight and reduces the 'puffy gap' that shows under certain lighting. It holds well in wind because the hair is pressed close to the head before it’s wrapped. Choose it for silk fabrics, minimal accessories, and formal ceremonies.
Start with damp hair that’s fully dried, then apply a smoothing cream lightly to the outer layer. Create a low ponytail and twist it tightly, then place it around the base. Insert bobby pins into the scalp first along the outer edge, then add pins through the bun to lock. Finish by misting hairspray onto a brush and brushing the bun surface smooth.
Use a brush mist finish for sleek buns — direct spray can create crunchy spots.
Pinning only the bun surface leads to bumps that show when you turn your head.
8. Low Bun with Wrapped Hair Pin Cross at the Nape
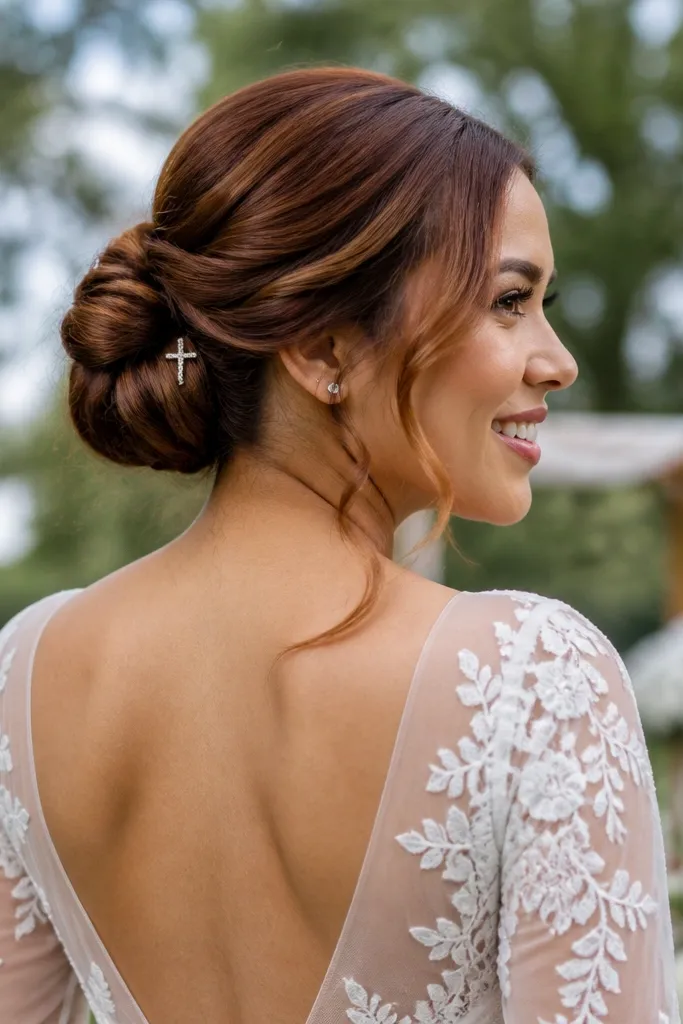
This gives you serious security without making the bun look heavy. The cross at the nape locks the bun where it wants to loosen — right at the underside. It’s a good choice for longer days because it stays put when you change outfits or spend time outdoors. If you’re worried about the bun slipping during dancing, this is the style to choose.
Quick tipCheck the underside in a mirror before you leave the bathroom — that’s where most low bun failures happen.
Start by making a low ponytail and twisting into a bun shape, but leave the underside slightly accessible. Insert U-pins in a cross shape at the nape area, then wrap hair ends over that cross to hide them. Add bobby pins along the sides to keep the bun from rotating. Mist hairspray lightly, then press the underside with your fingers to lock it.
Skip thisSkipping underside pinning makes the bun look fine at first and then sag quickly.
9. Low Bun with Micro Twists Around the Perimeter
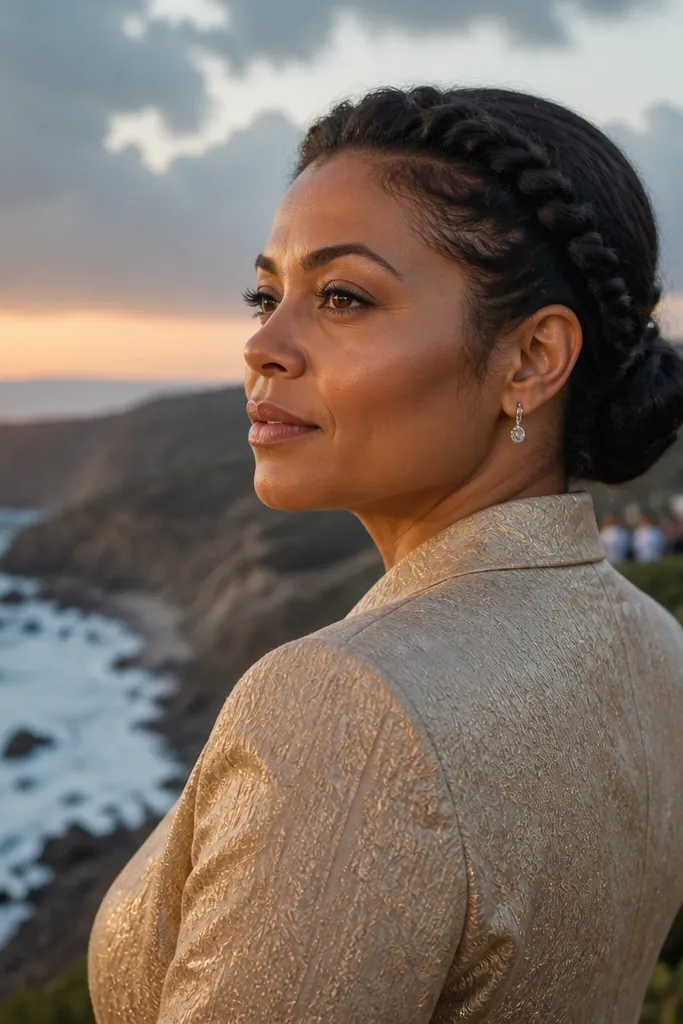
Micro twists make the bun look intentional even if your hair length varies or you have layers. They also act like built-in anchors for flyaways, which matters in windy weather. This style is flattering for most face shapes because the perimeter twists soften the edges instead of creating one hard line. It’s a smart pick when you want a low bun that still looks 'done' in close photos.
Create a low ponytail base and wrap into a bun, pinning the core tightly. Section the outer hair around the bun into small strips, twist each strip lightly, then pin it over the bun edge. Keep the twists snug but don’t pull too hard or you’ll get a stretched scalp look. Mist medium-hold hairspray over the perimeter and smooth with a brush.
Use smaller twists on the sides — that’s where wind and humidity attack first.
Over-twisting makes hair kink and show texture under veil fabric.
10. Velcro-Style Hold with Hair Sponge Wrap (No Heat)
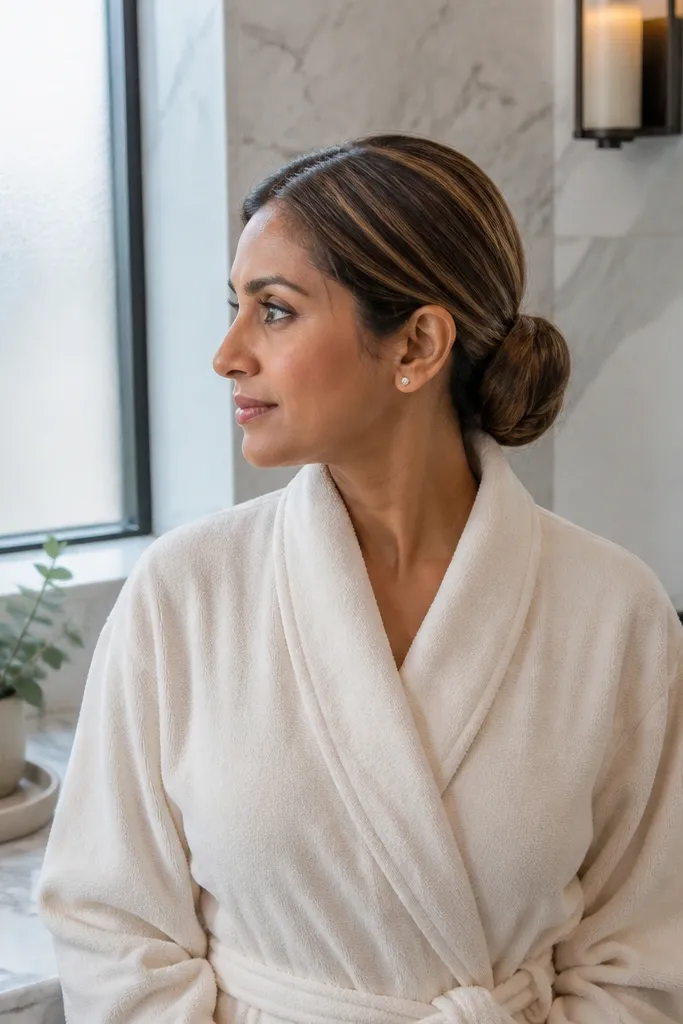
This is a practical hold trick for year round low bun wedding hair when your hair won’t cooperate. A hair sponge wrap style creates grip and helps the bun stay round even if your hair is fine or layered. It’s also great for quick resets because you’re not relying on heavy backcombing. The bun stays smooth and doesn’t collapse when you sweat.
Quick tipChoose a sponge that matches your hair color so it disappears under pins and wrap.
Start by gathering hair into a low ponytail and lightly mist roots with texturizing spray. Wrap a small amount of hair sponge or padding around the base (kept hidden under the bun) and secure with pins. Twist the ponytail around the sponge and pin the wrap in place. Finish with hairspray and press down any edges so the bun looks continuous.
Skip thisUsing too much padding makes the bun look top-heavy at the nape.
11. Low Bun with Thin Headband Wrap for Veil-Friendly Shape
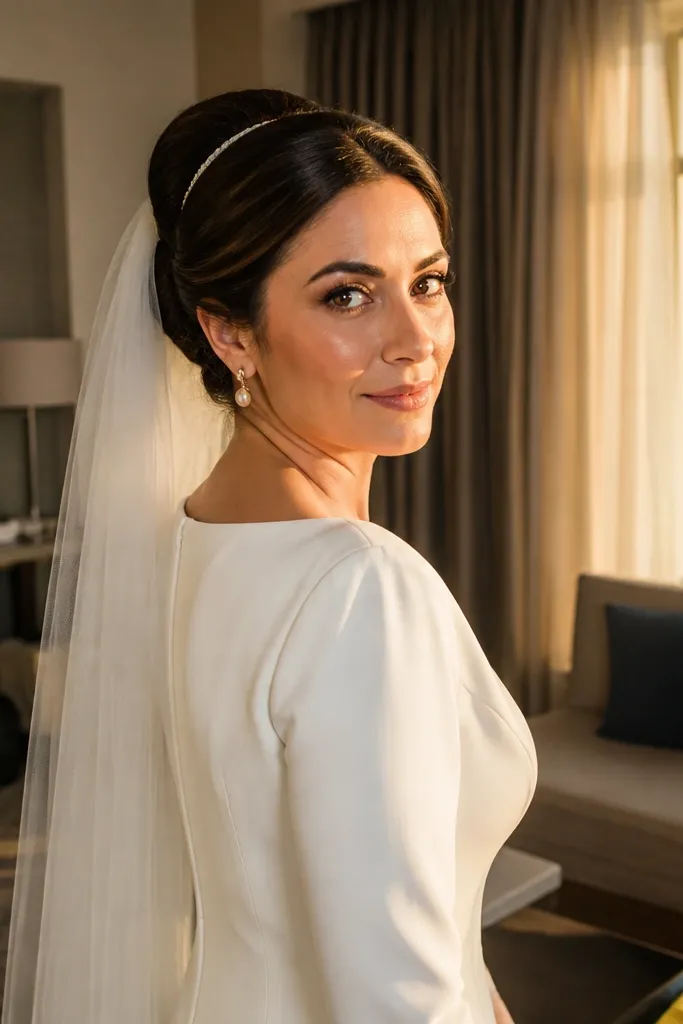
If you’re wearing a veil and you hate the idea of pins fighting fabric, this method helps a lot. A thin headband wrap gives the bun a stable anchor point, so you don’t need as many pins through the veil area. It also keeps the hairline smooth for photos, which is where veil fabric can shift. Great for spring and fall when weather swings between dry and humid.
Start with a low ponytail, then place a thin headband wrap around the base area where the bun will sit. Twist and wrap the ponytail over the band, then pin through the hair and into the bun base. Attach veil pins to the headband area rather than directly into the bun core when possible. Mist hairspray lightly and adjust the veil angle before final spritz.
If your veil is heavy, anchor the veil to the headband, not to the bun’s underside where it can sag.
Skipping the headband anchor can force you into pin overload and bumps.
12. Low Bun with Braided Crown Accent and Hidden Pins

This style gives wedding detail without turning the whole updo into a complicated project. The braided crown accent makes your part line look finished, and hidden pins prevent the bun from looking “pinned everywhere.” It holds well because the crown braid adds organization to hair that usually frizzes near the top. Choose it for outdoor ceremonies where wind hits the crown first.
Start with a low ponytail and wrap into a bun, keeping it tight at the base. Take a small section from one side near the part, braid it loosely but neatly, then tuck it over the bun edge. Pin the braid under the bun so it’s secure and doesn’t slide. Mist hairspray over the braid and the top edge of the bun only.
Keep the crown braid thin — thick braids can look bulky under lace veils.
Pinning the braid on top can catch veil fabric and create a ridge.
13. Low Bun with Tease-Free Lift Using Clip-Set Waves
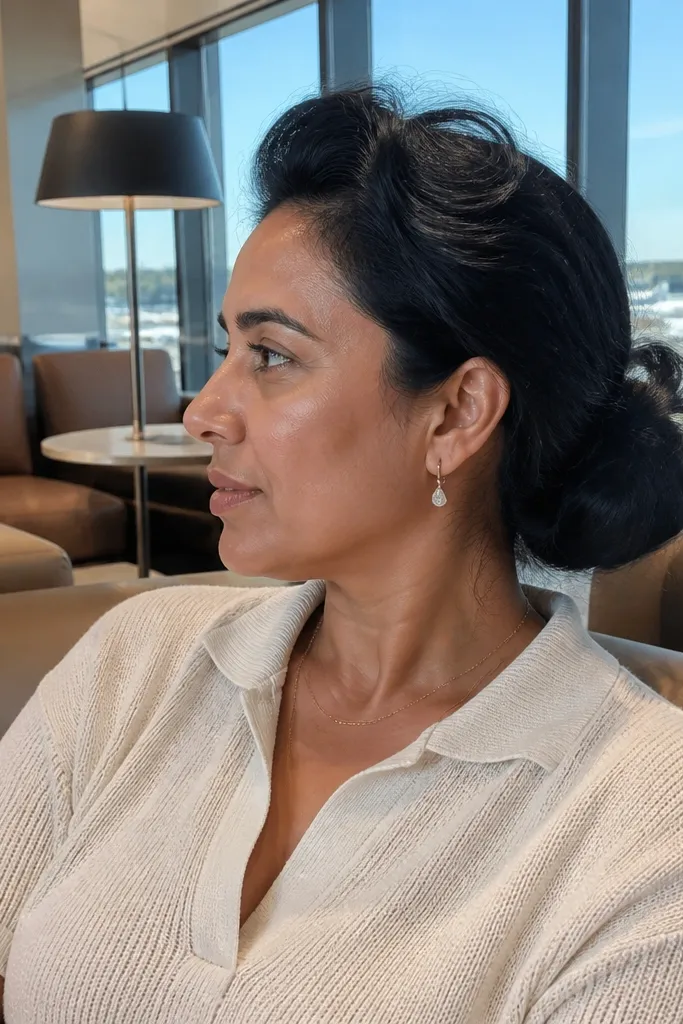
This is for people who hate teasing but still want lift that holds through photos. Clip-set waves create gentle texture near the crown, so the bun looks fuller without looking like you did a backcombing job. It’s a reliable approach in dry weather because it adds movement that doesn’t collapse as quickly. Also good for hair that gets flat after hours of heat.
Quick tipUse clip-set waves only at the crown, not through the sides — it keeps the bun clean.
Before you style, create small clip-set waves at the crown by twisting sections and pinning them in place until set. Brush out lightly, then gather a low ponytail and twist into a bun. Pin the bun tightly and smooth the outer layer so the waves stay controlled. Mist hairspray lightly over the top to lock the shape.
Skip thisLeaving waves too loose near the sides makes the bun look messy when you move.
14. Low Bun with Sectioned Wrap and Adjustable Tension
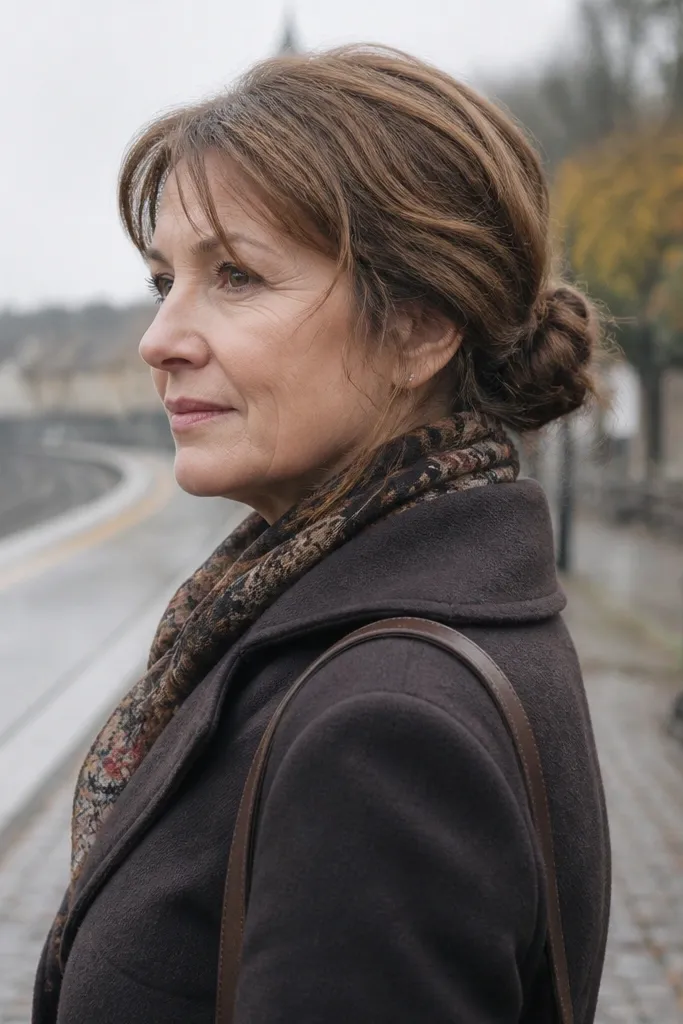
This method is the best fix when your hair is uneven — like one side is thicker or you have layers that don’t all behave. Sectioned wrap lets you adjust tension where you need it, so the bun sits level instead of leaning. It also holds better than a single twist when your ends are different lengths. Choose this for shoulder-length to long hair with noticeable layers.
Start by splitting the low ponytail into two sections. Twist each section separately, then wrap them around each other to form a single bun. Pin the thicker side first to set the height, then pin the thinner side to match the shape. Mist hairspray, then press around the perimeter to remove gaps.
Pin the thicker section first so the bun height is correct before you work on the lighter side.
Wrapping both sections with the same tension can make the bun tilt.
15. Low Bun with Smooth Temples and Face-Framing Micro Layers
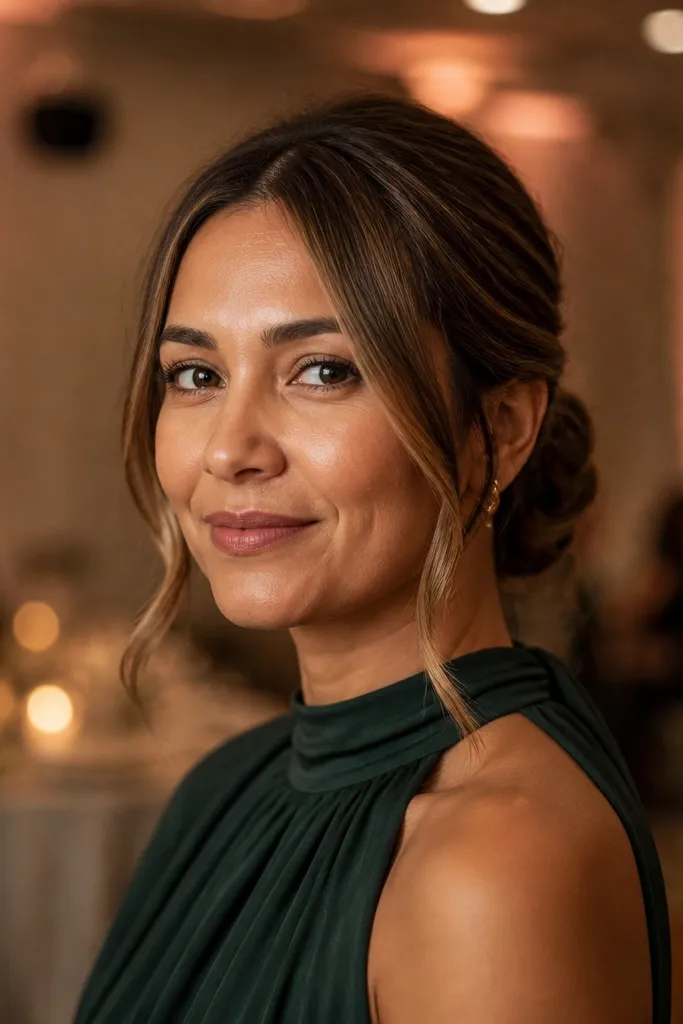
This is the low bun wedding hair version that looks good in both bright outdoor light and soft indoor lighting. Smooth temples stop frizz from puffing around your face, while micro face-framing pieces add softness without breaking the hold. It’s a great choice if you have shorter layers that stick out — you can control them with pin placement right at the temple line. It’s also flattering for photos because your features stay the focus.
Quick tipPin face-framing pieces using the direction of your hair growth so they sit flat instead of springing out.
Start with a low ponytail and twist into a bun, pinning the core tightly. Take two small sections at the temples, smooth them with serum, then either tuck them into the bun or pin them close to the scalp. Mist the temple area lightly and use a brush to keep it flat. Finish with a final hairspray mist over the bun and the pinned framing pieces.
Skip thisLeaving temple pieces loose turns humidity into instant frizz.