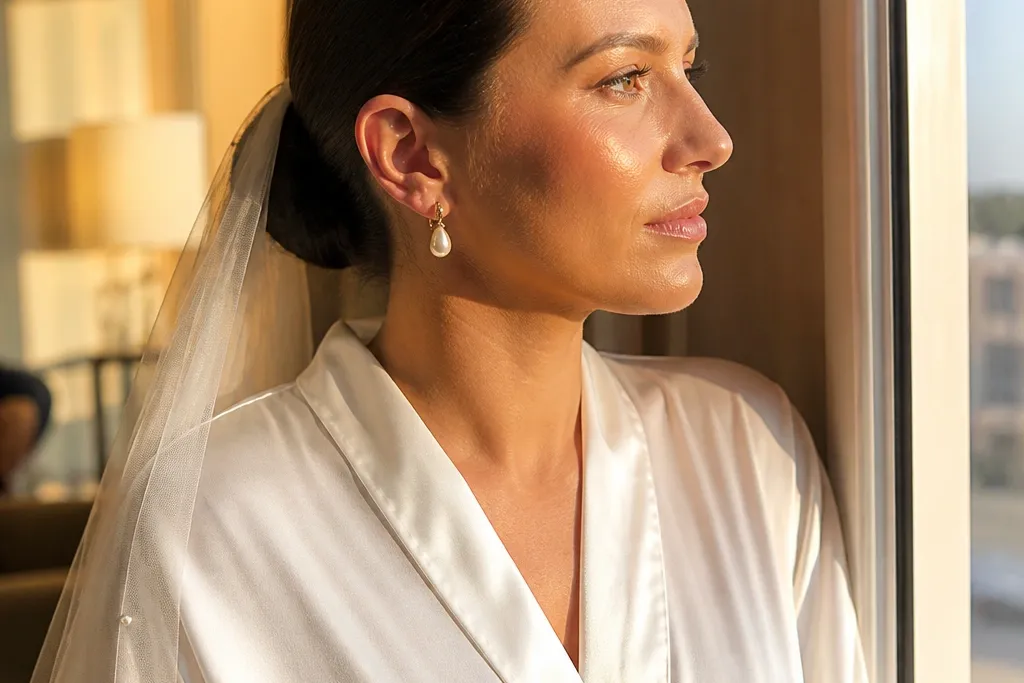
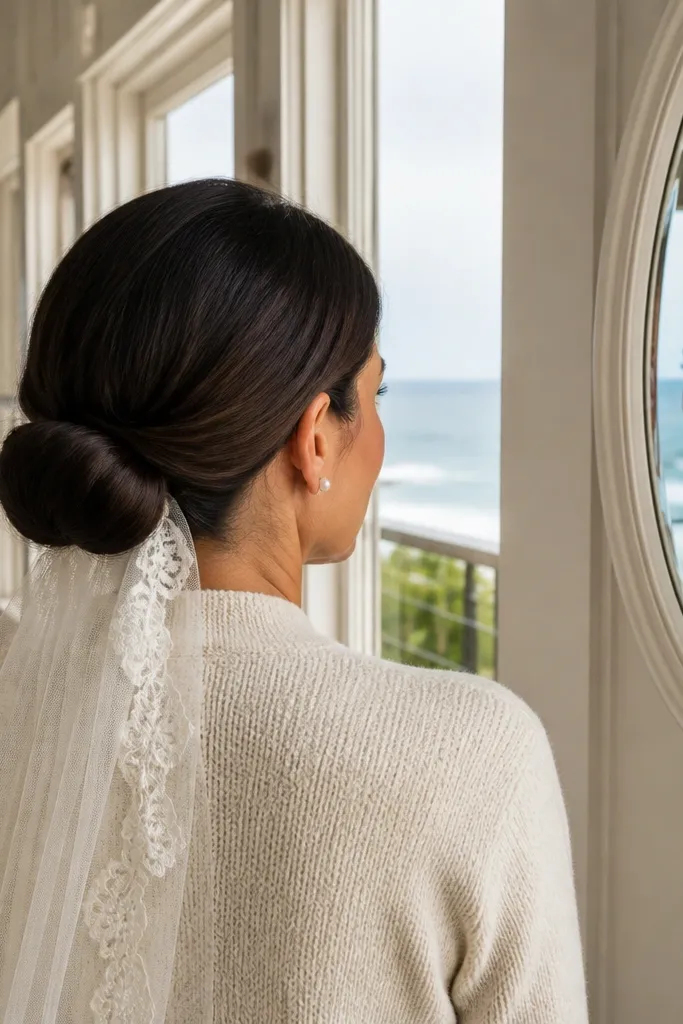
1. Classic Sleek Chignon (nape ladder pins)
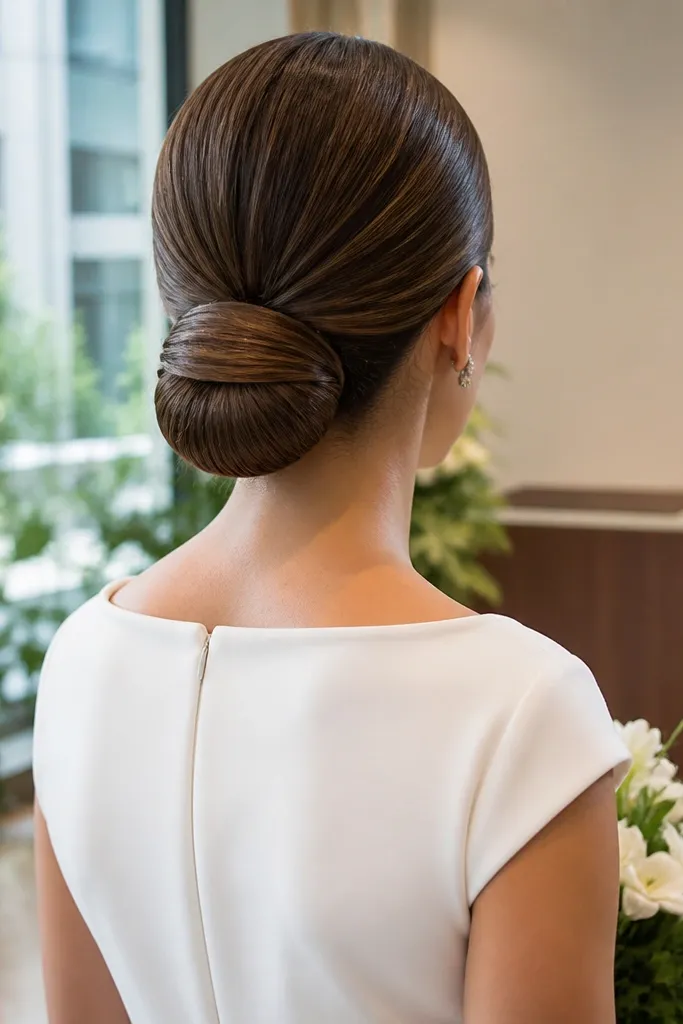
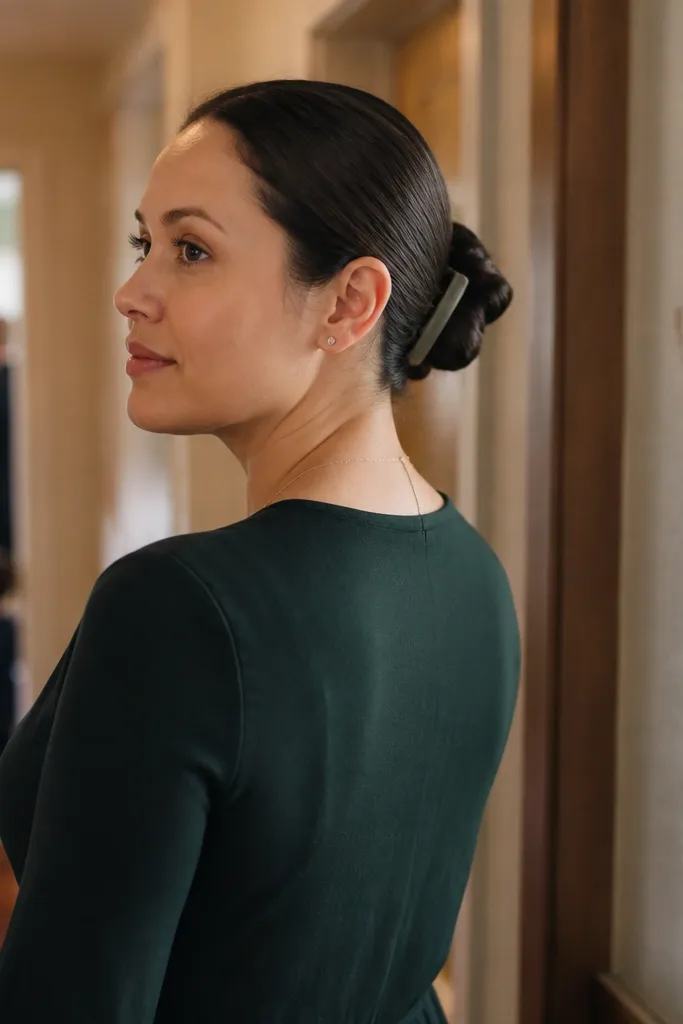
Start by brushing hair into a low ponytail at the nape, then smooth with a light layer of gel or smoothing cream and a quick blow-dry pass. Twist the ponytail into a chignon, then pin using a ladder pattern: insert pins from the underside, cross into the bun base, and repeat around the perimeter. Finish with hold spray on the outside only, then press the surface with your palms for 10 seconds so it sets.
This is the low bun that looks expensive because it’s controlled: smooth top, tight base, and no visible pin chaos. It works best when your dress neckline is clean and your veil plan doesn’t hide everything, because the bun line is the star. Straight hair and fine hair can pull this off with the right base smoothing, while thick hair needs a little extra time to flatten before pinning. The photo finish is crisp, especially in bright daylight where flyaways show up fast.
Skip thisAvoid placing the ponytail too high — it turns a classic chignon into a back-bun that steals from your face.
Quick tipPack a mini comb and 20-30 extra bobby pins. The hotel pins often have weak grip.
2. Soft Low Chignon With Side Part
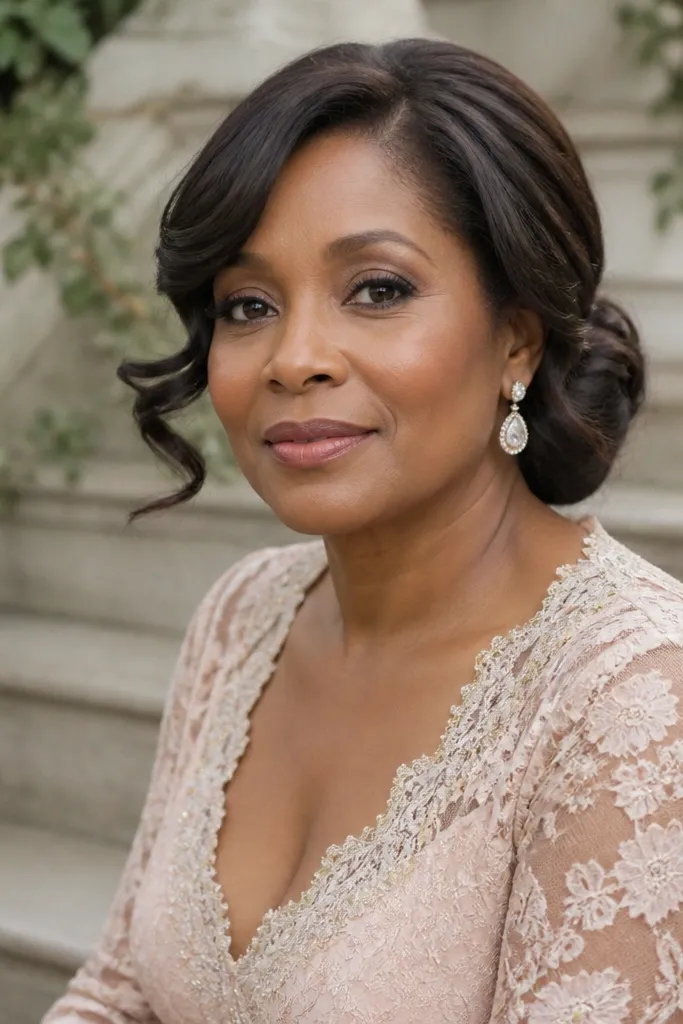
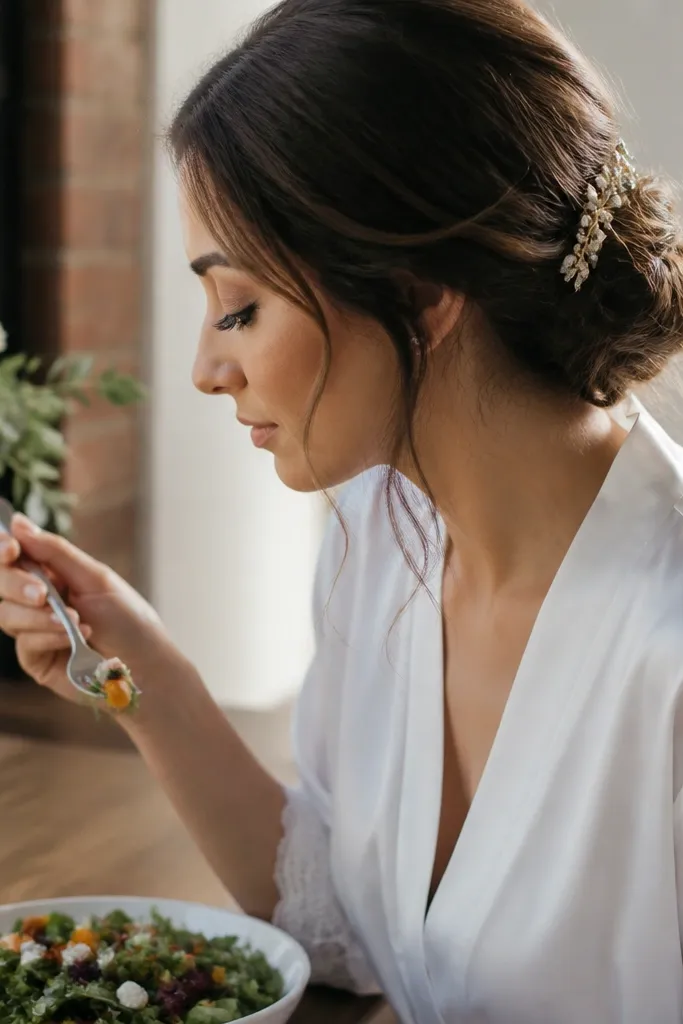
If you want classic but not severe, this is the low bun that reads romantic without looking messy. The side part creates a natural frame, and the bun edges stay touchable instead of razor-flat. It suits dresses with lace, chiffon, or sleeves because the texture in the outfit matches the softer hair finish. For brides who hate tight hairstyles, this gives control without that scalp-pulling feeling.
Start by creating a deep side part and tucking hair behind one ear so the bun doesn’t fight your face shape. Twist the gathered hair loosely into a low bun at the nape, leaving a few wisps near the crown. Pin the bun in two zones — one set for the base, another set to secure the loose sections. Set with a light hold spray, then use a soft brush to blend any transitions.
If you’re wearing a veil, attach it to the bun base rather than the scalp so it doesn’t tug and loosen the style.
Avoid over-spraying — it can make the soft edges look stiff and shiny in photos.
3. Twisted Low Bun (2-strand rope twist)
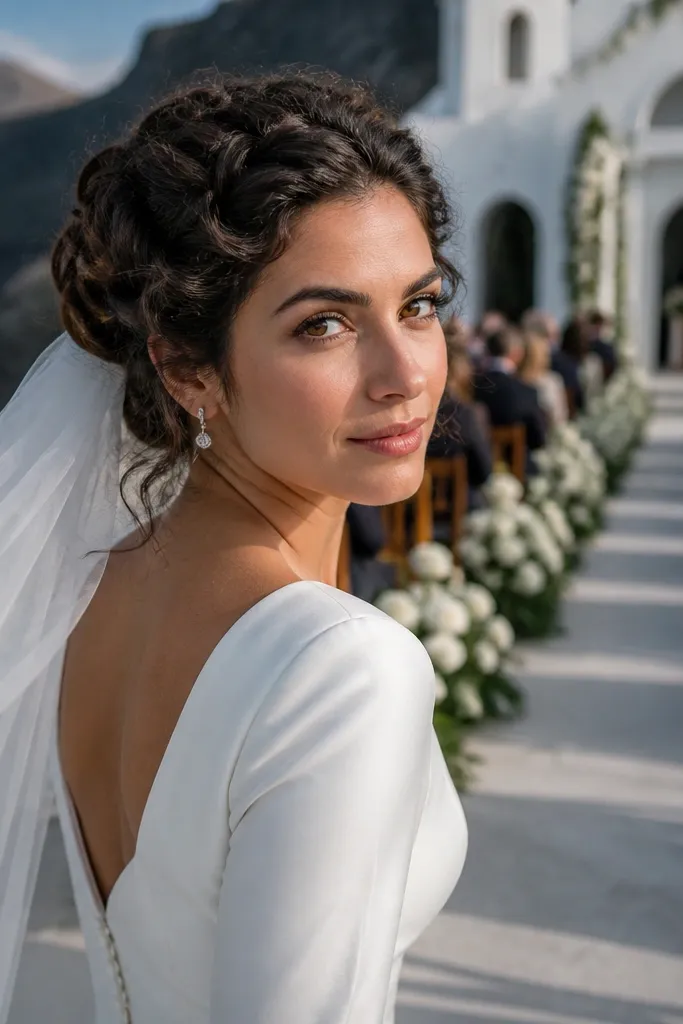
Rope twists give you a classic silhouette with built-in structure, so the bun holds even when your hair is thick or naturally wavy. It looks polished from the front and still interesting from the side because the twist texture catches light. This style is especially good for brides who want a low bun that won’t collapse into a flat knot by mid-reception. It also photographs well because the twist lines create depth.
Start by smoothing the hair into a low ponytail, then split into two sections and twist them in the same direction. Rope-twist by twisting each section, then wrapping one around the other. Coil the rope twist into a bun at the nape and pin through the coils from the underside. Finish with a tiny amount of hair oil only on the twist ridges so the texture looks intentional, not greasy.
If your hair is slippery, dust the base with a pinch of dry texture powder before twisting.
Avoid twisting too loosely — it will look like a low knot instead of a defined rope bun.
4. Sleek Ballet Bun (minimal volume)
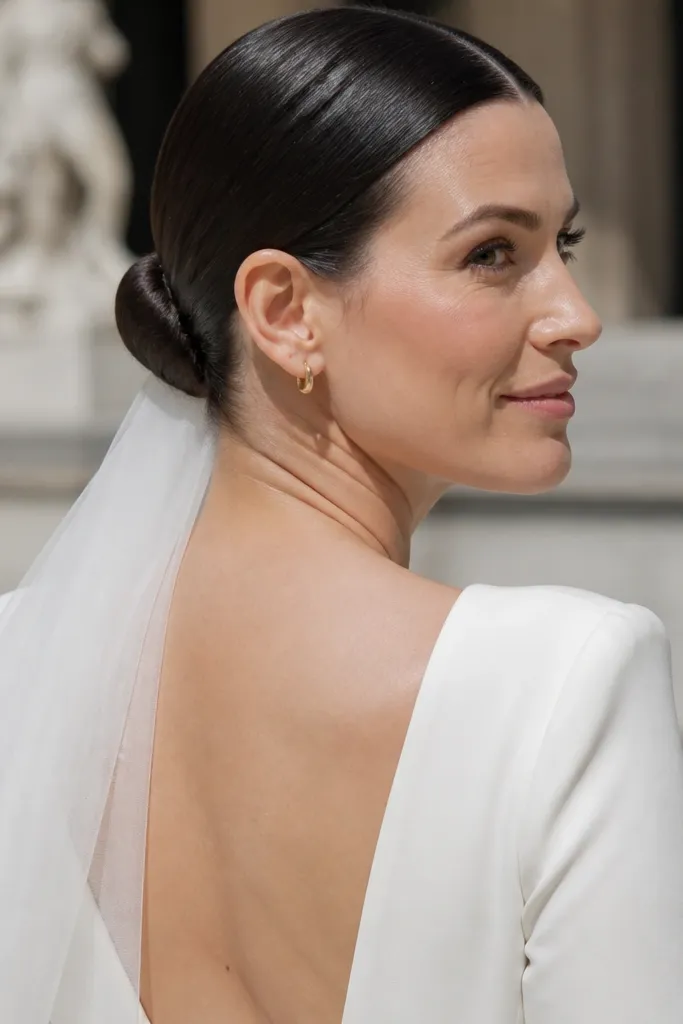
This one is for modern, clean-lined gowns and brides who want zero visual fuss. The top is smooth, the bun is compact, and the silhouette stays sharp even in close-up photos. It works best with straight hair or hair you can smooth without frizz, because the look depends on clean sections. If you have very curly hair and hate straightening, this style will fight you unless you commit to a smoothing routine.
Start by blow-drying hair straight and applying a smoothing product to the lengths, then brush into a low ponytail. Twist into a tight coil and tuck the ends underneath. Pin tightly around the coil, then wrap with a thin elastic strip if you need extra grip for thick hair. Spray hold and press the surface flat with your palms before you step away.
Bring a small bottle of anti-frizz serum for the day-of. One drop rubbed on hands fixes flyaways fast.
Avoid leaving any bumps at the ponytail base — they show up as lumps in the final bun.
5. Low Bun With Micro Braids at the Base
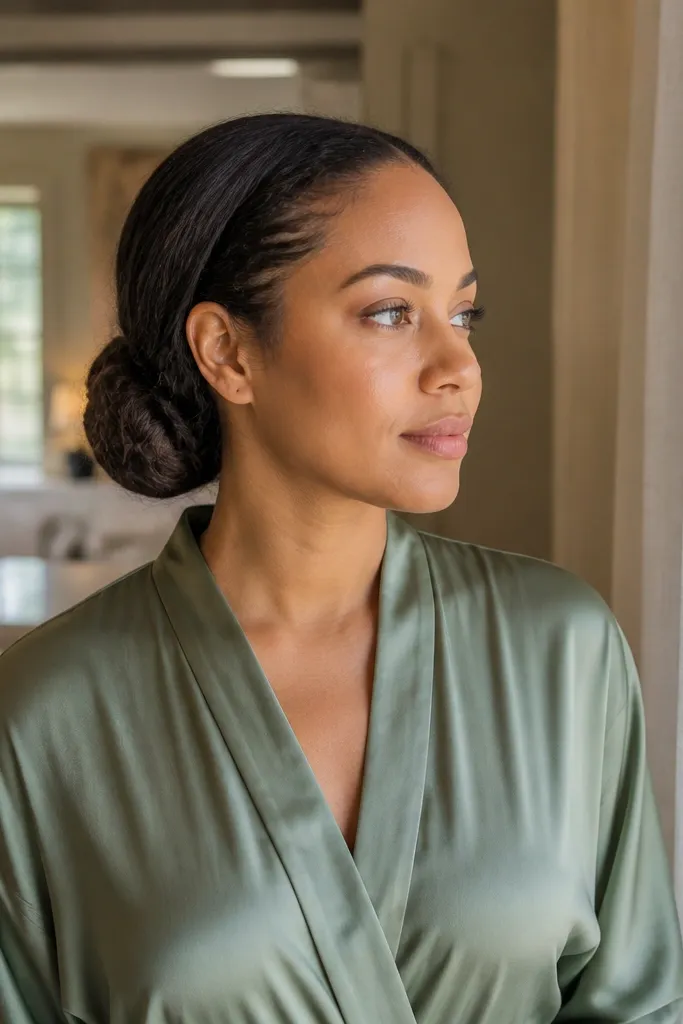
Start by parting a small strip of hair around the future bun base, then braid thin sections into several micro braids. Place the bun coil slightly higher than you think, because braids add bulk and will settle down as you pin. Pin the coil and use the braid anchors to secure the base from multiple angles. Finish with hold spray, then gently loosen one or two braid edges for a softer frame.
Micro braids anchor the style, so this is the best pick when you want a classic low bun that survives dancing, wind, and veil movement. The braids also add subtle texture so the bun never looks flat. It suits thick hair and brides who want extra security without crazy tightness. The downside is time: this is more work than a plain twist, but it pays off in stability.
Skip thisAvoid big, chunky braids here — they fight the classic low bun line and look heavy.
Quick tipDo the braids the night before a trial. It’s the part that takes the longest to get neat.
6. Messy-Sleek Low Bun (controlled flyaways)
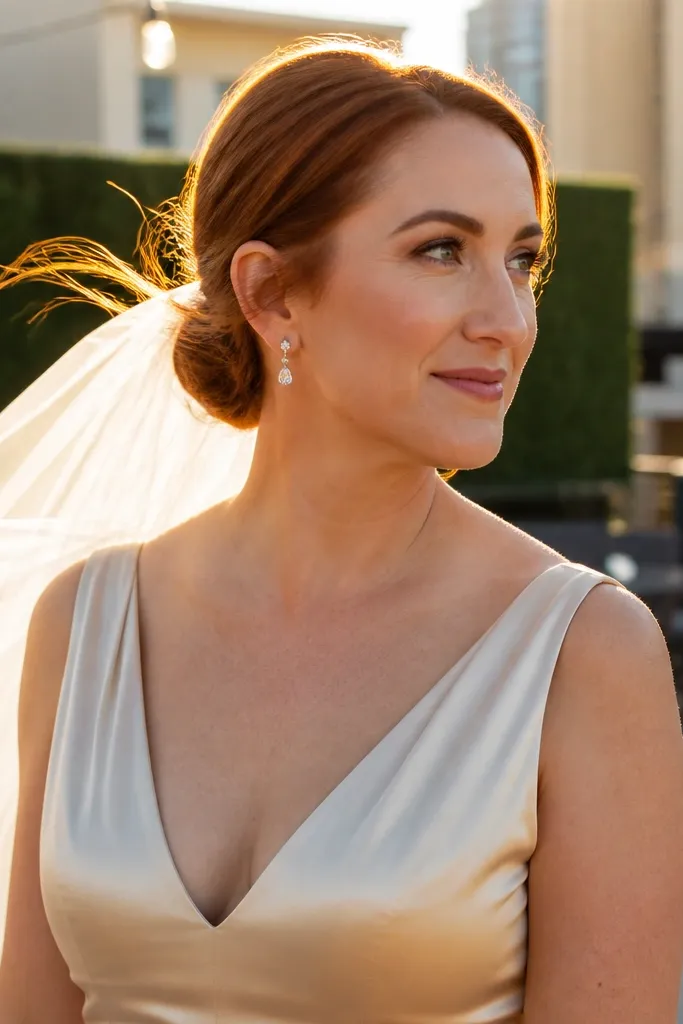
Start with a low ponytail at the nape and smooth the base with a light smoothing cream. Create the bun with a twist or coil, but pin it so the surface stays mostly smooth while the ends can breathe. Use a small amount of matte paste on your fingertips to grab flyaways and direct them into place. Set with a flexible hold spray so the flyaways don’t freeze into crunchy strands.
This is the style for brides who want the classic low bun shape but don’t want that stiff, helmet feeling. The trick is controlled flyaways: you keep the top smooth enough for photos, then allow a few soft pieces near the bun to move. It’s great for outdoor ceremonies because it handles wind better than an ultra-slick finish. It also looks good with veils that have airy fabric, since the hair movement matches the veil’s motion.
Skip thisAvoid calling it messy when the base is sloppy — keep the bun placement clean.
Quick tipIf you’re in humidity, use flexible hold instead of extra-strong gel — it keeps the flyaways natural.
7. Low Bun With Wrapped Hair Donut Roll
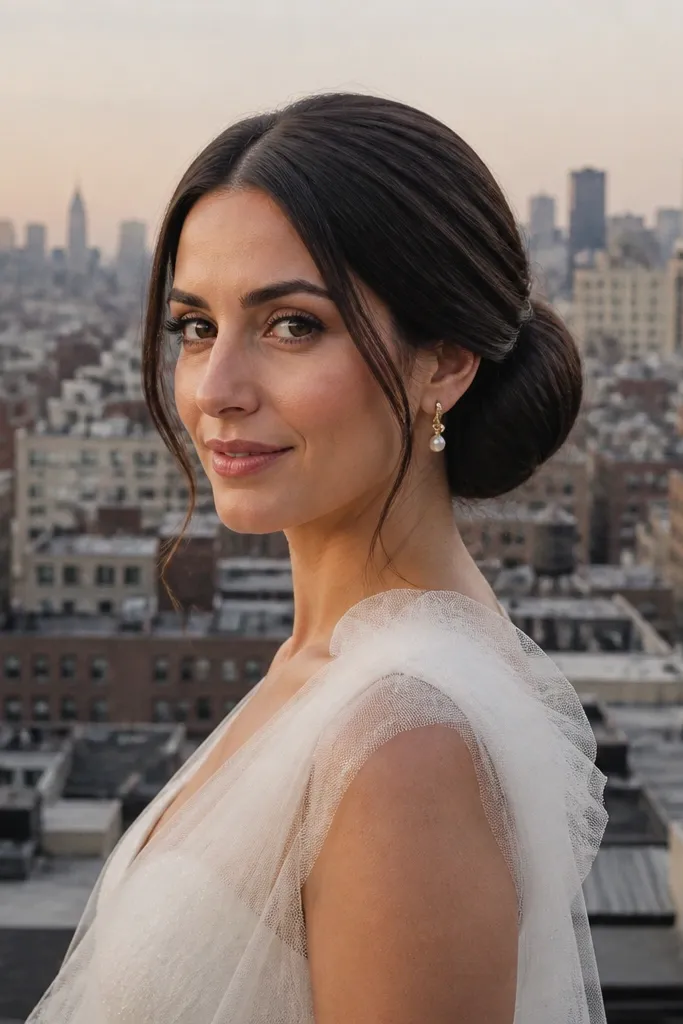
Fine hair needs help, and a wrapped donut roll gives you a classic low bun that actually has shape. You get a fuller bun without stacking height, so it stays flattering for most face shapes. This style is great for brides who want sleek lines but don’t have enough hair density to hold a compact chignon. The look also pairs well with pearl pins or a simple comb because the bun surface is smooth and even.
Start by sectioning hair and placing the donut roll at the nape base. Spread hair over the roll, then wrap strands around it in small passes until you cover the center completely. Pin every few wraps and tuck ends underneath so nothing points outward. Finish by smoothing the outer layer with a brush and a light hold spray, then add texture only at the edges if you want it softer.
Choose a donut roll close to your hair color. If it shows through, it’s immediately obvious on camera.
Avoid using too large a roll — it pushes the bun too big and makes it look costume-like.
8. Low Bun With Soft Crown Volume (no helmet)
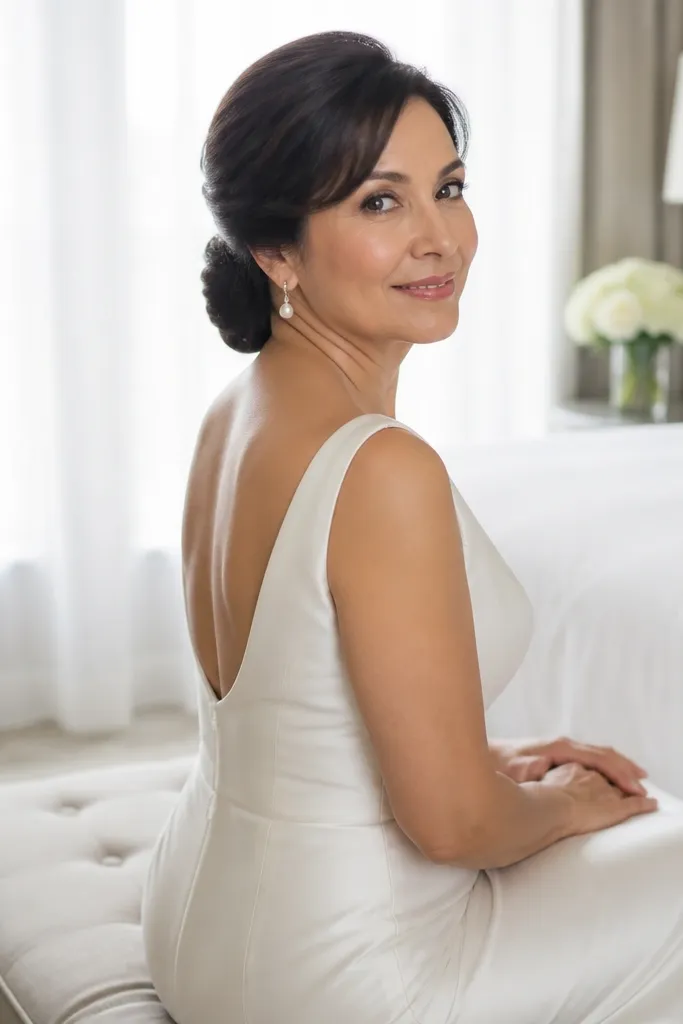
This is the low bun for flat hair and for brides who want their face to look lifted in photos. The crown has volume, but the bun stays low and classic, so you don’t get an exaggerated top. It’s also a smart choice if you’re wearing a veil that sits higher, because the volume helps balance the headpiece. The finish is soft and polished, not spiky.
Start by blow-drying the crown with the hair flipped forward, then brush it back into place. Create crown lift with a small tease at the root — just a few strokes, not a full mat. Gather hair into a low ponytail at the nape, then smooth the sides and coil into a bun. Pin securely from the underside, then lightly smooth the top to hide the tease while keeping the lift.
Use a teasing comb with fine teeth. Wide-tooth combs smear the lift and flatten it faster.
Avoid teasing all the way down the sides — it shows as lumps when the bun sits.
9. Sleek Low Bun With Center-Part Seam
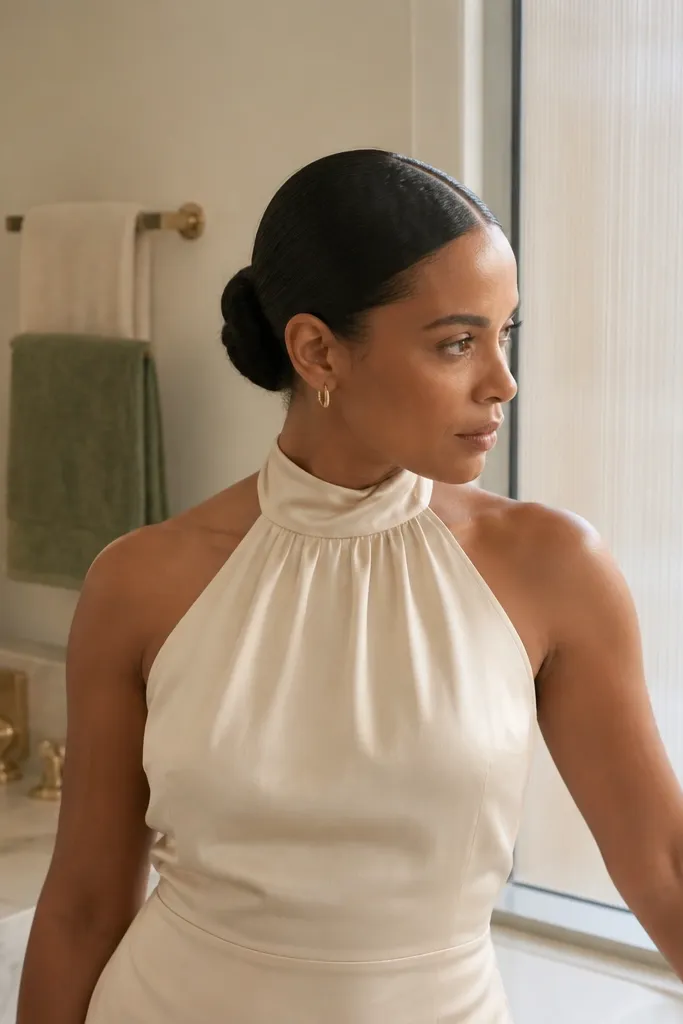
Center part + sleek bun makes a clean, classic frame, especially with strapless or halter necklines. The seam line gives structure, and the bun reads symmetrical in photos. This style looks best when your hair cooperates — straight or lightly wavy hair after smoothing. If you have strong frizz, you’ll need a more controlled prep step to keep the center part crisp.
Start by creating a sharp center part with the tail end of a rat-tail comb. Smooth hair down with a small amount of gel or smoothing cream, then gather at the nape. Build a tight coil and pin in a ring around the base. Use a toothbrush or small edge brush to keep the center part clean, then set with hold spray at the part line only.
If you’re taking photos outdoors, bring a small travel hairspray and a soft brush to re-tighten the part quickly.
Avoid a wobbly part — a soft center part makes the whole bun look uneven.
10. Low Bun With Pin-Curl Fringe (soft face frame)
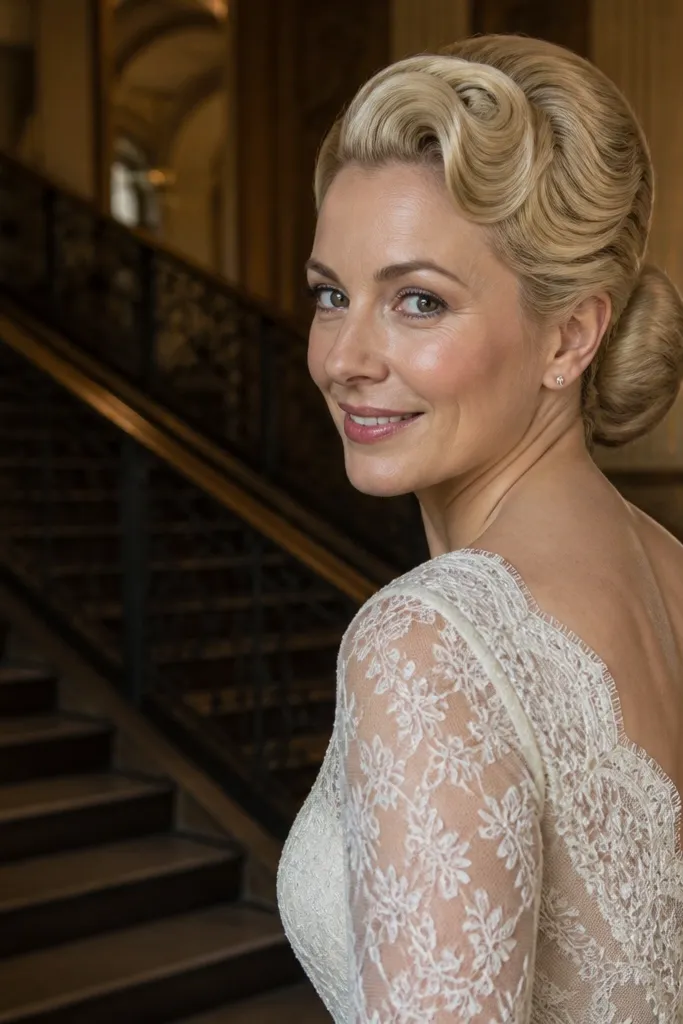
This style pairs the classic low bun with a softer front, which is perfect when you want your hair to look romantic in motion. Pin-curl fringe creates a controlled wave pattern instead of random flyaways. It works especially well for brides who want volume at the face without adding height at the crown. If your hair is short on layers, pin-curl fringe can fake the “effortless” look while still staying wedding-appropriate.
Start by sectioning small front pieces and rolling them into pin curls, then secure with bobby pins and let them set while you build the bun. Gather the remaining hair into a low ponytail at the nape, smooth, and coil into a bun. Pin the bun firmly, then remove the pin curls and brush them lightly for a soft wave. Finish with flexible hold so the front stays shaped without stiffness.
Roll pin curls in the same direction on both sides. It keeps the fringe wave consistent in photos.
Avoid using stiff gel on the fringe — it turns waves into crunchy lines.
11. Low Bun With Side-Swept Tendrils (lace-friendly)
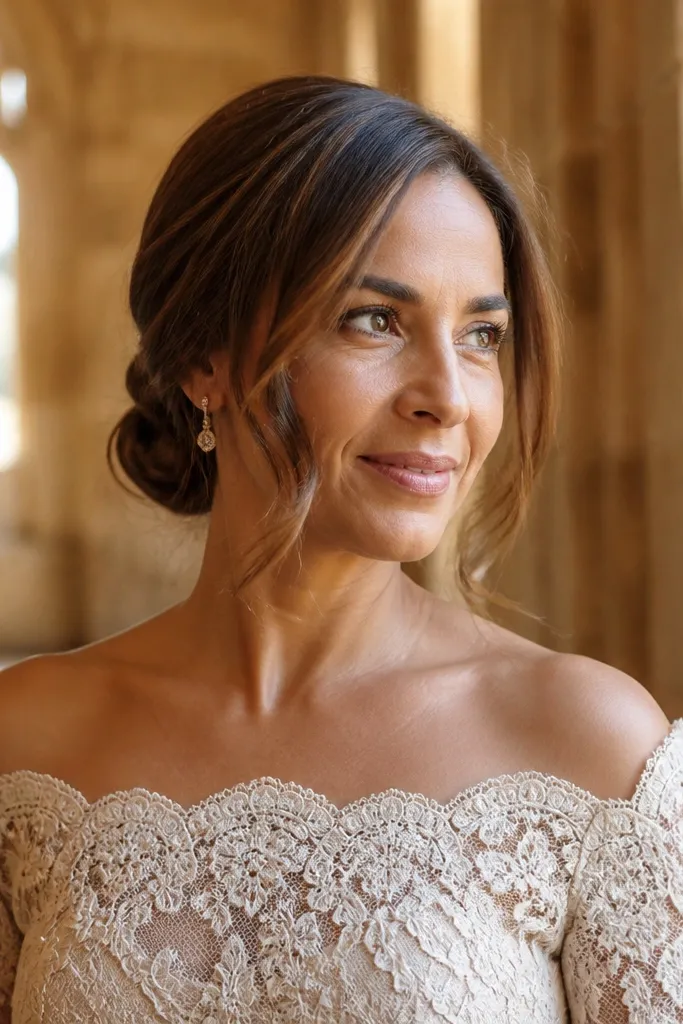
Tendrils give you that classic bridal softness while keeping the bun itself sleek. This works well with lace sleeves, off-shoulder necklines, and any dress where you want hair to look styled but not overdone. The tendrils also help hide a hairline that’s uneven or has shorter layers. It’s a strong choice if you’re wearing statement earrings because the tendrils frame the face without covering your jewelry.
Start by leaving two thin face-framing sections on each side, then gather the rest into a low ponytail at the nape. Build the bun with a smooth coil and pin it tightly. Curl the tendrils lightly and sweep them to sit just above the jawline, then pin the ends under or behind the bun for control. Set the hairline with a small amount of hold spray and leave the tendrils touchable.
Curl tendrils away from your face. It keeps them from flipping forward in wind.
Avoid tendrils that start too low — they can look like accidental side bangs.
12. Sleek Low Bun With Hair Wrap Around Base
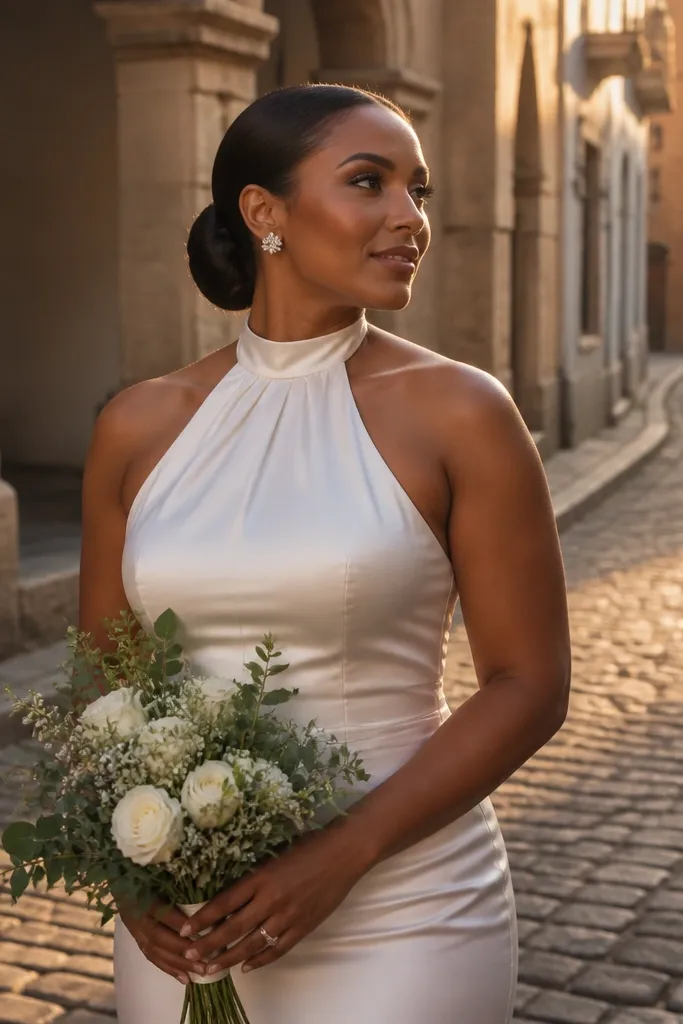
Start by gathering hair into a low ponytail at the nape and smoothing it. Coil into a bun and pin the base; then take a small section of hair from the tail and wrap it around the bun base. Secure the wrap with a pin underneath and tuck the end into the bun. Finish with hold spray and smooth the wrap so it sits flat.
Wrapping a strand around the base hides the transition between bun and ponytail, which makes the style look more finished. It’s a classic trick that also reduces visible pins. This is ideal for brides who want a sleek bun but don’t love the look of a bunch of bobby pins. It’s also helpful for thick hair, where the base can look bulky if you don’t cover it.
Skip thisAvoid wrapping over loose flyaways — it traps them and makes bumps.
Quick tipUse a slightly smaller wrap section than you think. Too much hair wrap makes the base look like a thick ring.
13. Low Bun With Soft Messy Top (intentional texture)
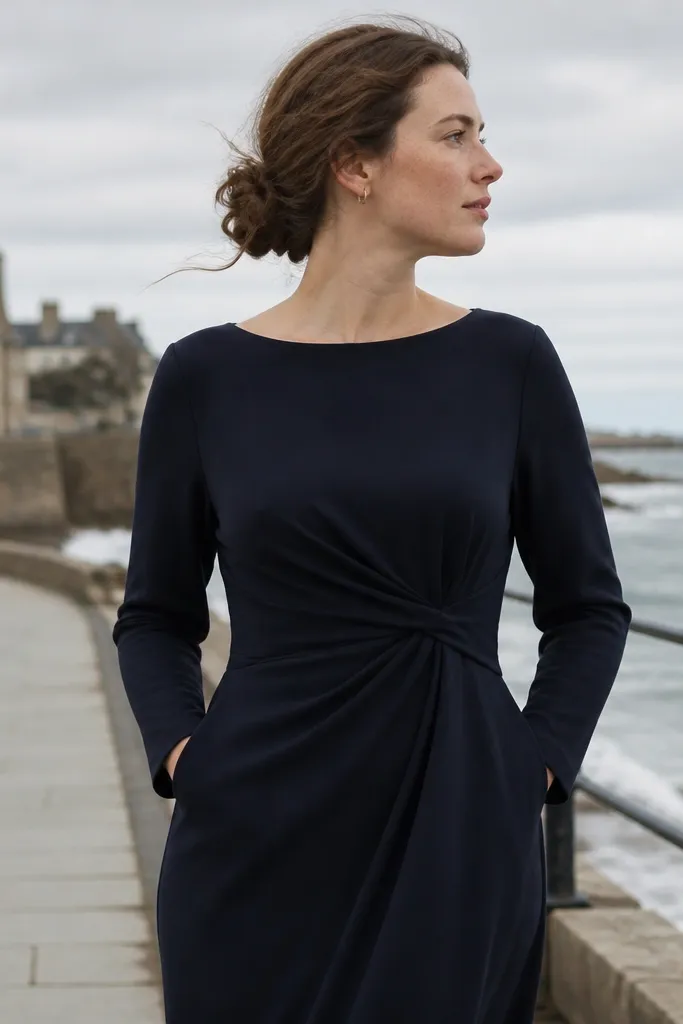
This style is classic in shape but soft in texture, which helps if your hair refuses to stay sleek. The bun still sits low at the nape, but the top has controlled looseness for a more natural look. It’s great for brides with wavy hair who don’t want to fight frizz all day. In photos, the textured top reads modern and romantic instead of “done too hard.”
Start by prepping with a wave-friendly product or light mousse, then gather hair low without over-brushing the top flat. Twist and coil into a bun, pinning the base securely while leaving the top slightly airy. Use your fingers to refine the shape — don’t brush it smooth. Set with flexible hold spray and press the bun edges gently with your hands.
If your hair is very straight, add a quick bend with a curling iron on the day-of, then pin the bends into the bun.
Avoid making the top too loose — the bun should still look intentionally shaped.
14. Low Bun With Braided Crown Edge (half-up effect)
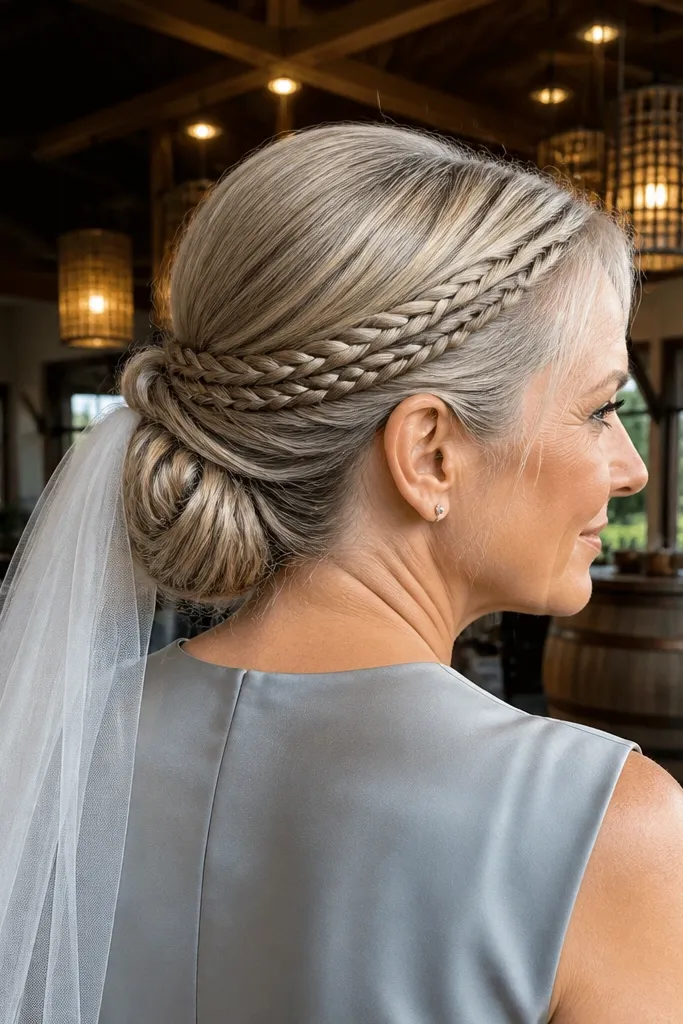
Start by separating a thin band of hair across the crown, then braid it into a flat braid. Gather the remaining hair into a low ponytail at the nape and coil into a bun. Place the braid so it hugs the front of the bun base, then pin it where it meets the bun. Finish by smoothing the rest of the top with a brush and a light hold spray.
This style gives you a classic low bun plus a structured crown band, which is a smart move if you want interest without going fully up. The braided edge holds hair near the crown so the bun stays smooth and doesn’t separate. It works well with veils because the braid gives the veil a stable attachment area. Brides with medium to thick hair get the best results because the braid looks defined.
Skip thisAvoid a thick braid if your veil is delicate — it can look too heavy at the crown.
Quick tipPin the braid first, then build the bun around it. This keeps the braid from shifting.
15. Low Bun With Faux Bang Tuck (short-layer friendly)
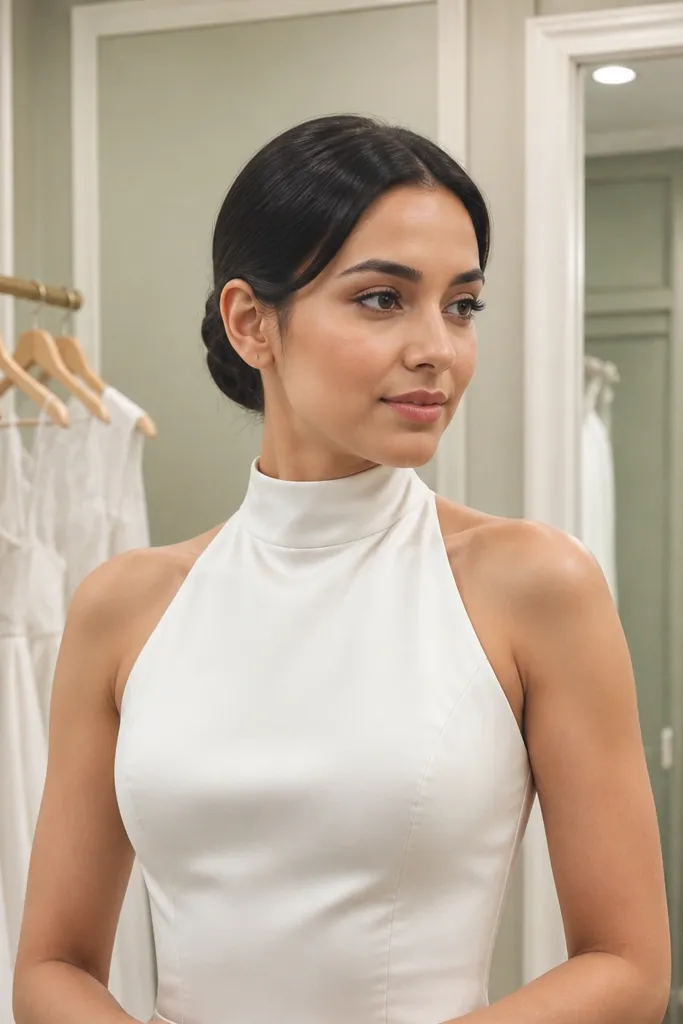
If you have short layers that won’t behave, this is a classic low bun solution that turns problem pieces into a styled feature. You tuck the front pieces into a smooth tuck near the bun so they look intentional instead of sticking out. It flatters brides who want a cleaner forehead line while still keeping the bun low. The finish is polished enough for formal weddings, but the front still feels soft.
Start by smoothing the front layers with a tiny amount of styling cream. Create a low ponytail at the nape and leave the short pieces out in front. Twist and pin the bun, then tuck the front pieces into the bun base using two pins — one higher, one lower — so they lock. Brush the surface flat and set with a light hold spray.
Use two smaller pins instead of one big one. It grips better and hides more easily.
Avoid tucking too far down — faux bangs should sit near the hairline, not disappear.
16. Low Bun With Wet-Look Shine (photo-safe version)
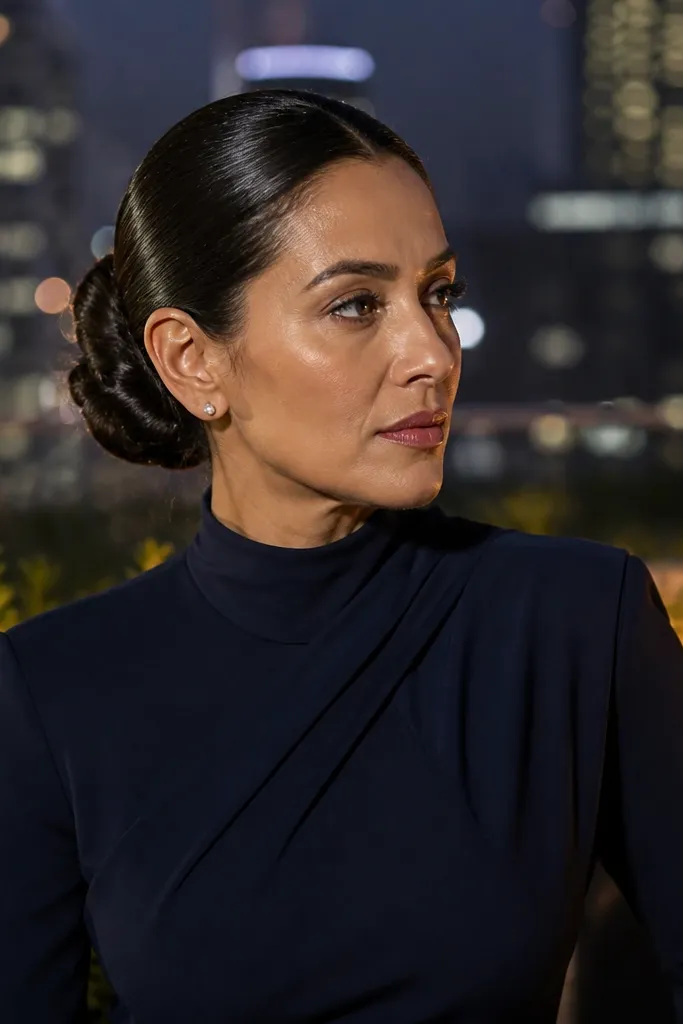
Start by smoothing hair with a gel that dries flexible, then blow-dry briefly to remove excess wetness. Build a tight low bun at the nape and pin so the surface stays smooth. Apply shine product sparingly on your hands, then press it onto the outer layer only. Finish with hold spray around the pins so the shine stays put.
Wet-look shine can look amazing in photos when it’s controlled, not drenched. This style creates a sleek, high-contrast finish that works with minimalist dresses and modern accessories. It’s also a good choice for brides who want the bun to look sharp from every angle. The risk is obvious: too much shine spray can turn into sticky highlights that look greasy on camera. The fix is product choice and placement.
Skip thisAvoid spraying shine directly from far away — it creates uneven wet spots.
Quick tipDo a quick test photo in your bathroom lighting. If it looks greasy at arm’s length, use less product.
17. Low Bun With Ribbon Tie Base (classic, not childish)
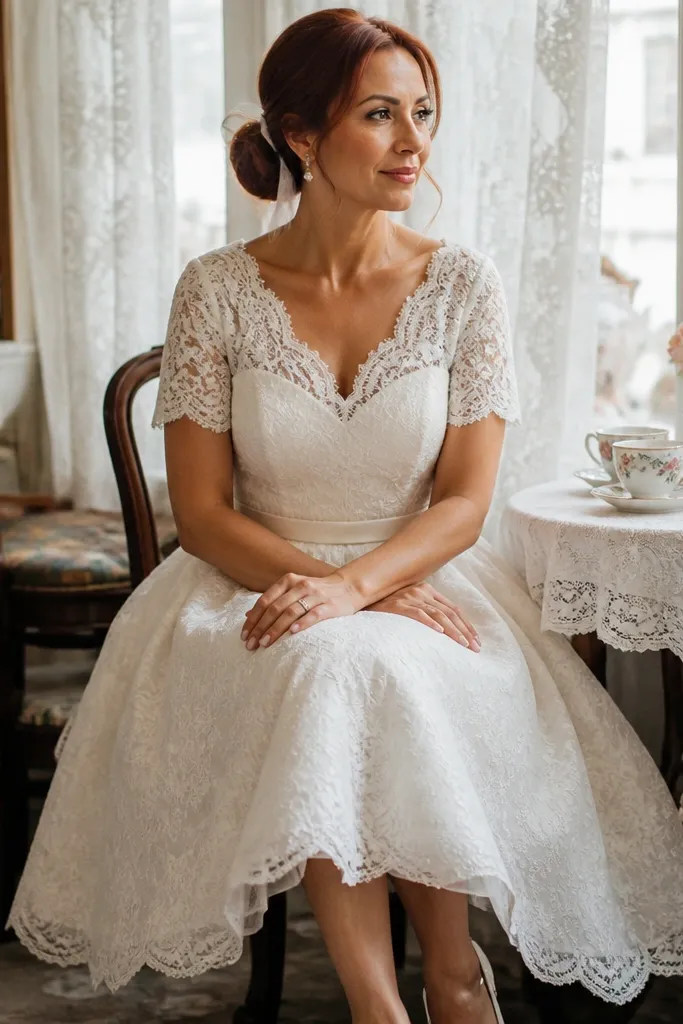
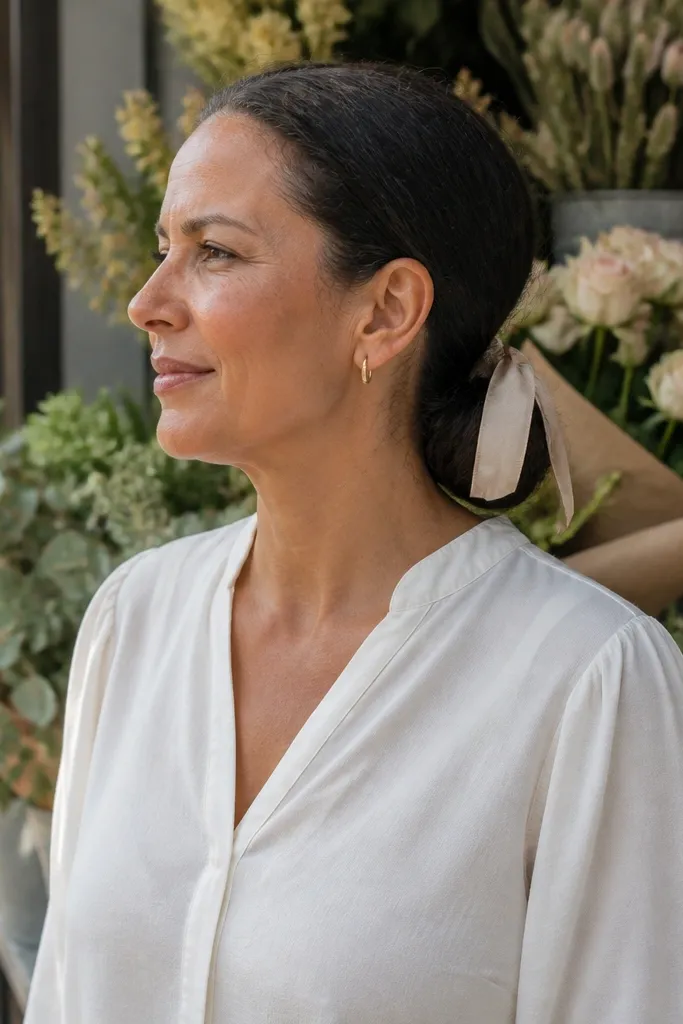
Start by building a sleek low bun first, then leave a small section of hair or clip-on ribbon access for wrapping. Wrap a thin ribbon around the bun base once, then tie a small knot underneath or to the side. Pin the ribbon ends into the bun so they don’t move during the ceremony. Finish with a light hold spray around the ribbon so it stays crisp.
A ribbon tie turns a low bun into something bridal without adding bulk or fighting your veil. It looks best with thin, satin-like ribbon and a simple knot hidden under the bun. This style suits vintage-inspired gowns, tea-length dresses, and brides who want a detail that shows in close-ups. It also helps hide the base area where pins can be visible.
Skip thisAvoid thick satin bows — they read costume and can snag on veils.
Quick tipChoose ribbon in the same undertone as your dress, not just the same color name. Warm ivory and cool white look different on camera.
18. Low Bun With Pearl Pin Cluster (minimal but ornate)
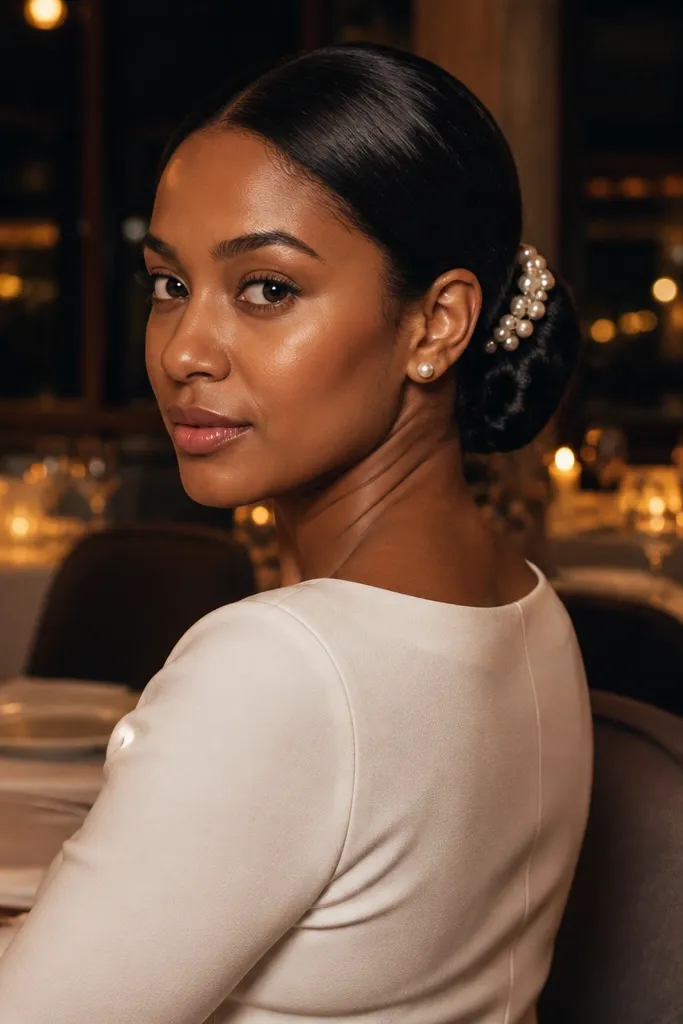
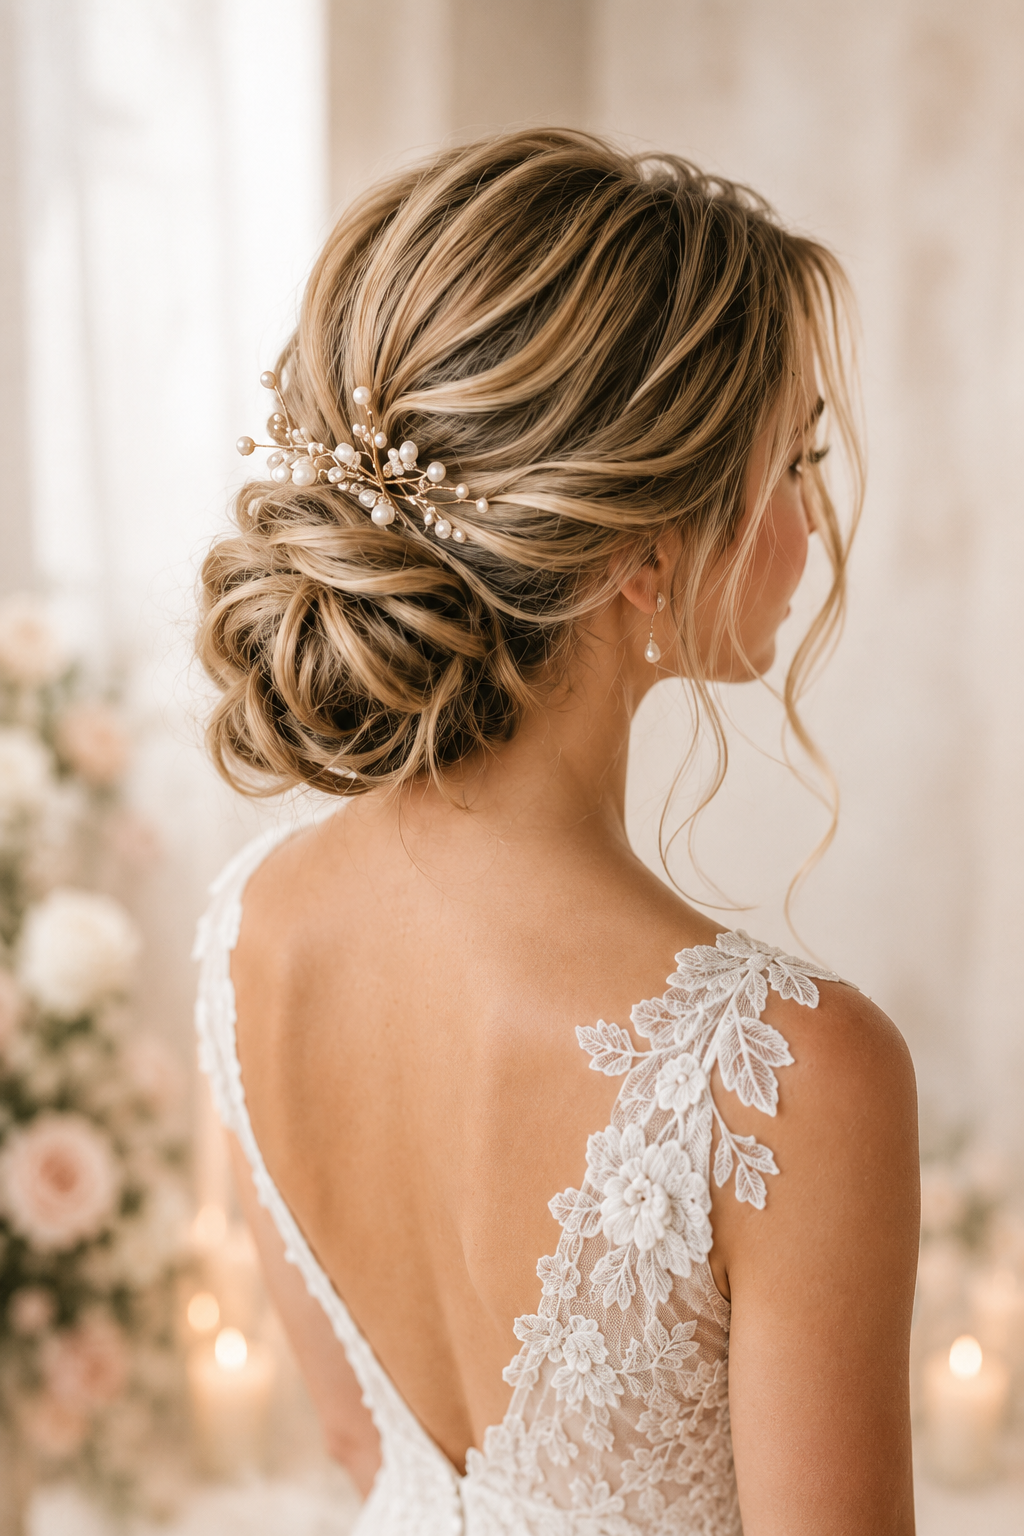
Start by creating a sleek low bun with a smooth base and secure pins underneath. Place a small cluster of pearl pins slightly off-center at the bun base, using 4-6 pins total. Pin each pearl into the bun base, then press the surrounding hair with a brush to keep it smooth. Finish with a tiny spritz of hold and stop — don’t keep spraying over the pins.
Pearl pin clusters make a classic low bun feel wedding-ready without turning it into a heavy updo. The pins add sparkle where the eye naturally lands — near the base — and they also help cover any pin seams. This style works for brides who want a clean bun but still need something special. It pairs well with both veils and hair combs because the pearls sit low and don’t compete with headpieces.
Skip thisAvoid placing pearls too high — they can look like floating decoration in photos.
Quick tipBring the pearl pins you plan to use and test them on the bun during your trial. Some pins slip unless you angle them into the underside.
19. Low Bun With Roller-Set Side Sweep (soft vintage)
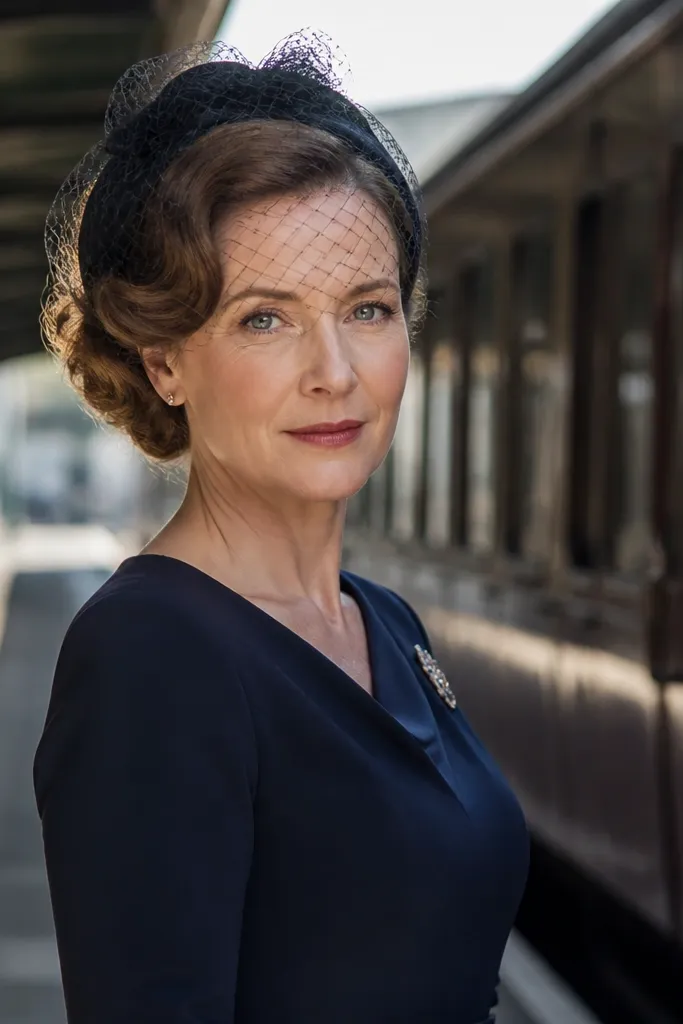
This is vintage-soft without going full old-school updo. Roller-set waves create a side sweep that looks romantic while the bun stays low and classic. It’s a strong choice when your hair texture is straight and you want movement that doesn’t collapse. The style also looks great with birdcage veils or blusher pieces because the waves balance the headpiece.
Start by roller-setting or pin-waving the side sections, then let them cool fully before you touch them. Create a low ponytail at the nape, then smooth the crown while keeping the side sweep intact. Coil the hair into a bun and pin the base tightly. Brush the side waves lightly so they sit in a soft swoop, then pin the ends near the bun without flattening the wave.
Cool fully before building the bun. Warm waves fall out during ceremony photos.
Avoid brushing the side sweep too hard — it kills the wave pattern.
20. Sleek Low Bun With Hidden Elastic Wrap (no pin chaos)
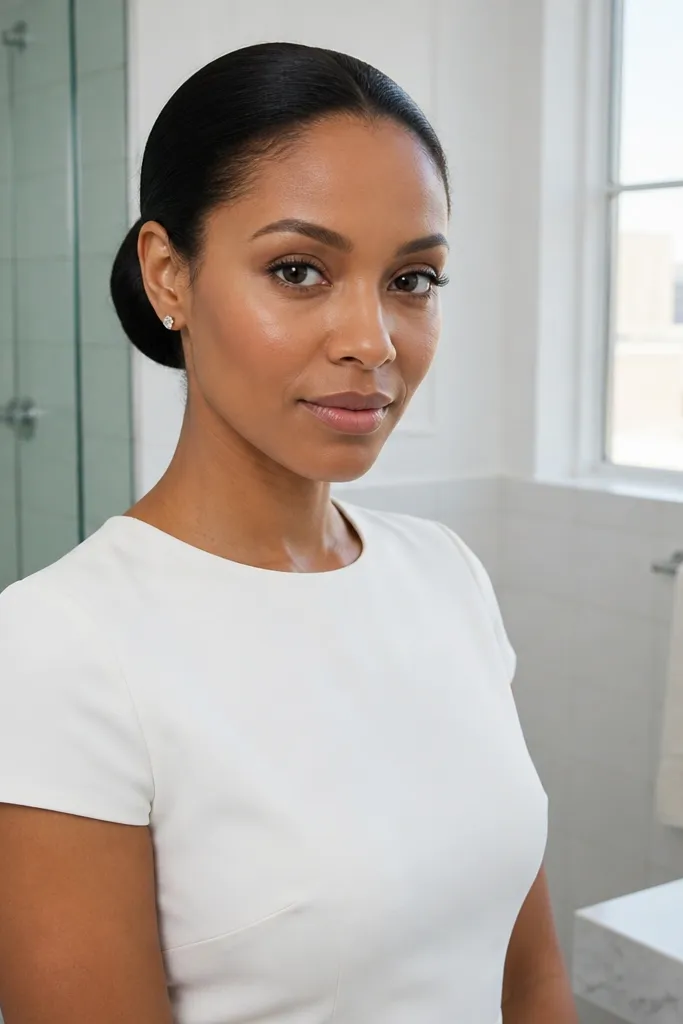
If you hate visible pins, this style gives you a clean look by using an invisible support method at the base. The bun stays tight and doesn’t loosen as easily because the elastic helps keep the coil in place. It’s best for brides with medium to thick hair who can grip the elastic area without slipping. The finish is sleek and photo-friendly, especially for long events.
Start by making a low ponytail at the nape and smoothing the hair with product. Twist the ponytail into a coil but secure the coil with an elastic band around the base area before pinning the outer layer. Then pin around the outside to lock the shape and hide the elastic. Finish by smoothing the surface and applying hold spray only where you see flyaways.
Use a clear elastic or a small thin band that matches your hair color so it disappears under the first pin layer.
Avoid using elastic that’s too thick — it makes the bun base look like a lump.