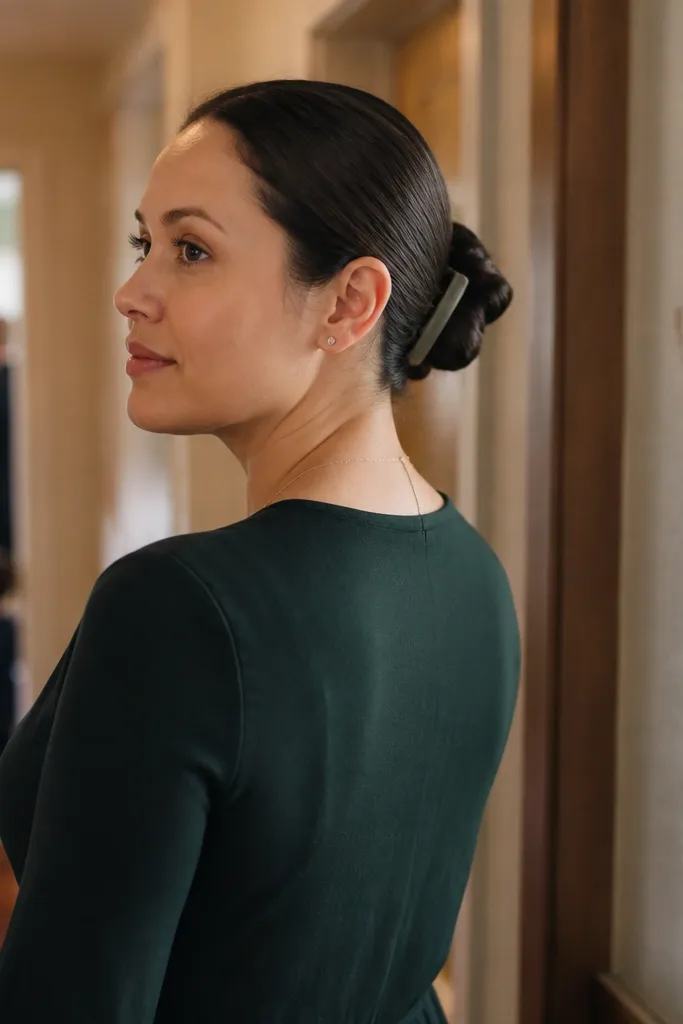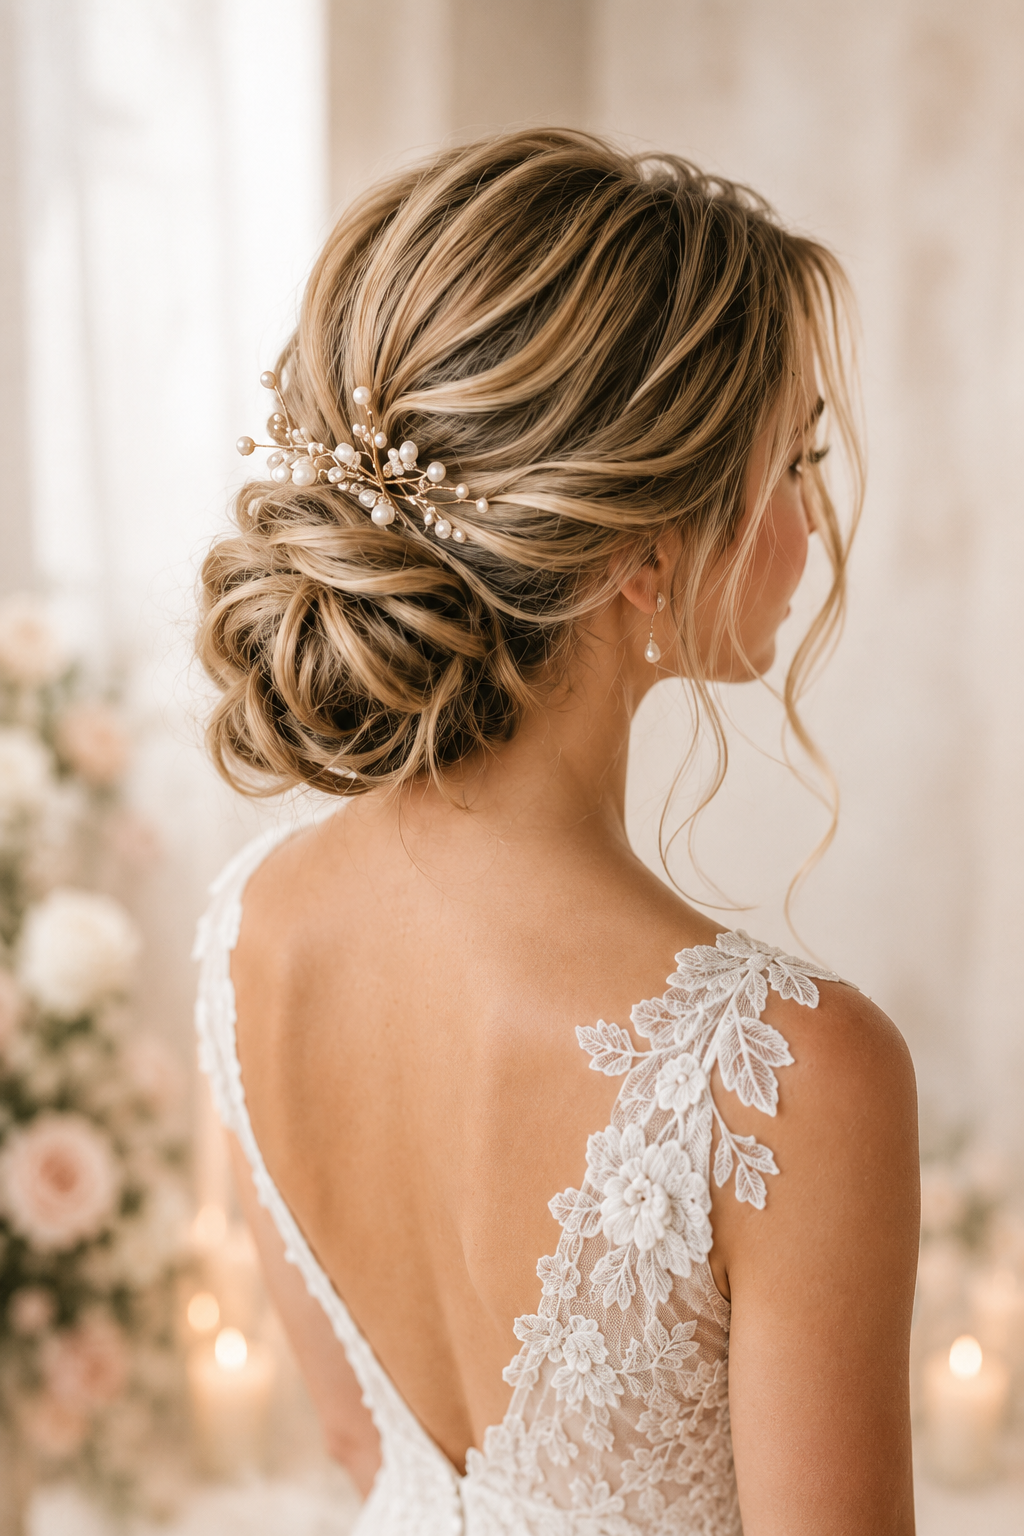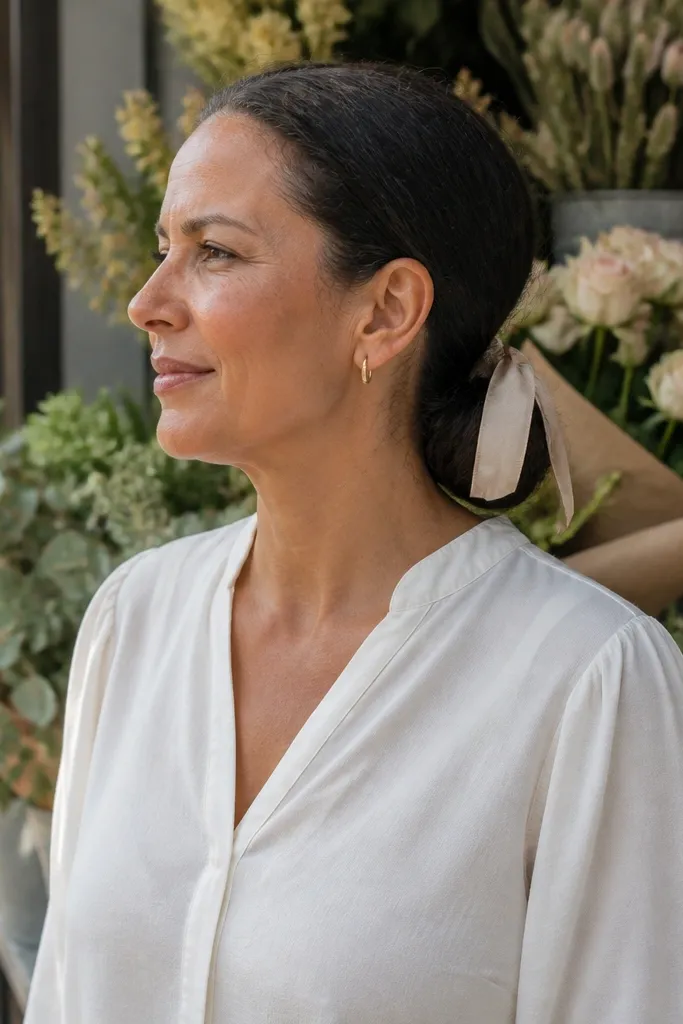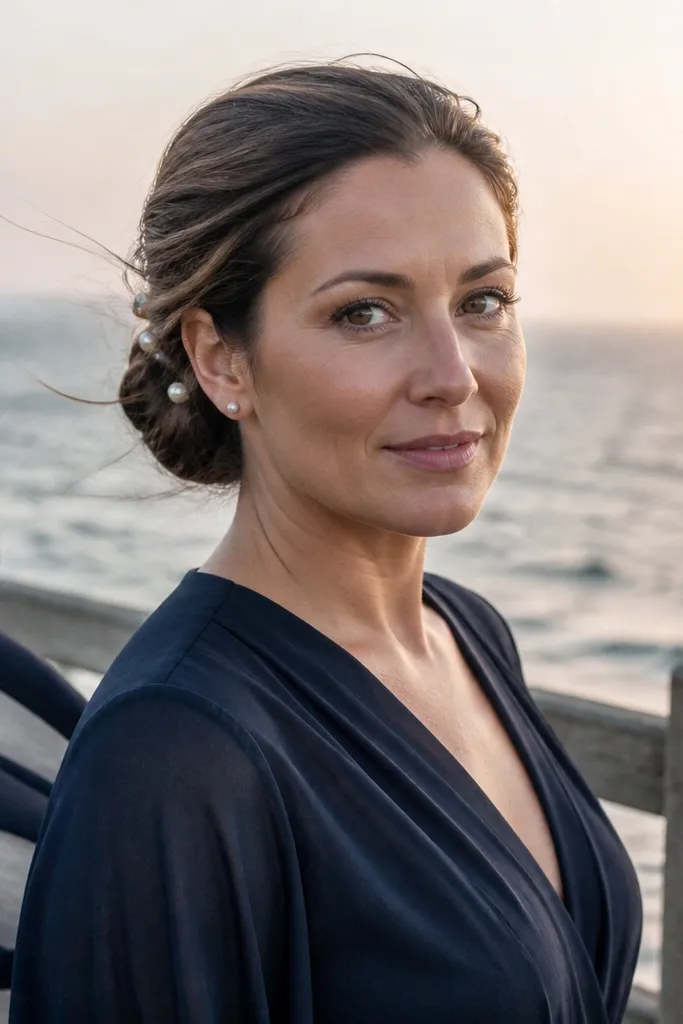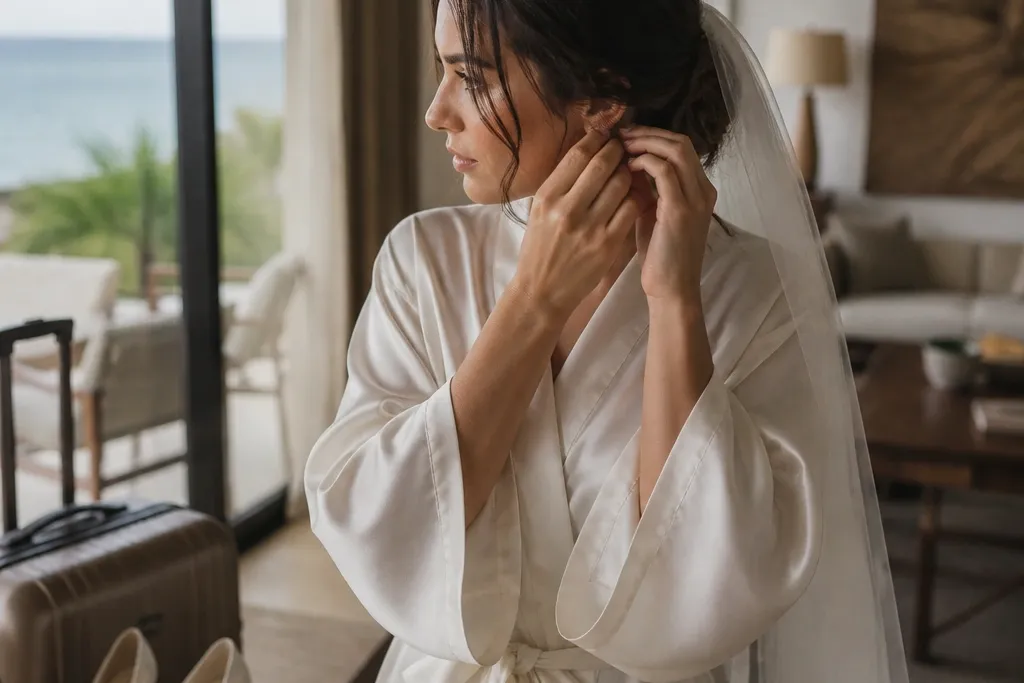
1. Nape Low Messy Bun with Face-Framing Wisps
This is the easiest weekend low bun wedding hair look that still looks styled on day one and day three. The bun sits tight enough at the nape to stay put, while the wisps soften your face in wind and indoor lighting. It pairs beautifully with strapless or off-shoulder necklines because the hair doesn’t fight the collarbone. If your hair gets flat after travel, this style still photographs because the messy texture shows movement instead of oiliness.
Start by creating a low ponytail at the nape and wrapping hair around the elastic to form a loose bun. Pull out two thin sections near the temples and keep them slightly damp so they hold a gentle bend. Then insert bobby pins in a grid — one pin into the bun base, one crossing it — until the bun feels firm when you lightly tap it. Finish with a light hairspray on the wisps only, then loosen the bun edges with your fingers for a soft, undone shape.
If you’re packing for a 3-day trip, make this on day one and re-pin only the sides each morning.
Don’t pull the whole bun apart — keep the base secure or it will collapse in photos.
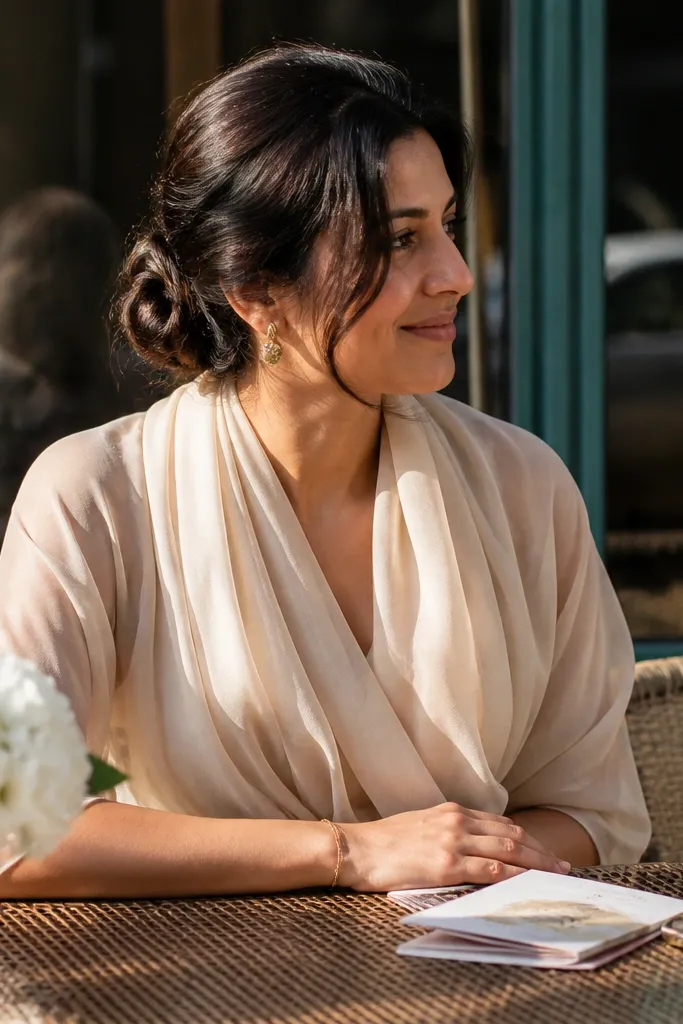
2. Twisted Low Bun with Loose Ends and Soft Crown Lift
This look gives that “I woke up pretty” vibe without looking messy in a bad way. Twisting adds structure, so the bun stays rounded even in heat and travel humidity. The crown lift adds height where it flatters most faces, especially if you’re wearing a veil or hair accessory. It’s a good choice if your hair is medium to thick and you want texture you can feel.
Start with a low ponytail, then split into two sections and twist each section loosely. Wrap the twists around the elastic into a low bun and tuck the ends under, leaving 1-2 ends slightly visible for that dreamy imperfection. Pin through the bun with bobby pins angled upward, so the pins grab the ponytail base. Finally, gently tease only the very top of the crown with your fingers, then mist hairspray lightly over the lifted area.
Quick tipUse a thin elastic for the ponytail; a thick one leaves a visible bump after travel.
Skip thisSkip tight twists — tight twists look slick and can make the bun look too uniform.
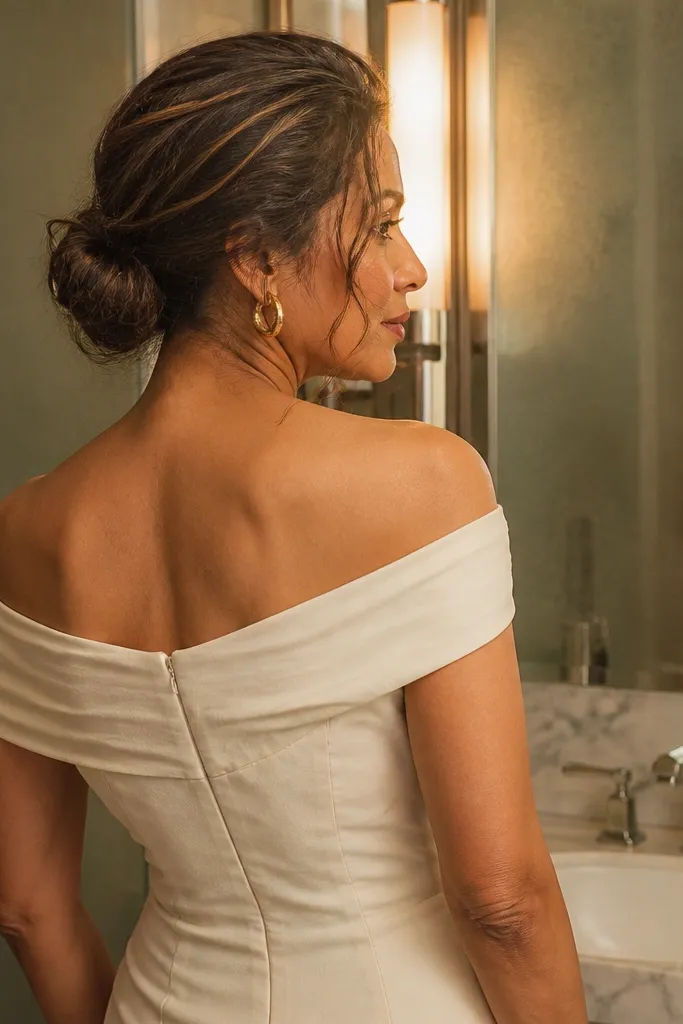
3. Messy Low Bun with Hidden Pin Curl at the Back
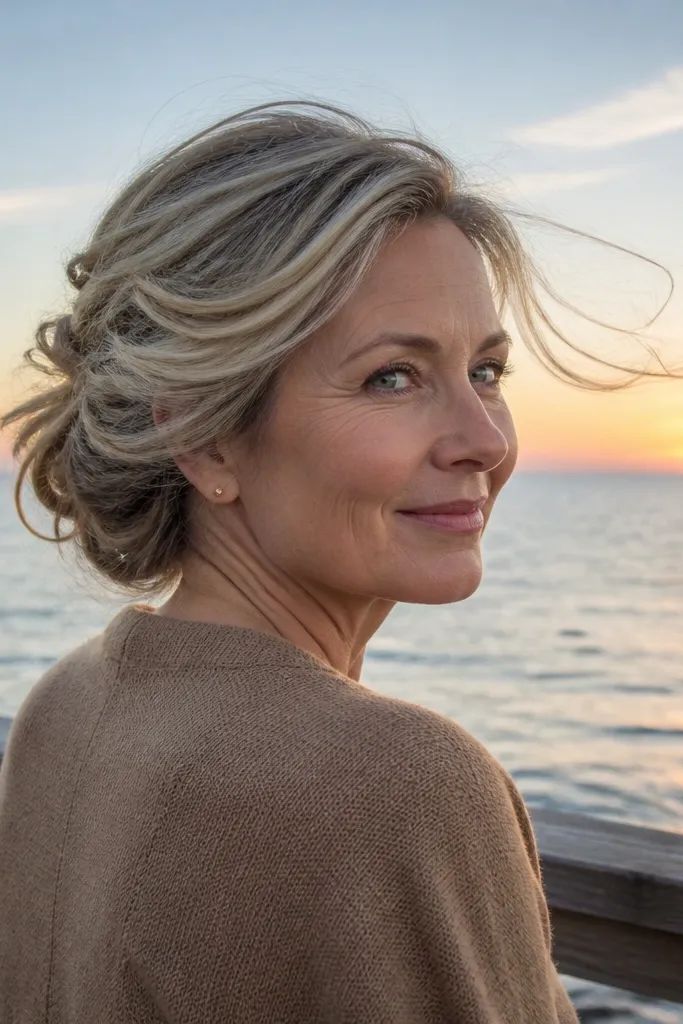
This is for the bride who wants the back of her hair to look just as good as the front. A hidden pin curl adds a soft wave that catches light when you turn your head. Because it’s tucked into the bun, it doesn’t mess up your day with dangling pieces. It’s also a smart way to use shorter layers or side pieces that won’t stay down.
Create a low bun as usual, but before you fully pin it, take a thin strand from the lower back and roll it into a small curl. Pin that curl flat against the bun base so it stays hidden but ready to show. Then secure the rest of the bun with cross-pinned bobby pins. Let the curl set for a few minutes, then remove the final pin so the curl relaxes into a gentle shape.
Quick tipIf your layers are short, take the pin curl from the shortest section so the rest can stay smooth.
Skip thisDon’t make the curl too big — large curls can push the bun outward and look bulky.
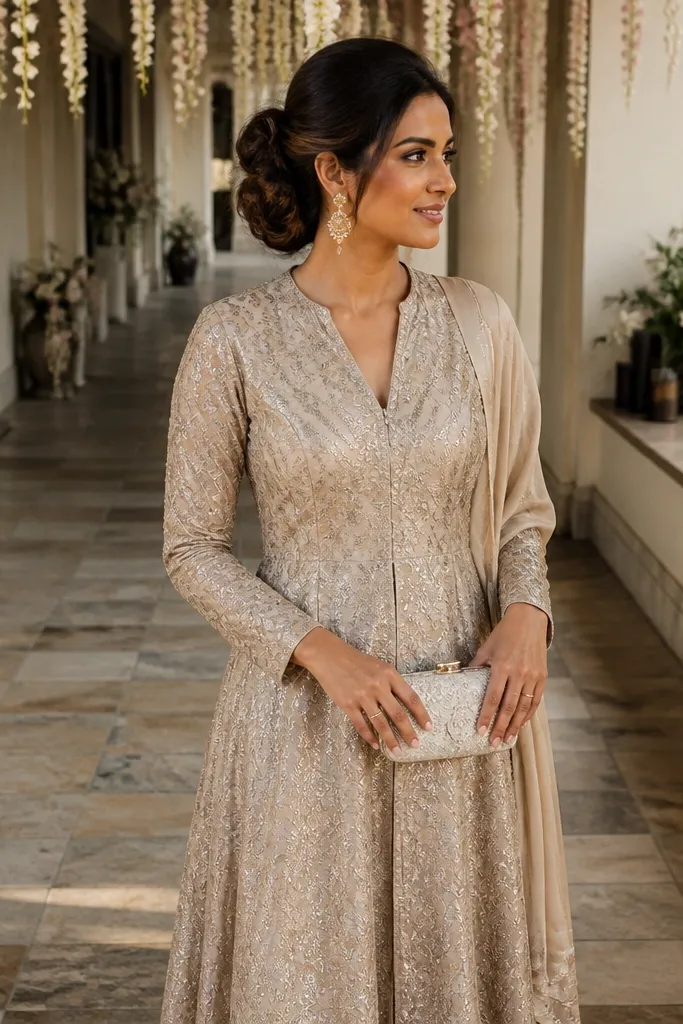
4. Sleek-to-Messy Low Bun with Side-Parted Texture
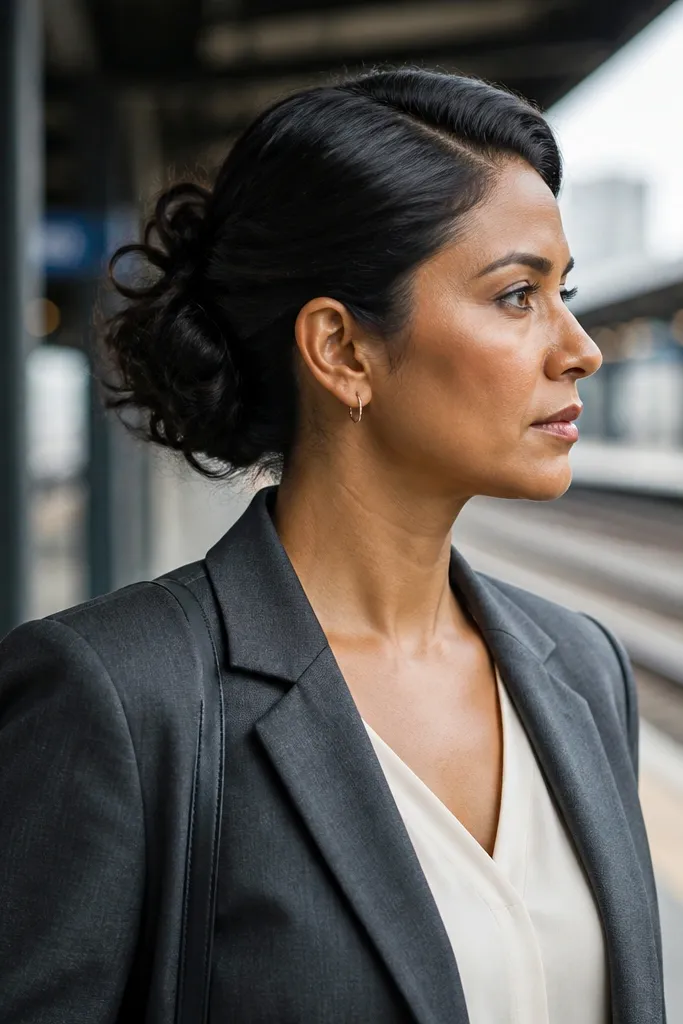
The side part gives instant polish, and the messy back keeps it wedding-appropriate instead of office hair. This is a great weekend low bun wedding hair option if your hair has a natural part you can’t stand to fight. The front stays controlled, so photos look clean near the face. The back texture makes it forgiving if your hair gets slightly frizzy during travel.
Start with a deep side part and blow-dry or smooth the first 2 inches near the hairline. Pull the rest into a low ponytail, then wrap into a bun that’s slightly looser than usual. Use bobby pins to anchor the bun in 2-3 spots, then tug only the outer edges to create a messy halo. Finish by smoothing the part line with a fingertip and a tiny mist of hairspray.
Pack a small smoothing serum for the part line so it doesn’t look dry in hotel lighting.
Don’t tug the bun from the center — pull from the outer edges only.
5. Low Bun with Braided Underlayer and Messy Top
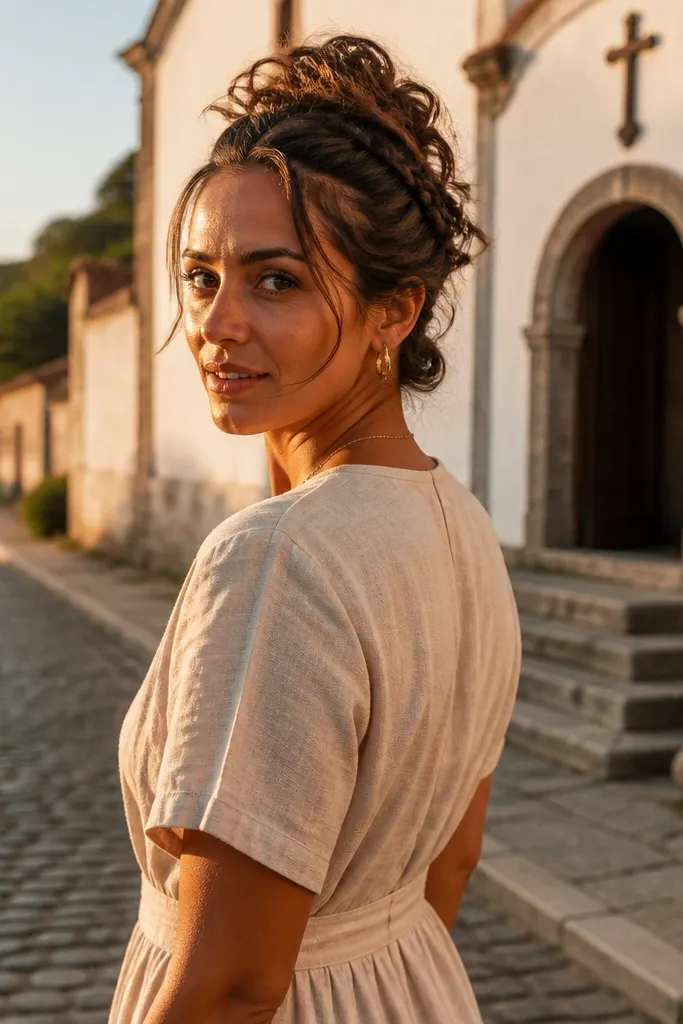
A braided underlayer makes this style look intentional even when the bun is messy. The braid gives grip, so the bun doesn’t slide as much after you’ve worn earrings all day. It also adds subtle texture in photos without requiring a full braid crown. This one flatters medium hair because the braid fills in gaps and keeps the bun looking full.
Start by braiding a small underlayer from one side of the lower hair — about 1 inch wide. Secure it with a tiny elastic, then pull the rest into a low ponytail and wrap into a bun, tucking the braid inside. Pin over the braid so it disappears under the bun, then loosen the top layers with your fingers for a messy finish. Set with hairspray, focusing on the braid coverage so it stays hidden.
Quick tipMake the braid slightly looser than you’d like; it blends better once it’s pinned under the bun.
Skip thisSkip a tight braid — tight braids can create a hard ridge that shows through the bun.
6. Messy Low Bun with Milkmaid-Style Front Twist
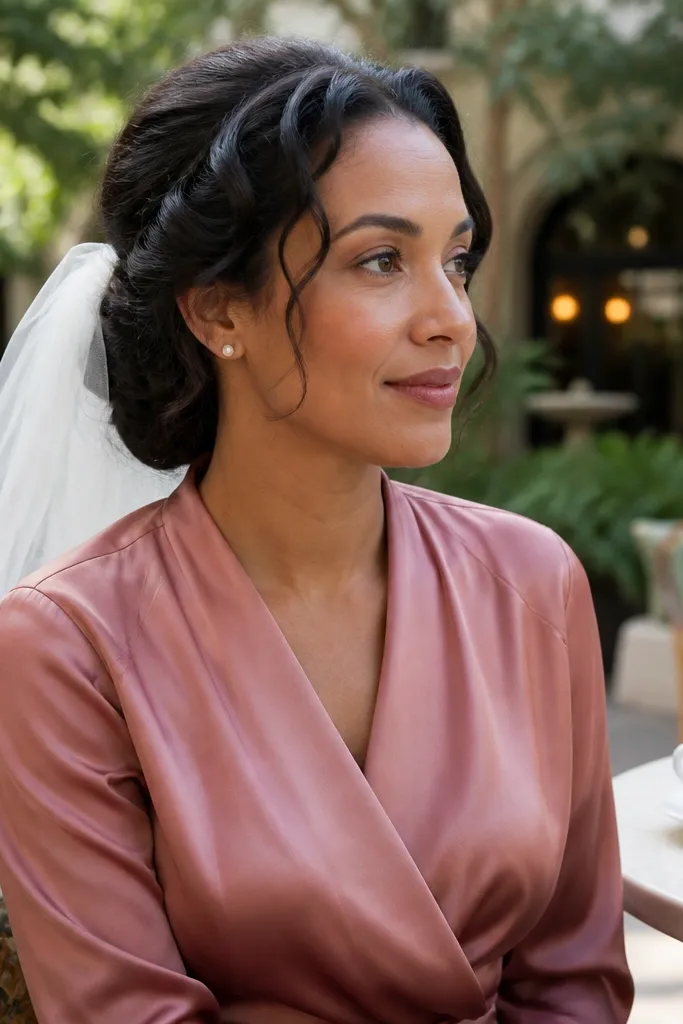
This adds a romantic front without turning the whole hairstyle into a complicated updo. The twist creates a soft frame around your face, and the low bun keeps the look practical for a weekend trip. It’s especially photogenic with a veil because the twist gives the veil somewhere to sit without flattening your bun. Choose this if you want your hair to look styled even when you’re wearing a simple dress.
Start with a low ponytail, then take a front section from each side and twist them back. Wrap those twists into the bun area so they look like a mini headband, then pin them in place. Build the messy bun by wrapping the ponytail around the elastic and securing with bobby pins. Finally, loosen the bun edges and let a few soft strands fall around the twist line.
Quick tipPin the twists first, then build the bun — it prevents the bun from covering your face frame.
Skip thisDon’t twist too far back — keep the twist line visible so it reads in photos.
7. Low Bun with Rope Twist and Tiny Hair Flower Clip
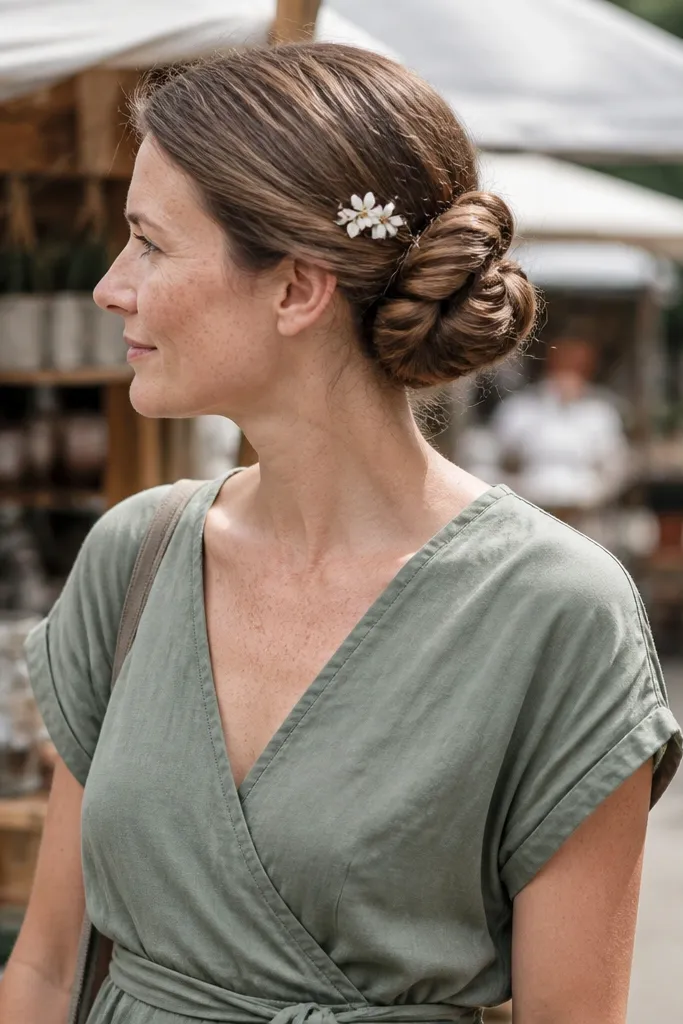
If you want a weekend wedding look that still feels fresh on day two, this one uses texture instead of heavy accessories. The rope twist makes the bun look sculpted, while a small flower clip adds the “wedding” factor without overwhelming a low style. It’s ideal for bridesmaids too, especially if you want something pretty but not formal-updo stiff. The clip also helps hide minor flyaways around the sides.
Create a low ponytail and split into two sections. Twist each section, then twist the two together into a rope twist. Wrap into a low bun and pin tightly at the base, leaving the outer surface slightly undone for mess. Place a small hair flower clip at the outer side of the bun, then pin one bobby pin through the clip base into the bun for grip.
Quick tipChoose a clip color that matches your outfit undertone — warm beige or ivory looks better than cool white for most skin tones.
Skip thisSkip large clips — they can make a low bun look top-heavy in photos.
8. Low Bun with Velcro Hair Roll Base for Extra Volume
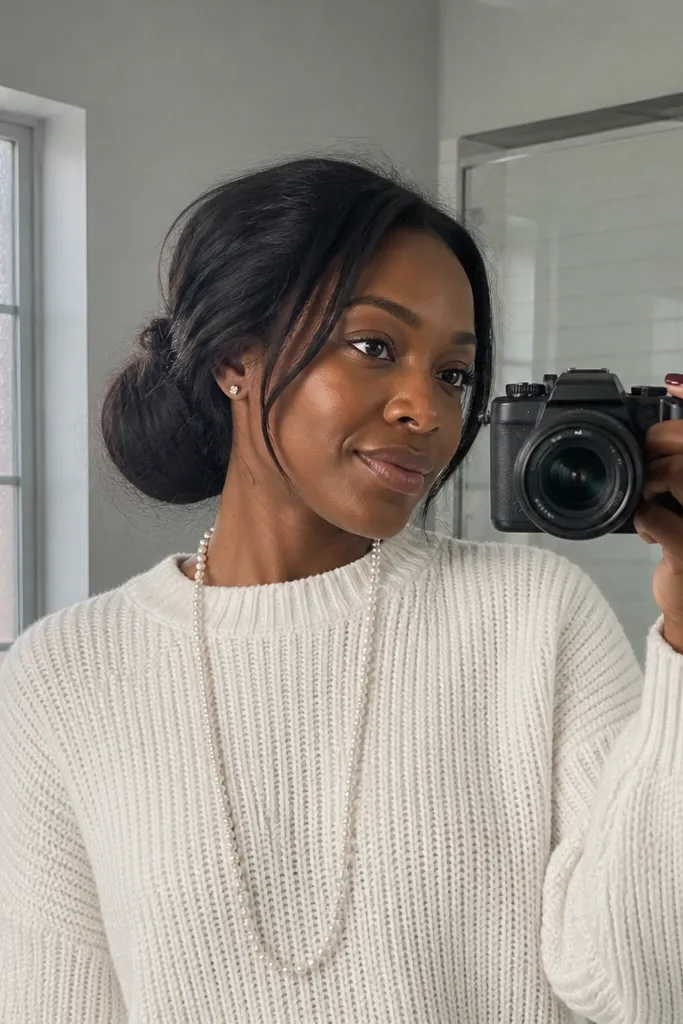
Fine hair needs a volume plan, and this style gives you a fuller bun without bulky extensions. The base shape stays rounded, so your bun still looks wedding-ready after you’ve worn it through dinner and photos. It also photographs well because the messy texture sits on a stable form, not flat hair. This works best for thin to fine hair that won’t hold a messy bun shape on its own.
Start by making a low ponytail and sliding a small hair roll or Velcro-style foam base under the ponytail. Wrap the hair around the roll and pin over it, then loosen the outer layers with your fingers. Add bobby pins around the perimeter to lock the shape. Finish by misting hairspray lightly, then teasing the top only if you want extra lift.
Quick tipBring an extra bobby pin pack — this style uses more pins on fine hair.
Skip thisDon’t skip the volume base if your hair is thin — messy bun on flat hair reads like you forgot to fix it.
9. Low Messy Bun with Two Mini Braids at the Sides
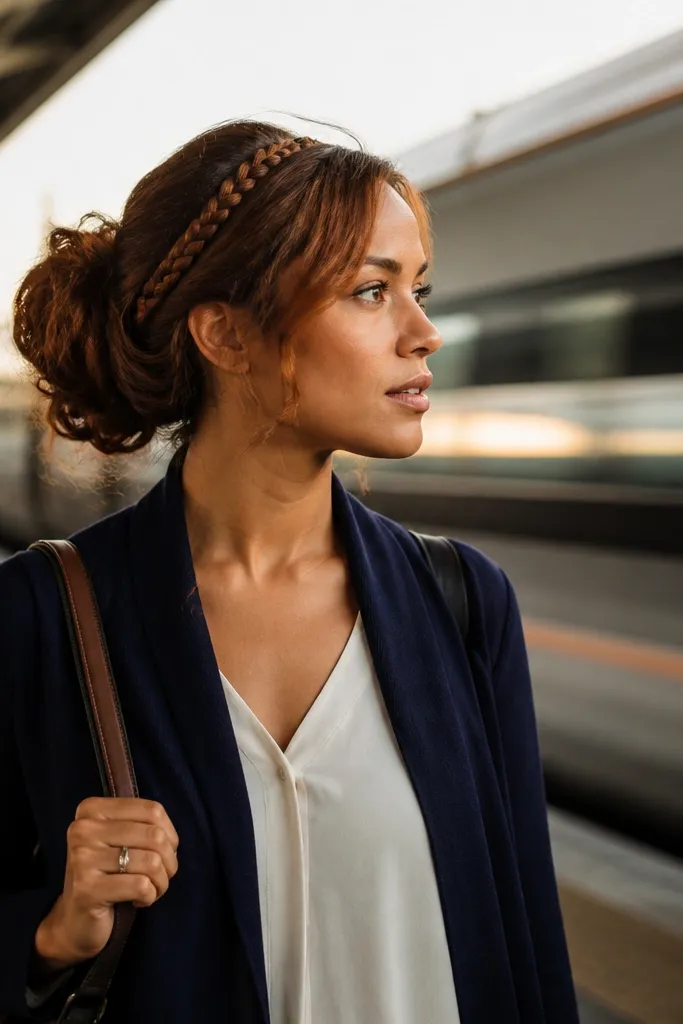
These mini braids look delicate but they do real work. They frame your face, add texture, and create anchor points so the bun holds better during a long day. In photos, the braids catch light and give your hairstyle definition even when the bun is intentionally messy. This is a great weekend option if you hate complicated braids but still want that romantic detail.
Part your hair into a low ponytail section, then take a small front section from each side and braid it into a mini braid. Secure each braid with a tiny elastic, then combine the rest into a low ponytail. Wrap and pin into a messy bun, tucking the braid ends into the bun so they disappear. Loosen the bun edges, then lightly mist the braids so they stay crisp.
Keep the braids about pencil-width — thick braids can overpower a low bun.
Don’t braid too tight — tight mini braids can look harsh against a messy bun.
10. Low Bun with Faux-Side Bangs from Loose Tendrils
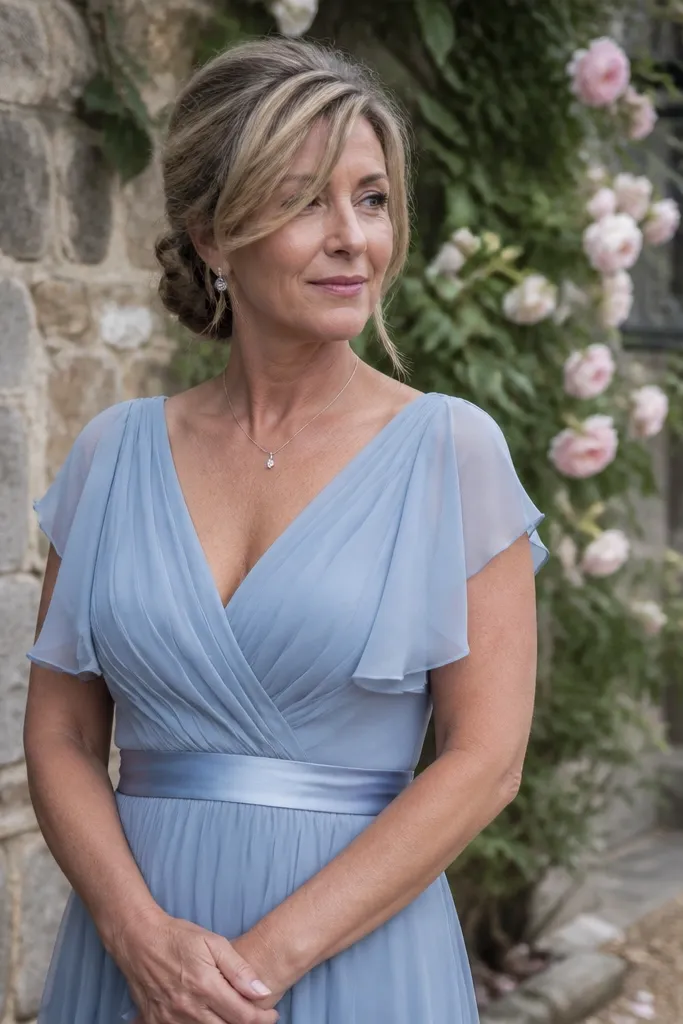
This one gives you face framing without actual bangs. Loose tendrils sweep diagonally across the forehead, which reads soft and romantic in wedding photos. It’s also practical for a weekend trip because it hides hair that gets slightly frizzy near the face after travel. If your hairline is stubborn or you have short layers, tendrils give you control without pinning everything down.
Make a low bun at the nape, leaving two thicker face sections untucked. Twist each face section loosely and pin just behind the cheekbone, letting the ends fall forward and slightly across the forehead. Pull the bun edges apart gently for mess, then set the tendrils with a targeted hairspray mist. Once it dries, adjust the tendrils so they fall in a V-shape around your face.
Use a fine-tooth comb to align the tendrils before spraying — hotel lighting makes it easy to miss symmetry.
Don’t leave tendrils too heavy — thick pieces will droop and look greasy by evening.
11. Low Bun with Messy Sock Bun Base for Maximum Shape
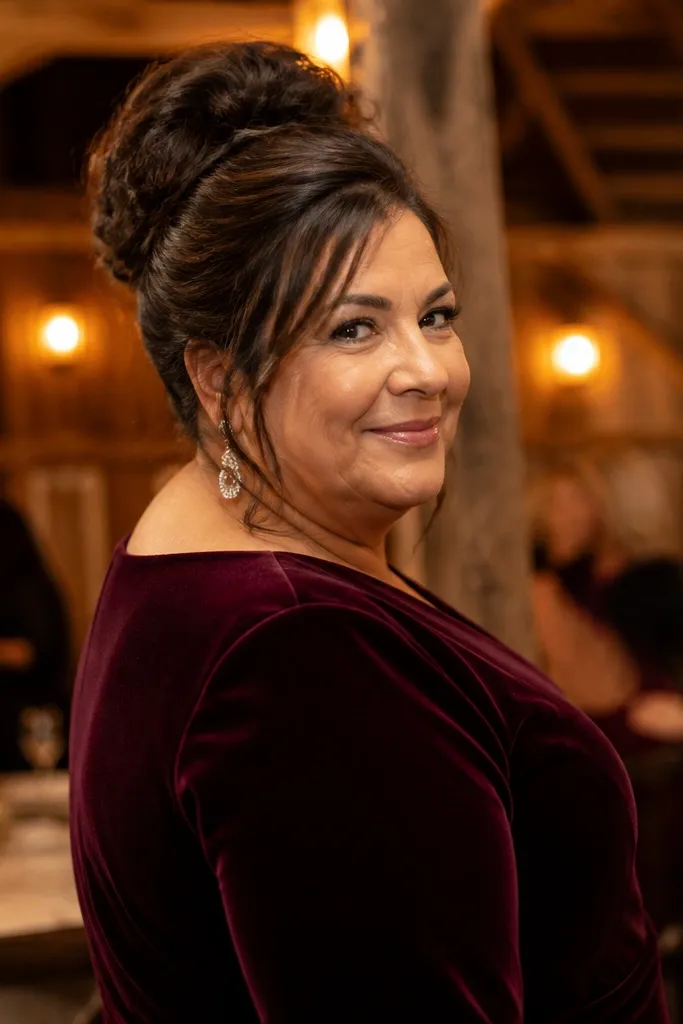
This is the “I need my bun to look big in photos” option, built for long wedding days. The sock bun base creates a full silhouette even if your hair is thin or you didn’t pack styling tools. Messy on top means it doesn’t look like a helmet, but the shape stays consistent from front to back. Choose this when you want dramatic volume and you’re wearing a statement neckline.
Create a low ponytail and slide a sock bun form over it. Roll the hair around the form, pin the ends, then gently pull the outer layer to create mess. Secure with bobby pins around the perimeter and add a few pins to the underside so it doesn’t shift. Finish with hairspray and smooth only the very outer edge so the bun looks intentionally undone.
Quick tipIf you’re traveling, pack the sock bun form in a zip pouch so it doesn’t get flattened.
Skip thisDon’t make the bun too tight — tight sock buns can show ridges and look unnatural in motion.
12. Low Bun with Crown Braided Halo and Loose Texture
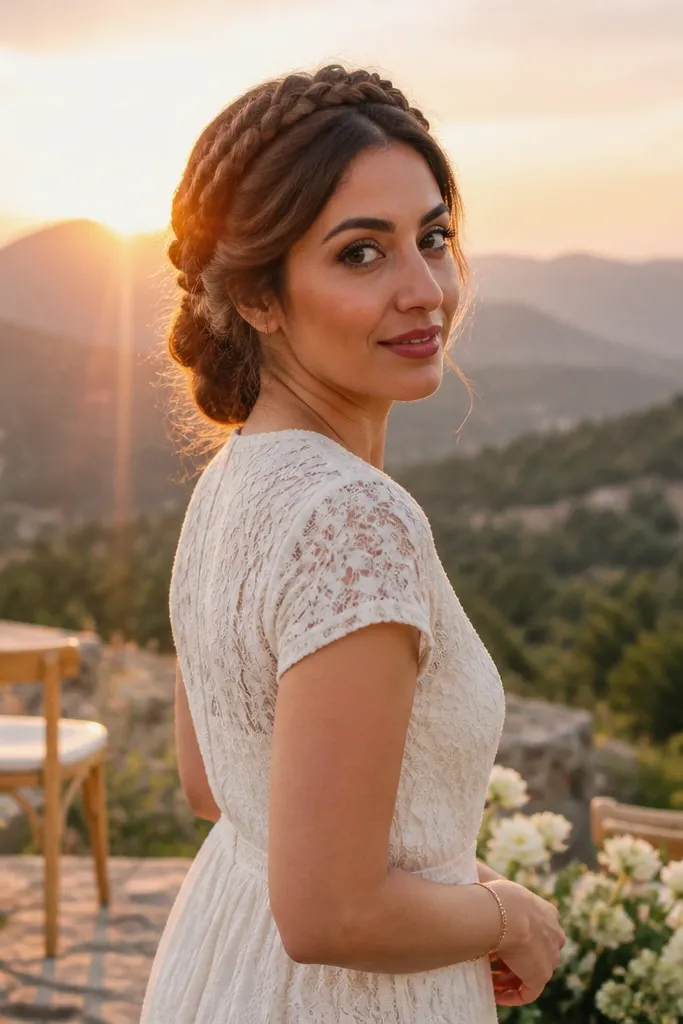
A braided halo makes this look instantly wedding-ready while keeping the bun low and manageable. The halo braid gives you a defined shape around the crown, which is where photos usually show the most detail. The messy texture below keeps it soft and not overly formal. This one is ideal for outdoor ceremonies because the braid holds its line when your hair gets a little wild.
Start by parting hair around the crown and braiding a thin halo braid from ear to ear. Pin the halo braid on top so it sits flat, then pull the remaining hair into a low ponytail. Wrap into a bun, pin around the halo braid base, and loosen the bun edges for mess. Mist hairspray lightly over the halo braid first, then over the bun surface.
Quick tipDo the halo braid at home on day one and re-pin it if it shifts — it’s the hardest part to fix later.
Skip thisSkip thick halo braids — thick braids can look heavy on a low bun silhouette.
13. Low Bun with Under-Loop Twist for Hidden Security
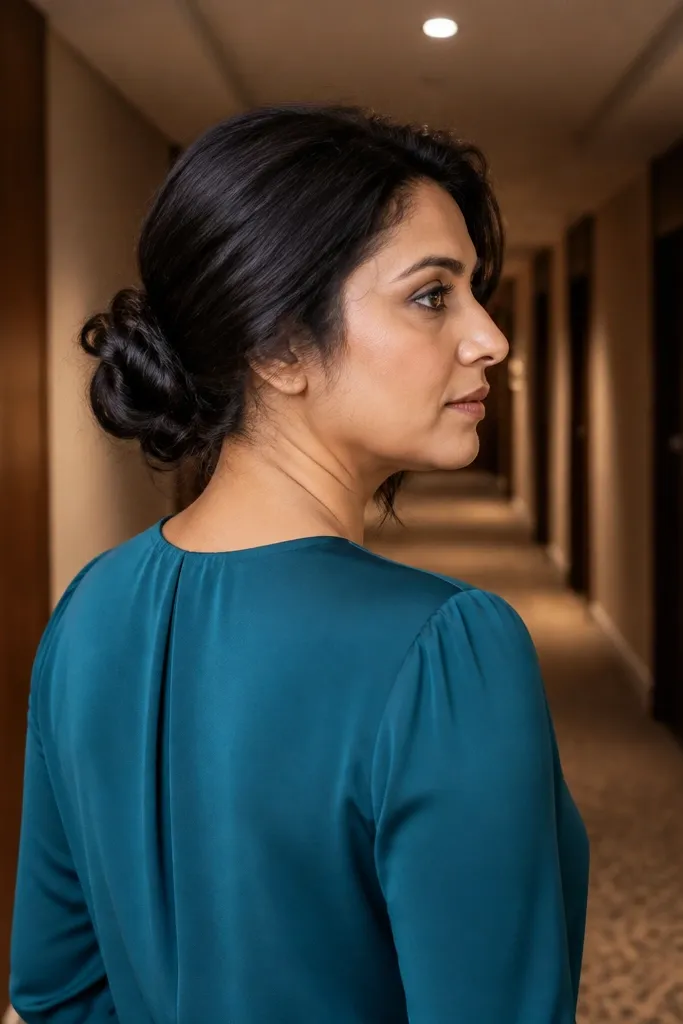
This look is built for stability without looking tight. The under-loop twist locks the bun base so it stays put through photos, dinner, and sleep. The top stays messy and romantic, but the underside is secure, so you don’t get that loose-bun wobble. It’s especially good if you have fine hair that slips or if you’re planning to wear a headpiece that can tug.
Make a low ponytail and wrap hair into a bun, but before you fully pin, pull a small section under the bun to create an under-loop. Pin that loop into place so it creates a hidden anchor point. Then pin the bun perimeter with bobby pins spaced evenly. Loosen the outer hair for mess, and finish with hairspray on the base only so it doesn’t glue down the texture.
Quick tipWhen you pack, store bobby pins point-down so they don’t poke through your bag.
Skip thisDon’t rely on just one pin — the under-loop needs cross-pinning for real hold.
14. Low Bun with Soft Bouffant at the Nape
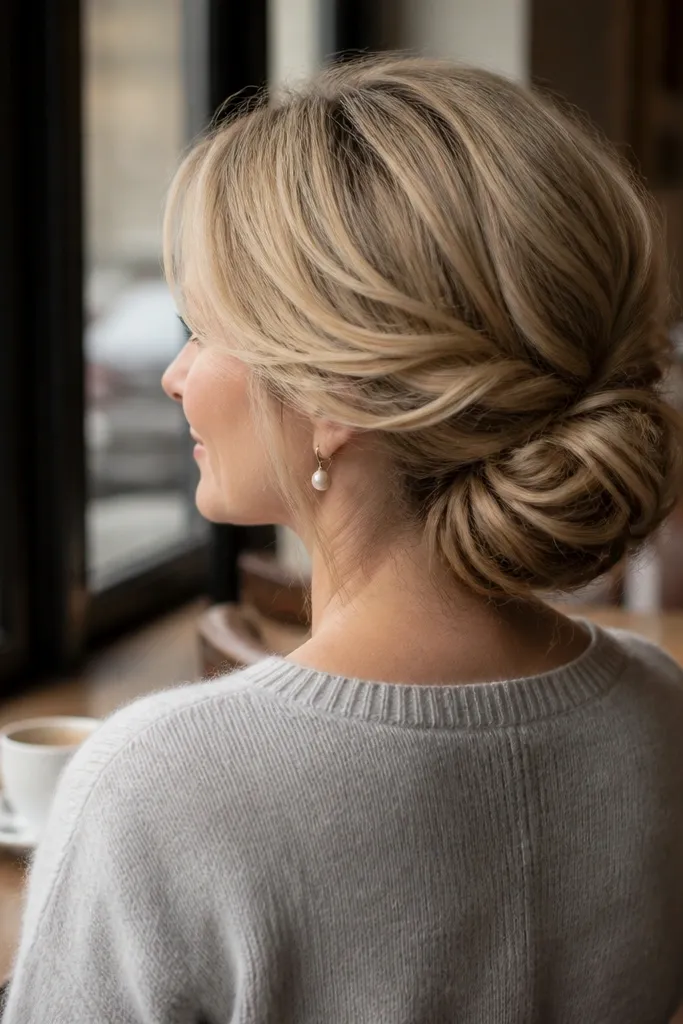
This is a low bun style that adds shape without going high on the head. The soft bouffant at the nape creates a flattering base that makes the bun look fuller and more intentional in photos. It also helps hold fine hair because you’re adding lift right where the bun sits. If you want messy but still sleek enough for a veil, this one hits the balance.
Start by teasing the hair at the nape lightly with a comb, focusing on a small section only. Build your low ponytail over that lift and wrap into a bun. Pin around the bouffant area carefully, then loosen the bun outer layer for mess. Mist hairspray on the teased section first, then lightly on the outer edges.
Quick tipUse a light hand with teasing — too much makes the bun look grayish or dull in harsh flash.
Skip thisDon’t tease the entire head — keep it to the nape so the look stays low.
15. Low Bun with Rippled Waves and Curled Ends
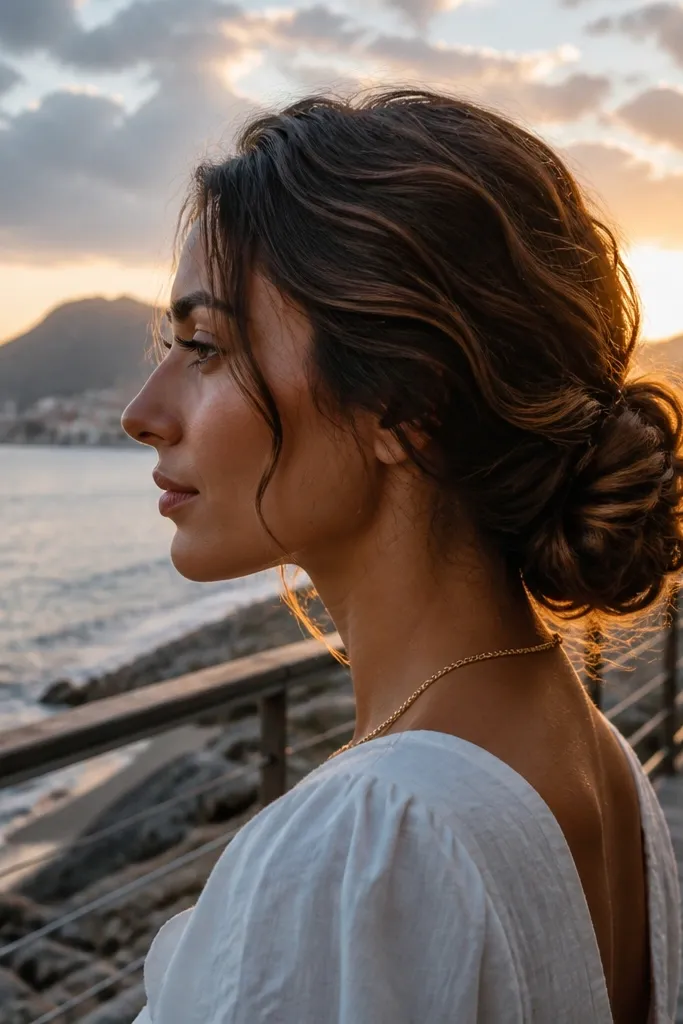
If you want weekend low bun wedding hair that looks styled even when it’s not perfectly smooth, rippled waves are the answer. The texture means you don’t need a lot of additional mess — the wave pattern does the work. Curled ends tucked into the bun create a softer silhouette and look great from the side in wedding photos. This works best with medium to long hair because you’ll have enough length to tuck and shape the ends.
Create ripples using a small-barrel curling iron or flat iron method, then let hair cool fully. Gather into a low ponytail and wrap into a bun, tucking the curled ends so they sit on top of the bun base. Pin to secure, then gently pull the sides to widen the bun slightly. Finish with a light hairspray mist so the waves keep their shape during travel.
Cool your waves completely before bunning — warm hair collapses fast in car heat.
Don’t brush out the waves — brushing makes it look frizzy instead of romantic.
16. Low Bun with Waterfall Strand Loop Around the Base
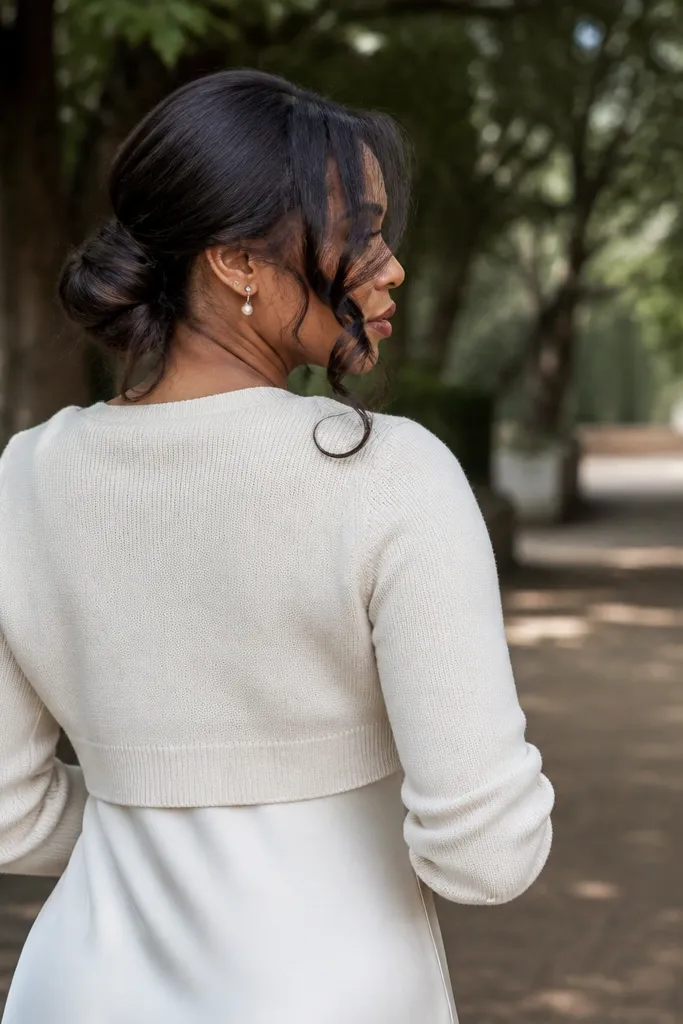
This look adds a special detail without adding time. A strand loop wrapped around the bun base creates a waterfall effect as it falls in soft layers near your neck. It’s photogenic because it shows motion when you turn, and it hides any unevenness where hair meets pins. This suits weddings where you want the back to look intentional but you still need a hairstyle that feels comfortable on a trip.
Make a low bun and leave one thin strand from the lower ponytail section untucked. Wrap that strand around the bun base in a loop, then pin it so it falls slightly outward. Secure the bun with bobby pins, then gently tug the looped strand to create a layered waterfall shape. Mist hairspray lightly over the loop so it doesn’t unravel.
Quick tipTake the strand from the side with more length so the loop falls evenly on both photos.
Skip thisDon’t use a thick strand — thick strands look like a band, not a soft loop.
17. Low Bun with Loose Wrap Around an Elastic Knot
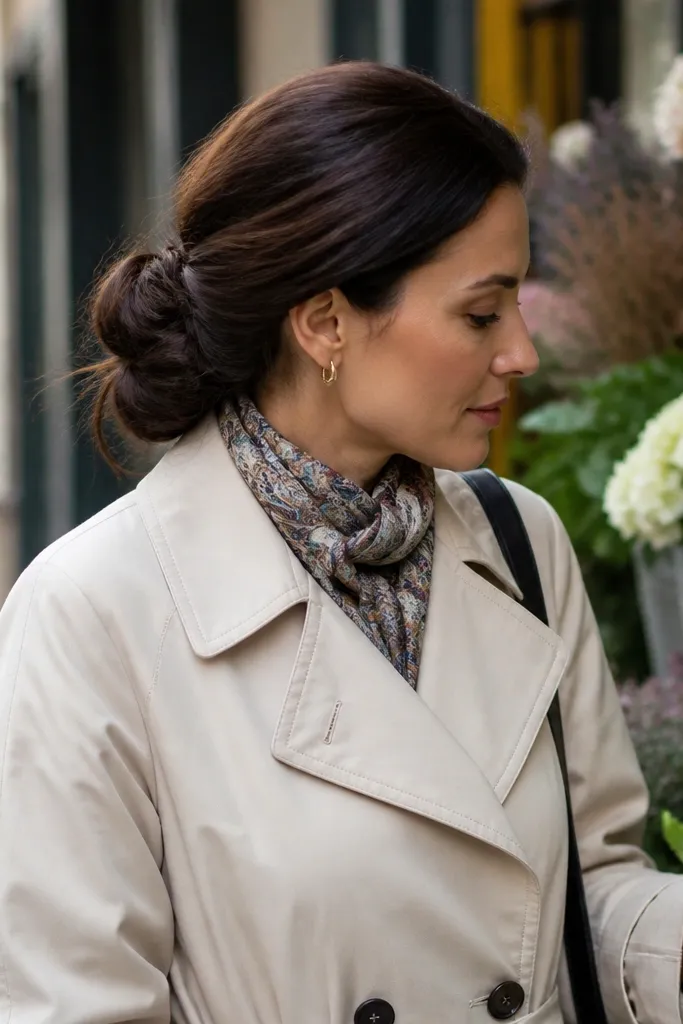
This style looks intentionally undone because the elastic area is wrapped with loose texture instead of hidden perfectly. The elastic knot gives a subtle anchor, which helps the bun hold through long days. It’s a smart choice if you want a messier look but you hate the look of completely separated strands. Photos read romantic because the loose wrap creates depth and shadow.
Pull hair into a low ponytail and secure with a small elastic. Wrap the ponytail around the elastic loosely, leaving a small hint of the knot area visible. Pin the wrap with bobby pins spaced around, then loosen only the outer wrap pieces to create messy volume. Spray hairspray on the pins and wrap edges, not on the entire bun.
Use a clear elastic if you want the knot to be less noticeable in flash photos.
Don’t hide everything — the visible knot is part of the aesthetic.
18. Low Bun with Side-Swept Twist and Loose Back Layers
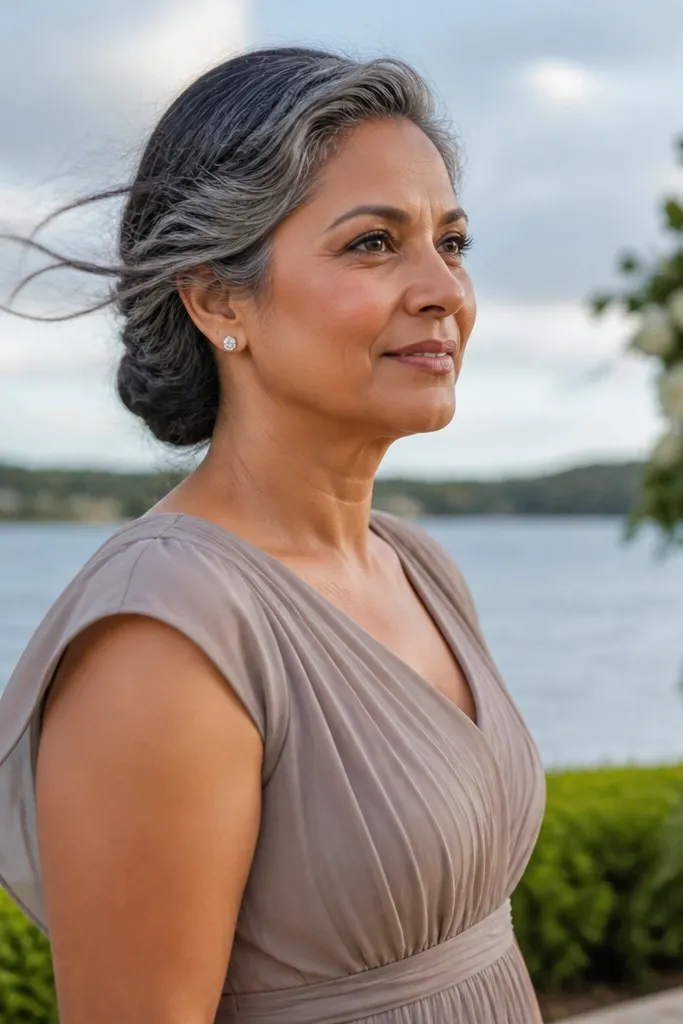
This is a great weekend low bun wedding hair option when you want movement behind you. The side-swept twist gives a clean line near the face, then the back layers stay loose and airy. It photographs well in movement because the layers shift while the bun base stays stable. Choose it if your hair is wavy or you like a softer texture rather than sleek polish.
Start with a side part and twist a front section back toward the nape. Secure the twist with bobby pins, then gather the rest into a low ponytail and wrap into a bun. Pin the bun firmly at the base, then loosen the back layers by pulling small sections outward. Finish with hairspray on the twist line and base only so the loose layers stay light.
Quick tipIf your hair is straight, add a quick wave with the iron before twisting so the layers look intentional.
Skip thisDon’t pin every loose strand — that kills the airy look.
19. Low Bun with Two-Stage Pinning for Maximum Hold
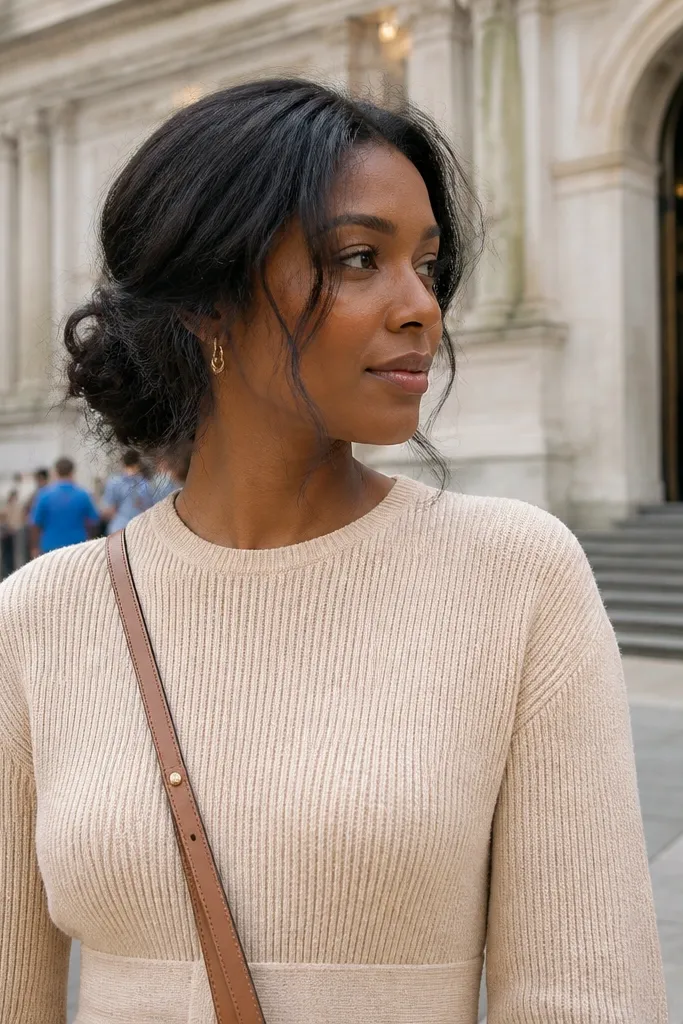
This is the technique-driven version of a messy low bun, made for a 3-day wedding trip where you can’t redo everything. Two-stage pinning keeps the bun secure even when strands loosen naturally throughout the day. The end result looks soft and romantic, not tight and stiff. It’s ideal for brides who want one hairstyle that survives ceremony, dinner, and photos without constant fixing.
First, build the bun loosely but pin only the base in 3-4 spots, leaving the outer surface free. Then step back and pull the outer edges for mess, while adding bobby pins only where the bun starts to shift. Keep pins angled into the bun base, not straight down, so they grab more hair. Finish with a light hairspray mist and press the bun gently with your palm to set the shape.
Quick tipPack a small mirror for your hotel bathroom — step-back checking is where the messy becomes photogenic.
Skip thisDon’t pin the whole bun tight before you shape it — you’ll lose the airy mess.
20. Low Bun with Scarf-Threaded Wrap and Loose Petal Strands
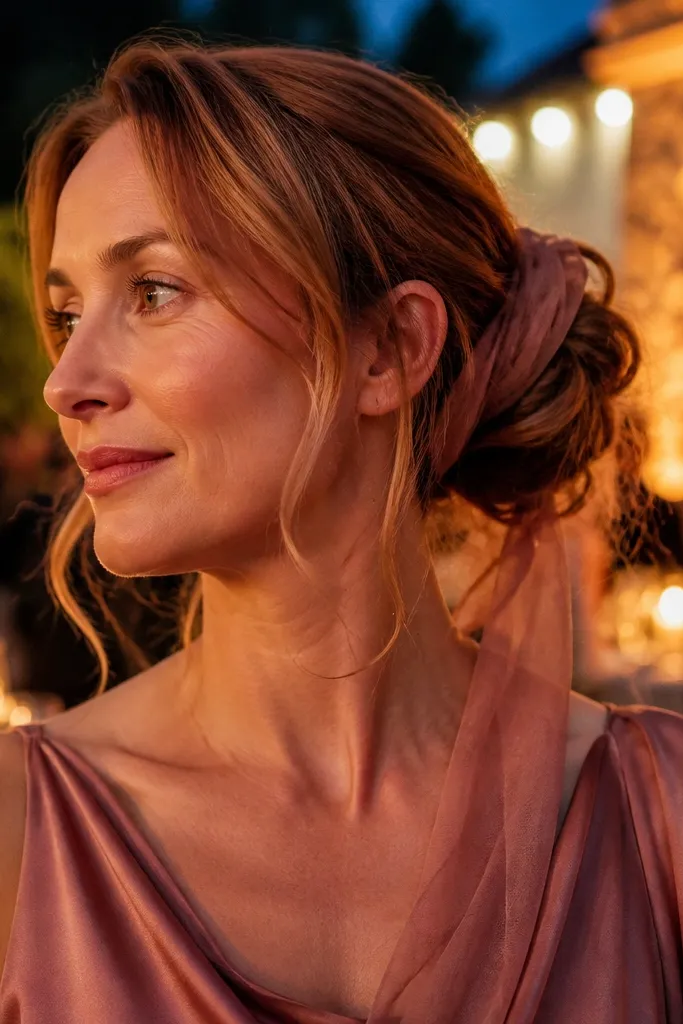
This weekend low bun wedding hair style looks messy in the best way — airy, romantic, and slightly undone at the edges — while the scarf wrap keeps it looking intentional in photos. The scarf gets threaded through the bun like a ribbon, so it hides bobby pins and gives you that dreamy texture without adding extra hair products. It flatters people with fine hair because the scarf adds visual “volume” and helps the bun hold its shape longer. It also works for thick hair because you can tuck bulky sections into the wrap and keep the silhouette clean at the nape. Book this look for late spring through early fall when outdoor photos are common, since the scarf material holds up better than heavy flower clips in wind.
1) Tie a thin square scarf (silk or satin, about 18-22 inches long) into a narrow strip. Build your low bun first on dry hair, using a sock bun base if you want extra lift, then secure with 6-10 bobby pins near the nape. Thread the scarf strip through the bun loops and around the base twice, then tuck the ends under the wrap so they don’t flop. Pull two “petal” strands from the front corners, twist them lightly, and let them sit over your cheekbones instead of fully pinned back. Finish with a light mist of flexible hold hairspray and a tiny bit of shine serum on the scarf only. 2) For travel timing, do hair 30-45 minutes before you leave for the venue so the bun has time to set and you can adjust the loose strands. If you’re flying, pack the scarf in a flat pouch and bring a travel hairspray (under 3.4 oz) plus a small comb for touch-ups. Plan 1-2 hours total for getting ready with this style, including pinning and scarf threading. 3) Rough cost is low: you’re mostly paying for a scarf you can reuse, plus bobby pins and a travel hairspray. Spend your money on a scarf that matches your dress undertone (cool colors pair with silver jewelry; warm colors pair with gold).
Pick a scarf with a simple edge (no fringe) so it won’t snag on lace veils or textured fabric during the ceremony.
Skip using a thick, stiff scarf — it looks bulky and fights your bun instead of hiding pins and creating that soft messy finish.