
1. Window-Glow Tulle Curtain Moment
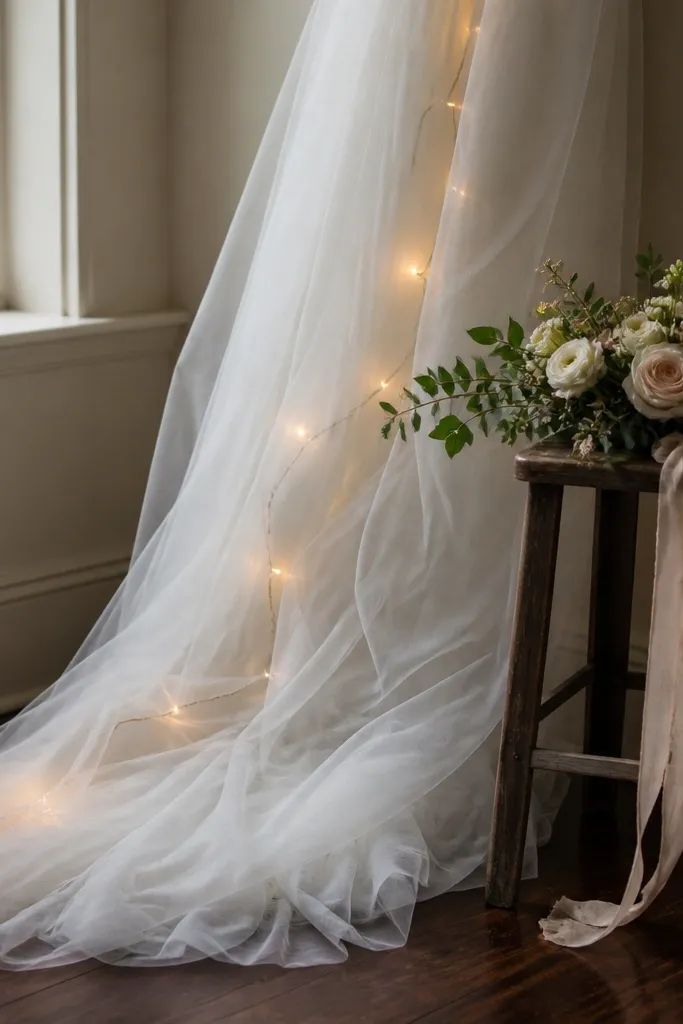
Start by measuring the window width and cut tulle so each panel overlaps by 4-6 inches. Then hang the top using clear hooks or adhesive clips, and keep the bottom edge free so it drapes naturally. Finally, place a small bouquet or greenery cluster on a stool 12-18 inches from the window so it sits in the same light zone as the tulle. For a home setup, plan for 30-45 minutes and $25-60 depending on how many panels and lights you buy.
Pick one window and turn it into the brightest part of your room. Drape 2-3 panels of white or soft ivory tulle so it falls in gentle folds, not straight strips. Add warm fairy lights (2700K if you can) behind the tulle, then anchor the bottom with a simple ribbon loop or clear command hooks. This looks special in photos because the tulle catches light and creates a soft background that makes your face and hands pop.
Skip thisDon’t stretch tulle flat — it kills the folds that create the glow.
Quick tipUse warm white lights instead of cool LEDs; cool light makes ivory tulle look gray on camera.
2. Mantel Candle Ladder With Faux Greenery
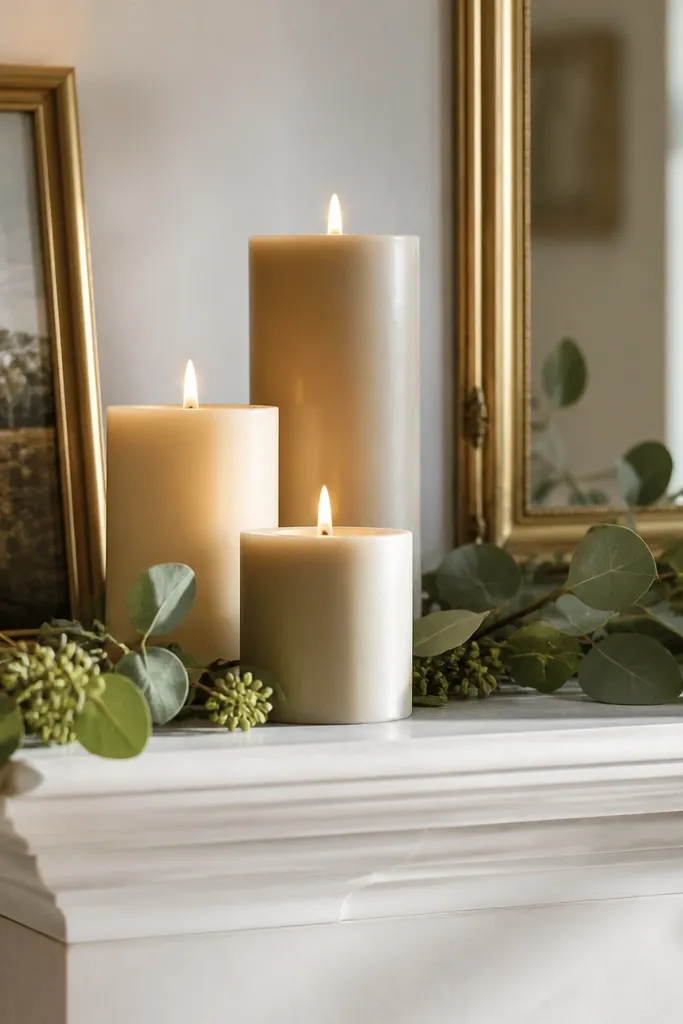
Start by clearing the mantel and placing greenery in a shallow arc across the back edge. Then set your candle trio so the tallest candle lands at the center and the shorter ones mirror it left and right. Finally, add two small frames or one stack of wedding-themed books behind the candles to give the eye something to rest on. This takes about 45 minutes and usually costs $40-90 depending on candle size and whether you already own frames.
A mantel is made for layered height, and candles give you that “wedding evening” vibe even during daytime photos. Use three candles in a tight ladder: one short, one medium, one taller, spaced evenly so the arrangement looks intentional. Add faux eucalyptus or boxwood greenery between them so there’s movement and texture across the frame. Gold accents help the candles read warm and clean, especially when your room has neutral walls.
Skip thisDon’t crowd the mantel — leave at least 2-3 inches between candle bases for a cleaner look.
Quick tipIf you’re doing photos, keep candles unlit and use LED flameless ones; it avoids smoke and keeps the scene consistent.
3. Tabletop "Petal Path" Runner
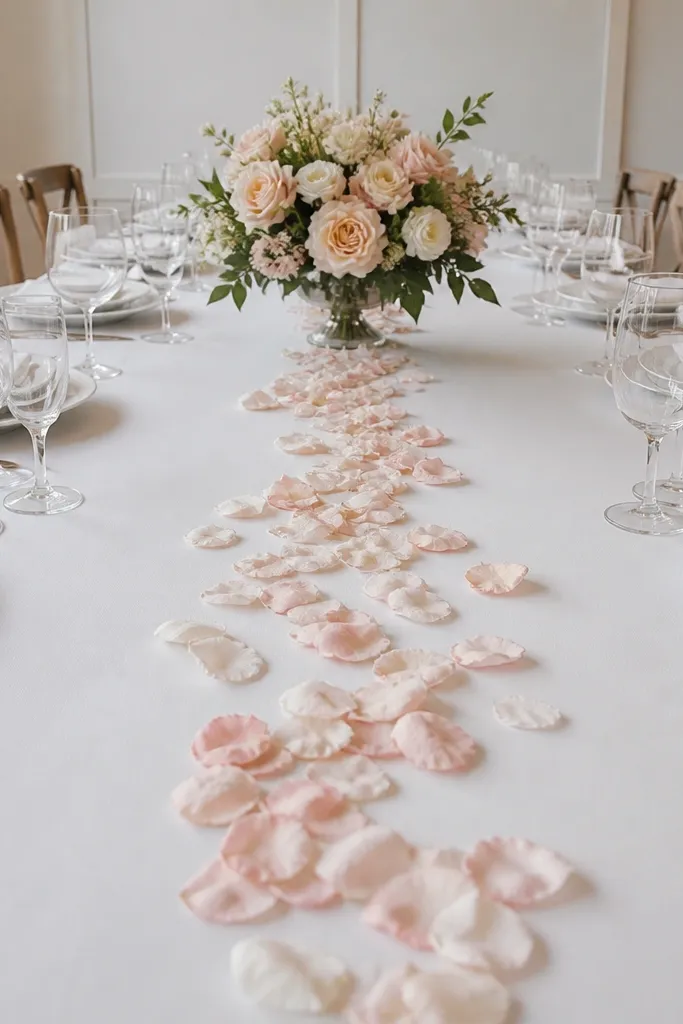
Start by measuring your table length and choose a runner that extends 8-12 inches past each end. Then lay it centered and place petals sparingly at first, testing from your usual photo spot. Finally, add one small centerpiece at the far end — a bud vase cluster or a single candle — so the path has an ending point. Budget $20-55 for a runner plus petals, and plan 20-30 minutes for setup and cleanup.
This idea makes your dining table look like a wedding set without needing a full centerpiece rebuild. Use a long runner in white, champagne, or blush, then create a petal path down the center. Choose petals that match your palette: blush and soft pink for spring, burgundy for fall, and pale peach for summer. The petal path works because it creates leading lines, so photos look styled even when your camera is at a simple angle.
Skip thisDon’t dump a thick pile of petals; it looks messy instead of romantic.
Quick tipUse silk or paper petals if you want reusability; real petals look great but can wilt and stain.
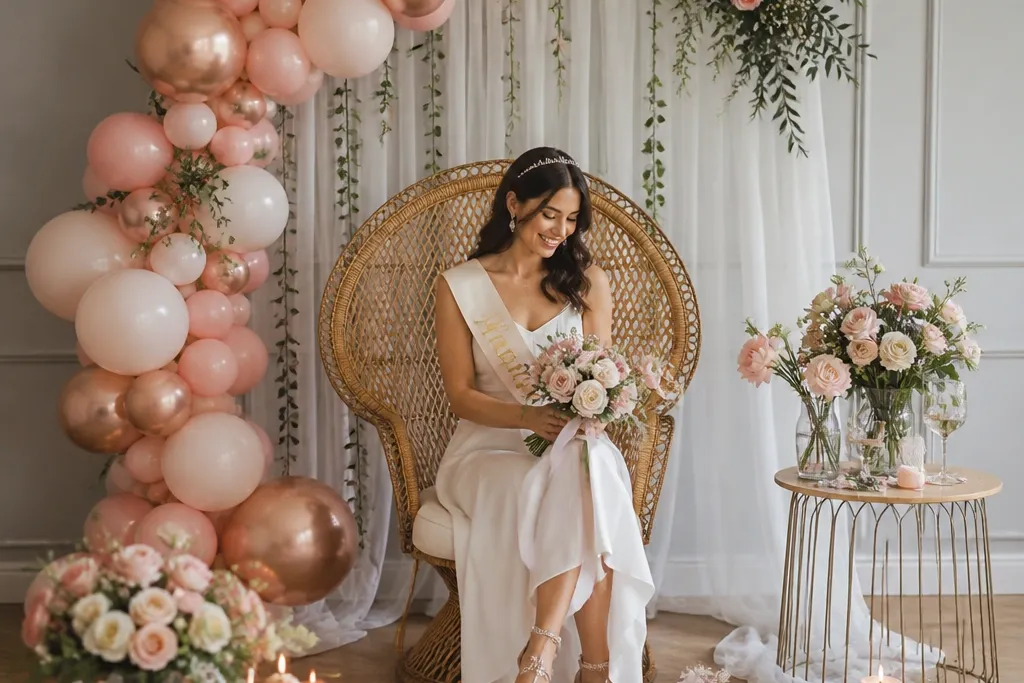
4. Blush Balloon Arch for a Small Room
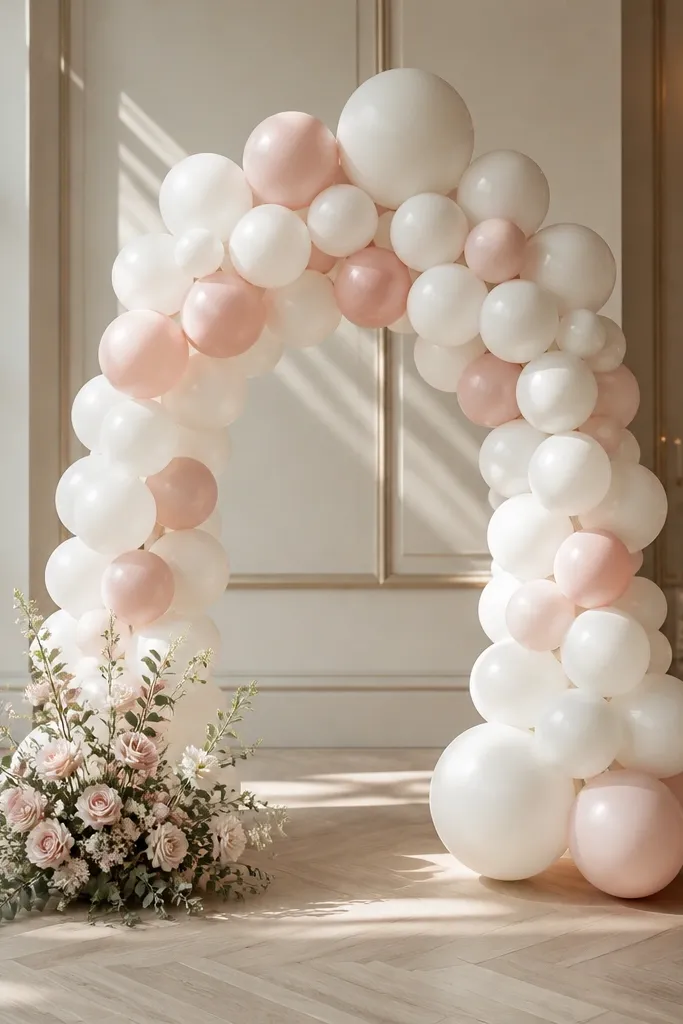
Start by choosing a spot you can photograph from — a doorway or short hallway wall. Then make a compact balloon cluster using two colors only: blush and white, plus one metallic if you want (gold or rose gold). Finally, secure the base with a tray or weighted stand so it doesn’t drift during photos. Expect 1-2 hours for assembly and $35-120 depending on size and whether you rent tools.
Balloon decor gets a bad rap because people overdo it. For a home wedding look, keep it small and focused: a mini arch or doorway cluster in blush with white accents. Add one concentrated flower or greenery burst at the base so the balloons don’t look like a random party. This is photogenic because balloons create a clean frame behind you, and the color gradient reads soft on camera.
Skip thisDon’t add five colors; it turns wedding decor into a generic balloon scene.
Quick tipUse balloon strips or a grid technique to keep the arch evenly filled instead of patchy.
5. Dried Floral Frame Behind the Bride-To-Be Chair
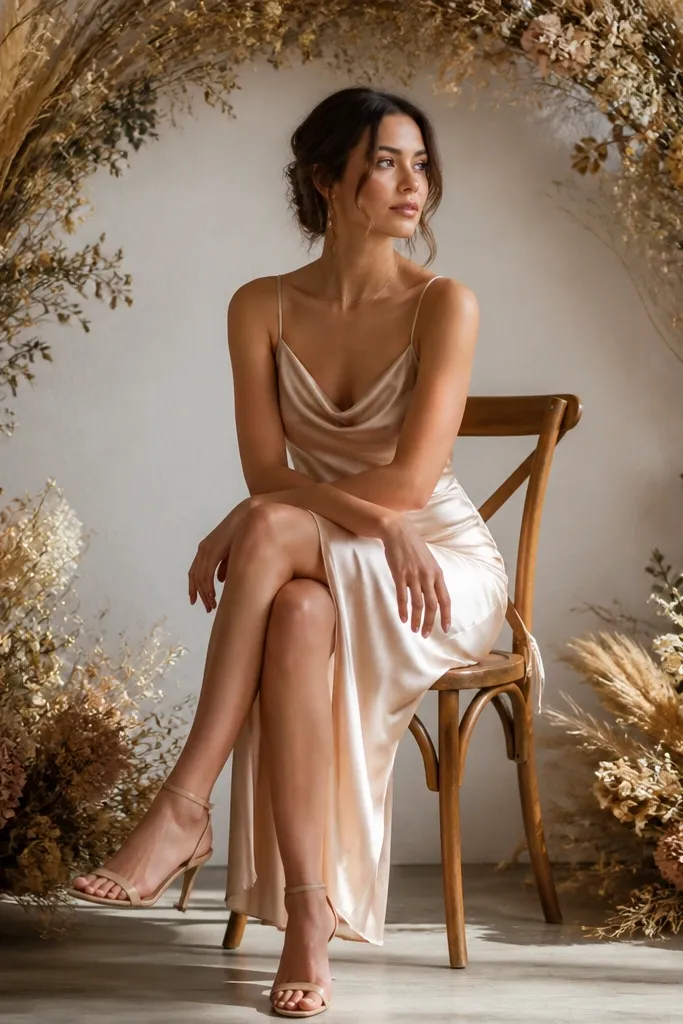
Start by building a simple rectangular frame using a foam board or lightweight wood and wrapping it with neutral ribbon or fabric. Then wire dried stems into the frame with floral wire, keeping the densest area in the center so it looks balanced. Finally, place the chair 2-3 feet in front of the frame and add a small pillow or throw in the same palette. Plan 2-3 hours for a first build and $30-100 depending on how many dried bundles you buy.
If your goal is “special at home,” create a background that looks intentional even when you’re sitting still. A dried floral frame behind a chair works because dried stems have texture that reads well in close shots. Choose warm neutrals like oat, sand, and muted taupe, then add a small pop color like dried maroon statice or dried blush roses. This setup flatters fall and winter rooms, and it gives you a consistent photo spot for announcements and engagement-style pictures.
Skip thisDon’t put the frame too close to the chair; you want separation so the background stays crisp.
Quick tipMist lightly with hairspray or floral sealant to reduce shedding during photos.
6. Fresh Greenery + White Roses on a Kitchen Shelf
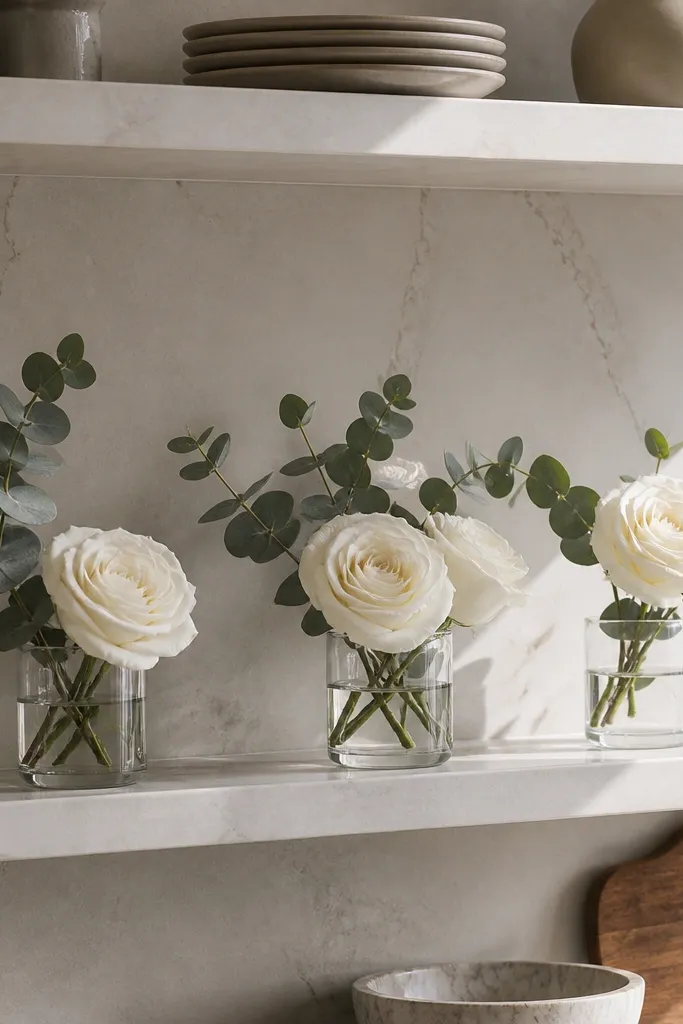
Kitchens are bright and casual, which makes wedding decor feel real instead of overly staged. A shelf arrangement with white roses and eucalyptus gives you clean lines and a “morning of” freshness. Keep the vases different heights — one low bud vase, one medium bottle, one short hurricane candle holder — so the shelf looks designed. This works best in spring and early summer when you can get crisp greens that don’t droop fast.
Start by clearing your shelf and wiping it clean so the background looks smooth in photos. Then place greenery along the back edge first, and add roses in small clusters so you don’t create one big blob. Finally, add one practical item with a wedding feel like a white linen napkin folded neatly or a small gold tray for rings. It takes 30-60 minutes and costs $25-80 depending on how many roses you use.
Buy more greenery than you think you need; it makes the white flowers look fuller.
Don’t use wilted greens — they look gray under kitchen lighting.
7. Faux Velvet Ribbon Ladder on a Doorway
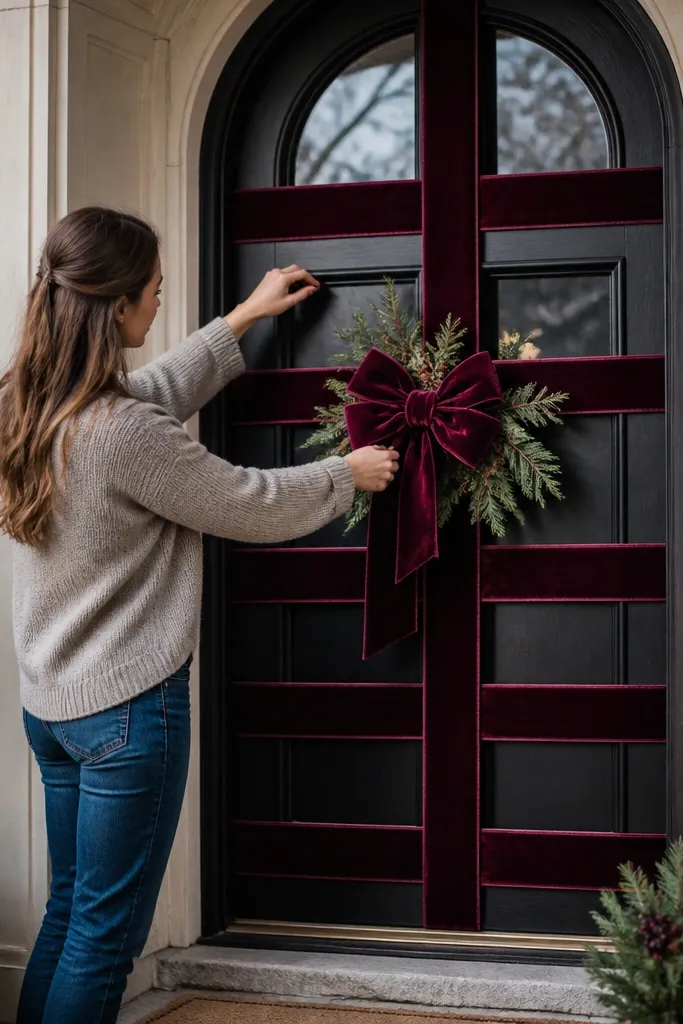
Start by measuring your doorway height and decide the number of ribbon “rungs” (usually 3-5). Then attach using clear hooks or command strips at each anchor point, and cut ribbons so each rung is 6-10 inches longer than the one above it. Finally, add a wreath or bow centered at 60-66 inches from the floor. Plan 45-75 minutes and $20-70 depending on ribbon width and length.
For a dramatic, photogenic home entrance, use ribbon as your architecture. A doorway ladder made from deep plum, emerald, or espresso velvet reads rich without needing a big floral budget. Hang ribbons in descending lengths so they form a clean V or ladder shape, then add a small wreath or simple satin bow at eye level. This looks best in fall and winter when your lighting is warmer and your home feels more enclosed.
Skip thisDon’t use slippery satin that twists; velvet holds the shape better.
Quick tipUse 2.5-3 inch wide velvet ribbon; narrow ribbon looks flimsy in photos.
8. Photo-Friendly Flower Wall With One Color Only
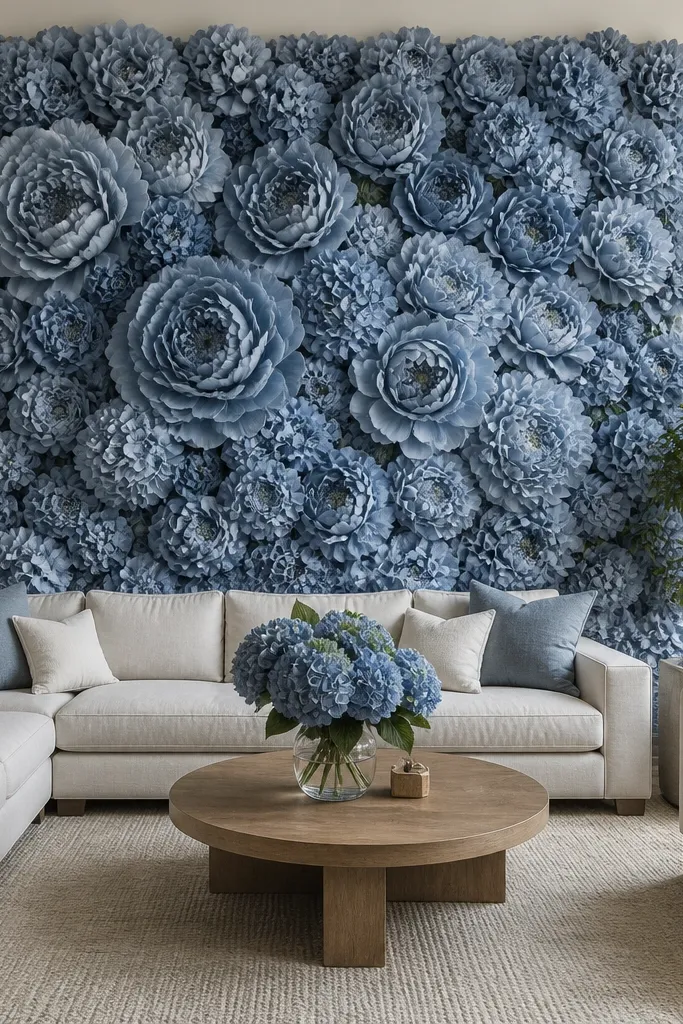
Start with a foam board or a freestanding panel system and cover it with neutral fabric so gaps don’t show. Then attach paper or faux blooms in a staggered pattern, leaving small breathing space for texture. Finally, place a chair or stool 4-5 feet away so your subject stays in focus and the wall fills the frame. Expect $60-150 and 2-4 hours depending on panel size and bloom type.
A flower wall can look cheap if it mixes colors. The best home version is one color family, built in layers that create depth. Choose a shade that matches your outfit plans: soft pink, ivory, or dusty blue. Then add depth by mixing sizes — larger blooms at center, smaller ones toward edges — so the wall doesn’t look flat. This gives you a consistent background for multiple photo angles without changing the whole room.
Skip thisDon’t add glittery accents everywhere — it can look messy and reflect harshly on camera.
Quick tipTest your color under your room lighting before you commit; dusty blue can go gray under warm lamps.
9. Blown-Glass Look Centerpiece Using Bud Vases
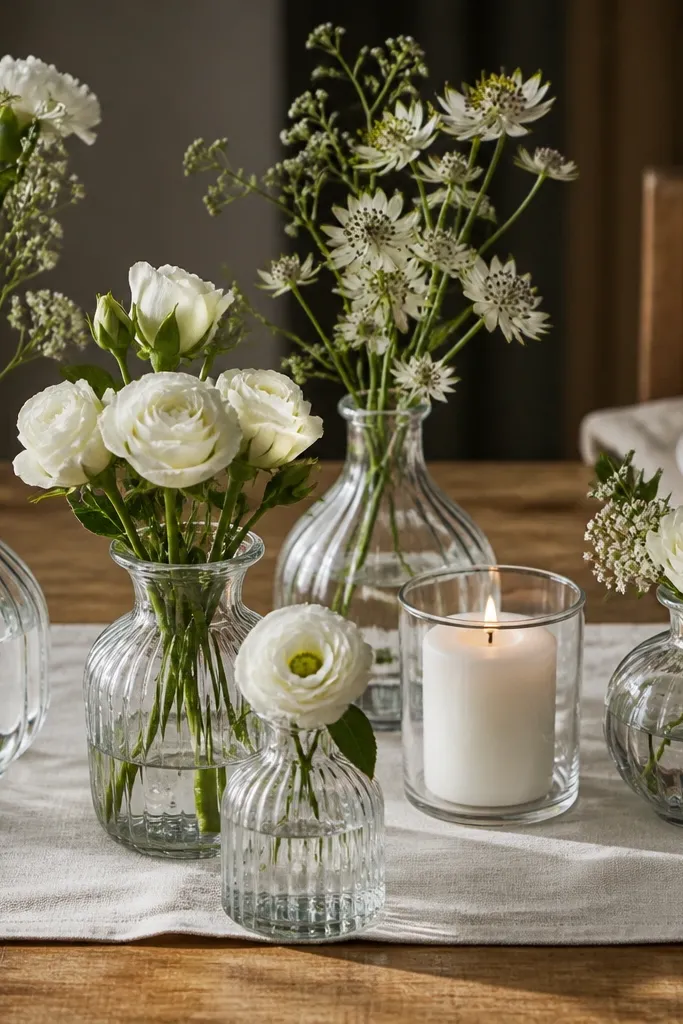
Start by choosing 7-9 bud vases and arranging them in a gentle triangle across the center of your table. Then add blooms so each vase has a different height — one with a short stem, one with a taller branch. Finally, place a small candle or LED taper in the middle gap so the cluster has a focal point. Setup takes 30-50 minutes and usually costs $35-100 depending on vase style.
Instead of one huge centerpiece, use a cluster of bud vases that create sparkle and movement. Clear or glass-look vases catch highlights and make the table feel elevated without being heavy. Pair white blooms with a single accent color — blush or soft green — so the arrangement looks modern. This is a strong choice for spring, summer, and early fall because it feels light on the table and photographs cleanly from above.
Skip thisDon’t overcrowd the top of vases; leaves should sit below the rim for a cleaner silhouette.
Quick tipUse a tray under the vases; it keeps the cluster from scattering and looks tidy in photos.
10. Staircase Garland With Hanging Mini Frames
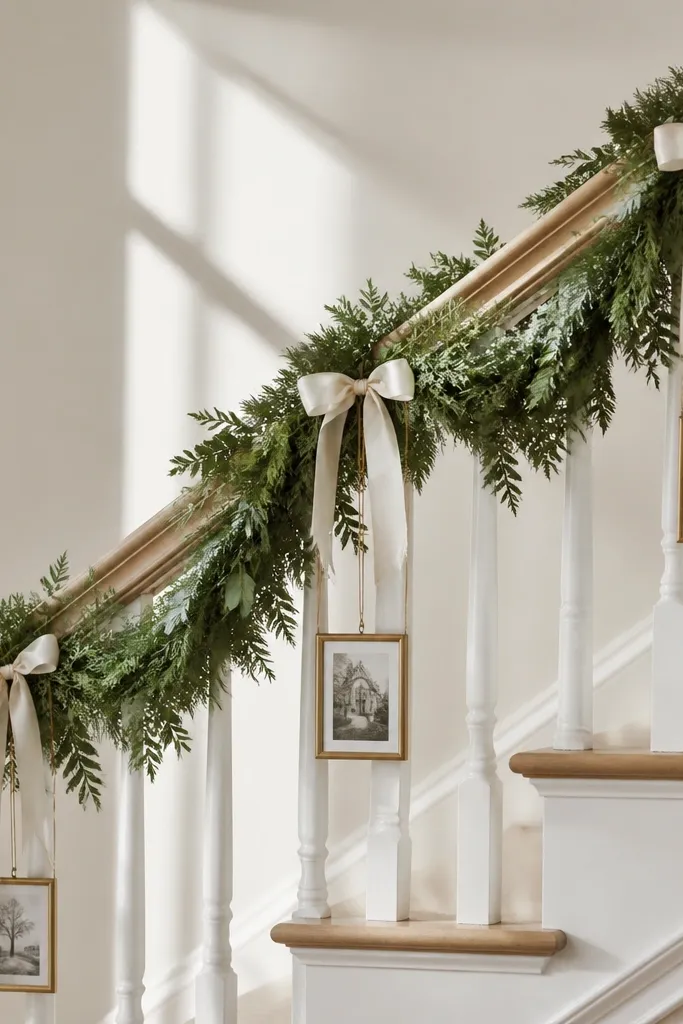
Start by measuring the banister length and buying garland in one long roll so you don’t get awkward seams. Then attach the garland with zip ties or twist wires and hang mini frames at eye level on the landing section. Finally, add ribbon bows at two points so it’s symmetrical in photos from the bottom of the stairs. Plan 1-2 hours and $40-120 depending on how many frames you hang.
Stairs are underrated wedding backdrops because they create natural height and leading lines. A greenery garland across the banister plus hanging mini frames makes the space feel curated, not cluttered. Use white ribbon bows to keep it bright, and keep frames consistent in color — white frames or gold frames only. This works year-round, but it looks best when your staircase is well lit, like near a landing window.
Skip thisDon’t hang frames too low; they block the banister line and look cramped.
Quick tipPhotograph from the bottom step; it makes the garland and frames read as one designed feature.
11. Bedroom Headboard Ribbon Swags
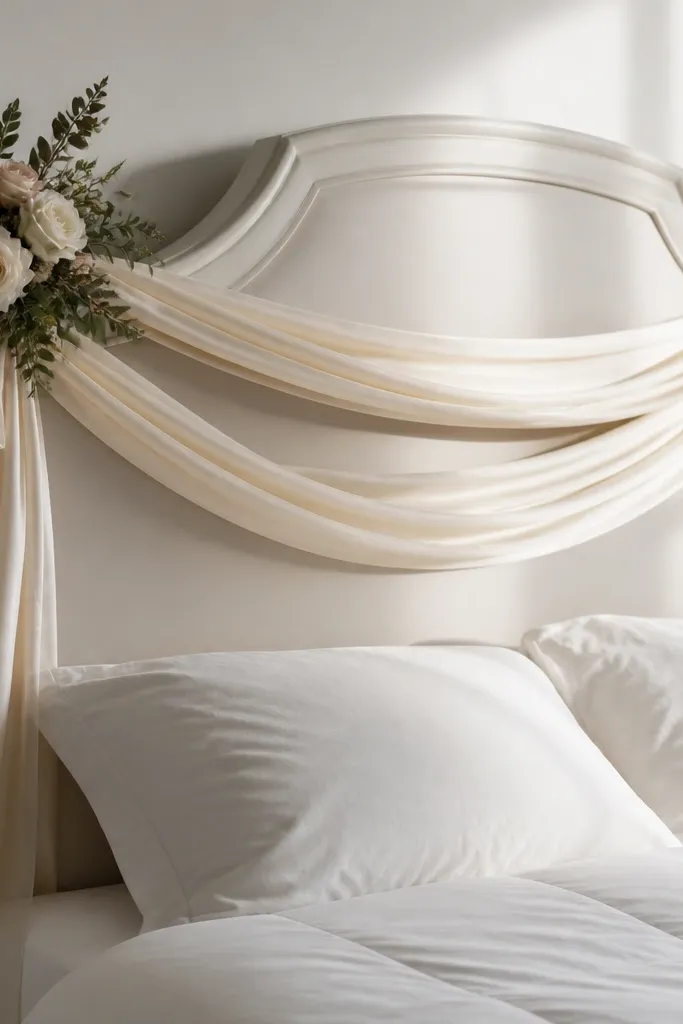
If you want “bride-to-be” photos that feel intimate, use your bed as the anchor. Ribbon swags across the headboard create soft movement and a clean background behind you. Choose white, champagne, or blush ribbon with a satin-matte mix so it catches light without looking shiny and cheap. Add one small bouquet on the bedside table so the scene looks complete, not like fabric hung for decoration.
Start by measuring your headboard width and cut ribbon lengths so each swag drapes 10-14 inches down. Then attach ribbon at the top with clear hooks or hidden clips, and let the tails fall naturally instead of tying them too tight. Finally, place the bouquet at one side and keep the other side simple for balance. This takes 20-40 minutes and costs $15-50 depending on ribbon length and whether you already have vases.
Iron ribbon lightly on low heat if it’s wrinkled; creases show up in close photos.
Don’t use too many colors; keep it to one ribbon tone plus one flower tone.
12. Seasonal Fruit + Candle Still Life
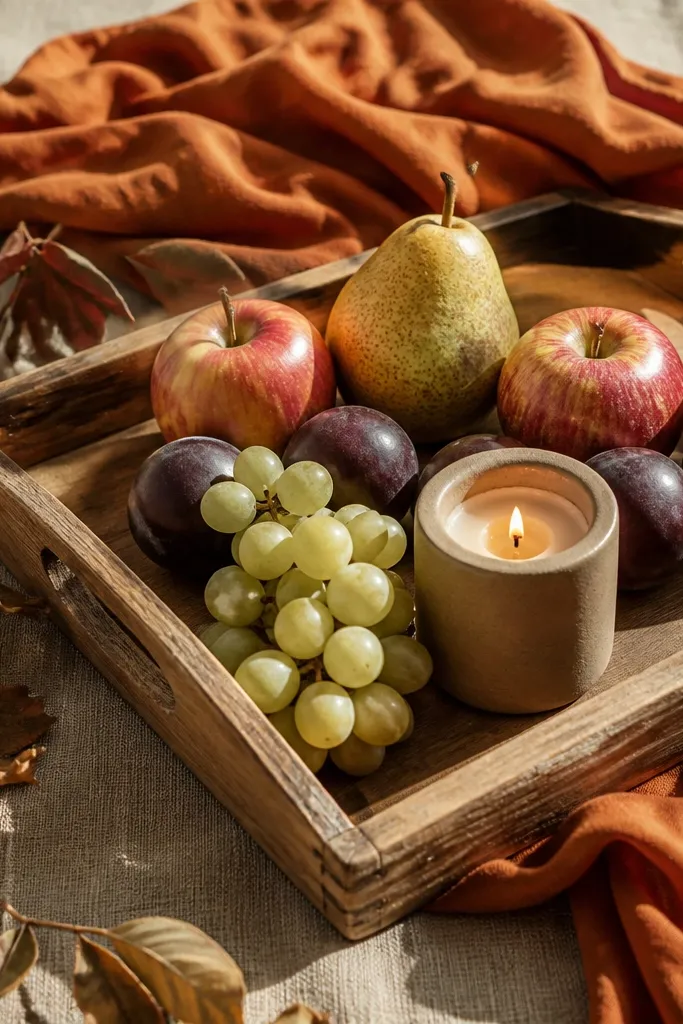
Start by grabbing a shallow tray and covering it with linen or a neutral runner. Then place 3-5 pieces of fruit at different heights and add one small candle holder in the center. Finally, add one sprig of greenery or herbs around the edges so it looks styled, not random. Plan 15-25 minutes and $20-60 depending on fruit choice and candleholder.
This is the decor you don’t have to hide because it looks good when you’re not “in wedding mode.” A still life with seasonal fruit, a candle, and linen creates texture and color that looks expensive. In fall, use pears and pomegranates with a deep candleholder; in summer, use citrus and soft herbs. It photographs well because you get natural gradients and strong highlights from the fruit skins.
Skip thisDon’t mix too many scented items; strong fragrance can make the room feel overwhelming.
Quick tipChoose fruit with strong color — deep red, bright yellow, and warm orange — because pale fruit looks washed out on camera.
13. Paper Fan Backdrop With Soft Ombre Lighting
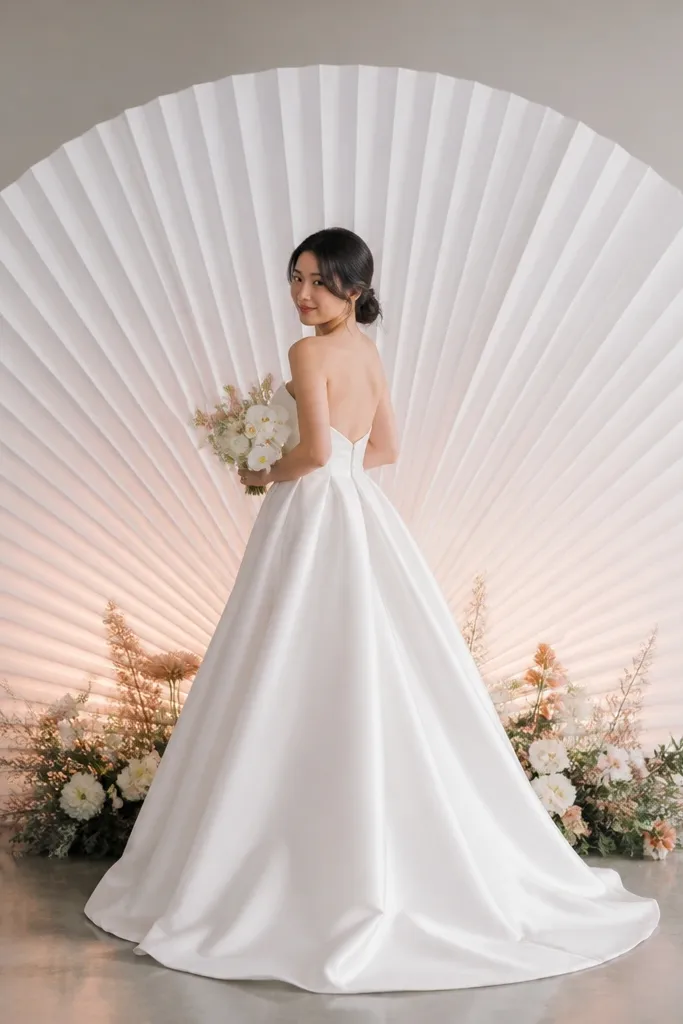
Start by mounting paper fans to foam board or directly to a wall using removable tape. Then place an LED strip or warm lamp off to one side so the light streaks across the fans. Finally, set a small floral arrangement at the bottom edge so the scene looks intentional. Budget $25-90 and 1-2 hours depending on fan size and mounting method.
Paper fans look simple until you light them right. Build a fan backdrop behind a chair or corner table, then use a warm lamp or LED strip to create a soft ombre glow across the fans. Pick one color family and stay close to your bridesmaid or outfit tones. This idea works especially well in winter and early spring when your rooms feel dim and you want a warm photo background.
Skip thisDon’t use harsh overhead lighting; it kills the glow and creates ugly shadows.
Quick tipAngle the light so it hits the fans from the side; front lighting makes them look flat.
14. Rose-Gold Ring Dish + Open Shelf Styling
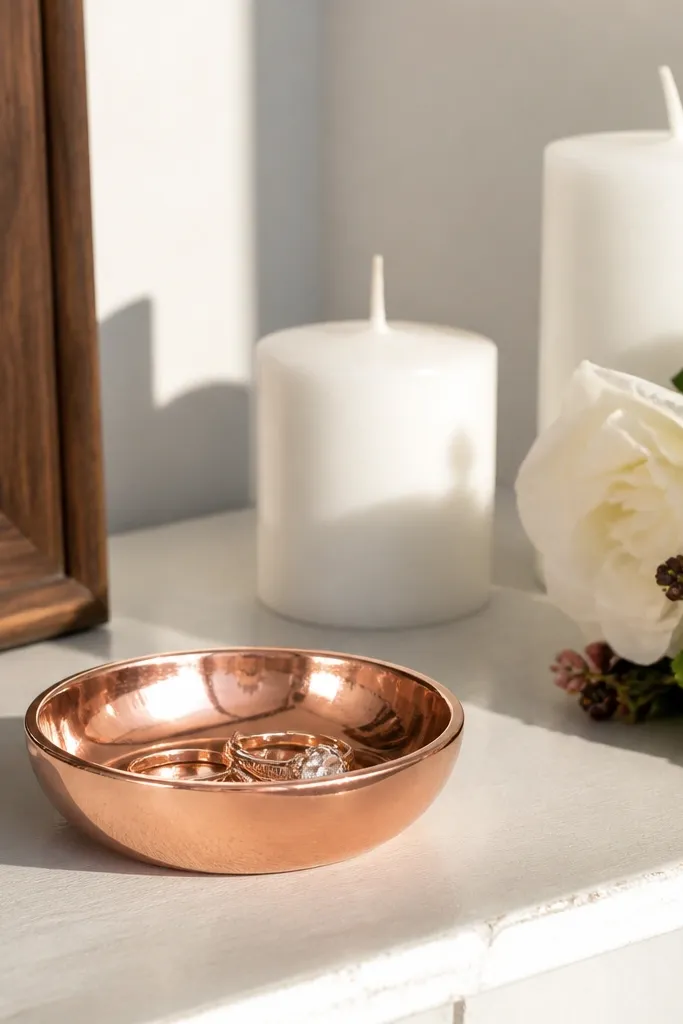
Start by choosing one shelf or side table with clean lines and neutral clutter. Then place the ring dish at the center, add a small candle holder and a tiny bouquet to one side, and keep the other side blank or with a single frame. Finally, add one handwritten-style card or a simple wedding invitation insert for color. Setup takes 15-25 minutes and costs $20-60.
Small decor details make the room feel “real” in wedding photos, especially for close shots of hands, rings, and little notes. A rose-gold ring dish paired with one mini candle and a small bouquet gives you a ready-made still life. Keep the rest of the shelf minimal so this becomes the focal point. This works year-round because it doesn’t depend on weather, and it’s easy to refresh between photo sessions.
Skip thisDon’t mix metals everywhere; pick one metal tone so photos look consistent.
Quick tipUse a linen coaster under the dish; it softens reflections from smooth surfaces.
15. Ceiling Paper Lanterns in a Tight Cluster
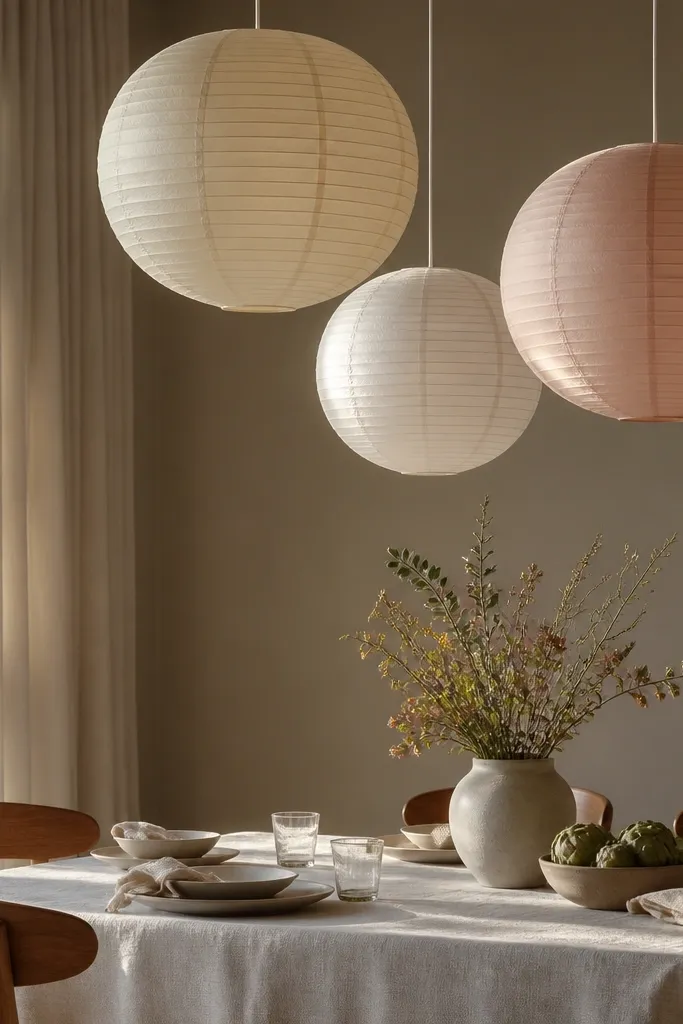
Paper lanterns look like a party until you hang them in a tight cluster and keep the palette tight. Choose 3-5 lanterns in ivory and blush, then suspend them so they hover above a dining table or living room centerpiece. This gives you overhead color that reads beautifully in photos, especially when you’re shooting from across the room. It’s a strong option for spring, summer, and early fall when you want airy decor without heavy florals.
Start by measuring ceiling height and choosing lantern sizes that don’t hit your head when you stand. Then hang them using fishing line or clear cord so they look clean and straight. Finally, coordinate the table decor below with one matching element — like a white runner or a blush ribbon — so the whole room feels connected. Plan 45-90 minutes and $30-110 depending on lantern count and sizes.
Turn off harsh overhead bulbs during photos and use warm lamps; lanterns glow better in low light.
Don’t hang them too low; it blocks faces and looks awkward in group shots.
16. Sofa Back Throw + Matching Ribbon Tie
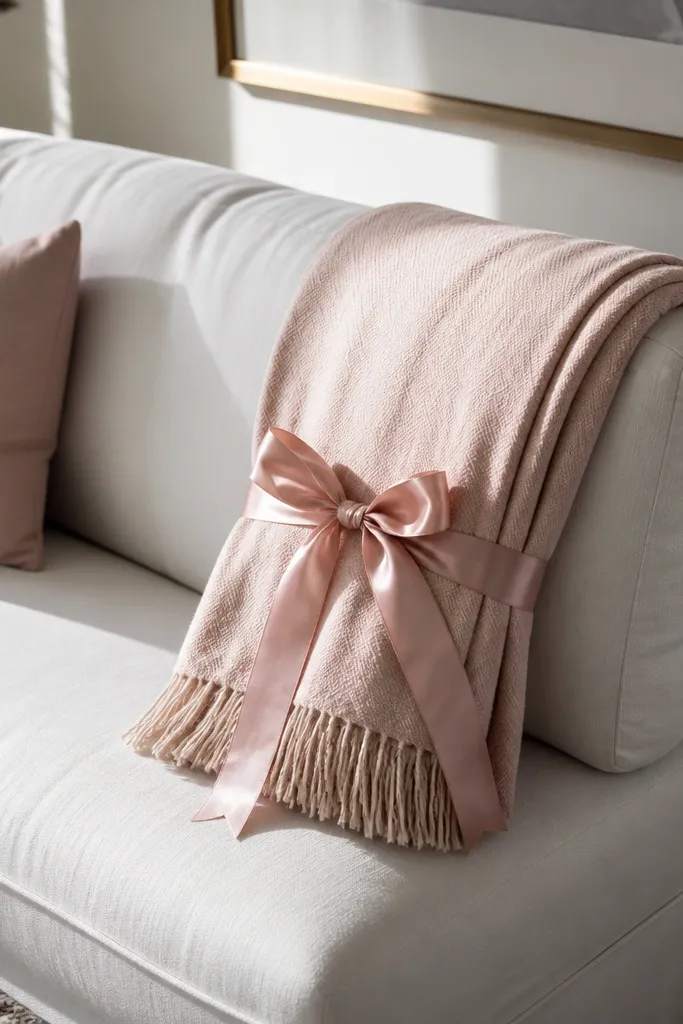
This is the easiest “special” look because it uses what you already own and makes it photogenic. Drape a soft throw over the sofa back so one corner falls in a clean triangle. Then tie a ribbon at the center back point to create shape and control the drape. Add one small pillow in the same color family so the scene looks styled, not accidental. It works year-round, and it’s especially good in winter when you want cozy textures.
Start by choosing a throw with visible texture — knit, faux fur, or a matte weave — because it shows up on camera. Then drape it so the fabric edge sits 6-10 inches above the seat cushion and tie with ribbon at the top center. Finally, place one small bouquet or vase on the coffee table aligned with the sofa center. Setup takes 10-20 minutes and costs $10-60 depending on whether you need a new throw.
Match the ribbon width to the throw weight; a thick throw needs 2-3 inch ribbon.
Don’t tie the ribbon too tight; puckering looks messy.
17. Bathroom Towel Rose Cluster at the Vanity
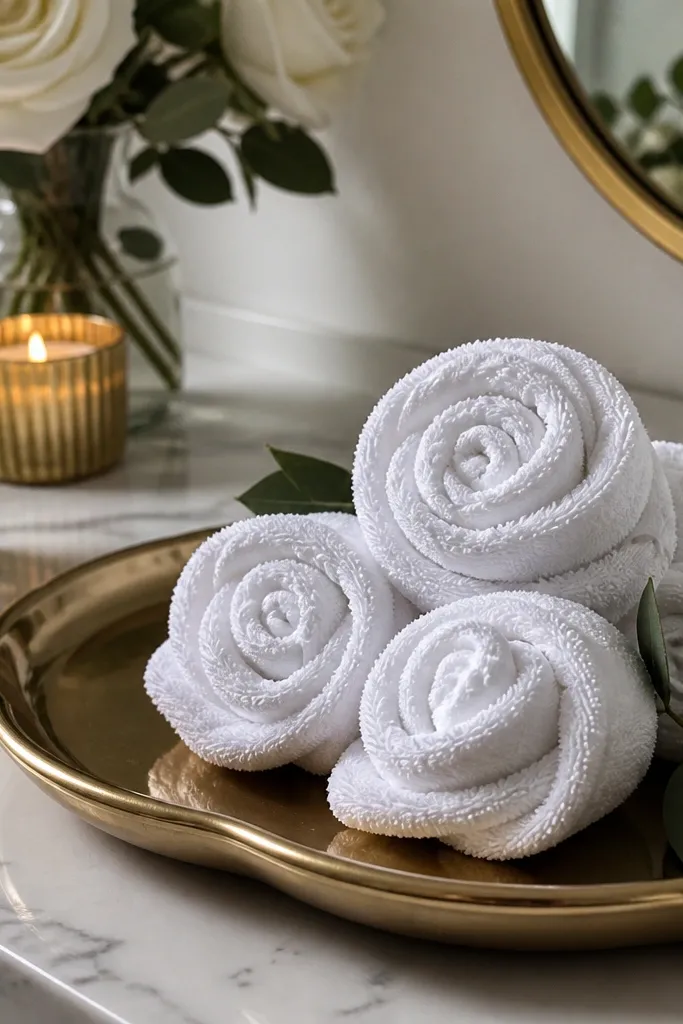
Start by folding two or three white towels into rose shapes using a simple spiral roll and securing with a rubber band. Then place them on a tray and add one candle holder and one small vase with greenery. Finally, clear the counter except for these items so the background stays clean. Plan 20-35 minutes and $15-40 if you’re using towels you already have.
Yes, bathrooms. Bride-to-be photos include details you’ll forget about — getting ready shots, perfume bottles, ring placement. A towel rose cluster on the vanity makes those shots look intentional and soft. Use white towels rolled into rose shapes, then place them in a small group on a gold or wood tray. Add one small candle and a clean label card so the vanity reads like a styled station.
Skip thisDon’t use towels with loud patterns; white reads bridal and stays consistent in photos.
Quick tipUse unscented candle or LED candles; strong scents can clash with perfume in getting-ready photos.
18. Entryway Welcome Sign With Real Flower Border
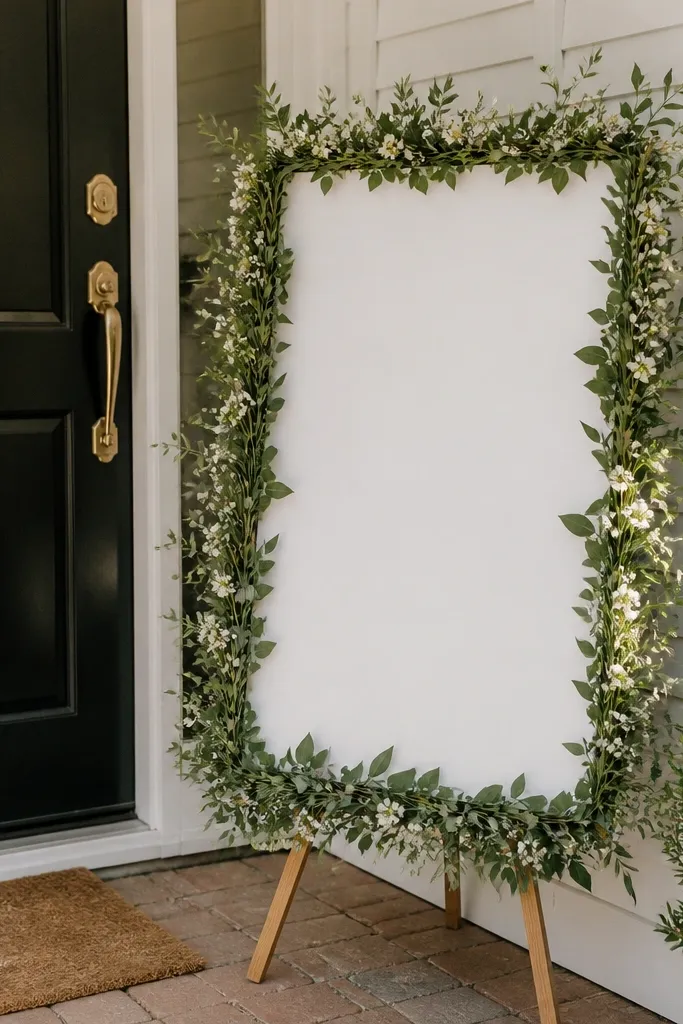
Start by selecting a sign size that fits your entryway wall without crowding — 12x18 inches is a good home scale. Then create a thin border using faux greenery or real stems in a small foam strip you can remove. Finally, place the sign at eye level and keep the floor area clear so the shot looks clean. This takes 30-60 minutes and costs $25-90 depending on sign and flower choice.
Your front door is the first photo background people see, and it sets the tone for the whole home. A welcome sign with a real flower border looks fresh and high-end, even if it’s just a small frame. Choose a sign style you can wipe clean and reuse, then border it with greenery and 5-10 small white blooms. This works best in spring and summer when you can keep flowers looking good for a few hours to a day.
Skip thisDon’t place it too high; it should sit in the same frame as your face in getting-ready photos.
Quick tipIf you use real flowers, mist them lightly and keep them cool until photos.
19. Gallery Wall of Bride Notes on Linen Clips
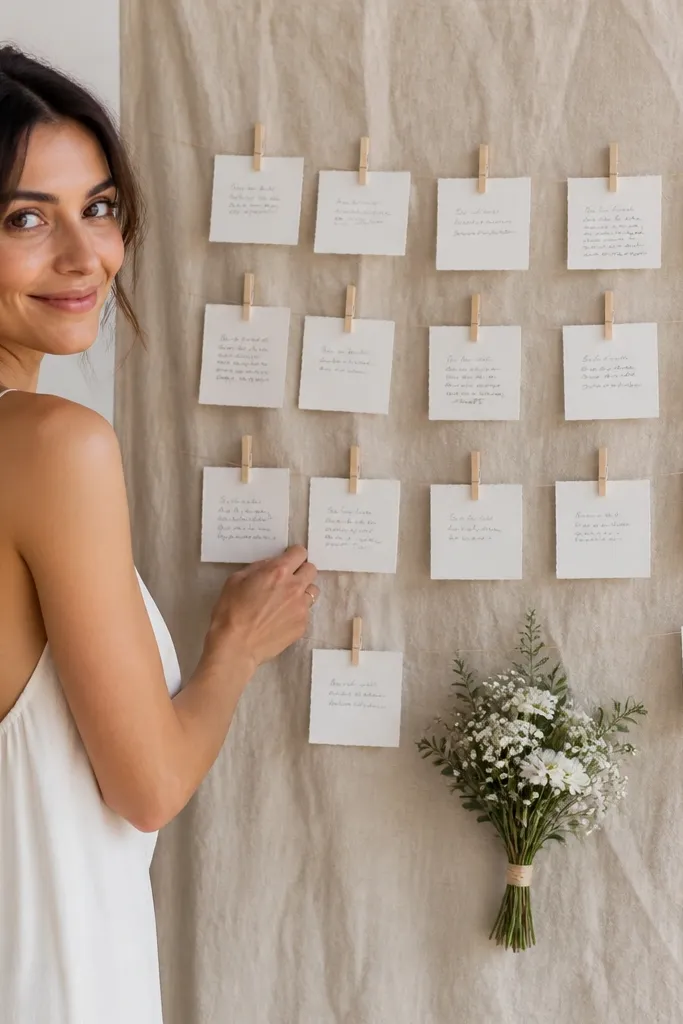
Start by choosing a fabric width that fits your photo spot, like 24-36 inches wide. Then arrange 9-16 cards in a grid and clip them with equal spacing — keep top corners aligned so it looks clean. Finally, add a small bouquet or dried sprig at the bottom center and style one card with a bolder color. Plan 1-2 hours and $20-70 depending on card stock and clip count.
If you want decor that feels personal and looks great in close-ups, turn notes into a gallery wall. Use a linen sheet or neutral fabric stretched on a board, then clip small cards with linen clips in a neat grid. Add one small floral cluster at the bottom edge so the wall doesn’t look like office paper. This is photogenic because the cards create texture and you get readable color blocks that match your palette.
Skip thisDon’t mix fonts and colors wildly; one consistent palette looks intentional.
Quick tipUse matte paper for the cards; glossy paper reflects harsh lights.
20. Porch Swing Confetti Drop With Hanging Seed-Paper Cones
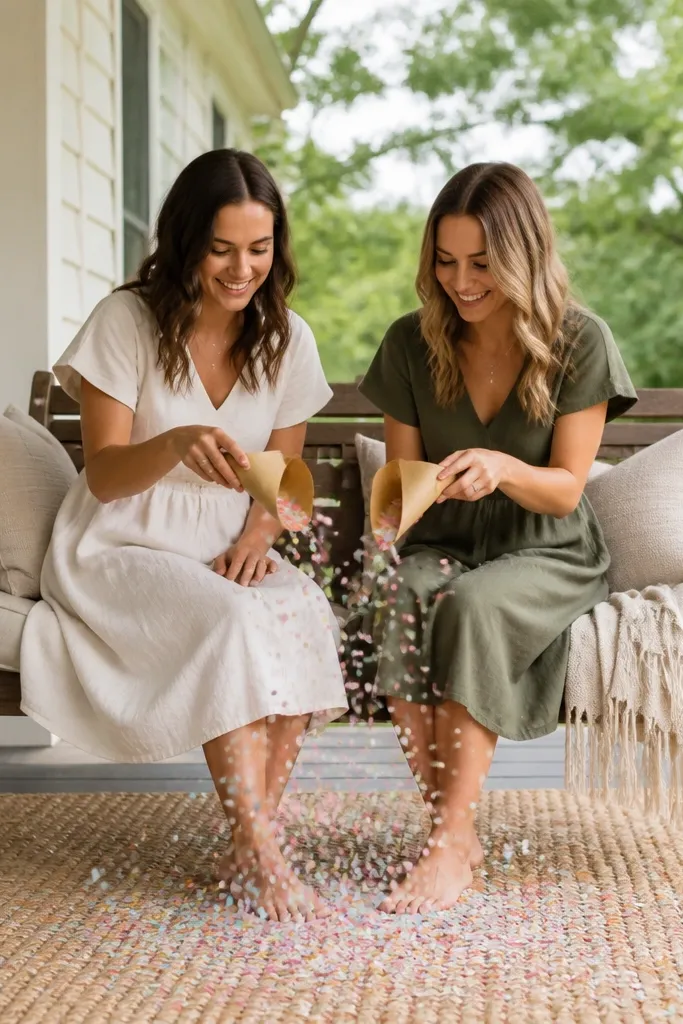
This one makes the bride-to-be feel like the porch is part of the celebration, not just a place you pass through. Hanging seed-paper cones look hand-made, but they’re light enough to hang from a porch beam or string line without sagging. When you pull the release ribbon, the confetti falls in a soft fan over the swing and the rug under it, so it photographs clean instead of looking messy. It feels special for engagement parties, bridal showers, and small “just us” nights at home. It also works best in late spring through early fall when outdoor light is bright and warm, so the paper texture shows up in photos. If you want something that feels like a moment, this is the kind of decoration that creates it.
1) Pick a spot with overhead structure: porch beam, pergola rail, or a tension rod plus two hooks. Hang 6 to 10 seed-paper cones (or plain kraft cones you dress with seed-paper circles) on thin fishing line so they sit about 8 to 12 inches above the swing back. Add a small porch rug or a 3x5 foot runner centered under the swing so the confetti has a clear landing zone. 2) For getting there and around, keep it simple: set up at home first, then plan one quick photo walk around the porch. If you’re traveling to a rental, choose a place with exposed beams or confirm the ceiling height before you buy anything. 3) Cost is usually $25 to $60 for cones, ribbon, and confetti, depending on whether you buy pre-made seed paper or DIY. Spend 45 to 90 minutes hanging everything, then do one test pull indoors with a tiny pinch of confetti to confirm the fall pattern. 4) Book nothing complicated, but if you’re ordering seed paper or specialty cones online, place the order at least 10 to 14 days before your event so delivery doesn’t crush your timeline.
Use small confetti pieces (1/4 inch) and keep the pull ribbon short so the drop stays centered for photos. If your rental has low ceilings, skip the overhead hang and attach the cones to a freestanding arch instead.
Don’t hang cones too low — if they sit within 3 to 4 inches of the swing fabric, they catch and smear the look.



