
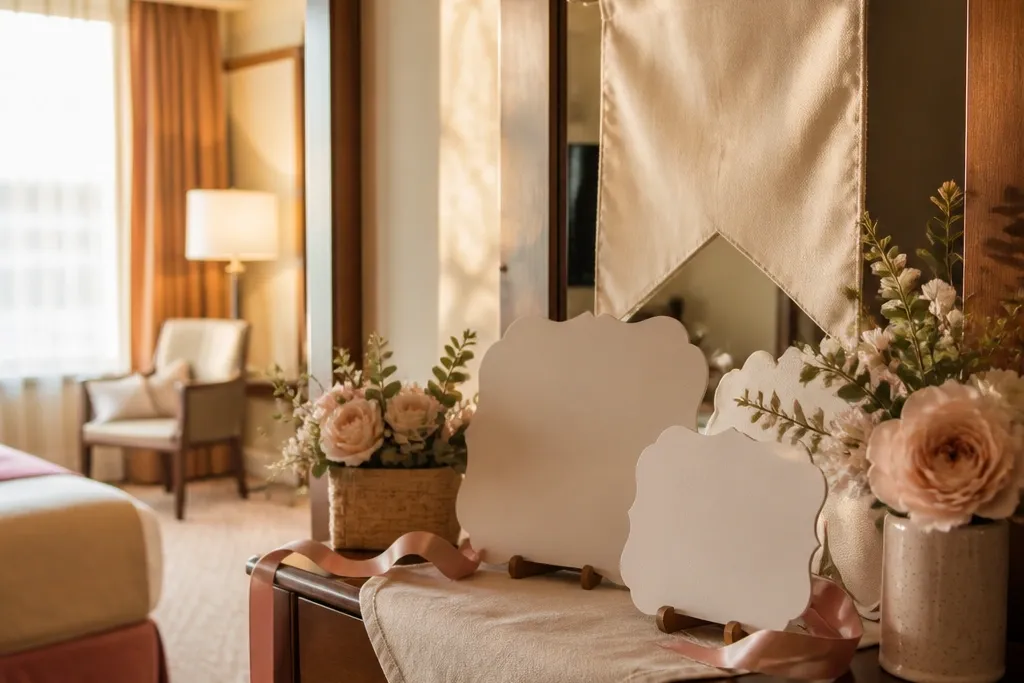
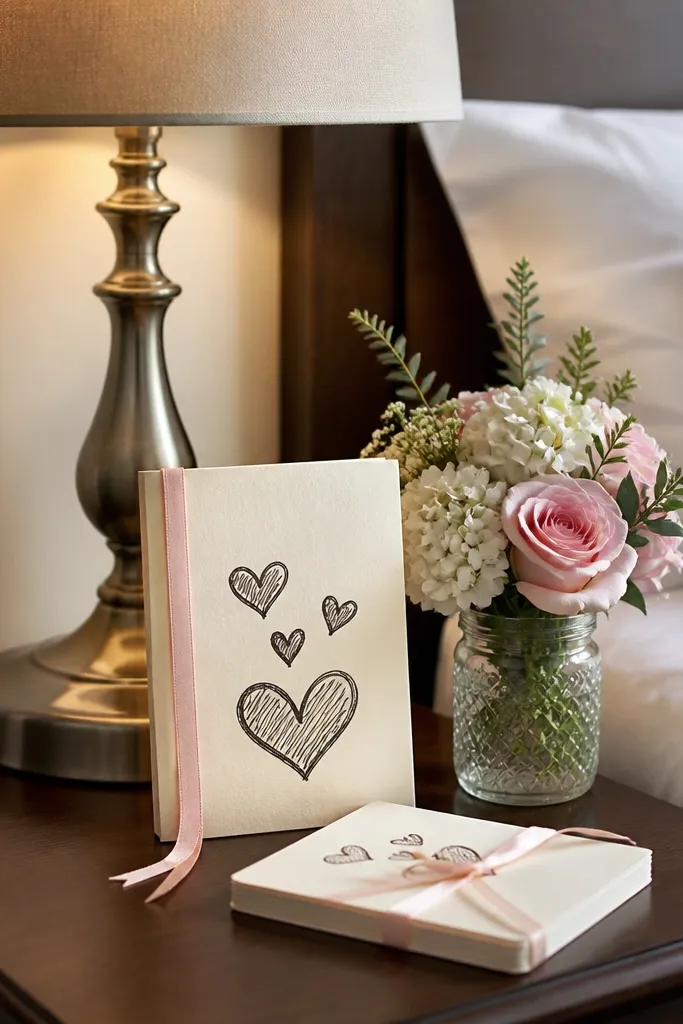
1. Doorway Welcome Banner With Matching Ribbon Ends
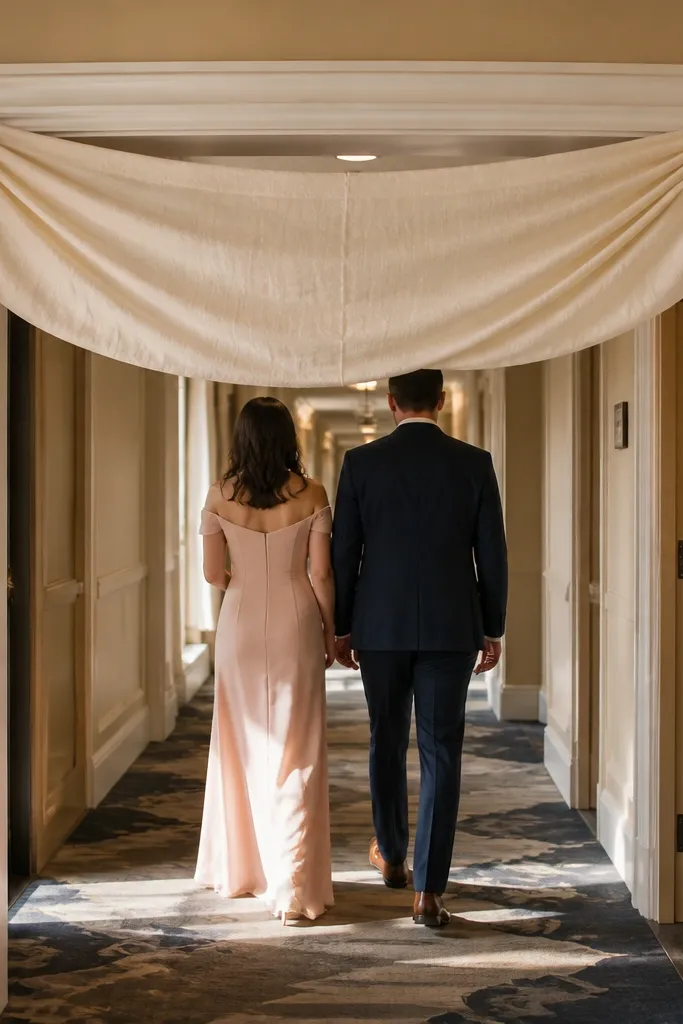
This is the fastest way to make the room feel like a real welcome, and it photographs cleanly even in tight spaces. Hang a fabric or thick paper banner across the doorway so guests see it immediately when they arrive. The ribbons at the ends add softness and movement in photos without making the setup look like a party mess. Keep the lettering big and centered so it’s readable in group pictures. It’s perfect for family groups because it’s kid-safe and doesn’t require breakable decor.
Start by measuring the door width and choosing a banner size that spans it with 4-6 inches of overlap on each side. Then print or write the message on cardstock or use a fabric banner, and attach matching blush or dusty rose ribbon ends with double-sided tape or zip ties to keep it secure. Finally, place a small welcome prop at the base of the door (a tidy vase or a single basket) so the lower half of the frame looks finished in photos.
Use dark brown or black vinyl for the text so it stays readable in warm indoor lighting.
Avoid thin streamers that twist and blur in photos.
2. Floral-Style Fabric Curtain Backdrop Behind the Bride Photo Corner
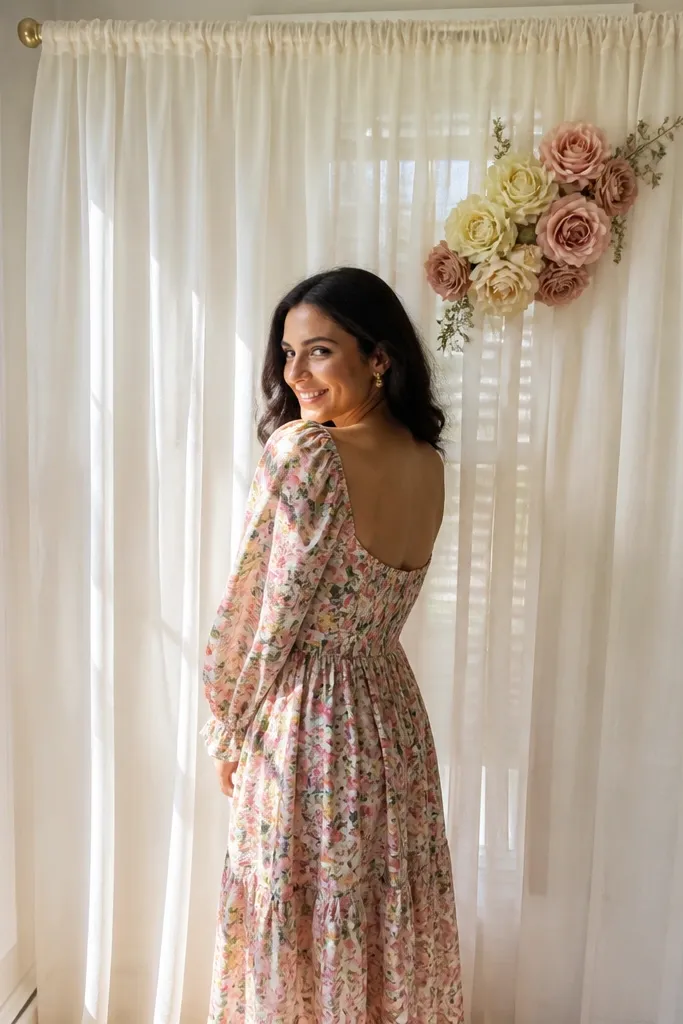
Start by choosing the wall space you can photograph from the doorway or from a chair across the room. Then hang the curtain high enough that it forms a vertical frame behind the bride space, and pin or tape your flower cluster so it sits at eye level. Finally, add one sign in front (large letters, dark ink) so the backdrop has a clear story for the camera.
A fabric backdrop makes the room feel styled even if the rest of the hotel decor is plain. Hang a cream sheer curtain on a tension rod or command hooks, then add a cluster of faux fabric roses or foam florals in one corner. This gives you a soft, romantic background that doesn’t look cluttered when kids or family walk through the frame. It also makes the “bride photo corner” feel like a designated spot, not a random pile. Best seasons are spring and summer because warm light makes the blush tones look extra gentle.
Skip thisSkip tiny scattered flowers; one bold cluster reads better and looks cleaner.
Quick tipUse a tension rod or a sturdy hook set so the curtain stays straight and doesn’t sag during party photos.
3. Heartwarming Welcome Tray on a Side Table
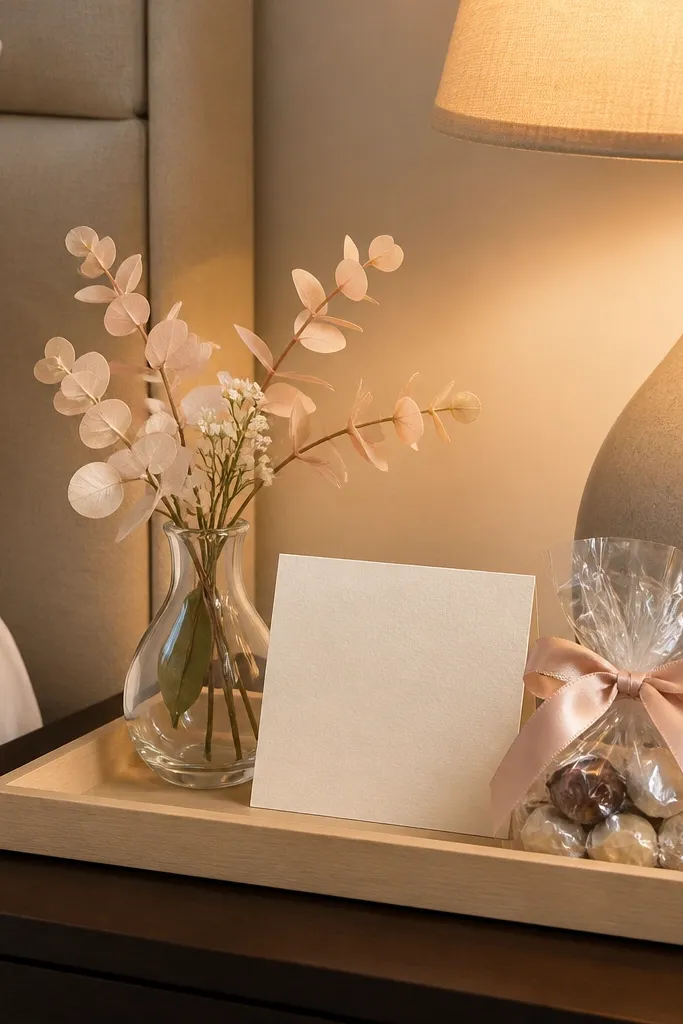
Start by selecting a tray size that fits the table without blocking pathways — aim for 12-18 inches wide. Then arrange items in a triangle: taller bud vase in back, cards or sign in the middle, and smaller ribbon accents in front. Finally, add one flameless light (or battery tea light) tucked near the flowers for a warm glow in evening photos.
A tray setup makes the room feel cared for because it looks intentional and organized. Use a shallow cream or light wood tray, then place a small bouquet jar (or bud vase set), a welcome card, and a few coordinated items like ribbon-wrapped candies. For bachelorette fun that still fits family, swap anything alcohol-coded for sparkling cider in unlabeled bottles or sealed cans. This works especially well when you want a decor moment that’s also functional during the party. It’s great in rooms where you can’t hang banners but you do have a side table.
Skip thisAvoid mixing too many random colors; stick to cream, blush, and one accent.
Quick tipKeep the tray height under 10 inches so it looks neat and doesn’t dominate group photos.
4. Bedside "Today's Schedule" Card With Bride-First Messaging
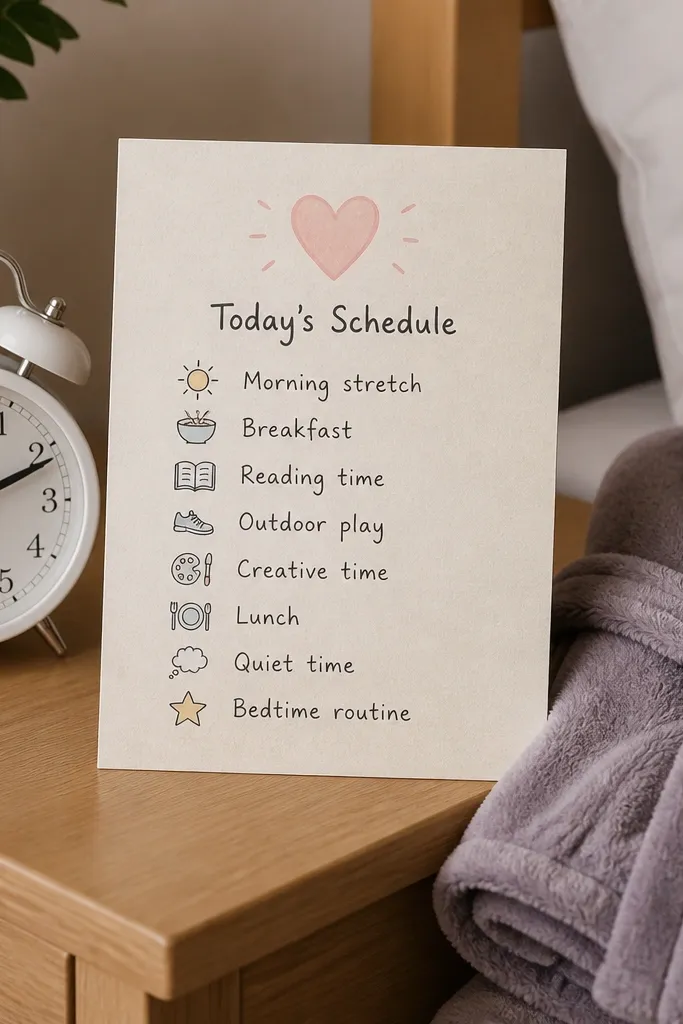
Start by choosing a card size that reads from arm’s length — 5x7 inches is a sweet spot. Then write the message in dark ink and use one blush accent line (like a heart or small underline) so it looks cohesive. Finally, photograph it with the flowers just behind it so the card stays the focal point.
This is a heartwarming trick: it makes guests feel guided and reduces chaos, which shows up in photos as calm, not frantic. Place a printed or handwritten-style card on the nightstand that includes a simple welcome message and what happens next. Keep it family-friendly by using neutral wording like “Family check-in time” and “Bride photo moment.” The card also creates a clean close-up photo because it’s a flat, readable element. It’s ideal for morning arrivals or when grandparents and kids are part of the group.
Skip thisDon’t cram multiple events on one page; it looks messy in pictures.
Quick tipUse a simple font style and keep the text to 3-5 lines so it doesn’t look like a flyer.
5. Tulle + Ribbon Garland Along the Wall Near the Door
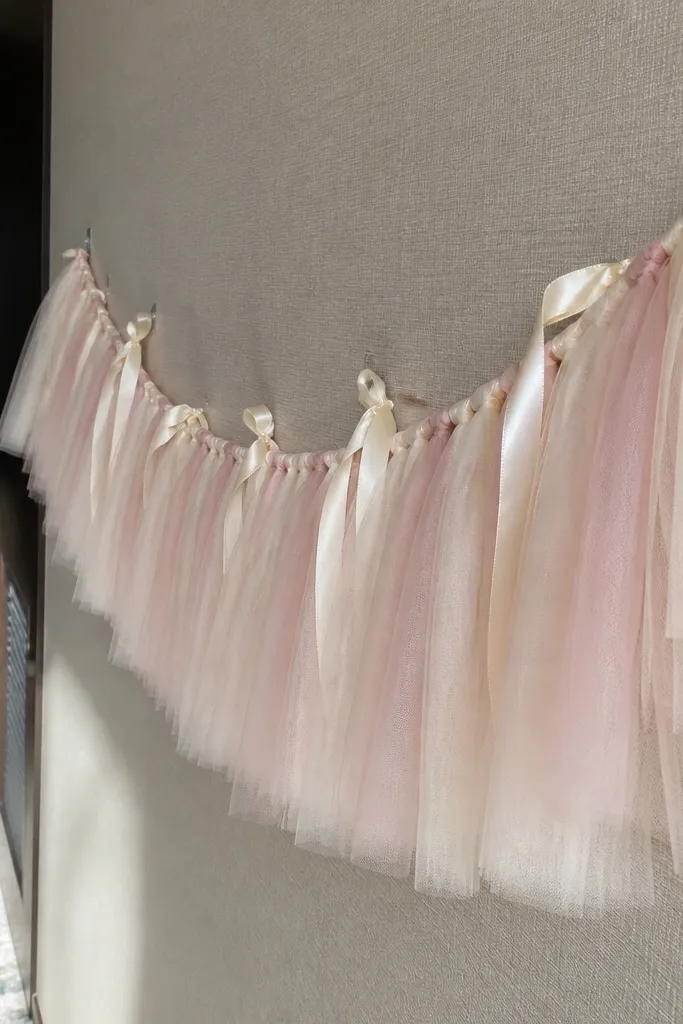
Start by cutting tulle in strips 18-24 inches long so the folds look full without drooping. Then attach the strips to a thin fishing line or a light cord along the wall using fabric clips or tape points. Finally, space ribbon loops evenly and add one small sign at the center point to anchor the welcome message.
Garlands soften a space fast, and they photograph beautifully because they create a gentle curve behind people. Hang a tulle strip garland in light blush and cream, then add ribbon loops every 12-16 inches. Keep it low enough to appear in doorway photos but high enough that kids can’t tug it. This is one of the best family-friendly options because it’s soft, lightweight, and doesn’t require complicated tools. It works in rooms with a visible wall section near the entrance.
Skip thisAvoid long garlands that trail across walkways; they catch feet and ruin the photo angle.
Quick tipUse double-sided mounting squares for the tape points so the garland doesn’t shift mid-party.
6. DIY "Bride Tribe" Photo Frame Corner With Foam Flowers
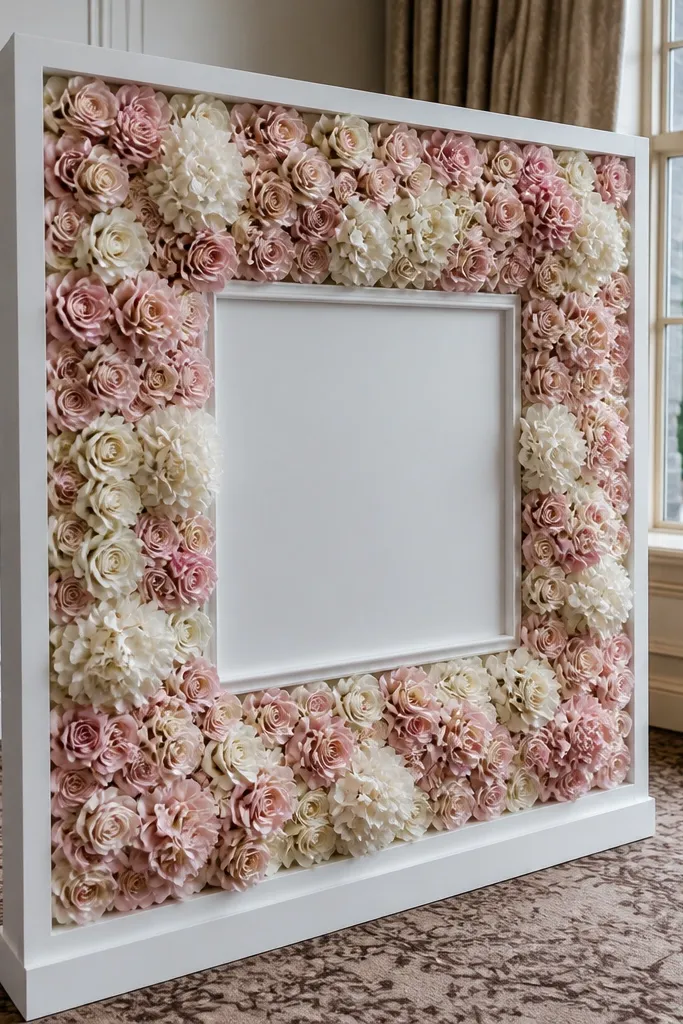
A photo frame corner makes the whole room feel like there’s a plan, and it gives families an easy, safe way to participate. Use a large white frame (or faux frame) and fill the border with foam flowers in blush and cream. Add a simple sign inside the frame area that says “Bride Tribe” or “Welcome, Family + Friends.” Foam flowers look full in pictures and don’t break if someone bumps the stand. This idea is especially good for multi-generation groups because it keeps people positioned for photos.
Start by choosing a frame size that stands 30-40 inches tall so it works at eye level for most guests. Then place it on a stable surface like a small table or floor stand and secure flower clusters with hot glue or floral tape. Finally, add a small prop basket on the floor with matching photo signs so you get variety without clutter.
Put the frame facing the doorway for the cleanest “arrival” photo.
Skip fragile glass vases near the frame; one bump ruins the setup.
7. Flameless Candle Trio on a Mirrored Tray (No Wicks, No Stress)
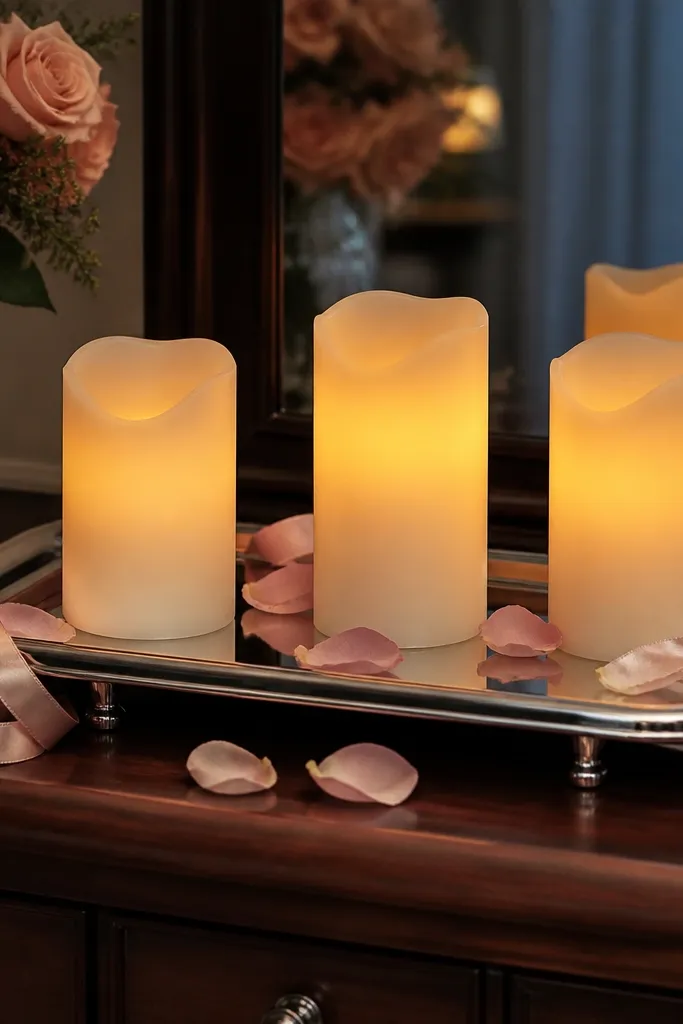
Even one warm light source changes the whole vibe. A trio of flameless candles on a mirrored tray gives you that cozy glow for evening photos without the fire risk around kids. Pair it with a small scatter of blush rose petals or faux petals to make the tray look styled, not empty. It also works with any theme because the colors stay soft and romantic. Choose this when the room lighting is harsh or you want the welcome corner to look warm after sunset.
Start by placing the tray on a side table where it appears in photos but doesn’t block foot traffic. Then arrange candles in a triangle: two in front, one slightly back, and keep the wicks fake so you don’t get stray “real flame” concerns. Finally, add a small welcome card propped behind the candles so the mirror catches light and the card stays readable.
Use warm white flameless candles, not cool white, for a skin-friendly glow on photos.
Avoid tall candle holders that cast big shadows across faces.
8. Polaroid-Style Welcome Cards Hanging on Twine
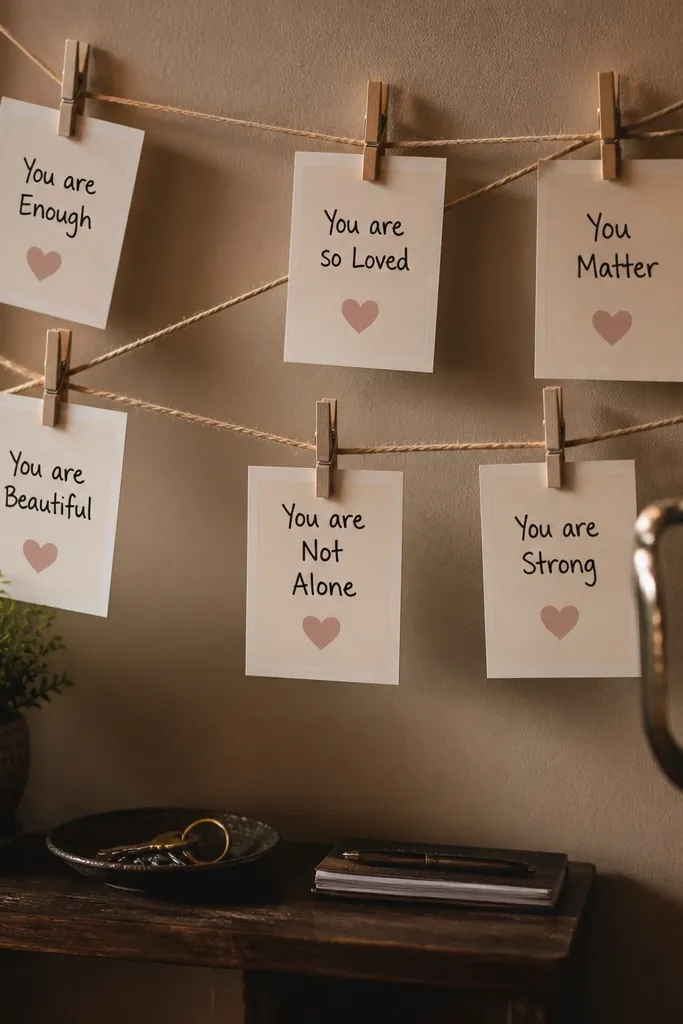
Start by selecting a wall spot with good light and measuring the width so the twine line fits naturally. Then clip 10-15 cards along the line using mini clothespins, and keep spacing even so the layout looks intentional. Finally, place a small bouquet or vase beneath the twine so the lower part of the frame doesn’t look empty.
This makes the room feel personal without turning it into a messy craft corner. Hang a twine line and clip small “welcome” cards that include messages from family members or friends. Use a consistent card look: cream background, dark ink, and one blush heart icon. The photos come out charming because you get a textured wall element that’s readable and fun. It’s family-friendly because it’s paper-based and easy for kids to write on with markers.
Skip thisAvoid mixing card sizes; it looks chaotic and less photogenic.
Quick tipPre-cut a few extra cards so late arrivals can still add a note without rushing.
9. Bow-Tied Balloon Cluster on a Safe Stand
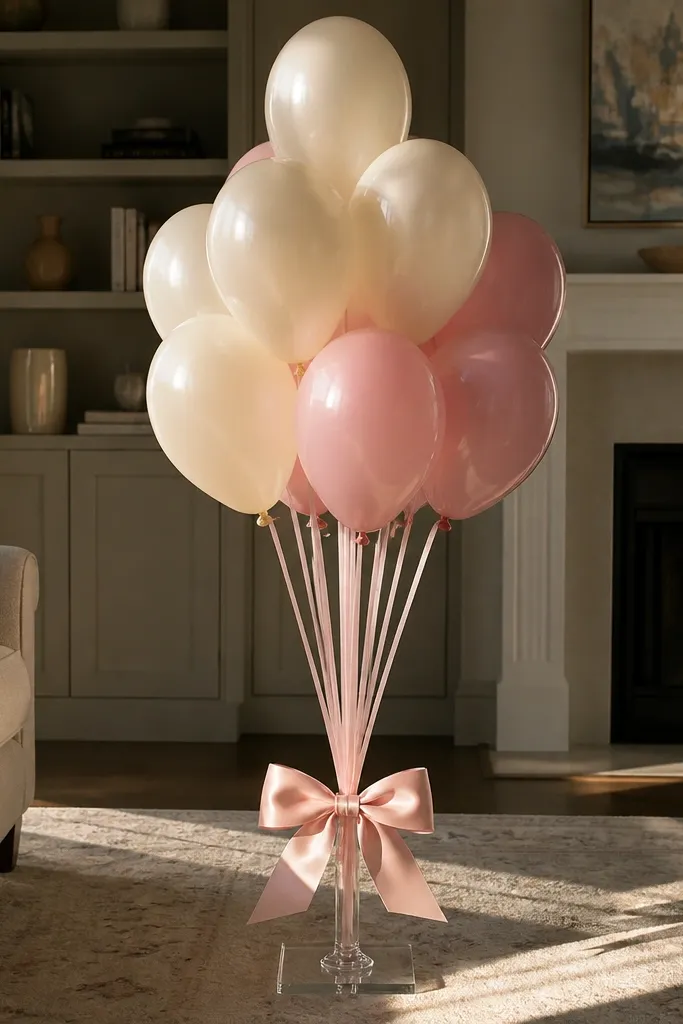
Start by choosing a weighted stand and placing it in a corner near the door where it won’t block walking paths. Then add 6-10 balloons, mixing sizes for depth, and tie all ribbons to the same length so the cluster looks tidy. Finally, attach one small sign to the stand with dark ink so the welcome message is clear in photos.
Balloons can look party-loud or sweet, and the difference is the styling. Use a cluster with cream and blush balloons only, then add a matching bow at the base so it reads “welcome” instead of “chaos.” Keep the cluster tied to a weighted stand so it doesn’t drift into doorways. This is a great option for bachelorette energy that still feels family-appropriate because the color palette stays soft. Use it when you want big visual impact in a single frame.
Skip thisAvoid balloon strings that hang low where kids can pull them.
Quick tipInflate and set up 2-3 hours before photos so the balloons don’t look wrinkled or deflated.
10. Welcome Sign With Framed Fabric Swatch Background
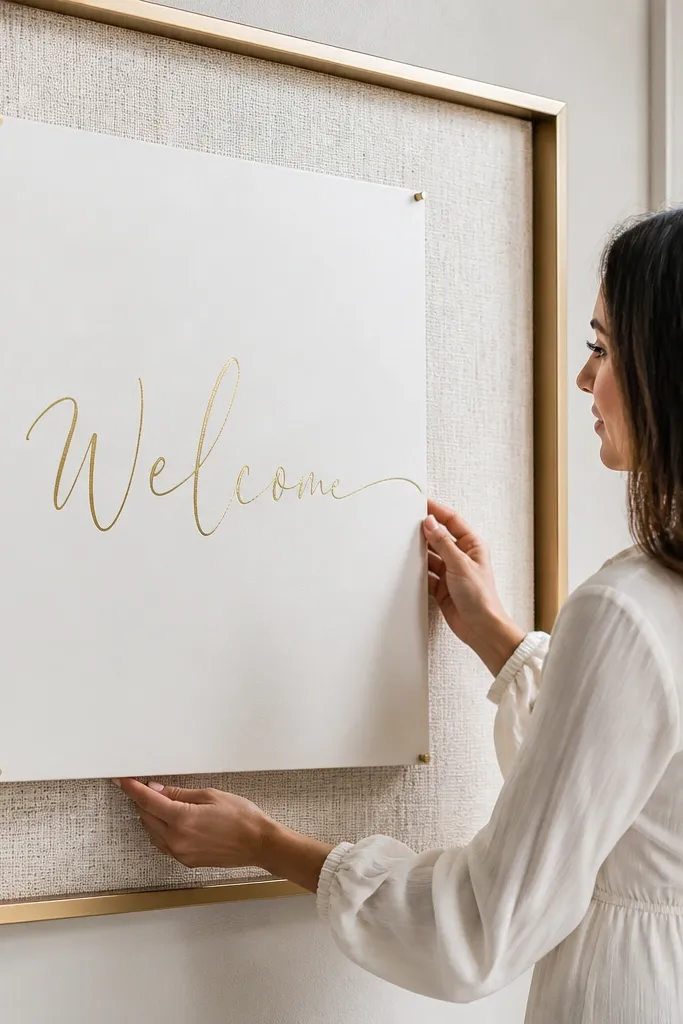
Start by buying a small frame with a flat backing or using a foam board frame if you’re working fast. Then cut your fabric swatch to fit the inner opening and secure it smoothly without wrinkles, using spray adhesive or staples on the back. Finally, place the welcome text on cardstock and mount it centered so it looks crisp and readable.
This is for the bride who wants the room to look styled, not like a poster board. Frame a fabric swatch in cream or blush (think textured linen look or soft satin) and mount a welcome sign in front. The fabric background adds texture in photos, and the framed look makes it feel elevated while still being family-friendly. It’s also a smart choice for hotel rooms because it’s compact and easy to move. Best for winter and fall because warm fabric textures stand out against cooler lighting.
Skip thisAvoid glossy fabric swatches that reflect camera glare.
Quick tipUse a dark frame (black or espresso) if your room walls are bright white; it helps the sign pop.
11. Candy-Color "Welcome Basket" With Ribbon Labels
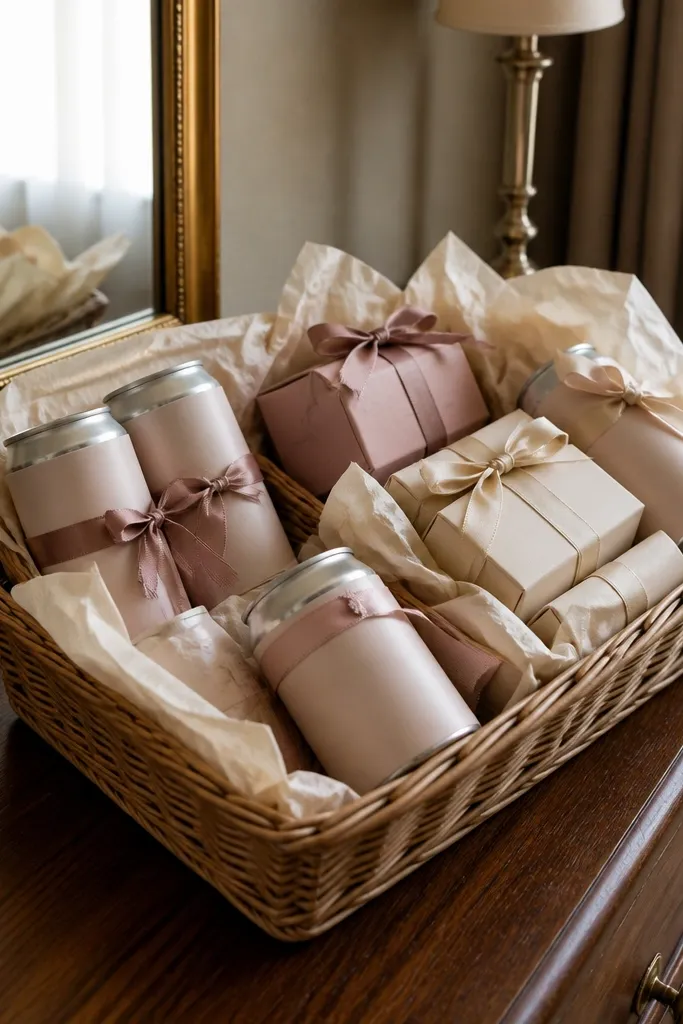
Start by picking a basket size that fits one table and won’t tip when someone reaches in. Then organize treats by category and tie ribbon labels with dark ink so they show up in close-ups. Finally, add a small sign on top that says “Welcome to the Bride Room” in large letters and keep the rest of the room’s colors consistent.
A welcome basket is both decor and a kindness, which is why it feels heartwarming. Use a wicker or fabric basket lined with cream tissue paper, then add sealed snacks or non-alcoholic treats in blush and cream packaging. Tie ribbon labels onto each section so the basket looks designed, not random. Families love it because it gives kids something to grab without asking, and it reduces “what do we do now?” moments. Place it where guests naturally pause — near the door or on the side table.
Skip thisAvoid open candy bowls; they look messy fast and can be a kid-safety headache.
Quick tipUse sealed items only so you can keep the basket looking neat for hours.
12. "Bride Bachelorette" Door Hanger in Soft Pastels
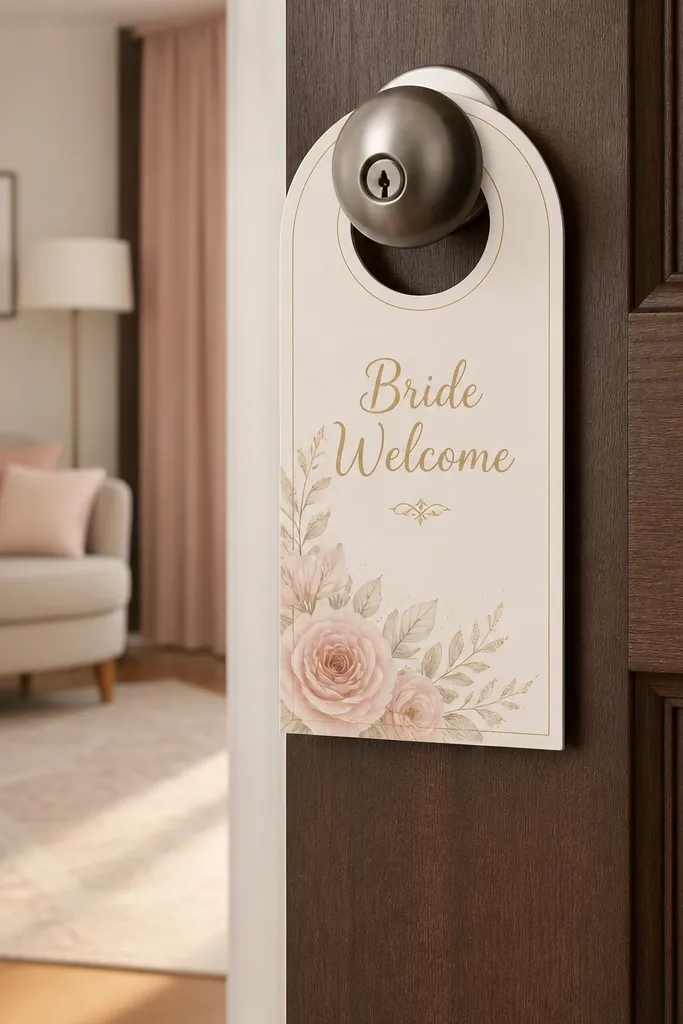
Door hangers look cute in arrival photos and they’re family-friendly when they’re tasteful. Choose a soft pastel design in cream, blush, and warm gold, and write “Welcome” at the top so it reads friendly, not raunchy. The key is keeping the theme words gentle — think “Bride Night” or “Bride Welcome” instead of anything that might feel too adult for relatives. Hang it where it won’t block the door handle, and it becomes part of the room’s “front view” for every picture.
Start by measuring your door so the hanger doesn’t interfere with opening or handles. Then choose a thick cardstock or lightweight foam board hanger so it holds shape in humid hotel rooms. Finally, add a blush ribbon loop at the top and keep the text in one clean block for easy readability.
Use matte paper so indoor lighting doesn’t create glare across the text.
Skip tiny decorative fonts; they look cute in your hand and unreadable in photos.
13. Seasonal Flower Jar With a Family-Friendly Note Card
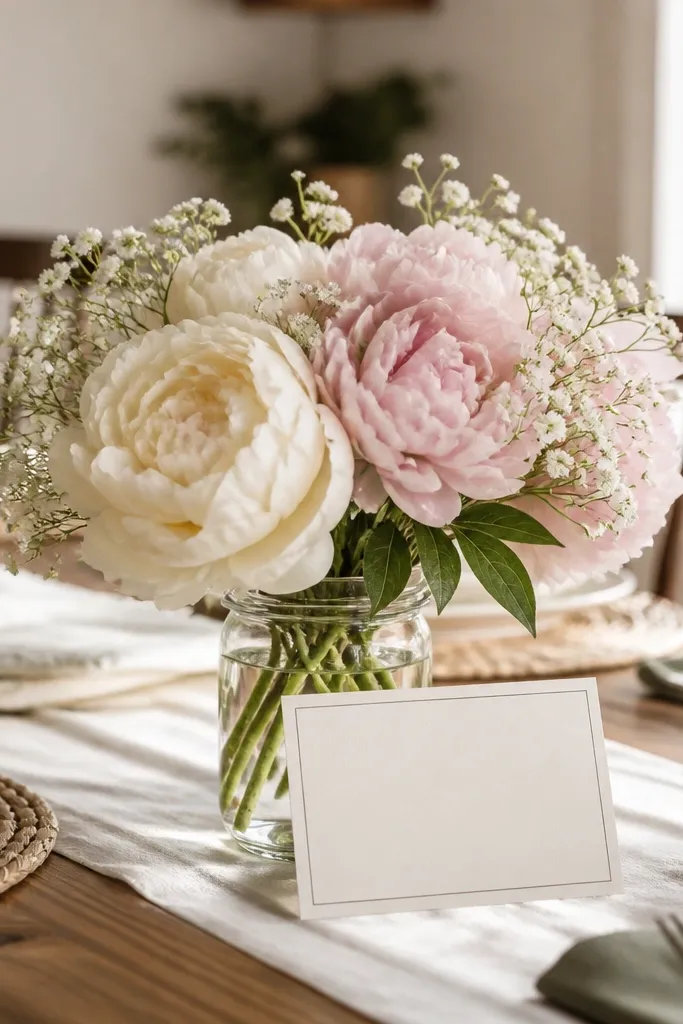
Start by selecting a jar size that fits the nightstand without taking over the surface — 6-8 inches tall looks best. Then build a small bouquet with 3-5 stems so it looks intentional, not sparse, and secure stems with floral tape or foam. Finally, write the note in dark ink and tuck it behind the jar so it stays readable in pictures.
A single flower jar can feel warm when you pair it with a note that includes everyone. Pick seasonal blooms or faux stems in cream and blush tones, then place them in a simple jar or bud vase. Add a note card that says something inclusive like “We’re so glad you’re here, family + friends.” It’s heartwarming because it turns decor into a message, and photos look better because the card gives the scene a focal point. This works best in rooms where you can’t do large backdrops or hanging decor.
Skip thisAvoid adding too many different flower colors; it ruins the calm, warm look.
Quick tipPlace the jar near a lamp or window for soft light and less harsh shadows.
14. Bachelorette Party Cupcake Stand With Non-Alcoholic Sparkle Drinks
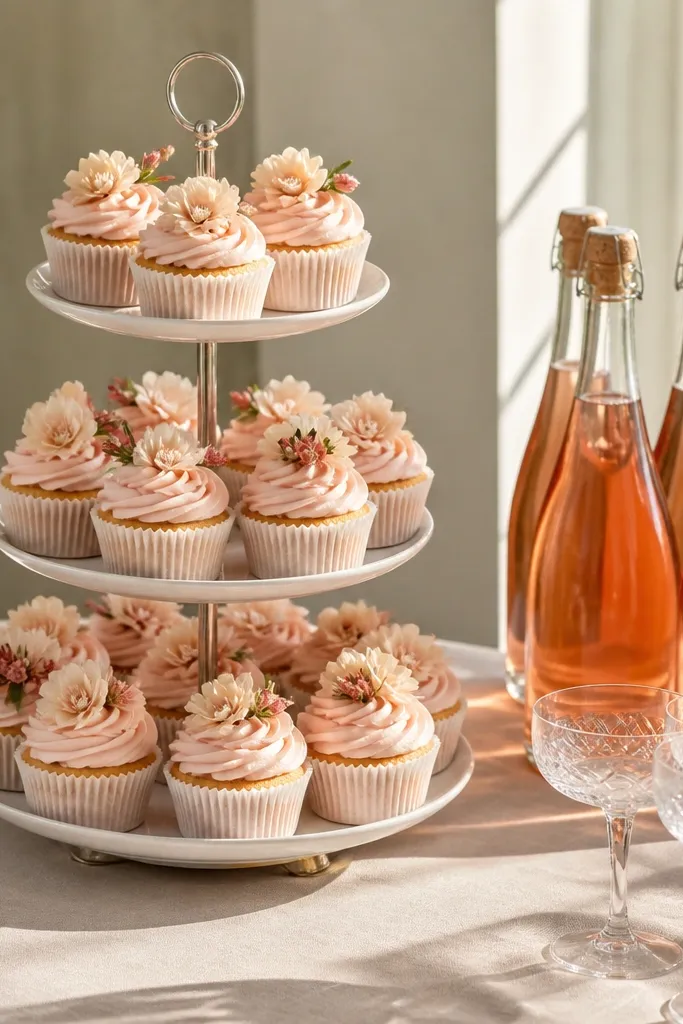
Start by choosing a three-tier stand that sits stable and doesn’t wobble when someone sets a plate down. Then place cupcakes with matching toppers, and add sealed sparkling drinks on a tray to the side so the whole setup stays cohesive. Finally, add a small sign at the front edge with the bride’s first name or “Welcome, Bride” in dark ink.
You get bachelorette energy without making the room feel inappropriate for family. Set up a small cupcake stand with blush-themed toppers and keep the drinks non-alcoholic and sealed. The stand gives height, which is what your camera wants, and it also creates a natural “gather here” spot. For heartwarming vibes, use pastel colors and keep the labels simple and readable. It’s perfect for rooms with enough counter space and a spot where guests can line up for photos and treats.
Skip thisAvoid alcohol bottles on display; it changes the tone fast with family present.
Quick tipUse clear drink cups or keep bottles in a tray so the color palette stays consistent in photos.
15. Mini Balloon Arch Corner Using Faux Garland Frame
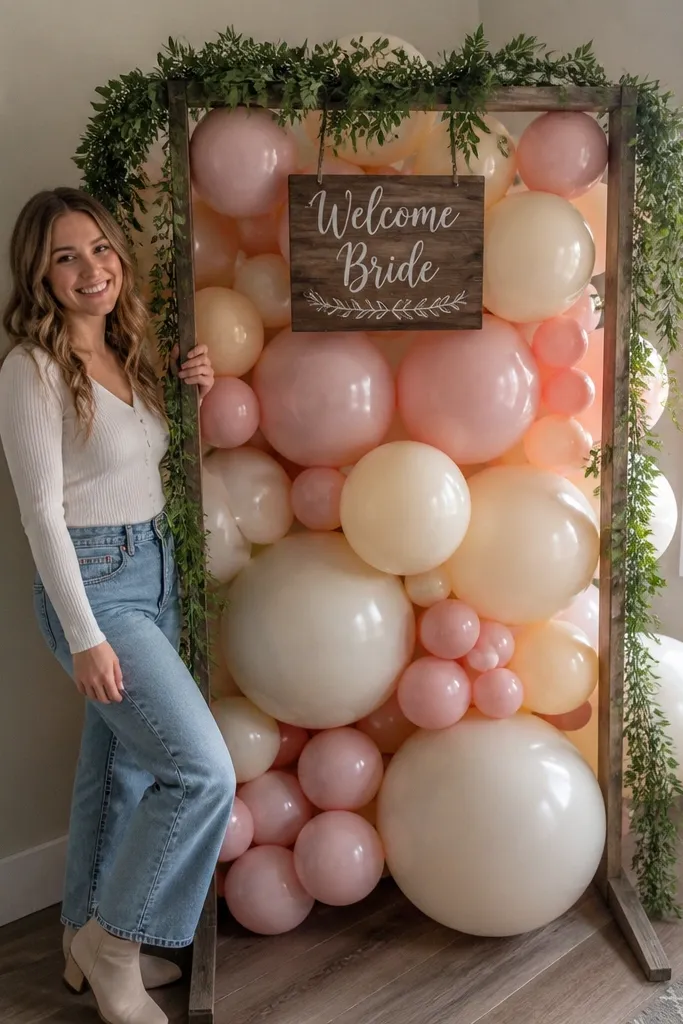
Start by measuring the corner so you know the arch width and height that won’t block the walkway. Then assemble the frame and add balloons in alternating sizes, securing each with ties so it doesn’t sag. Finally, place the arch near your fabric backdrop or curtain so the scene looks layered instead of floating balloons alone.
A full balloon arch is too much for many hotel rooms, but a mini arch corner gives you the same photo wow with less space. Build the arch using a faux garland frame or a simple arch stand, then fill with cream and blush balloons. Add one small “Welcome Bride” sign on the front so families understand where the photo moment is. This setup is photogenic because the arch frames faces and creates a clear background layer. Use it when you have a corner wall and want a standout arrival shot.
Skip thisAvoid placing the arch too close to curtains; balloons can cast weird shadows and block the backdrop.
Quick tipSet up the arch 2-4 hours before the first photos so balloons look full and not flattened.



