
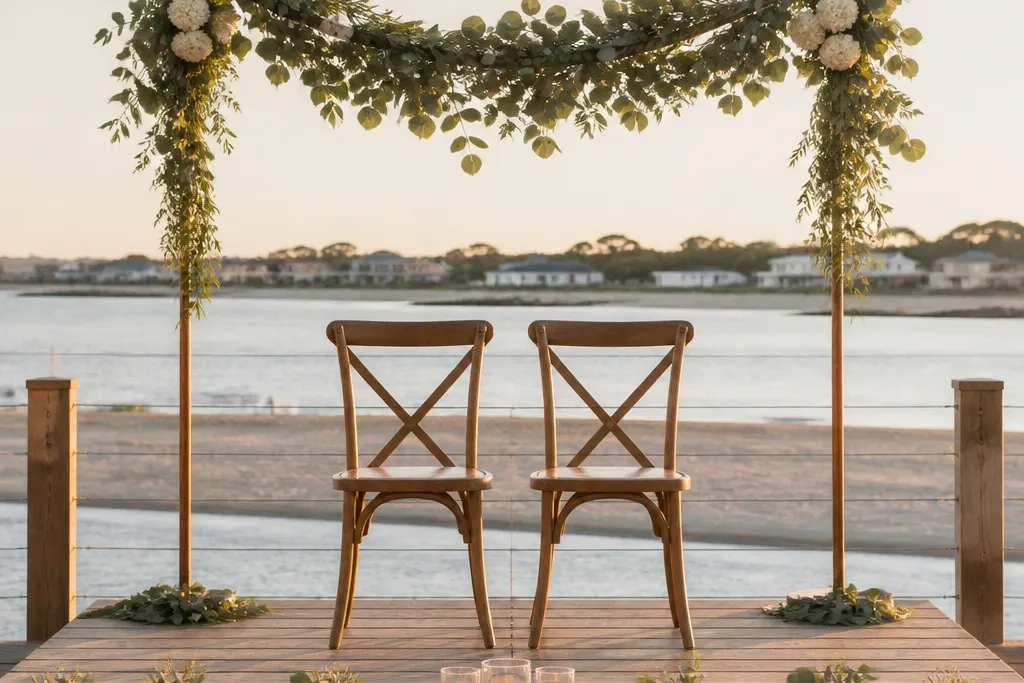
1. Corner lantern pair with ribbon pulls
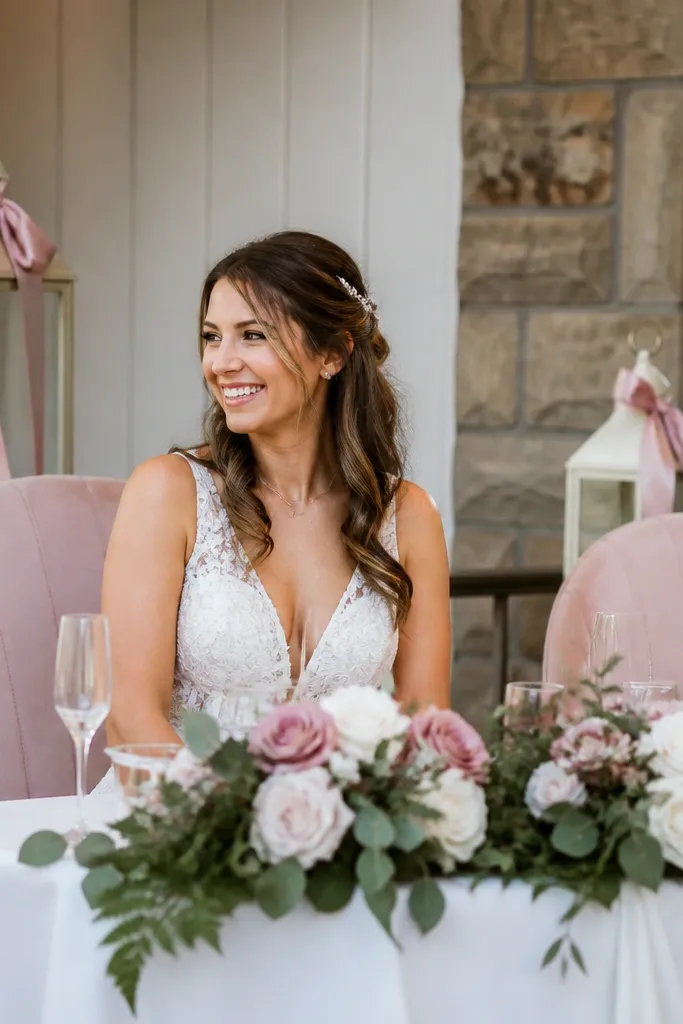
This is a clean way to add vertical interest without building anything. Place two matching lanterns in the back corners of the stage so the photos catch height on both sides. White or cream lanterns look soft in daylight and still read at night because the shape frames the couple. Add ribbon in a single accent color so it ties into bouquets and table florals. It’s a good choice for venues with limited open space where you still want the stage to look “finished.”
Step 1: Put the lanterns on stable bases at the back corners, then check the view from where you expect the photographer to stand. Step 2: Tie a short length of ribbon to each lantern handle (or loop through the top handle), then pull it slightly so it hangs straight. Step 3: If the lanterns feel wobbly, tuck a small non-slip pad under each base. Expect 5 minutes if your lanterns are already packed and ready to place.
Quick tipUse battery candles with warm light — they look natural and avoid real flame restrictions.
Skip thisDon’t choose lanterns with bright metallic finishes unless your stage already uses gold tones.
2. Mini bud vase row along the stage front edge
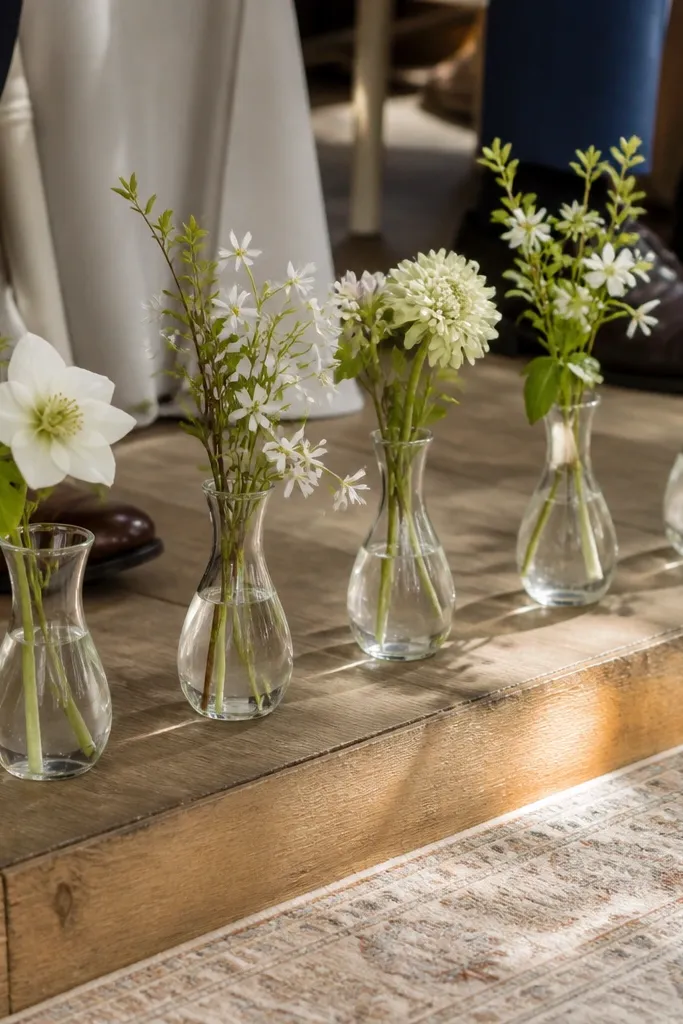
A row of tiny vases makes the stage feel styled even when you keep everything small. The trick is placement along the front edge where guests' eyes land and where cameras catch a neat line. Use 3-5 bud vases in matching sizes, filled just enough to hold one or two stems each. This works especially well for spring and summer weddings because fresh stems look airy and not bulky. It also suits modern stages that don’t have a lot of texture to work with.
Step 1: Measure the stage front edge and mark three points with painter’s tape so your spacing stays even. Step 2: Fill each bud vase with water and insert one stem type per vase so the line stays cohesive. Step 3: Wipe the glass bottoms and place a small tray or runner under the row so drips don’t end up on the floor. You can set this up in one pass if your vases are already filled or prepped.
Pick one flower and one filler leaf max — too many varieties turns into visual clutter fast.
Skip tall bouquets in bud vases; tall stems block chairs and look messy from the aisle.
3. Single statement garland on a blank backdrop bar
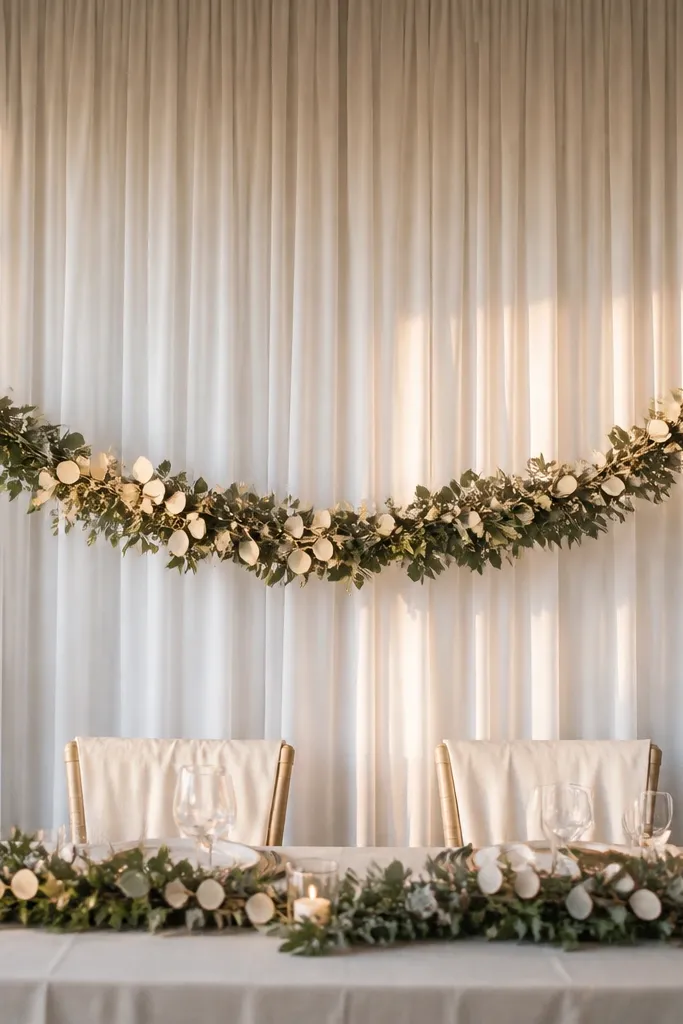
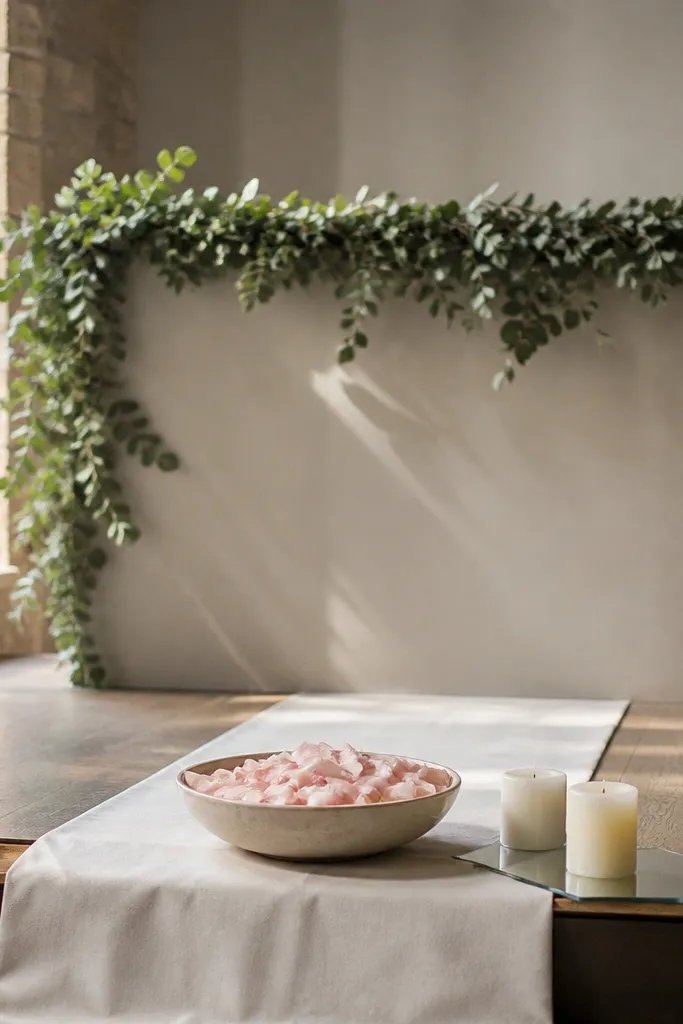
If your stage has a plain backdrop bar or railing, a single garland makes it look designed instantly. Choose one long garland and drape it across the center, letting ends fall slightly toward the couple’s chair area. Sage, eucalyptus-style greens, and cream petals read soft on camera and don’t fight with the bridal bouquet. This works for indoor venues with a backdrop but empty vertical space. It’s also great for winter because faux greenery still looks full under cool lighting.
Step 1: Lay the garland flat and find the center point, then clip or tie the center to the backdrop bar. Step 2: Work outward in small increments, pulling slack evenly so the drape looks intentional, not wrinkled. Step 3: Use 2-3 clear command hooks on the underside to keep it from sliding. Plan 5-7 minutes if you’re adjusting the drape symmetry.
Quick tipIf the bar is metal, use zip ties with a ribbon wrap so the tie doesn’t show in photos.
Skip thisDon’t use a garland that’s too thin — it disappears and looks like a random string.
4. Faux rose cluster behind the ceremony chairs
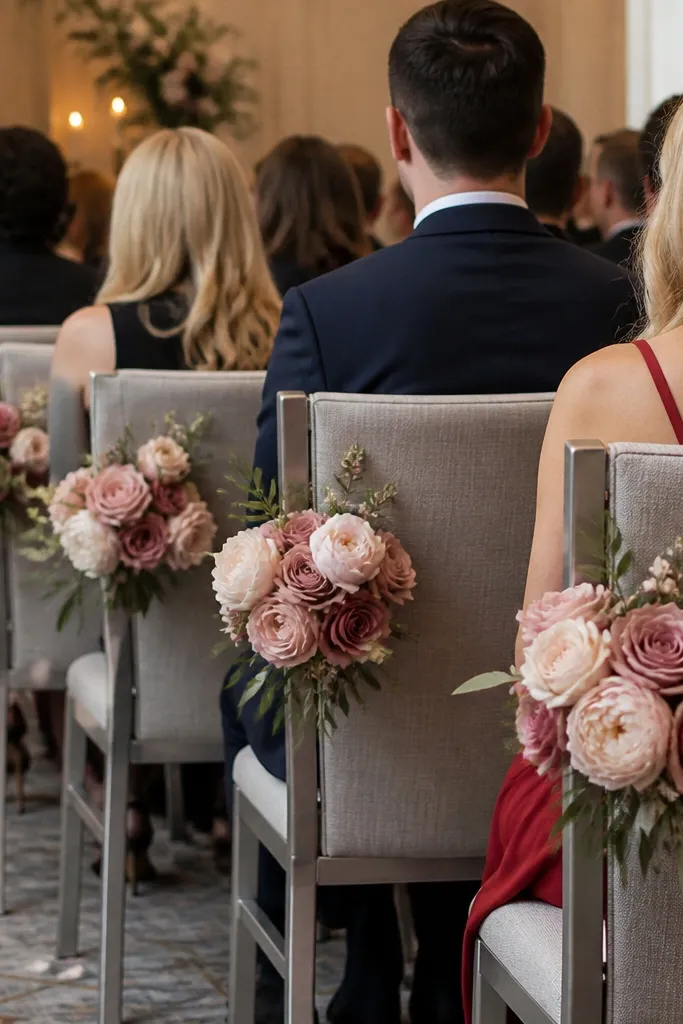
This is one of the fastest ways to add romance without covering the whole stage. Place a compact faux rose or peony cluster behind each chair back, or a single cluster behind the couple’s side if space is tight. The cluster creates a focal point that looks lush in photos, even from a distance. Go with blush, dusty rose, or ivory depending on your dress and bridesmaid palette. It suits indoor stages and outdoor tents where you need decor that won’t wilt.
Step 1: Slide the cluster into position first, then adjust height so it sits around the top third of the chair back. Step 2: Secure with zip ties to chair frames or thick floral tape to a nearby stand, then hide the tie ends behind the blooms. Step 3: Add one small filler stem at the edge to frame the chair corner. You should be done in 5 minutes if the clusters are pre-made.
Quick tipMatch the stem color to your chair color — green stems hide better on dark frames.
Skip thisSkip loose, single stems; clusters look full and photograph better.
5. Two-height candle stack with mirrored base
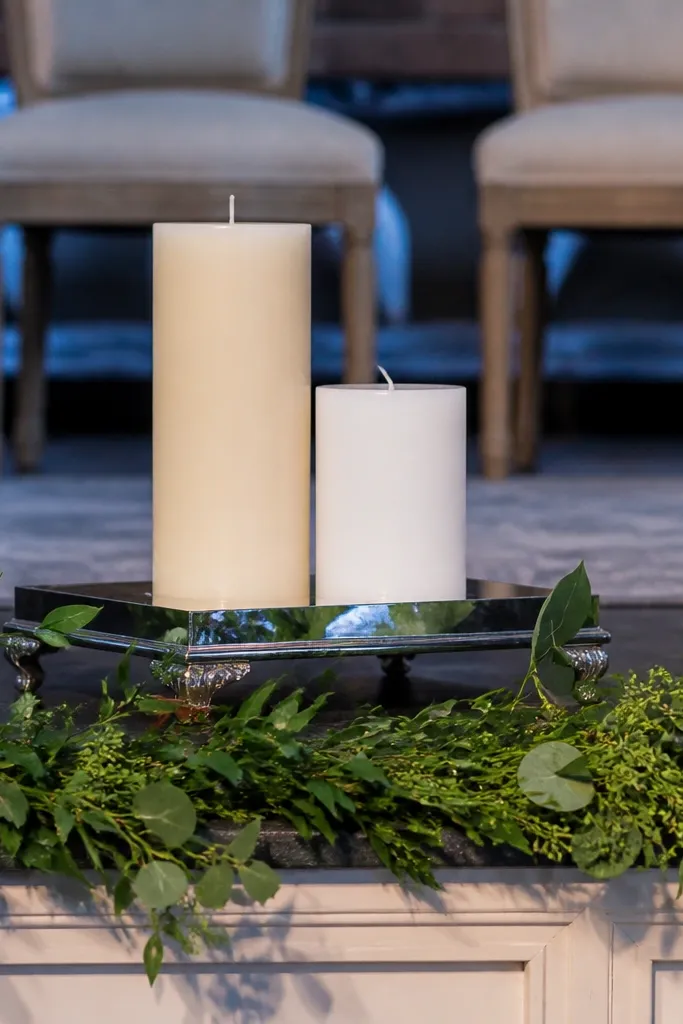
A candle stack adds warmth and a “styled table” look even when you’re not using candles everywhere. Use two candles in different heights on a small mirrored tray at the stage center front or just behind the chairs. The mirror catches light and makes the small setup look bigger in photos. Choose matte white, ivory, or soft gray for a modern wedding and avoid glossy colors that reflect too much. This is a strong choice for evening ceremonies.
Step 1: Place a mirrored tray where it won’t block sightlines, usually centered but slightly forward of the couple. Step 2: Set the taller candle at the back, shorter in front, and keep spacing consistent so the tray looks balanced. Step 3: Add a thin strip of greenery or a strip of silk ribbon under the candles if you want more color. Setup is quick if you bring the tray and candles together.
Quick tipUse flameless candles with a timer so you don’t have to fuss during the ceremony.
Skip thisDon’t use a tray that’s too large; big mirrors can look distracting in wide shots.
6. Fabric-wrapped foam blocks at stage edges
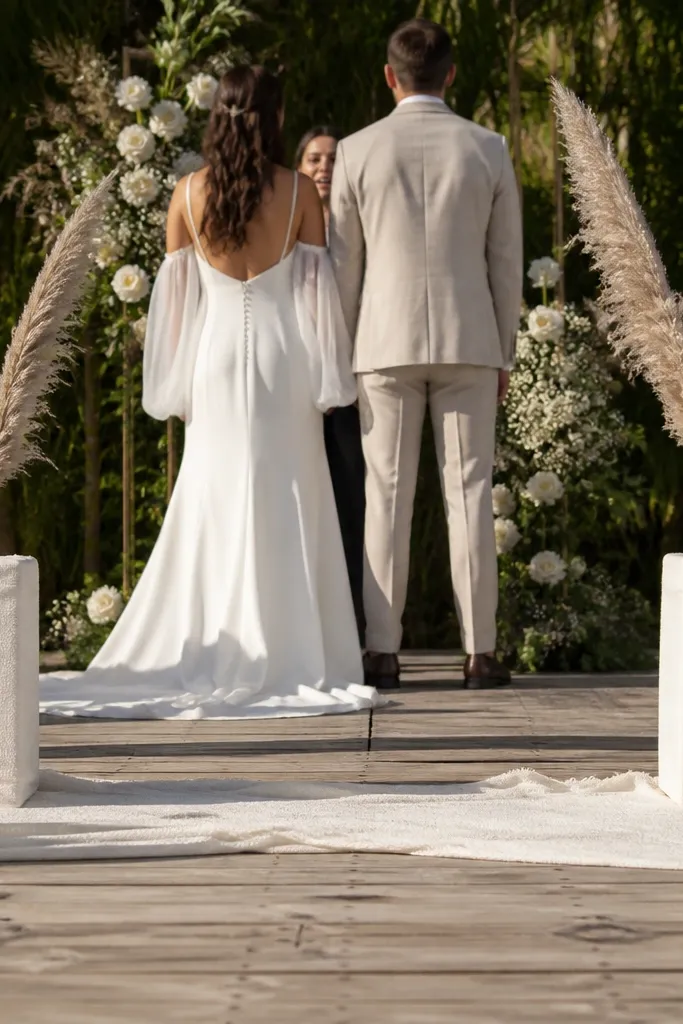
Foam blocks are the secret weapon for small stage decor because they hold stems and keep the arrangement from collapsing. Wrap two foam blocks with fabric (cream, taupe, or the same color as your table linen) so they look intentional. Then insert one or two tall, feathery stems like pampas or dried grasses at an angle. Place one block at each side edge of the stage, aiming the stems toward the center. This makes the stage look fuller without adding bulk.
Step 1: Cut fabric to wrap the foam tightly and secure with hot glue or double-sided tape, then trim clean edges. Step 2: Insert 1-3 stems per block, keeping the tallest stem about head height above the chair line. Step 3: Set each block at a stage edge and angle stems inward so the couple’s area stays open. This takes about 5-10 minutes depending on how fast you wrap.
Quick tipIf you’re using real dried grass, spritz lightly with hairspray to reduce shedding.
Skip thisSkip cheap foam that crumbles; it shows through fabric and breaks during setup.
7. Mini champagne bucket with one bouquet-style stem
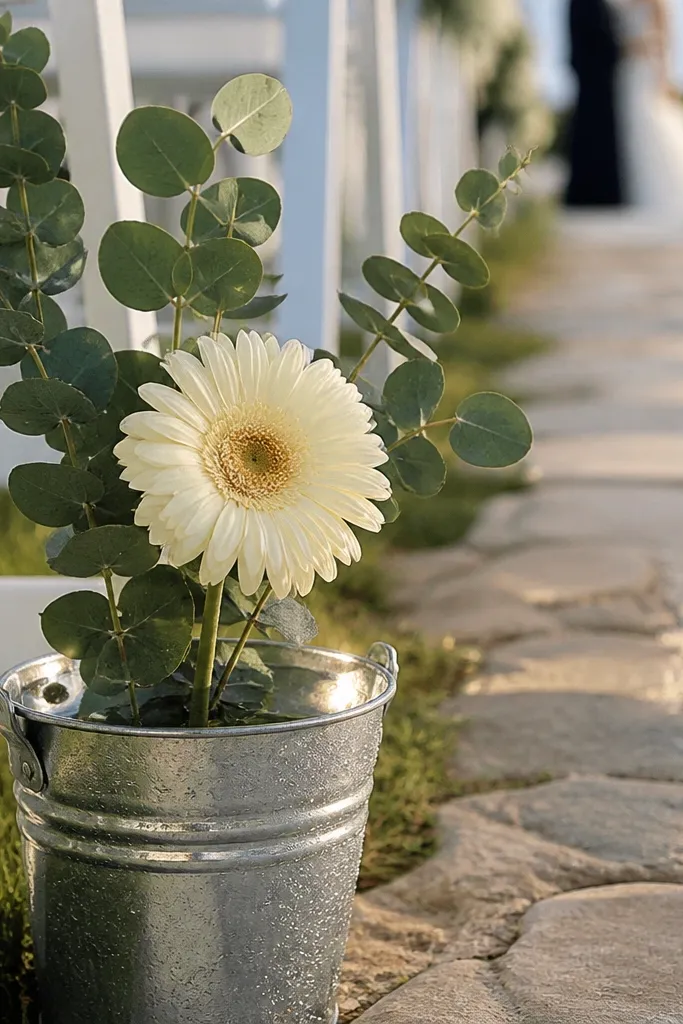
Small buckets look expensive when you keep them simple. Use a mini champagne bucket or galvanized pail and fill it with water, then add one bouquet-style stem bundle: eucalyptus + one focal flower type. Put it on the side of the stage near the aisle so it catches light and creates a “prop” moment in photos. This works great for rustic-modern weddings and for venues that have mismatched furniture you need to visually unify. It also suits fall because metal + greens looks perfect under warm lighting.
Step 1: Place the bucket where it won’t block chair legs, usually at the stage corner or just inside the edge. Step 2: Prep a small foam insert or use a single vase tube so stems stay upright without rearranging. Step 3: Arrange stems so the tallest height rises above the chair backs by a few inches. You can set this in 5 minutes if the stems are already bundled.
Choose one focal flower and keep the rest greenery — it looks styled, not random.
Don’t use a bucket that’s too small for water; it dries out fast and the stems droop.
8. Statement balloon bunch anchored low
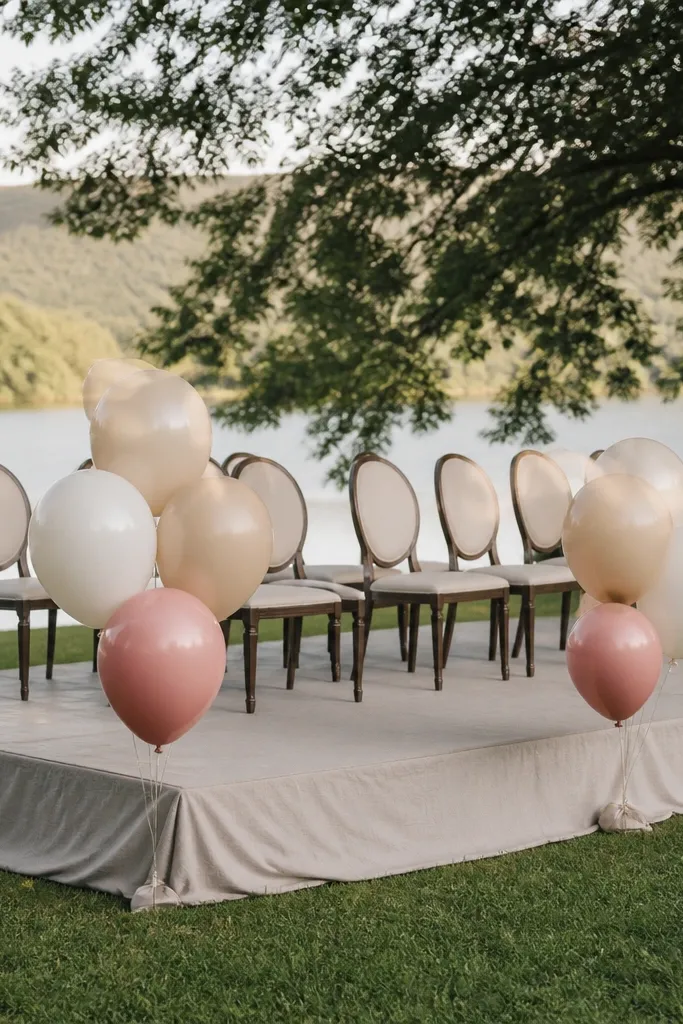
Balloons can look classy when you keep them grounded and color-controlled. Tie a small bunch of matte balloons (3-5 balloons) and anchor them low near the stage edge so they don’t float into the backdrop. Pick one accent color and keep the rest neutral like champagne, ivory, or soft taupe. This is especially photogenic for outdoor ceremonies where the background is busy — balloons add a clean pop near the frame. It’s also fast because you can prep the bunch off-site.
Step 1: Inflate balloons with helium only if you have a plan for anchoring; otherwise use a weight and keep them tethered low. Step 2: Tie the bunch to a weighted stand or a hidden sandbag at the base of a stage leg. Step 3: Add a ribbon tail in your palette color so it looks intentional in close shots. Setup is 5 minutes if balloons arrive pre-tethered.
Use matte balloons; glossy ones reflect venue lights and can look harsh in photos.
Skip balloon strings hanging high; they create messy lines behind the couple.
9. Two-frame photo garland using mini clips
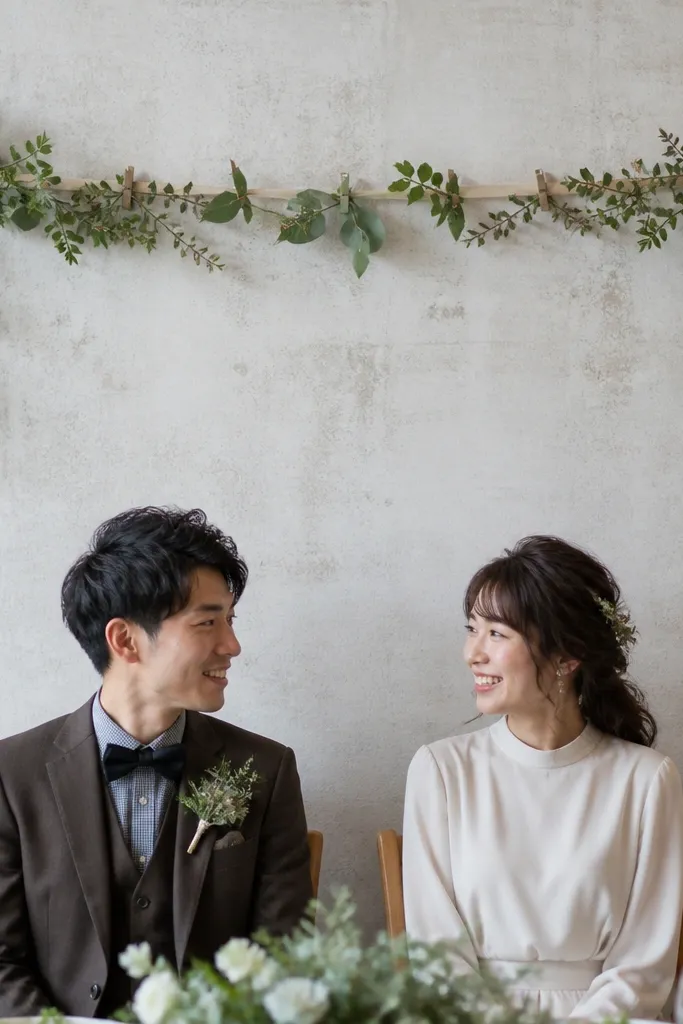
If your stage has two vertical frames or posts, you can turn them into a clean decorative border fast. Use a thin ribbon or narrow fabric strip and clip a small greenery line to it so it forms a light “frame” above the couple’s chairs. This looks airy and modern and doesn’t overwhelm the background. Pick greenery tones that match your bouquet — sage and dusty green are the easiest. It also works indoors because it reads as a neat shape, not a bulky installation.
Step 1: Measure the distance between the posts and cut your ribbon/fabric strip slightly longer so it drapes gently. Step 2: Attach mini clips or clothespins to the strip at even intervals, then clip greenery pieces onto the strip. Step 3: Hang the strip at the height that sits just above chair backs. You’ll get a polished look in 5-6 minutes if you pre-clip the greenery on the floor first.
Quick tipUse clear clips or clips that match the ribbon color so the hardware disappears.
Skip thisDon’t use thick rope; it looks heavy and cheap next to chair fabric and florals.
10. Draped sheer ribbon over chair backs
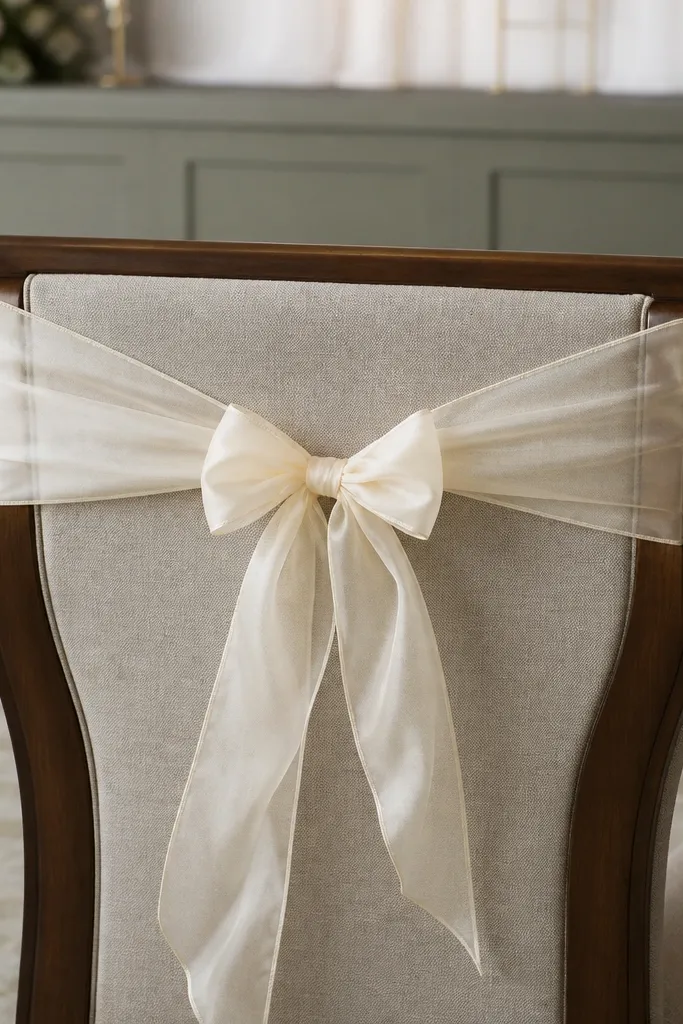
This one is simple and looks expensive because fabric catches light softly. Tie sheer ribbon across the top of chair backs with a small bow or knot at the center. Choose ivory, champagne, or pale blush based on your color palette, and keep the ribbon width around 2-3 inches for a clean look. It’s perfect when the stage has lots of chairs and you need uniformity fast. Outdoors, sheer fabric also moves slightly and adds life in video.
Step 1: Cut ribbon lengths so they reach from one side of the chair back to the other with a little drape, usually about 18-22 inches per chair. Step 2: Drape ribbon over the chair top, then tie a small knot or bow at the center. Step 3: Add a thin greenery sprig behind the ribbon knot if you want extra color without adding bulk. Do the chairs in one sweep — it’s fast if you have a helper handing ribbons.
If wind is an issue outdoors, pin the ribbon underside with a small fabric pin.
Skip satin that’s too shiny; it can look plastic under strong lights.
11. Mini floral foam wreath on a stand
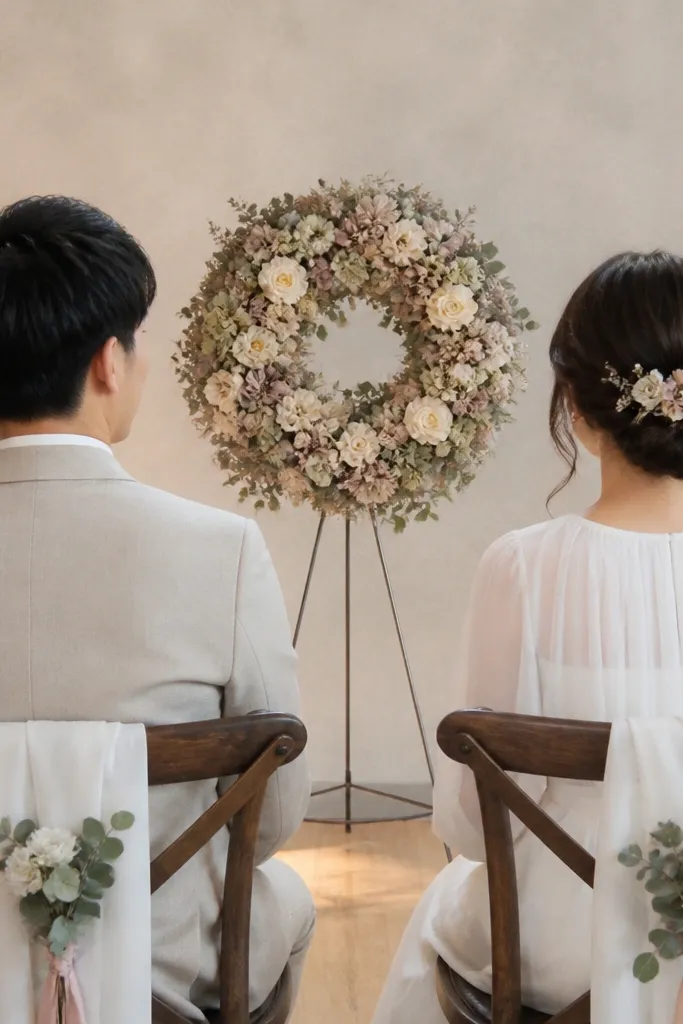
A mini wreath behind the couple creates a clear focal point without building an arch. Use a small foam wreath frame (about 12-16 inches across) and attach it to a slim easel or stand behind chair backs. Fill it with faux flowers or dried-style blooms so it stays full and doesn’t wilt. Place it centered behind the couple so photos have one strong shape. This works for small stages, courthouse-style venues, and any place where a full backdrop would take too long.
Step 1: Attach the wreath to the stand using zip ties or a wire loop, then position it so it sits above chair backs. Step 2: Add a few longer stems at the bottom edge so it looks layered, not flat. Step 3: Clean the front with a lint roller so the wreath reads clearly on camera. Setup should take 5 minutes if the stand is already assembled.
Use warm white lights inside the wreath if you’re doing evening photos; it reads beautifully without extra decor.
Don’t make it bigger than 16 inches; oversized wreaths block faces in close shots.
12. Pampas mini bunches on two matching plinths
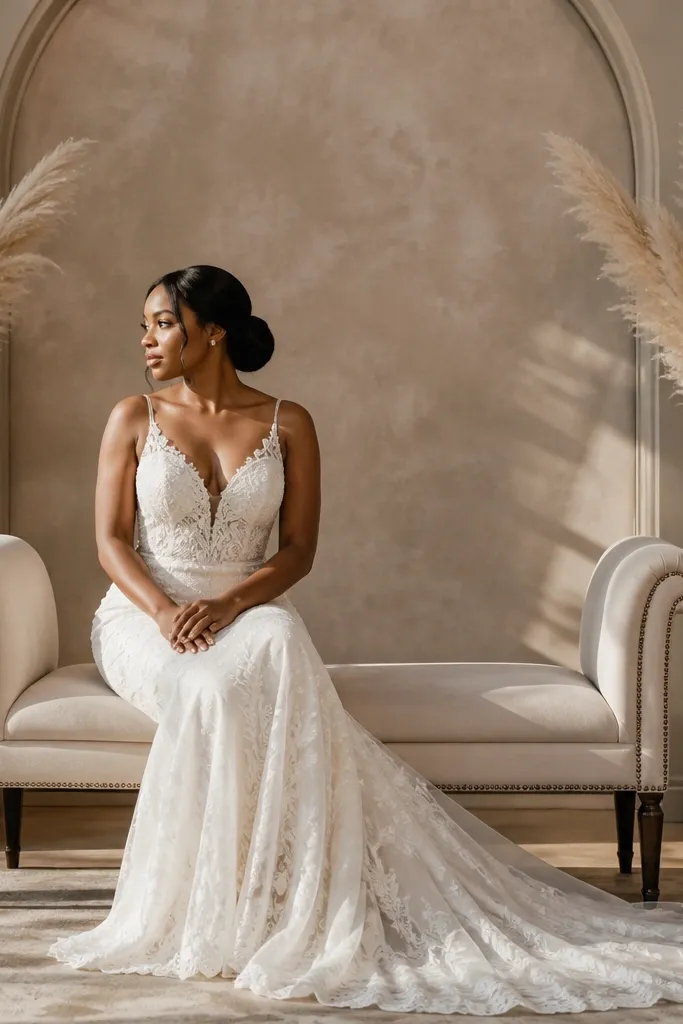
Pampas-style plumes look airy and elevated when you keep the arrangement minimal. Put one mini bunch on each side plinth so the stage has symmetry. Choose plumes in natural beige or warm ivory, then angle them toward the center so the couple stays framed. This is a strong aesthetic for boho-modern weddings and for venues with neutral walls or drapes. It’s also forgiving — dried textures hide small gaps better than fresh florals.
Step 1: Place plinths at the stage edges, then hold a plume bunch in position to find the angle that points toward the center. Step 2: Secure the stems with floral wire into a small foam block at the top of the plinth. Step 3: Trim any ends that look uneven from the audience side, not the floor side. You can do this in 5-7 minutes if your foam blocks are ready.
Quick tipUse a lint brush before setup; pampas sheds and you want clean stage photos.
Skip thisAvoid black plinths with beige plumes unless your whole palette is dark — it can look heavy.
13. Single-color rose petals in a clear runner bowl
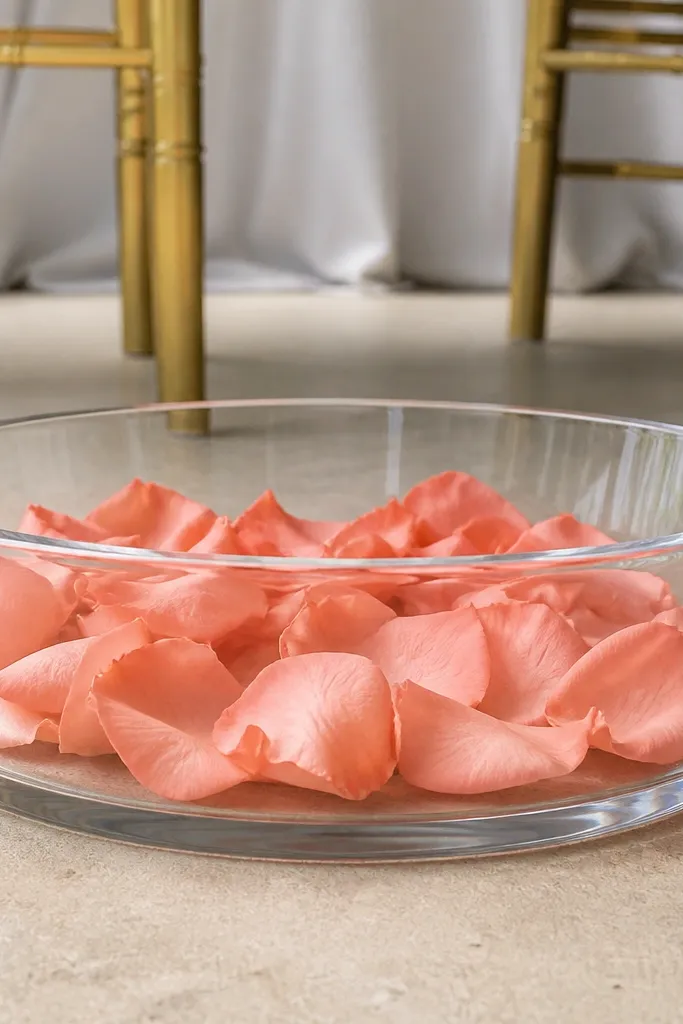
Petals look romantic and clean when you control the amount. Put a shallow clear bowl or acrylic “runner bowl” at the stage center front and fill it with rose petals in one color only. This creates a soft, photogenic texture that doesn’t require flowers everywhere. It’s especially good for indoor ceremonies where the stage floor is visible in photos. Keep it to one bowl so it reads intentional, not like confetti.
Step 1: Choose a bowl size that fits in the center third of the stage front, usually 10-14 inches wide. Step 2: Fill with petals lightly — you want them to float, not form a thick mound. Step 3: Place it on a tray or liner so any stray petals don’t scatter across the stage. You can set this up in under 5 minutes if petals are pre-sorted by color.
Quick tipUse petals that match the bouquet tone — dusty rose petals photograph softer than bright red.
Skip thisSkip mixed petal colors; it looks messy fast on camera.
14. Two mini frames with mirrored backing and greenery
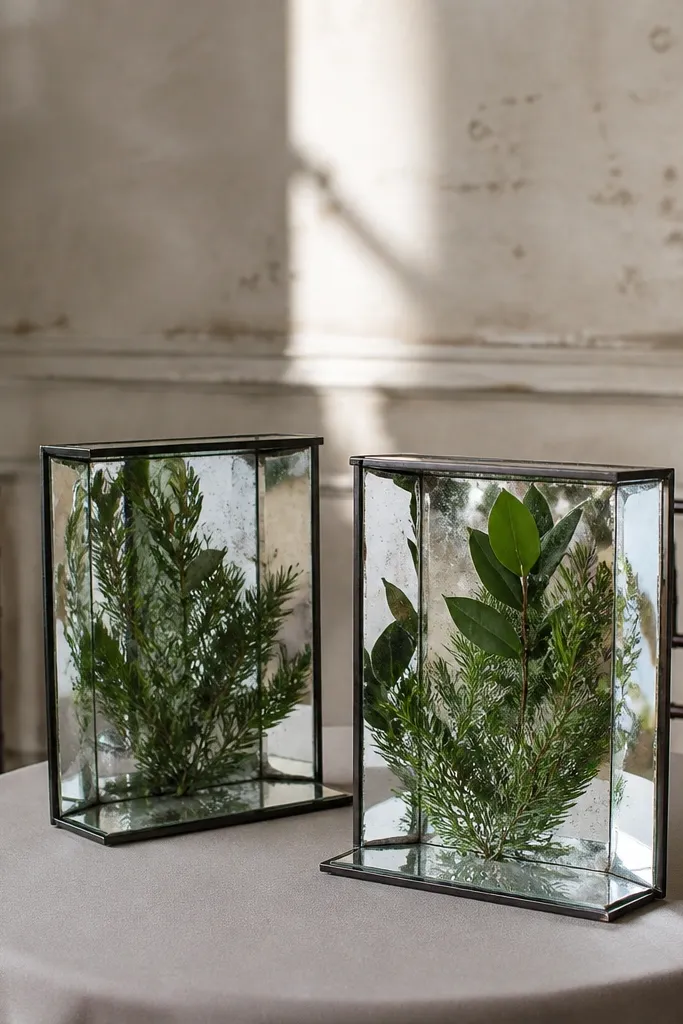
Mirrored backing makes small decor feel bigger because it multiplies light and adds depth behind your stage elements. Use two small tabletop frames (or lightweight picture frames) and insert greenery sprigs into the openings so they look like mini wall panels. Place one on each side of the stage near the chairs. This is great when your venue has plain walls or dark curtains because the mirror brightens the scene. It also reads modern, not fussy, which helps if your wedding style is clean and minimal.
Step 1: Set the frames on stage corners where they won’t reflect the photographer’s flash directly into faces. Step 2: Tuck greenery into the frame openings and secure with floral wire or hot glue at the back. Step 3: Add one small accent flower head at the bottom corner for color. Expect 5-8 minutes depending on frame size and how many greenery pieces you need.
Angle the frames slightly outward (about 10-15 degrees) so reflections look like light, not glare.
Don’t use cheap plastic mirrors; they warp reflections and look off in photos.
15. Mini bud bouquet tied to a chair arm
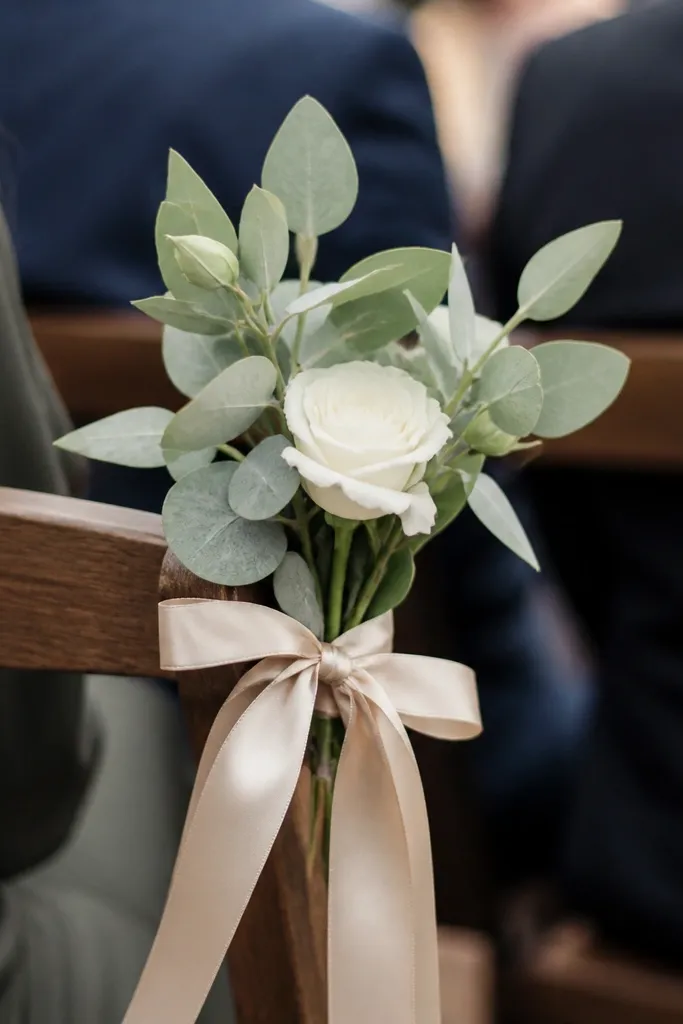
This is the most “natural” look for a quick stage refresh. Tie a mini bud bouquet to the side of the couple’s chairs using a ribbon that matches your palette. Keep it small — 2-4 stems max — so it doesn’t block guests' views or look like clutter. It’s photogenic because it creates a human-scale detail near faces, especially in close ceremony shots. This works in any season since you can use faux buds or dried stems and it still looks intentional.
Step 1: Tie a ribbon loop around the chair arm, then secure the ribbon end with a knot so it won’t slip. Step 2: Add the mini bouquet and tighten the ribbon around the stems, leaving the flowers visible. Step 3: Trim any stems that stick out toward the audience and fluff petals or leaves. You’ll get a clean result in 5 minutes per chair.
Quick tipUse thick satin ribbon for a firm tie that holds shape on chair frames.
Skip thisSkip oversized bouquets; they look heavy and can swing into the aisle during the ceremony.



