
1. 18x24 Bride-to-Be Sign with Thick Black Letters
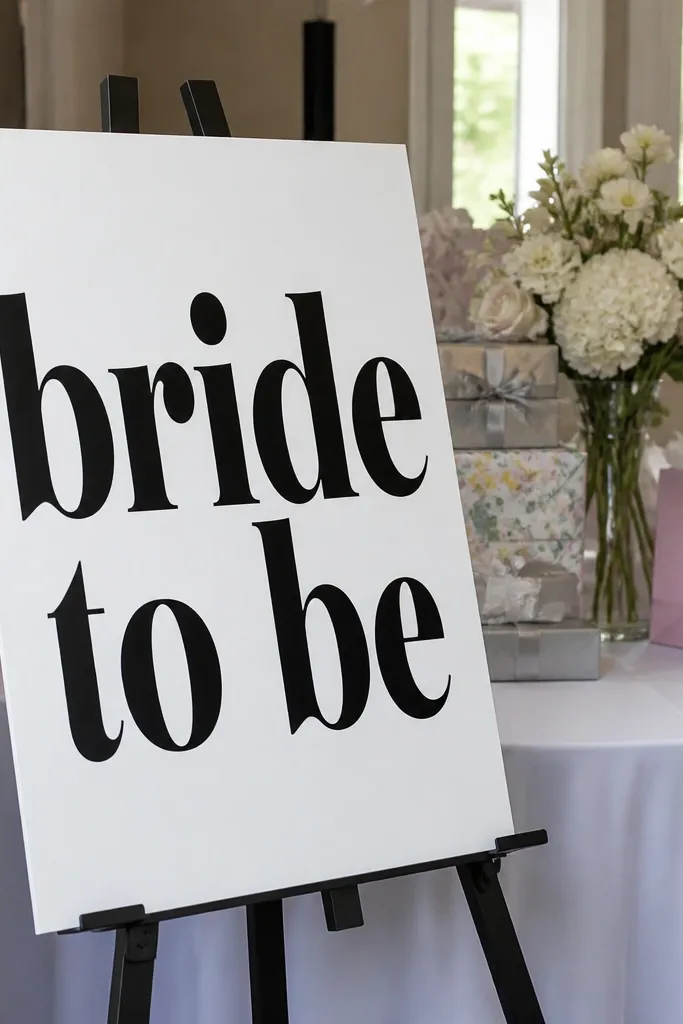
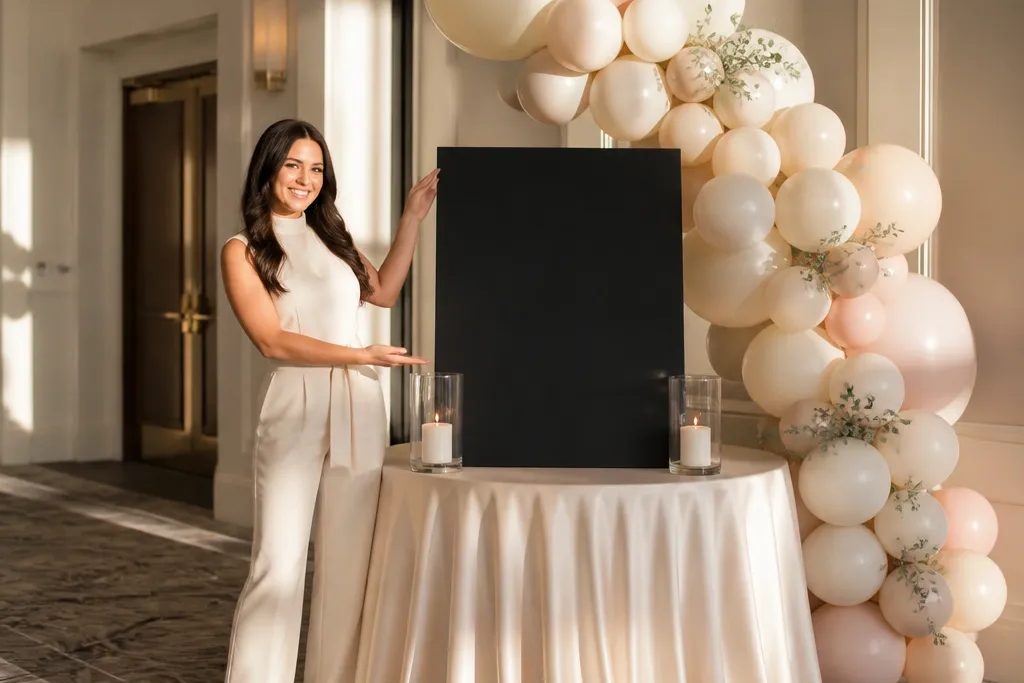
This is the fastest way to make the event look styled. Thick black letters on a light background read clearly in photos even when the room is busy, and the sign becomes the anchor for everything else. Use it behind the gift table, on the wall near the main seating, or propped on a stand so it’s visible from the doorway. It suits lounges, dining rooms, and hotel corners because it doesn’t need extra space. If you want “simple” to look intentional, this one element does the heavy lifting.
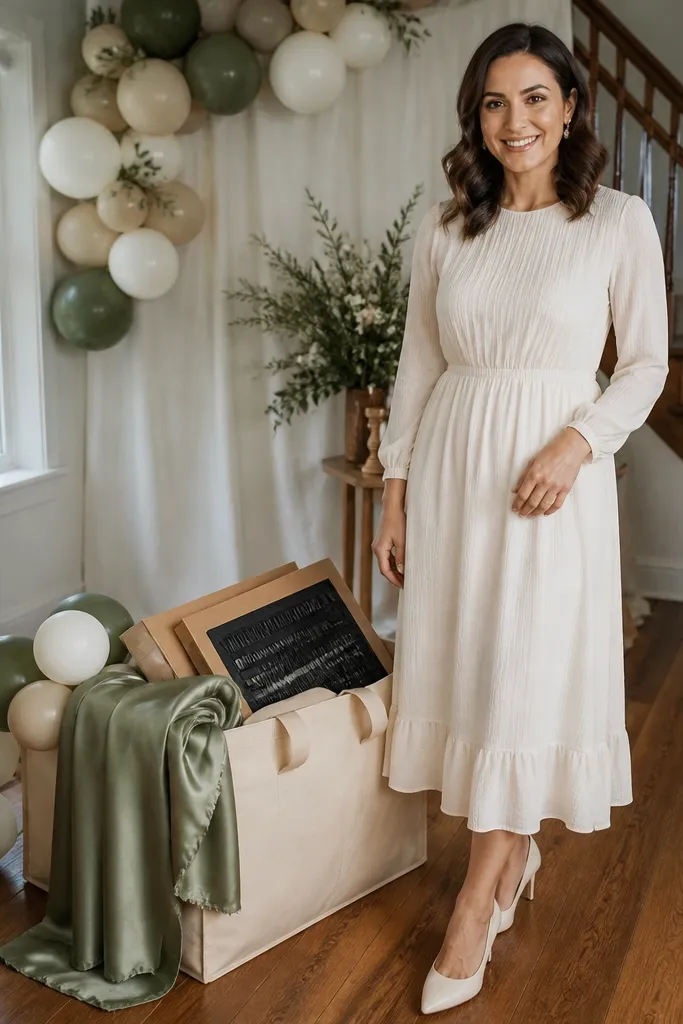
Start with a cardstock or foam board base at least 18x24 inches, then use a bold font (block or serif) printed or hand-lettered in black. Add 2-3 short ribbon ties at the corners so it hangs straight and doesn’t look like a flat poster. Finally, place it at about chest height for standing photos, or mount it higher so it frames the head-and-shoulders shots. Budget stays low because you’re buying one board and one ribbon roll, not multiple decor sets.
Print or cut your letters with crisp edges; fuzzy letter edges make the whole setup look cheap.
Don’t use thin handwriting fonts — they disappear in phone photos from farther away.
2. Balloon Cluster Frame Behind the Sign
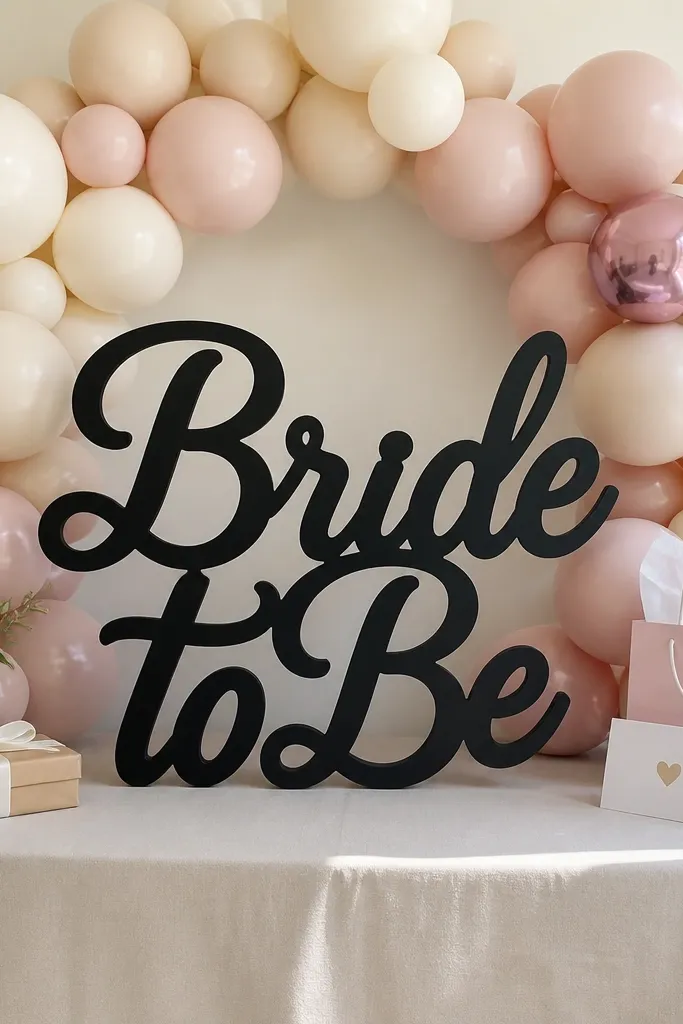
A balloon frame turns a simple sign into a decorated moment without clutter. Keep it to one cluster that forms a U-shape or a half-arch behind the sign so the center stays clean. Choose matte balloons in cream and blush, then add one accent color like mauve or rose gold for contrast. This looks good in both daylight and warm indoor lighting because matte finishes don’t glare. It’s perfect for a small apartment wall or a narrow hotel corner where you can’t build a full backdrop.
Start by inflating balloons to mostly the same sizes: one set around 10-12 inches and another around 16-18 inches for depth. Then tie them into a half-arch using fishing line or balloon tape, anchoring the bottom ends to a weighted base. Finally, position the cluster so it sits 2-4 inches behind the sign, not touching it, for a layered look. Cost is usually manageable because you’re building one cluster, not scattering balloons all over the room.
Use balloon weights that match your decor (white, blush, or gold) so they don’t show as harsh plastic blobs.
Don’t overfill — a big balloon scatter makes the sign harder to read.
3. Fabric Swag Backdrop on Two Chairs
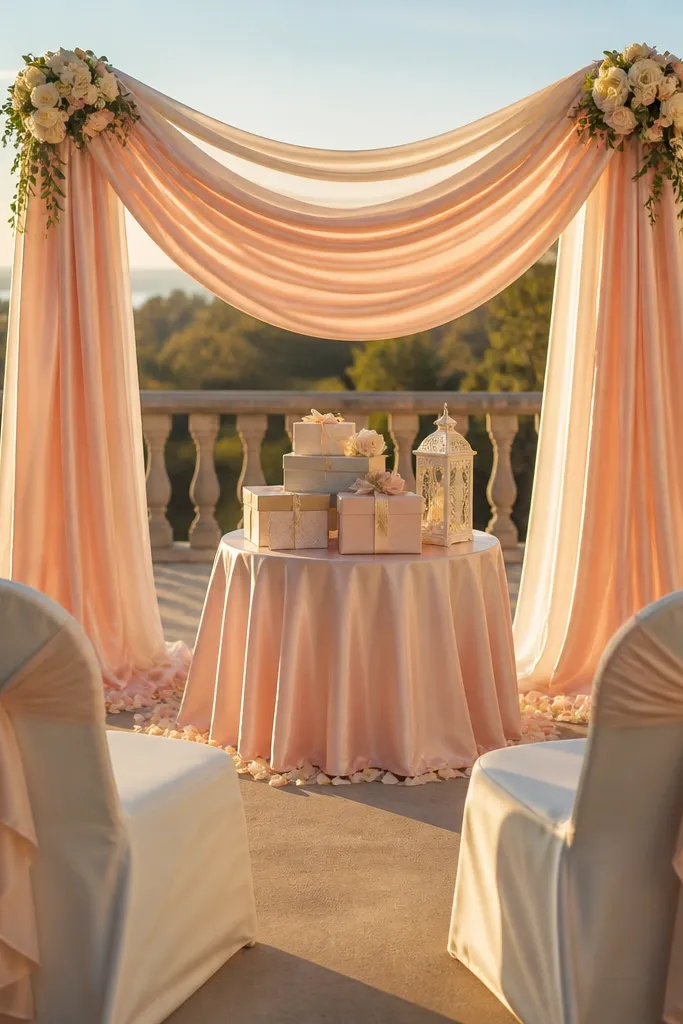
Start by tying the fabric ends to chair backs or sturdy hooks so the fabric hangs in a wide span of about 4-6 feet. Then add 3-5 small ribbon bows along the top line only, not down the fabric, so you keep the drape looking smooth. Finally, adjust the fabric so the center dips slightly lower than the sides for depth. Budget stays low because one yard or two of fabric can cover a full backdrop.
Fabric swags look styled without looking like a craft project. Drape a soft, slightly shimmery fabric (chiffon, satin, or lightweight tulle) across two points and let it fall in gentle folds. The result is a soft background that makes photos feel romantic and clean, especially for group pictures around the table. This works in almost any space because chairs, benches, and tall side tables can become your “backdrop posts.” It’s a smart choice when you want a wedding-adjacent look but you’re not building a full photo wall.
Skip thisDon’t use heavy upholstery fabric — it creates flat, bulky folds that look messy.
Quick tipChoose fabric that drapes, not stiff organza. If it stands up like plastic, it won’t look soft in photos.
4. Matching Table Runner + Two Oversized Votives
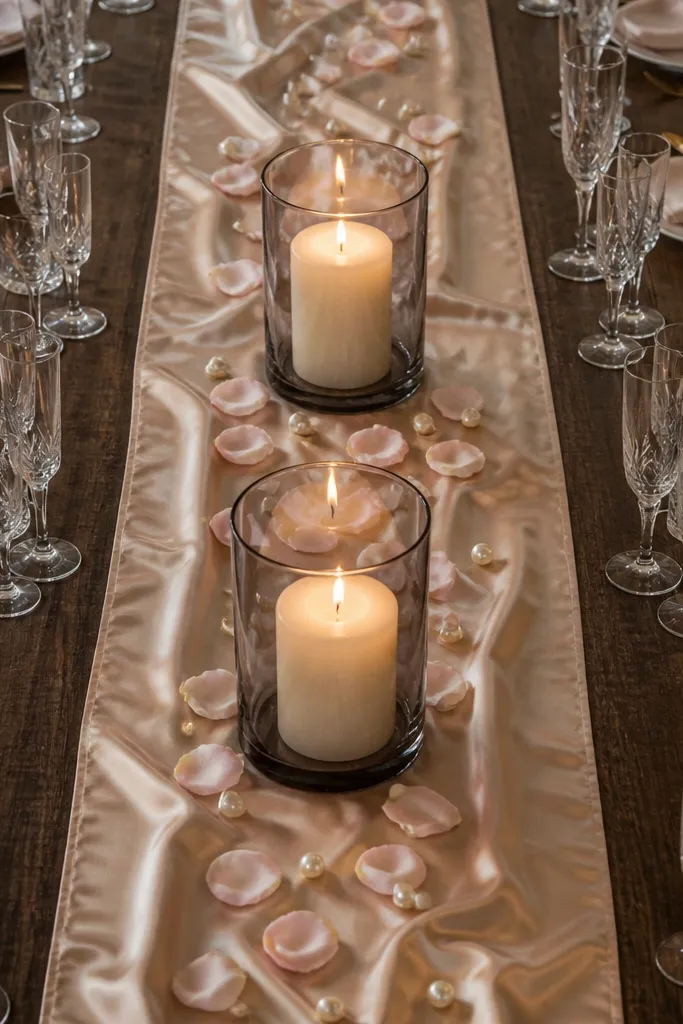
This is the simplest centerpiece setup that still reads “designed.” Use one long table runner in a satin or matte fabric, then place two oversized votive candles on the runner so the decor has height and symmetry. Add a small scatter of petals, faux pearls, or mini florals around the base. The candles create warm light in photos and make the table feel bridal without adding a lot of objects. It’s ideal for brunch showers and dinner tables where you want guests to still see each other.
Start by measuring your table length and buying a runner that covers about 2/3 of the table, centered. Then place two candles spaced 12-18 inches apart, keeping them aligned with the center of the runner. Finally, add a thin layer of petals or beads only around the candle bases so the runner stays clean. You can buy candles and reuse them for the couple later, keeping the budget tight.
If you’re worried about fire risk, use battery LED candles. They still look good from a few feet away.
Don’t add three different centerpiece styles. One runner plus two focal points looks intentional.
5. Peony-Style Paper Flowers on a Single Stem
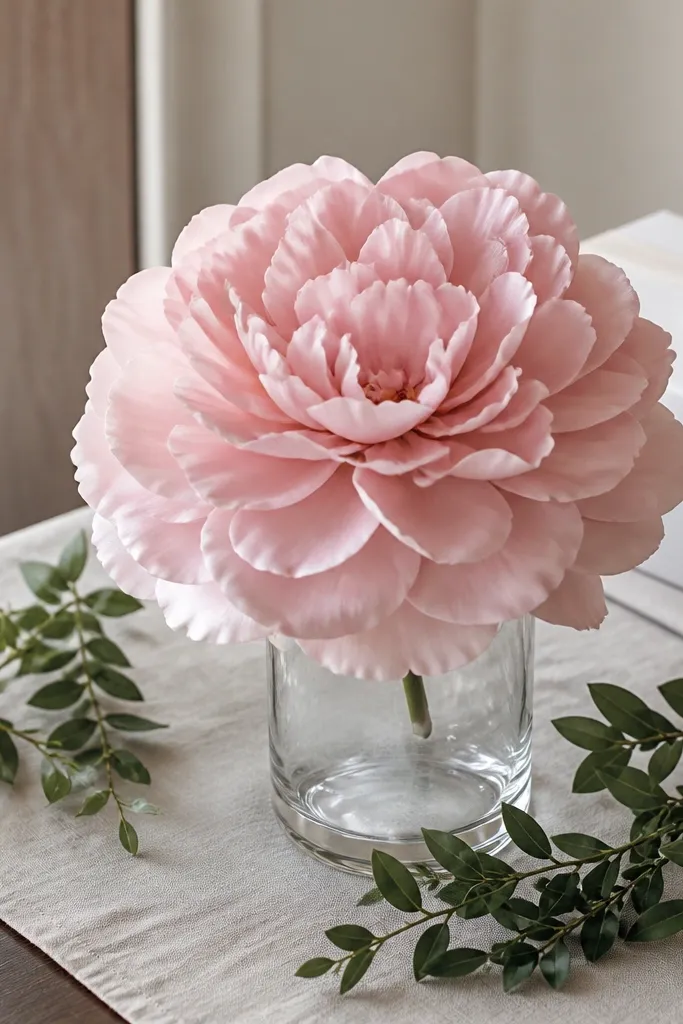
Paper flowers can look surprisingly upscale if you use fewer, larger pieces. Put one big peony-style paper flower in a vase and add a couple of faux greenery sprigs around it. The photo effect is bold and clean because the flower shape fills the frame without needing lots of smaller props. This suits small venues where real bouquets would be too bulky or too expensive. It also works well for a “bride-to-be” table because guests can sit close and still get a clear view of the decor.
Start with one foam or cardboard flower head that’s at least 10-12 inches wide, then attach it to a sturdy stem (wire or a dowel). Place it in a narrow vase so it stands upright and doesn’t flop. Finally, add 2-3 greenery sprigs and keep the base minimal — a small strip of moss or a few filler leaves is enough. You only need one statement flower instead of a full floral arrangement.
Match the paper flower color to your palette and keep greenery muted (sage or soft green) so it doesn’t look neon under indoor lights.
Don’t make five small flowers. Small paper flowers look craft-made in phone photos.
6. "Bride to Be" Balloon Lettering on a Weighted Base
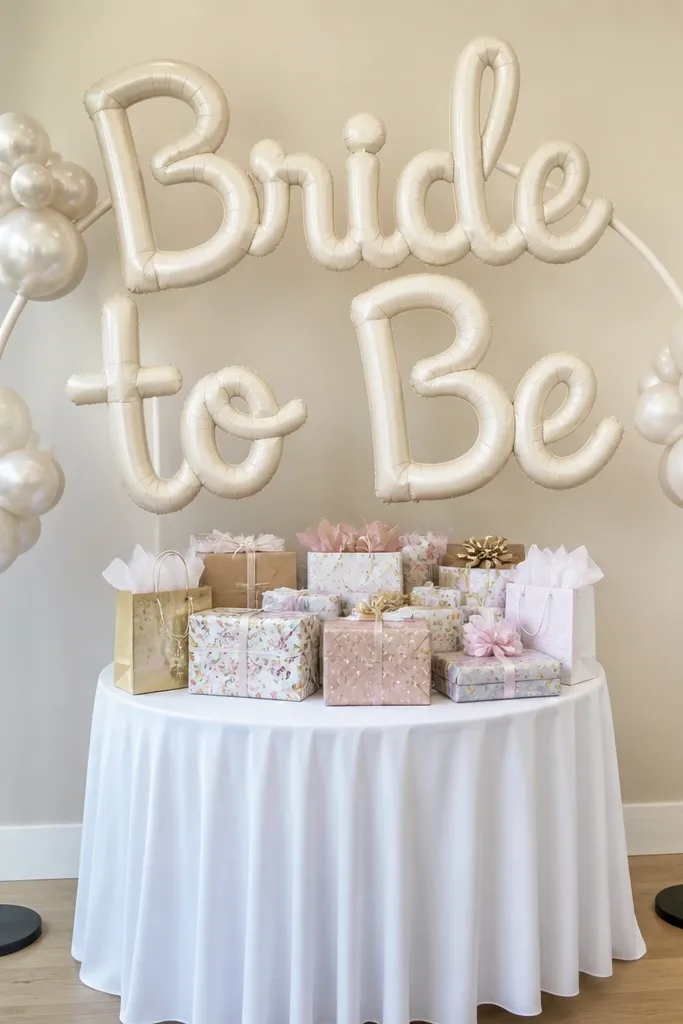
Start by placing the balloon base where you expect the main photos — usually the wall behind the table or near the entry. Then assemble the letters so they stand in one line and keep the spacing tight enough that the words read clearly. Finally, add 2-3 small coordinating balloons behind or to the side, not around the entire base. Plan to keep it at least 3 feet away from things guests might bump.
Balloon lettering is one of the cleanest ways to get a readable message without printing a whole wall. Choose a “Bride to Be” set in matte white or champagne with a blush or mauve accent, then place it on a weighted base near the gift table. It looks great in portraits because the letters frame the bride-to-be and guests naturally gather in front. This works for both indoor and outdoor events, including small patios, because the base keeps it steady in light breezes. It also hides clutter because the text becomes the focal point.
Skip thisDon’t set balloon letters too low. If the tops dip below head level, the text looks cut off in photos.
Quick tipUse a base that’s heavy enough for your floor type. Carpet can shift lighter bases more than you expect.
7. Rose Gold Foil Backdrop Banner Over the Gift Table
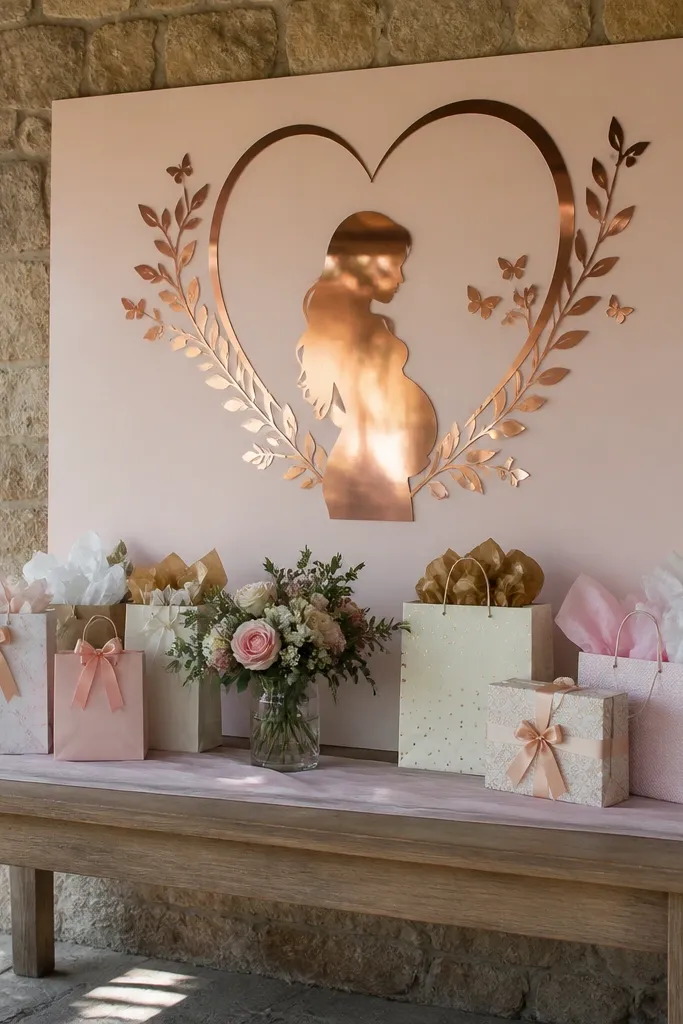
A foil banner adds “wedding-adjacent” shine without needing a full backdrop system. Hang it above the gifts so it reads as the event’s header, and keep the rest of the table simple so the banner can do the work. Choose rose gold or champagne foil on a matte backing for less glare. This looks great in hotel breakfast areas and restaurants because it gives you a clear visual spot for pictures. If you want an easy win that still looks polished, this is it.
Start by measuring the gift table width and picking a banner that spans about 60-80% of the table so it looks proportional. Then hang it with ribbon or clips so it sits flat and doesn’t wrinkle — smooth edges look expensive. Finally, keep the table decor to two items: one centerpiece and one small tray for cards or favors. You’ll save money because you’re not buying multiple layers of decor.
Avoid direct overhead glare. If the banner reflects harsh light, tilt it slightly or hang it a touch lower.
Don’t pair a foil banner with heavy glitter everywhere else. Too much sparkle becomes messy fast.
8. Mini Photo Backdrop with One Hanging Paper Fan
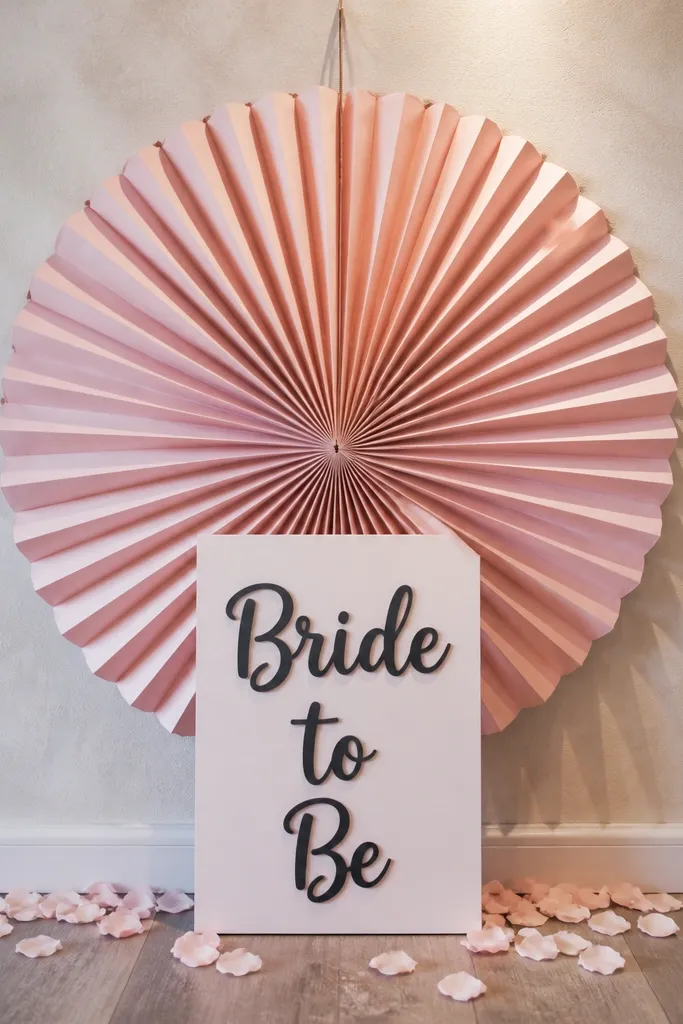
You don’t need a full step-and-repeat wall. One oversized paper fan behind a small sign creates a clean photo backdrop that still feels special. Choose a fan in blush or cream, then pair it with a simple “Bride to Be” sign in black or dark gray. This is ideal when your venue is small or you’re using a corner of a room. It also helps with framing because the fan creates a strong shape behind the bride-to-be without crowding the space.
Start by hanging the fan from a ceiling hook or a stand so it sits behind where people will stand, about 4-5 feet off the floor. Then place the small sign centered below the fan so it reads clearly. Finally, add one coordinating prop — a satin ribbon chair sash or a small balloon cluster — so the scene looks complete. You’ll spend less because the fan is the main visual element.
Use a fan that’s at least 16-20 inches wide. Smaller fans disappear in phone photos.
Don’t use multiple competing backdrops in the same spot. One fan keeps the look focused.
9. Clear Acrylic Welcome Sign with Vinyl Letters
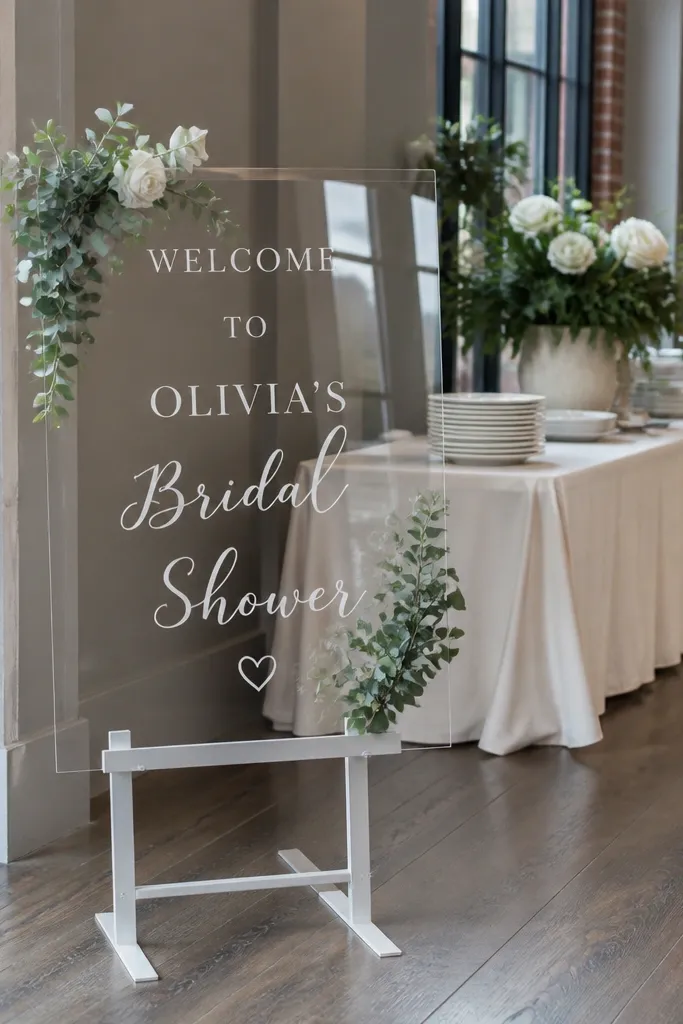
Vinyl-lettered acrylic signs look crisp and modern, which is why they photograph well. If you want “simple” but not childish, this is a strong option. Put it on a small stand at the entrance or near the food table so it acts like a welcome header. The transparent material makes the decor feel lighter in the room, especially in bright spaces. It also works for indoor and outdoor settings because it’s sturdy and easy to wipe.
Start by buying a clear acrylic sheet sign or a pre-made acrylic stand, then apply vinyl letters in a clean, bold font. Then add a small base ribbon or a simple stand so it sits at a stable angle. Finally, place it where guests naturally walk past for photos — entryway, near the dessert table, or by the seating area. Cost stays reasonable since vinyl is reusable for other events if you buy a sheet from a craft supplier.
Stick to 1-2 lines of text. More lines look busy and harder to read.
Don’t pick a cursive vinyl font. Cursive looks great in person but blurs on phone cameras.
10. One-Color Balloon Table Centerpiece with Confetti Balloons
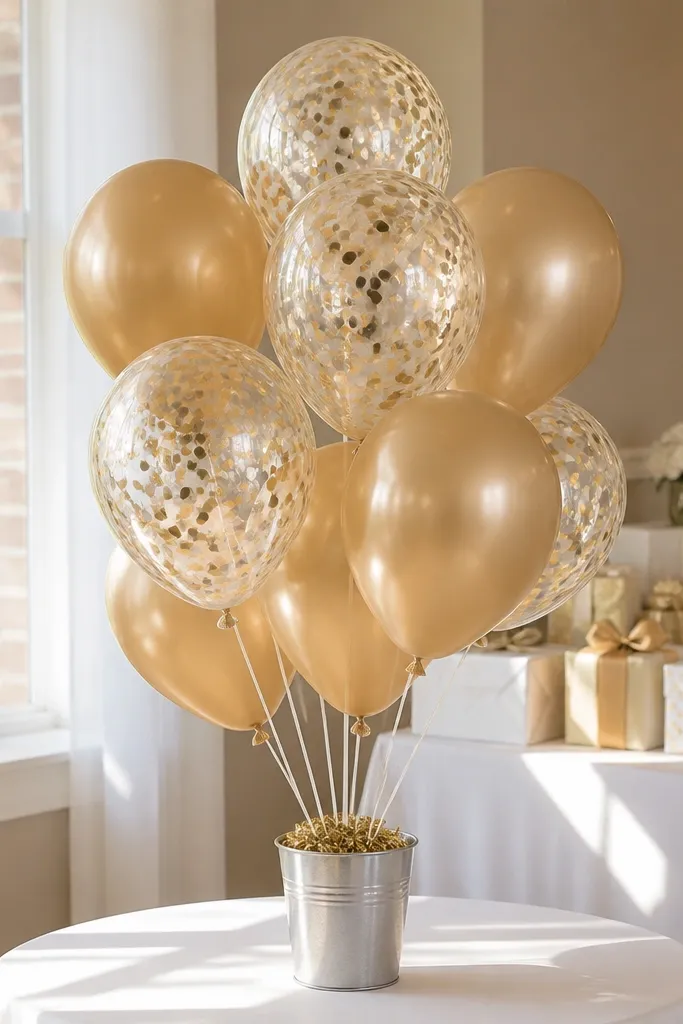
Confetti balloons give you a celebratory look without building complicated centerpieces. Keep it to one color family so it looks styled, then add confetti balloons as the texture. Place the cluster in a simple round vase or a weighted bucket so it stays upright and doesn’t drift. This is a good choice when you want table decor that doesn’t block conversation. In pictures, the confetti catches light and looks like “extra” even when you didn’t buy extra items.
Start by choosing one main color and buying 2-4 latex or foil confetti balloons in that tone. Then weight the cluster base with a small bucket or vase insert so it stands without tipping. Finally, add one small accent balloon in a contrasting shade only if it improves readability. Plan for one cluster per table, not one giant cluster for the whole room.
Match the confetti color to your theme. Gold confetti looks best with blush and cream palettes.
Don’t mix five balloon colors. The cluster becomes noisy and loses the clean look.
11. Tulle + LED Candle Hoop Garland for the Photo Spot
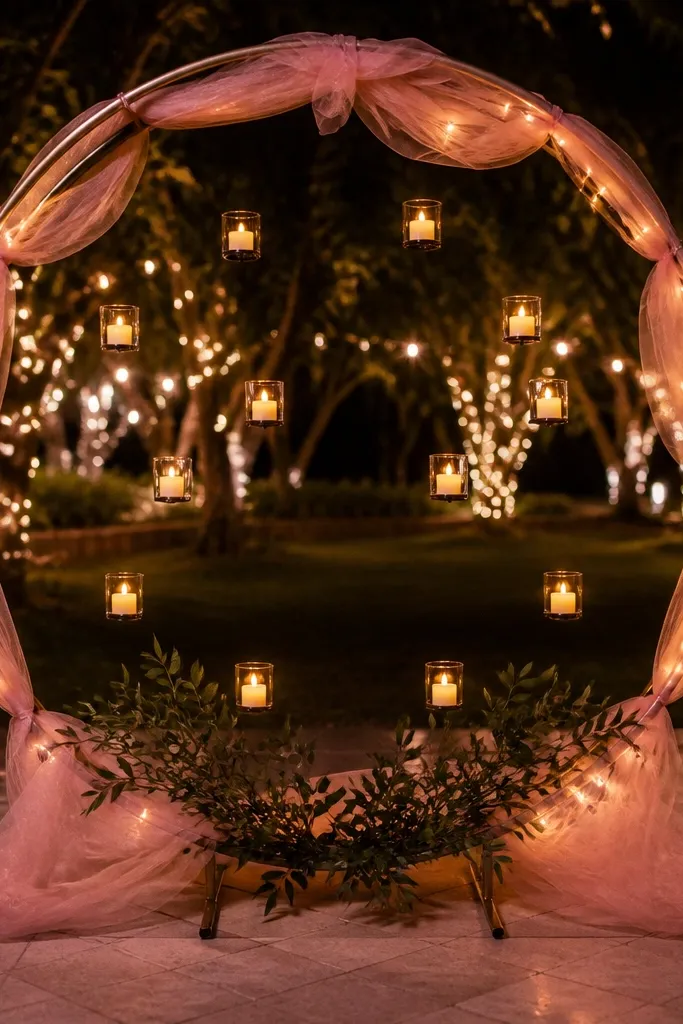
Start by wrapping the hoop with tulle strips until the metal disappears, then tie off the ends. Next, place 3-5 battery LED candles or lights inside the hoop using zip ties or small hooks so they don’t shift. Finally, hang the hoop at head height on a wall hook or stand and keep it centered behind your sign or guest-of-honor chair. You can reuse the hoop for future birthdays and dinners.
A hoop garland is a simple way to create a “photo halo” behind the bride-to-be. Wrap a metal embroidery hoop with blush tulle, then tuck in small battery LED candles or fairy lights for a soft glow. Add a tiny bit of greenery at the bottom edge so it feels less party-store and more styled. This looks great for nighttime showers or indoor venues with warm lighting. It also makes the photo area feel intentional without needing a full backdrop stand.
Skip thisDon’t add too many textures. Tulle plus glitter plus lots of florals reads cluttered.
Quick tipUse warm white LEDs, not cool blue. Cool LEDs make blush look gray in photos.
12. Gift Table Tray with One Tall Vase + Floating Candles
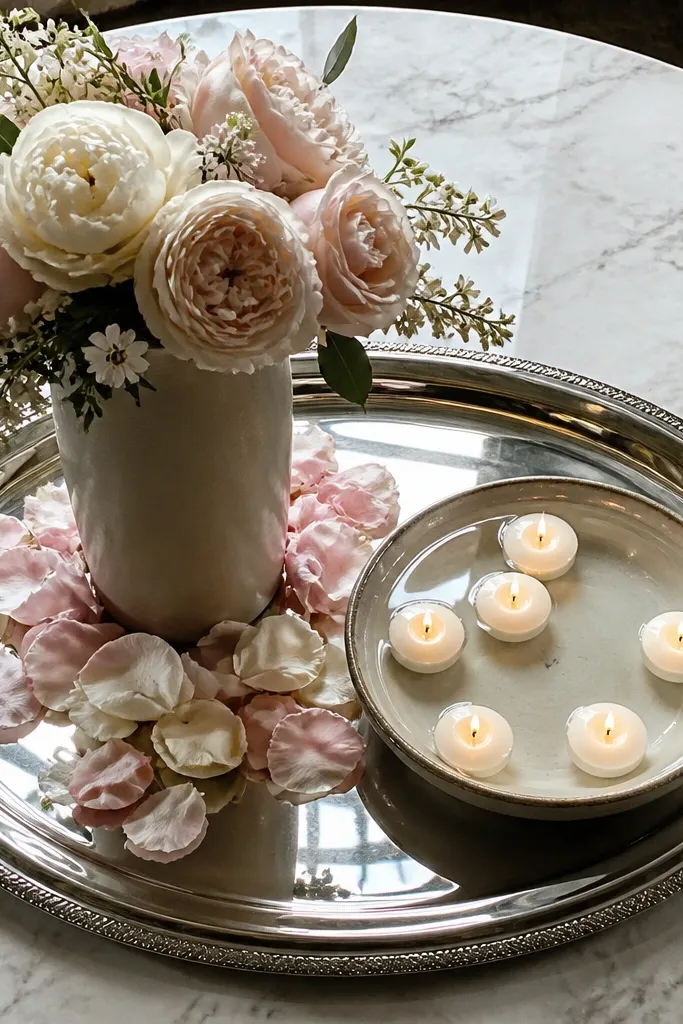
Start by placing a large serving tray on the gift table and centering your tall vase in the middle. Then set a shallow dish of water or battery-safe candle cups beside it, keeping the floating element visible. Finally, add a small scatter of petals only where they frame the vase — don’t cover the entire tray. The benefit is control: you can move the tray as a unit if you need the table for food later.
A tray centerpiece makes the whole gift table look curated while staying simple. Use one tall vase in a neutral color, then add floating candles in a shallow dish placed on the tray. Scatter blush petals around the vase base so the colors tie together. This setup looks romantic in pictures because the floating candles create a soft glow and the tray keeps everything contained. It’s ideal for a bride-to-be shower where gifts, cards, and snacks share the same surface.
Skip thisDon’t use a tray that’s too small. Small trays make the arrangement look crowded.
Quick tipIf you use real floating candles, test water level before the event so they don’t tip.
13. Bride-to-Be Chair Sash with 3-Fold Ribbon Bow
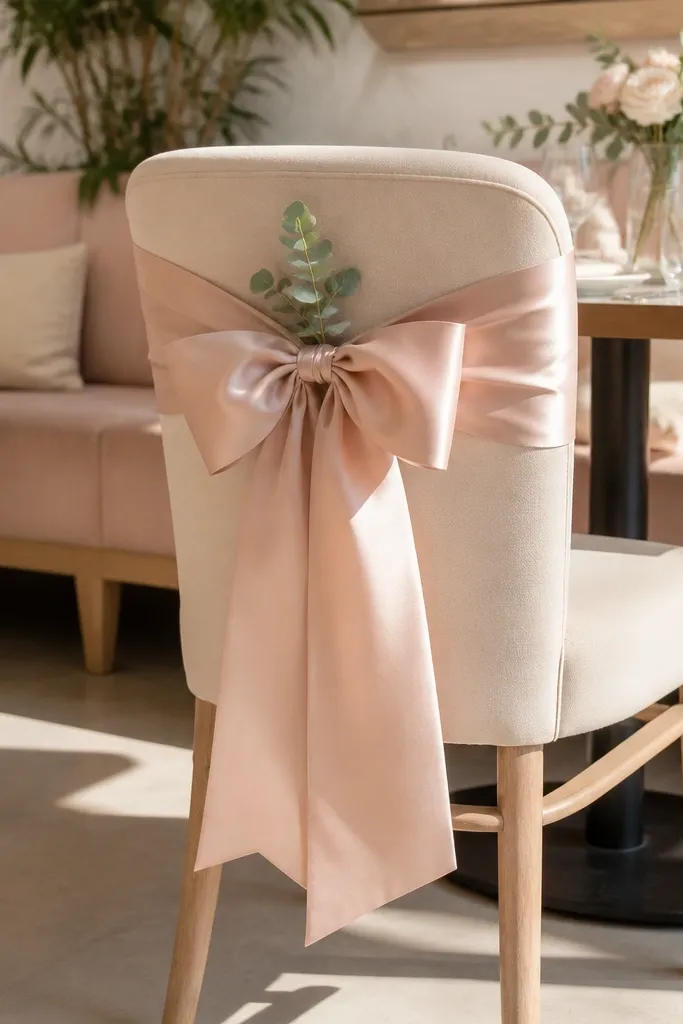
A chair sash is one of the most photogenic “simple” decor moves because it frames the bride-to-be spot. Use a wide blush satin ribbon and tie it in a way that creates a big, clear bow back — the kind you can see from across the room. Keep it to one chair so the rest of the space stays clean. This works for brunch, tea parties, and small indoor showers where you want photos without building a backdrop. It also pairs well with signs and balloon clusters because it adds a soft texture without competing.
Start by cutting ribbon long enough to wrap the chair back and hang down at least 10-14 inches. Then tie a simple knot at the center and make a 3-fold bow: fold each loop, pinch the center, and stack the loops so they look full. Finally, secure the bow with a small stitch or zip tie on the back so it doesn’t sag during photos. Budget is low because ribbon is reusable and you’re only styling one chair.
Use satin with slight weight so the bow holds shape. Lightweight ribbon collapses in warm rooms.
Don’t tie the sash too low. If it hangs near the seat, it looks like an afterthought.
14. Suspended Paper Lanterns in a Single Color Drop
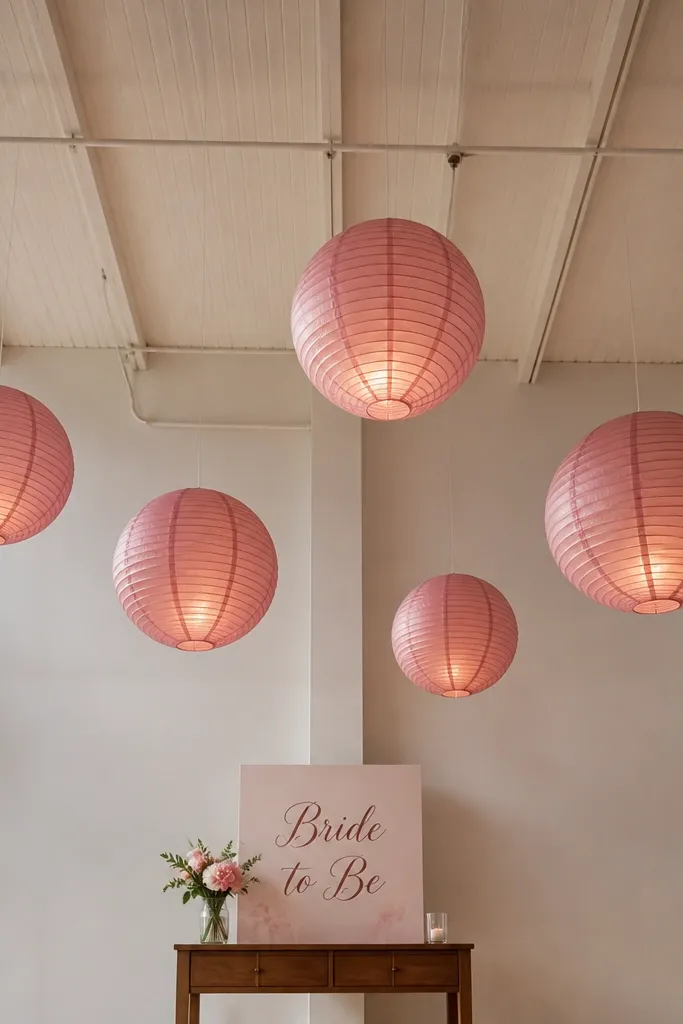
Start by measuring the ceiling or overhang so the bottom of the lowest lantern stays at least 7 feet off the floor. Then hang lanterns in a straight drop using clear monofilament so the line looks invisible. Finally, center your sign or card table directly below the lantern line so the composition looks intentional. Lanterns are cheap and quick, and you can reuse them for other parties.
Paper lanterns look festive but still clean when you keep them to one color and one line. Hang 3-5 lanterns at different heights so the photo area has depth, then place your “Bride to Be” sign underneath. This gives you a ceiling element, which makes the event feel more designed even if the table decor is simple. It’s great for covered patios, entryways, and dining rooms with overhead space. The lanterns soften harsh lighting and make skin tones look warmer in photos.
Skip thisDon’t cluster lanterns randomly. A straight line looks planned and reads better in photos.
Quick tipChoose lanterns with a matte finish. Glossy lanterns reflect light and can look harsh on camera.
15. Weighted Vinyl Window Decals + Faux Florals for a Rental-Friendly Entrance
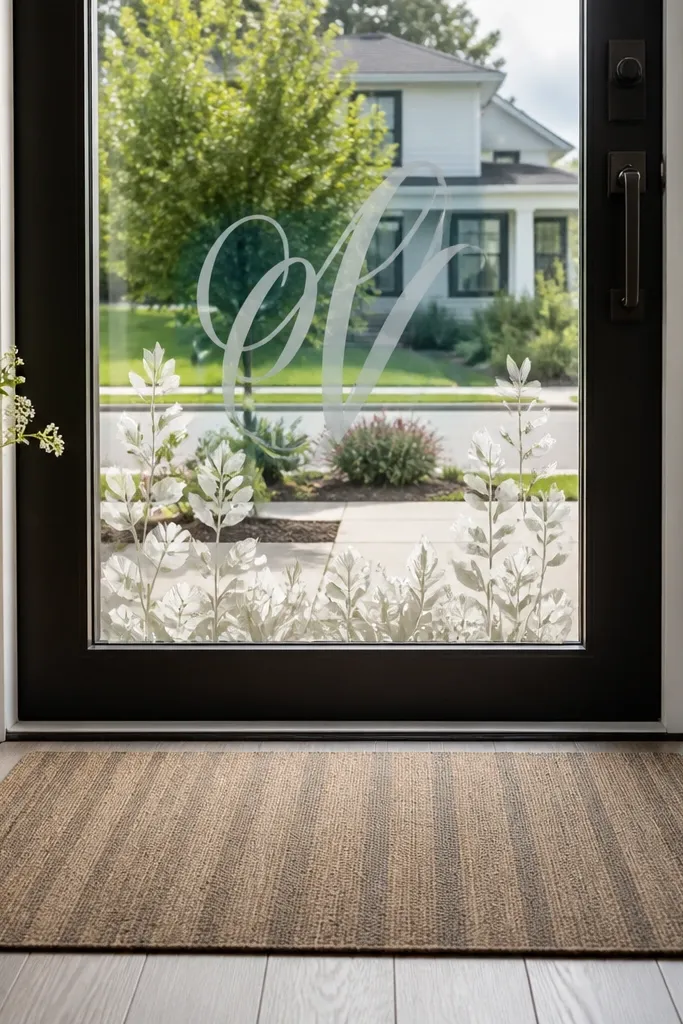
This is one of the cleanest beginner-friendly simple bride to be decoration ideas on a budget because it looks styled without needing a single permanent mount. The trick is using weighted vinyl window decals with a short line of faux florals along the bottom edge so the entrance reads “event-ready” in photos. It works in apartments, hotel lobbies, and venues where you cannot tape signs to walls. Choose one color family and keep the message short, like “Bride to Be” or “Soon to Wed,” then let the florals do the soft, romantic work. It suits small spaces and rainy seasons because it still looks bright even when the room lighting is flat.
1) Get a roll of removable vinyl lettering (black or blush) and cut a simple word layout you can place in a straight line across a window, then add two weighted strips or suction weight discs to keep it from drifting. 2) Add faux greenery and small blooms in a narrow band using reusable zip ties or clear fishing line clipped to the window frame so nothing adhesive touches the glass. 3) For cost, plan around $15-$35 for vinyl and $20-$45 for faux florals, depending on how full you want the strip. 4) Spend 30-45 minutes setting it up, then check it from standing height and from where photos will be taken so the lettering stays readable. 5) Book nothing for this — it is a DIY you can prep at home and pack, but if you are using a rental venue, confirm you are allowed to use removable window items before you arrive.
Bring a small microfiber cloth and a lint roller so the window is streak-free — decals look 10x better on clean glass. If you are worried about venue rules, do a quick test with one small decal in a corner first.
Skip glitter vinyl or heavy glitter accents — they shed, catch light unevenly, and look messy in close-up photos.



