
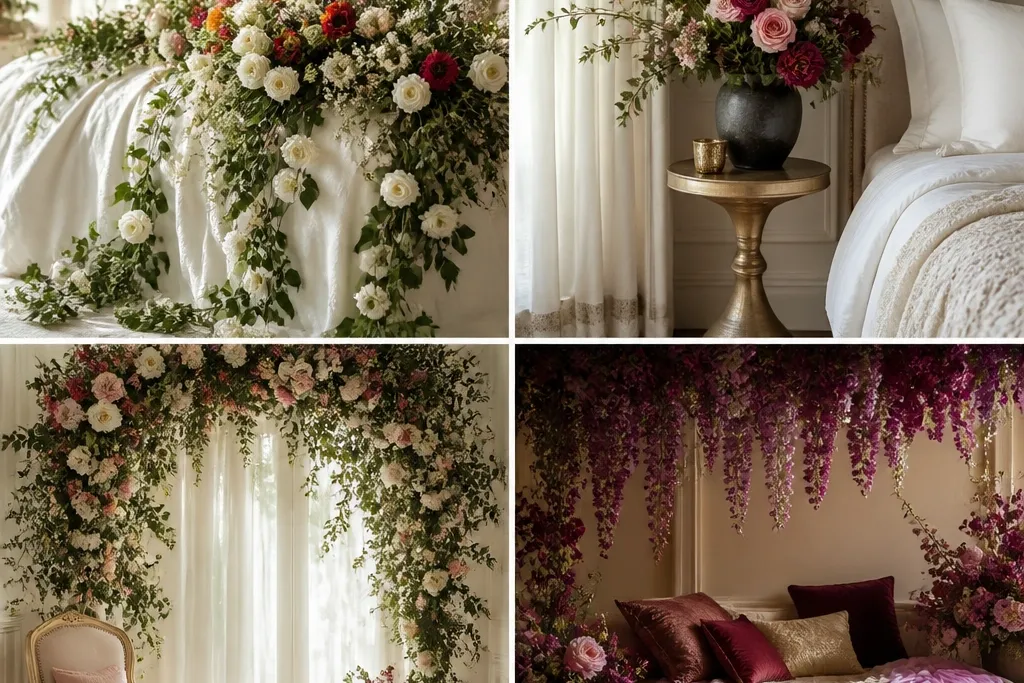
1. Bed-Headboard Floral Frame with a Clear Center
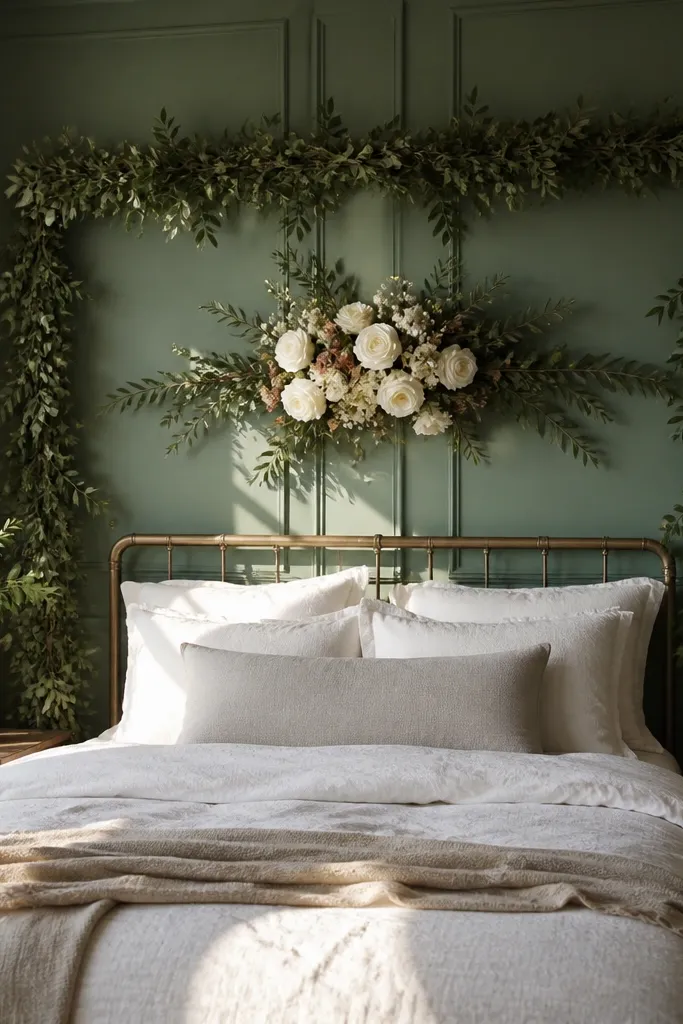
Start by measuring the headboard width and aim for a garland frame that covers about 70-80% of it. Then hang or tape greenery so the top edge sits slightly above head height; use zip ties on a light wire frame if you need it to stay straight. Finally, add the center cluster at eye level and place two matching mini clusters at the lower corners to keep the composition balanced. If you can, keep any loose petals in a tray below so they don’t scatter across the bed.
Make the bed headboard wall your hero area. Put a wide garland or dense greenery strip behind where the bride’s head will be, then leave a clean vertical center gap so her face stays the focal point. Choose one main flower for the center cluster — marigold pom-poms, jasmine strings, or small white roses — and repeat the same flower in two smaller spots on either side. This setup photographs well because the frame creates a shape, and the empty center prevents visual clutter.
Skip thisAvoid filling the entire headboard wall with random bouquets; it makes the bride look swallowed.
Quick tipUse painter’s tape on the wall and remove it right after the function so paint doesn’t peel.
2. U-Shaped Jasmine Garland Path for the Bride's Walk
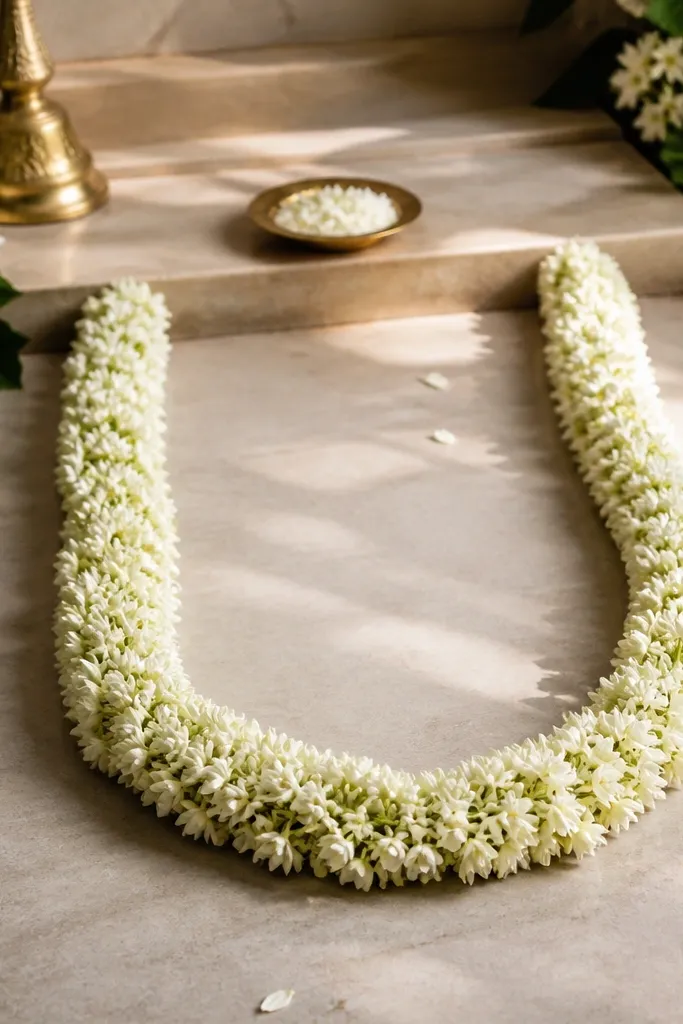
Start by picking a route line that you know the bride will pass, usually from the bed to the seating area. Then create the U shape using two long garlands anchored with hooks or weighted stands at both ends of the curve. Finally, place a small flower bunch or candle lantern near the inner base of the U to make the “photo destination” obvious. Keep the garlands low enough to be seen but high enough not to drag on the floor.
A U-shaped garland path gives you a direction in photos. The bride’s body naturally moves through that curve, so the garlands look intentional instead of decorative background noise. Use jasmine or small white flowers for a soft look, then add one color accent — a few marigolds or yellow blooms — to keep it from looking too plain. This is great for Haldi because it’s photogenic even when the bride is walking between chairs, bed, and a photo corner.
Skip thisDon’t make the U shape too wide; it looks like decoration on a carpet, not a guided path.
Quick tipAnchor the ends with weighted stands or heavy planters so the curve doesn’t sag mid-function.
3. Two-Tone Color Control with Marigold + One Neutral Flower
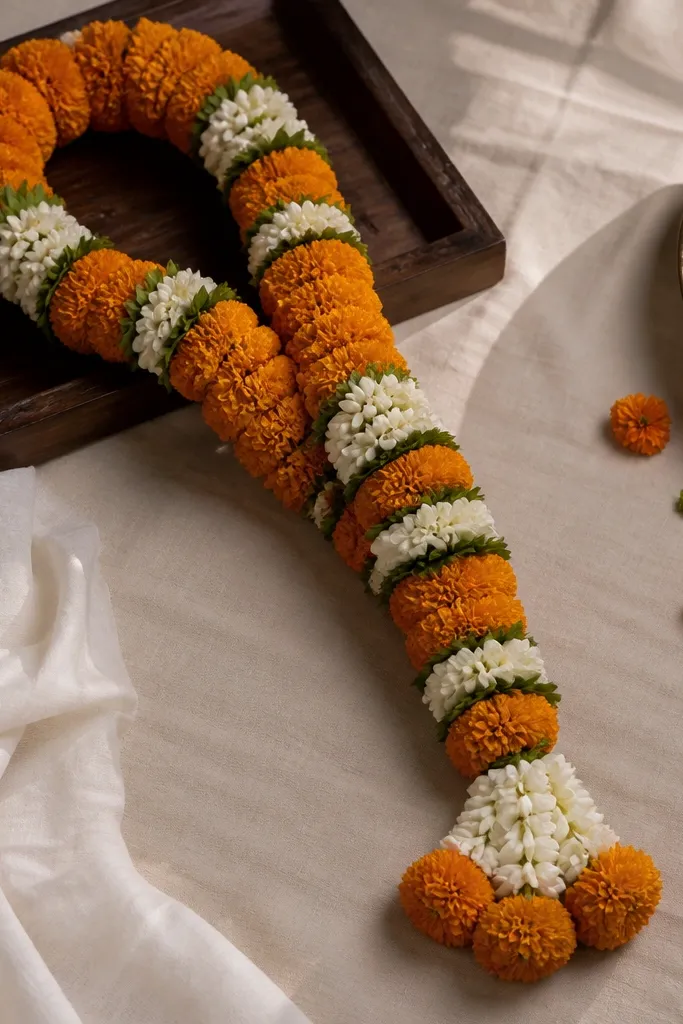
Most Haldi decor goes wrong when every flower color shows up at once. Pick marigold as the Haldi signature and pair it with only one neutral — white jasmine, white baby’s breath, or cream roses. That color control makes the room look styled, and it also helps your photos avoid that “yellow everywhere” glare. The neutral flower gives texture and contrast, so the marigolds look brighter without turning the whole room into one flat color.
Start by laying out your flowers on a table and physically separate them by color so you can see the palette. Then build your tallest element (garland or backdrop) with marigold, and fill gaps with the neutral flower at a ratio of about 70:30. Finally, repeat the same neutral flower in the small decor spots — trays, bud vases, or a single bouquet on a side table. Stop adding new colors once you have the repetition working.
If you’re adding candles, choose white or gold holders so they don’t introduce extra colors.
Avoid mixing pink, red, blue, and neon yellow flowers together; the photo looks busy fast.
4. Mirrored Tray for Petals and Floating Candles
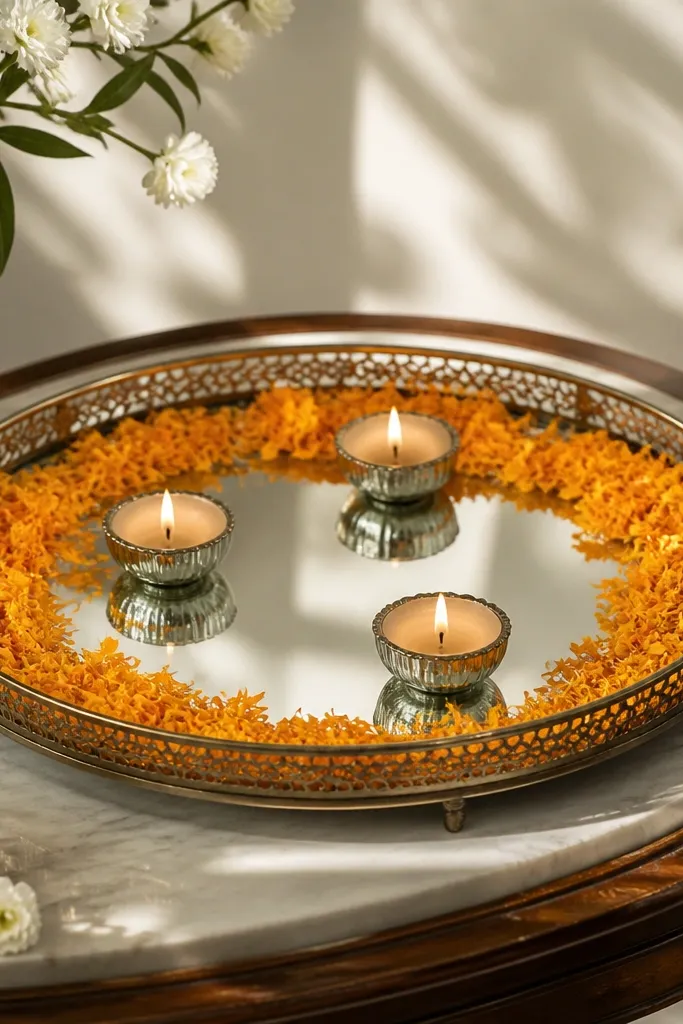
Start by placing the mirrored tray on a stable surface near your photo corner, not on the floor. Then pour a thin layer of petals first, and add candles only after you’re happy with the petal layout. Finally, add one small floral cluster at the tray’s back edge so the tray looks anchored to the room decor. Keep the candle count low so the tray stays clean even if someone bumps it.
A mirrored tray makes Haldi decor look expensive without adding clutter. Petals scattered on a mirror catch light and look crisp in photos, especially with warm indoor lighting. Use marigold petals or a marigold-jasmine blend, and place 2-3 small candles or tealights around the edges. Keep the arrangement symmetrical or it will look random once people start moving around. This piece works because it reads as intentional styling in close shots.
Skip thisAvoid using a deep pile of petals; it looks messy and hides the tray shape.
Quick tipUse LED candles if you’re worried about smoke or wax mess during Haldi.
5. Curtain-Style Floral Backdrop with Weighted Base
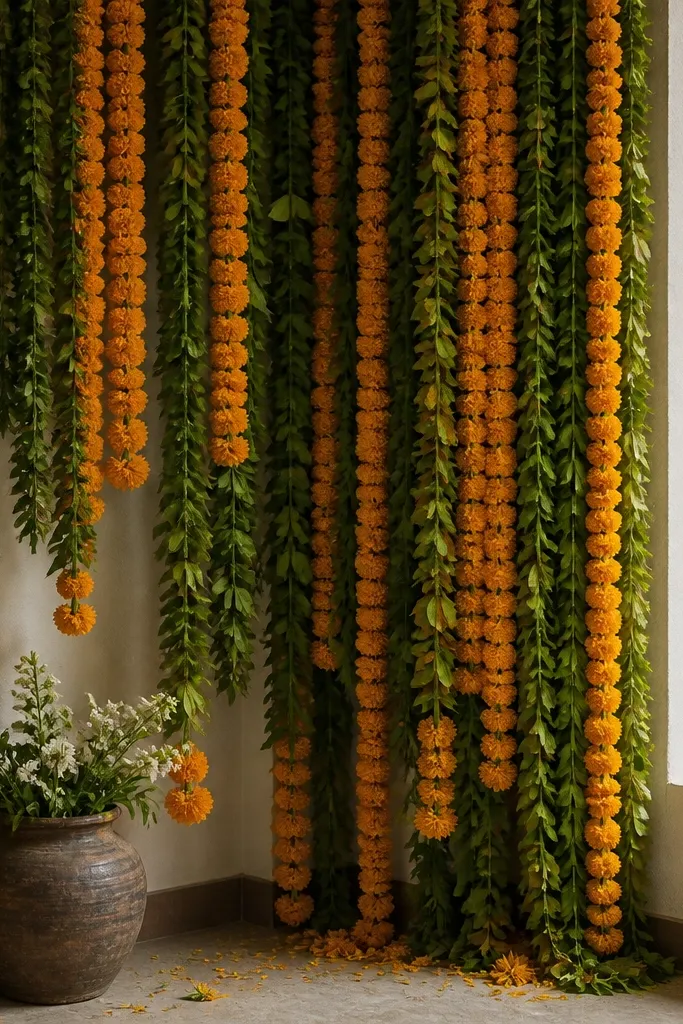
Start by choosing a backdrop width that matches your main seating or photo position, then measure the height from hanging point to floor. Then hang the greenery from a ceiling hook or a light stand and use small weights at the bottom edges so it doesn’t swing. Finally, add marigold clusters at intervals — think every 20-30 cm — instead of one big blob. If your room is bright, keep the greenery denser at the top so the bottom doesn’t look bare in photos.
A curtain-style backdrop creates depth, which matters in small rooms. When greenery and flowers hang in vertical lines, the bride’s outfit stands out instead of blending into the background. Use a long strip of greenery with scattered marigold clusters, then drape it so it falls slightly off-center. This gives you a soft, photo-friendly texture that doesn’t require a lot of floor space.
Skip thisAvoid letting the backdrop sag into a heap; it reads like temporary decoration.
Quick tipUse clear fishing line to pull the drape slightly taut so it looks smooth in pictures.
6. Marigold and Greenery Swag on the Main Wall Corner
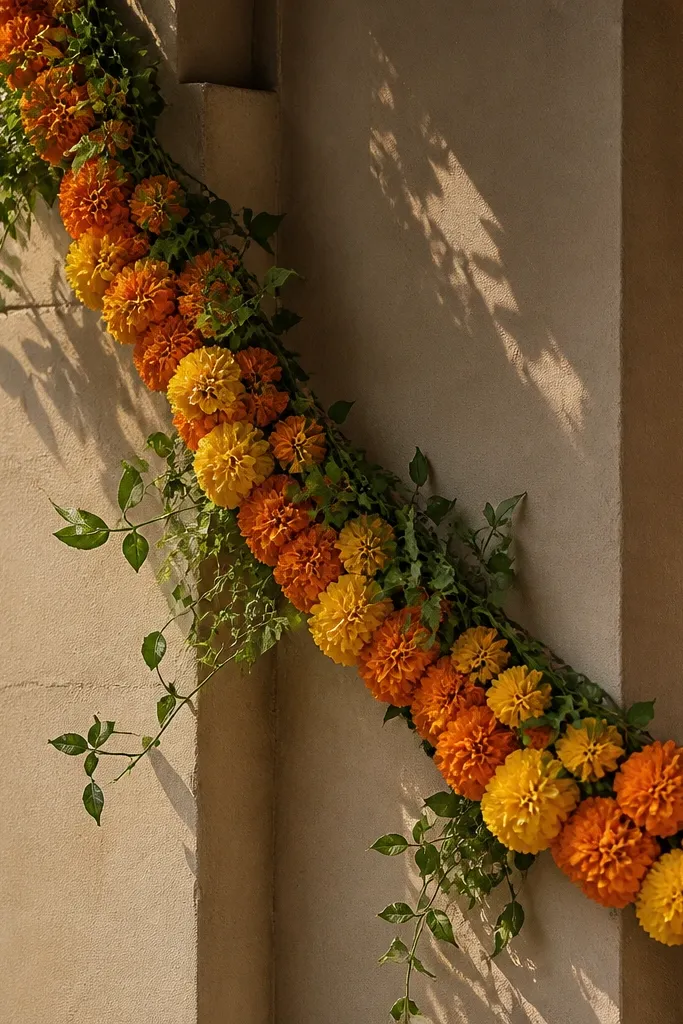
Wall corners catch the eye in wide-angle photos, and a swag turns that corner into a designed feature. Drape the garland diagonally across the corner so it creates a triangle shape that frames the bride’s side profile. Use greenery as the base and place marigold clusters at the highest point and again near the lower end. This keeps the decor from looking like a straight line that can cut the room in half visually.
Start by finding the corner that appears behind the bride in most photos, usually the one near the seating area. Then anchor one end of the garland higher on the wall and the other end lower, creating a diagonal sweep. Finally, add two marigold clusters — one near the top anchor and one near the lower end — so the swag has a clear focal rhythm. Keep any extra loose stems tucked behind the garland so nothing pokes forward.
Use command hooks for temporary mounting so you don’t drill holes before the event.
Avoid swagging with only flowers and no greenery; it looks thin and breaks the photo shape.
7. Floral Runner on the Table with a Clean Border
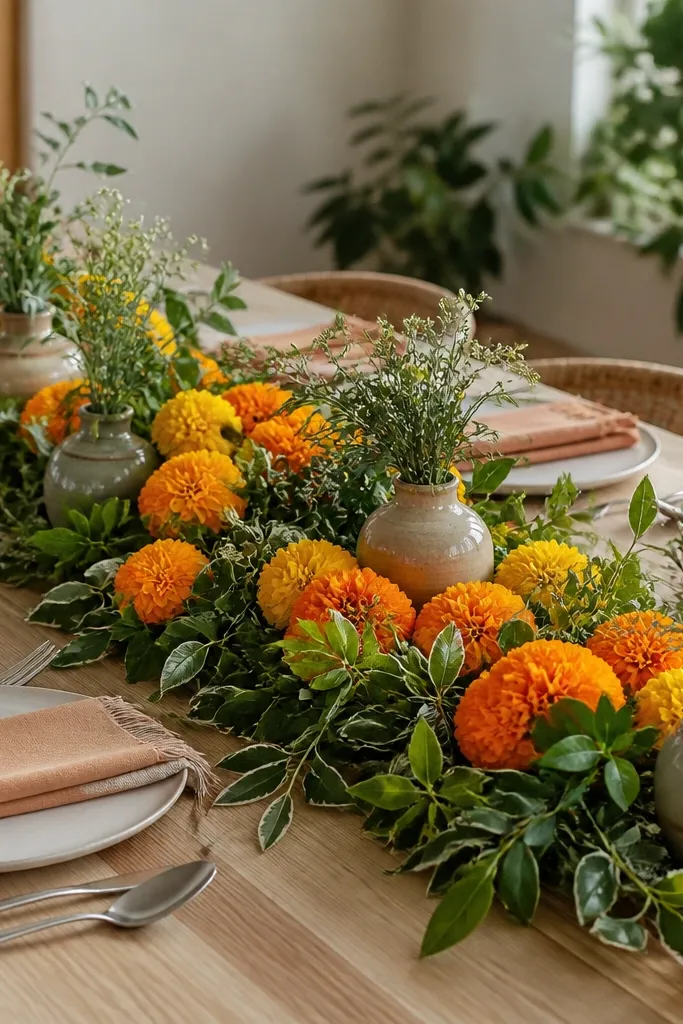
A floral runner makes the table look styled in every shot, especially when guests sit close. The trick is a clean border: greenery at the edges, flowers in the center line, and a visible empty space around the runner. Use small bud vases or short glasses with single stems so the runner looks light, not bulky. This decor also hides practical mess — like small bowls and tins — by framing them instead of competing with them.
Start by measuring your table length and choose a runner length that covers about two-thirds of it, leaving clear space at both ends. Then line the edges with greenery and place bud vases along the center at 15-20 cm intervals. Finally, add a short strip of marigold blooms in the middle line so the runner looks continuous from left to right. Keep the tallest vase at about the bride’s waist height so it doesn’t block faces.
If your tablecloth is patterned, keep the runner simple and stick to marigold + green only.
Avoid covering the entire table top; full coverage turns into clutter once people set things down.
8. Single-Flower Bud Vases in a Straight Row
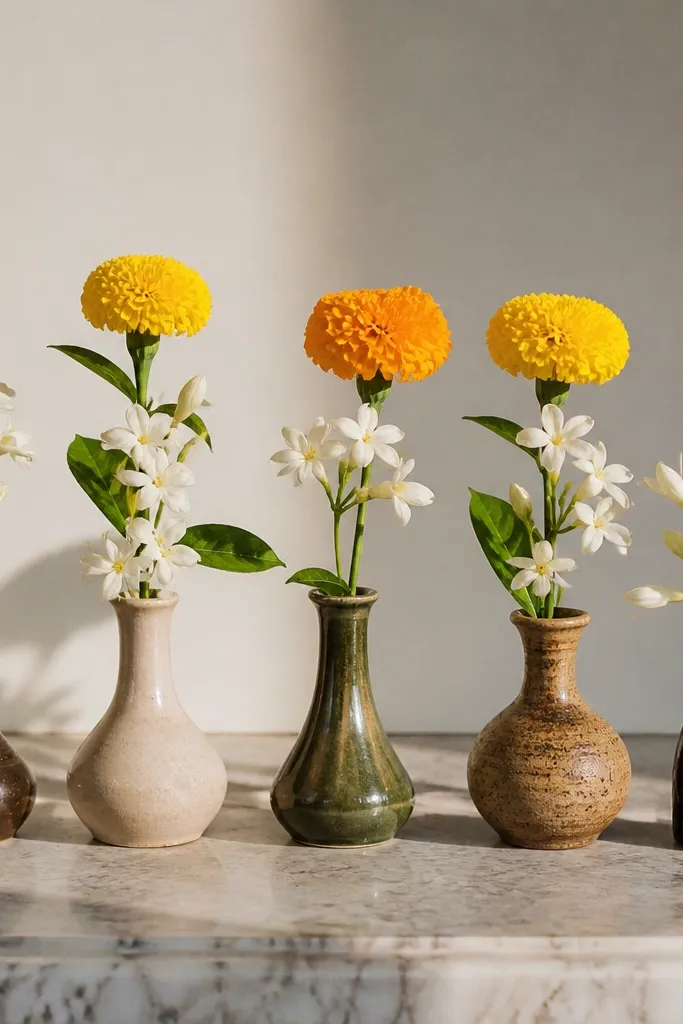
Start by selecting vases with similar shape and color so the row looks consistent. Then fill each vase with water and place one flower type per vase, keeping stems trimmed to the same height. Finally, line them up with a straight edge guide — a ruler or tape line on the table — then adjust spacing until the gaps look even. If you’re using marigold, remove extra loose petals so the row stays tidy.
Straight-row bud vases look clean because they create a repeating pattern. That repetition is what makes Haldi decor look “designed” instead of random. Use one flower per vase — marigold in the first two, jasmine or white blooms in the next two, then green stems at the end. Keep the vase heights within a 2-3 cm range so the row reads smooth in photos. This is perfect for side tables, console tables, and the table near the Haldi station.
Skip thisAvoid mixing stem heights wildly; it makes the row look accidental.
Quick tipDry the vase rims before photos so they don’t show water streaks on camera.
9. Hanging Flower Ring Above the Bride's Seat
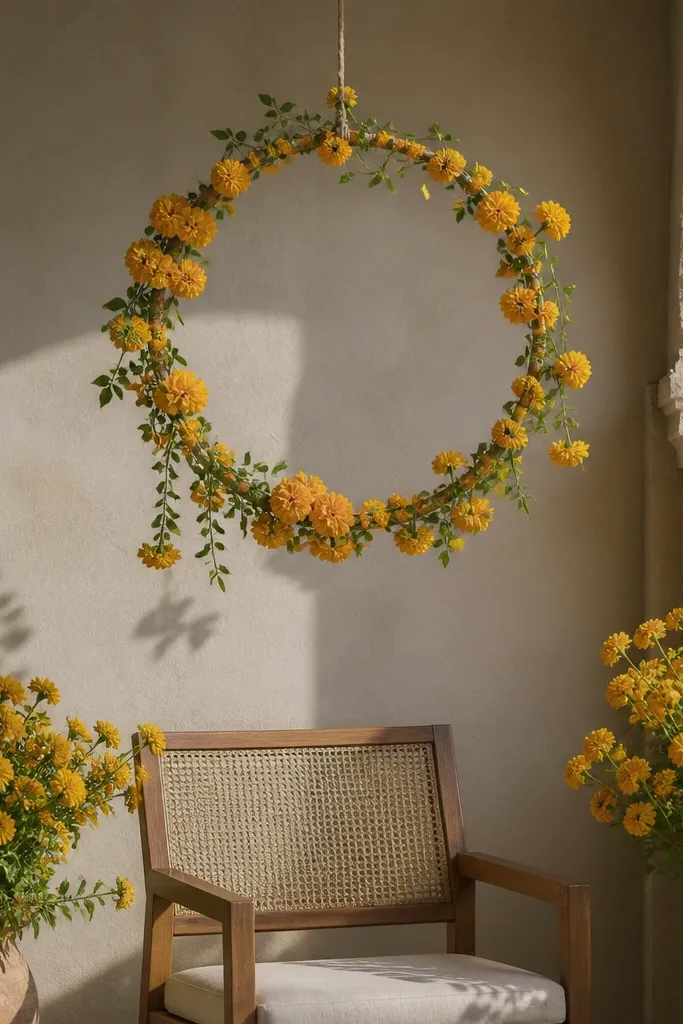
Start by choosing a chair or spot where the bride will sit, then measure how high the ring should hang so it stays above head level. Then build the ring on the ground — wrap greenery around a lightweight hoop and attach marigold clusters with thin wire. Finally, hang it from a stand or ceiling hook using adjustable wire so you can center it over the chair. Do a quick test photo from the main angle before the function begins.
A hanging ring gives you a strong vertical element without covering the floor. Place it above the bride’s seat so it frames her from above and looks dramatic in portraits. Use a simple hoop base, wrap it with greenery, and attach marigold clusters around the ring at equal distances. This works because it creates a clear shape in the background — the easiest way to make photos look styled.
Skip thisAvoid hanging it too low; it will block the face in close shots.
Quick tipUse lightweight hoops so the ring doesn’t sway and blur in photos.
10. Neckline-Friendly Garland Length for Photo Angles
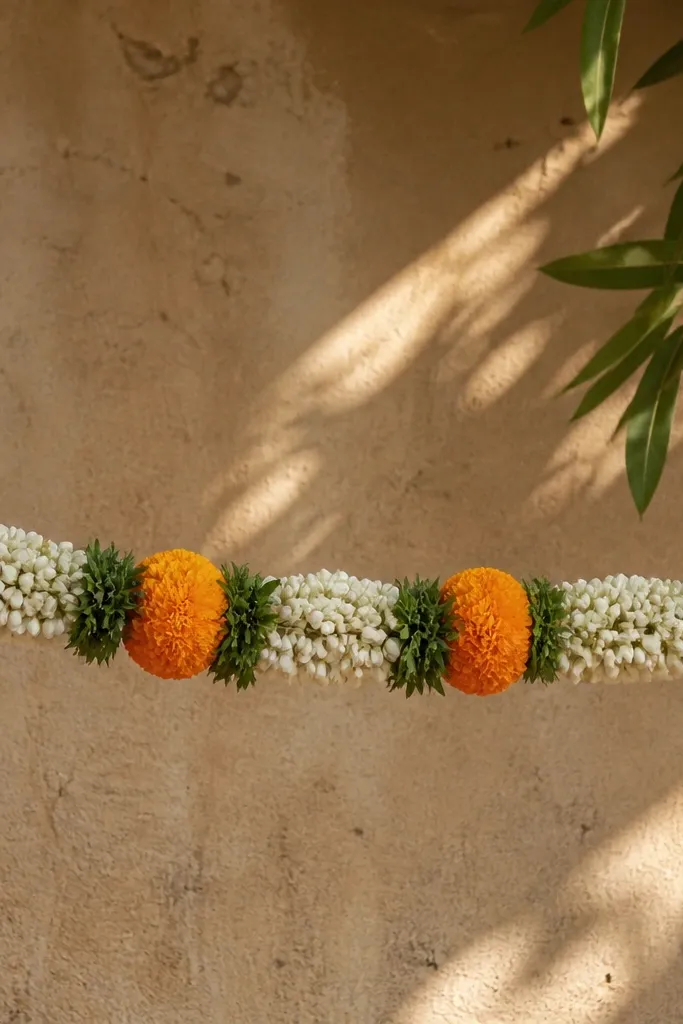
Start by measuring from the bride’s neck or hairline down to where you want the garland to end during photos. Then attach the garland to two points — chair back, wall hooks, or a light stand — keeping the center slightly higher for a gentle curve. Finally, space marigold clusters along the length instead of bunching them all at the top. Trim any extra length so it doesn’t trail on clothes.
Garlands that hang at the right length photograph best because they frame the upper body without tangling. If the garland is too long, it drapes into the bride’s hands and creates a messy visual. If it’s too short, it looks like a small accessory and doesn’t add impact. Aim for garland placement around chest-to-waist height so it shows clearly in Haldi portraits and doesn’t disappear under bright yellow stains.
Skip thisAvoid letting garlands drag onto the outfit; yellow stains + loose flowers look chaotic.
Quick tipIf you’re using fresh jasmine, tie it with thin thread so it doesn’t slip when the bride moves.
11. Greenery-Only Bottom Edge to Prevent Petal Chaos
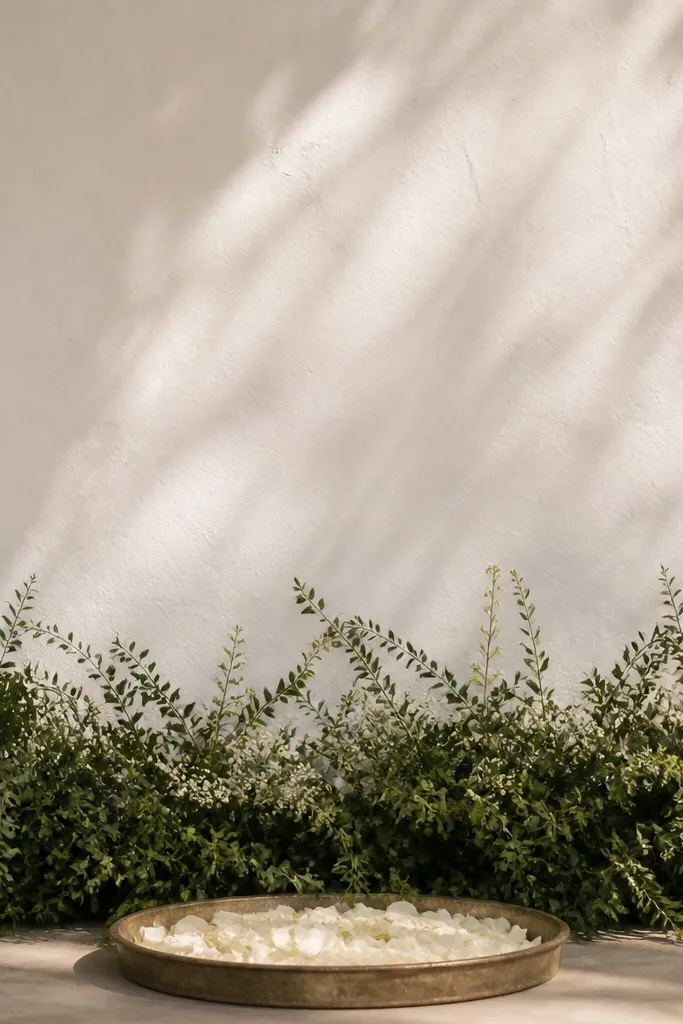
Haldi decor gets messy at the bottom first. Instead of trying to keep petals everywhere, create a “mess boundary” with greenery at the base of your main backdrop or photo corner. Flowers can stay higher and more controlled, while the bottom edge visually catches spillover. This makes the setup look neat even if someone steps near it with color on their hands. The greenery also gives photos a clean anchor line.
Start by choosing the spot where petals and color tend to land — usually under the backdrop or near the seating area. Then lay a strip of greenery along the bottom line and secure it with tape or thin wire to avoid slipping. Finally, keep loose petals in a tray right above or beside that strip, and refill only the tray during the function. That way, your decor stays intentional instead of spreading out across the room.
Use plastic-backed greenery if your floor is slippery or if you’re worried about stains on fabric.
Avoid scattering petals directly onto the floor under the bride’s backdrop.
12. Marigold Cluster Ballooning on a Single Pedestal
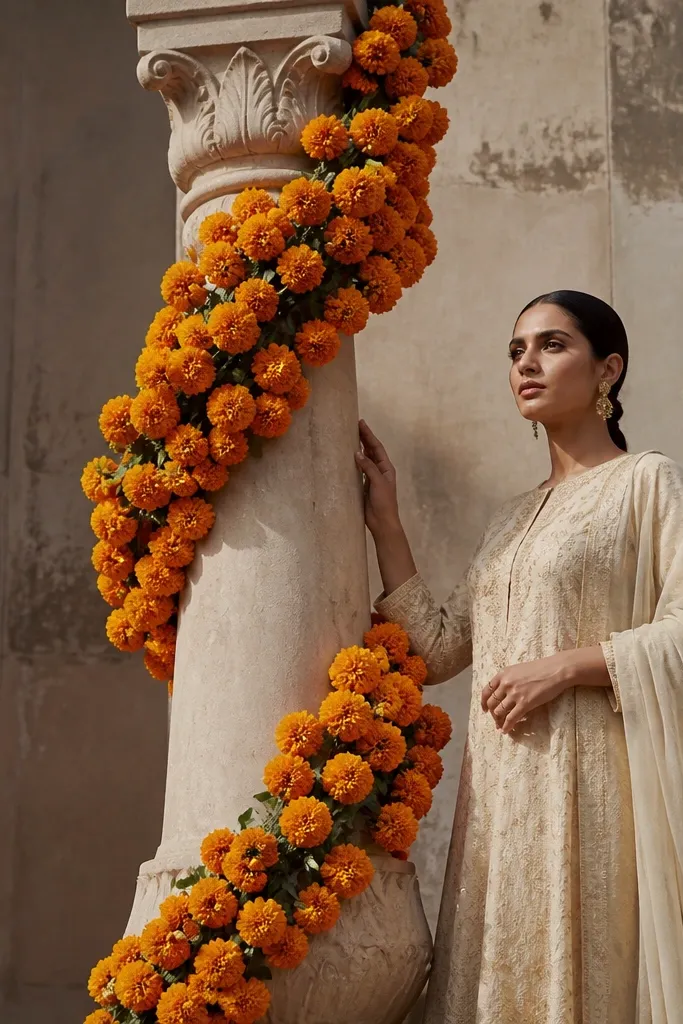
Start by choosing a pedestal height that reaches just above the bride’s shoulder in photos. Then build the cluster by attaching marigolds in layers — bottom to top — using floral pins or thin wire through the stems. Finally, add a small greenery band near the base so the pedestal looks grounded rather than floating. Place it 30-60 cm away from the bride’s main backdrop so it doesn’t collide visually.
A pedestal with dense marigold clusters creates a strong vertical statement that reads clearly even in busy rooms. Keep it as one main height point so the room doesn’t feel crowded. Wrap marigolds around a column or use a foam base covered with flowers for a rounded, full look. This setup is photogenic because it gives you a “soft wall” of blooms behind or beside the bride, especially in side profiles.
Skip thisAvoid placing two tall pedestals; the frame becomes crowded and the bride loses center focus.
Quick tipIf you’re renting a stand, test stability on the floor first so it doesn’t wobble under Haldi movement.
13. Flower + Silk Cloth Swag for a Softer Haldi Look
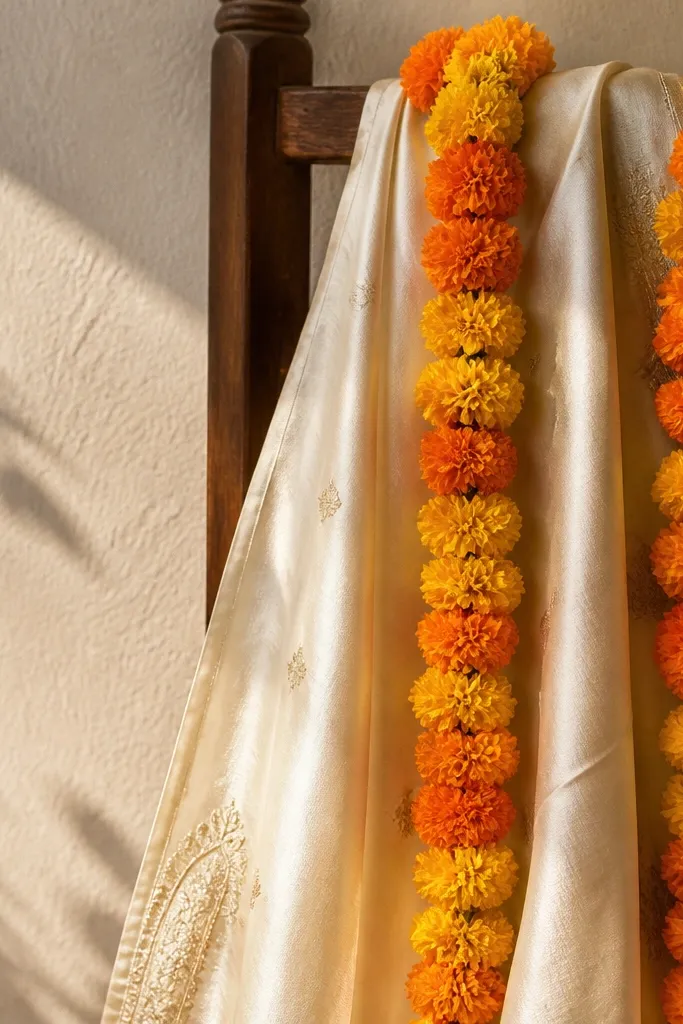
Start by selecting a cloth that drapes well, not stiff netting, and measure it against your chair back or wall panel. Then attach the cloth first, smoothing wrinkles with your hands, and add garlands on top in a diagonal sweep. Finally, place marigold clusters where the cloth folds naturally, so the flowers look like they belong to the drape. Keep cloth ends trimmed or tucked so they don’t look messy on camera.
Combining flowers with a light cloth makes Haldi decor look smoother and more expensive in photos. The cloth adds movement and hides hardware, like tape and ties, which always show up in camera angles. Choose a single fabric color — off-white, champagne, or light gold — and keep flowers mostly marigold with small white jasmine accents. This is especially good for Bride To Be decoration ideas when you want the decor to feel gentle rather than heavy.
Skip thisAvoid mixing three cloth colors; it creates patchwork in photos.
Quick tipUse double-sided tape on the back of the fabric only; never tape directly where flowers will need to be adjusted later.
14. Symmetry for Haldi Photo Corner with Two Same-Looking Sides
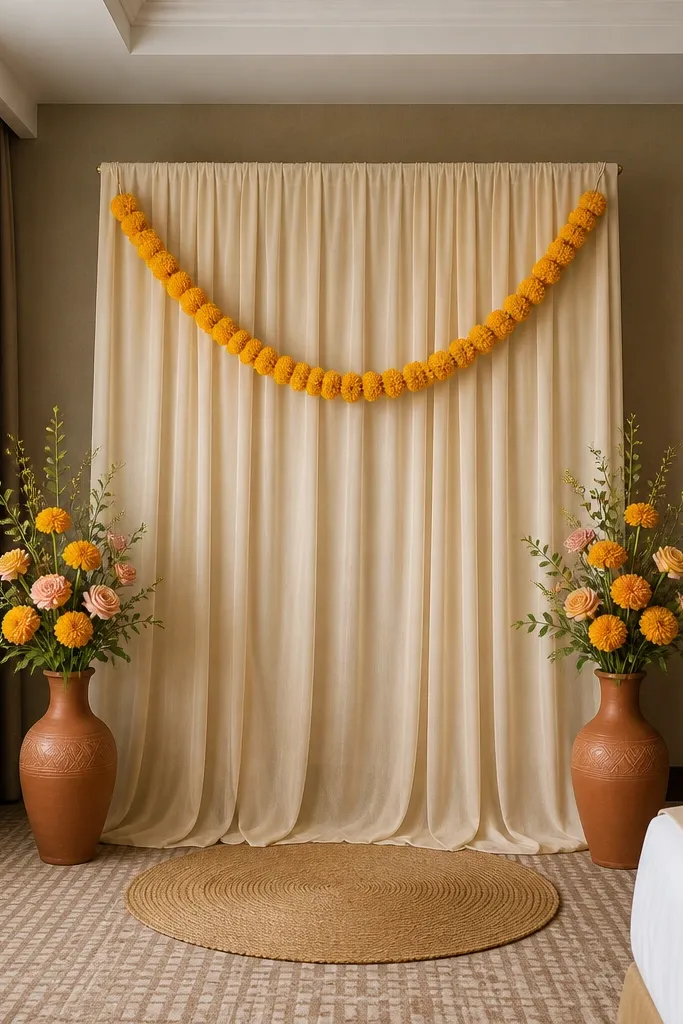
Symmetry makes a small room look intentional instantly. When the left and right sides match, the camera reads it as a designed set instead of scattered decor. Build the photo corner with one central backdrop element and two matching side arrangements — same garland length, same vase height, same flower mix. This is one of the easiest ways to avoid the common “decor looks fine until you see the full frame” problem.
Start by picking the camera angle you’ll use most — usually from the doorway or a couch-facing spot. Then build the corner by placing two identical side elements at equal distances from the backdrop, using measuring tape to match spacing. Finally, add the center piece last so you can adjust it to sit perfectly between the two sides. If you can’t match exact vases, match the flower mix and overall height.
Take one test photo on your phone before guests arrive; symmetry issues are obvious immediately.
Avoid having one side full and the other side empty; it ruins the frame in wide shots.
15. Removable Side Bouquets on Photo-Ready Stands
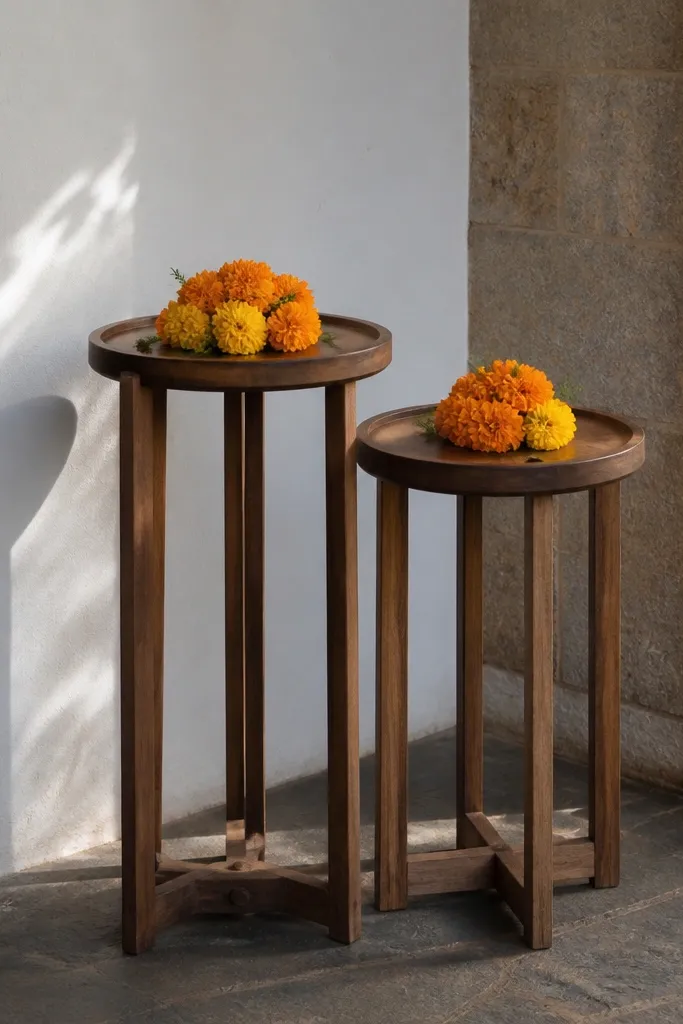
Start by choosing two locations next to the main backdrop, about an arm’s length away from where the bride stands. Then place bouquets on removable stands or weighted containers so you can move them quickly if someone bumps the setup. Finally, keep bouquet size consistent — same height and width — and use the same flower palette as your garlands. Build them so you can lift them without disturbing the backdrop.
Side bouquets are great because they add color without taking over the whole room. The smart move is making them removable so they don’t get crushed during Haldi movement. Use small stands or sturdy crates, place bouquets in simple containers, and keep them close to the photo corner but out of the bride’s path. In photos, these bouquets add depth and color framing, especially when the bride stands in the center.
Skip thisAvoid placing bouquets directly on the floor near the bride’s feet; they get stepped on and look messy.
Quick tipHave spare garland ties ready so you can fix drooping blooms within minutes.



