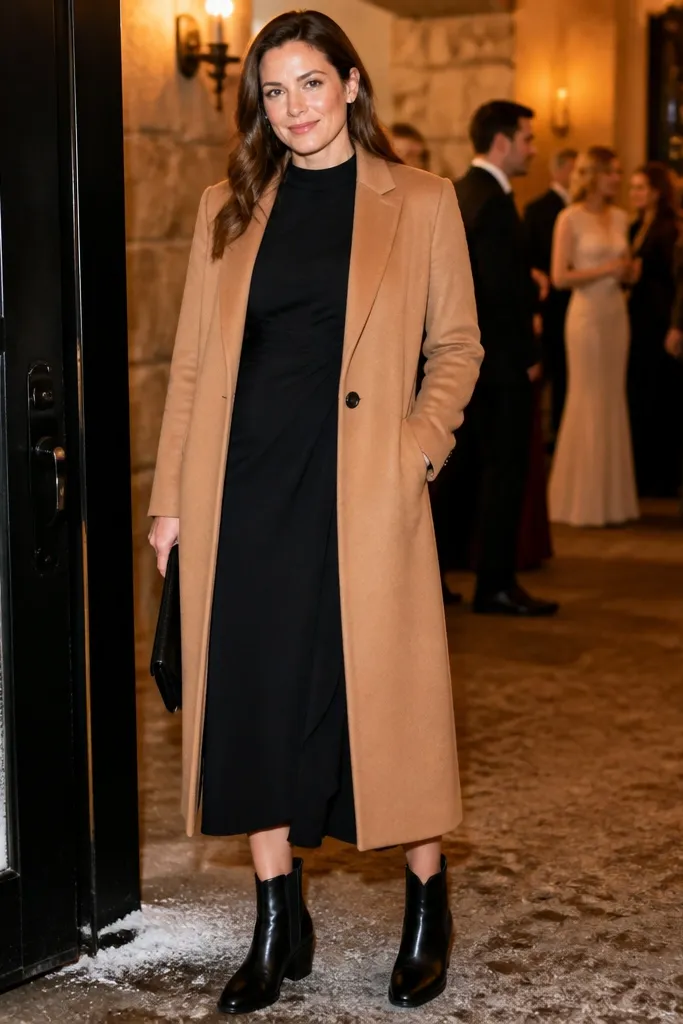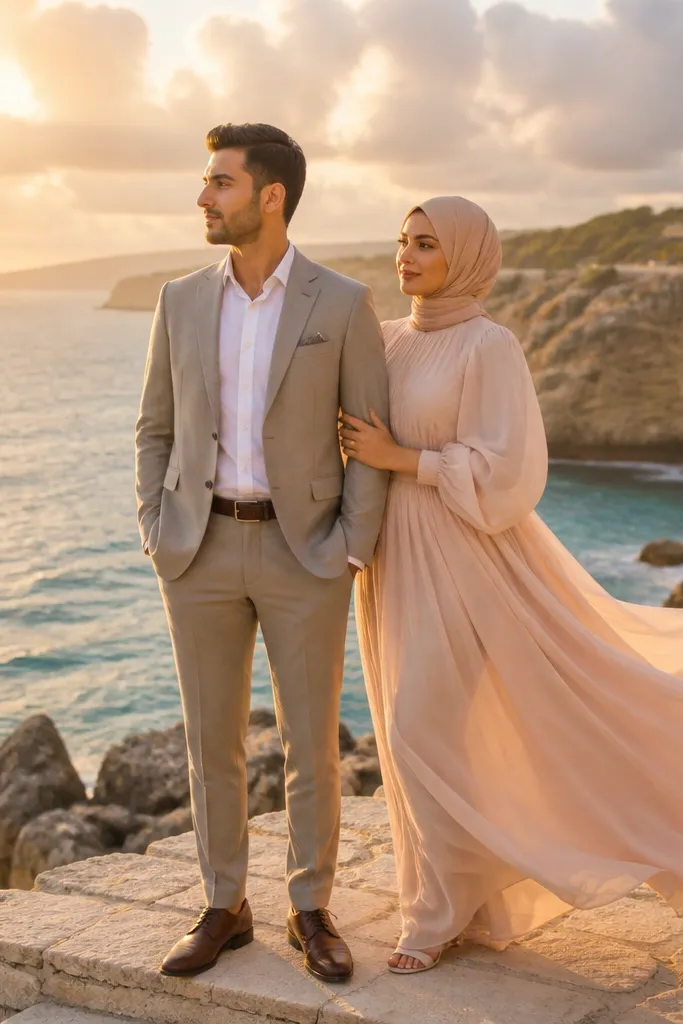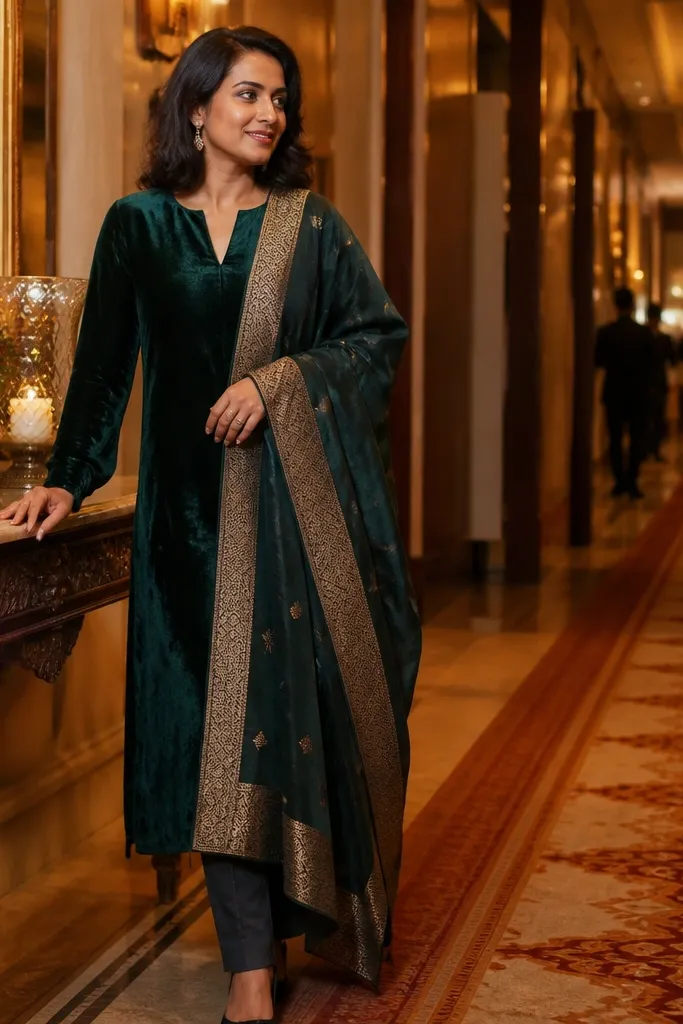
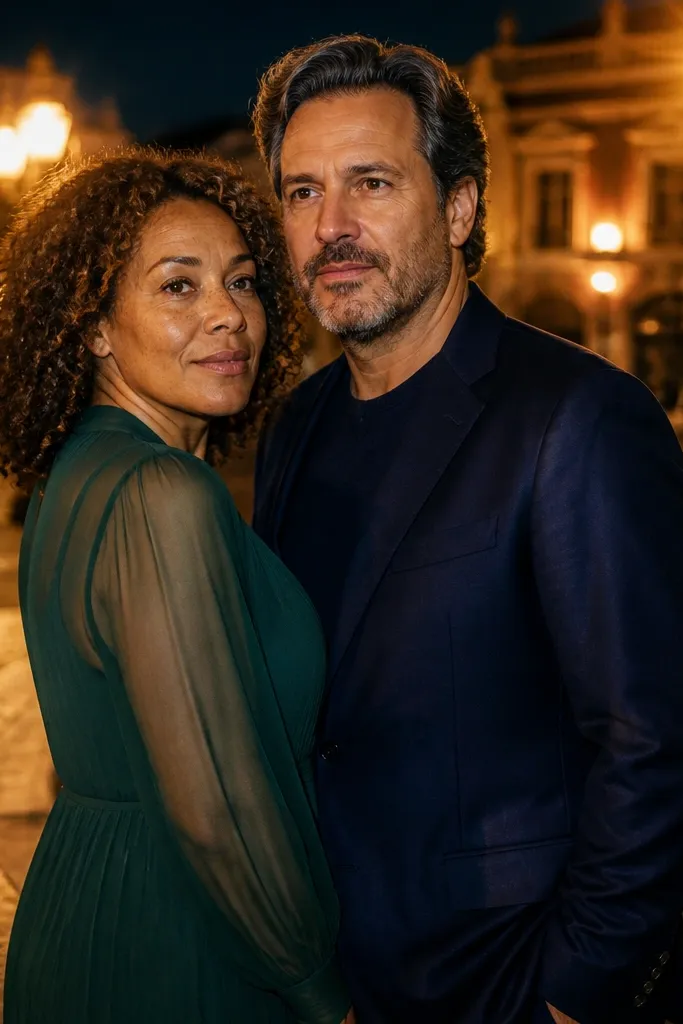
1. Lantern Alley With Warm Street Lamps
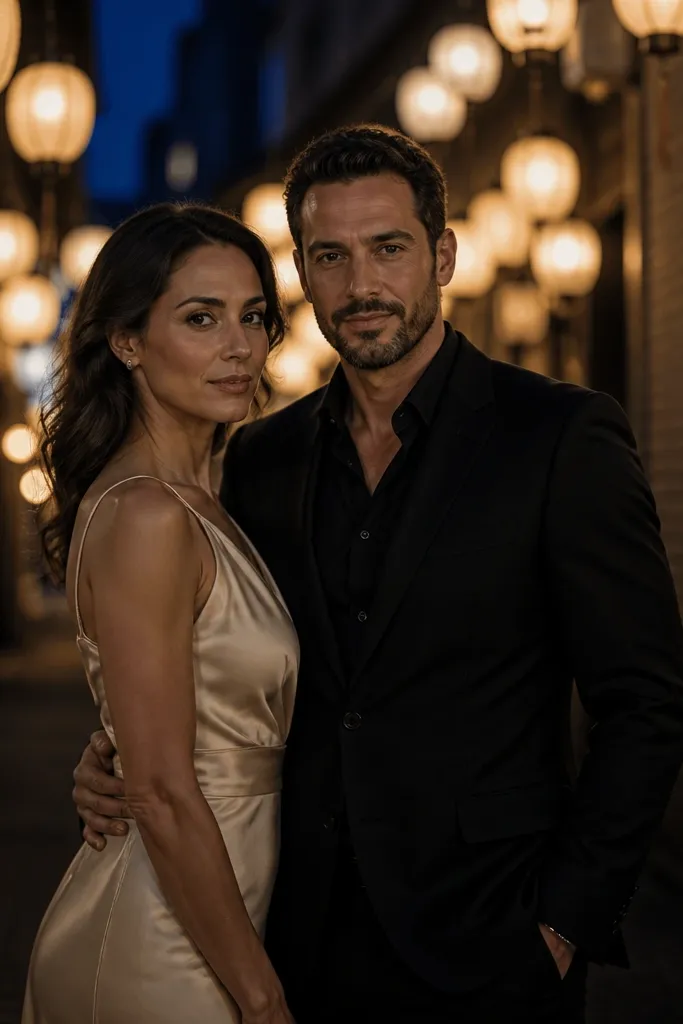
Start by choosing an alley with continuous warm lamps or hanging lanterns spaced every 6-10 feet. Then arrive at least 20 minutes early and test two angles: one facing the lamps for glow, one at a slight side angle for clearer eyes. Finally, plan wardrobe contrast: black, deep olive, or navy look gorgeous under warm lights, and a white or champagne dress stands out without looking washed out.
A lantern alley gives you instant “dreamy” without fighting harsh shadows. The narrow space makes light wrap around you, so skin looks warm and flattering while the background falls into soft blur. This is best for couples who want romance without looking staged. Timing matters here: during blue hour, the alley glows and the sky adds color behind you; later at full dark, lanterns become the main light and you get stronger flare.
Skip thisSkip lanterns that are green-tinted or flicker — they turn skin tones uneven.
Quick tipBring a small steamer or wrinkle-release spray — narrow alleys show fabric texture more than you think.
2. Wet Cobblestone Courtyard Under Sodium Lights
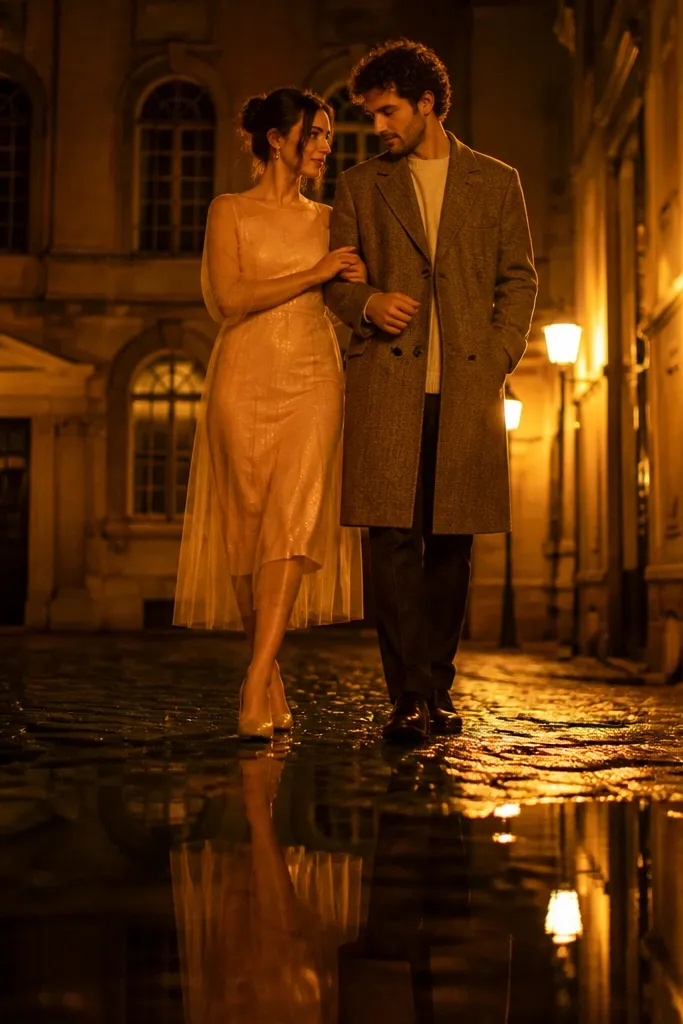
Wet cobblestones are the cheat code for night photos. The reflections give you a soft mirror effect under your feet, so the image feels cinematic even when the location is simple. Sodium or amber street lighting creates that classic golden cast that flatters most skin tones. This works especially well for couples in darker outfits, because the contrast makes the couple the brightest thing in the frame.
Start by scouting cobblestone courtyards or old-stone plazas that are likely to stay damp after light rain. Then schedule the shoot within 24 hours of rainfall if you can — the ground stays reflective without looking muddy. Finally, plan walk-through shots: have the couple take slow steps toward the light source so reflections trail behind them.
If the ground is too muddy, wipe just the path where you’ll stand so reflections stay clean.
Avoid bright white floodlights — they kill the warm reflection look.
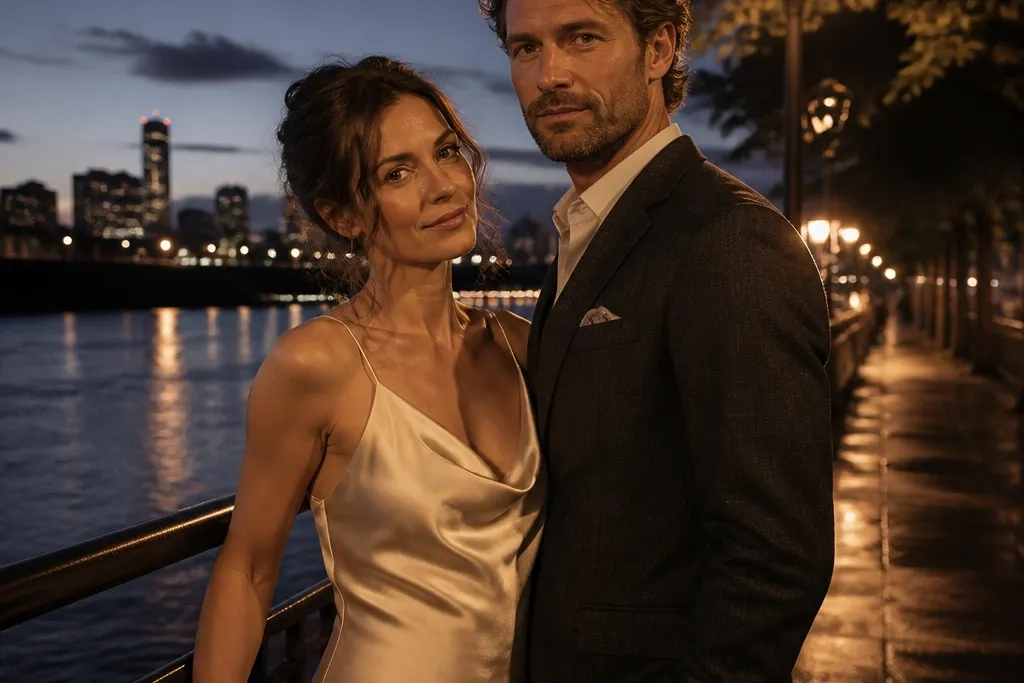
3. Riverwalk With Crossing Light Reflections
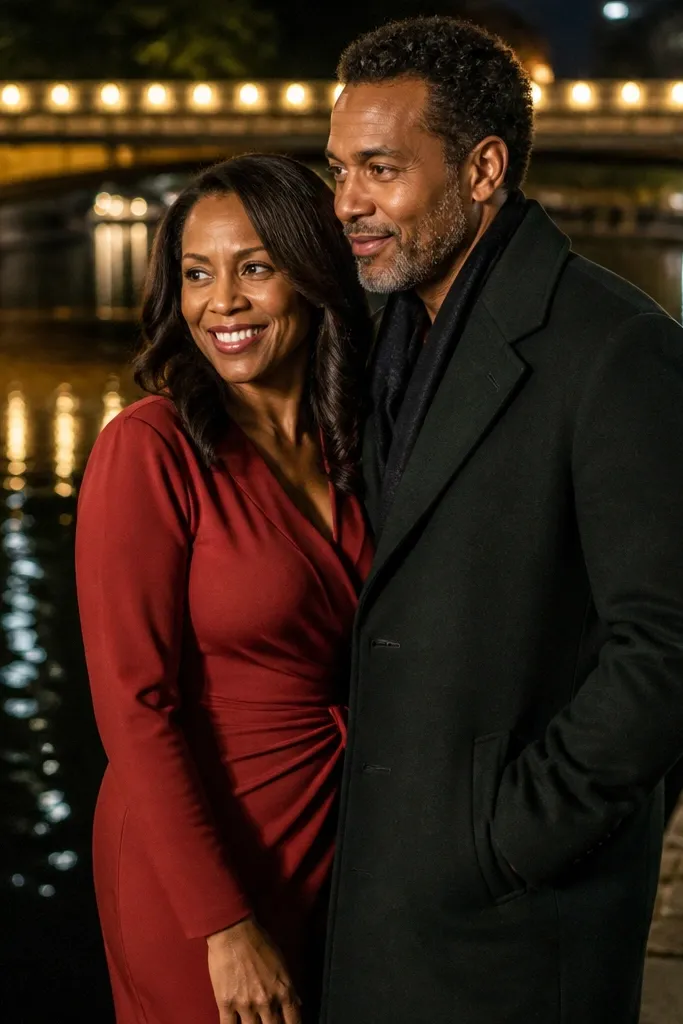
A riverwalk gives you depth and sparkle. The water doubles your light sources, creating repeating bokeh and a dreamy “glow line” behind the couple. This setting is great for couples who want romantic scenery without mountains or landmarks stealing attention. It also photographs well from different distances, so you can get both close portraits and wider frames with the city lights stretching into the background.
Start by finding a stretch of riverwalk where streetlights line up with the water at an angle. Then shoot in two passes: blue hour for colored sky and full dark for stronger reflections. Finally, keep the couple slightly away from the railing so you get more water reflection and less metal glare.
Wear shoes you don’t mind getting slightly damp — you’ll get better stability on walkways.
Skip windy river nights if you’re using long veils or heavy trains.
4. Glass-Front Hotel Entrance Glow
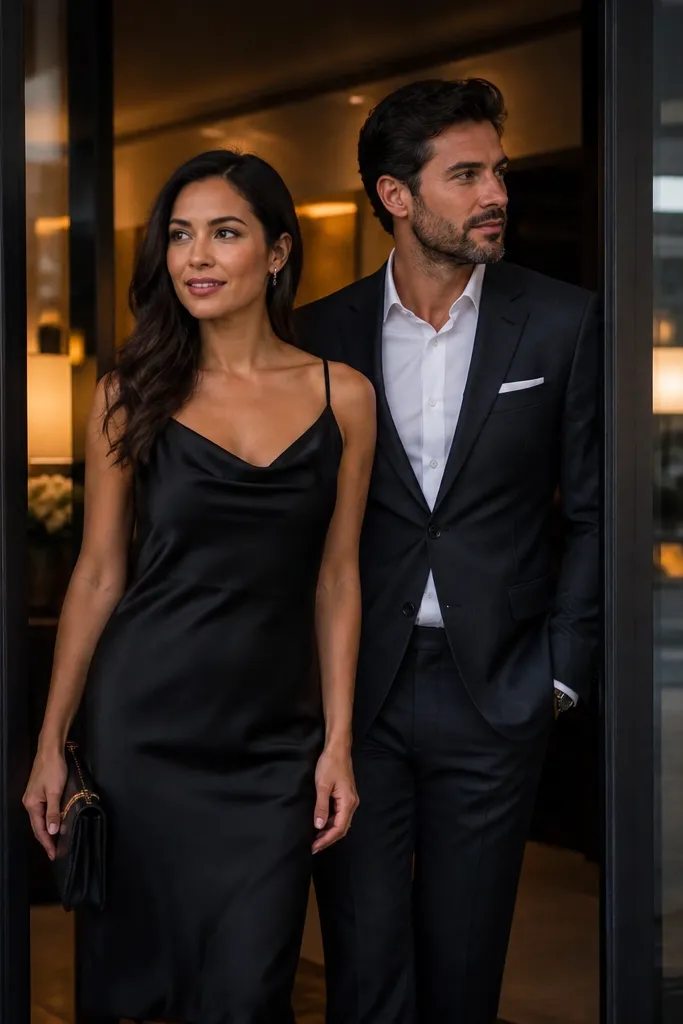
Hotel entrances look expensive on camera because you get layered light: warm interior lighting, cool reflections on glass, and dark exterior framing. The glass also creates a clean, modern background that makes outfits look sharper. This works best for couples who want a polished, slightly upscale vibe without needing a rooftop. Choose this when you want consistent lighting for portraits — faces stay readable even if the background changes.
Start by scouting glass doors and lobbies where the light inside is warm and not flickery. Then position the couple so one light source hits from the side, not straight on, to avoid face glare. Finally, shoot a few frames with the entrance lights behind them for rim light, then rotate 90 degrees for more even facial exposure.
Ask security or staff about where you can stand if it’s a busy entrance — it saves you from rushing.
Avoid spots with moving signage reflections across faces.
5. Neon Sign Portrait Street
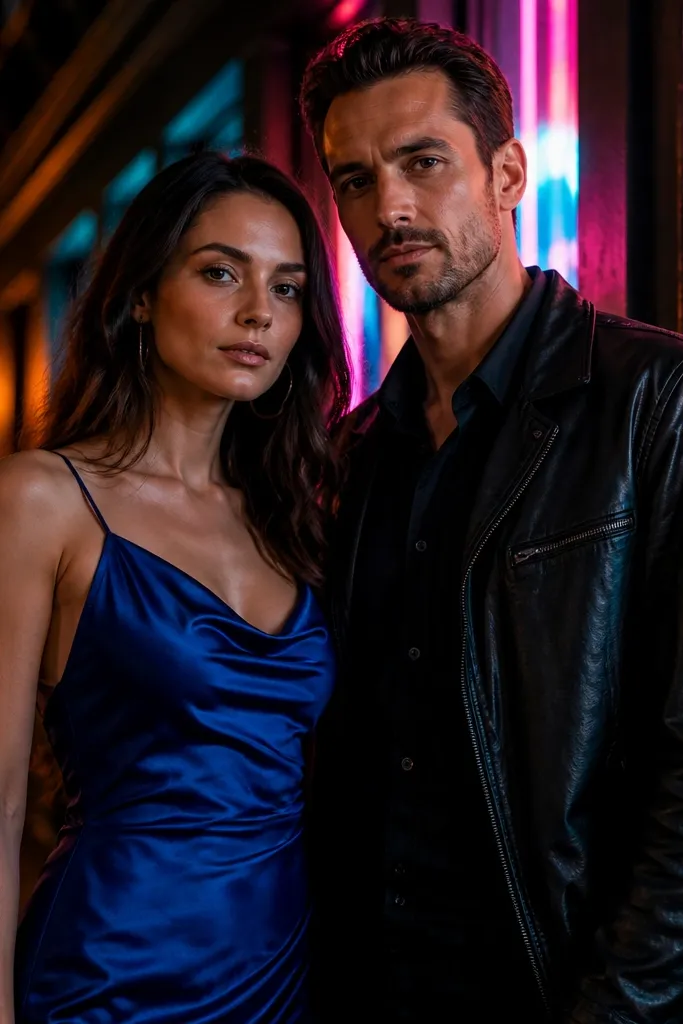
Neon gives you color drama, and at night the color looks intentional instead of chaotic. The best neon streets have stable signs (not flashing) and enough spacing that you can place the couple in front of one color family. This is ideal for couples who want an edgy dreamy vibe — think magenta, cyan, and warm amber mixing in the background while faces stay warm. The glow also hides small imperfections in the background, so even a simple sidewalk looks cinematic.
Start by picking one neon sign that’s bright but not too close to the lens — you want glow, not blown-out highlights. Then choose outfits with one dominant solid color: black with a deep red accent, or a satin champagne top with a dark skirt. Finally, test exposure by taking one shot and checking that skin tones aren’t turning green or blue from reflected light.
Bring a dark cardigan or jacket for the groom — it prevents neon spill from turning the suit gray.
Skip flashing neon or LED billboards that strobe — they smear skin detail.
6. Fire Pit Beach Night With Smoke Swirl
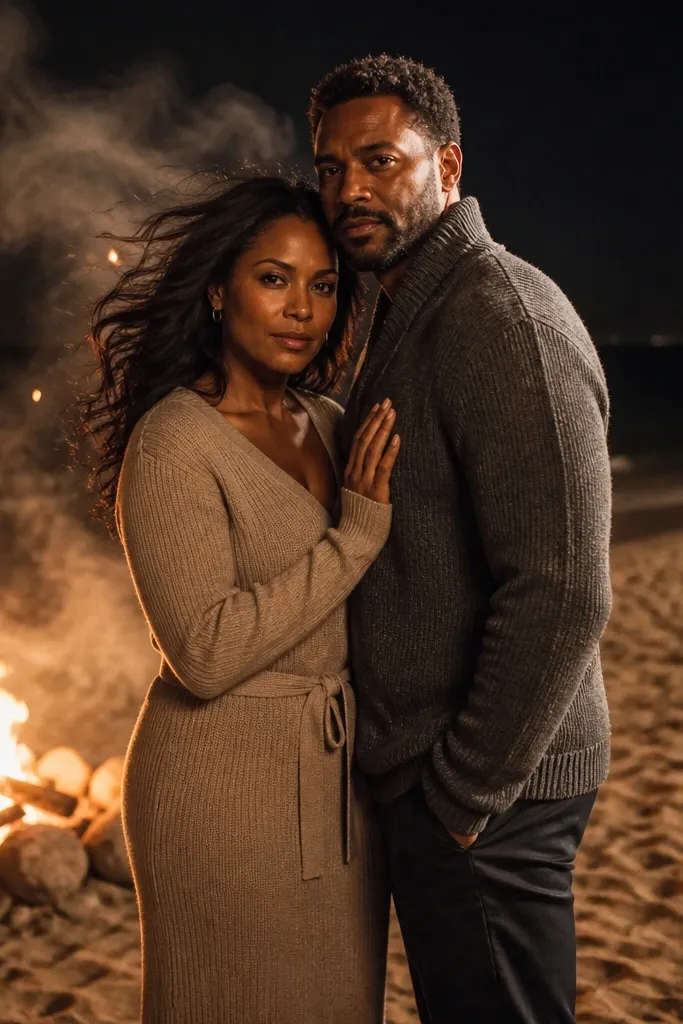
A beach with a controlled fire pit is pure atmosphere. The fire creates a warm, moving light that flatters faces and adds texture to hair, especially with wind. The shoreline gives you a dark, clean background so your couple stands out. This setting is best for intimate couples who want a cozy, romantic mood with a dreamy edge. It also works when you want minimal props — the fire does the lighting work.
Start by choosing a beach area where fires are allowed and there’s space to keep a safe distance. Then plan your shoot around the direction of the wind so smoke drifts behind the couple, not across faces. Finally, keep the couple moving slowly — the warmth flickers and you’ll get natural light variation without changing locations.
Use a matte fabric for the dress or suit — glossy materials can reflect firelight into harsh highlights.
Avoid strong gusty wind if you need a long veil — it tangles fast.
7. City Park Path With Light Poles and Long Shadows
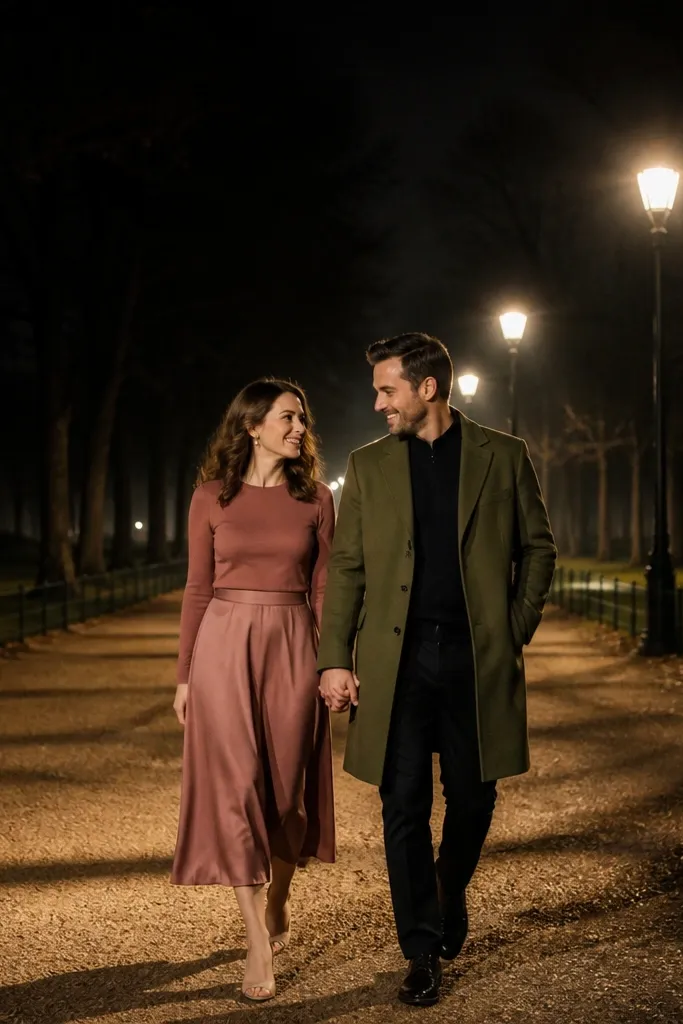
Evenly spaced park light poles create a clean pattern that looks dreamy and organized. Long shadows add drama, but if you place the couple facing slightly toward the lights, you keep faces bright. This is a reliable choice when you want variety without changing locations — the path gives you leading lines and the trees frame the background. It’s great for couples who want soft romance with a little cinematic tension.
Start by walking the path and picking a section where lights line up down the walkway. Then shoot at blue hour first so you get color in the sky and nice shadow contrast. Finally, move to full dark for a second set where the lights become strong rim light and the background turns deeper.
Wear shoes that won’t pick up gravel — the ground texture shows up in night shots.
Skip areas with overhead branches that block the light completely.
8. Boardwalk With Ferris Wheel Color Behind
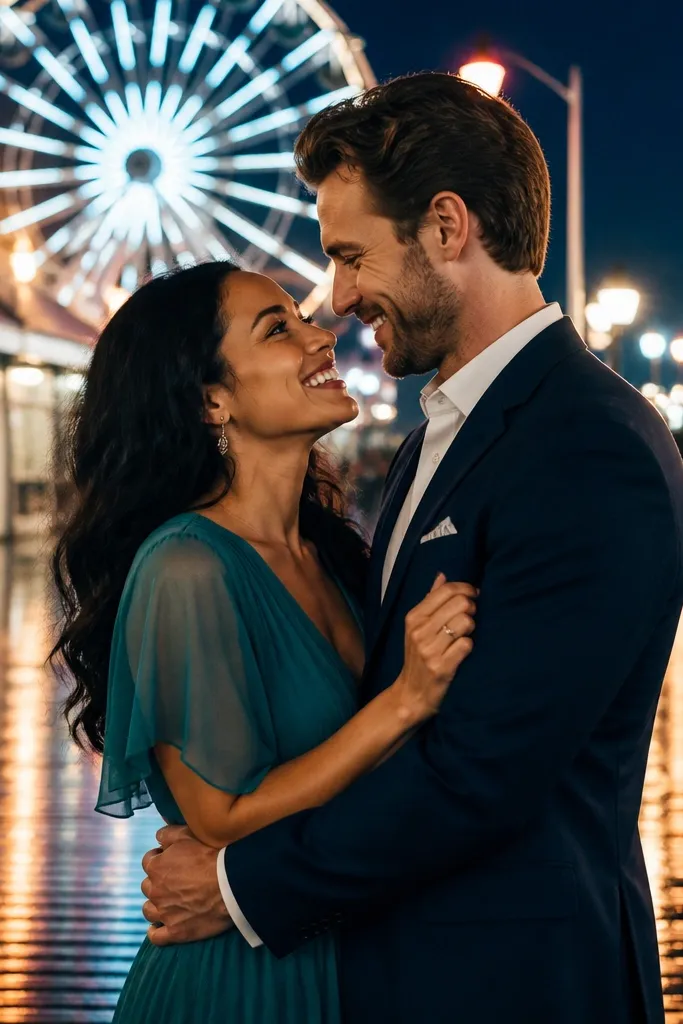
An amusement boardwalk adds instant color bokeh and a playful night vibe. The ferris wheel lights create circular light patterns, which look dreamy in portraits without looking like a theme park photo. This works best for couples who want fun energy but still want romantic posing. The key is choosing a spot where the wheel is not directly behind the head — you want glow around, not a bright halo that blows out eyes.
Start by finding a vantage point where you can see the ferris wheel lights but still have a dark foreground. Then shoot with a longer distance and use the lights as background texture, not direct beams. Finally, time your visit for lower crowds and take quick frames between passing groups so you don’t lose the clean background.
Bring a lint roller — boardwalk air sticks to dark fabric fast.
Avoid shooting when the wheel is too close to the subject — it turns into a bright blob.
9. Marina Dock Lines Under Reflected Lights
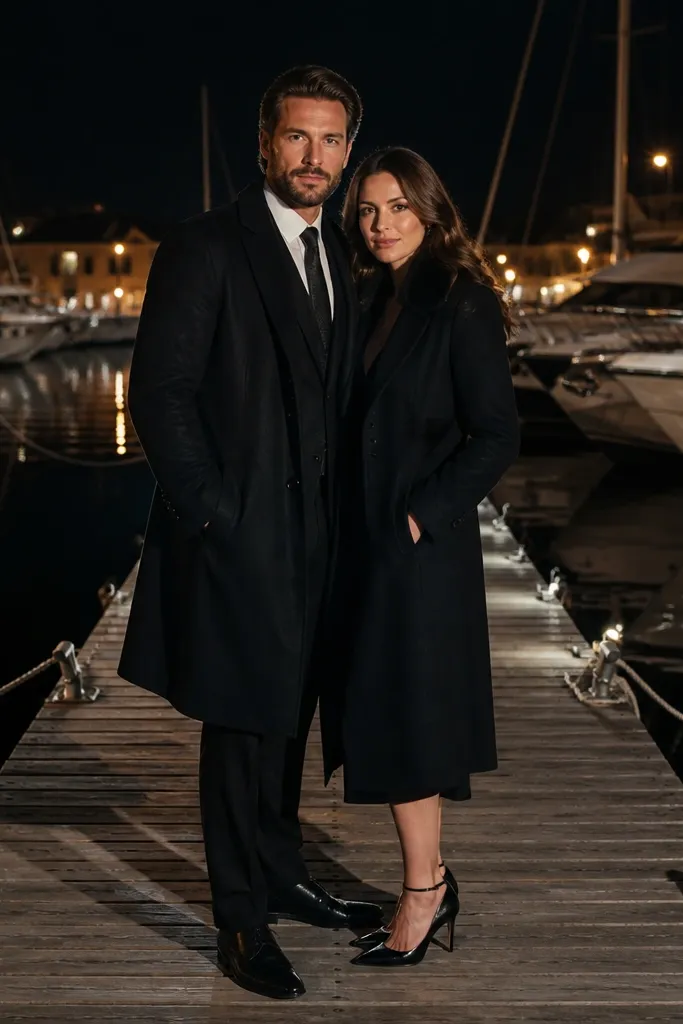
Marina docks give you strong leading lines and crisp reflections. The dock lights are usually warm and consistent, so the couple stays properly exposed across multiple angles. Water reflections add depth without needing a landmark. This is excellent for couples wearing sleek outfits — long coats, fitted suits, satin dresses — because the dock lighting defines shape and texture. You also get plenty of spots for portraits right by the water edge.
Start by choosing a dock segment with lights spaced evenly and minimal glare from boats. Then plan a route: one portrait facing the lights, one with the couple turned slightly so reflections sit behind them. Finally, keep your stance stable and avoid standing on wet slick planks — you need smooth movement for dreamy walking shots.
Bring a small towel — salt spray gets on shoes and you’ll track it onto the dock.
Skip docks with harsh blue lighting from security fixtures.
10. Staircase With Spotlight Backdrop
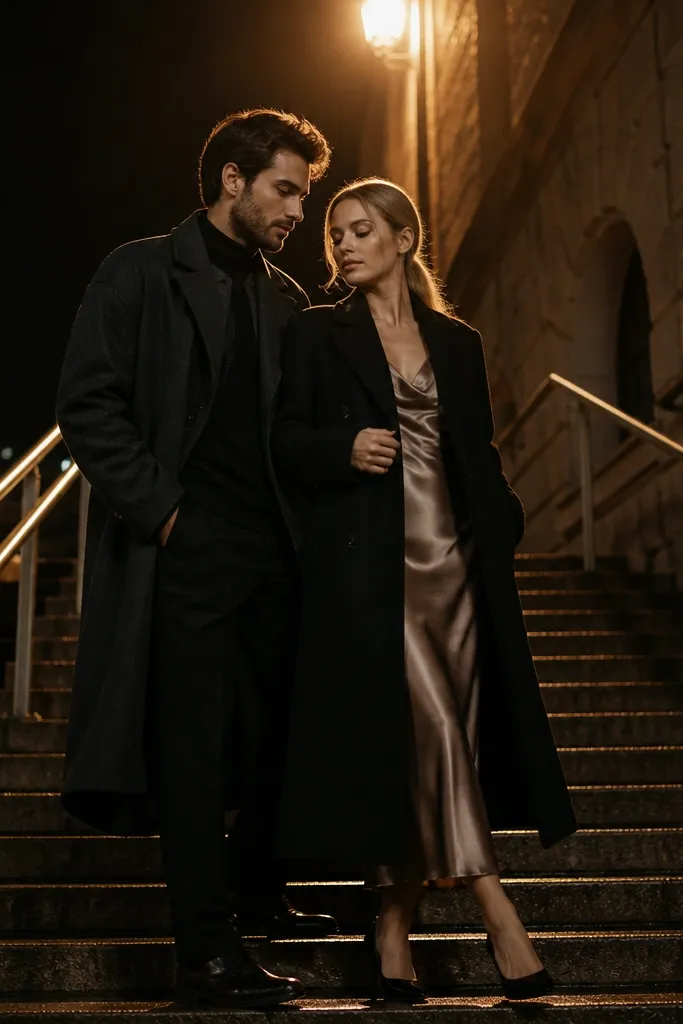
Outdoor staircases look dramatic at night because they force natural pose lines. When you add a warm spotlight or lamp at the top, you get rim light on shoulders and hair while the couple remains the focal point. This setting is great for couples who want a more fashion-editorial vibe without complex props. It also helps tall couples and shorter couples because stairs create flattering height differences in a single frame.
Start by scouting stairways with a light source positioned above and behind, not directly above the face. Then have the couple use the steps: one person slightly higher, both bodies angled so faces turn toward the light. Finally, take frames at two distances: mid-shot for the staircase lines and tighter portraits for the glow on hair.
Wear shoes with grip — slipping ruins timing and facial expressions.
Avoid stairs with bright overhead fixtures that shine straight into the lens.
11. Candle-Lit Garden Path With Lantern Rows
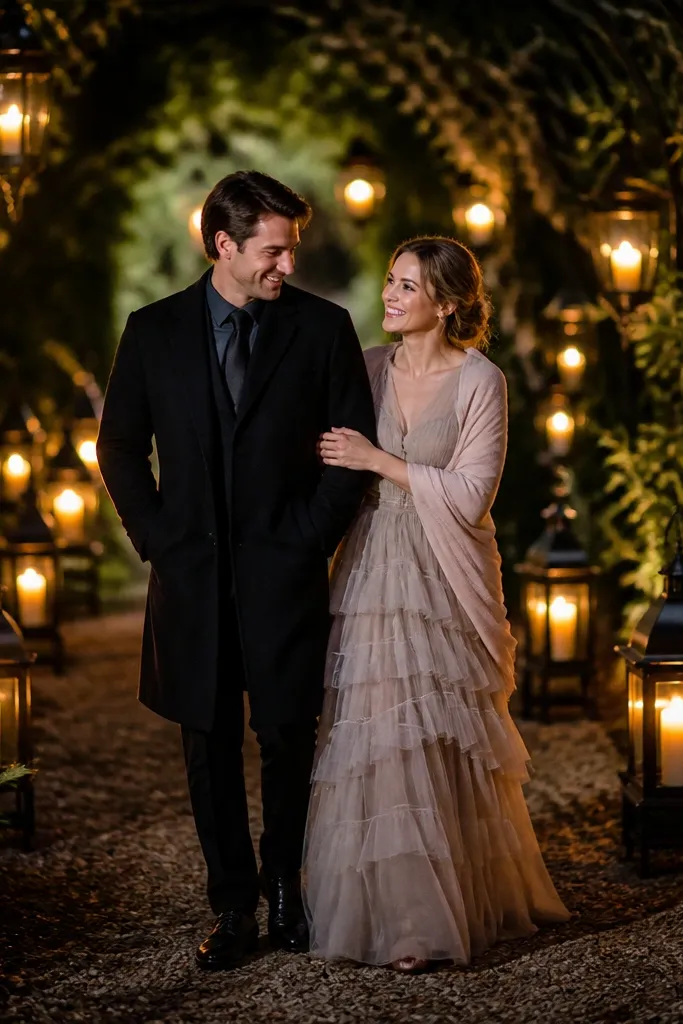
Garden paths with lantern rows create a tunnel of light that looks romantic and dreamy. The background stays soft, and the couple’s movement feels gentle instead of chaotic. This setting suits couples who want close, intimate framing with lots of atmosphere. It also works well for dresses with texture — tulle, chiffon, and lace catch the warm points of light without needing a busy skyline.
Start by choosing a garden path with lanterns placed down one side so light falls across your faces. Then shoot in blue hour for a mix of sky color and warm lanterns — it looks more dimensional than full dark only. Finally, plan a slow walk with the couple slightly angled toward the lanterns to keep eyes lit.
Stick to warm-toned bouquets or neutral florals so color doesn’t fight the lantern glow.
Skip paths where lanterns are too low and create forehead highlights.
12. City Street With Passing Headlight Trails
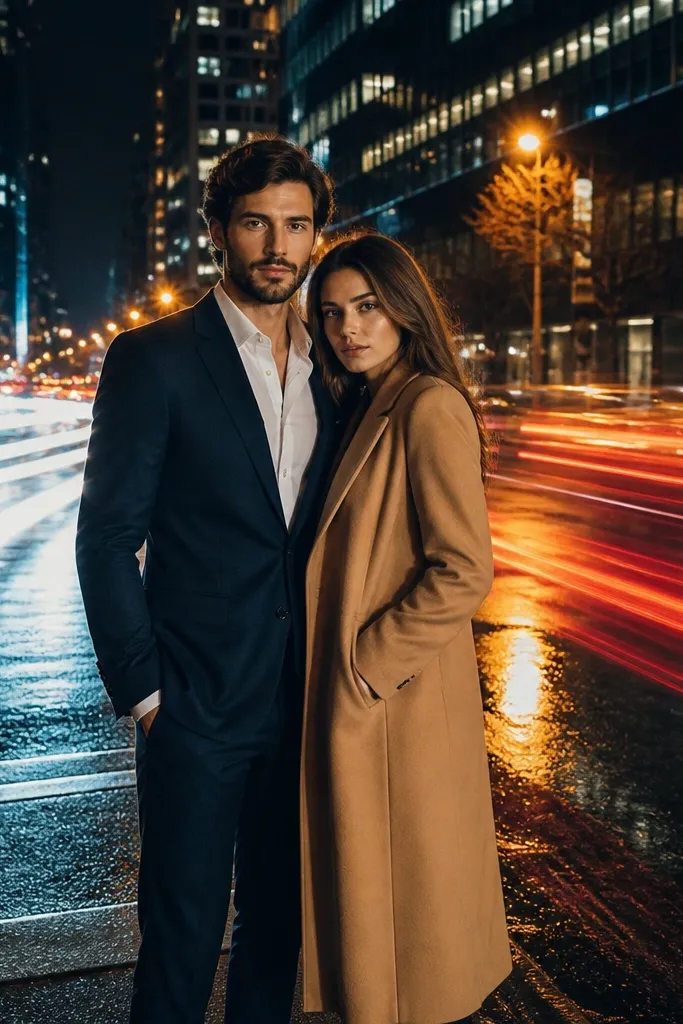
This look is for couples who want dreamy motion without leaving the city. The trick is using long exposure to turn headlights and taillights into smooth trails while the couple stays sharp. You get a cinematic background with streaks of warm and cool light — it feels like a music video still, not a normal portrait. It’s best on streets with low pedestrian traffic so you can control where the trails appear.
Start by scouting a straight street segment with street lamps and clear lanes for cars. Then plan your camera settings for motion blur: use a tripod, longer shutter speed, and have the couple hold still for the sharp frames. Finally, repeat timing: take test shots until the trails land where you want them behind the couple’s legs.
Use a hand-held timer or remote so the couple isn’t distracted by you moving around.
Avoid heavy traffic — you’ll get messy, unpredictable streaks and stray people in frame.
13. Rooftop Edge With City Glow and Dark Sky
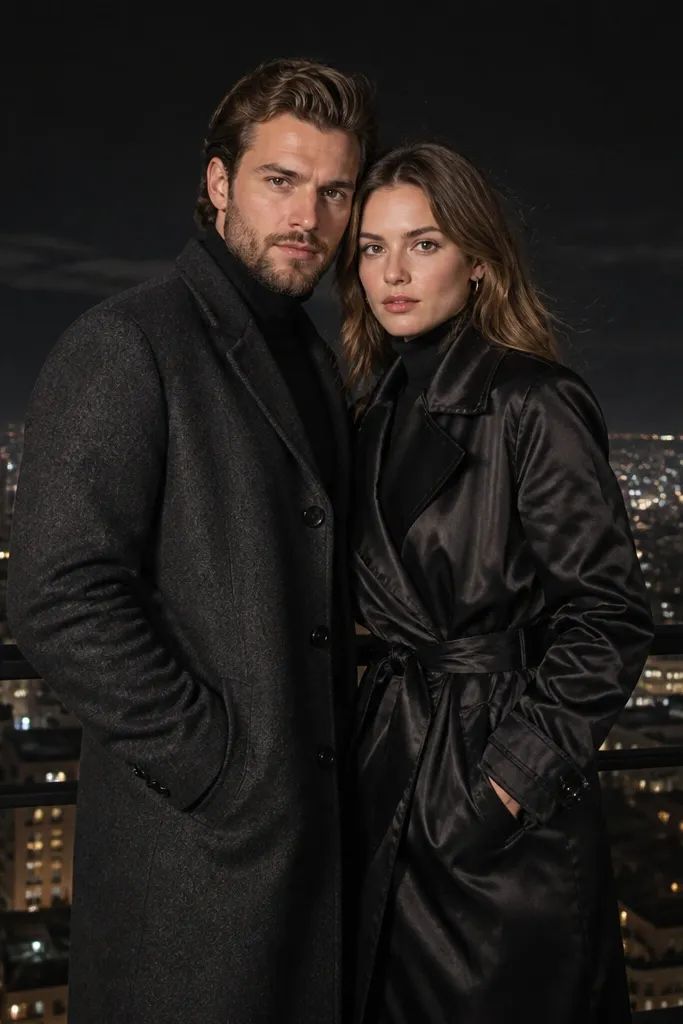
A rooftop edge gives you clean framing and a strong horizon line. City glow below creates depth, while the dark sky keeps the image focused on your couple. This is a great choice when you want dreamy, dramatic photos without a lot of location movement. It also works well for couples who want a modern look with minimal clutter. The key is safety and light control: the railing should separate you from messy rooftops behind.
Start by selecting a rooftop access point with a safe railing and a view that includes repeating lights. Then shoot in two phases: blue hour for sky color, and full dark for stronger city glow. Finally, position the couple so the tallest lights aren’t directly behind the head; shift a few steps to avoid lens flare ruining eyes.
Bring a small fan or hair spray plan for wind — rooftop air wrecks hair continuity.
Skip rooftops with bright construction lights — they flatten the scene.
14. Historic Stone Bridge With Under-Bridge Reflections
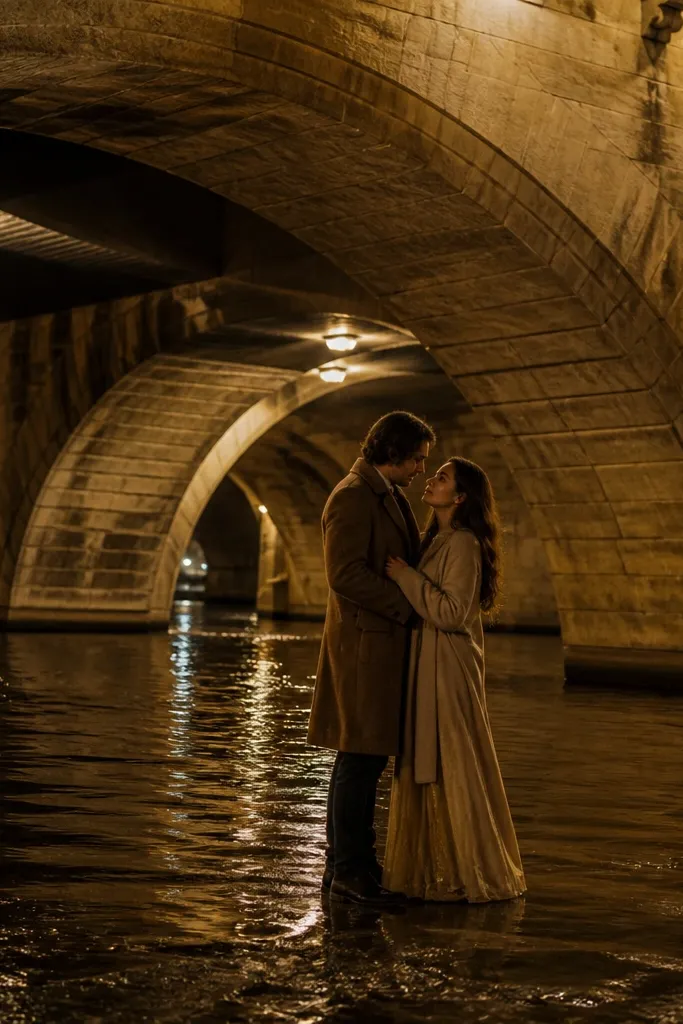
Start by scouting bridges where lights are warm and visible from below, not harsh white. Then plan for safety: pick a spot with stable footing and avoid slippery algae areas. Finally, shoot with the couple slightly apart from the center so the bridge arches frame them and reflections don’t cover faces.
Bridges look romantic at night because they create symmetry and depth. Under-bridge lighting often bounces off water and stone, giving you a soft, textured glow instead of a flat background. The stone adds grain and character, and the reflections add dreamy dimension around your feet and lower bodies. This suits couples who want a more timeless, cinematic feel without a modern neon look.
Skip thisAvoid bridges with direct overhead beams that blast the top of your heads.
Quick tipUse darker outfit tones under warm stone light — it keeps the scene cohesive and prevents washout.
15. Sunset Market Alley After Closing Hours
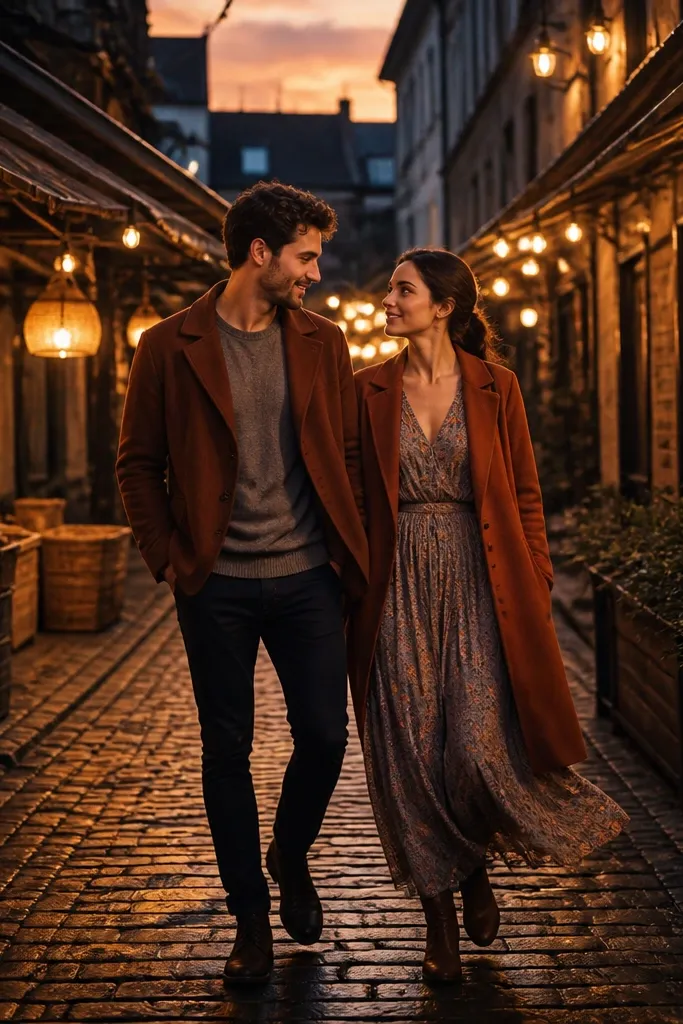
Market alleys after closing hours give you the best version of street-life lighting without crowds. Overhead bulbs and storefront signs create layered, warm glow that makes skin tones look flattering and backgrounds feel lived-in. This is perfect for couples who want an urban dreamy look but still want the frame clean. Because the alley is narrow, you get natural leading lines and cinematic depth even with a short walk.
Start by finding a market street that has overhead string lights or warm bulb rows. Then check the timing so you’re there right after people leave, when you can pose without constant interruptions. Finally, choose a spot where at least one storefront is lit behind you — it gives you a soft frame and prevents the background from going too dark.
Bring a small bag of spare hair ties — humidity and night air can change flyaways fast.
Skip alleys with one bright sign directly behind the couple’s heads.
16. Outdoor Sculpture Park With Spotlit Statues
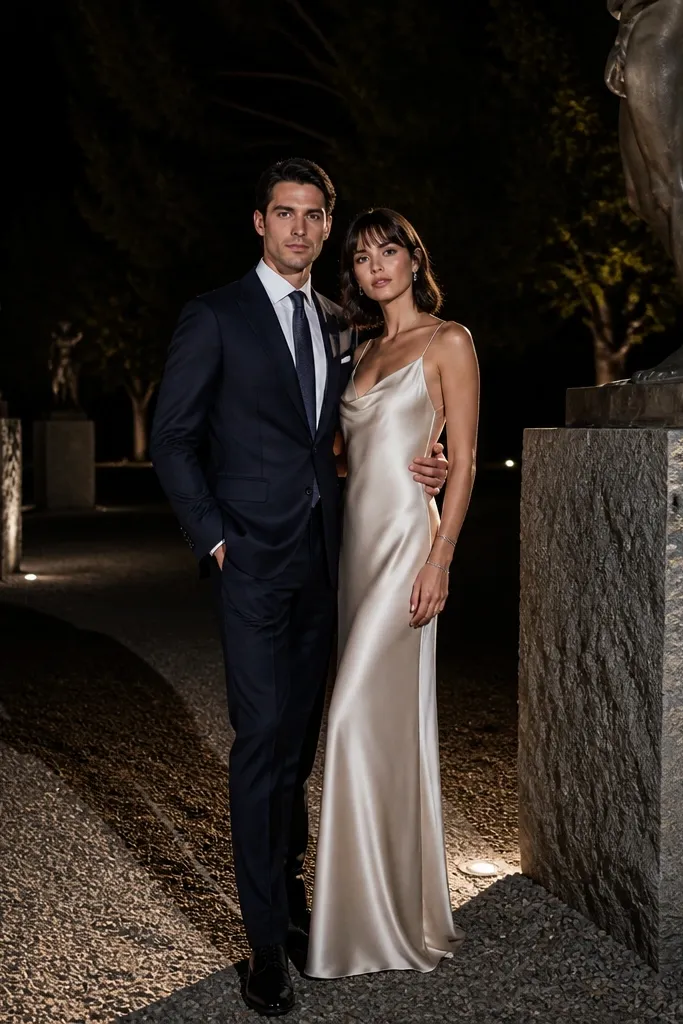
Start by scouting a park at dusk and mapping where spotlights fall on faces and clothing. Then plan portraits near one statue at a time so the background stays simple and dreamy. Finally, shoot with a mix of angles: one facing the spotlight for rim light, one at 45 degrees for clearer eyes.
Spotlit sculpture parks create controlled drama. The statues act like a built-in set: strong shapes, clean surfaces, and intentional shadows that look cinematic. This setting is ideal for couples who want a slightly artsy, photo-forward vibe with less “street mess.” It also helps with posing because the environment gives you natural anchors — you can place the couple beside stone forms and let the light do the shaping.
Skip thisAvoid spots where the spotlight is aimed straight down onto the face.
Quick tipChoose outfits with texture — wool, satin, and knit look especially good under spotlights.
17. Lake Dock With Moonlit Horizon and City Sparkle
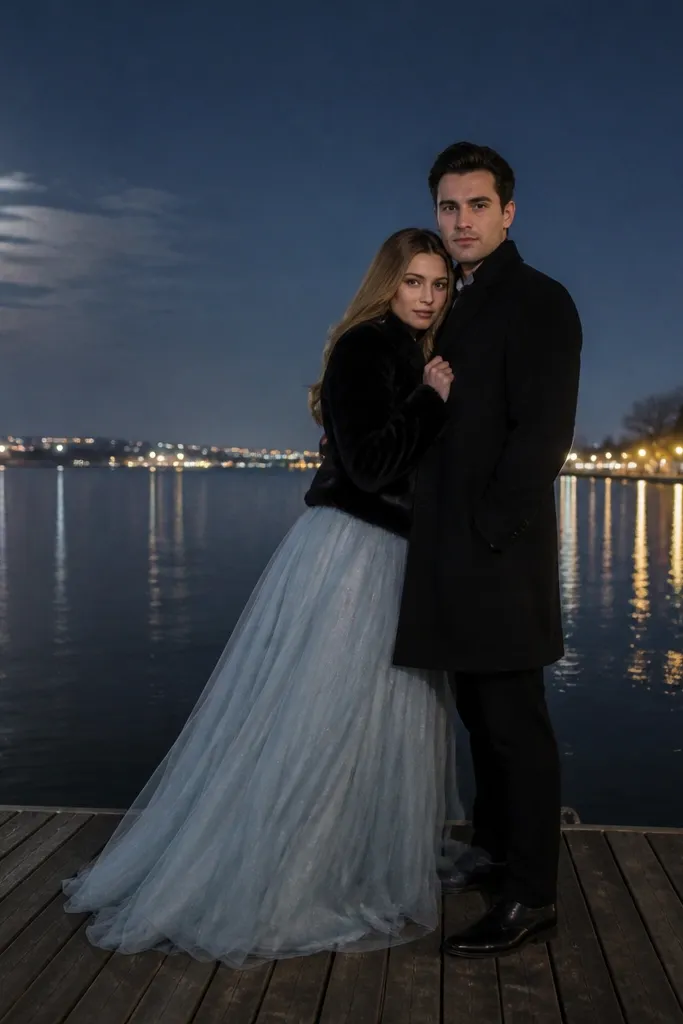
Start by scouting docks with open sky behind you, not trees blocking the horizon. Then plan for moonlight: pick a night when the moon is visible so you get gentle ambient light. Finally, shoot at blue hour first, then return for full dark so you can compare how the water reflection changes the mood.
A lake dock is dreamy because the horizon is clean and the water adds soft reflection without harsh city clutter. If the area has distant city lights, you get tiny sparkles in the background and a calmer, romantic frame than a river. This setting suits couples who want a softer look with less neon color. It’s also great for longer portraits where you want the couple to feel small against a wide night sky.
Skip thisSkip docks under dense trees where the light turns patchy and faces go dim.
Quick tipWear darker fabrics on top — they swallow stray light and keep the scene cohesive.
18. Streetcar Tracks With Repeating Light Lines
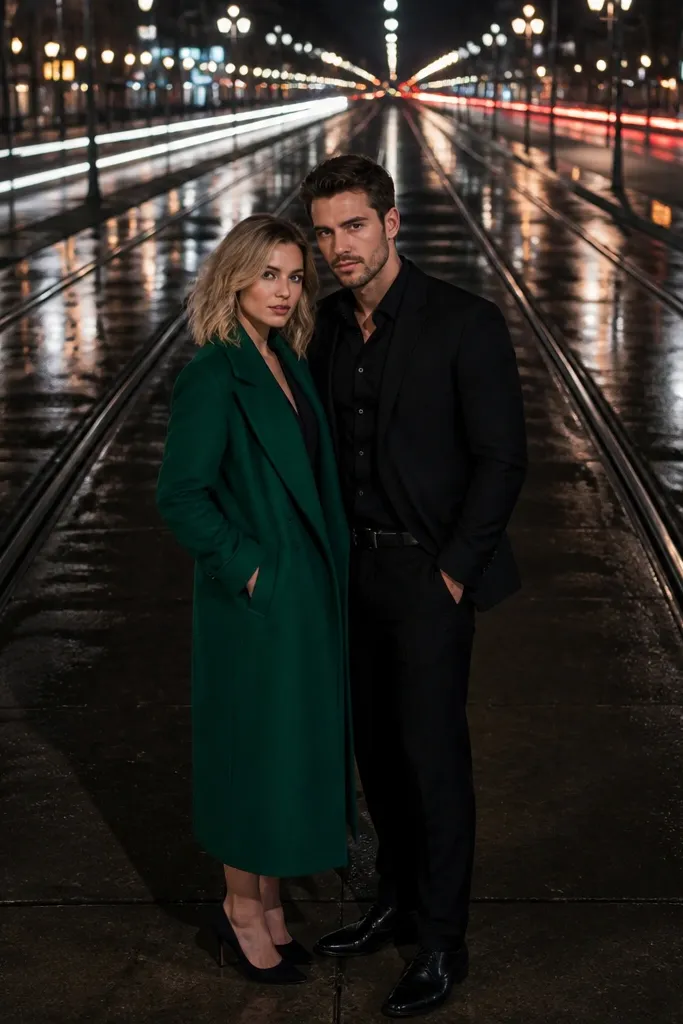
Tracks create repeating lines that pull your eye straight to the couple. When streetlights reflect along the rails, you get a dreamy geometry effect that looks intentional and high-end. This is a strong choice if you want a modern, graphic look rather than soft romance only. It also works for couples who like bold outfits because the clean lines keep the frame organized.
Start by finding a straight track segment with evenly spaced lights and minimal clutter around it. Then plan safe shooting: stand off the tracks with only the background showing rails, and keep poses away from where cars might pass. Finally, shoot from slightly low and centered angles so the lines converge behind you and make the couple look framed by light.
Use a longer focal length perspective to compress the lines and keep the background dreamy, not busy.
Avoid areas with construction barriers — they ruin the clean geometry.
19. Under-Canopy Street With Hanging Market Lights
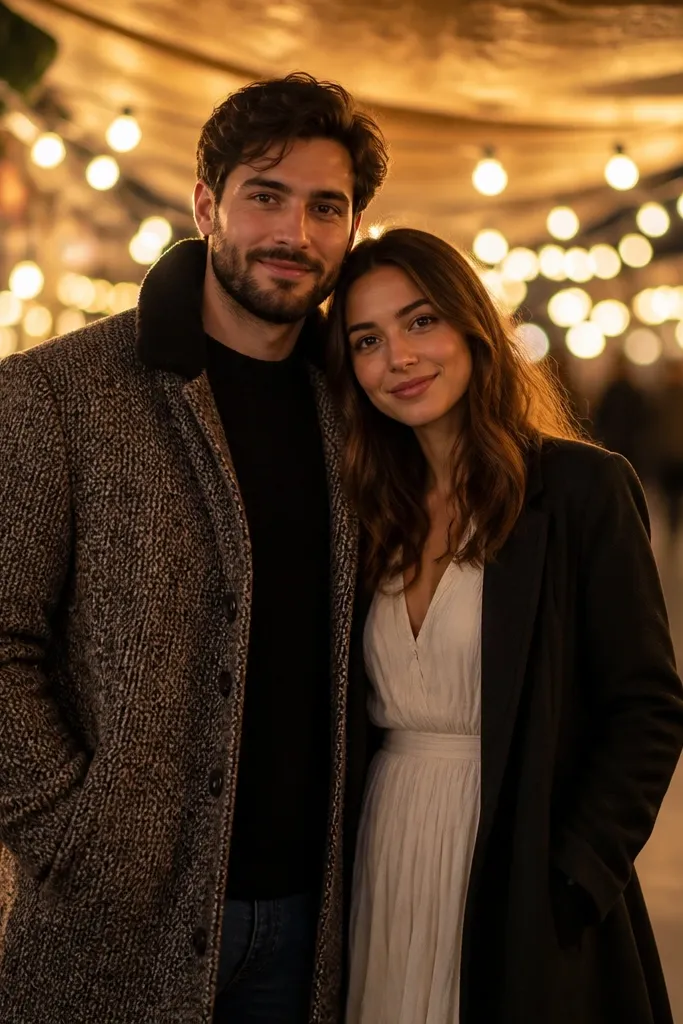
A canopy street with hanging bulbs is a cheat for dreamy bokeh. The lights are overhead, spaced, and usually warm, so the background turns into soft circles and faces stay flattering. This setting works well for couples who want portraits without worrying about distant landmarks. It also photographs nicely in both close and mid shots because the ceiling light pattern stays consistent. The vibe feels intimate and slightly cinematic even in a busy city.
Start by locating a covered street area with multiple bulb drops and low ceiling clutter. Then position the couple so the bulbs are behind and slightly above shoulder level — that gives you glow without face glare. Finally, take a few frames walking forward slowly; the bulbs blur into a dreamy trail while the couple stays readable.
Avoid shiny satin dresses that reflect bulb glare into the camera — matte or lightly textured fabrics look smoother.
Skip sections where bulbs are uneven or missing — you’ll get patchy background bokeh.
20. Rainy Night Under Neon Umbrella Glow
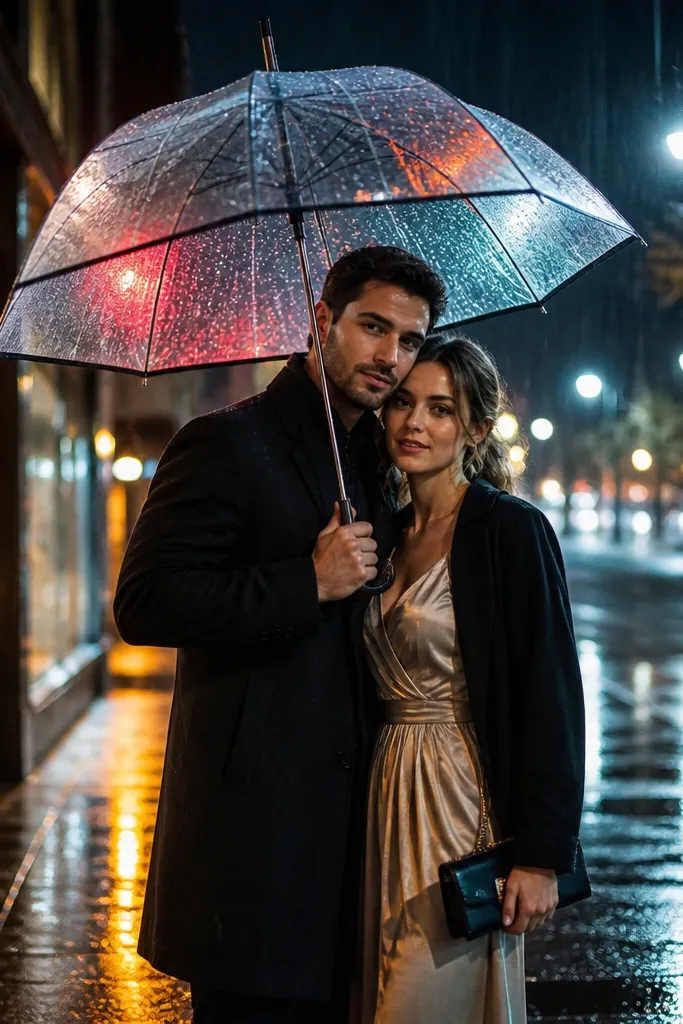
Rain plus neon makes a night shot look like it has color grading already. Droplets on umbrellas and hair catch neon and streetlamp light, turning the scene into layered sparkle. This is ideal for couples who want a dreamy, moody aesthetic with visible atmosphere. The umbrellas also give you an easy prop that creates shape and symmetry in photos. Pick this when the forecast says light rain — you want texture, not chaos.
Start by choosing a street with neon signs or strong warm lamps that reflect on wet pavement. Then bring two umbrellas in coordinated colors and position the couple so the neon isn’t blasting straight into the lens. Finally, keep close distance for portraits so raindrops show and the background stays soft rather than overexposed.
Pack a microfiber towel and change socks if needed — wet feet make people rush and posture falls apart.
Avoid heavy downpours that obscure faces and turn every light into a smear.