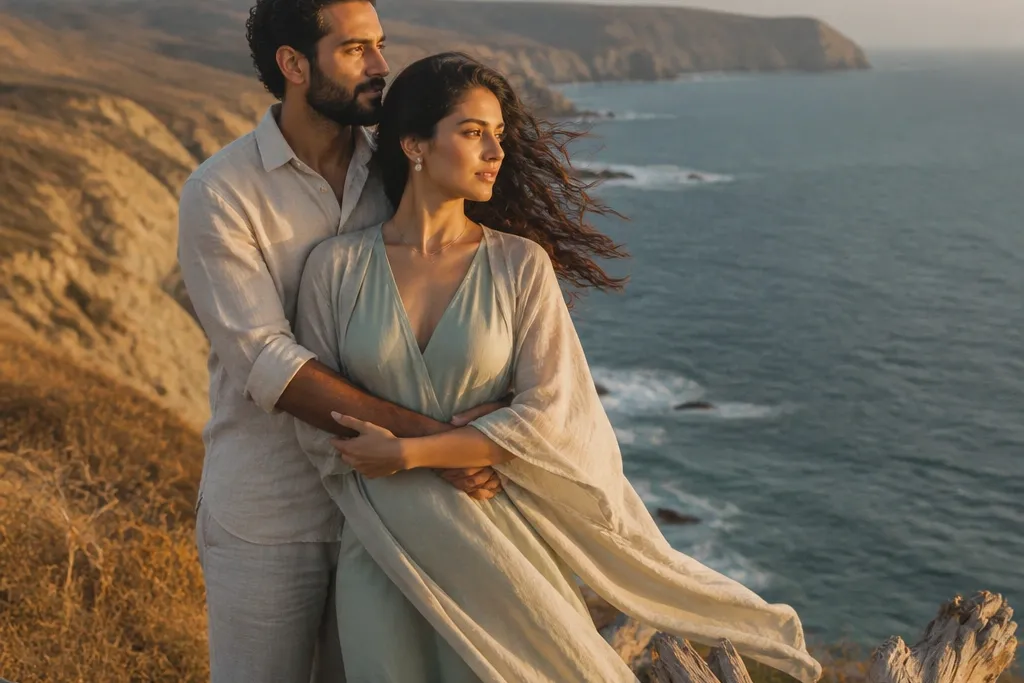
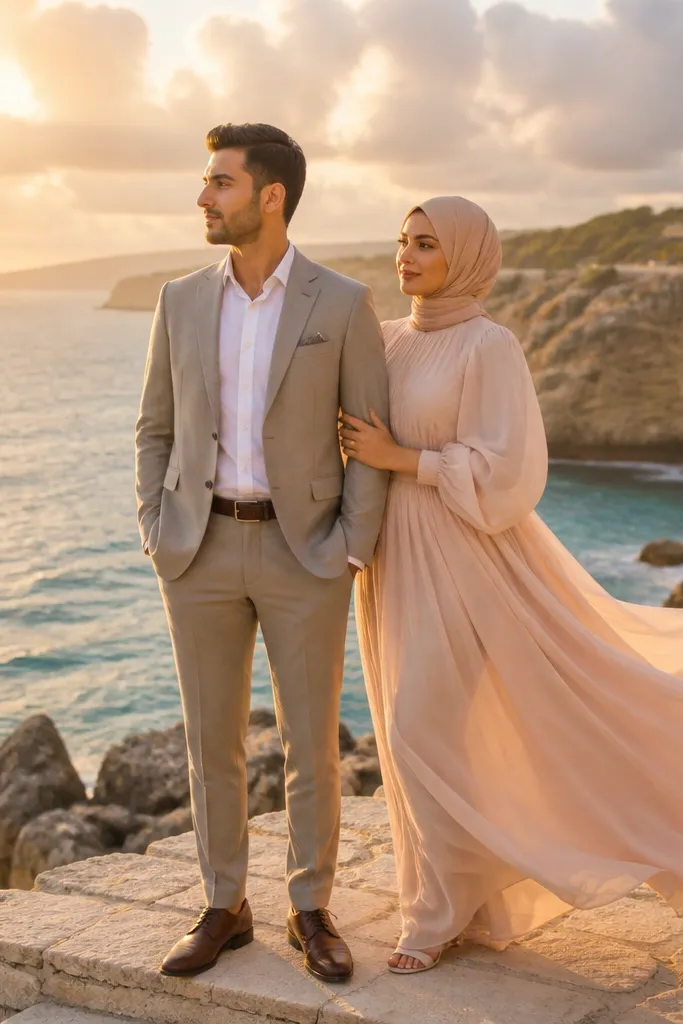
1. Cliffside shoreline with a wide-sky horizon
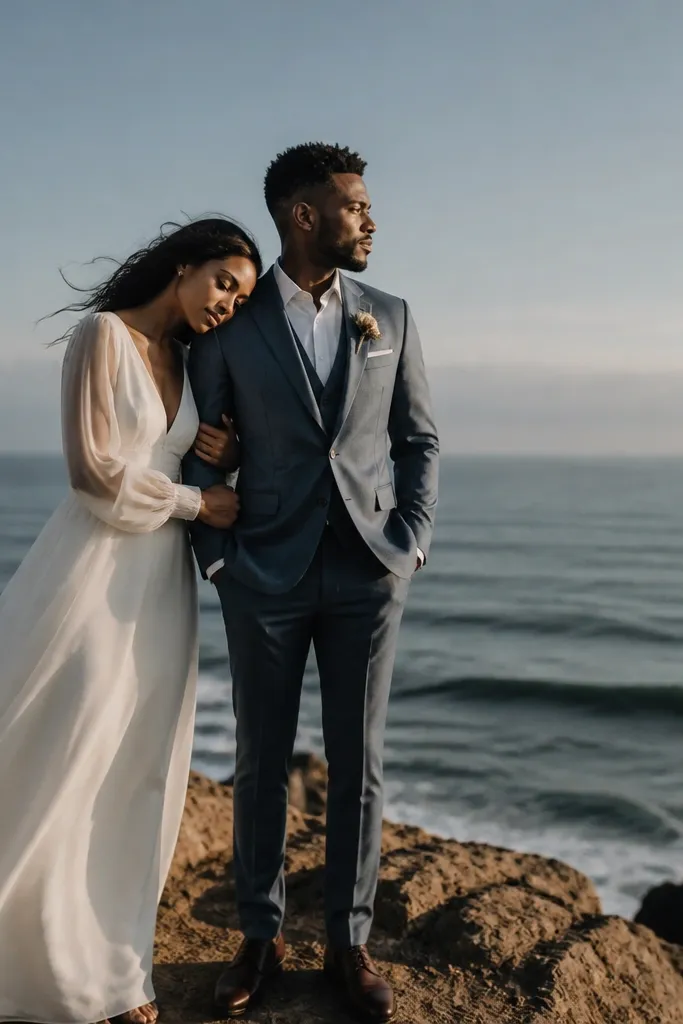
A cliffline gives you a built-in horizon and clean separation between you and the background. The best part is the light: when the sun hits from the side, your hair catches it and the ocean turns into smooth tonal layers instead of messy detail. This setup looks especially good with flowing fabrics because the wind creates movement you can control with pacing. It suits couples who want a cinematic, slightly dramatic vibe without needing props. Go when the sea has texture but not chaos — calm-to-breezy conditions make the background feel expensive.
Start by scouting a spot where you can see the water line clearly but you are not directly under cliffs that throw heavy shadow. Then plan your timing for 60-90 minutes before sunset so you get side light and a gradient sky. For framing, keep the ocean horizon in the top third and place you slightly off-center so the image breathes. Finally, plan 3 walking passes and 2 pause moments — one facing the water and one looking back toward land.
Wear shoes with grip; cliff paths can be slick even when the forecast says “dry.”
Avoid midday sun — it flattens faces and turns the ocean into a noisy, high-contrast mess.
2. Wildflower field with a low foreground path
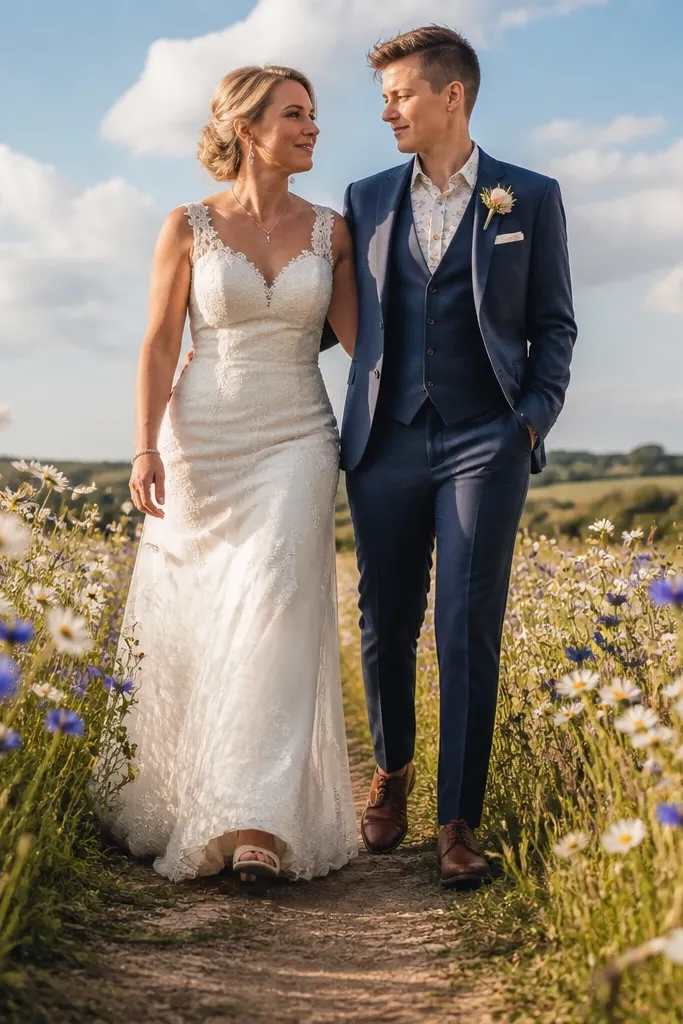
Wildflower fields look stunning when there’s a path you can follow — it gives movement and keeps composition tidy. Tall blooms create depth, but the trick is to shoot low so the flowers frame you instead of swallowing the scene. This works best when the flowers are in full color and the sun is warm, because petals glow and skin tones stay flattering. It suits couples who want a romantic, soft look without heavy styling. If your outfit has dusty colors, this is where they look intentional.
Start by finding a field edge with a visible dirt or grass track; you want something that reads as a line in photos. Then arrive 45-60 minutes before sunset or right after sunrise so the field lights up without harsh shadows. Step into the foreground height — kneel or stand slightly lower so blossoms sit around your shoulders. Finally, use 2 focal directions: one shot where you face the camera, and one where you look down the path to show depth.
Bring a small fabric brush or lint roller; pollen shows up fast on light dresses.
Avoid fields with uneven heights where the path disappears — you end up with messy backgrounds and lost subject separation.
3. Sunset promenade with repeating arches or columns
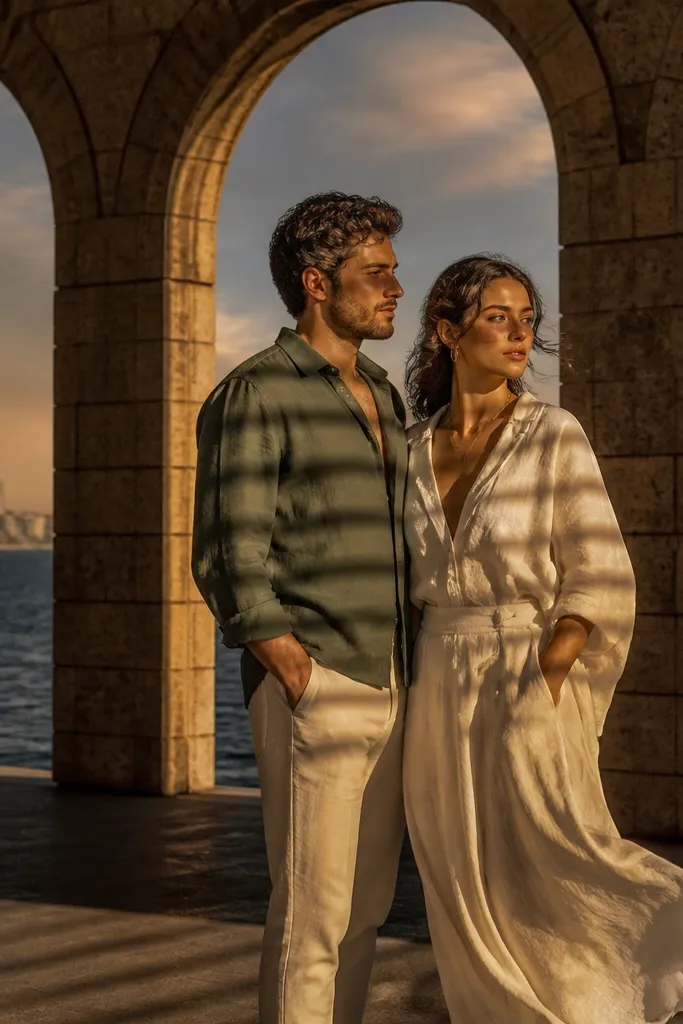
Repetition is the cheat code for architectural outdoor photos. A promenade with arches or columns gives you a rhythm that automatically looks designed, even if your poses are simple. The light at sunset slides between structures and creates a clean contrast on faces while the background stays structured. This setup is great for couples who want “styled editorial” without looking posed. It also helps with group logistics if you have a friend holding a reflector or managing a small playlist.
Start by choosing a stretch where you can see at least 5 repeating arches in one direction. Then shoot at sunset so the light hits from the open side and leaves the far end slightly darker for depth. For composition, stand just inside one arch and use the next arch as your visual frame. Finally, do one slow walk sequence and one still pose at the end of the repetition line.
If you can, pick a promenade with light-colored stone or cream walls; it keeps skin tones warmer.
Avoid shooting straight-on to bright sky behind you; it turns faces into silhouettes under arches.
4. Lakeside dock with mirrored water reflections
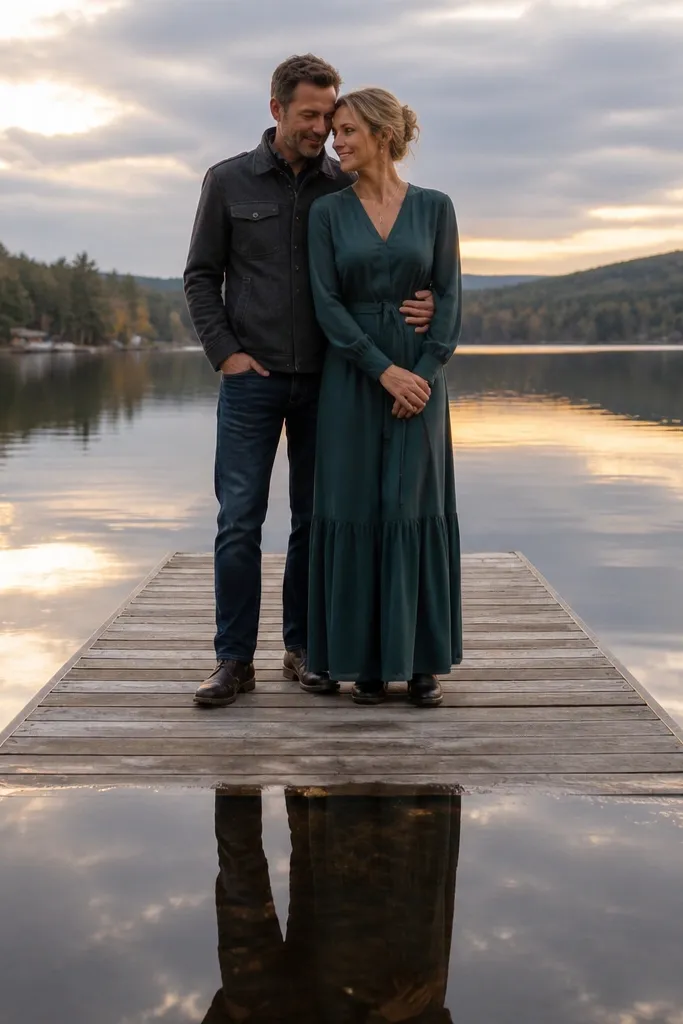
A dock is a clean foreground and it gives you a strong “grounded” feeling in photos. When the water is calm, reflections double the scene and make the gallery look polished without extra props. This setup works for soft, intimate vibes and also for more fashion-forward outfits because the dock lines look crisp. It’s ideal when you want a romantic look that still feels modern. Choose a dock with railings or posts — they add geometry and help with posing.
Start by checking wind on the water — you want calm enough to see reflections clearly. Then plan for sunrise or sunset when the light angle improves reflections and keeps the dock from looking flat. Place yourselves along the dock’s centerline for symmetry, then shift to one side for a more candid angle. Finally, get at least one shot where you sit or lean by a post so the reflection lines up under you.
Bring a small towel for wet shoes; dock boards can splash even when the ground looks dry.
Avoid choppy water — reflections disappear and you’re left with a darker background.
5. Forest path with sunbeams through tall trees
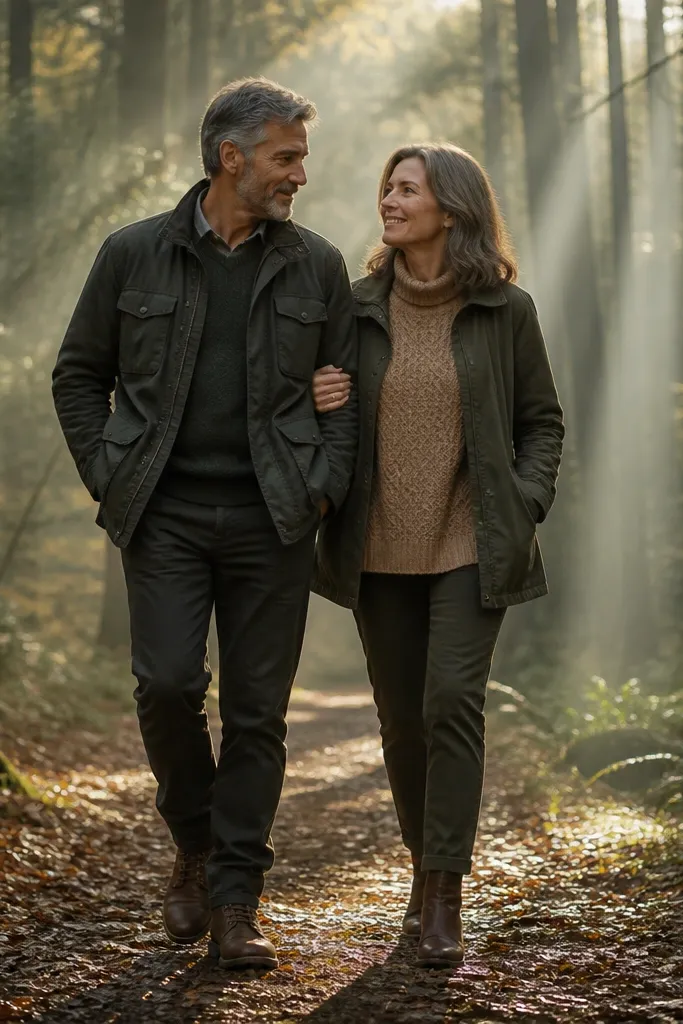
Forest paths look stunning when the light is broken into beams, not evenly spread. Tall trees create that effect, and the path gives you a natural leading line that makes your movement look intentional. The forest also softens background clutter, so your outfits stand out. This works for couples who want a moody-romantic vibe without going full “dark and stormy.” It’s especially good with textured fabrics like lace, knits, and suede because the scene has natural depth.
Start by scouting a path where sunlight hits in patches; look for gaps in the canopy rather than thick, uniform shade. Then schedule your shoot for late afternoon when the sun is lower and beams are more dramatic. For posing, walk toward the light for one set, then turn and shoot from the side so the background stays darker. Finally, use a foreground leaf or branch frame for one or two shots.
Quick tipWear bug repellent that doesn’t smell strong; you’ll be closer to plants and it matters for comfort.
Skip thisAvoid heavy backlight where you lose detail — if faces look dim, shift your position so light hits from the side.
6. Desert stone textures with long shadows
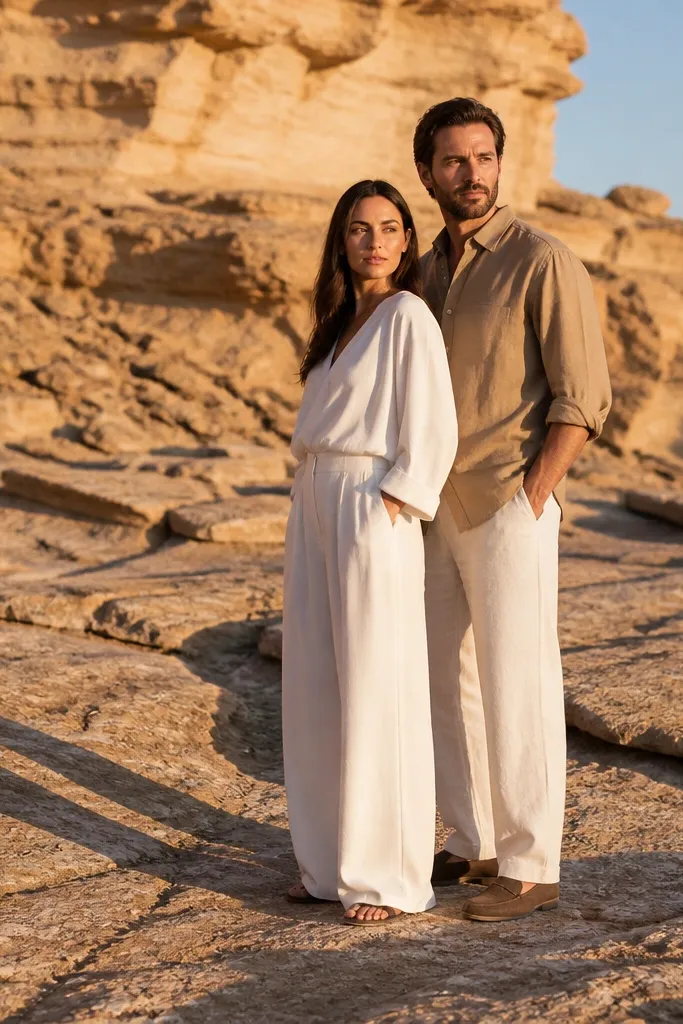
Desert stone gives you instant texture and color separation. Pale rock absorbs light differently than sky, so your outfits pop without needing extra styling. Long shadows make faces look sculpted, and the minimal background keeps attention on you. This suits couples who want modern, clean photos with a calm mood. It’s also forgiving for wardrobe — neutrals look intentional against sand and stone.
Start by choosing a location with visible rock formations or layered stone walls, not just open sand. Then shoot 60-90 minutes before sunset for long shadows and warm tones. Place the couple near a textured rock face but keep space around you so the background doesn’t feel crowded. Finally, do one wide shot showing the landscape and one tighter shot where the rock texture fills the frame behind you.
Bring a lint roller and a scarf; sand sticks to light fabrics and hair.
Avoid windy afternoons — sand in eyes ruins the calm look and causes squinting.
7. Botanical garden greenhouse window light
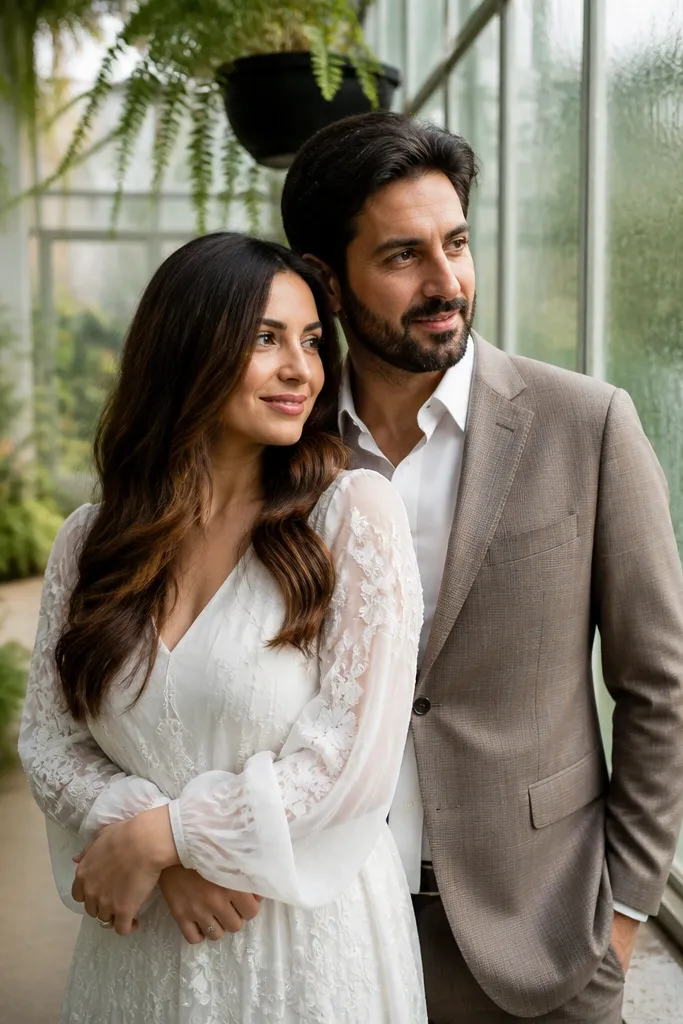
A greenhouse is outdoor photos with indoor-style lighting. The glass diffuses the sun, so skin looks smooth and colors stay true even when clouds roll in. Use the greenhouse structure for clean lines and a layered green background that doesn’t get chaotic. This setup is great for couples who want a romantic look but hate harsh sunlight. It also works year-round because you’re not fighting weather — you’re using it to create soft light.
Start by finding a greenhouse section with tall panes and visible reflections, then position yourselves so light comes from the side. Then book your timing around 1-2 hours after opening so you get steady light without peak crowds. For photos, stand near the glass but not so close that glare washes your faces. Finally, add one moment by a plant bench or pot cluster for foreground texture.
Quick tipAsk staff if photography is allowed; some gardens have rules about tripods and time windows.
Skip thisAvoid places with heavy signage or cluttered plant tags in the background.
8. Stone staircases with a sweeping leading line
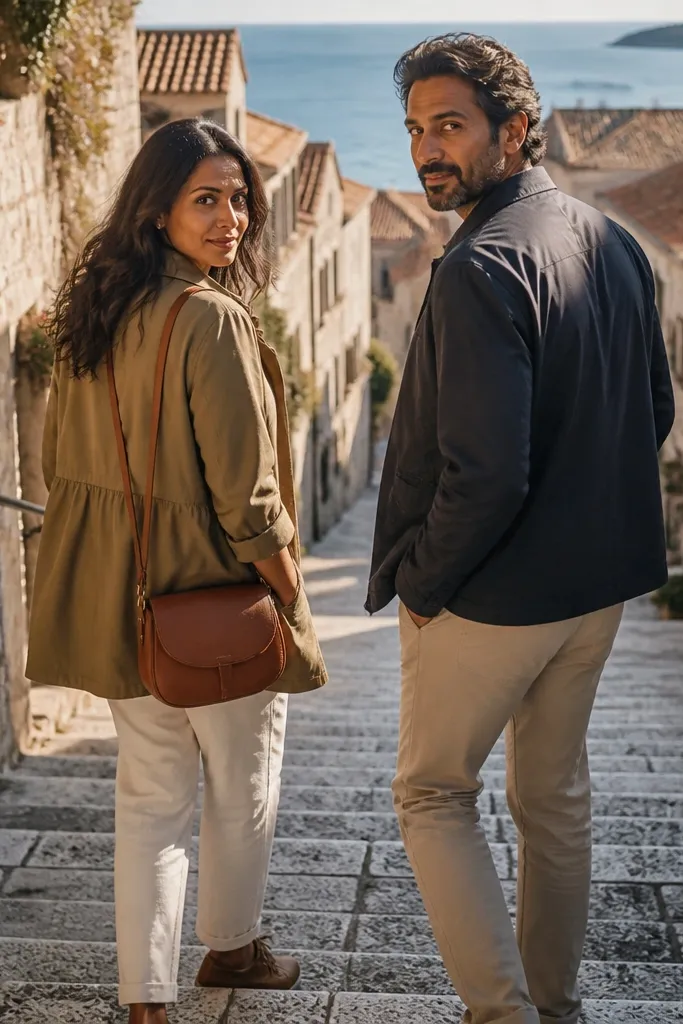
Stairs are the fastest way to get movement and flattering angles. The steps create a natural diagonal leading line, and you can pose in a way that looks effortless — standing, walking up, then turning back. Stone staircases also give you a durable, textured background that doesn’t blur into mush. This suits couples who want polished photos that still feel candid. It’s especially good for dresses and tailored suits because the shape of the stair adds structure.
Start by scouting a staircase with clean edges and no distractions like rail posters or trash bins. Then shoot at sunset so the steps catch warm highlights and the upper area stays darker for contrast. For posing, use a stagger: one person slightly higher on the steps and one lower so bodies don’t flatten in the frame. Finally, do a slow walk up for 10-15 seconds, then stop at two marked spots where the light hits.
Bring a simple steamer or wrinkle spray if you’re wearing satin; stairs can cause fabric cling and creases.
Avoid staircases with wet moss — they look slick and distracting in photos.
9. Old town cobblestone street with warm wall texture
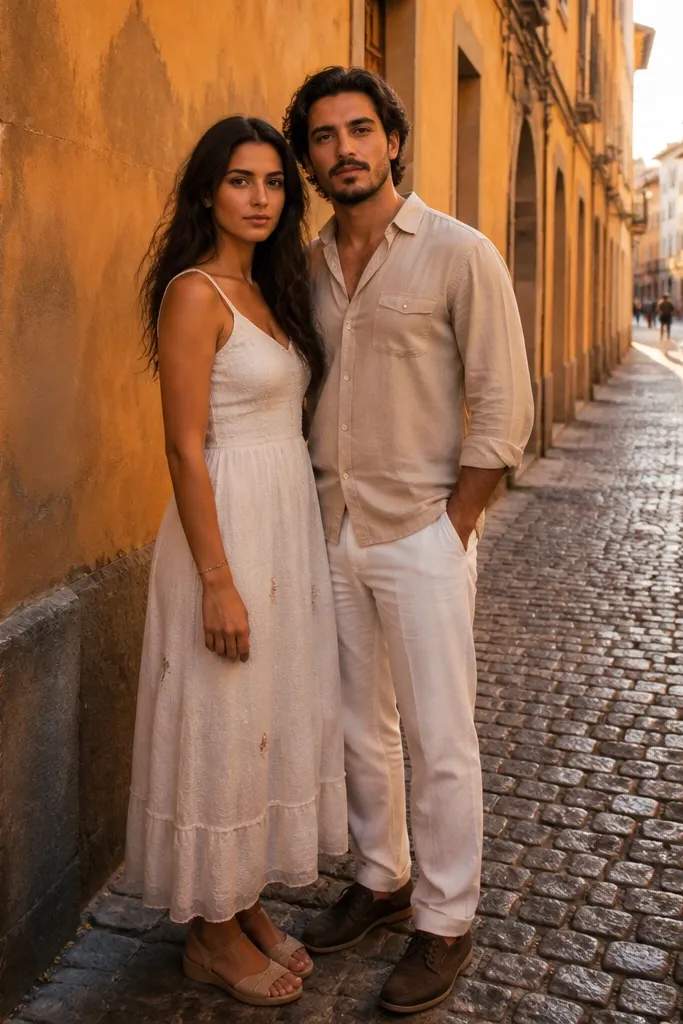
Cobblestone streets add texture and direction instantly. Warm stone walls create a color base that flatters both skin and clothing, and the uneven ground adds a subtle, cinematic feel. This setup works when you want stylish, story-like photos without countryside travel. It’s also great if you have limited time because you can shoot quickly while walking. Choose streets with consistent architecture so the background stays coherent.
Start by picking a narrow street segment with one consistent wall color and minimal modern clutter. Then shoot late afternoon when the street light is warm and shadows fall along the cobblestones. Keep your walk slow — cobbles look best when your steps are controlled, not hurried. Finally, use 2 angles: one down the street for depth, and one side angle with the wall texture behind you.
Quick tipIf the street is crowded, plan early morning shots; empty cobblestones look sharper on camera.
Skip thisAvoid bright storefronts and overhead wires — they steal attention from your faces.
10. Riverbank reeds with side lighting and soft haze
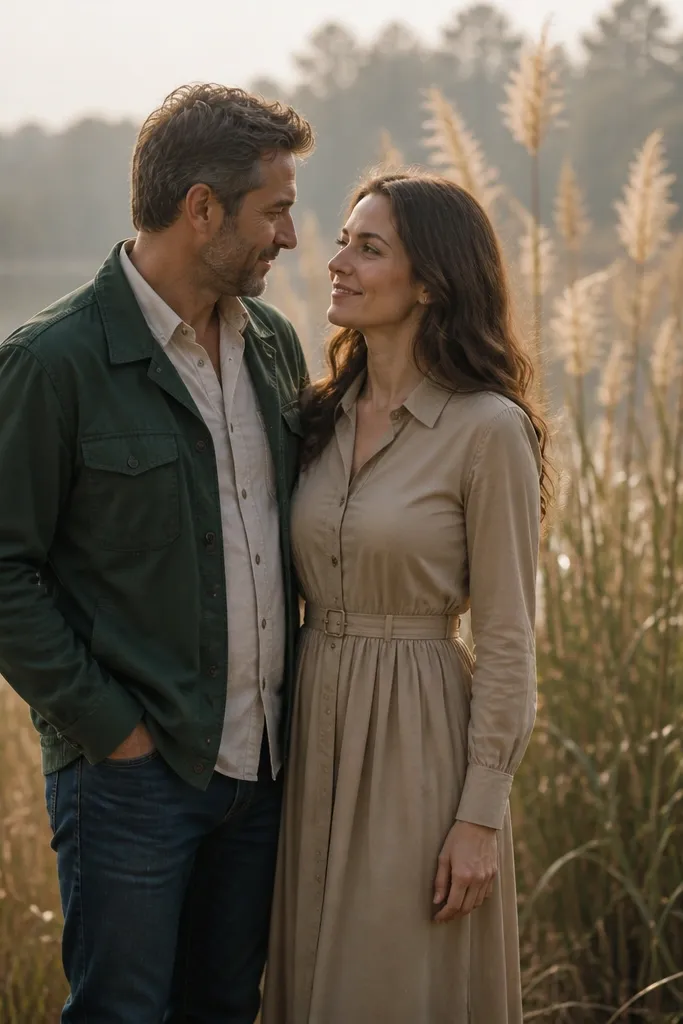
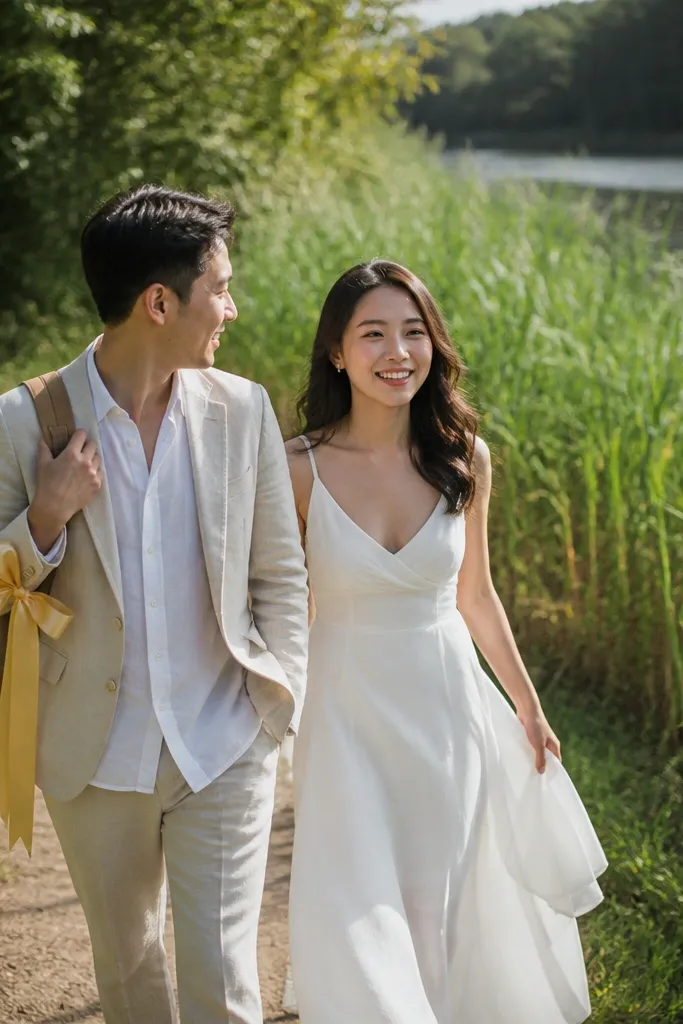
Reeds and grasses by a river create a natural veil effect. When the sun hits from the side, the reed tips glow and your background turns into a soft, layered blur. This is a strong choice for couples who want dreamy, not chaotic. The riverbank also gives you a subtle movement option — walking along the edge or pausing beside a bend. Outfit-wise, darker tones look great against the pale reed color.
Start by choosing a bank with tall reeds and a clear open strip where you can stand without getting tangled. Then shoot during golden hour when the air has a slight haze for softness. For composition, keep your bodies in the open strip and let the reeds frame you from left and right. Finally, take one shot with you turned toward the river bend for depth and one shot facing the camera for intimacy.
Bring a lint roller again; reeds shed tiny fibers that cling to black fabric.
Avoid walking too deep into reeds — you end up with awkward tangles and uneven posture.
11. Waterfall viewpoint with misty light control
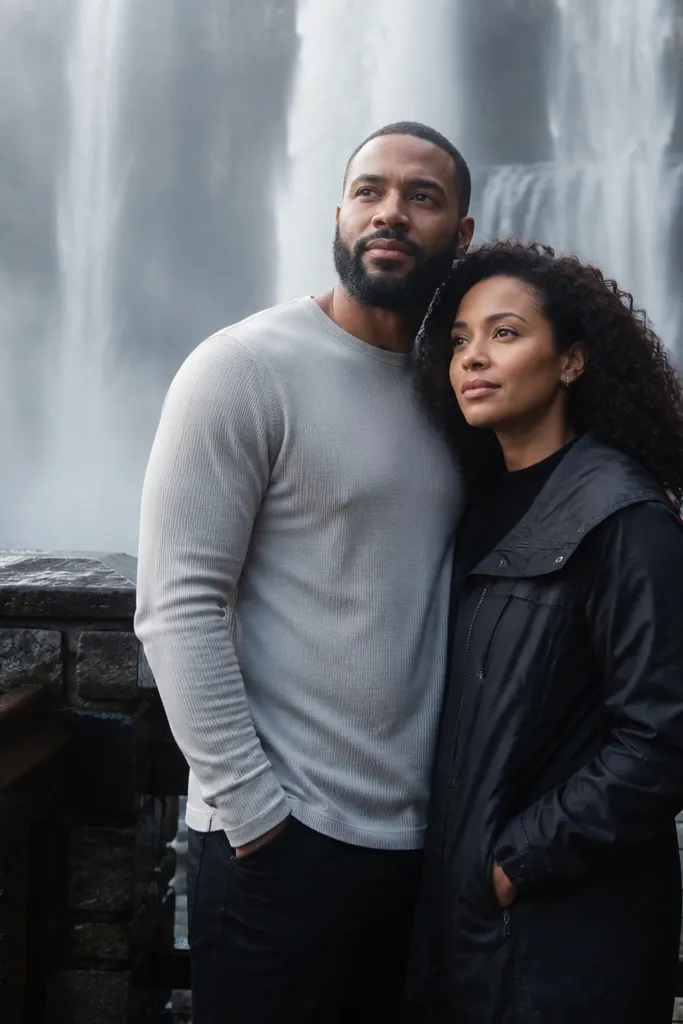
Waterfalls look stunning when you use the mist to soften the background and control contrast. The spray creates a natural glow around you, and the moving water gives the scene energy even in still poses. This setup works well for couples who want a dramatic, high-impact look without heavy styling. Choose viewpoints where the mist doesn’t fully soak your clothes, because the photo quality depends on fabric staying crisp. It’s also a great place for color contrast — emerald, navy, and burgundy look striking near white water.
Start by finding a viewpoint with a safe distance and a flat area to stand so you don’t fight footing on wet rocks. Then shoot with the waterfall behind you slightly to avoid harsh backlight washing your faces. Bring a clear umbrella or poncho for quick coverage if spray increases. Finally, plan 3 poses: one standing close, one leaning slightly forward, and one with you looking off toward the falls for a candid feel.
Quick tipUse a simple anti-fog spray on glasses if you wear them; mist jumps fast.
Skip thisAvoid the center of the spray zone — soaked fabric and blown-out highlights ruin the look.
12. Beach sand dunes with a clean wind-swept look
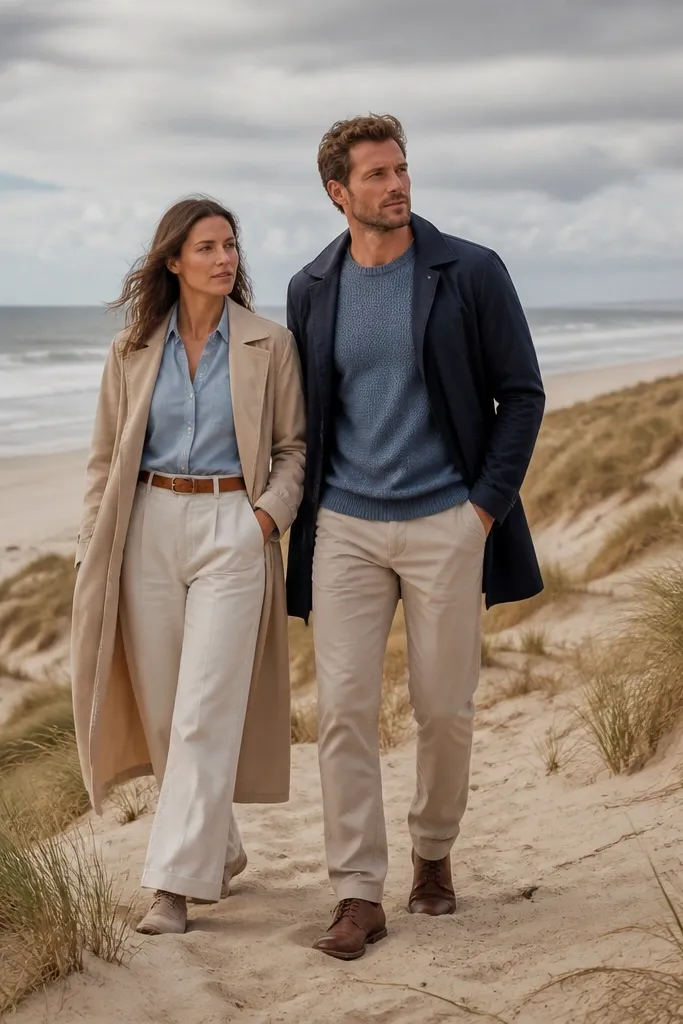
Dunes create height and layers, which keeps beach photos from looking flat. Beach grass adds texture, and the wind-swept look looks intentional when you pace your movement. This setup suits couples who want a fashion editorial vibe but still want the softness of sand and sky. It also gives you easy composition — dunes naturally frame you like a living wall. Pick outfits with movement — linen, chiffon, and tailored layers look best here.
Start by walking to the ridge line where you can get a clean background — avoid random trash or uneven footprints. Then shoot near sunrise or sunset so the dune contours cast long shadows. For posing, stand sideways to the wind so hair and fabric lift, then turn slightly toward the sun for face light. Finally, shoot one wide frame from higher ground and one tighter frame at grass level for texture.
Bring a small sheet or towel for sitting; sand gets into fabric fast and shows in photos.
Avoid over-crowded beach access points — busy backgrounds make even pretty dunes look messy.
13. Cypress or tall grass lane with a dark-forest contrast
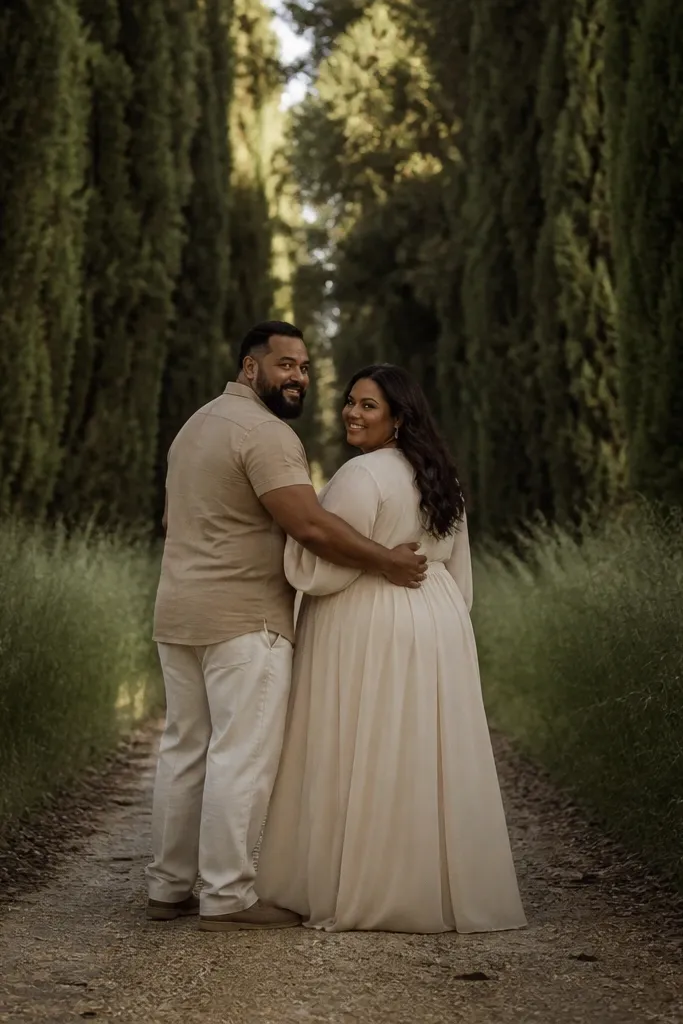
A narrow lane with tall trees or grasses creates a tunnel effect that looks dramatic on camera. The darker background makes your outfits stand out, and the path keeps your body placement clean. This is a great choice when you want photos that feel cinematic but not staged — your movement down the lane does the work. It suits couples who like moody, romantic imagery with strong contrast. Also, the lane helps you avoid messy backgrounds because the sides are naturally filled and consistent.
Start by finding a lane with a straight or gently curving path and minimal visible distractions at the edges. Then time the shoot for late afternoon so the light breaks through and creates depth. For framing, place you in the center of the path for symmetry, then do a second set slightly off-center for a more candid look. Finally, capture a slow walk and two standing pauses where the side light hits your faces.
If it’s humid, bring a small fan for touch-ups; hair frizz shows up fast in shaded lanes.
Avoid lanes with overhead power lines or modern fences — they ruin the “tunnel” look.
14. Terracotta courtyard with archways and shadow play
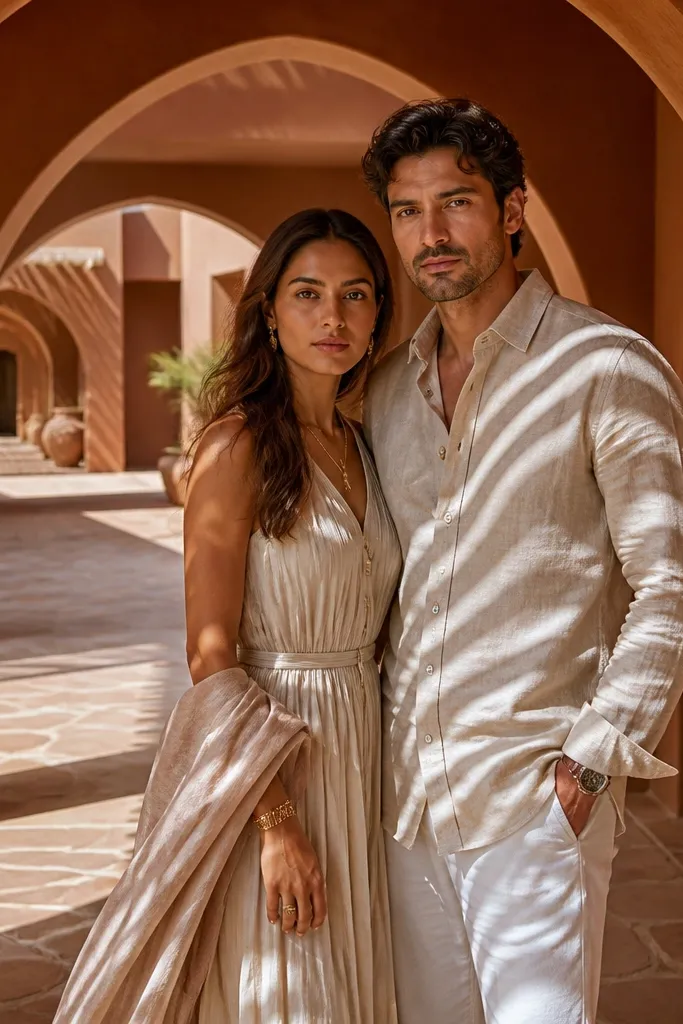
Terracotta courtyards are photogenic because the color is already flattering. The warm walls make skin tones look healthy, and archways give you built-in framing that looks styled even with simple poses. Shadow play is the magic here — when the sun hits at an angle, you get patterned light on walls and clothing. This suits couples who want a warm, intimate look that feels like a destination story. It’s also forgiving for outfits because neutrals and jewel tones both look good against terracotta.
Start by scouting a courtyard where arches cast clear shadows on the wall, not just a soft gradient. Then shoot around golden hour so shadow patterns are sharp and directional. Position yourselves just inside an arch so the light hits your faces but you still get patterned background. Finally, do one set standing still near the wall texture and one set walking between arch openings for movement.
Bring a small cloth for wiping dust off shoes; courtyard dust shows on light fabric fast.
Avoid courtyards with bright murals or lots of signage in the frame.
15. Lakefront sunset boardwalk with dramatic sky gradient
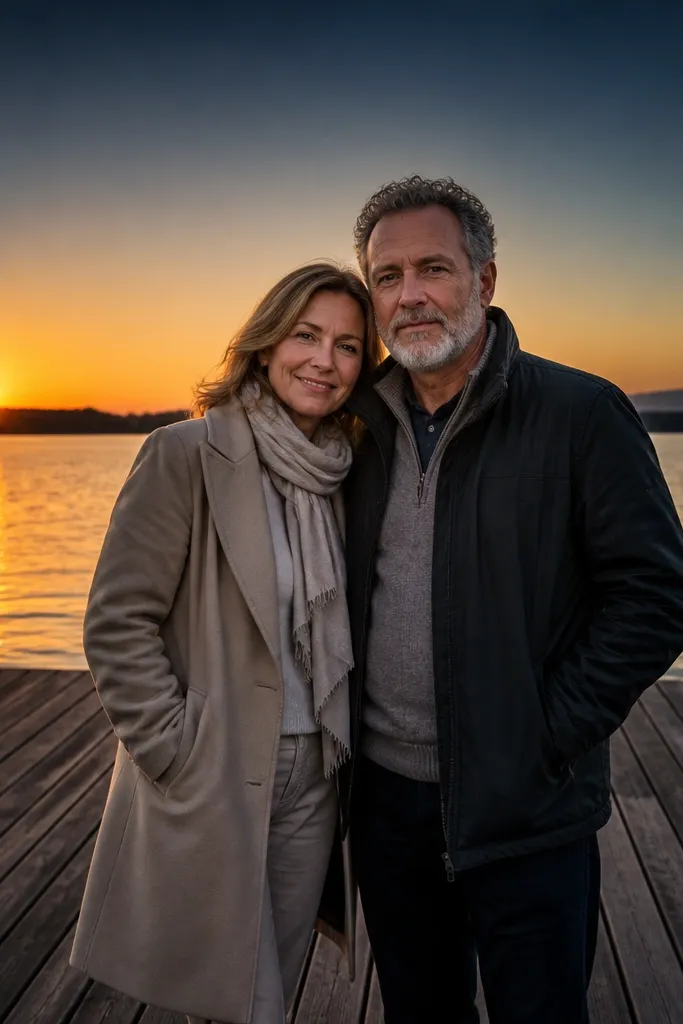
Boardwalks give you a straight, clean line that leads the eye and makes composition easy. The sky gradient at sunset — darker at the top, warm near the horizon — makes everything look coordinated. The wooden planks add texture under your feet, so your photos don’t look like generic “standing outdoors.” This is a strong pick when you want stunning photos fast without complicated scouting. It also works for both minimal outfits and more dressed-up looks because the background stays consistent.
Start by walking the boardwalk before your shoot and pick a segment with open water behind you. Then arrive 30-45 minutes before sunset so you can shoot as the sky warms and the light becomes side-angled. For posing, try one straight-on pose for symmetry and one side pose where you hold hands and look toward the horizon. Finally, capture a few frames with you walking away from camera — the boardwalk line makes it look cinematic.
If wind is strong, keep the first outfit to simpler fabrics; you can switch to more flowy pieces once the gusts calm.
Avoid shooting too late after the sun drops — the sky turns gray and the gradient disappears.