1. Classic Soft Low Bun with Invisible Pins
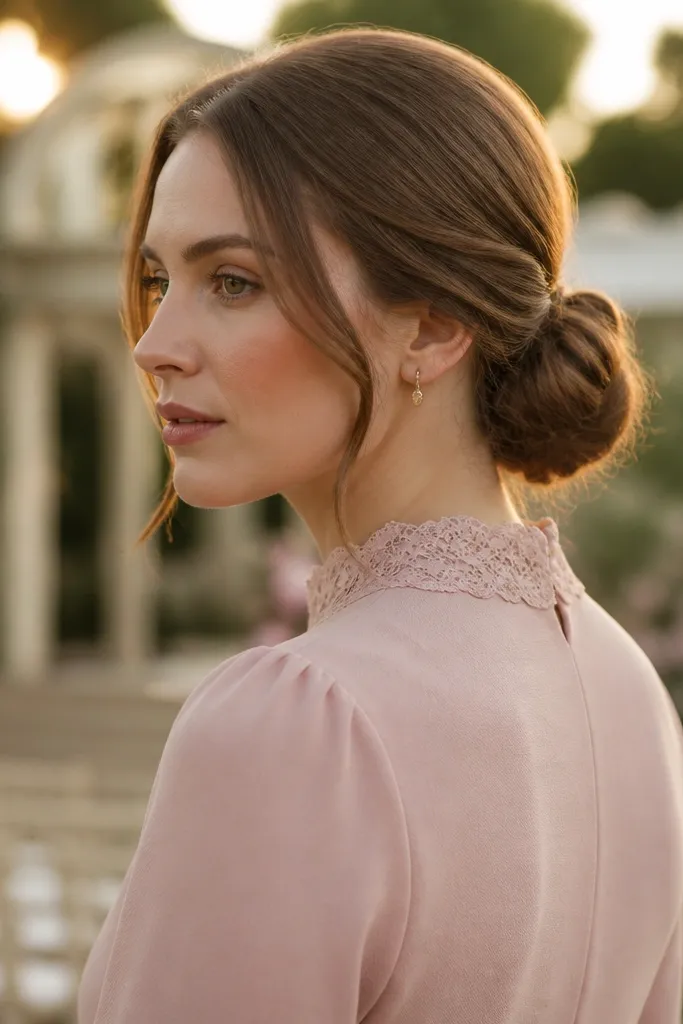
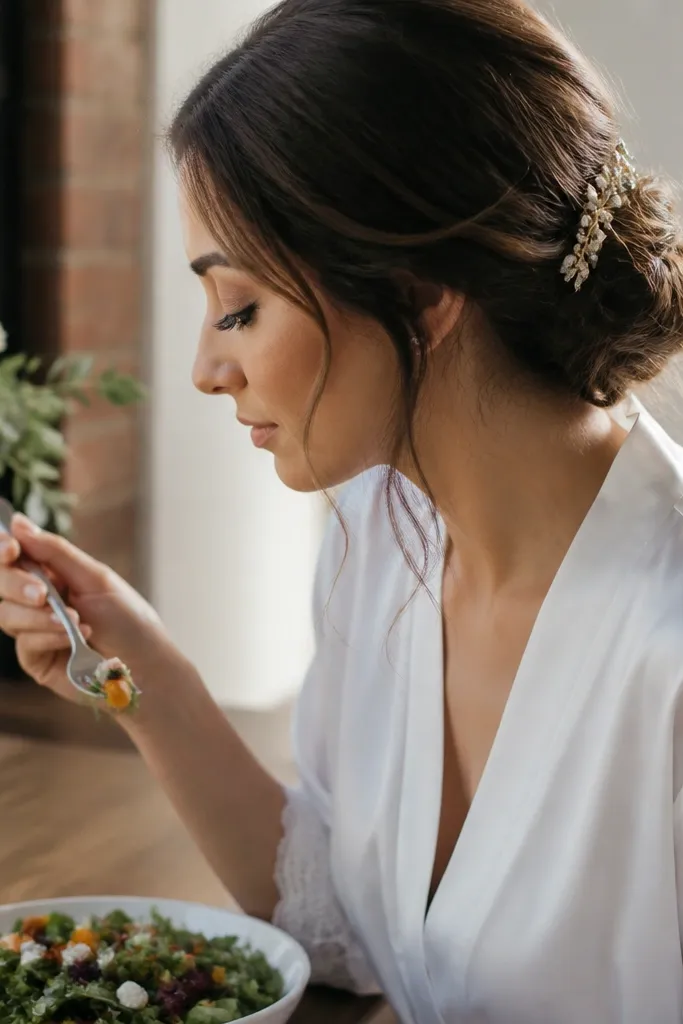
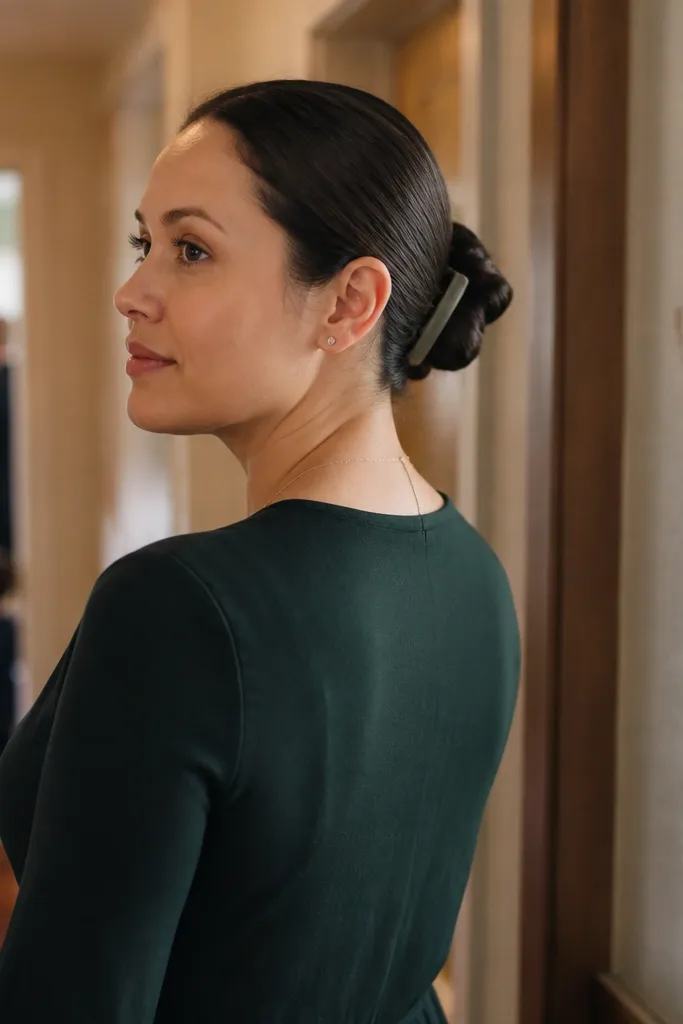
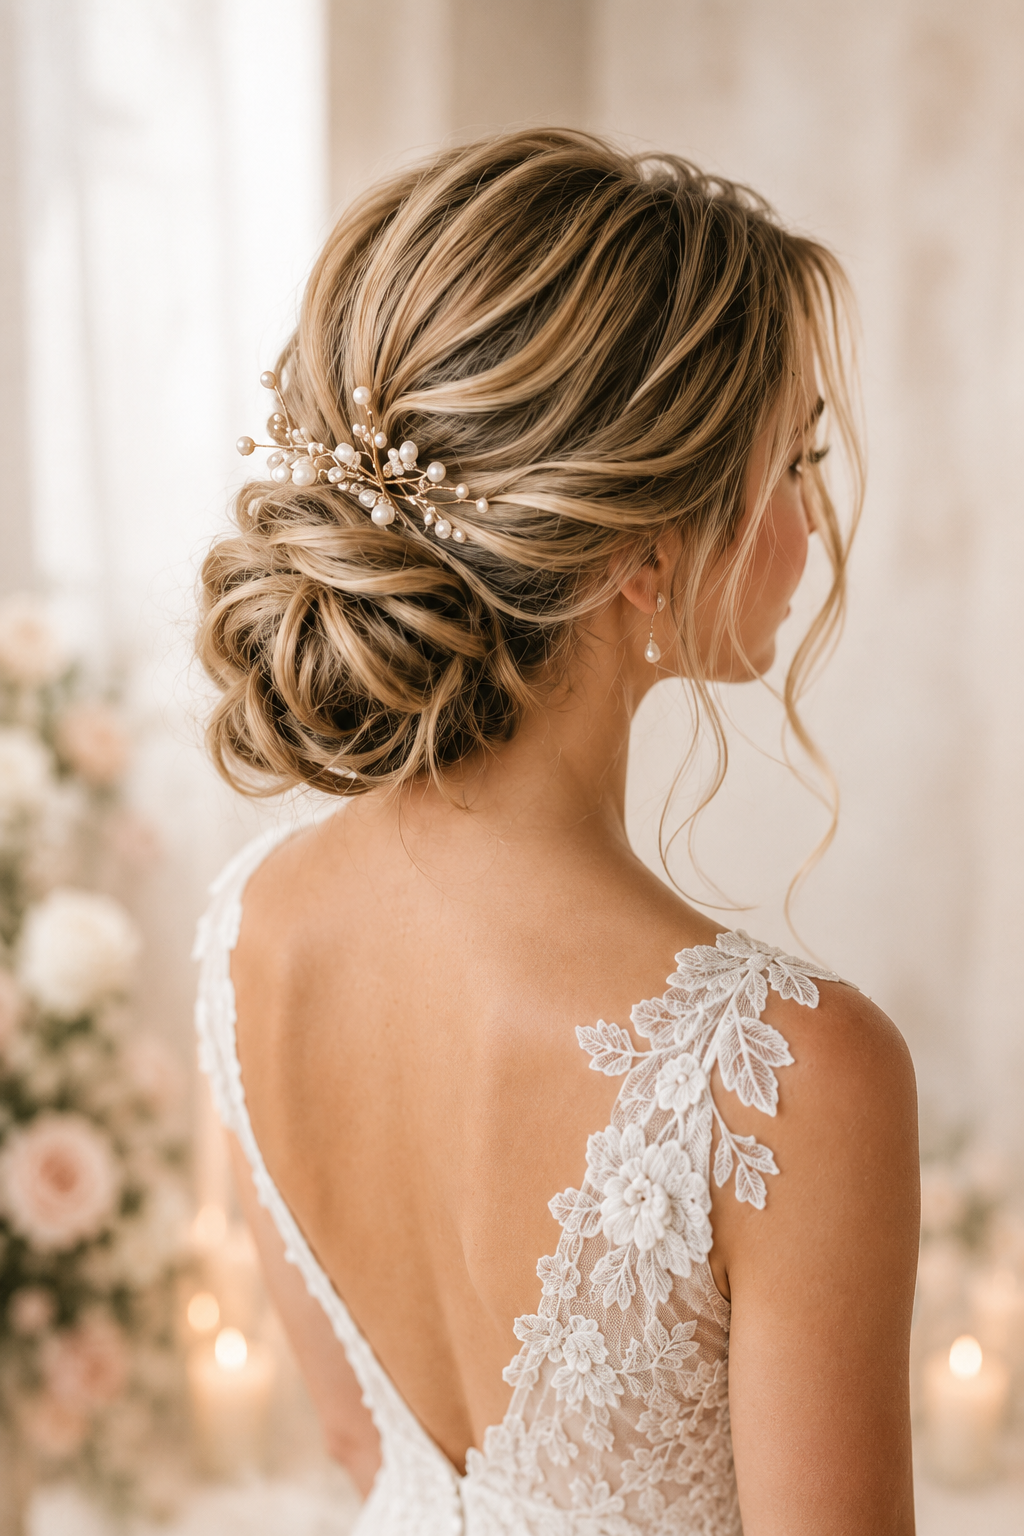
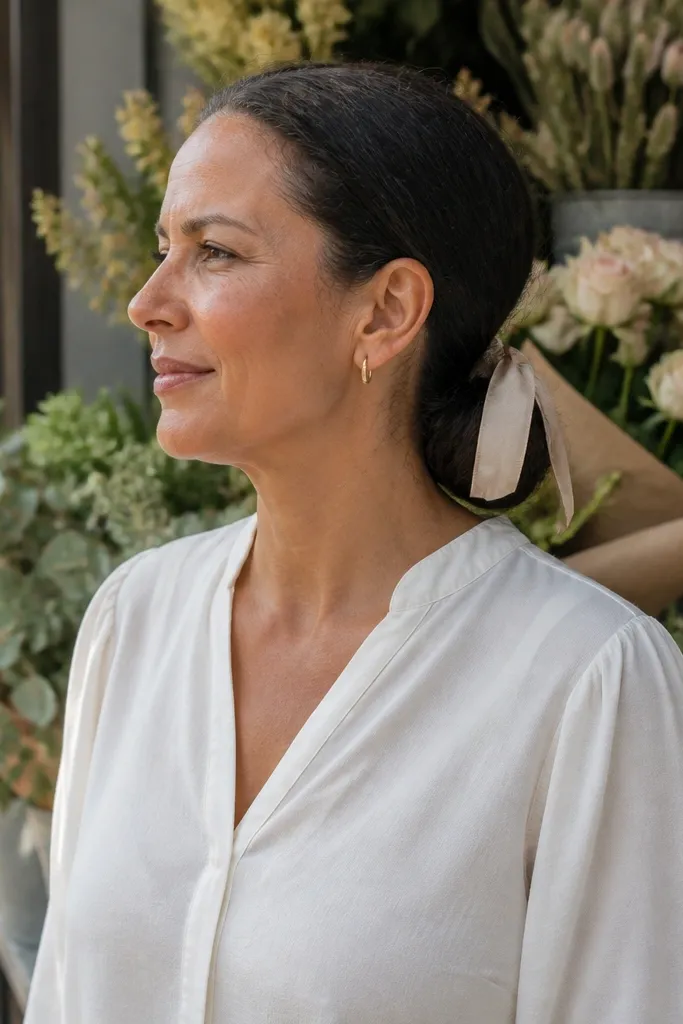
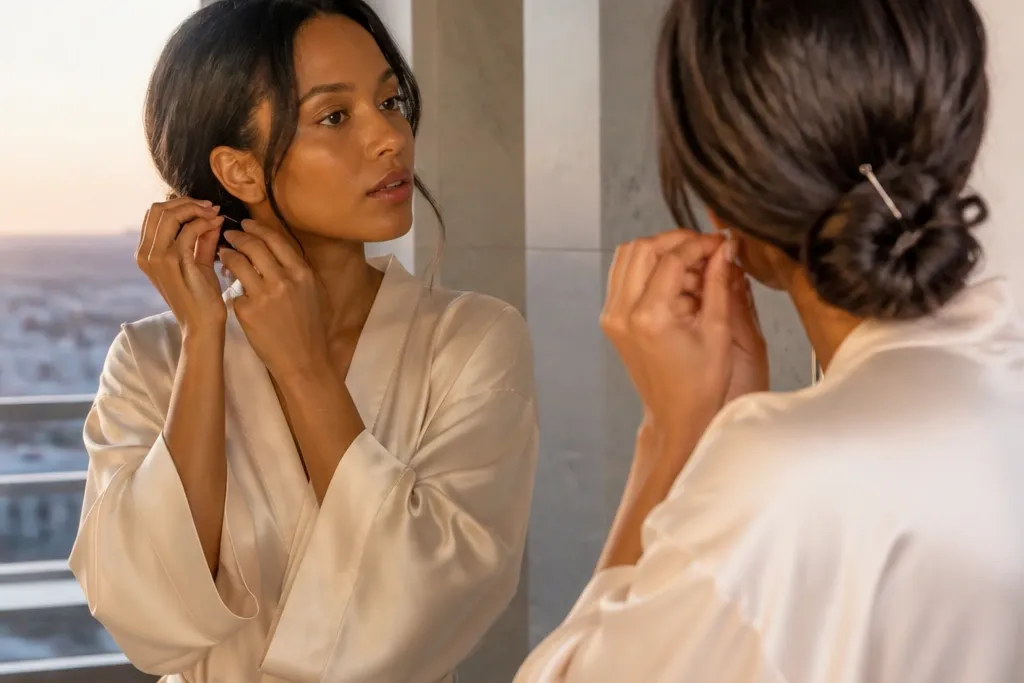
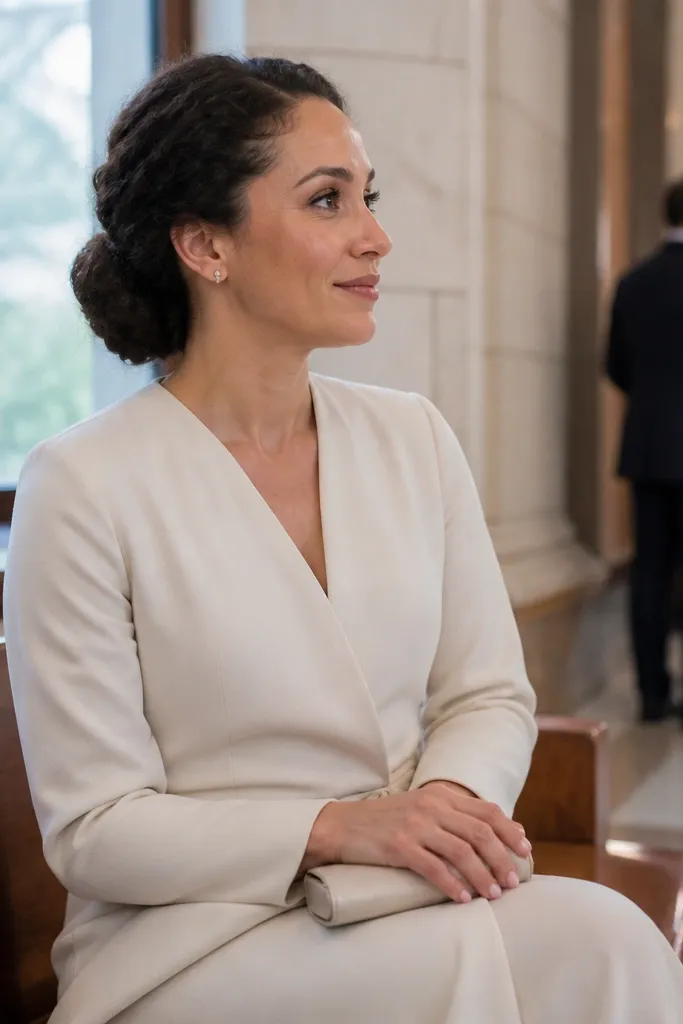
This is the cleanest version of quick low bun wedding hair in 5 minutes because it looks deliberate without needing heavy structure. The bun sits low at the nape, with a slightly flattened crown that reads romantic instead of tight. Loose, wispy pieces near the cheeks soften your face and make the bun look styled in every angle. It works with almost any dress neckline, especially strapless, sweetheart, and off-shoulder, because the softness balances the exposed shoulders.
Start by brushing hair back into a low ponytail and securing with an elastic. Twist the ponytail into a loose rope, wrap it around the base, and secure with bobby pins at the underside and edges so the front stays clean. Then tug the bun lightly to create volume and pin two thin face-framing strands into place. Finish with a light mist of flexible hold spray so the flyaways don’t fall out by the ceremony.
Quick tipIf your hair slips, mist the ponytail with dry shampoo before you twist it.
Skip thisDon’t pin the front too tightly — it makes the bun look flat and older in photos.
2. Low Bun with Rope Twist Crown Sweep
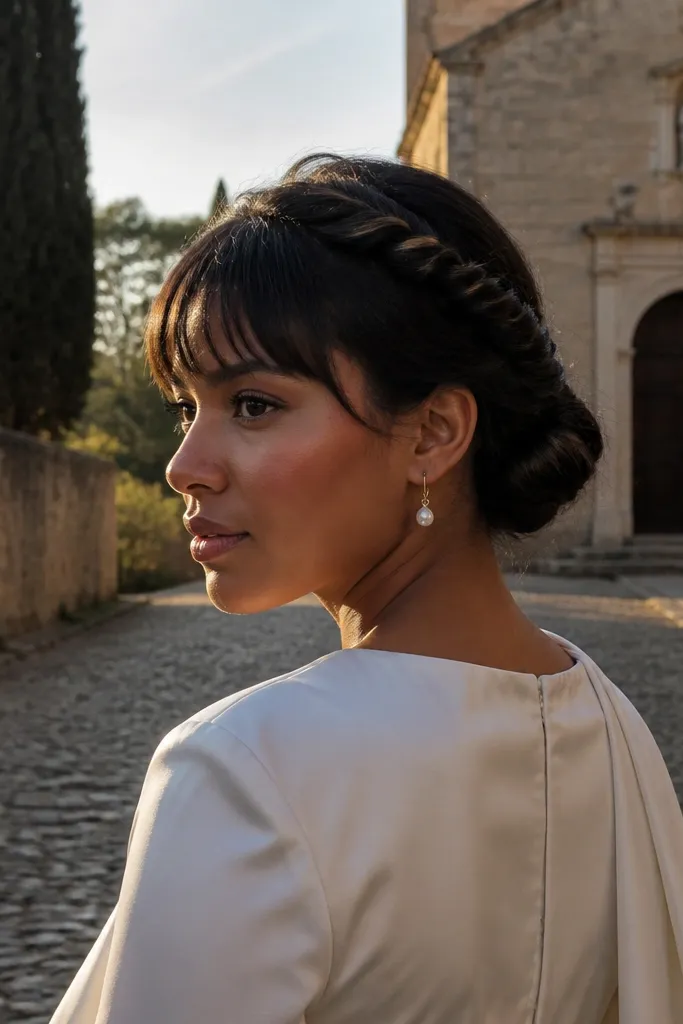
This version adds a “done” look without adding time. The rope-twist sweep sits across the top-front of the head, then disappears into the low bun, so your hairline looks intentional. It’s especially flattering for people who have bangs or shorter layers because the sweep gives you a controlled shape. It also looks great in wedding photos where your head turns — the twist catches light and makes the bun feel dimensional.
Part your hair to the side, then take a small front section on the thicker side. Twist that section into a rope and pin it diagonally toward the back of your head, leaving the ends slightly airy. Gather the rest into a low ponytail, twist into a loose bun, and secure with pins. Finally, pull two soft strands forward near the temple and set with flexible hold spray.
Quick tipPin the twist with the pin angled downward — it stays put through photos and dancing.
Skip thisSkip a tight twist; a rope that’s too rigid looks like a headband instead of hair.
3. Textured Low Bun with Messy Crown Lift
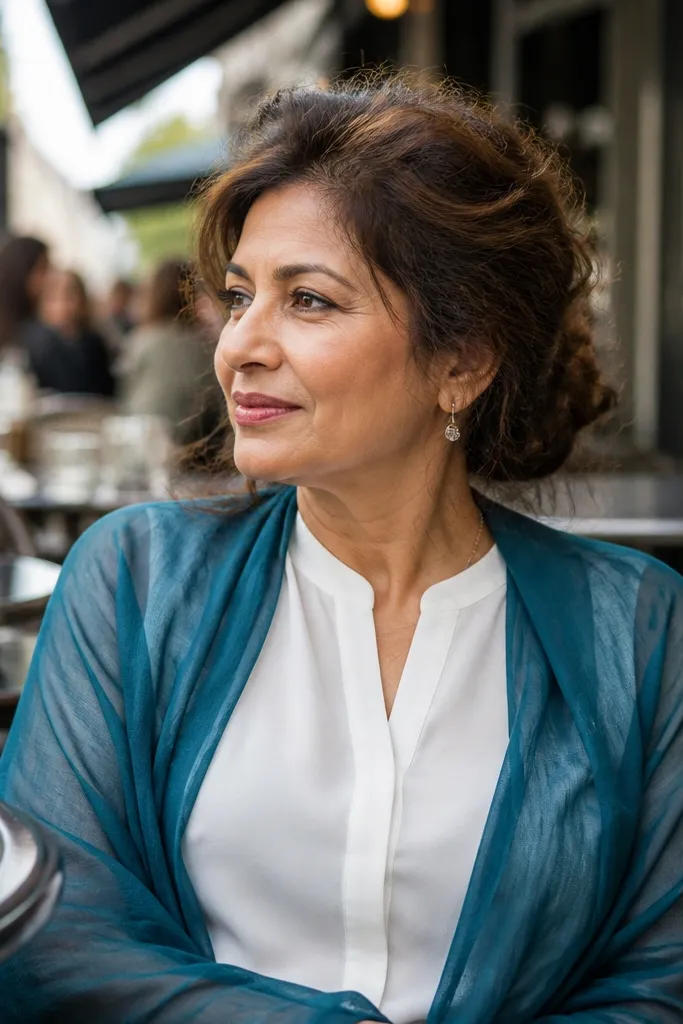
If you want the most forgiving option for quick low bun wedding hair in 5 minutes, this is it. The bun is low and soft, but the crown has intentional lift so it doesn’t look stuck to your head. Texture does the heavy lifting: waves make the bun look full even if your hair is fine. This style is a great match for casual wedding vibes, garden ceremonies, and outdoor photos where wind makes sleek buns look worse.
Start with slightly tousled hair — dry shampoo at the roots helps. Create a low ponytail, then use a hair donut or just fold and wrap sections loosely around the base. Pin around the edges until it holds, then tug the crown upward with your fingers for lift. Pull out one or two random-looking strands around the hairline, then mist with flexible hold so the mess stays soft, not frizzy.
Use a medium-hold spray, not extra-strong; strong hold can make texture look stiff in pictures.
Don’t brush out all the waves — you need that texture to keep the bun from looking flat.
4. Low Bun with Micro Braided Edge
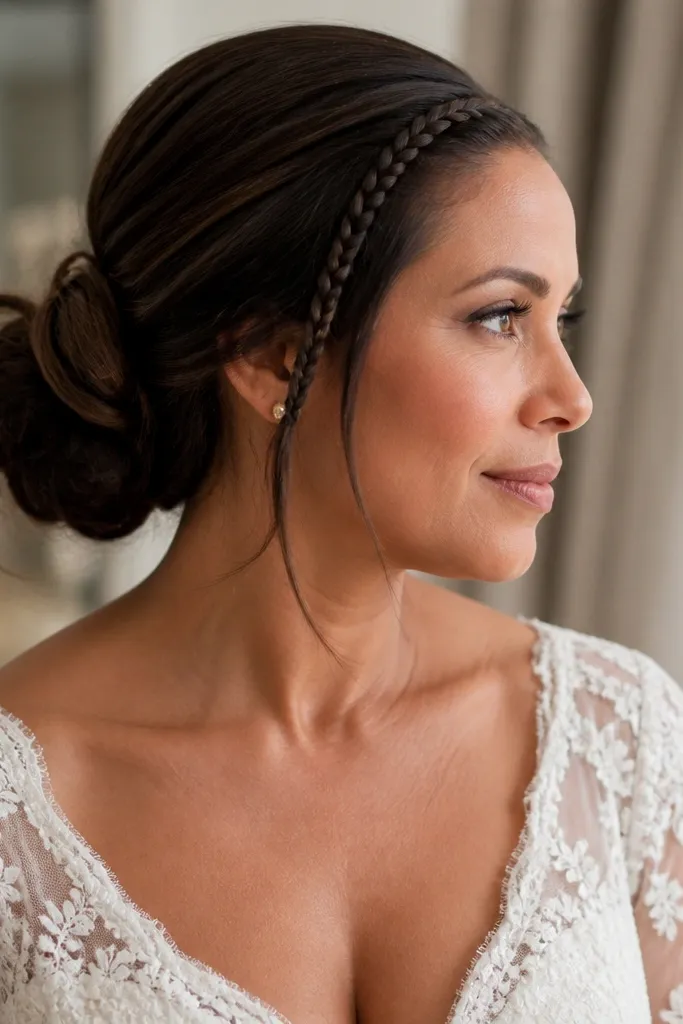
This one adds a wedding detail that still fits the 5-minute goal. A micro braid along the side creates a neat line that frames your face, while the low bun stays soft and touchable. It looks fancy in close-ups because the braid is small, not bulky. If your dress has lace sleeves or a textured bodice, the braid matches the detail without competing.
Part hair slightly off-center and take a thin section along the side near your part. Braid it very small for 2-3 inches, then pin the braid end toward the back. Make a low ponytail, twist into a bun, and secure with pins. Tuck the braid into the bun so it disappears, then pull one soft strand from the opposite side to balance it.
Use a braid that stops early; a long braid can make the bun look top-heavy.
Don’t braid too tight. Tight micro braids can look harsh against soft bun texture.
5. Low Bun with Twisted Side Loop
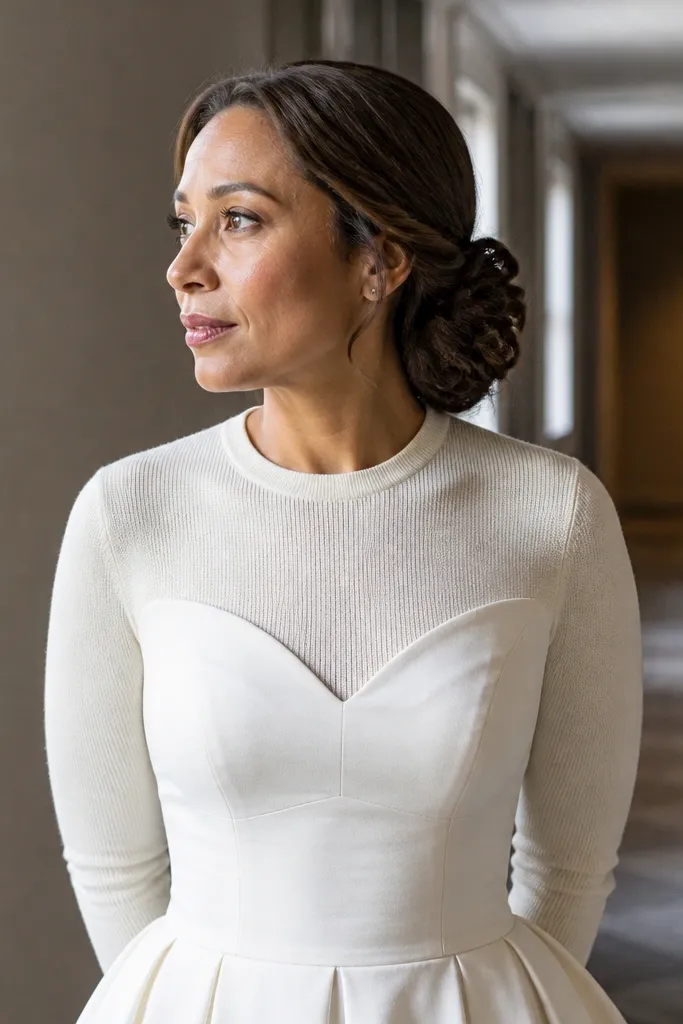
This style gives you that “hair accessory” look without needing an actual accessory. A twisted loop on one side adds shape and draws attention to your cheekbone. The bun stays low and romantic, and the loop makes the whole hairstyle look like it has a plan. It’s great for people who want something more interesting than a plain low bun but don’t want it to look like a formal updo.
Create a low ponytail, but leave a small section loose on your chosen side. Twist the loose section into a rope loop and pin it against the bun base so it sits like a curved frame. Wrap the rest into a loose bun and secure. Finish by tugging the bun slightly and pinning two thin face strands so they don’t poke out.
Quick tipPin the loop first, then build the bun around it — it prevents the loop from shifting.
Skip thisSkip the center of the forehead. Don’t pull strands forward too high or it will look like a half-up style.
6. Low Bun with Braided Wrap Around the Base
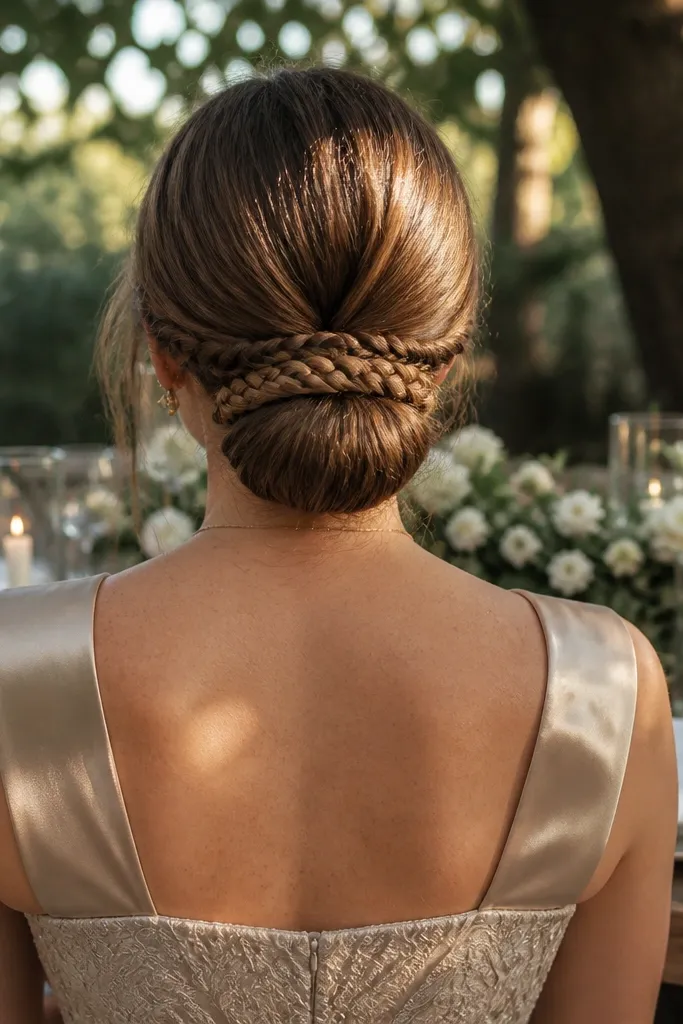
The braided wrap is a quick way to make your low bun feel wedding-grade. It hides the seam where the bun meets the base, so the hairstyle looks polished even if your bun is loose. This works well for medium to thick hair because the braid has enough material to show. In photos, the braid adds texture that catches light and makes the bun look fuller.
Make a low ponytail and twist into a bun, leaving one small section aside. Secure the bun with pins, then braid the aside section into a narrow three-strand braid. Wrap that braid around the bun base and pin it in place. Pull gently on the braid to make it look slightly fuller, then mist with flexible hold spray.
Use a slightly damp hairbrush to smooth only the ponytail — keep the bun itself textured.
Don’t choose a thick braid; it can cover the bun and make it look bulky.
7. Low Bun with Feathered Face-Framing Curls
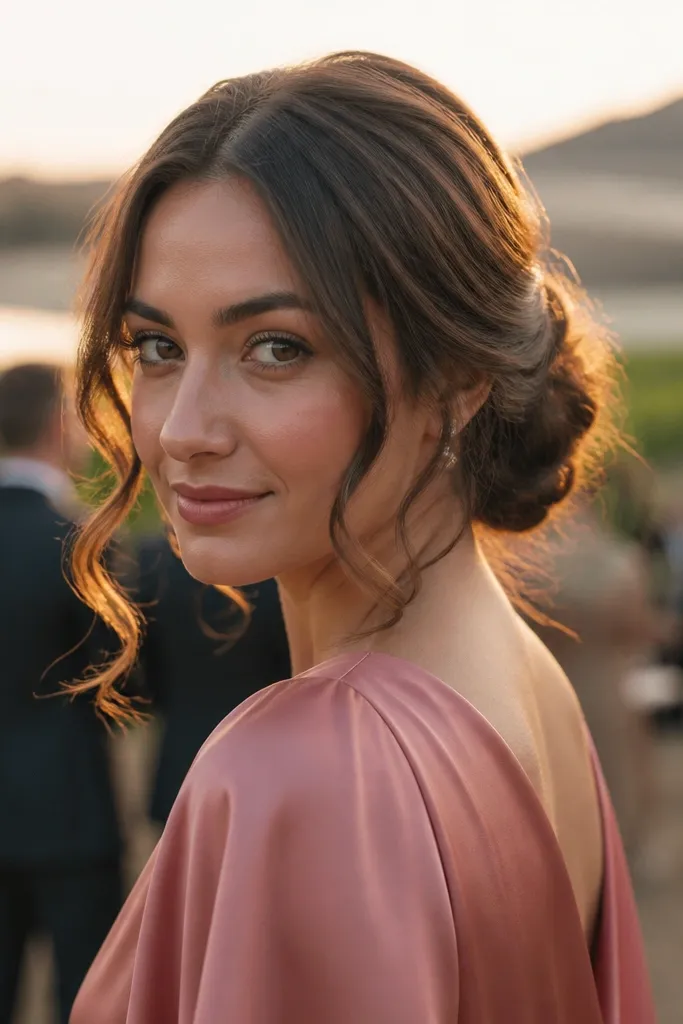
Face-framing curls are the fastest way to make a low bun look romantic and expensive. The curls should be feathered, not tight ringlets, so they blend into the bun instead of sitting on top like separate pieces. This style flatters almost every face shape because the curls land near the cheek and jaw. It looks especially good with v-neck dresses, halters, and gowns with a structured bodice where you want soft balance at the bottom of your face.
Start with a low ponytail and twist into a bun, leaving two sections at the front. Quick-curl those front sections with a 1-inch iron for 10-15 seconds each, then brush through lightly so they look soft. Pin the curls so they sit next to the bun, not across your face. Finish with flexible hold spray, focusing on the base of each pinned curl so they don’t drop.
Quick tipCurl the face pieces after you secure the bun — it stops them from falling into your wrap.
Skip thisDon’t use gel. It can make curls look crunchy under indoor lighting.
8. Low Bun with Scattered Hairpins and Pearl Drops
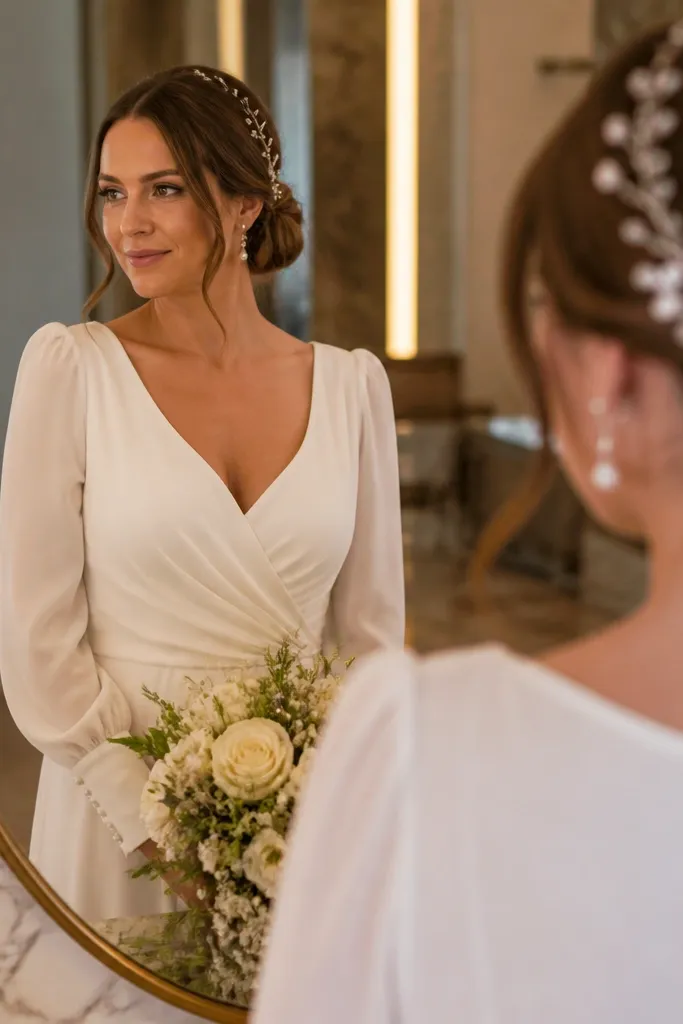
This is for brides who want the “sparkle moment” without a complicated hairstyle. Scattered hairpins sit where your eyes naturally look — near the bun and along the side — so the hair still reads soft. Pearl drops are especially photogenic in warm lighting because they catch highlights without looking flashy. It works great if you’re wearing a minimal veil or no veil, since the pins will show clearly in front-facing photos.
Build the low bun first using bobby pins and a flexible hold spray. Then place 2-4 decorative pins in a triangle shape around the bun — one near the top edge, two around the sides. Add one pin near the temple to connect the ornament to your face. Keep the pins slightly angled, not straight up, so they look natural in motion.
Choose pins with thin stems; thick pins can look bulky and snag your hair.
Don’t cluster all the pearls in one spot. Spread them so the bun looks intentional, not crowded.
9. Low Bun with Velvet Ribbon Wrap
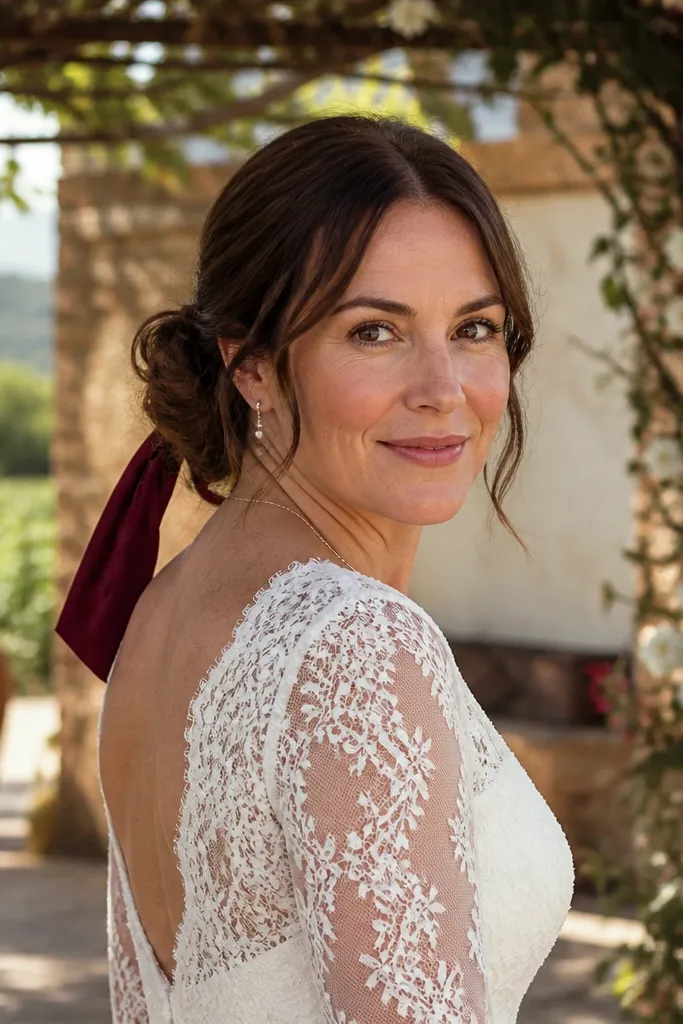
A ribbon wrap turns a basic low bun into a wedding hair moment in seconds. Velvet ribbon looks romantic in photos because it absorbs light and makes the bun look softer and more textured. This is the best choice if you’re wearing a dress with a satin or velvet accent, or if you want a color pop without extra jewelry. It also works well for second-day events because ribbon doesn’t fight humidity like some hair accessories.
Make a low ponytail and twist into a bun, then secure with pins. Tie a ribbon around the bun base once, then wrap it once more and tie a small knot on the underside. Adjust the ribbon so the knot sits hidden and the ends fall evenly. Tuck one loose face strand if needed, then mist lightly to keep the bun from shifting.
Use a ribbon width of 1/2 inch for a delicate look; wider ribbon can look heavy in photos.
Skip stiff ribbon. It won’t drape and can look flat against soft hair.
10. Low Bun with Braided Crown and Nape Knot
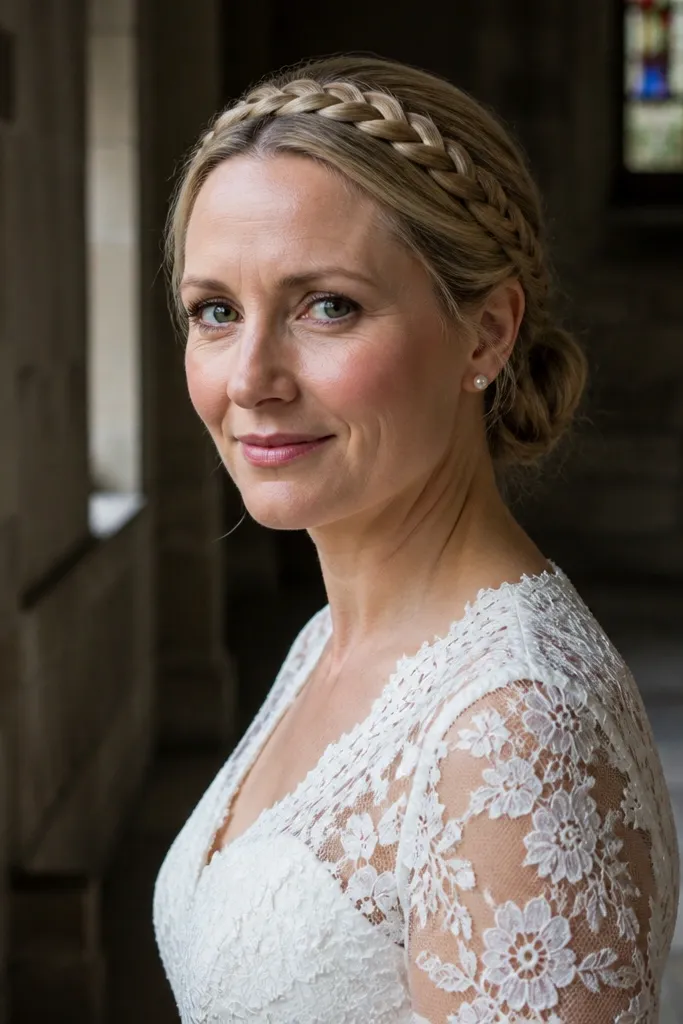
This style looks more complex than it is because the braid does the structure work. A braided crown keeps flyaways under control, while the low bun stays soft and romantic. It’s a strong pick if your hair is fine or slippery because the braid gives grip. For weddings with a more formal dress or a veil, this gives you a polished foundation that still photographs dreamy.
Part hair and create two small sections at the top, then braid each side toward the back. Pin the braids together at the back of your head, then gather the rest into a low ponytail and twist into a bun. Secure with pins and tug the bun slightly for softness. Finish by smoothing only the crown area and leaving the ends of the braid slightly looser for a romantic look.
Braid with slightly looser tension than you think. Tight braids can pull your scalp and look too severe.
Don’t skip pinning the crown braids before you build the bun.
11. Low Bun with Waterfall Twist Ends
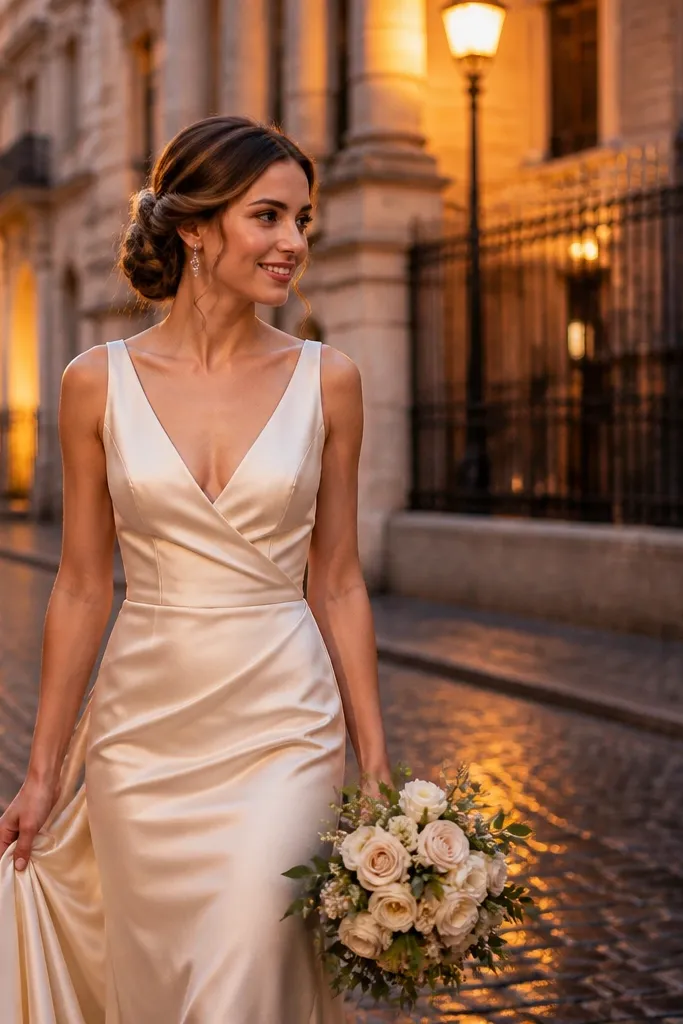
This one is for brides who want movement. The waterfall twist creates a soft pattern on one side, while the bun stays low and airy. In photos, it gives you that flowing look even when your hair is up. It’s perfect for weddings where you’ll be walking a lot — the twist keeps shape without pulling your hair tight.
Start with a side part. Take a front section and split it into two strands, then twist and drop one strand while adding a new thin strand from above, repeating 2-3 times. Pin the end of the waterfall twist near the bun base, then twist the rest of your hair into a low bun. Secure, then tug the bun for volume and pin one loose strand to blend the twist into the bun.
Quick tipKeep the added strands thin so the waterfall pattern stays delicate in photos.
Skip thisDon’t make the waterfall twist too long; it can crowd your face and steal attention from the bun.
12. Low Bun with Half-Braid Halo Accent
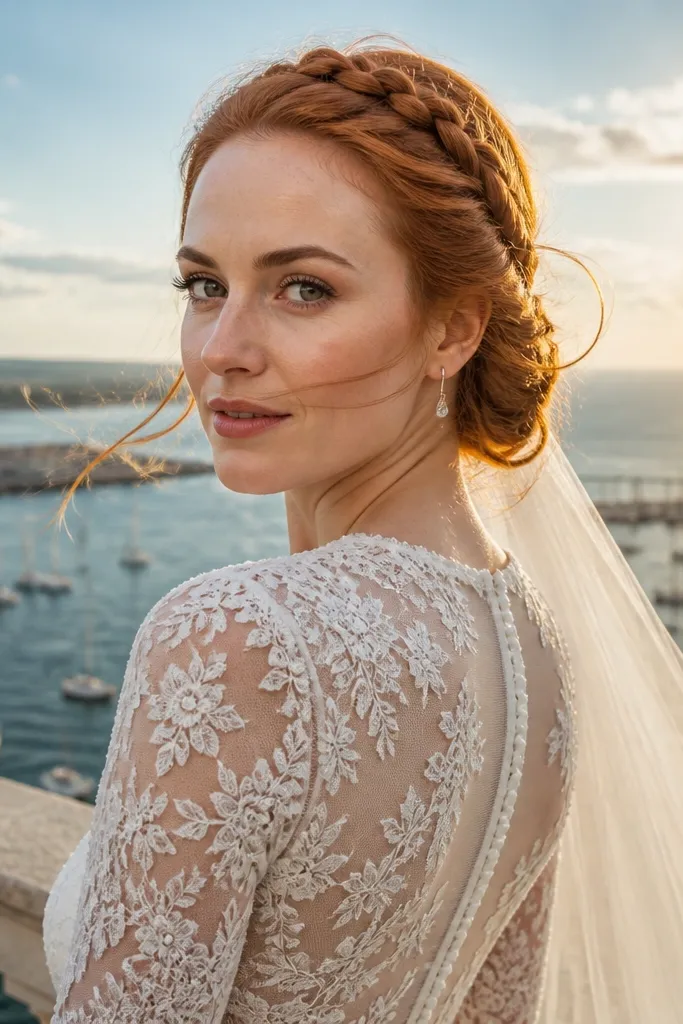
A half-braid halo makes your low bun look like it has a frame, which reads bridal in pictures. It’s also a smart option if your hairline is uneven because the braid creates a clean visual line. This style works with both center and side parts and looks great with simple earrings because your hair is doing the decorative work. It’s especially photogenic in back angles and during candid moments when your head turns.
Make a low ponytail and twist into a bun. Take a top-back section and braid it loosely, then wrap the braid around the upper edge of the bun like a halo. Pin the ends into the bun so they disappear. Leave the rest of your hair soft and slightly tousled, then mist with flexible hold spray.
Use a braid that sits 1-2 fingers above the bun for a clear halo effect.
Don’t braid the top too tight; it should look airy, not flat.
13. Low Bun with Loose Knot + Tiny Hair Donut
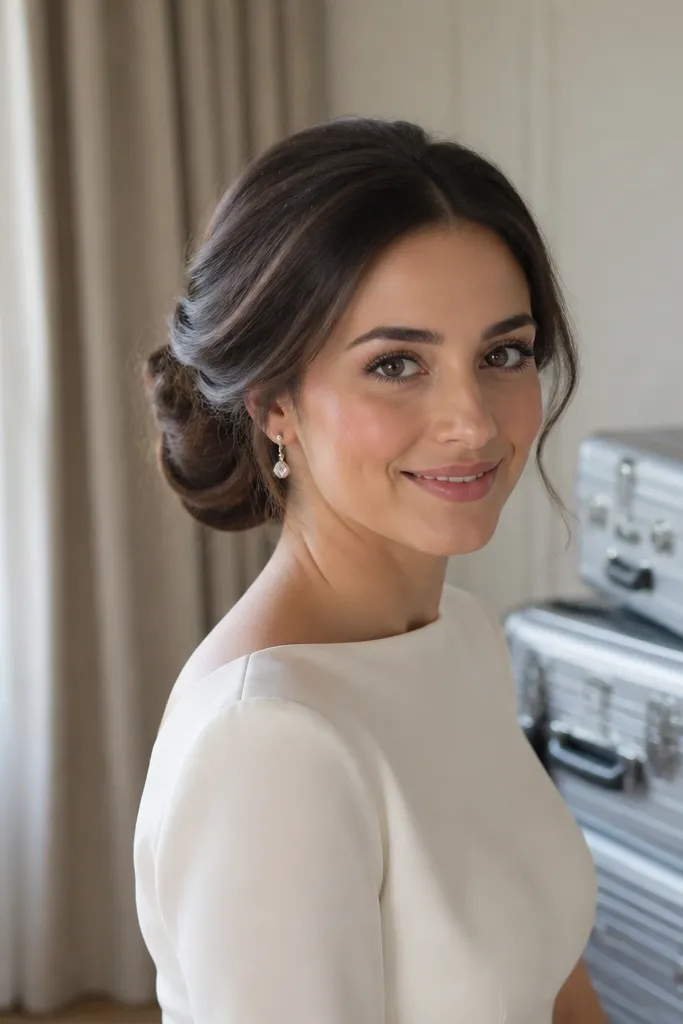
This is the fastest “looks full” method for quick low bun wedding hair in 5 minutes, especially for fine hair. A tiny donut gives you instant volume so you don’t have to tease or spend time building height. The bun itself stays soft and loose, so it still looks romantic rather than helmet-like. This style photographs well from the side because the bun maintains shape without looking tight.
Brush hair back into a low ponytail and place a tiny donut over the ponytail base. Pull hair through the donut and wrap strands around it, then secure with pins. Tuck and twist any loose ends into the bun so the donut disappears. Finish by tugging the outer edges for softness and pinning two thin face-framing strands.
Choose a donut color close to your hair shade so it doesn’t show at the edges.
Skip a large donut. Big volume can look costume-like in close wedding photos.
14. Low Bun with Sleek Top and Soft Underlayer
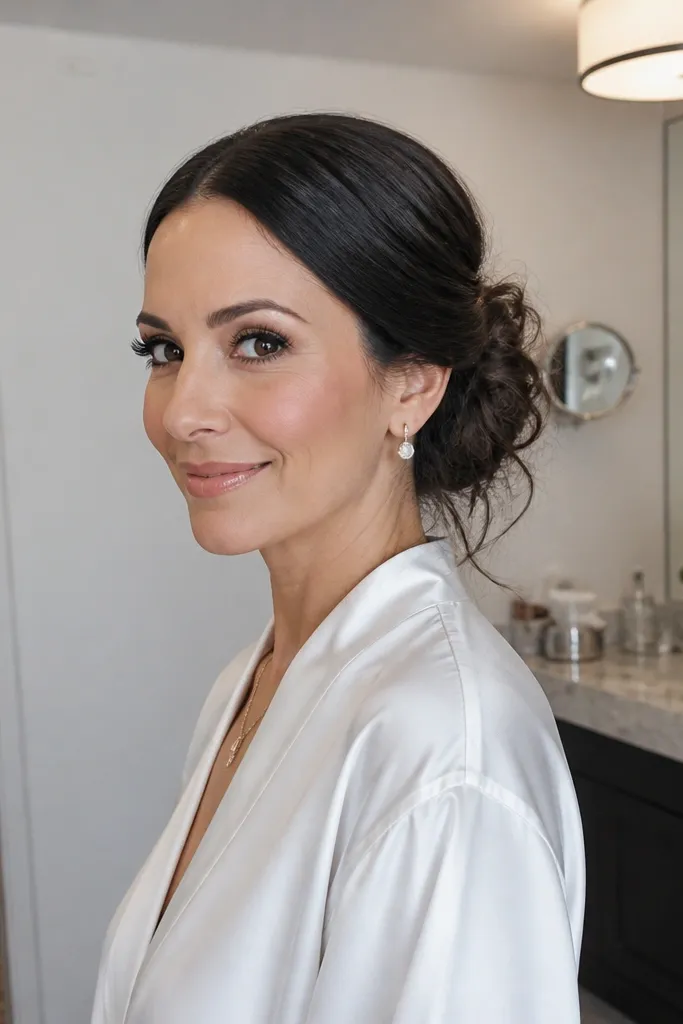
This style gives you contrast: a smooth crown meets a soft, airy bun. The sleek top makes it look polished for formal weddings, while the underlayer softness keeps it from reading severe. It’s a great pick if your hair frizzes easily because the top is controlled and the bun stays flexible. In photos, the contrast makes your face look sharper while the bun stays dreamy.
Start by smoothing hair at the crown with a little styling cream or anti-frizz serum, then gather into a low ponytail. Twist into a loose bun and secure with pins, keeping the bun slightly messy underneath. Pull one or two wisps near the ears and pin them so they fall naturally. Mist lightly so the sleek top stays smooth and the bun stays soft.
Quick tipUse a pea-sized amount of serum — too much makes the bun look greasy on camera.
Skip thisDon’t slick the face-framing pieces too. They should stay airy, not plastered.
15. Low Bun with Tucked Bangs and Side Pin Curl
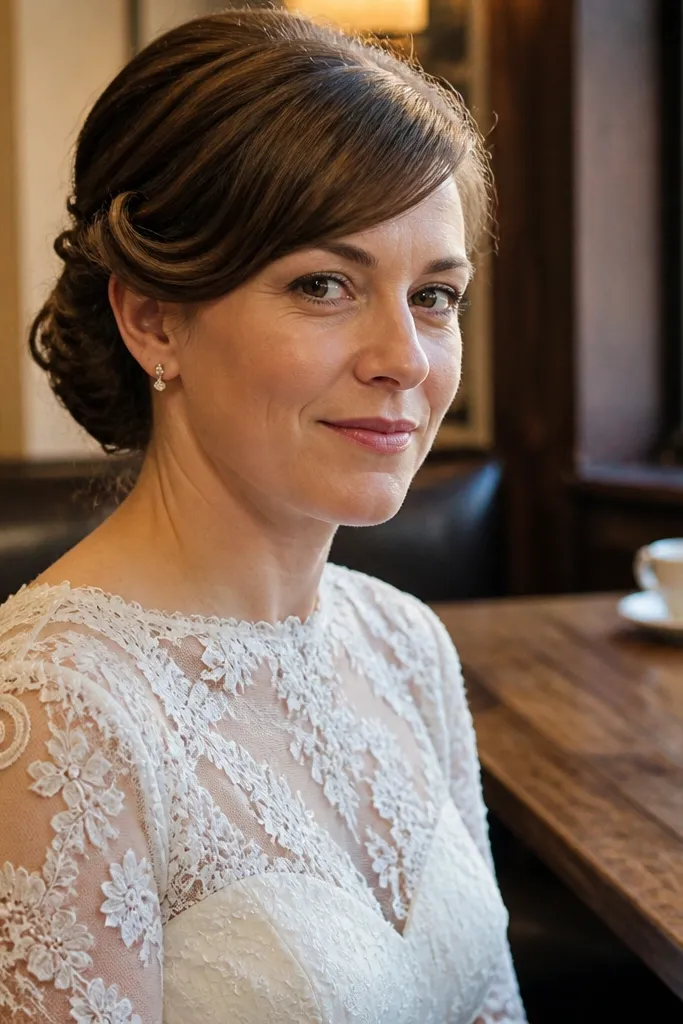
If you have bangs or short layers that fight you, this is the low bun solution that looks intentional. Tucking bangs behind the ear or into the bun base instantly tidies your hairline. A side pin curl adds a gentle bend near the temple, which makes your face look framed without extra styling time. This is a strong choice for wedding hairstyles because it keeps your fringe from separating in wind and flash photos.
Create a low ponytail and twist into a bun. Tuck bangs behind the ear on one side, then pin them toward the bun base so they disappear. Take a small side section near the temple, twist it once, and pin it into a soft curl. Adjust the bun so the curl sits cleanly beside it, then mist with flexible hold spray.
Pin bangs while your hair is slightly warm from styling — they set better.
Don’t leave bangs loose across the forehead. They can separate and look uneven in pictures.
16. Low Bun with Spiral Wrap and Hidden Elastic
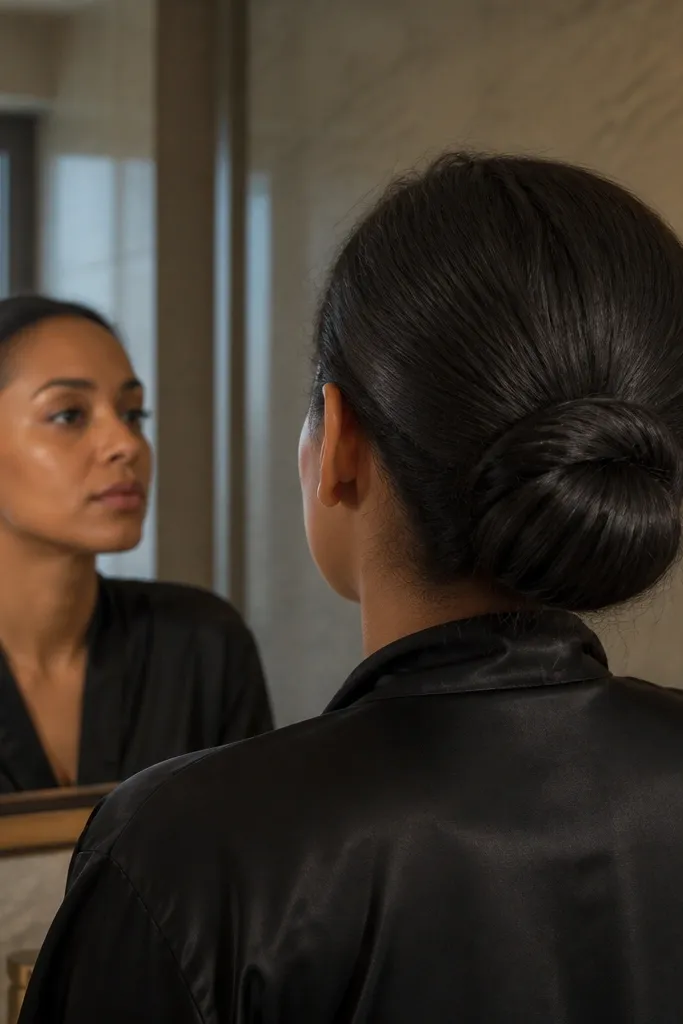
This style makes the bun look like it has structure without looking tight. The spiral wrap creates a sculpted look that photographs beautifully from the side and back. Hidden elastic means you don’t see the rubber band in close shots, which is a common problem with quick buns. It’s ideal if your hair is medium length and you want the bun to stay put through ceremony photos and a windy outdoor venue.
Secure a low ponytail with an elastic, then wrap a small strand around it to hide the elastic and pin it in place. Twist the ponytail loosely into a spiral, keeping wraps slightly separated so it looks airy. Pin the spiral at intervals to hold the shape, then tug outward gently for softness. Finish with a light mist of flexible hold spray, focusing on the underside where it wants to shift.
Use two elastics: one for the ponytail, one strand wrap to hide — it keeps everything tidy.
Don’t over-tighten the spiral. Tight wraps look dense and less dreamy.
17. Low Bun with Soft Roll at the Nape
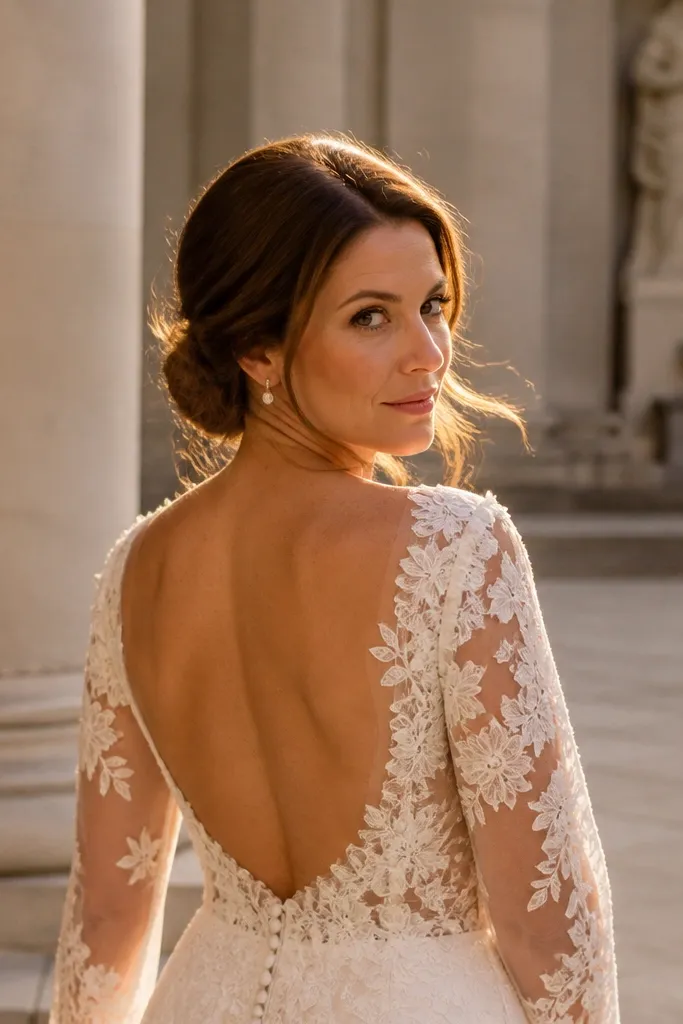
This is a smooth-but-soft option when you want something more polished than a messy bun. The roll at the nape gives a rounded shape that looks elegant in back photos, while wisps near the face keep it romantic. It’s a solid pick for brides wearing a structured dress with clean lines. If you’re worried your hair will look uneven in a loose bun, this style controls the shape with a roll.
Create a low ponytail and smooth it. Roll the ponytail around your finger into a rounded shape at the nape, then pin around the base to lock it. Leave two thin strands loose, curl them lightly with a wand, and pin them so they frame the face. Mist with flexible hold spray and avoid heavy oils so the roll stays matte.
Quick tipPin in an X pattern at the base — it holds without pulling the bun flat.
Skip thisSkip glossy hair oils. They reflect flash and can make the bun look oily in wedding photos.
18. Low Bun with Floral Pin Cluster
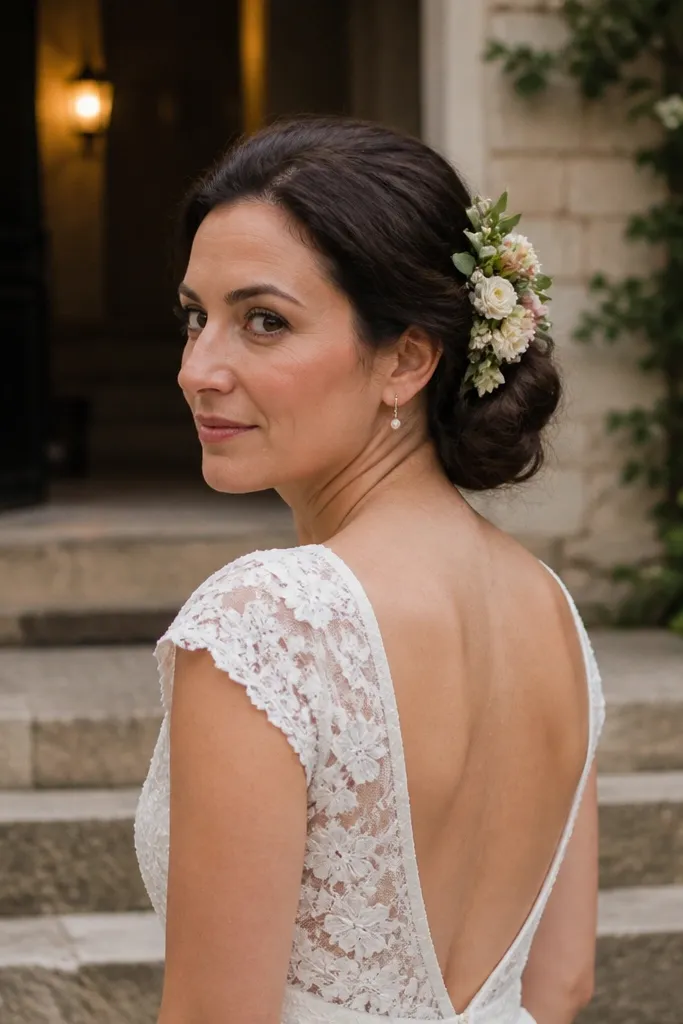
A floral pin cluster makes the low bun feel like it belongs at a wedding without needing a full headpiece. Place the cluster slightly off-center so it looks natural, not like it was glued on. This style is photogenic because the flowers sit where your hand movements and head turns reveal them. It works especially well for outdoor venues, boho gowns, and dresses with subtle lace or embroidered details.
Build your low bun first, keeping it soft and slightly voluminous. Attach the floral pins at the side of the bun by inserting each pin into the bun base and then into hair for grip. Use 3-5 pins total so it looks airy, not heavy. Pin one small leaf or bud near the temple to connect the floral placement to your face, then mist lightly so pins don’t shift.
Quick tipPick pins with flexible stems so they bend into hair instead of snapping out.
Skip thisDon’t place flowers too high. High placement can make the bun look top-heavy in portraits.
19. Low Bun with Two-Strand Twisted Wrap
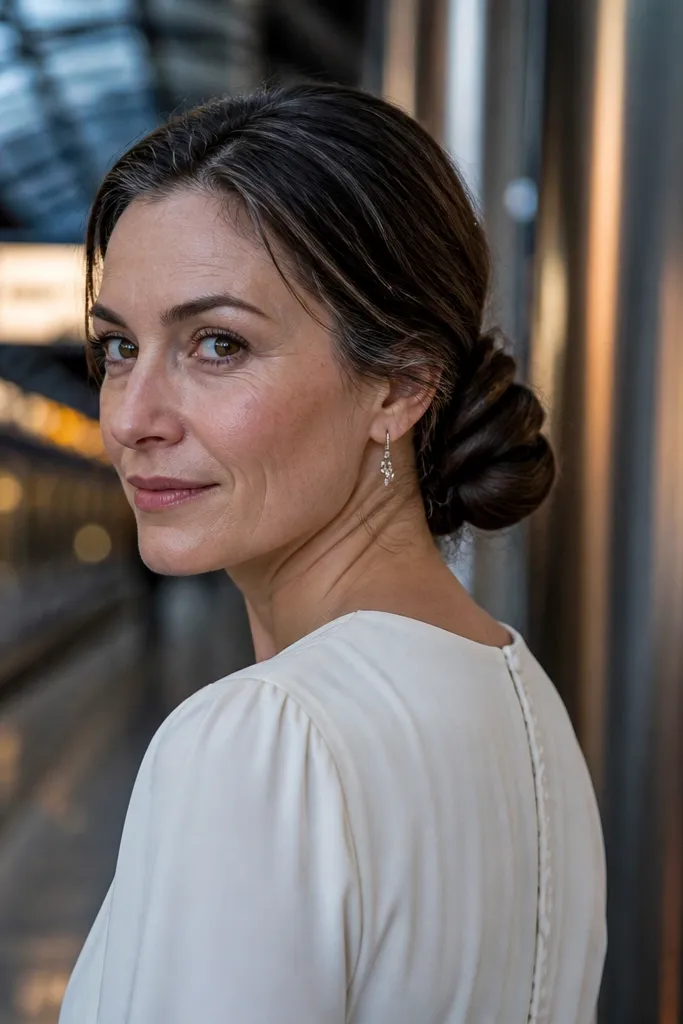
This looks like a more detailed updo but it’s still quick. The two-strand twist wrap creates a clean, rope-like pattern around the bun base, which makes the hairstyle look intentional even if your bun is loose. It’s a great option for weddings with modern minimal dresses because the twist adds texture without extra decoration. In side photos, the wrap reads crisp and structured.
Secure a low ponytail and twist it into a bun, then pin. Take a thin section from the ponytail length or from one side, split into two strands, and twist them together. Wrap that twisted section around the bun base and pin the ends underneath. Adjust the wrap so it sits evenly, then mist with flexible hold spray to keep the twist from unraveling.
Twist with steady tension — uneven tension makes the wrap look messy instead of romantic.
Don’t skip pinning the ends. Loose ends unravel fast during photos.
20. Low Bun with Soft Side Braid Veil Anchor
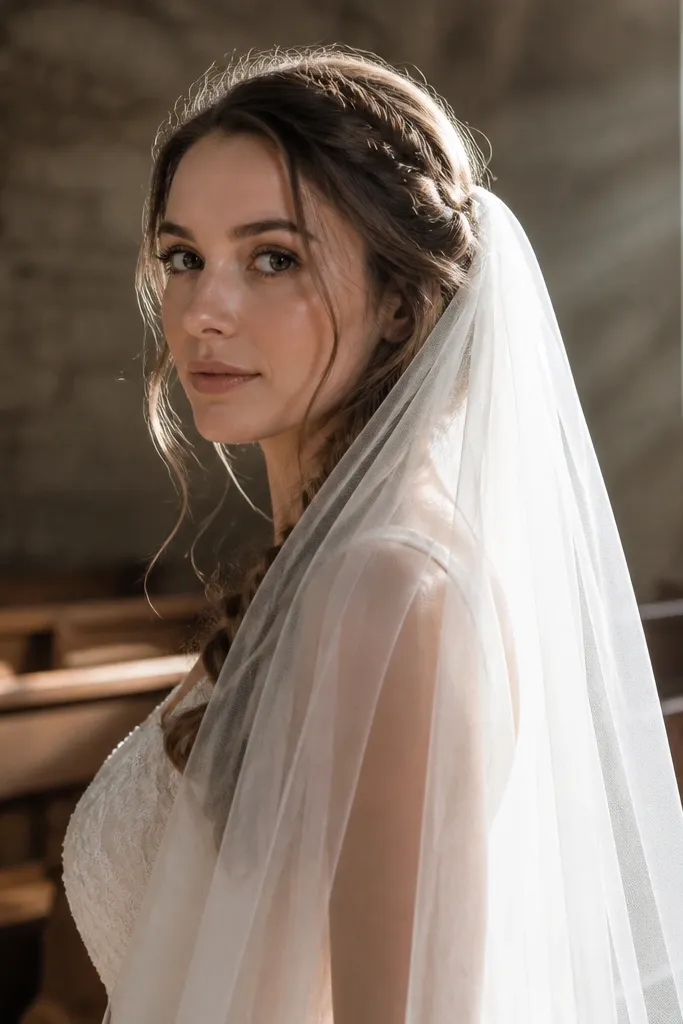
If you’re wearing a veil, this style is a practical win that still looks dreamy. A soft side braid acts like an anchor point and gives the bun extra grip, so your veil doesn’t slide around. The braid also adds texture near your shoulder, which looks pretty in movement. This works best if your veil has a comb and needs a stable base; the bun stays low and the braid hides the attachment.
Create a low bun as your base. Take a side section near the part, braid it loosely 2-3 inches, and tuck the braid into the bun base, pinning it so it feels secure. Attach the veil comb into the bun area over the braid, then pin the veil lightly to the bun for stability. Finish by pulling two face strands and misting with flexible hold spray.
Quick tipDo a quick comb test in the mirror: lift your chin and turn your head to confirm the veil doesn’t shift.
Skip thisDon’t rely on the comb alone without pinning — it slides more than you think during photos.