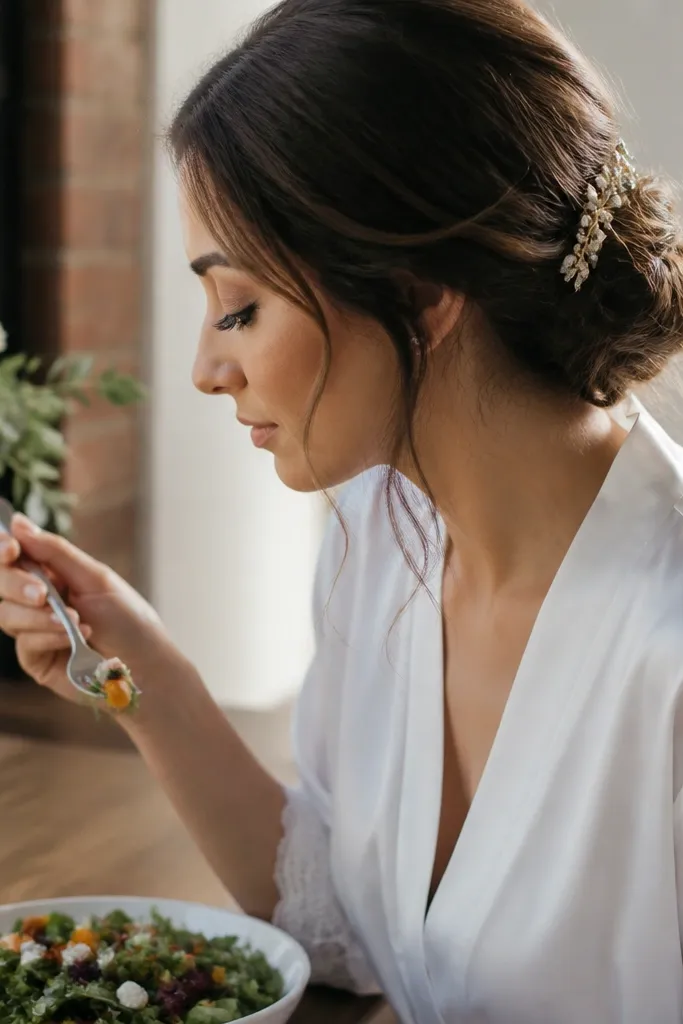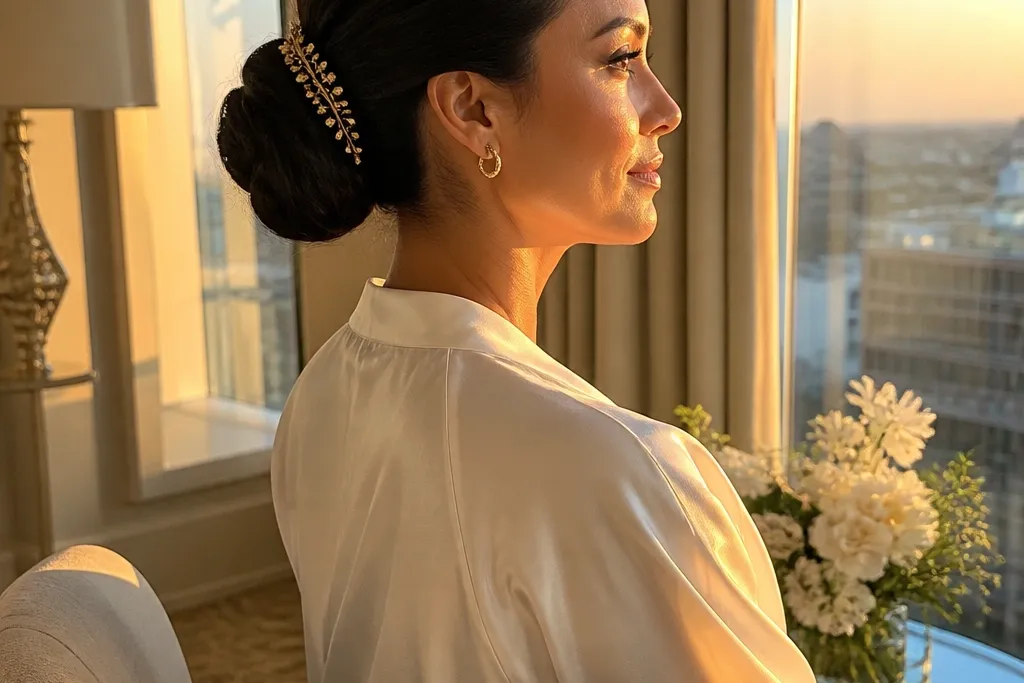
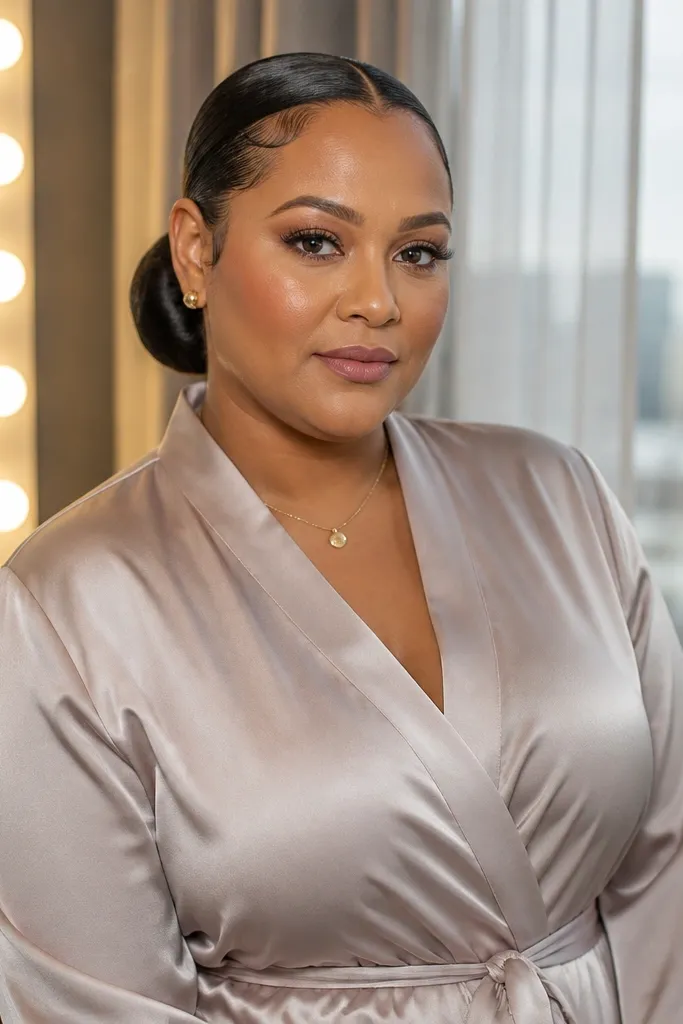
1. Sleek low bun with a micro center part
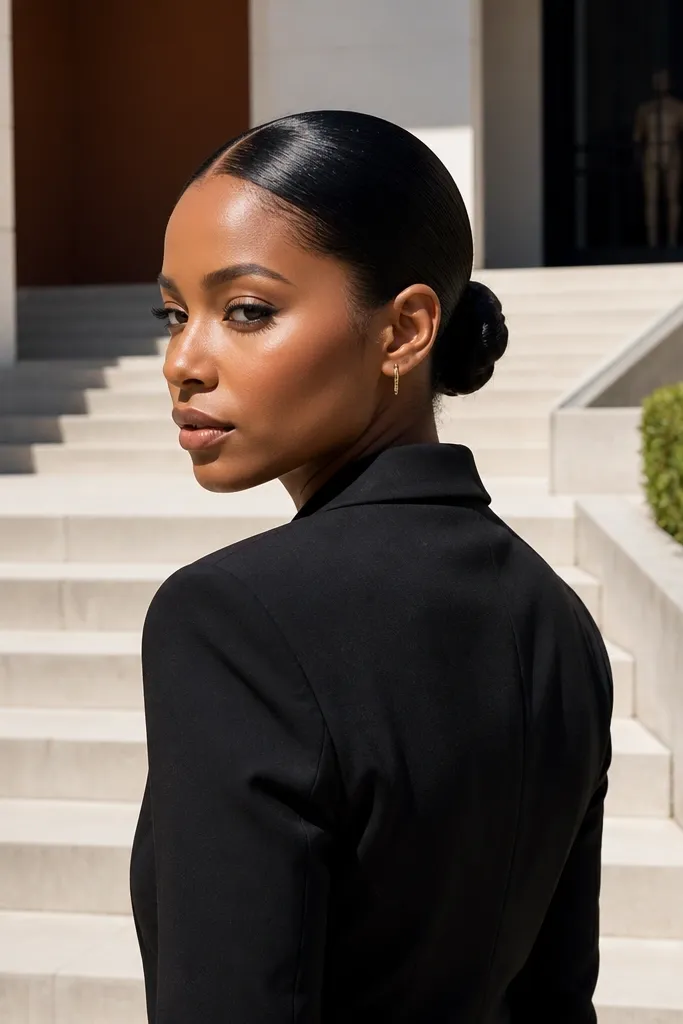
This is the cleanest option when you want aesthetic low bun wedding hair that looks polished even when the lighting is harsh. The micro center part keeps your face symmetrical and gives the bun a sharp, expensive line. Use it with minimal makeup and a simple neckline because the hair does the talking. It also photographs well from the back because the bun sits flat and doesn’t puff at the nape. If your hair is straight or slightly wavy, this look stays smooth longer.
Start by blow-drying your roots with a narrow nozzle and brushing the crown flat. Then gather at a low point, twist into a tight rope, and wrap around the base while pinning in three spots. Finally, lightly smooth the outer layer with gel on your fingertips and set with flexible hairspray, then tuck two thin strands under the bun for a clean finish.
Quick tipIf you hate flyaways, save a few bobby pins and add them under the bun edge before you leave the house.
Skip thisDon’t use heavy hairspray before pinning — it makes the pins slip.
2. Soft low bun with two face-framing wisps
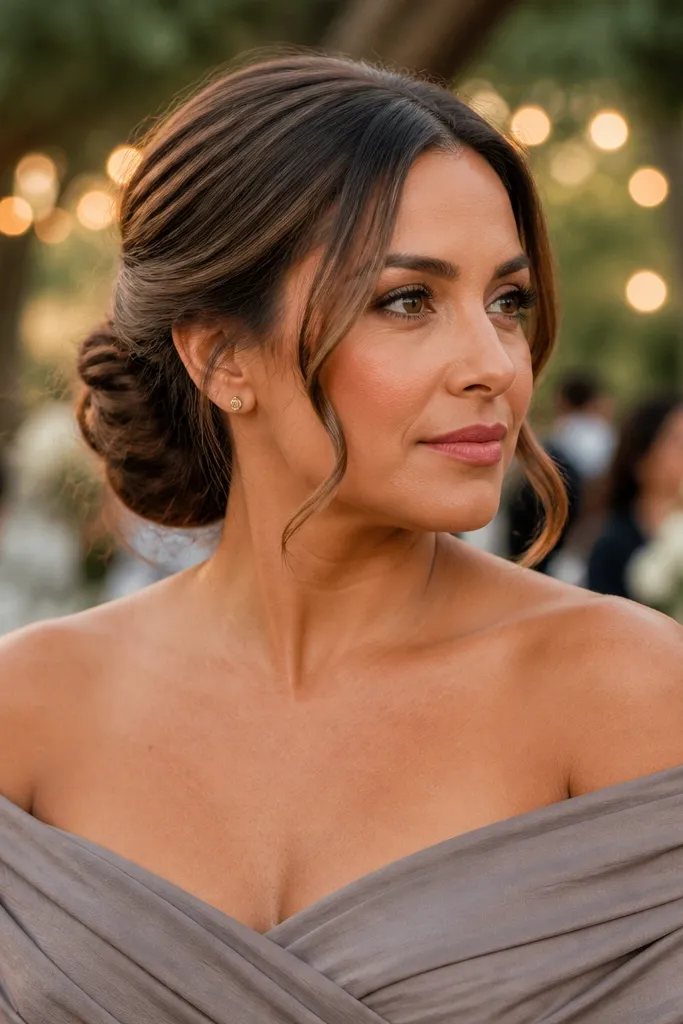
This one looks romantic without turning into messy hair. The two wisps give movement around your cheekbones while the bun stays structured enough to read “wedding guest chic.” It’s ideal for medium-length hair because the wisps can be pinned so they don’t disappear in photos. You’ll also get a flattering silhouette if your dress has a V-neck or off-shoulder sleeves. In evening light, the wisps catch highlights and make the whole bun look intentional.
Start by curling or setting just the front sections, then brushing the rest into a low pony. Twist the pony into a bun and pin it firmly, leaving the face-framing sections separate. Finally, pin each wispy strand lightly at the cheekbone level and mist the wisps with flexible hairspray so they hold their shape.
Quick tipPin the wisps slightly lower than you think — they lift in photos.
Skip thisSkip thick bangs or chunky curls in the front — they fight the wisps and look heavy.
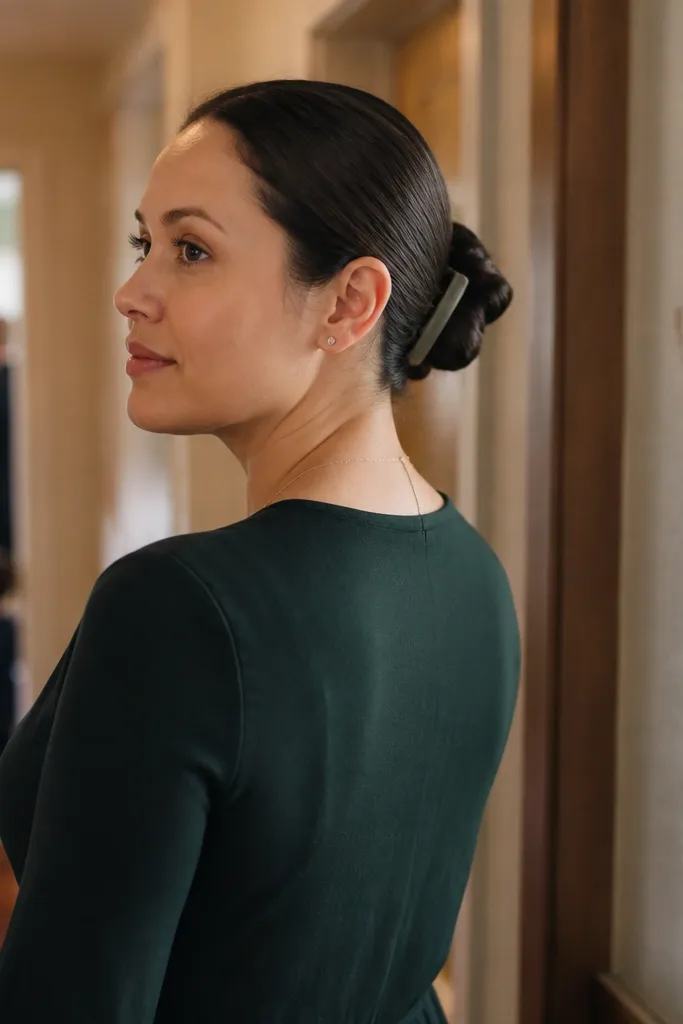
3. Twisted rope low bun with barrette detail
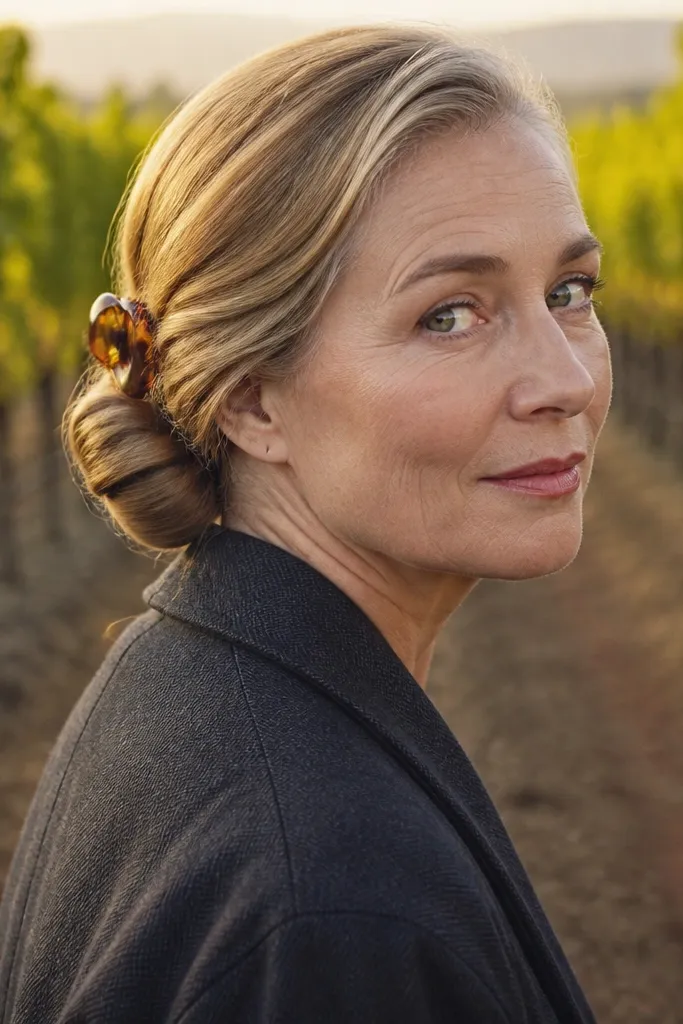
Rope twists look neat in motion, and they photograph like you spent extra time. This style is especially good if you’re wearing a strap dress or a sleeveless gown because the twist line adds detail at the nape. A small barrette across the bun edge makes it look styled, not improvised. Choose a barrette color that matches your jewelry metal so the whole look reads cohesive. It also works for straight hair because twists create texture where your hair otherwise would look too flat.
Start by sectioning your hair into two halves and twisting each half into a rope, then combine them into one low pony. Wrap around the base and pin the ends so they disappear inside the bun. Then place the barrette horizontally across the bun edge and pin through the barrette to lock it in place.
Quick tipPick a barrette width that’s about the same as your thumb, not bigger.
Skip thisDon’t use a flimsy clip that slides — it ruins the clean line fast.
4. Low bun with braided crown and smooth base
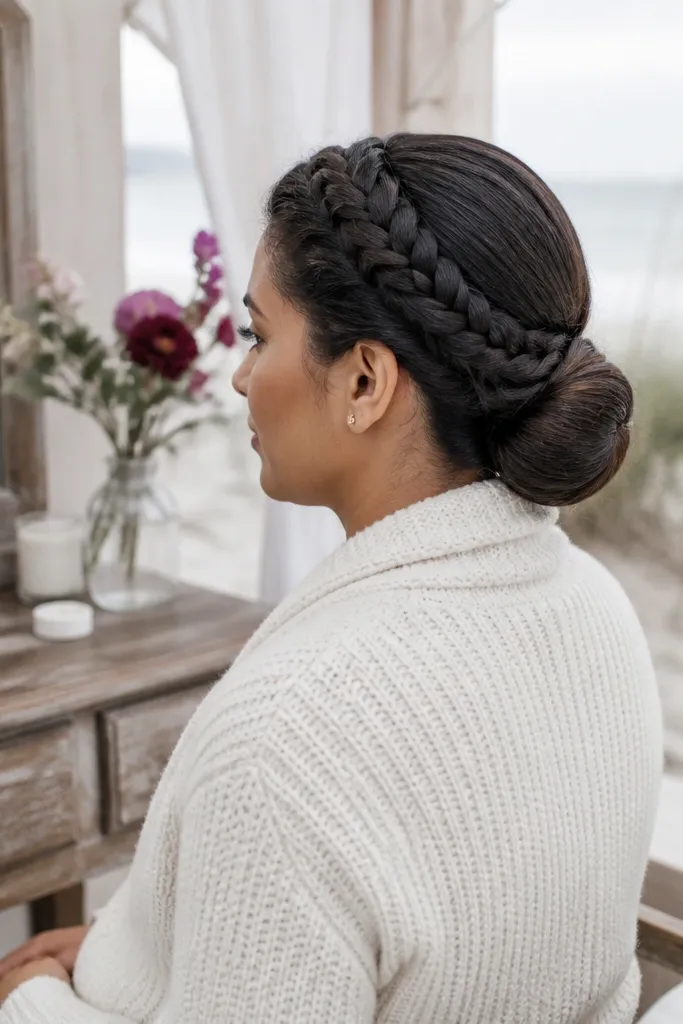
A braided crown gives texture right where cameras catch hair — the top layer. This look is perfect if you want aesthetic low bun wedding hair that still feels “bridal-adjacent” without being a full updo. Keep the base smooth so the braid reads as a deliberate detail rather than frizz. It’s also a strong choice for windy venues because the braid helps hold flyaways near the hairline. Pair it with stud earrings or a small pendant for a balanced, photo-ready finish.
Start by smoothing your hair into a low pony and leaving a thin strip for the braid. Braid the strip tightly, then pin the braid across the crown before you wrap the bun. Finish by wrapping the pony into a bun and pinning the ends under the braid so nothing sticks out.
Quick tipUse a rat-tail comb to pull the braid slightly wider for a fuller look without making it messy.
Skip thisSkip a loose braid — it collapses and makes the top look uneven.
5. Messy-polished low bun with matte texture
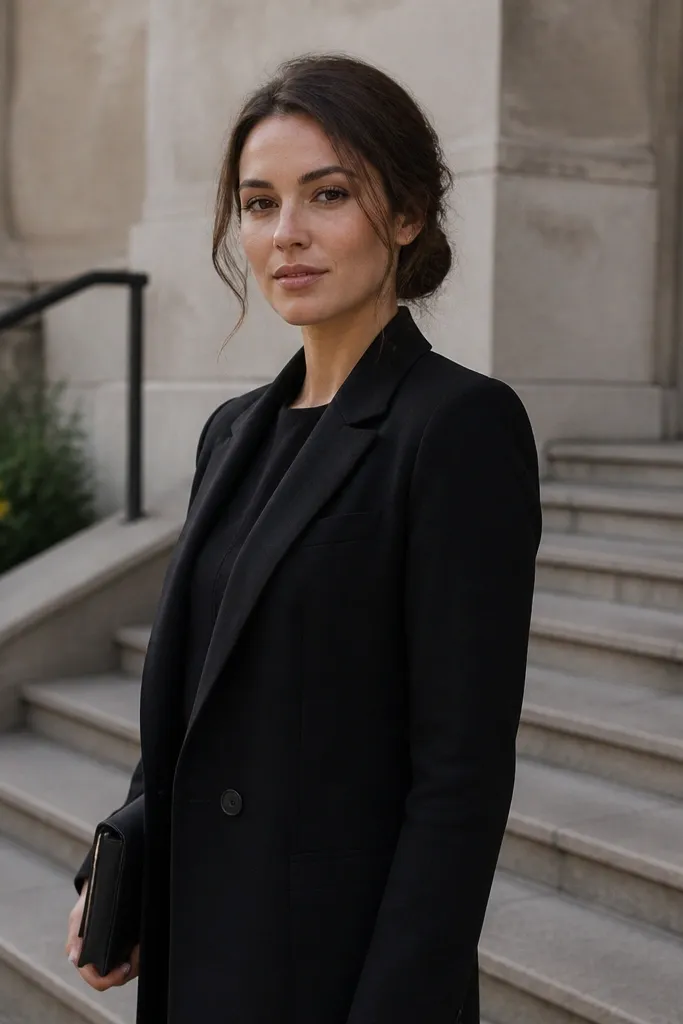
This is the “looks effortless in photos” option, but it only works if the texture is controlled. The goal is matte, not greasy, so the bun doesn’t shine under flash. This hairstyle looks great on thick hair and also works on fine hair if you build a base and tease only the interior. It suits outdoor ceremonies because the slight mess reads natural instead of sloppy. If you’re wearing a satin skirt or glossy fabric, the matte bun texture adds contrast that looks good in pictures.
Start by applying dry shampoo or matte cream to the mid-lengths and ends, then gather hair into a low pony. Create a bun by wrapping loosely and pinning every few turns, leaving a couple strands out. Finally, pull two small loops at the sides and set with a light hairspray mist, focusing on the underside for hold.
Quick tipIf your hair looks shiny, swap leave-in conditioner for a matte styling powder on the bun section.
Skip thisDon’t make it wet-looking — glossy mess reads cheap in flash.
6. Half-up low bun with a hidden twist
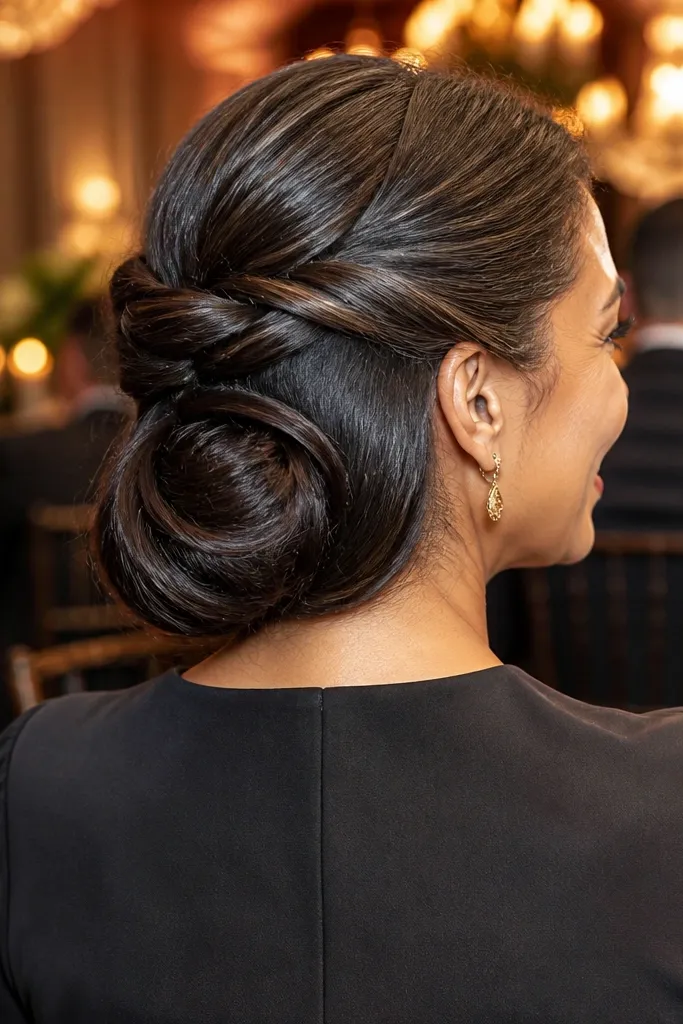
Half-up adds dimension without turning into a full updo, and the low bun keeps it wedding-guest friendly. The hidden twist under the bun makes it look more complex than it is. This style is great if your dress has an open neckline and you want your face to stay framed. It also helps if your hairline is fine and you need a little extra hold near the roots. In photos, the half-up section catches light and makes the bun look lifted.
Start by taking the top half of your hair, twisting it back, and pinning it flat with two bobby pins. Gather the rest into a low pony, wrap into a bun, and pin so the twist sits underneath the bun edge. Finally, smooth the top with a dab of gel on your fingertips and spray lightly over the pinned area.
Quick tipHide pins by angling them into the twist, not straight down into the scalp.
Skip thisSkip a visible elastic — it ruins the clean look.
7. Low bun with curled ends tucked into the center
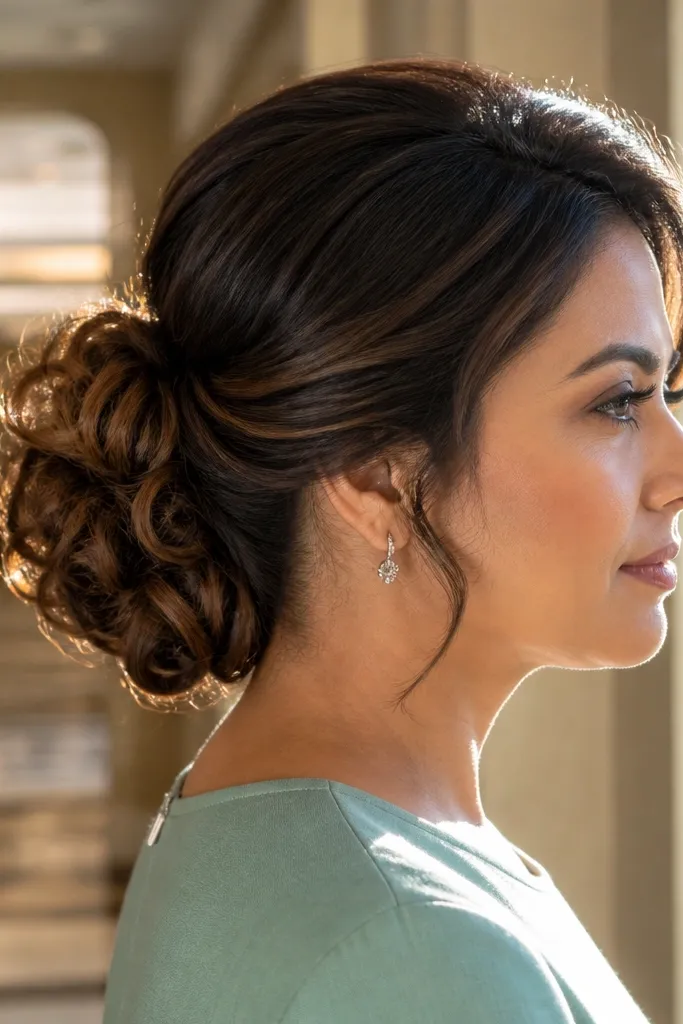
Curls tucked into the bun center create a sculpted look that stands out in side profiles. It’s a strong choice for wedding guest hairstyles because it reads romantic but still tidy. The curled ends add dimension without needing a lot of volume on top. If your hair is shoulder-length or longer, you’ll get the best shape because there’s enough length to tuck and pin. This also pairs beautifully with combs and small hairpins because the curls give them something to sit on.
Start by curling only the ends of your hair, then gather into a low pony. Twist the pony into a bun and pin the curled ends toward the center so they form a soft spiral. Finally, lightly tug a few curls loose at the edge and mist to keep the shape.
Quick tipCurl direction matters: curl ends toward your face on one side and away on the other for a balanced spiral.
Skip thisDon’t curl the whole head — it makes the bun too bulky.
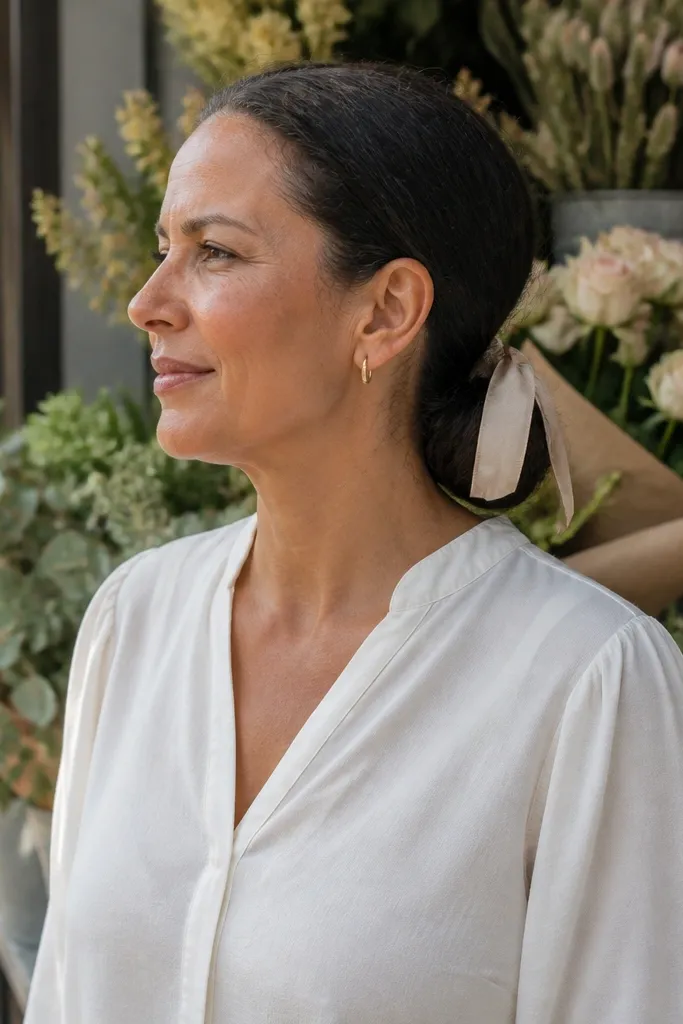
8. Satin ribbon wrapped low bun
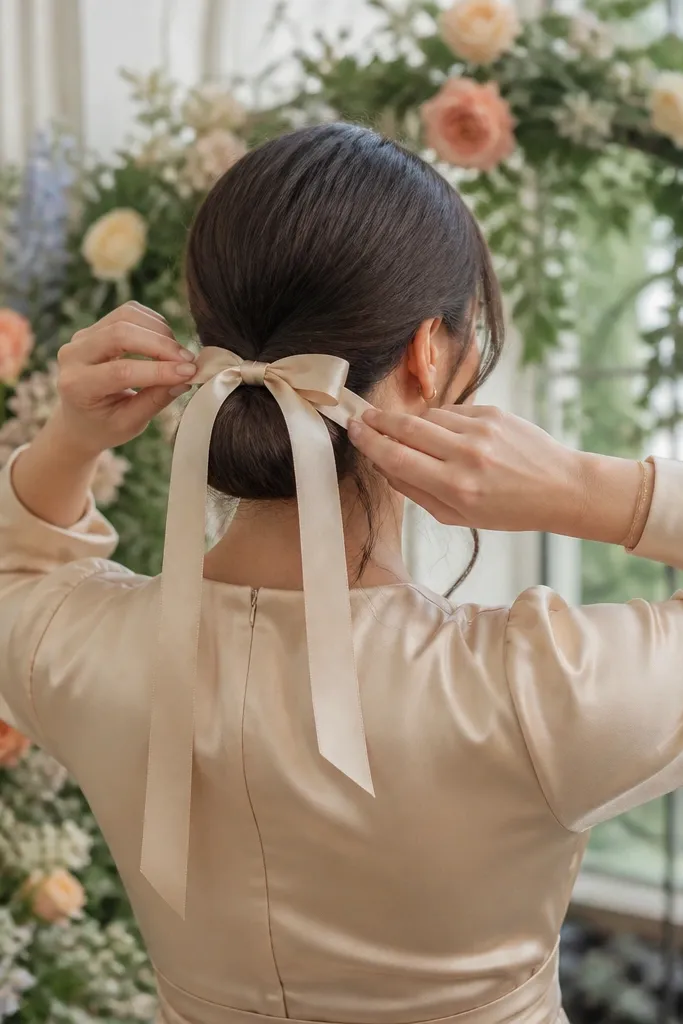
A ribbon wrap turns a basic low bun into something photo-ready and intentional. Choose a satin ribbon that matches your dress undertone — cool-toned dresses look best with silver-gray or icy blue ribbon, warm-toned dresses with champagne, caramel, or cocoa. The ribbon creates a clean focal point at the nape, which cameras love. It’s also a lifesaver for hair that won’t hold a slick bun, because the ribbon adds structure. This look is especially good for garden weddings and evening receptions.
Start by creating a smooth low pony and wrapping hair into a bun, pinning the ends under. Then loop the ribbon around the bun base twice, pulling snug but not tight. Tie a small knot or bow to one side and secure the ends with a hidden pin under the ribbon fold.
Use a satin ribbon width around 1 inch for the most flattering proportion.
Skip thin ribbon — it looks like a last-minute accessory in photos.
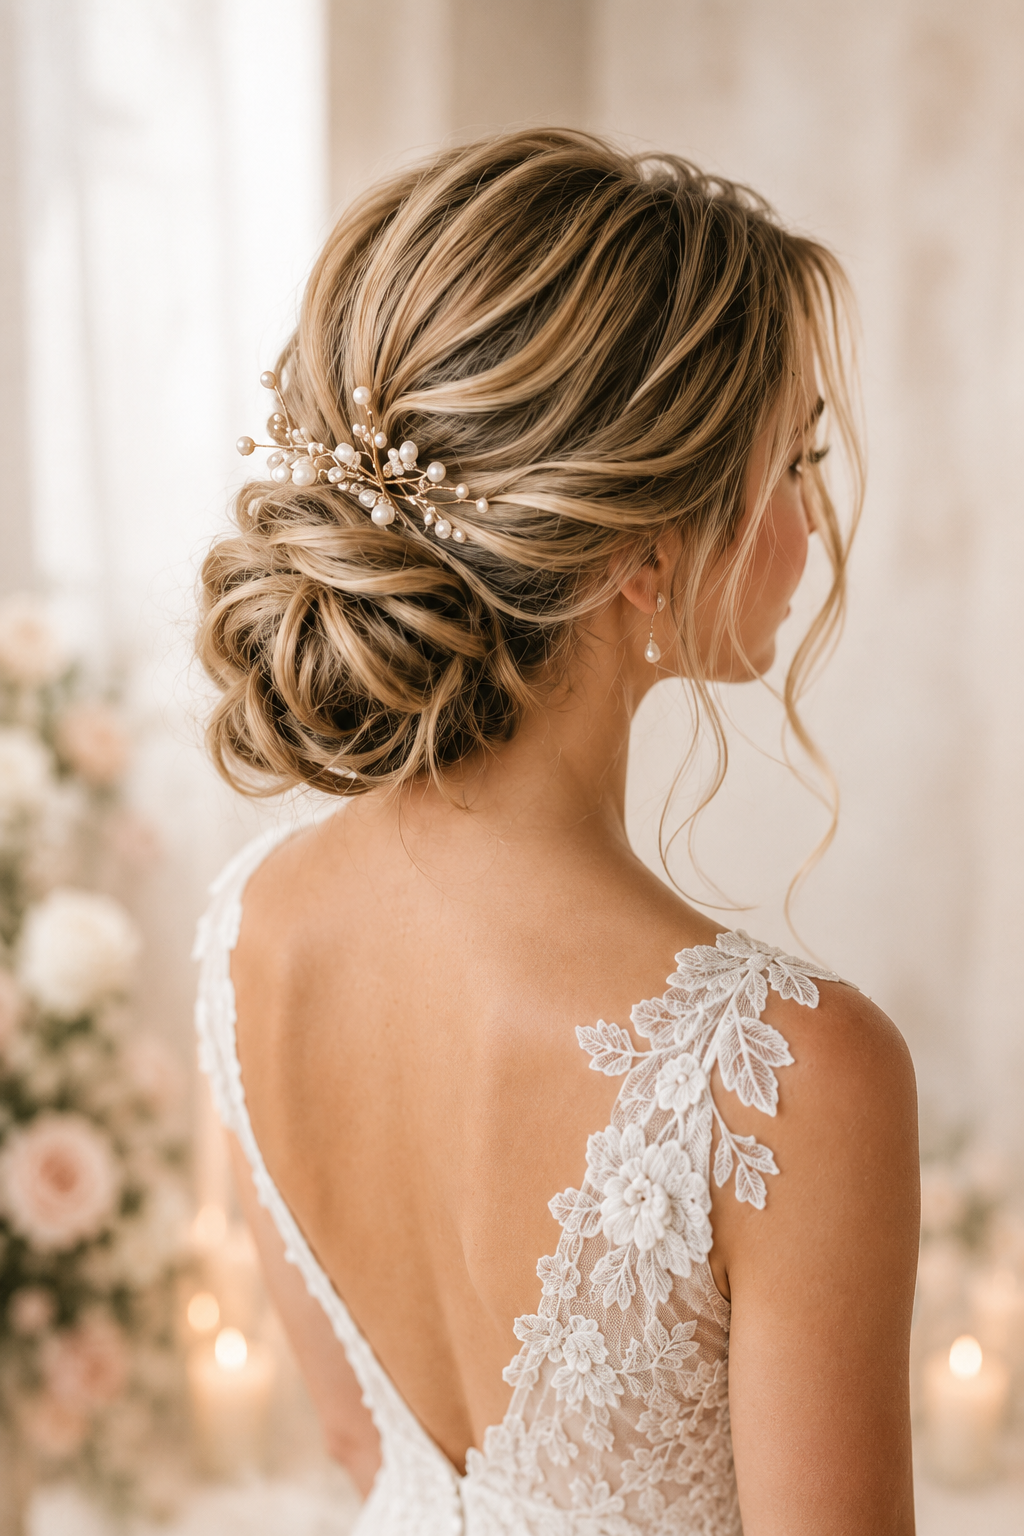
9. Low bun with pearl hairpin ladder
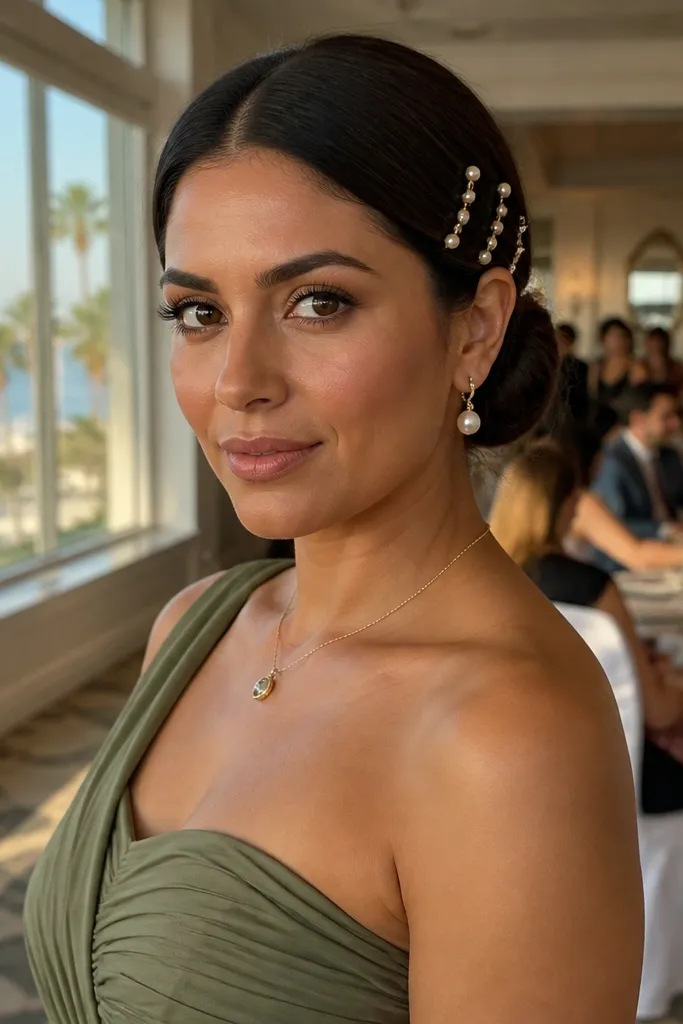
Pearl pins make the hairstyle look styled even when your bun is simple. The trick is placement: a ladder pattern along the side reads elegant and shows up clearly in pictures. This is a great pick if you’re wearing pearls already, or if your jewelry is gold and you want a softer texture than crystals. It also works well with sleek hair because the pearls catch light without adding bulk. If your dress has texture like lace, keep the bun smooth so the pearls are the only sparkle.
Start with a sleek low bun, then decide which side your pins will show in photos. Insert two bobby pins first to anchor the bun, then weave pearl pins diagonally in a ladder pattern from mid-bun toward the underside. Finish by pressing the outer layer flat with a small amount of gel and misting lightly.
Quick tipCount pins before you start so you don’t end up with one lonely pearl later.
Skip thisDon’t place pearls randomly — it looks like you ran out of time.
10. Low bun with braided low pony base
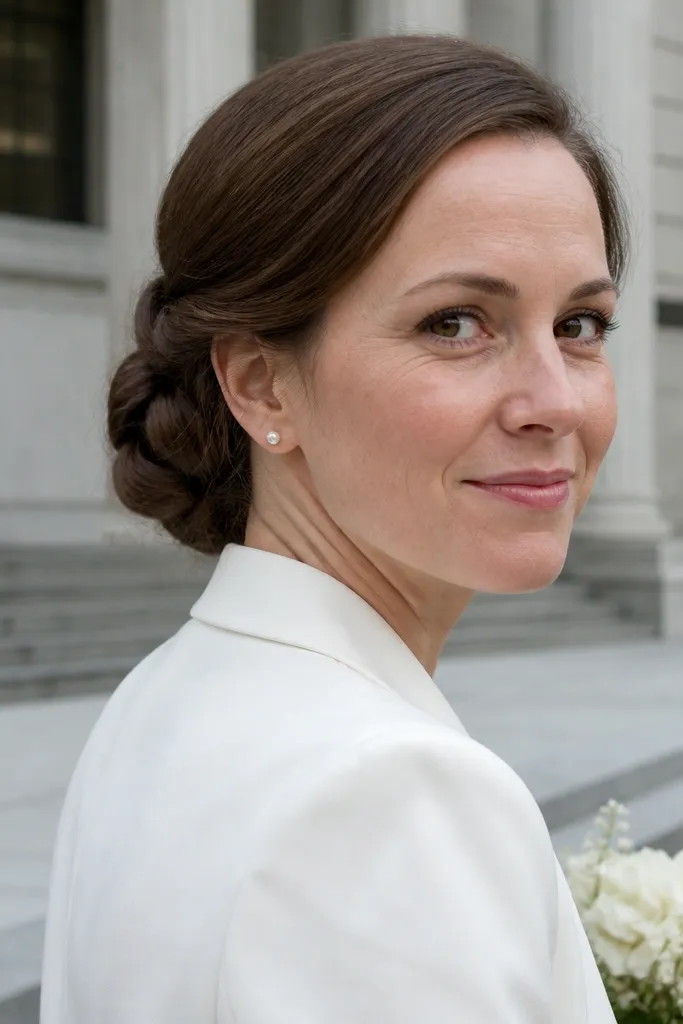
This look gives structure without the stiff, helmet feeling of ultra-tight buns. The braided base holds the bun shape, so it’s ideal for guests with fine hair that tends to slip flat. It also adds visual texture under the surface, which looks great when your hair moves. Keep the outer layer smooth and let the braid do the work inside. This hairstyle works for both formal indoor weddings and outdoor ceremonies where you need hold.
Start by gathering hair into a low pony and braiding it into a tight three-strand braid. Wrap the braid around the base into a bun and pin the braid turns so they stack neatly. Finish by smoothing the outer layer and pinning any loose edges under the braid.
Quick tipUse a clear elastic at the base if you need extra grip, then cover it with the braid wrap.
Skip thisSkip a loose braid — it collapses and makes the bun look lumpy.
11. Sleek low bun with a curved back comb
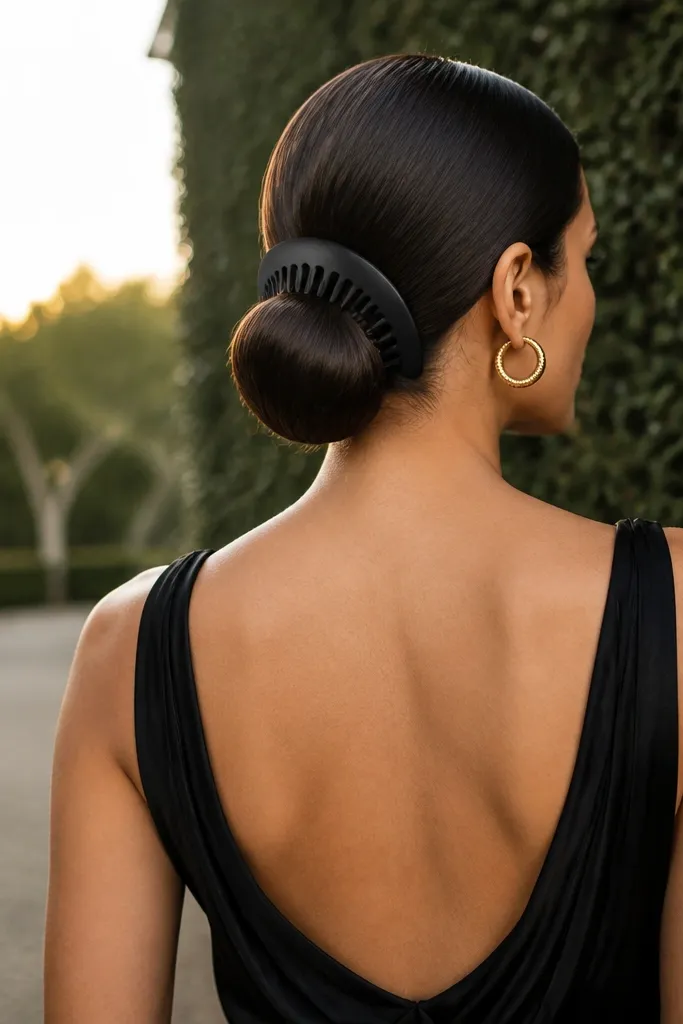
If you want aesthetic low bun wedding hair with instant impact, a curved comb does it. It creates a visual arc that frames the head and looks great in full-back photos. This is especially good if your dress back has straps or an open back panel, because the bun plus comb reads intentional. The sleek bun underneath keeps the look sharp, while the comb adds dimension without needing extra volume. Choose a comb with medium teeth so it grips without pulling strands.
Start with a sleek low pony and wrap into a tight bun, pinning the ends flat. Place the comb across the back of the bun at a slight diagonal, then slide it under the outer layer to anchor. Pin through the comb base and smooth any raised hair with gel on your fingers.
Quick tipTest the comb placement while wearing your hair tie — move it before you pin.
Skip thisDon’t choose a comb that’s too wide for your bun — it crowds and lifts.
12. Low bun with twisted side strands and thin headband
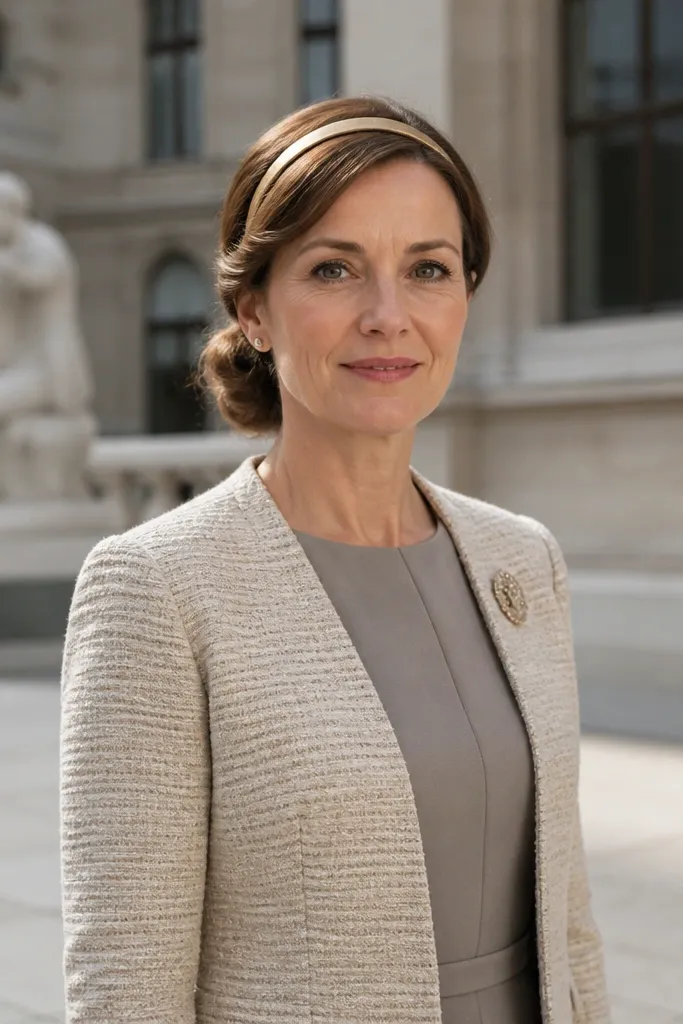
This has that “wedding guest editorial” vibe because the headband adds a clean line across the face while twisted strands keep it from looking costume-y. The low bun keeps it mature and elegant, not beachy. It’s a smart option for guests who want something pretty but don’t want a full veil or heavy hair accessories. Choose a thin headband in gold, pearl, or fabric depending on your dress details. In photos, the headband helps your hair look styled even when the bun is minimal.
Start by brushing hair into a low pony and creating a smooth bun. Twist two small side sections back and pin them behind the bun so they blend into the base. Place the thin headband at the hairline, then tuck the ends of the twisted strands under it and secure with pins.
If your headband slides, pin only the sides, not the center.
Skip thick headbands — they overpower a low bun in close-up photos.
13. Low bun with waterfall braid at the front
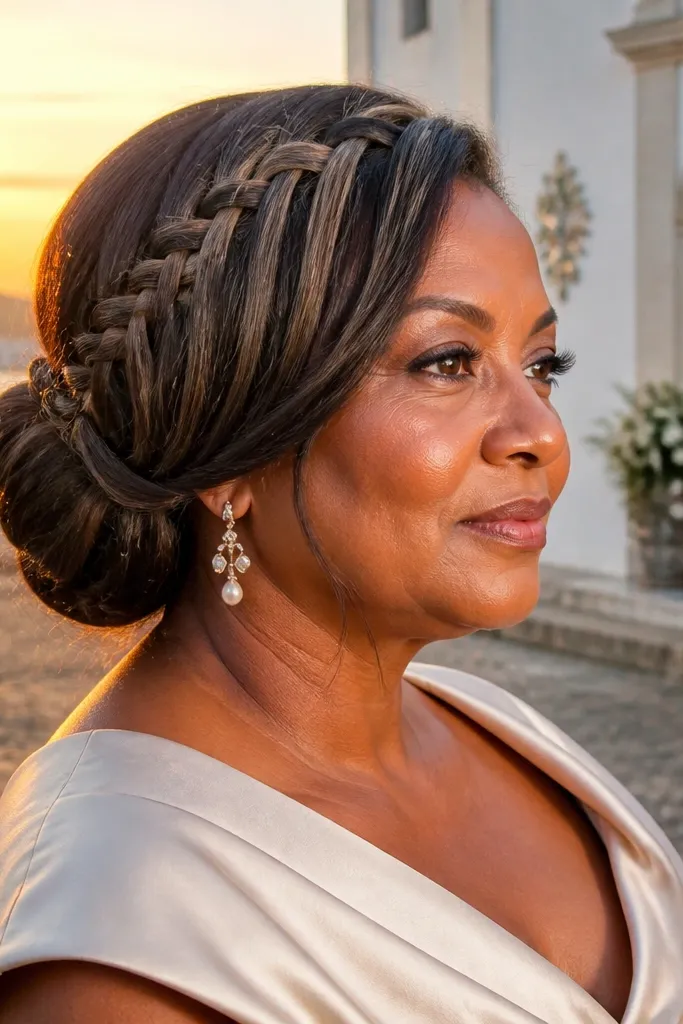
A waterfall braid gives movement and softness right at the face, which makes this look feel special even on simple dresses. The braid creates a flowing pattern that reads clearly in photos, especially from the side. Pair it with a low bun that stays smooth, so the braid becomes the feature. This is best for medium to long hair because you need enough length to create the drape. It’s also great for guests who want to hide uneven layers — the braid disguises them.
Start by sectioning a front strip and creating a waterfall braid across the hairline while letting one strand “fall” each repeat. Pin the end of the braid where it meets the low pony, then gather the rest into a low bun. Finally, secure the bun tightly and mist the braid with flexible hairspray so the drape stays defined.
Quick tipKeep the waterfall braid slightly looser than a standard braid so it looks airy in photos.
Skip thisDon’t braid too tight — it pulls the scalp and flattens your face.
14. Low bun with wrapped tendrils and glossy finish
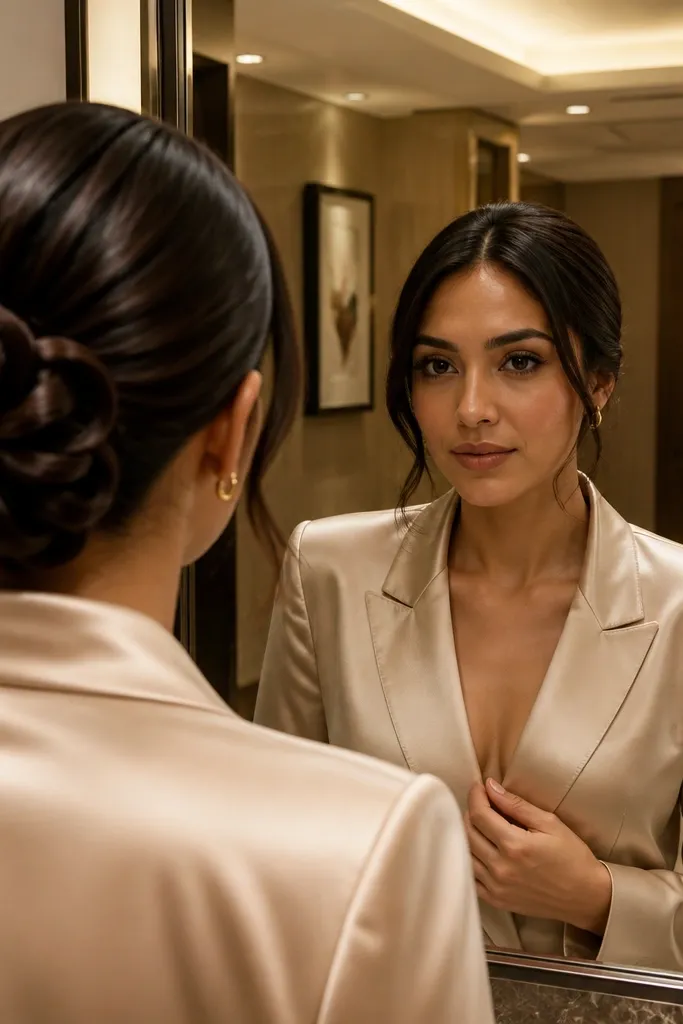
This is the glossy, sculpted version of aesthetic low bun wedding hair. Wrapped tendrils around the base create a “petal” effect without needing a big accessory. It’s a strong choice for guests wearing satin, silk, or other shine-heavy fabrics because the hair sheen matches the dress. If your hair holds product well, you’ll get a polished look that stays crisp through dinner and dancing. It also looks great with makeup that’s more defined since the hair won’t compete visually.
Start by smoothing hair with a light shine serum and brushing into a low pony. Wrap into a bun and pin the base, then take two tiny strands and wrap them around the bun edge, pinning each end under. Finally, apply a very light layer of gloss or pomade to the outer surface and set with a fine mist.
Quick tipUse a pea-sized amount of shine product — more makes the bun look wet.
Skip thisSkip matte products if you want the glossy look to read in flash photos.
15. Low bun with braided bun wrap
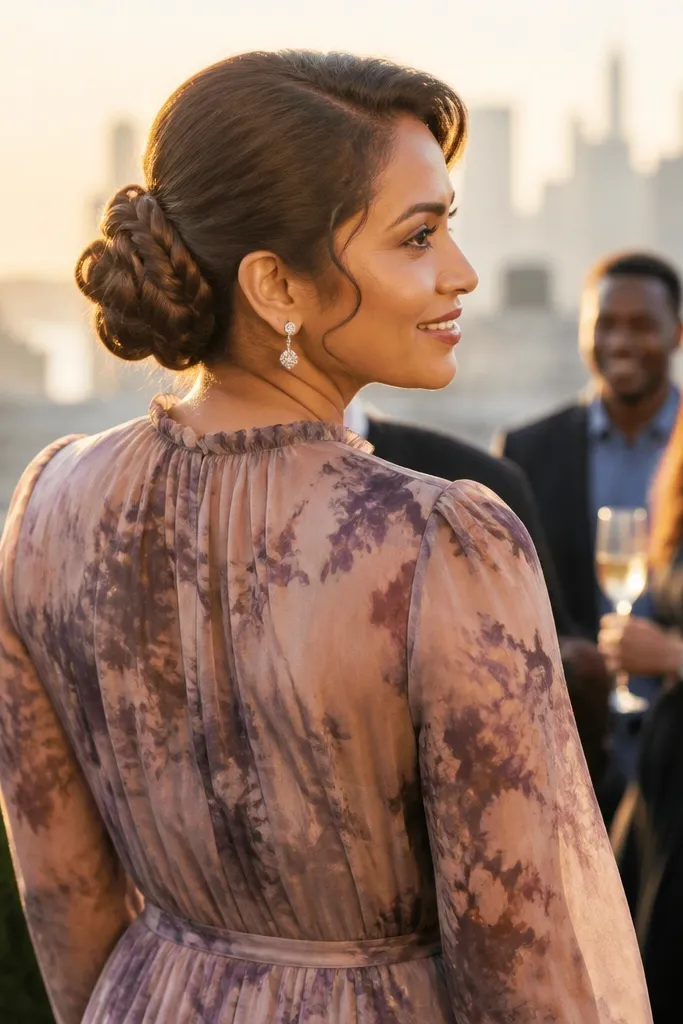
A braided bun wrap makes the back of your hair look styled, not plain. It’s perfect if you’ll be taking a lot of back photos — think group shots, cocktail hour, or an open-back dress. The braid adds texture and hides pin placement, which is why it looks neat even when you move. This style works for straight and wavy hair, as long as you create a secure base pony. It also holds up well because the braid wraps the bun tightly.
Start with a low pony and wrap hair into a bun, pinning it tight. Take a small section of hair, braid it, then wrap the braid around the bun in a spiral and pin the end under. Finish by smoothing flyaways with gel and lightly spraying the braid so it doesn’t fuzz.
Quick tipBraid the wrap thinner than you think — a thick wrap looks heavy at the nape.
Skip thisDon’t use too much teasing — it makes the braid look frizzy.
16. Low bun with pinned crown volume
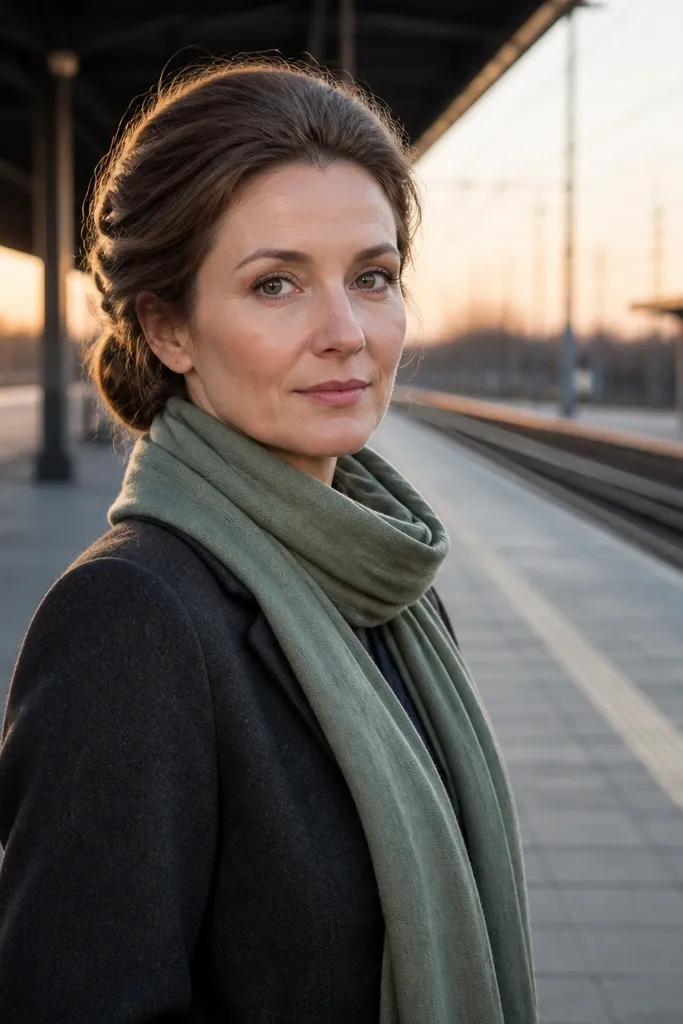
Pinned crown volume gives you that lifted, elegant look without turning the bun into a high updo. It flatters faces because it adds height at the top while keeping the bun low and romantic. This is the best pick when your hair is fine and falls flat by the time photos happen. It also helps if you want your hair to match a structured dress — the volume balances the silhouette. Keep the bun smooth and let the crown be the only area with height.
Start by creating a low pony, then back-comb only a small crown section at the base for lift. Smooth the top layer over the tease, then pin it flat so it holds shape. Wrap the pony into a bun and pin securely, finishing with light hairspray on the crown and a gentle brush over the outer layer.
Pin the crown volume before you wrap the bun, so you don’t end up fighting tangles.
Don’t tease the entire head — it makes the bun look messy in the worst way.
17. Low bun with crystal cluster pins at the nape
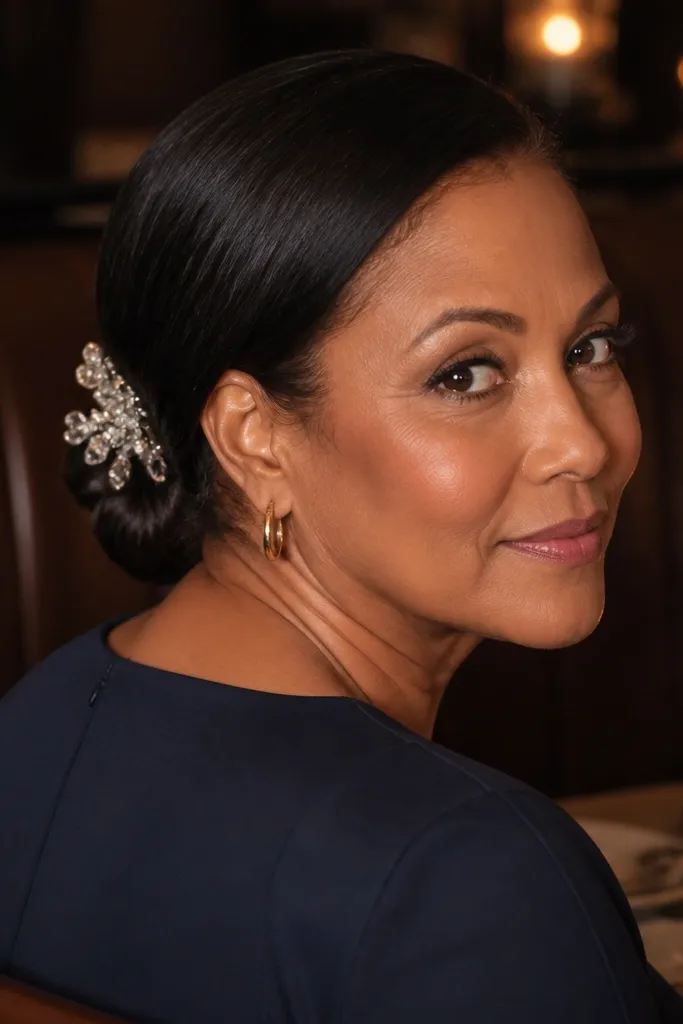
Crystal clusters at the nape read sophisticated in photos because they sit where light hits when you turn your head. This is a great aesthetic low bun wedding hair option for guests who want sparkle but don’t want a full head of bling. Keep the bun sleek so the crystals stand out. Choose crystal pins that match your jewelry tone — gold base for gold earrings, silver base for silver rings. This works especially well for strapless dresses because your neck and shoulders are visible and the nape detail shows.
Start with a sleek low bun, pinning the base tightly so it doesn’t move. Place two crystal pins on the left and right edge of the bun, then add one centered pin underneath for a balanced cluster. Secure any loose pin stems into the bun base, then mist lightly so the crystals don’t snag on clothing.
Quick tipTest the pins with your dress neckline — make sure nothing catches on fabric.
Skip thisSkip a scattered pin trail — cluster placement looks cleaner.
18. Low bun with soft bun padding and clean outer line
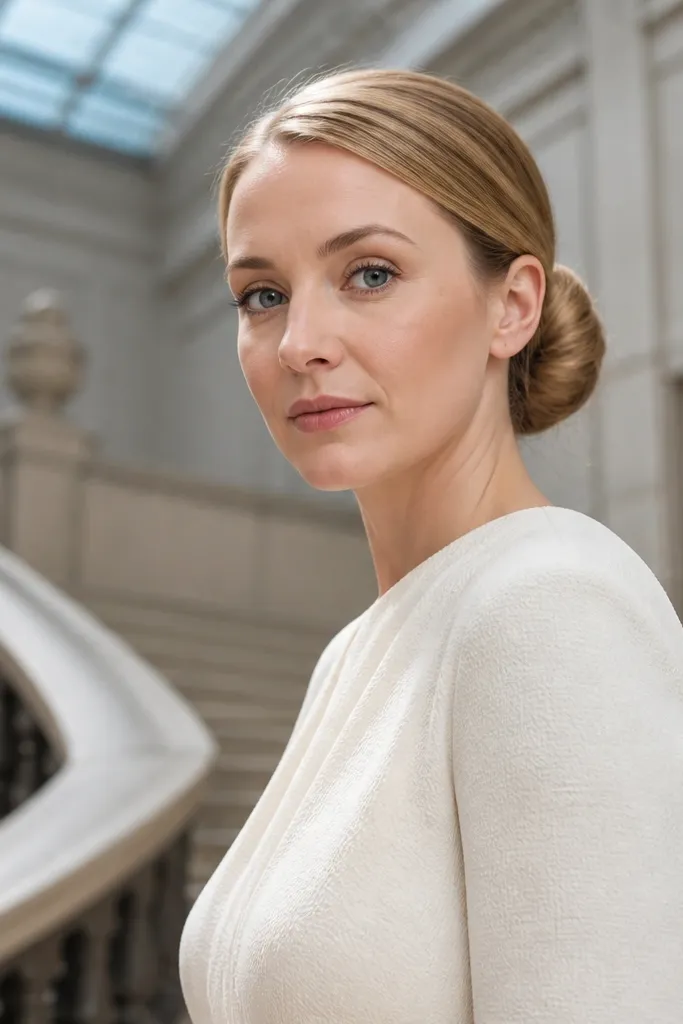
This look is for guests who want a low bun that looks full in photos without turning into a bulky helmet. The secret is controlled padding under the bun while keeping the outer layer smooth and tight. It’s ideal for thin hair because the shape reads “intentional” even when your hair lacks natural volume. It also works for wedding guest hairstyles where you need the bun to survive long hours sitting through ceremony, photos, and dinner. In pictures, the silhouette looks rounded and flattering from every angle.
Start by using a small bun doughnut or hair padding base and gathering into a low pony. Wrap hair around the base and pin in a tight circle, then smooth the outer layer with gel on fingertips. Finally, tuck any stray ends under the bun and set with hairspray, focusing on the underside where the bun tends to loosen.
Quick tipUse a padding base color close to your hair so it disappears when the bun shifts.
Skip thisDon’t over-pull the outer layer so tight that it creates ridges.
19. Low bun with Dutch braid crown and pinned side swoop
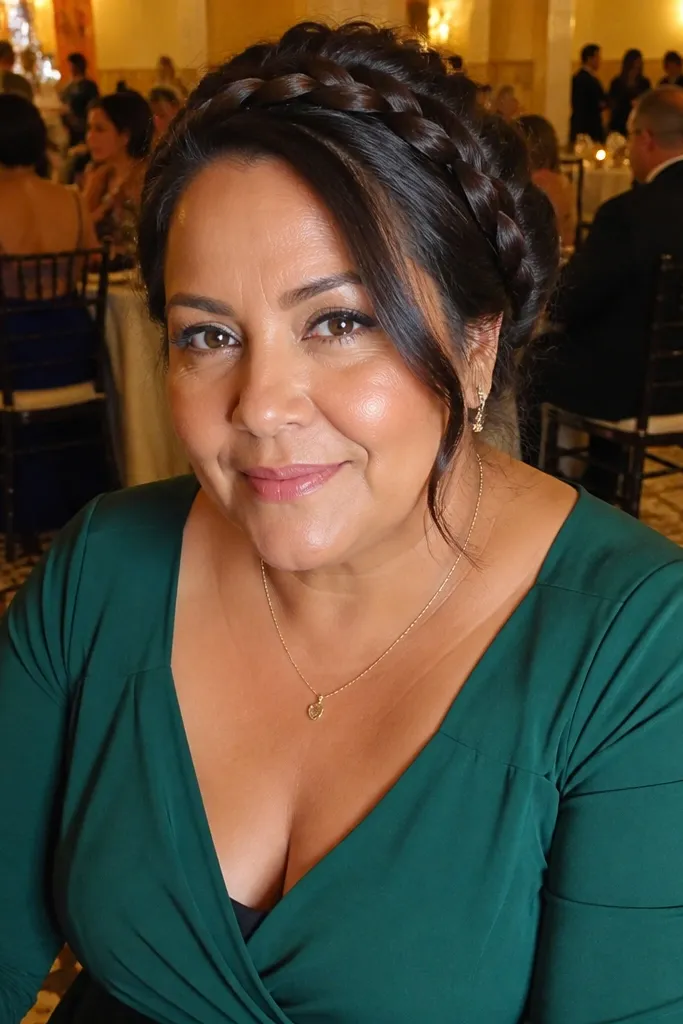
This is the “wedding guest but make it sculpted” low bun. The Dutch braid crown gives you instant structure, so the bun looks styled even if your hair is fine or slips when it’s humid. The pinned side swoop balances the braid so it frames your cheek instead of sitting flat against your head. It photographs clean from the front and still looks intentional from the side because the braid sits higher than the bun. I’d pick this for late spring through early fall when outdoor ceremonies make flyaways happen — the braid controls them.
Step 1 — Make the braid first: part your hair where you want the braid to sit, then do a Dutch braid starting at the crown, adding hair as you go, and stop right above the nape. Step 2 — Build the bun: gather the remaining hair into a low pony at the nape, wrap into a bun, and secure with 3-4 bobby pins that go in at different angles. Step 3 — Create the side swoop: take a thin section from the front near your part, twist it toward the bun, and pin so it lands slightly above the braid. Travel-wise, this look is worth it when you’re going somewhere with humidity or wind; it holds up better than slick-only styles. For booking, schedule your first trial hair session 2-3 weeks before your trip, and for the hair tools budget expect about $25-60 for a good rat-tail comb, pin set, and a light-hold hairspray.
Quick tipPack a mini bottle of smoothing spray and a small pin pack — one touch-up at the venue keeps the braid crisp.
Skip thisDon’t braid too tight at the crown or your scalp will feel sore by the ceremony.
20. Low bun with braided halo ring and ribbon-tied nape bow
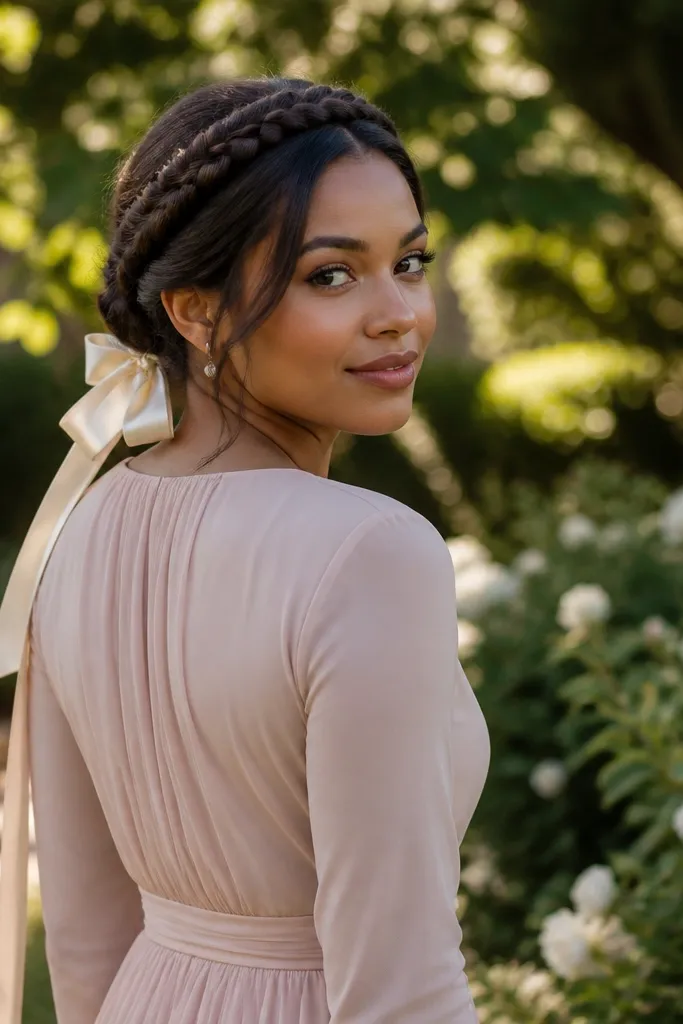
This one reads romantic from every angle because the braided halo ring sits like a soft frame around your head. The low bun keeps it wedding-guest appropriate, while the ribbon-tied nape bow adds a clear “occasion” detail without needing extra accessories. It’s especially flattering if you have medium to long hair because the halo ring needs length to look smooth and continuous. If you’re wearing a dress with an open neckline or off-the-shoulder sleeves, this draws attention upward while keeping your neck area neat. It’s a smart pick for winter and early spring weddings when you want something pretty that also stays put under a coat.
Step 1 — Form the base: gather hair into a low bun at the nape, then secure with a strong elastic and 4-6 pins so the outer line stays clean. Step 2 — Build the halo ring: take two thin sections from each side of the bun, braid each into a narrow braid, then cross them over the top of the head and pin the ends into the bun. Step 3 — Add the ribbon bow: use a 1/4 to 1/2 inch ribbon, wrap it once around the nape area where the bun meets the braid, then tie a small bow and secure with one hidden pin. For travel, this look is easiest when you’re staying somewhere with a hairdryer and good lighting — you want to see the halo ring clearly while pinning. Plan to spend 20-30 minutes for the first attempt, and book a hair appointment 1-2 weeks before if you want it done quickly at the destination; budget $15-30 for ribbon and a pack of bobby pins.
Choose ribbon in a shade close to your dress or jewelry metal — contrast looks best when it’s intentional, not random.
Don’t place the halo ring too low or it turns into a headband look that hides the shape of the bun.