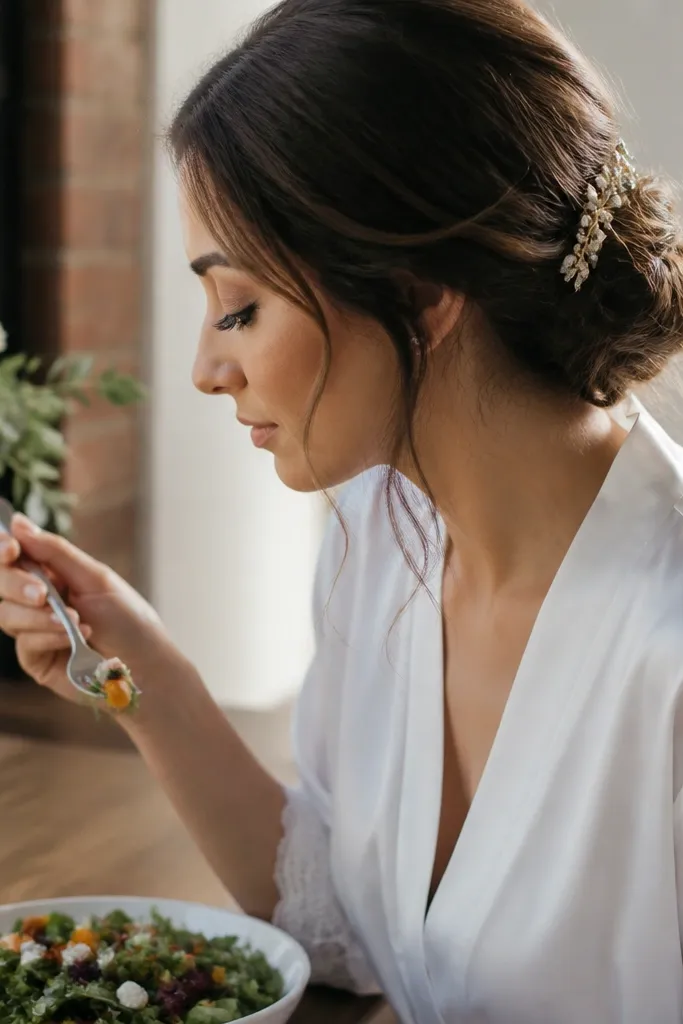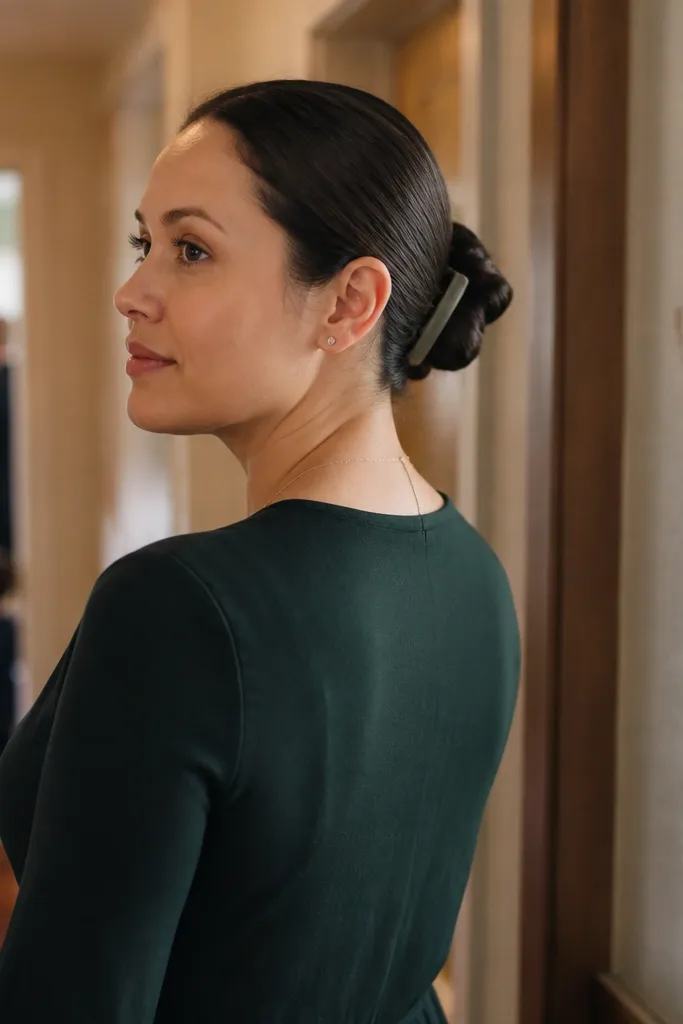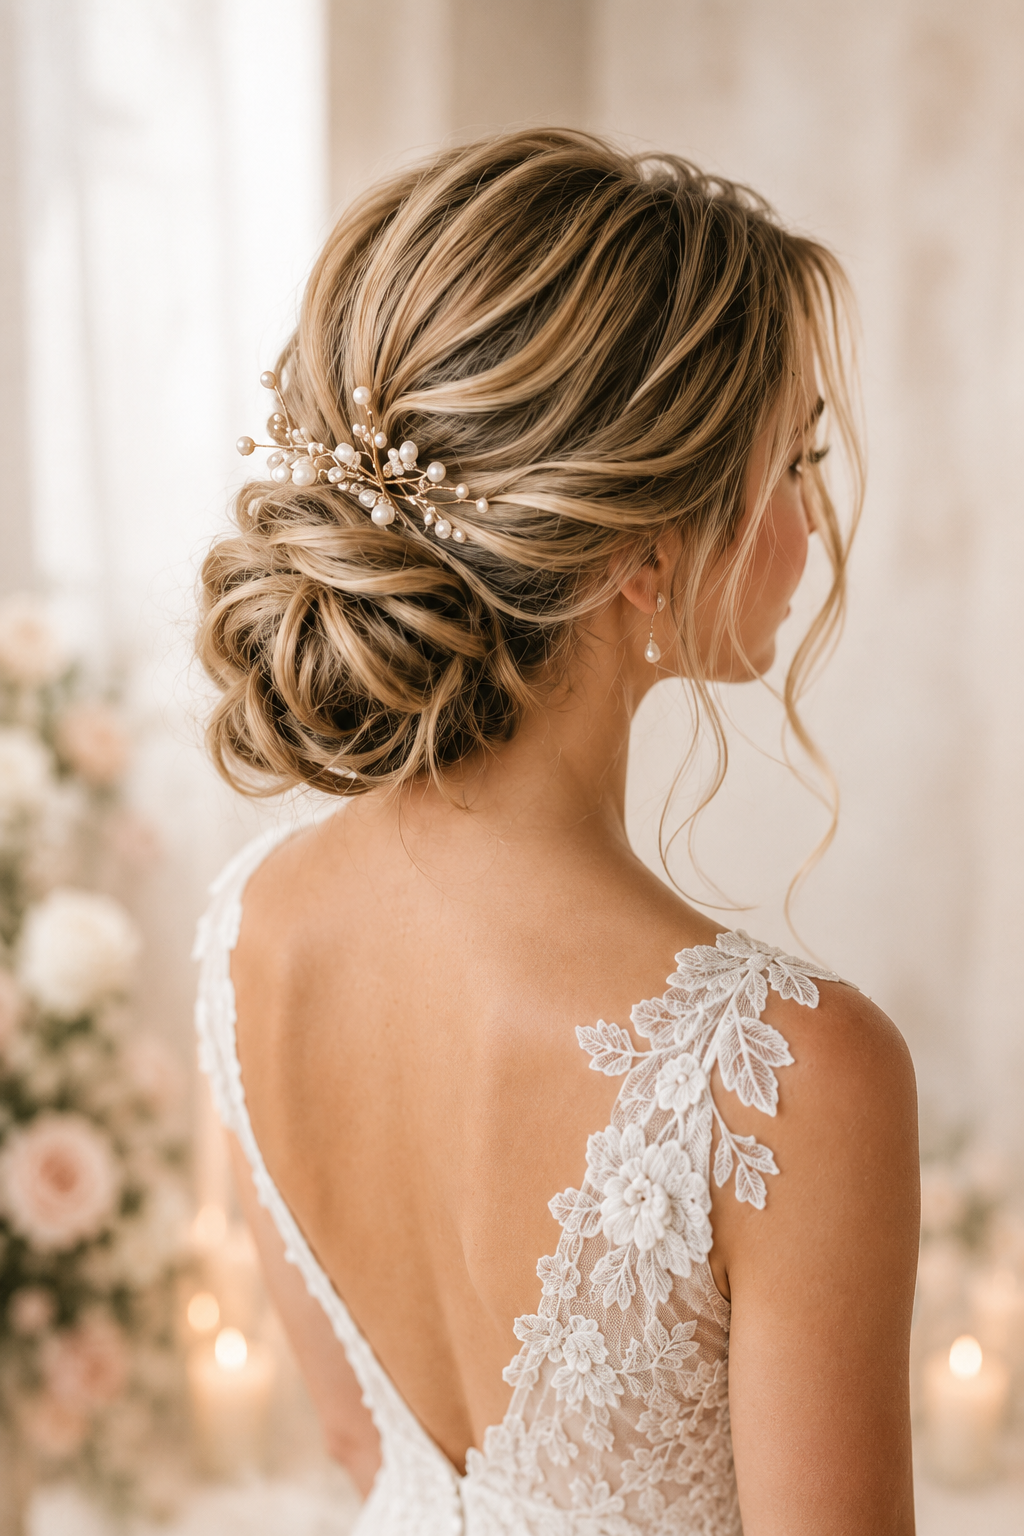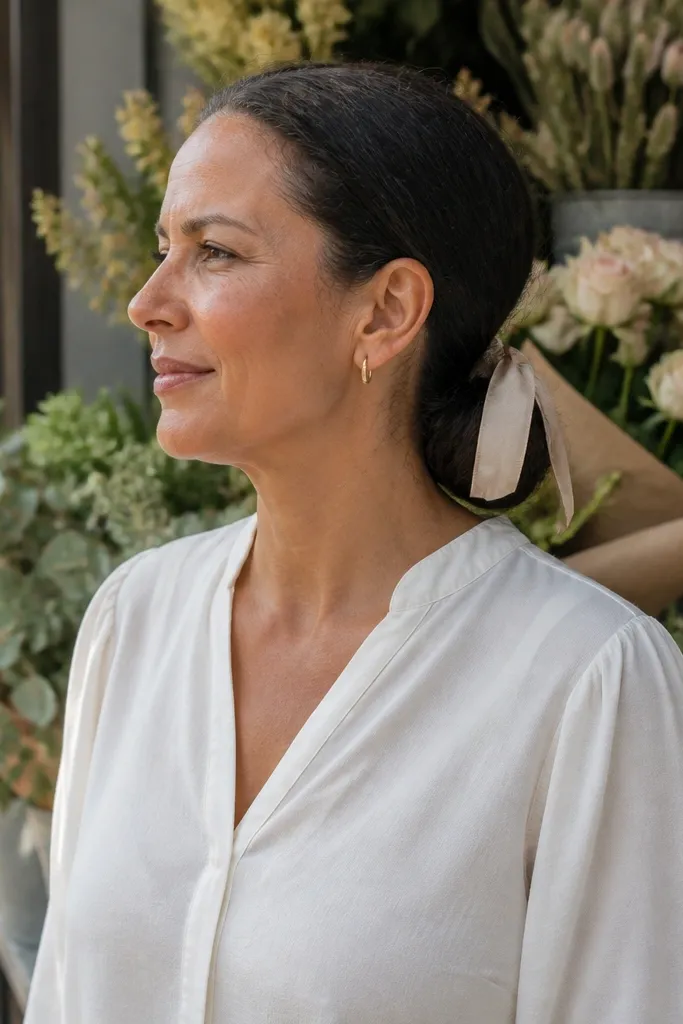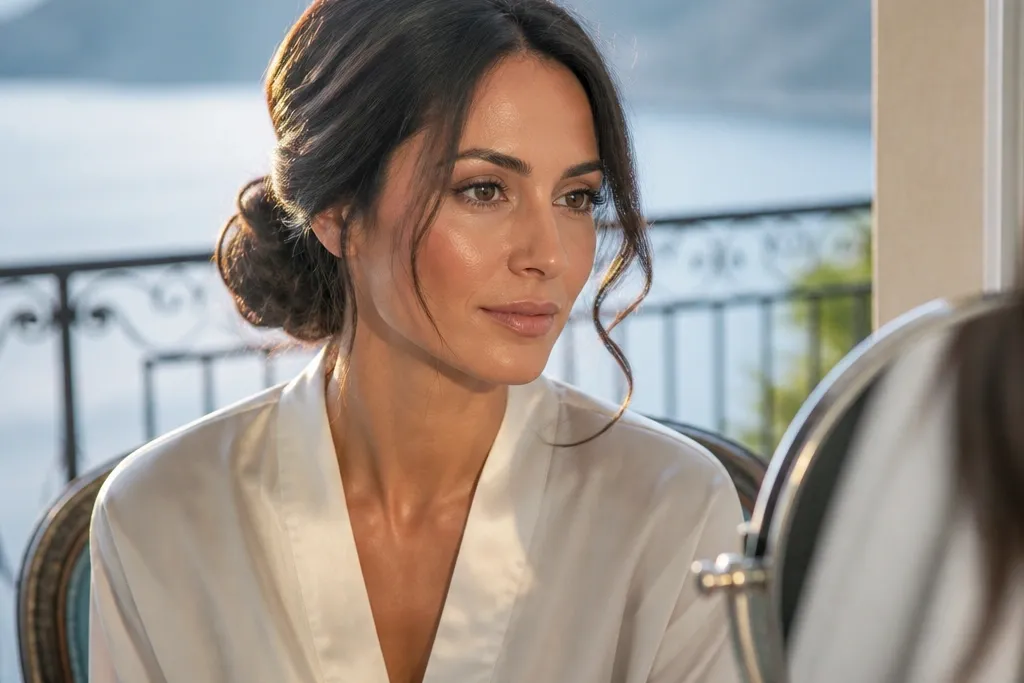
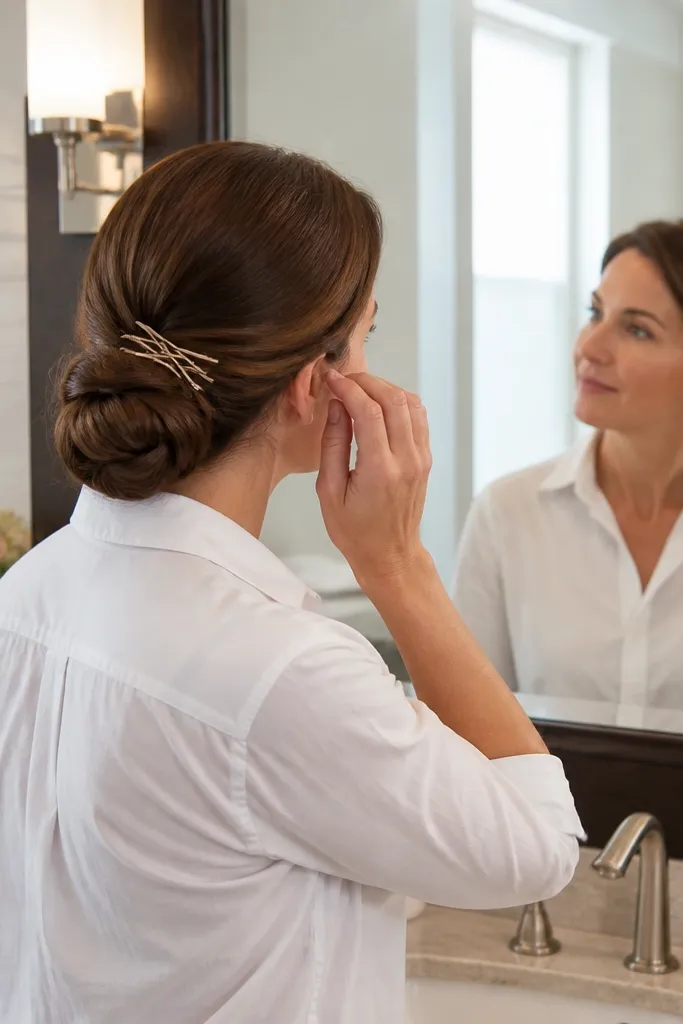
1. Sleek Low Side Bun with Hidden Crown Pin
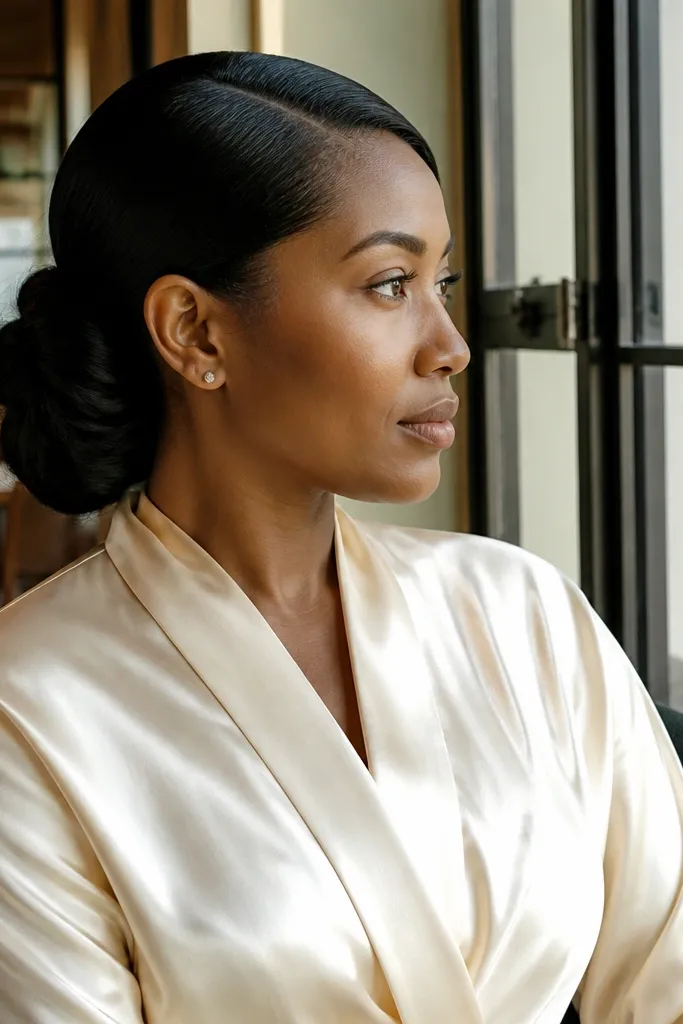
This is the cleanest “bridal but not fussy” option for a beginner-friendly low bun wedding hair tutorial. The bun sits low and slightly behind the ear, so your face looks lifted without adding bulk at the top. The crown stays smooth because the bulk of hair is pulled into one flat base, then pinned so the last pin disappears under the wrap. It works especially well with strapless necklines, off-the-shoulder dresses, and veils that clip at the crown since the top stays calm and uncluttered.
Start by parting slightly off-center and brushing all hair into a low side ponytail at the nape. Twist the ponytail into a tight rope, then coil it into a bun and pin the coil to the base in a cross pattern. Finally, smooth the sides with a small amount of gel or cream on a boar-bristle brush, then place the last bobby pin so it hides under the bun wrap. If you want extra security, add one bobby pin through the bun and into the elastic base area.
Quick tipSpray hairspray onto a brush and run it over the sides so you don’t get sticky dots that show under photos.
Skip thisSkip teasing the crown on fine hair — it creates bumps that look obvious under veil clips.
2. Low Side Bun with Soft Messy Wrap (Polished Loose Ends)
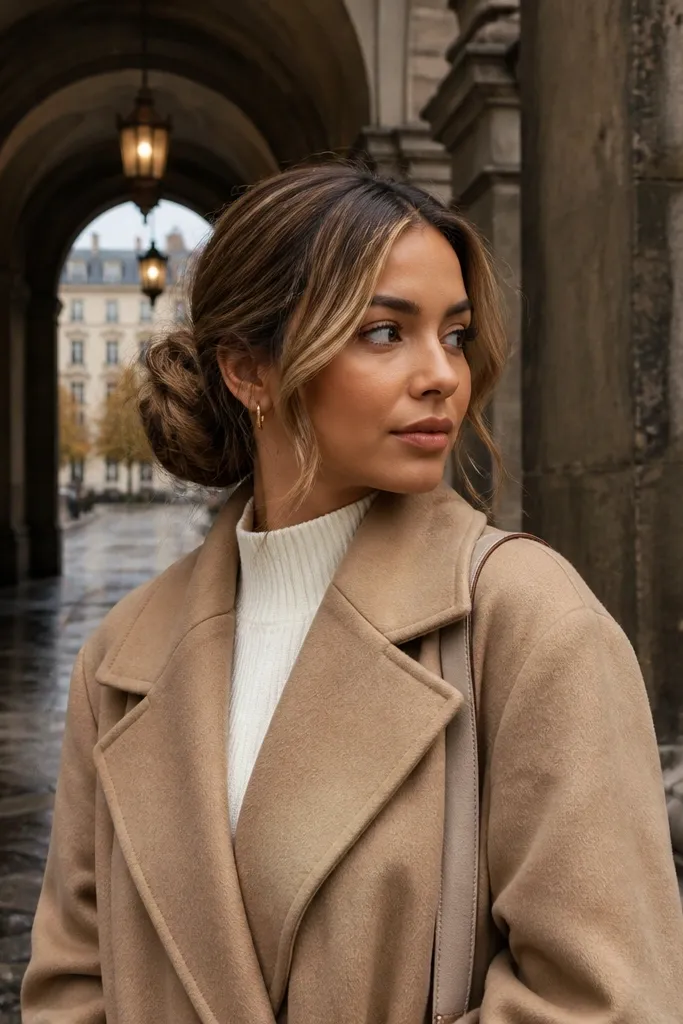
If you want something photogenic without needing perfect tension, this is the one. The bun is still low and controlled, but the wrap has a slightly undone look that reads romantic in movement. Loose strands near the hairline create a natural frame, so you don’t need heavy accessories to look “done.” This style is great for outdoor ceremonies, summer light, and anyone who hates the stiff look of a fully slick bun.
Start with dry hair and add a small amount of texturizing cream to the lengths, then gather into a low side ponytail. Twist loosely, coil into a bun, and pin with the first pins around the outer edge so the center stays airy. Leave two thin sections out at the front, then tuck them into the bun with one pin each so they look intentional. Finish by softening the front with fingers, not a comb.
Use two different pin sizes: larger pins for the bun base, smaller ones for securing the front pieces.
Don’t leave random flyaways loose across the crown — they photograph like gray fuzz even if they feel subtle in person.
3. Braided Low Side Bun with One Thick French Braid Base
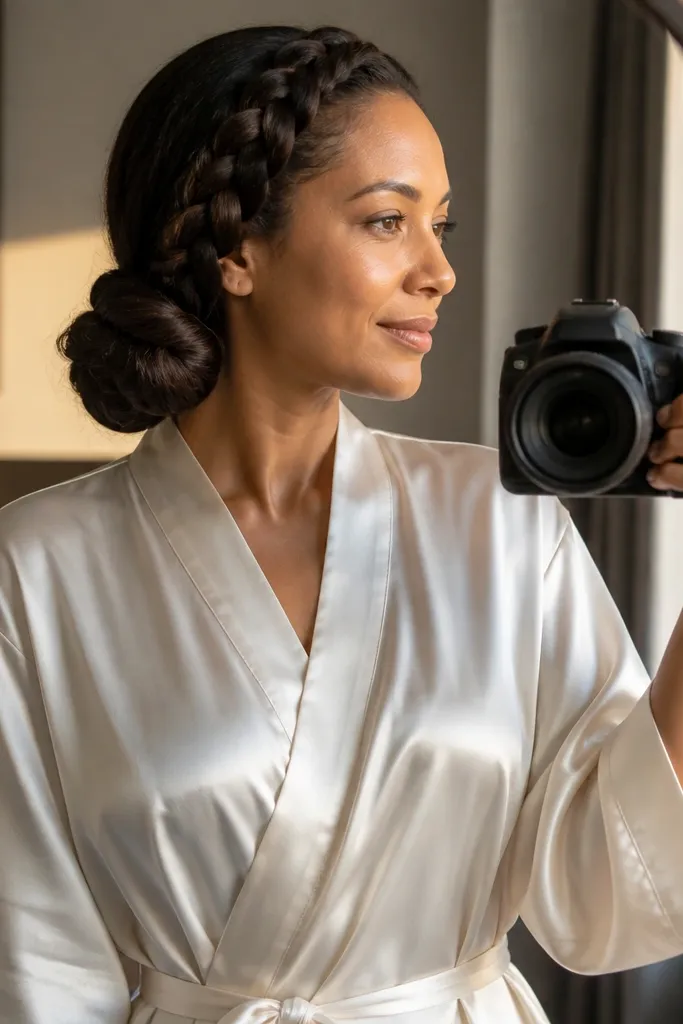
This look is beginner-friendly because the braid gives you a built-in structure, especially when your hair is slippery or layered. One thick French braid on the side creates a strong, even foundation that keeps the bun from shifting. It also hides ends neatly, so short layers don’t become a problem. It pairs beautifully with vintage-inspired dresses, lace sleeves, and veils that need a secure comb placement.
Start by creating a deep side part and French braid from the front hairline down to the nape, keeping tension firm but not painful. When you reach the low side, coil the braid into a bun and pin along the braid’s thickness so you’re not chasing thin strands. Tuck the braid tail under and pin it flat, then gently loosen the braid for volume. Finish with a light mist and press the bun shape with your palms so it holds a clean oval.
Quick tipIf your braid keeps shrinking, braid slightly looser than you think and tighten only at the last 2 inches.
Skip thisSkip extremely tight braids — they can pull and create a lumpy bun outline after a few hours.
4. Twisted Low Side Bun with Figure-8 Pinning Pattern

This style is for the person who wants a neat bun but struggles with it popping open during photos and dancing. The twist creates a strong rope you can coil evenly, and the figure-8 pinning pattern locks both sides of the bun. The result looks smooth and intentional without needing heavy product. It’s a great match for classic, structured dresses and for people wearing a veil with a strong comb that needs a stable base.
Start by twisting a low side ponytail into a rope twist, then coil it into a bun. Insert the first bobby pin horizontally through the bun base, then place the next pin in a diagonal that crosses the first like a “8.” Repeat around the bun so pins overlap the same few anchor points. Finish by smoothing the hairline with a damp brush and setting with hairspray on the brush.
Quick tipUse pins in pairs across the same anchor point — that’s what stops the bun from rotating.
Skip thisDon’t rely on elastic alone; remove the elastic only after the first ring of pins is in.
5. Low Side Bun with Halo Braid Around the Base
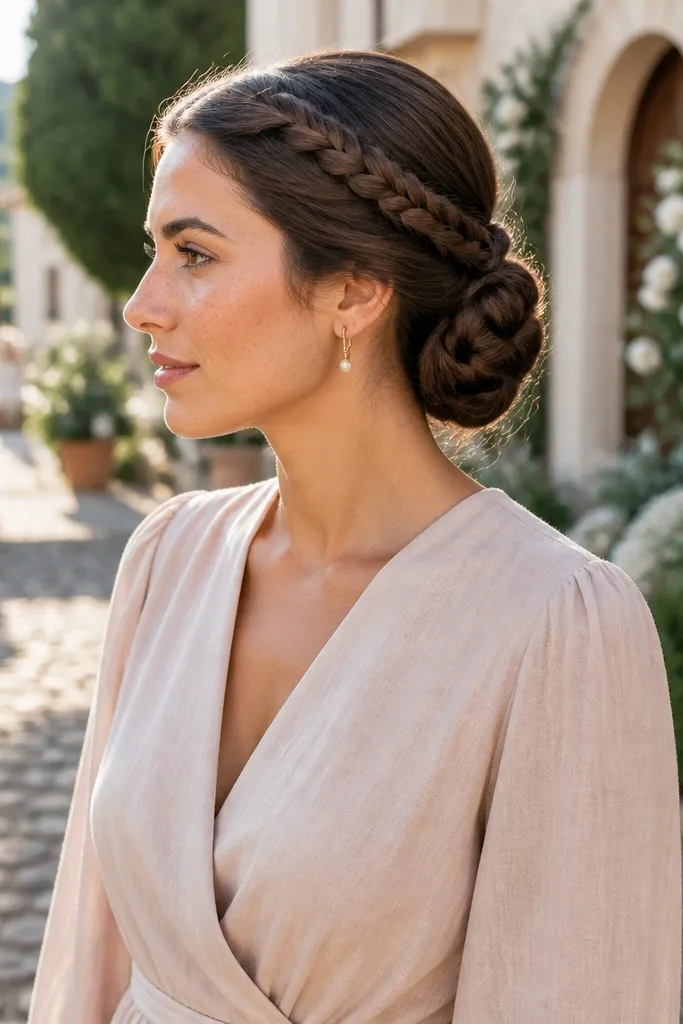
This gives “bridal detail” without adding height. A thin halo braid wraps the bun base like a crown, which makes the style look expensive in photos. It also helps with beginner-friendly low bun wedding hair tutorial goals because it disguises the exact pin locations and catches stray ends. This is especially flattering if you want your hair to look delicate and clean while still having texture.
Start with a low side ponytail and create a smooth bun with a twist or wrap. Take a small section from the outer side near the bun and braid it into a thin three-strand braid. Wrap that braid around the base, pinning it at the back and front of the bun so it sits flat. Finally, press the braid lightly with your fingers to keep it from twisting.
Quick tipBraid with consistent tension and finish with a tiny elastic so the braid doesn’t loosen during the ceremony.
Skip thisSkip thick braids — they can make the bun look heavy and block your veil comb teeth.
6. Satin-Smooth Low Side Bun with Side Sweep Bang Pin
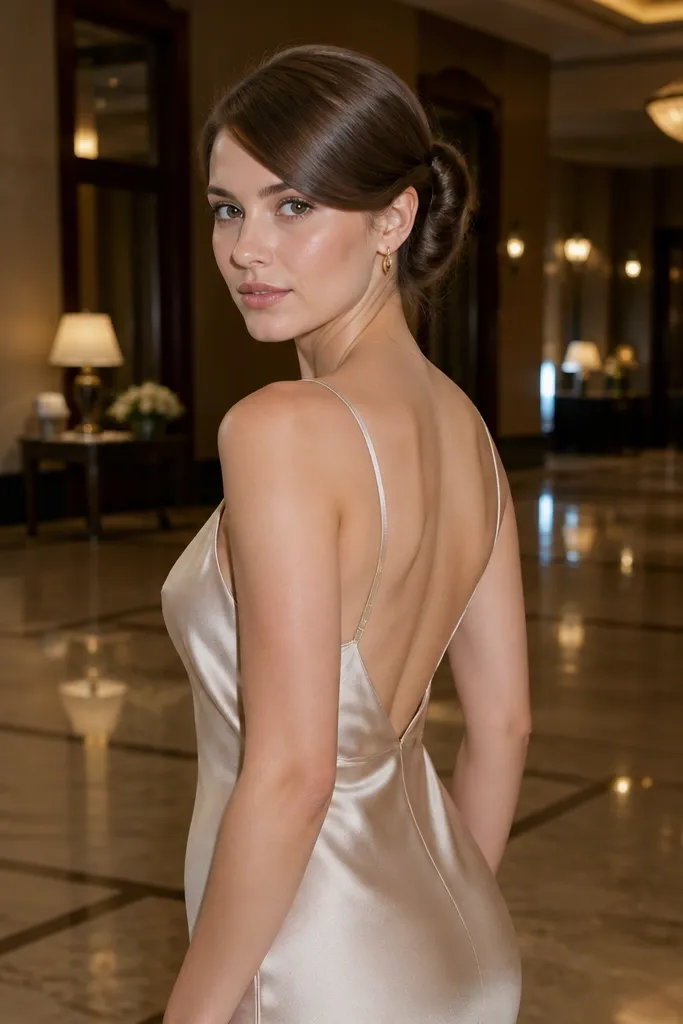
If you’re bringing a veil or want a very polished look, this style keeps everything glossy and controlled. You get a smooth bun and a single side sweep piece that softens the face without turning into wispy chaos. The key is pinning the side sweep so it sits like a clean frame, not like a loose strand. This works well for medium-length hair that can still hold a sleek base, and it’s flattering for oval, heart, and round faces.
Start with fully dry hair and brush it into a low side ponytail, keeping the top smooth with a little shine cream. Create a bun by wrapping the ponytail around the base and pinning close to the elastic. Take the front side sweep section, smooth it flat, then pin it diagonally into the bun so it disappears. Finish with a light mist and use a soft bristle brush to keep the shine even.
Use a shine product sparingly — too much looks greasy under flash.
Don’t pin the side sweep too high; it will look like a helmet bump instead of a face frame.
7. Low Side Bun with Bubble Wrap Detail
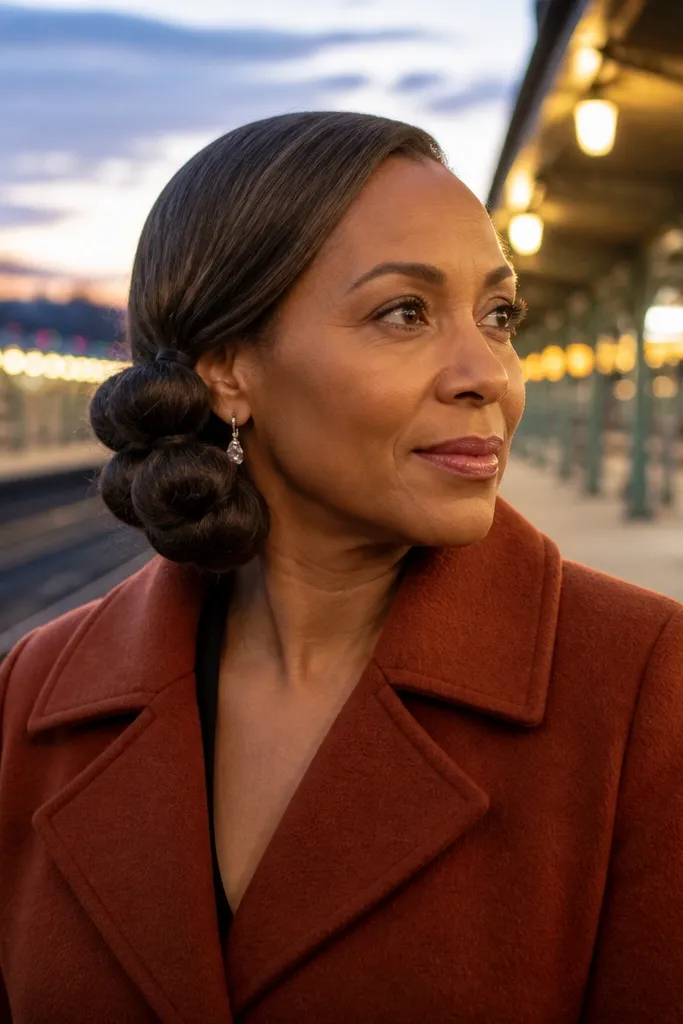
This is the “creative but still wearable” option for people who want something different from a standard bun. Bubble wrap creates visible rounded segments that catch light and look great in wedding photos, especially with natural movement. It also helps beginners because each segment gives you a clear place to pin, so you don’t lose your structure. It suits boho dresses, chiffon skirts, and anyone who wants texture without going fully messy.
Start by gathering hair into a low side ponytail and divide it into 3-4 sections. Wrap each section around the base to form rounded loops, then pin each loop in place before moving to the next. Keep the loop size consistent by using your fingers as a guide. Finish by gently tugging the front loop area to create a soft bubble effect and set with hairspray lightly.
Make the first loop tight — it controls the whole shape.
Skip uneven loop sizes; the bun will look lopsided even if it feels “natural.”
8. Textured Low Side Bun with Finger-Coiled Crown
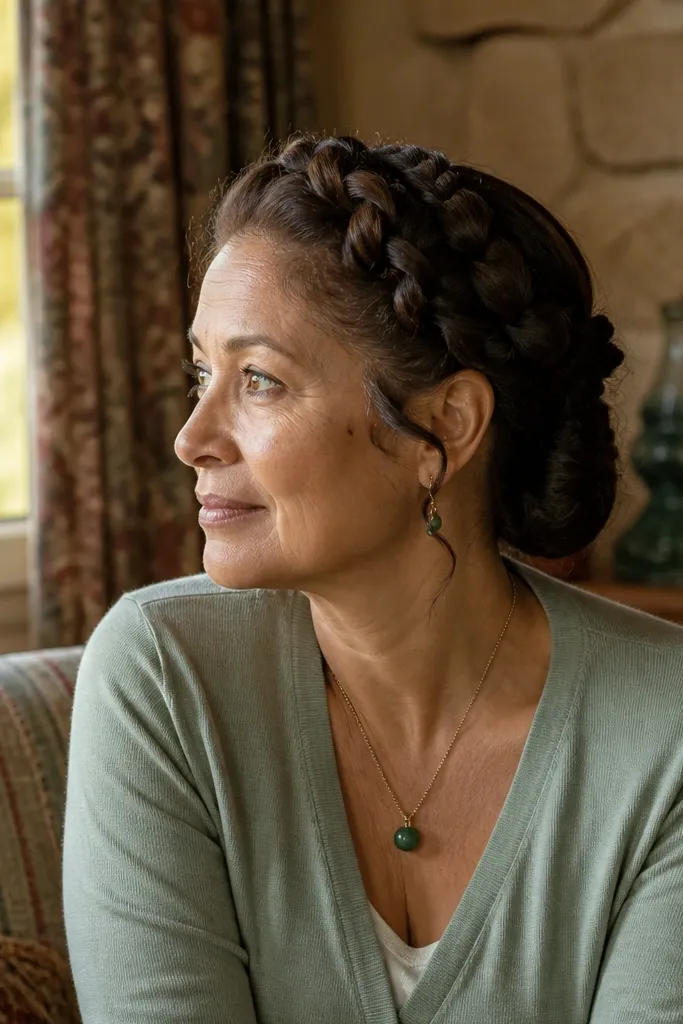
This style is built for wedding hair that needs volume without looking teased. Finger-coiling gives you soft texture at the crown while keeping the bun low and stable. The look is photogenic because the coils create shadows that show up beautifully on camera, even in indirect light. It’s a strong choice for fine hair that can’t hold a slick bun and for anyone with waves who wants a natural bridal finish.
Start by applying mousse or volumizing cream to damp roots, then fully dry with your head slightly forward for lift. Create a low side ponytail, then take small sections and finger-coil them as you wrap around the bun base. Pin each coil as you go, focusing pins on the base and outer edge. Finish by smoothing the sides lightly while keeping the coils visible at the top of the bun.
Use a matte texturizing spray on the coils so they don’t look shiny and flat.
Don’t over-smooth the top; finger-coil texture should stay visible.
9. Low Side Bun with Twisted Milkmaid-Inspired Wrap
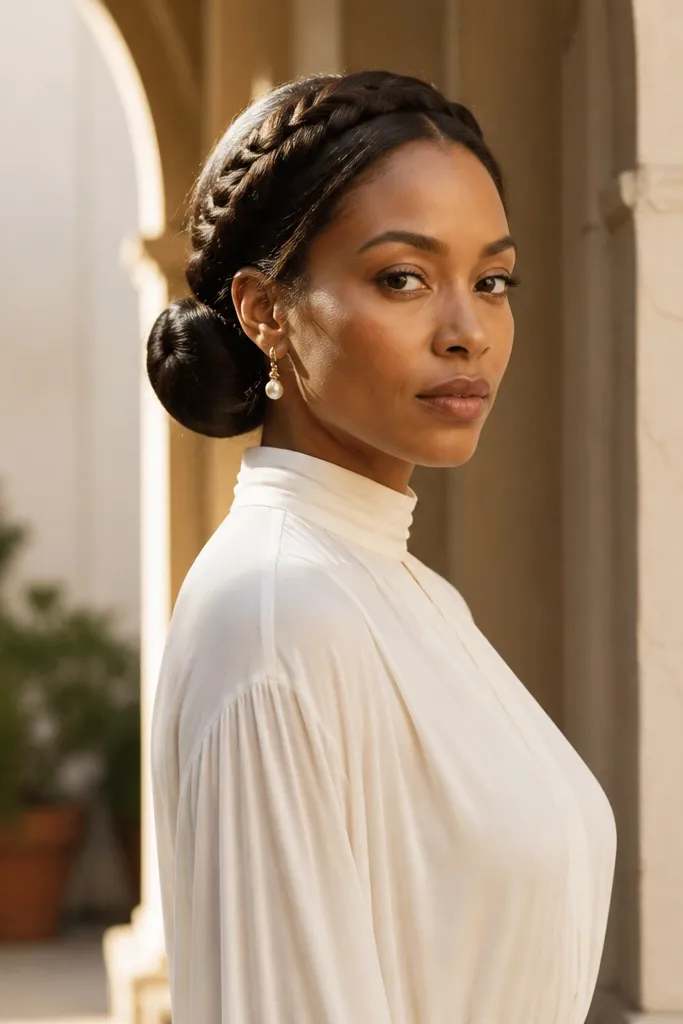
This style gives you that braided headband look without needing a full braid around your head. A twisted wrap crosses over the bun base and creates a bridal halo effect that looks intentional in photos. It’s beginner-friendly because the wrap hides the exact seam where you join hair sections. This is a great fit for shoulder-length hair that can be gathered into a low ponytail with a little help from pins.
Start with a low side ponytail and coil into a bun, pinning the base well. Take a front section and twist it tightly, then wrap it across the top of the bun to the opposite side. Pin the twist down along the bun edge so it stays flat and doesn’t spring up. Repeat with a second smaller twist if you want more coverage, then set with hairspray.
Quick tipPin twists down at two points: one near the crossing and one near the end.
Skip thisSkip loose twists — they unravel and look messy instead of romantic.
10. Low Side Bun with Two Small Front Braids into the Bun
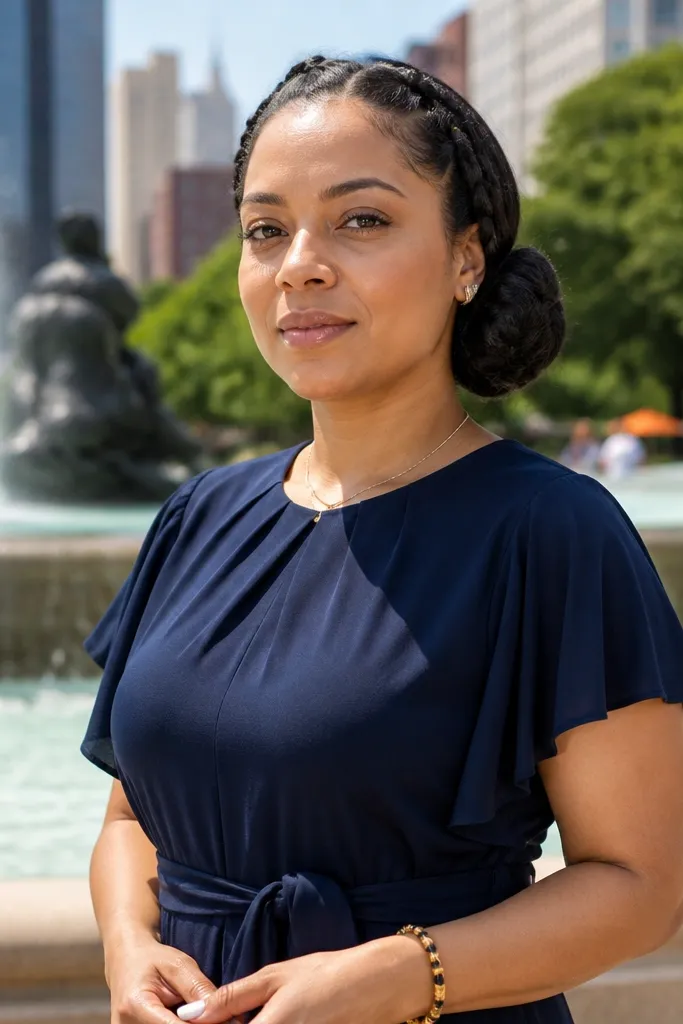
Two small front braids make this look “crafted” even if the bun itself is simple. The braids act like anchors for short pieces near your face, so you don’t end up with random flyaways sticking out. This is a beginner-friendly low bun wedding hair tutorial option because the braids give you a clear path to where to pin and tuck. It also works well with earrings because your face stays framed.
Start with a low side ponytail and create a smooth bun with a twist or wrap. Take two small sections from the front near the part and braid each into a short three-strand braid. Tuck each braid into the side of the bun and pin so the braid ends disappear under the wrap. Finish by brushing the rest of the side hair smooth and lightly misting.
Use tiny elastics on the mini braids so they don’t loosen before you pin them.
Don’t braid too far down — short braids look more bridal and require fewer pins.
11. Low Side Bun with Bow-Style Wrap Using a Hair Donut
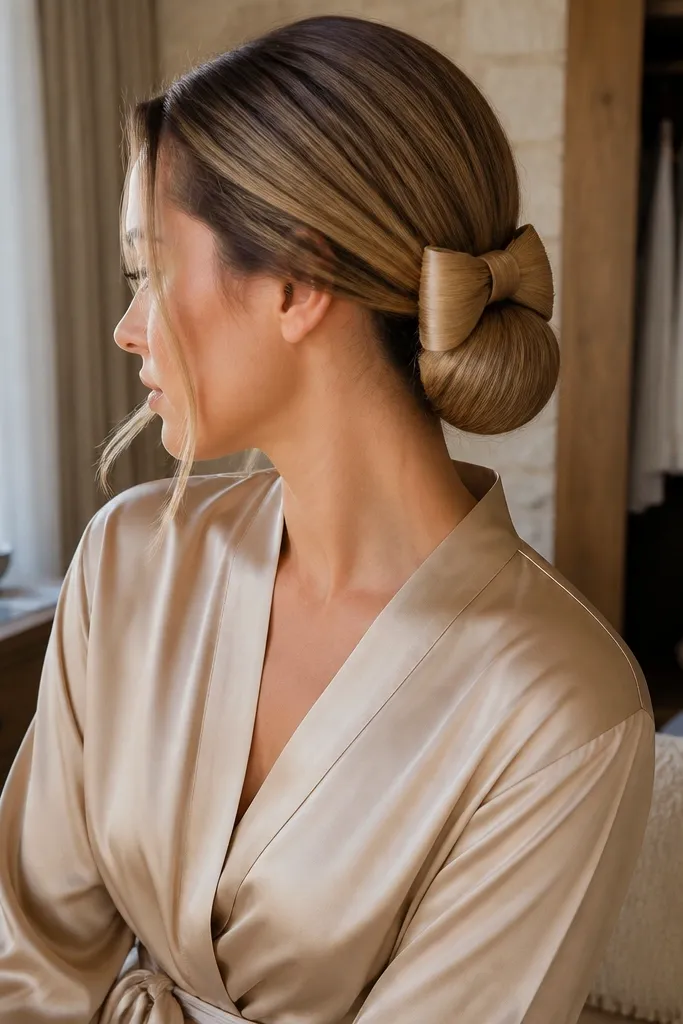
This look is for a clean, fashion-forward bridal vibe. A donut base creates a rounded shape quickly, which is ideal if you’re new to bun building or your hair is thin. The “bow” effect comes from wrapping two sections to create a higher, fuller front while keeping the bun low on the side. It photographs extremely well because the silhouette is consistent, even if your hair isn’t perfectly long.
Start by placing a low side ponytail, then slide a hair donut over it and pull hair through to cover it. Secure with pins around the donut, then wrap two front sections around the bun to create the bow-like front loops. Pin the loops down and smooth the top with a brush and a small amount of styling cream. Finally, tuck any remaining ends under the donut and mist lightly.
Quick tipMatch the donut color to your hair, not your extensions, so the seam disappears.
Skip thisSkip skipping coverage — any donut edge showing reads instantly in flash photos.
12. Low Side Bun with Flower Pin Placement (Veil-Friendly)
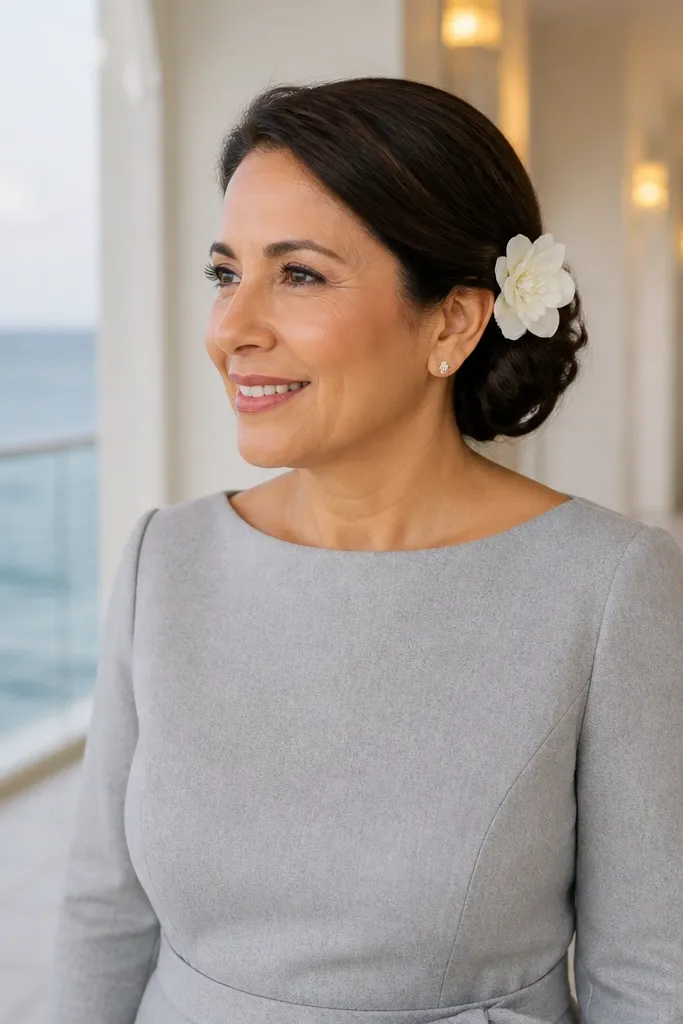
Accessories can make a low bun look expensive, but placement matters. This style is built around one flower pin placed on the side seam where your bun meets your hairline, which makes it look intentional rather than random. It’s beginner-friendly because you don’t need to create multiple decorative elements — one focal point is enough. This works beautifully for classic gowns, garden weddings, and anyone wearing a veil where you don’t want a heavy cluster at the crown.
Start with a simple low side bun using a twist and coil, then pin the base in a solid circle. Place the flower pin against the side seam and mark where the pin goes by holding it in place for a few seconds in a mirror. Insert the pin through the bun base and into the hair beneath so it grips, then add two small bobby pins around it for stability. Finish by smoothing the area around the flower with a brush lightly sprayed with hairspray.
Quick tipUse a pin that has a flat back, so it sits flush and doesn’t snag veil fabric.
Skip thisDon’t place the flower too high — it competes with veil clips and looks crowded.
13. Low Side Bun with Waterfall Twist at the Side
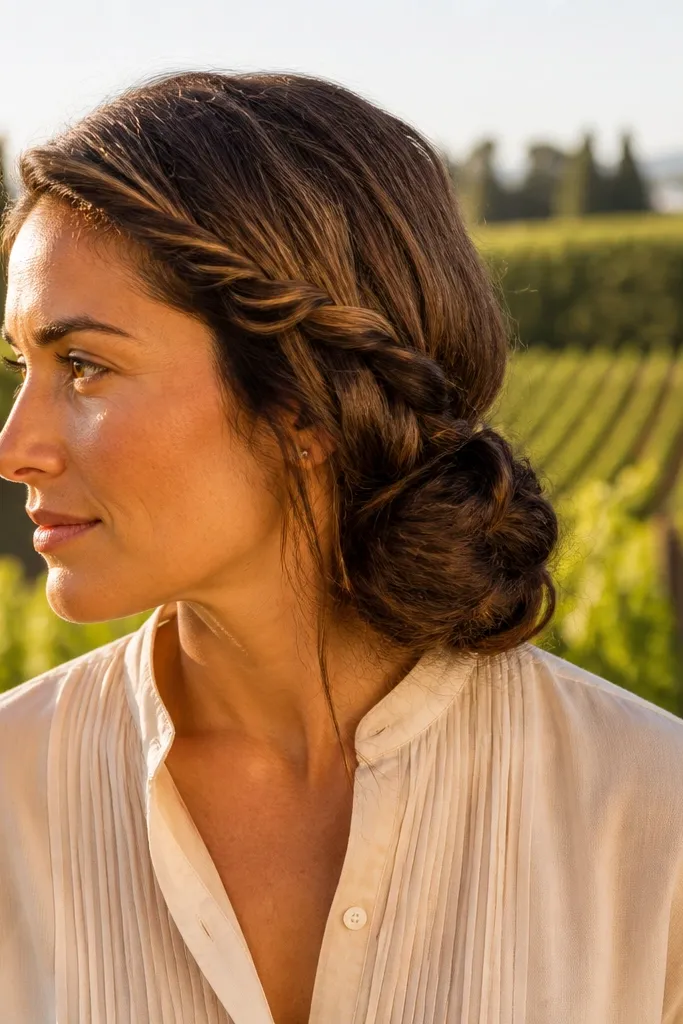
This gives you movement and detail without adding extra braids around your whole head. The waterfall twist creates “dropping” sections near the side part, then those pieces feed into the bun so the look stays cohesive. It’s photogenic because the twist creates layered shadows that show up in close-ups and movement. Choose this if your hair is medium to long, and you want a romantic, slightly modern bridal texture.
Start by parting and sectioning a narrow strip along the side where you want the waterfall to begin. Create a twist pattern by taking a small section, twisting it back, then releasing a thin strand to fall before incorporating it again lower. Continue twisting until you reach the low side ponytail area, then gather everything into the bun and pin the base securely. Finish by tugging the waterfall strands gently so they sit separated, not flat.
Keep the released strands thin — thick drops turn into bulky lumps under veil fabric.
Skip rushing the twist; uneven sections make the waterfall look messy instead of intentional.
14. Low Side Bun with Side-Swept Chignon Roll and Tuck
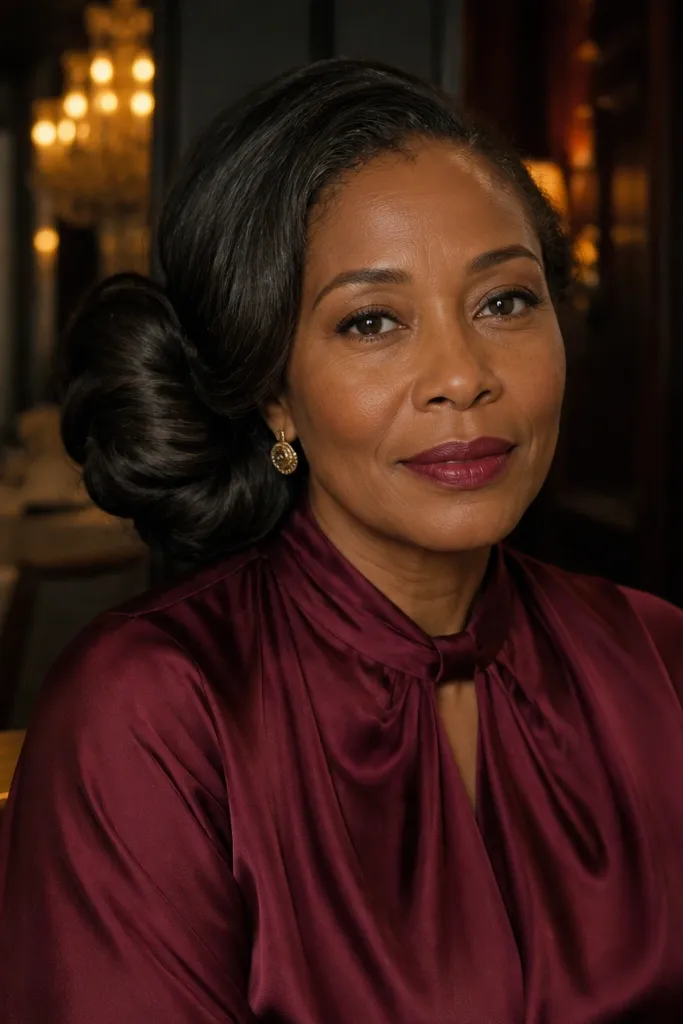
This is a classic chignon silhouette, but placed on the side so it looks more bridal and less “formal updo.” The roll is the star: a controlled, rolled section that gives shape and makes the bun look handcrafted. It works for most hair types because the tuck method hides uneven ends and keeps the silhouette smooth. It’s a strong pick for people who want a traditional look that still photographs modern.
Start by creating a low side ponytail and smoothing it into a clean base. Roll the ponytail into a chignon shape, then tuck the end under the bun where you can pin it flat. Pin from the inside edge first, then add pins from the outside edge so the bun can’t slip sideways. Finish by brushing the top section smooth and setting with a light mist.
Quick tipIf your ends are slippery, add one tiny piece of hairspray to your fingers before tucking them under.
Skip thisDon’t let the roll get too wide — a wide roll makes the bun look flat instead of lifted.
15. Low Side Bun with Micro Braid Nape Crown (Ultra Secure)
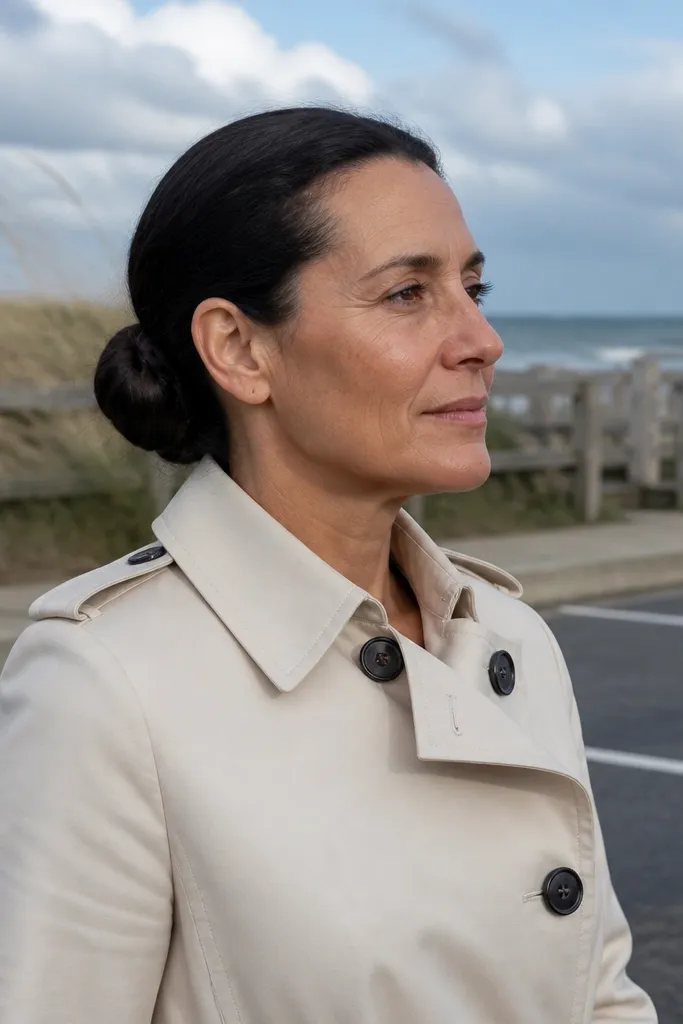
This style is for real staying power. A micro braid at the nape creates a grip point so your bun doesn’t slide, even if you have thick hair or you’re wearing a heavier veil. It also looks detailed in a way that doesn’t require a full braid all over. For a beginner-friendly low bun wedding hair tutorial, this works because you only braid a small section — the rest is a simple bun.
Start by gathering hair into a low side ponytail, leaving a small strip at the nape. Braid that strip into a micro three-strand braid, then wrap the braid around the base area and pin it down so it locks the bun. Coil the rest of the ponytail into a bun and pin around the secured base. Finish by smoothing the sides and lightly misting the nape area where the braid sits.
Quick tipPin the micro braid first, then build the bun — it’s easier to hide pins when the base is already anchored.
Skip thisSkip skipping the micro braid if your hair is very slippery; the bun will rotate without that extra grip.