1. Upper-Nape Sleek Low Bun with Micro Veil Grip
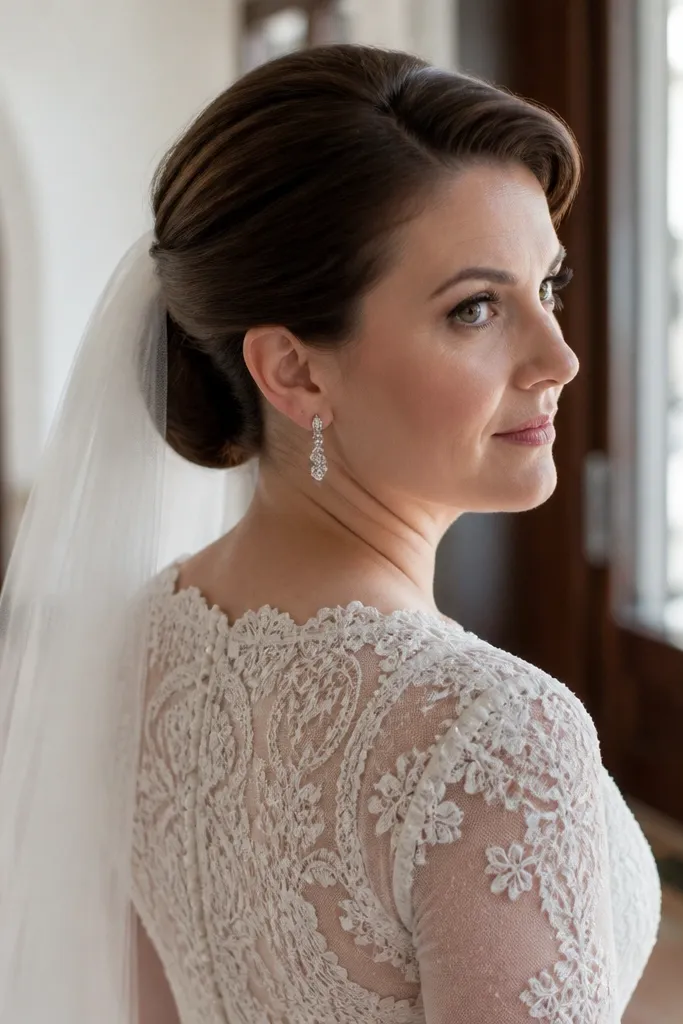
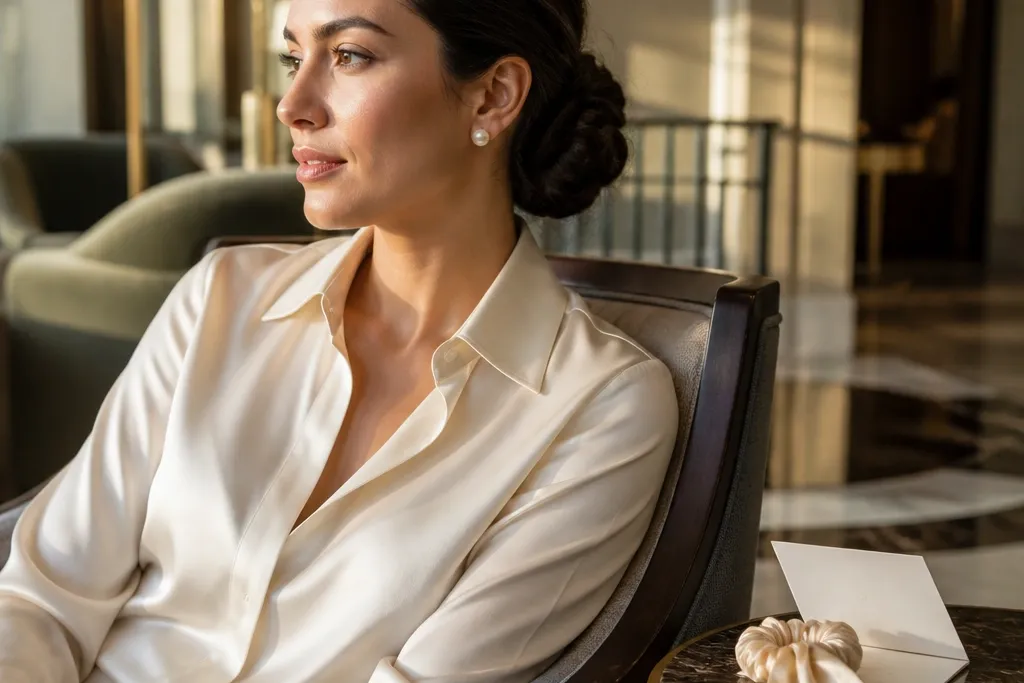
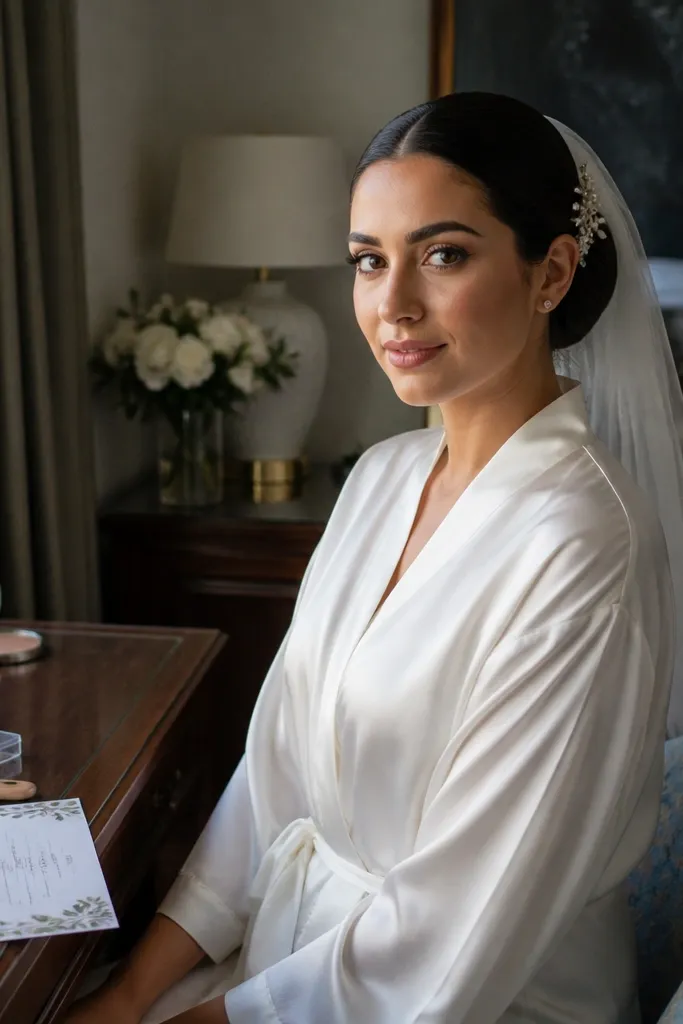
This is the clean, editorial low bun that still works on short hair when you control the perimeter. The trick is keeping the bun smooth while letting the front stay soft so the bun doesn’t look like a helmet. Place it at the upper nape so the veil sits over the bun seam instead of catching on loose ends. It’s a great pick for a weekend with a formal ceremony and a more polished reception look.
Step 1: Blow-dry short hair with a paddle brush, then mist roots lightly with a flexible hold spray and brush again. Step 2: Create a low section at the upper nape and use a small bun doughnut or mini pad under the base, then wrap hair around it with bobby pins angled upward. Step 3: Pin your veil to the bun base and the crown seam so the weight is anchored, not pulling at wisps.
Pack a travel bottle of alcohol-free smoothing spray for flyaways after you arrive.
Don’t skip the mini pad if your hair is too short to wrap fully — flat buns show gaps fast in flash photos.
2. Braided Crown Band Low Bun (Short Hair Friendly)
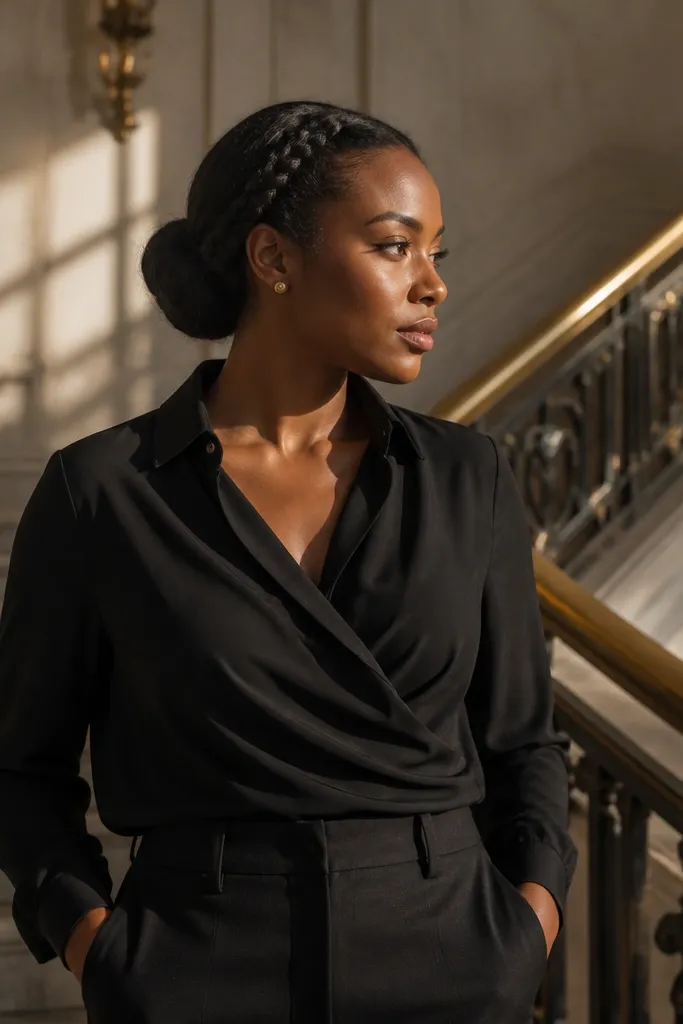
This style gives you the “done” look without relying on long lengths to wrap. The braid band holds the side sections in place, so short hair behaves and the bun stays neat through photos, dinner, and dancing. It frames the face and looks especially good with small earrings because the focus moves to your neckline. It’s a strong choice for a weekend itinerary when you’ll be moving around and don’t want to keep checking the mirror.
Step 1: Part your hair slightly off-center, then braid each side into a thin band that meets at the back of the head. Step 2: Secure the braid ends with pins, then gather the remaining hair into a low bun using a mini pad for volume. Step 3: Tuck any short ends under the bun and pin in a cross pattern so the braid seam stays smooth.
Use a braid gel or smoothing cream on the band so it looks glossy, not fuzzy.
Avoid making the braid too thick — it can overpower short hair and make the bun look smaller than it is.
3. Twisted Side-Swept Low Bun with One Statement Pin
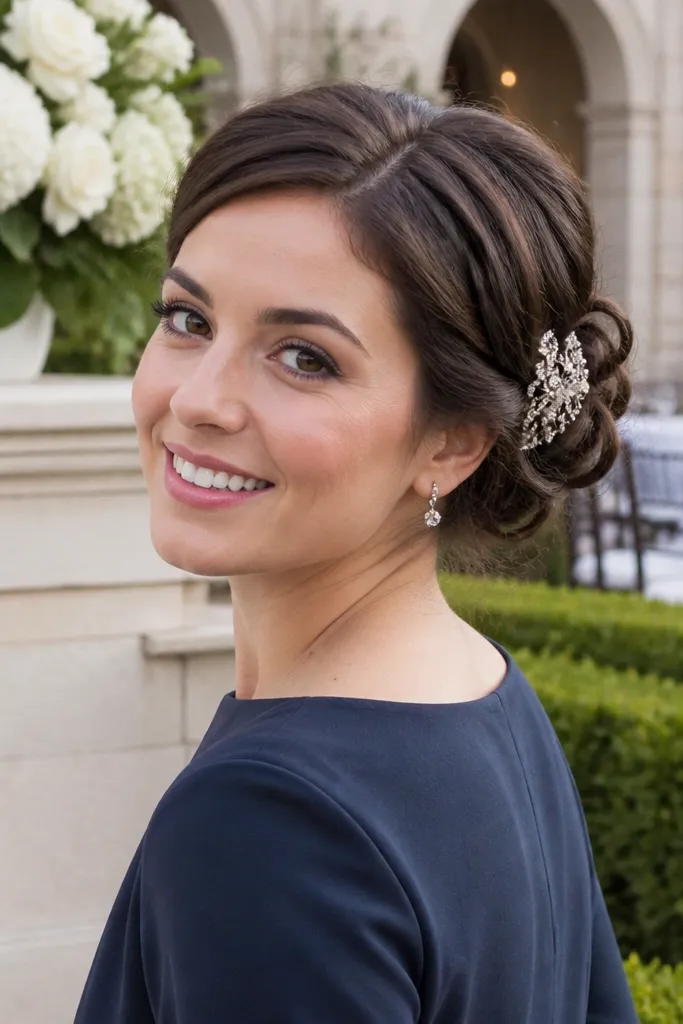
If you want something photogenic but low-maintenance, this twisted bun is your friend. The side twists anchor short pieces so you don’t see stray ends around the nape. One statement pin adds that wedding-level detail without needing heavy accessories everywhere. It photographs well from the front and the side, which matters when you’re doing family photos and then flipping to reception candids.
Step 1: Sweep your hair to one side and create two tight twists from the front corners toward the low nape. Step 2: Pin the twists down, then gather the rest into a low bun using a small bun form only if needed for fullness. Step 3: Add your statement pin horizontally through the bun seam, then secure with two bobby pins underneath.
Choose a pin with a flat back so it sits flush under veil or hair jewelry.
Don’t use a foam-heavy product — it can make twists look dull and separate from the bun.
4. Wrapped Low Bun with Hidden Clip-in Base
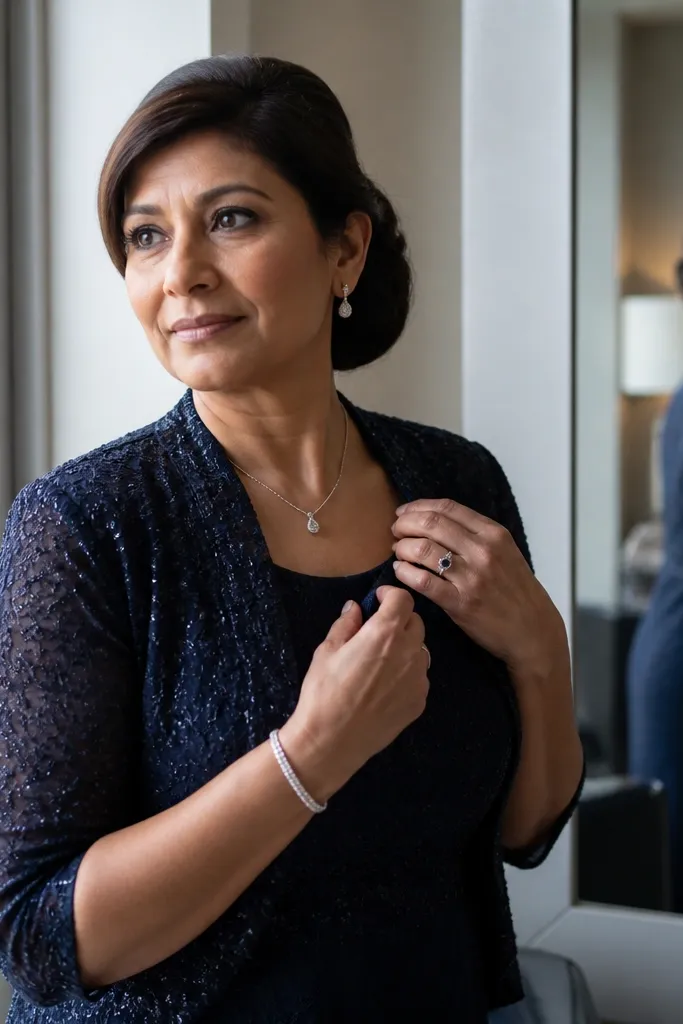
Short hair often needs a little structural help, and a hidden clip-in base keeps the bun looking full without obvious bulk. The wrapped top makes it look like your hair is long enough for the style, which is exactly what you want for wedding photos. It also holds up well on a weekend itinerary because the base stays put while your hair shifts. This is a smart pick if you hate the look of doughnuts peeking through.
Step 1: Part your hair and create a low gathering point at the nape, then clip in a mini base just under that point. Step 2: Wrap your short hair over the base, using pins to “staple” sections to the clip-in. Step 3: Finish with a light mist and smooth the top with a boar-bristle brush so it looks polished.
Quick tipMatch the clip-in shade to your roots, not your ends, so it disappears in flash.
Skip thisSkip the heavy hairspray — it can create a crunchy shell that lifts at the edges when you move.
5. Faux-Halo Low Bun with Soft Volume Crown
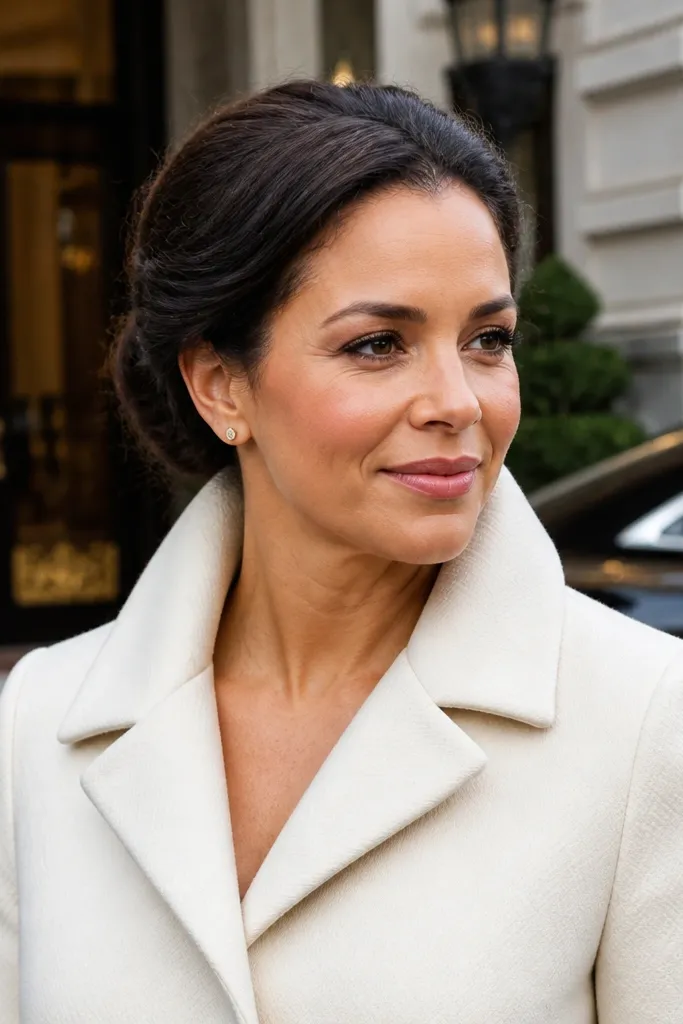
This one makes short hair feel longer. The halo wrap creates a continuous line from the sides to the bun, which reads romantic in both ceremony and reception lighting. It’s photogenic because the shape gives you a visible frame behind your head, even if your hair is cut above the shoulders. Great for a weekend when you want one hairstyle that looks good in morning light and night candlelight.
Step 1: Create a soft crown lift using a root-lift spray and quick backcombing at the crown only. Step 2: Gather hair into a low bun, then wrap a thin section around the bun perimeter like a halo and pin it down. Step 3: Tuck the ends under and use two pins at the nape plus one at the side to stop slipping.
Keep the halo wrap thin — a wider wrap can make short hair look bulky and squat.
Don’t over-backcomb the sides — it makes the halo edge look messy.
6. 3-Strand Rope Twist Low Bun (Tight and Clean)
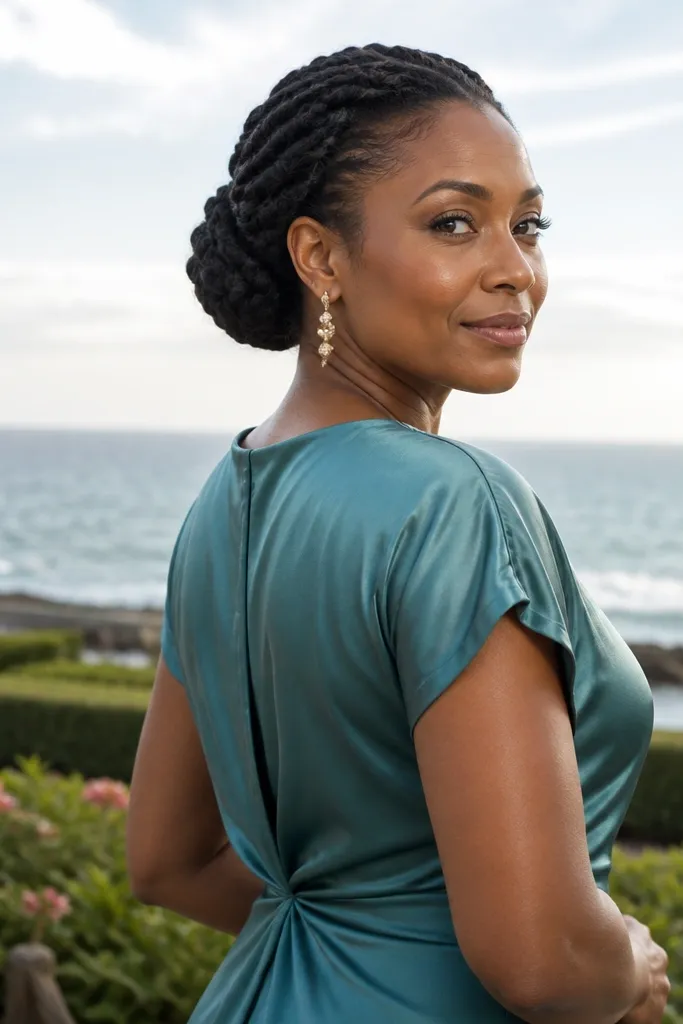
Rope twists look intricate, but they’re surprisingly practical for short hair because the strands are controlled as you twist. This style gives crisp definition and a smooth outline, which helps it survive wind and travel humidity. It’s a good match for modern dresses, and it photographs beautifully because the twist texture shows up in close-ups. Choose it if you want a low bun that looks intentional from every angle.
Step 1: Divide the top section into three small strands and start twisting into a rope-like direction toward the low nape. Step 2: Secure the twist base with pins, then gather the remaining hair into a bun and wrap around the twist anchor. Step 3: Pin the bun edges with angled bobby pins so the twist stays visible and doesn’t collapse.
Use a small amount of styling wax on the twist strands for sharper definition.
Avoid loose twists — they unravel in humid weather and your bun loses the rope shape.
7. Low Bun with French Braid Side Sweep
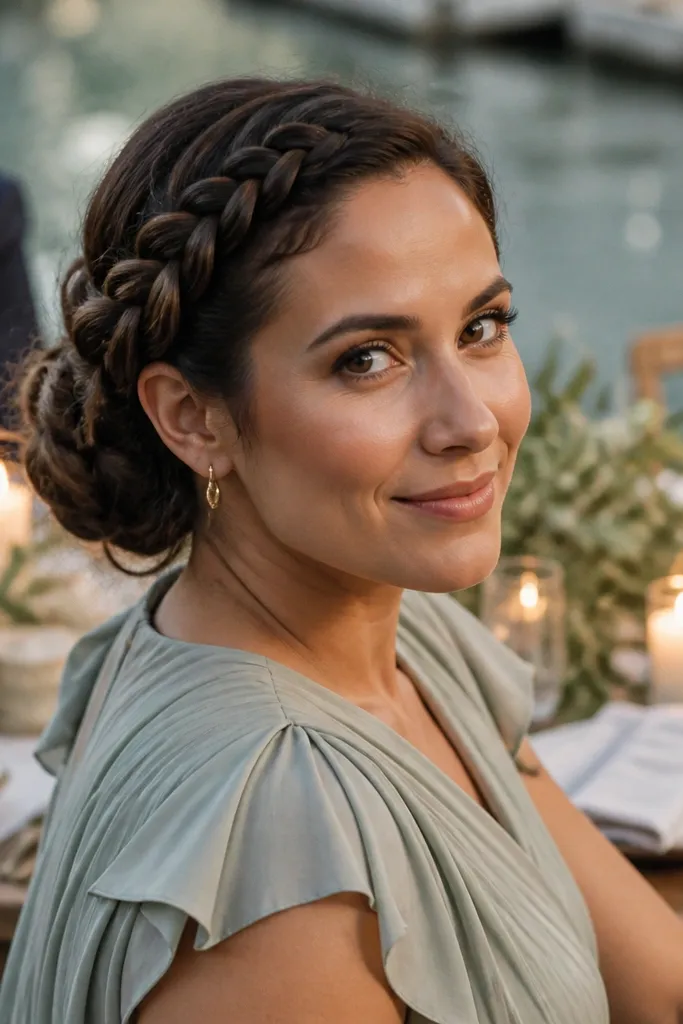
This look hides short fringe issues by turning them into a side sweep. The French braid pulls hair away from your face and locks it into place, so you don’t get that annoying “short pieces sticking out” problem. It’s also great if you’re wearing a statement neckline because the braid adds structure without adding bulk. It works well across a weekend itinerary because it holds through travel and still looks neat at night.
Step 1: Create a deep side part and start a French braid from the front, adding hair as you move toward the nape. Step 2: When the braid reaches your bun area, pin it down and gather the rest into a low bun with a small pad if needed. Step 3: Smooth the outer layer with a brush and pin any remaining ends under the bun.
Quick tipBraid with slightly tighter tension than you think — short hair needs extra hold to stay put.
Skip thisDon’t start the braid too high — it can pull the bun off-center in photos.
8. Messy-Polished Low Bun with Pin Curls
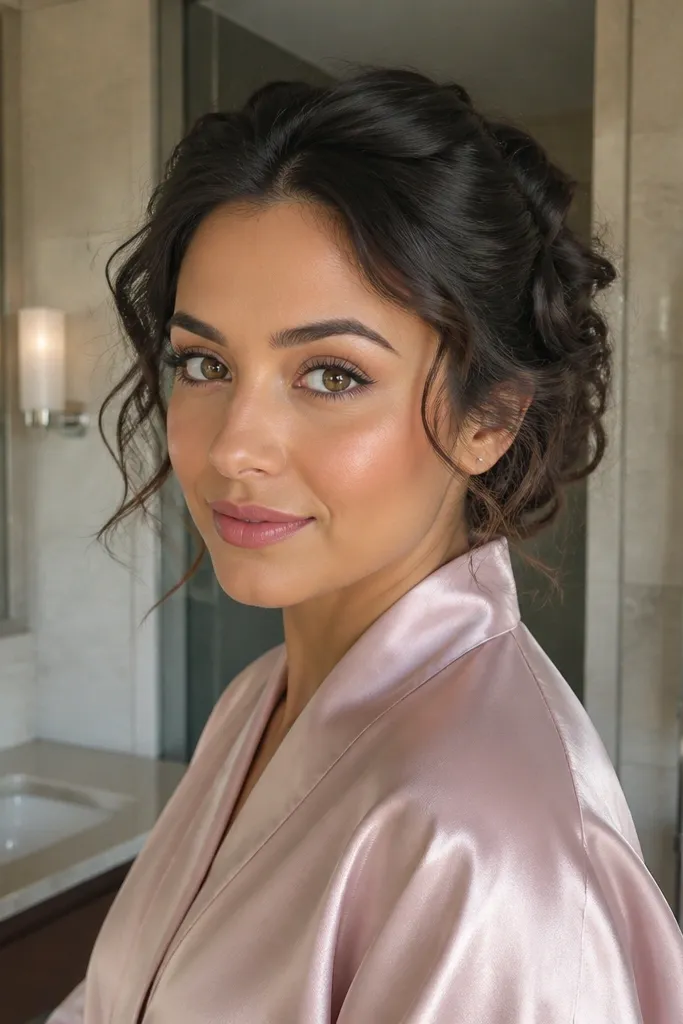
This is the “relaxed but wedding” low bun that still looks good in motion. Pin curls add texture at the sides and crown, which makes short hair blend into the bun instead of looking like separate pieces. It’s ideal if you want a romantic vibe but don’t want the sleek look to show every flyaway. It photographs best in softer lighting, like sunset photos and indoor reception warm bulbs.
Step 1: Create quick pin curls on the sides and crown using 1-inch sections, then let them set while you prep makeup and outfit. Step 2: Gather hair into a low bun, leaving a few curled strands around the face, and secure with pins. Step 3: Lightly loosen the bun texture by tugging at the crown once, then lock everything with a flexible hairspray.
Quick tipSet the pin curls for at least 20 minutes before pinning the bun.
Skip thisAvoid leaving pin curls too tight — they can look like helmet ridges under flash.
9. Sculpted Low Bun with Baby Hair Swirl at the Nape
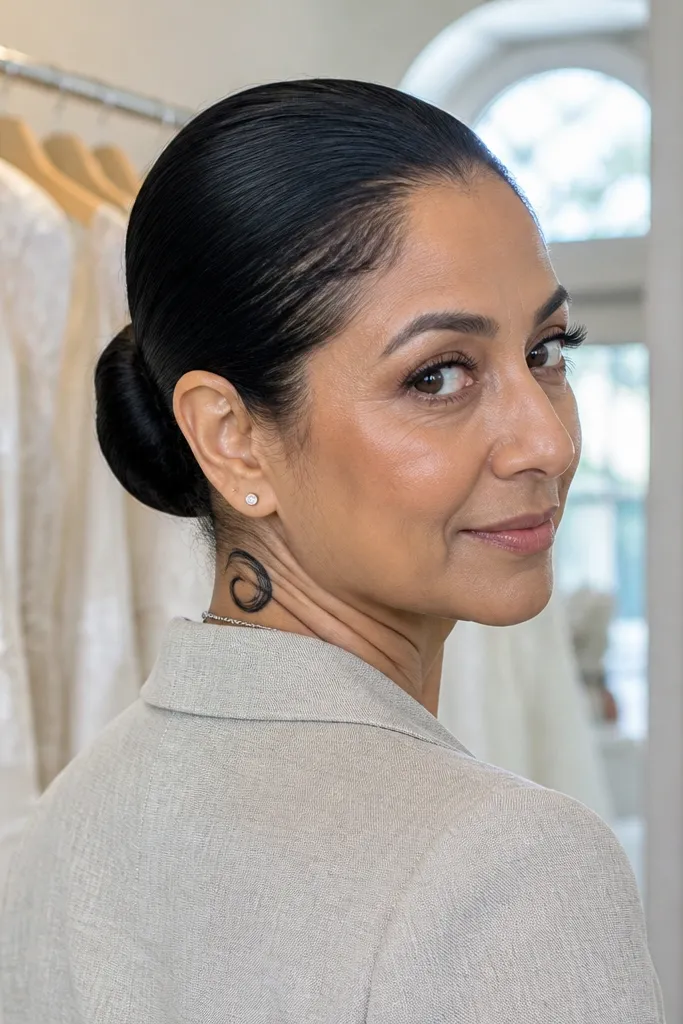
If you like a polished finish, this style gives you clean edges and a designed detail at the nape. The swirl makes the hairstyle look intentional even when short baby hairs are hard to tame. It also pairs well with strapless or halter necklines because the view from the front stays sleek. This is a strong choice for formal venues where you’ll be photographed close-up.
Step 1: Smooth your hair into a low bun at the upper nape, then use a small amount of gel on the shortest hairs to control them. Step 2: Create a single swirl at the nape using a fine-tooth comb, then pin the swirl in place until it sets. Step 3: Finish with a light mist over the bun only, not the swirl, so it stays glossy instead of wet-looking.
Quick tipUse a gel that dries flexible so the swirl doesn’t crack when you move.
Skip thisDon’t over-sheen the whole bun — the swirl should be the shine point, not the entire head.
10. Low Bun with Curved Pinned Waves Around the Crown
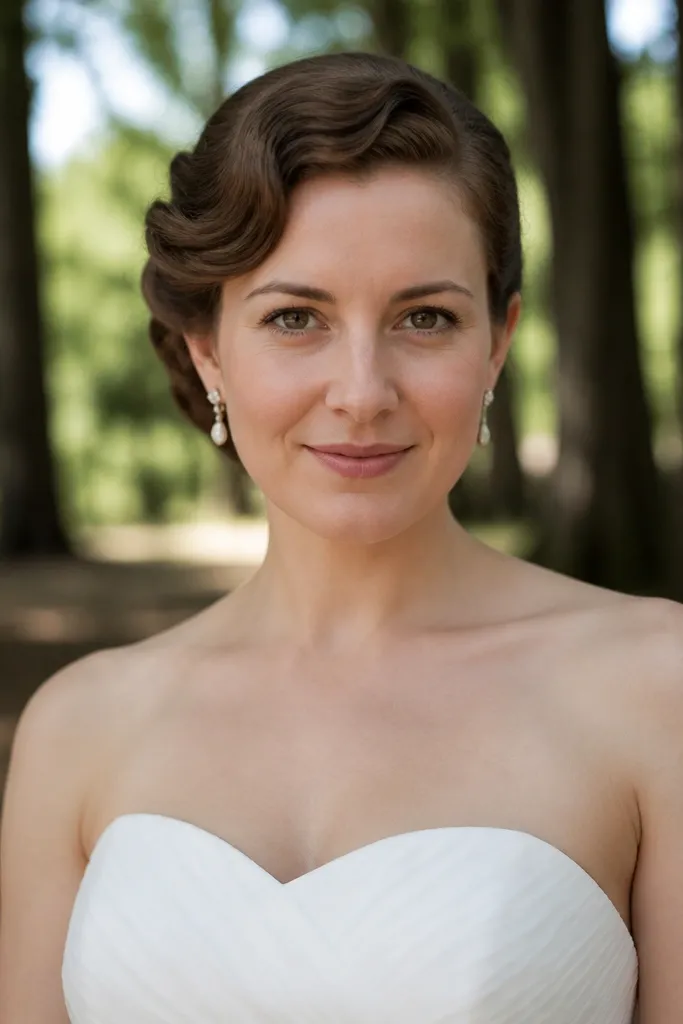
This hairstyle is designed for short hair that needs help looking styled, not just gathered. Curved pinned waves add a visible, decorative shape above the bun, which reads beautifully in ceremony portraits. The waves also help cover uneven layers that can show around the bun line. Choose it when you want a low bun that looks styled from the front, not just the back.
Step 1: Use a curling iron or hot rollers to create loose S-waves, then pin them in place at the crown while they cool. Step 2: Once set, gather into a low bun and pin under the wave structure so the waves stay lifted. Step 3: Remove pins and smooth the top lightly, then secure with two pins at the sides to prevent shifting.
Quick tipPin waves slightly higher than you think — they settle as you move and photos will look better.
Skip thisAvoid tight ringlets — they can clash with the sleek bun line and look too casual.
11. Half-Up Mini Crown to Low Bun
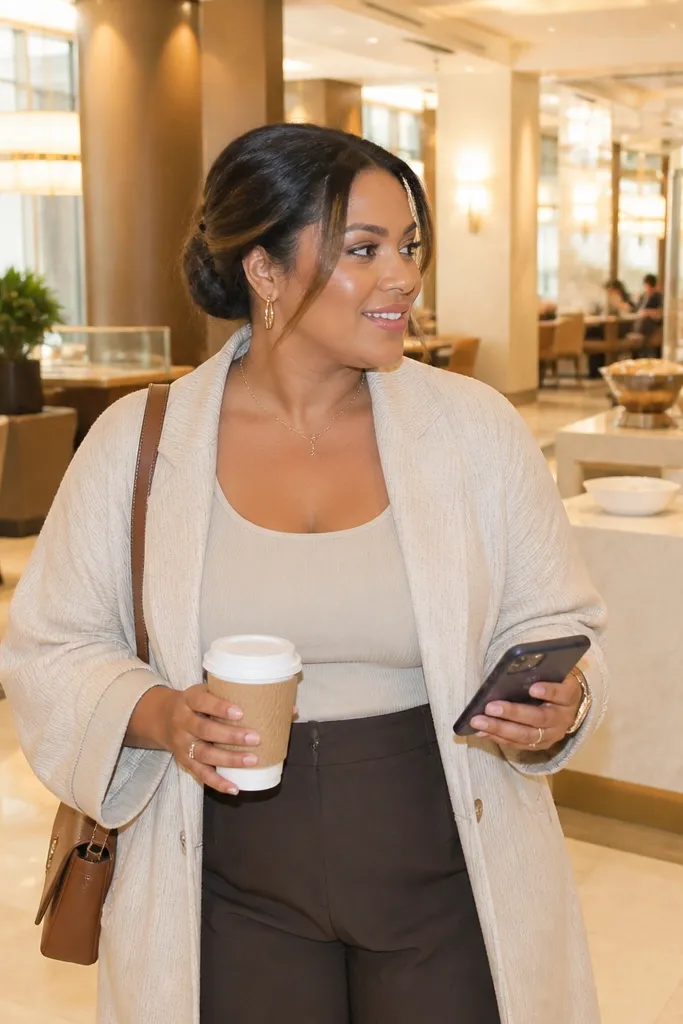
This style gives you height without committing to a big updo that short hair can’t support. The mini crown section creates lift and structure, while the low bun keeps it wedding-appropriate and comfortable for a weekend itinerary. It’s great if you want your face more open but still want that “hair is done” feeling. It also works well with small combs and pearl pins because the crown section is the focal point.
Step 1: Clip or pin the top half back, leaving the sides to frame your face, then tease only the crown section for lift. Step 2: Gather everything into a low bun and secure with pins, using a mini pad if your hair won’t cover the base. Step 3: Blend the mini crown into the bun line by smoothing the top and pinning any short edges down.
Keep the crown lift controlled — a little height reads bridal, too much makes short hair look top-heavy.
Don’t leave the crown section too flat — it kills the whole mini-up effect in photos.
12. Low Bun with Hidden Under-Braid Wrap
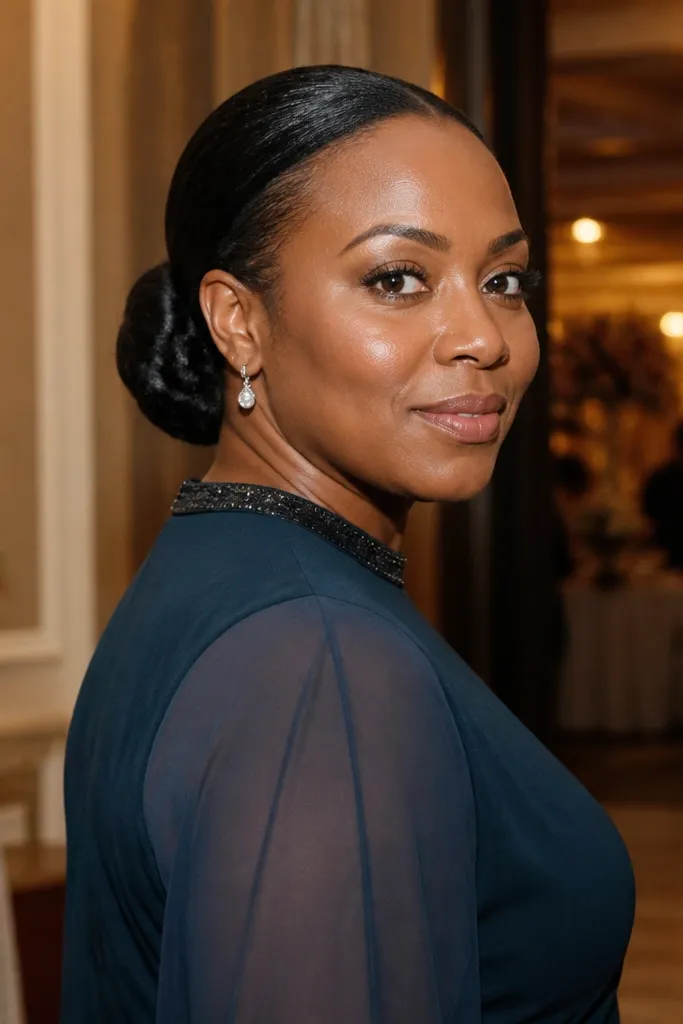
This is a clever look that looks simple from the top but has texture when you turn your head. The under-braid wrap anchors short pieces and hides them, so the bun line stays smooth even if your hair is layered. It’s photogenic because the braid texture shows at the seam when you move, like a surprise detail. Great for a weekend when you want something that looks intentional but doesn’t require constant touch-ups.
Step 1: Braid a thin section at the back of your head and pin it flat just under where the bun will sit. Step 2: Place your bun over the braid, then wrap and pin so the braid disappears into the bun mass. Step 3: Smooth the top with a brush and add two pins through the bun seam to lock the braid anchor in place.
Use a braid that matches your hair texture, not a super tight one — it blends better under the bun.
Avoid placing the braid too high — it can create a visible ridge under flash.
13. Low Bun with Side-Parted Twisted Fringe Pins
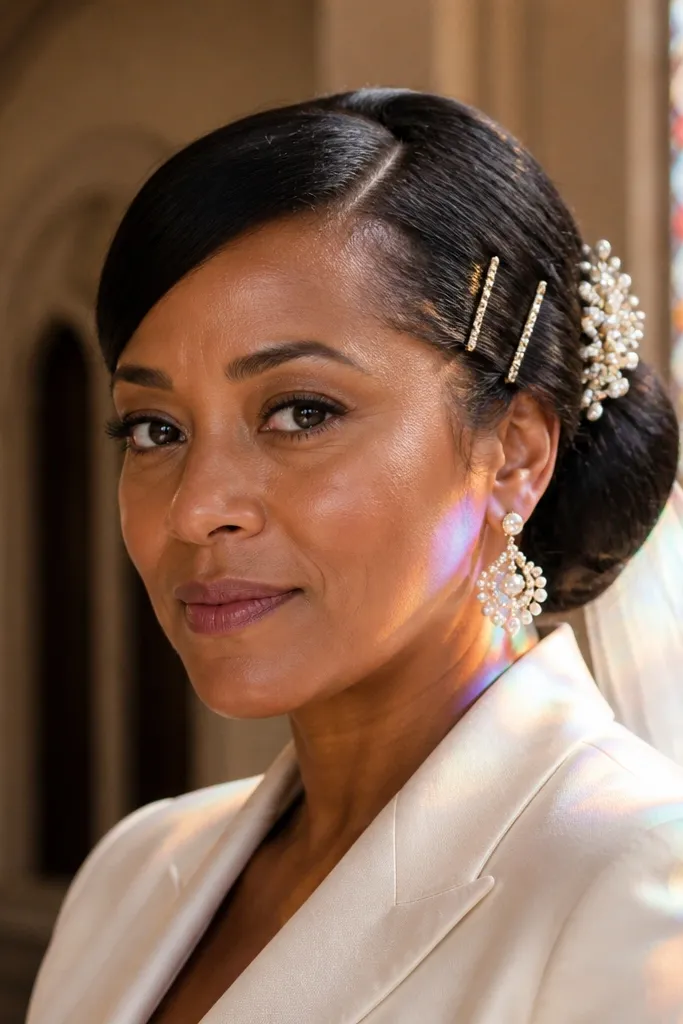
When your short hair won’t stay tucked, this style turns the fringe problem into a design. Twisted fringe pins keep front pieces secure without making the bun look overworked. It gives a clean side part that looks great with veil combs and statement earrings, and the pinned fringe adds structure for up-close ceremony photos. Pick this if you want a feminine look that still feels controlled.
Step 1: Create a sharp side part and twist small front sections backward, pinning them close to the temple. Step 2: Gather the rest into a low bun at the nape, using a mini pad if needed so the bun looks full. Step 3: Pin the ends under the bun and finish with a light mist to remove flyaways around the part.
Quick tipPin the twists slightly lower than your part line so they don’t lift when you smile.
Skip thisAvoid pinning twists too loosely — short fringe will spring out and show gaps.
14. Double-Twist Low Bun with Pearl Cluster
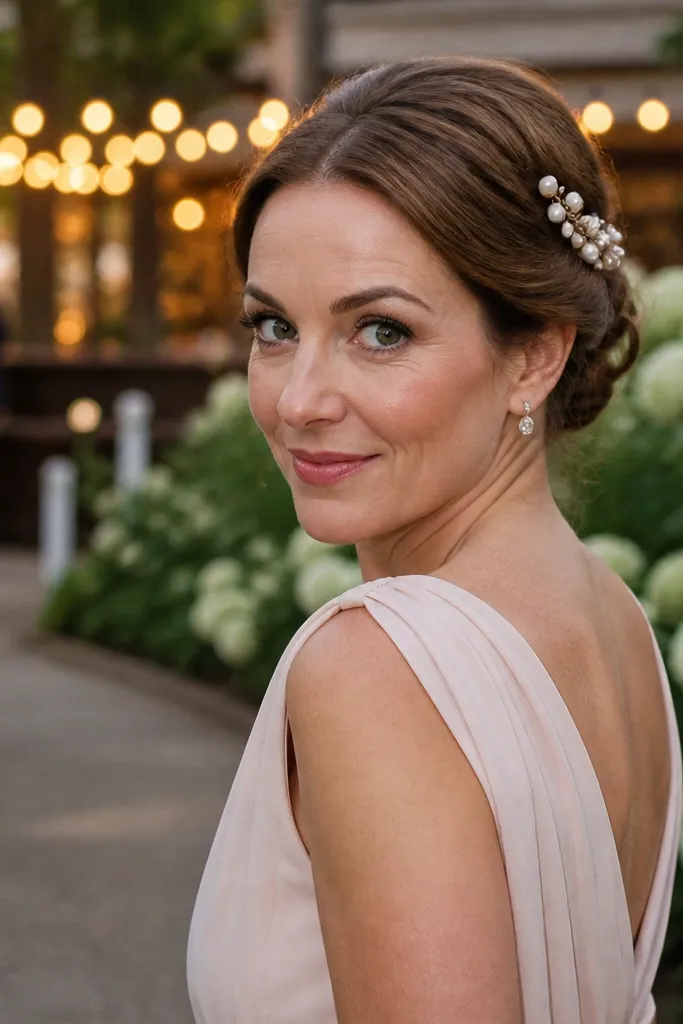
This one looks special without needing long hair. The double twists create two defined anchor points, which makes short hair feel secure and keeps the bun from looking flat. A pearl cluster gives the wedding detail in one spot, so your photos still look styled even if your veil isn’t covering the area. It’s a strong match for a weekend itinerary because you can do it once and keep it intact through the ceremony and photos.
Step 1: Twist two sections from the sides toward the back and pin them in place at the upper nape. Step 2: Gather remaining hair into a low bun and wrap around the twist anchors, using pins to secure any short ends. Step 3: Attach a pearl cluster with a comb base or sew-on pins, placing it where the twists meet the bun seam.
Match pearl size to your earrings — small pearls look best with small studs or drops.
Don’t place the pearl cluster too low — it can hide under the bun and disappear in photos.
15. Low Bun with Hidden Hairnet for Smooth Coverage
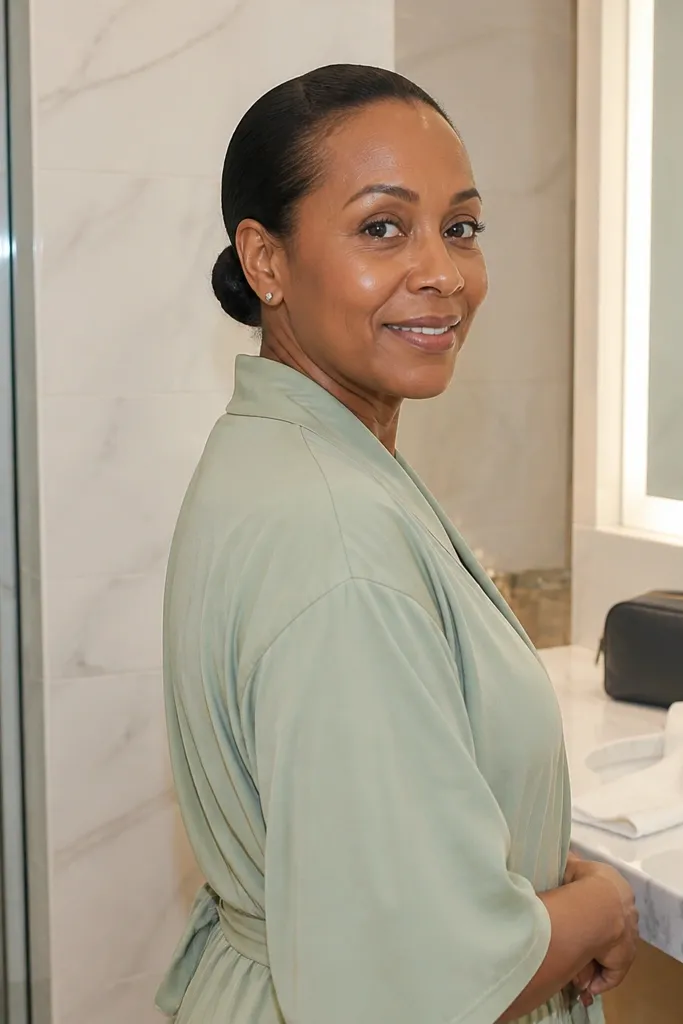
A hairnet is the secret weapon for short hair low buns because it keeps tiny strands from poking out around the perimeter. The result is a smooth, clean silhouette that reads bridal even when your hair is cut short. You’ll get better hold for travel days because the net helps distribute tension across your scalp instead of relying on many pins in one spot. It’s ideal for outdoor ceremonies where wind can catch stray pieces.
Step 1: Gather hair into a low bun base and place a matching hairnet over the bun area like a cap. Step 2: Secure the bun by pinning through the net at the nape and sides, then tuck any ends under the net. Step 3: Smooth the top with a brush and finish with flexible hairspray so the surface stays clean.
Choose a hairnet color that matches your scalp or closest root shade, not your mid-lengths.
Avoid using a shiny hairspray on top — it can make the net look obvious under flash.