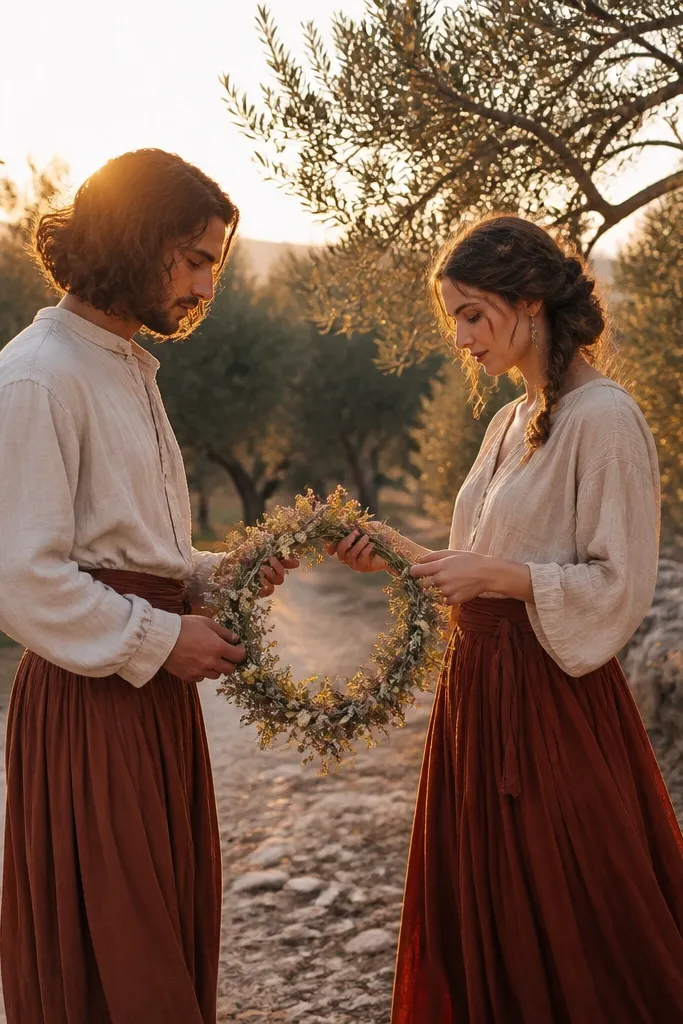
1. Terracotta Courtyard Walk with Flower Garland
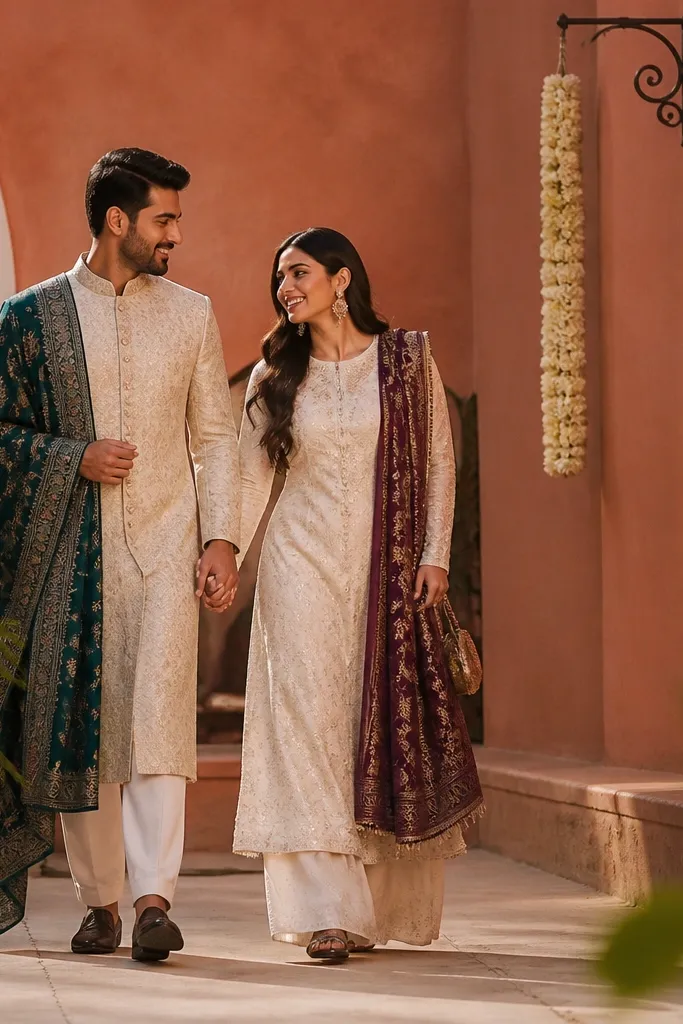
Terracotta courtyards look traditional because the walls hold warm color and soften the whole frame. The texture makes your clothes look richer, especially cream, ivory, and deep jewel tones. This setup works for couples who want a “classic romance” feel without needing fancy props. It also photographs well even if the wind is mild, since the courtyard gives you stable, clean lines for walking shots.
Start by choosing a courtyard with solid walls and minimal visible clutter like bins or utility boxes. Then schedule your shoot 45-75 minutes before sunset so the wall color warms up and you get flattering shadows. Bring a simple garland in fresh-looking greens and small blossoms so you can repeat the same pose set across corners. Finally, do a quick test shot from each corner to confirm the sun isn’t blasting directly into your lens.
Quick tipAsk the venue if the courtyard has a quiet side entrance — it saves you from crowds in the background.
Skip thisAvoid courtyards with white plastic chairs or bright signage — they ruin the traditional look fast.
2. Old Stone Steps with Draped Dupatta Frames
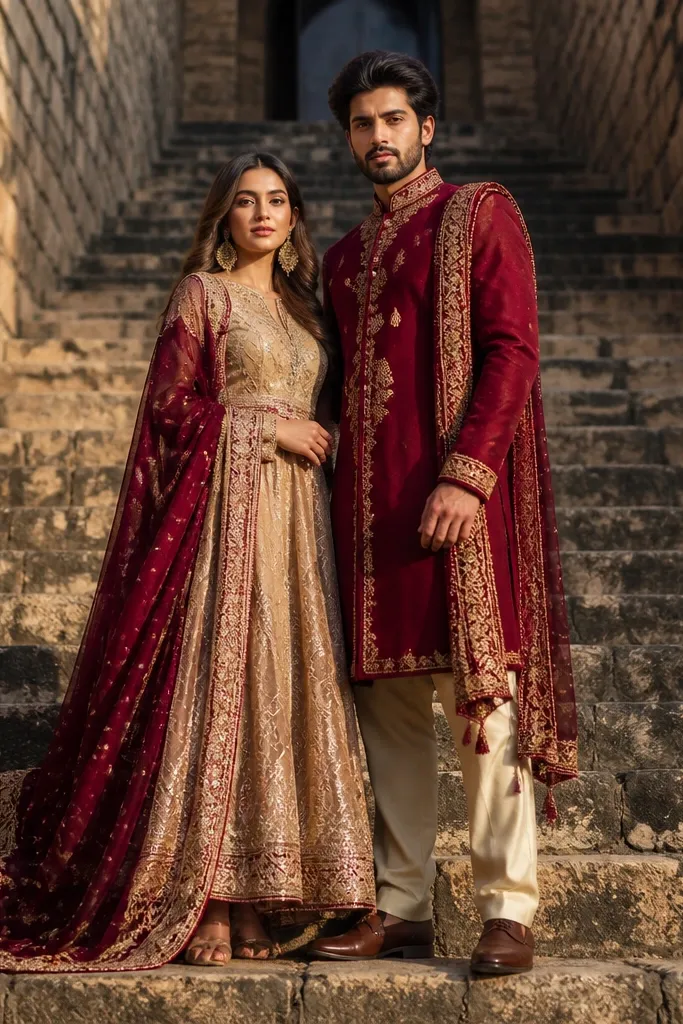
Stone steps create natural depth, so your couple looks taller and more layered in photos. The best part is how the steps guide your body angles — standing near the edge gives you a clean silhouette and better leg lines. This is a great choice if you want traditional styling with lots of fabric movement, like dupattas, shawls, or veils. It also works well for both formal outfits and simpler coordinated looks because the stone texture does the heavy lifting.
Start by scouting steps with a clear landing area where both faces can stay visible — crowded steps kill the classic composition. Then plan poses that use the step levels: one person slightly higher, the other lower, and both turned 20-30 degrees toward the camera. Shoot near sunset or under soft shade from a nearby arch so you don’t get harsh highlights on stone. Keep a small towel in your bag to wipe dust, since stone can transfer grit onto light fabrics.
Quick tipUse fabric clips or a light safety pin to keep the dupatta from slipping during walking shots.
Skip thisSkip steps that are wet or mossy — they look dark and can make your outfits blend into the background.
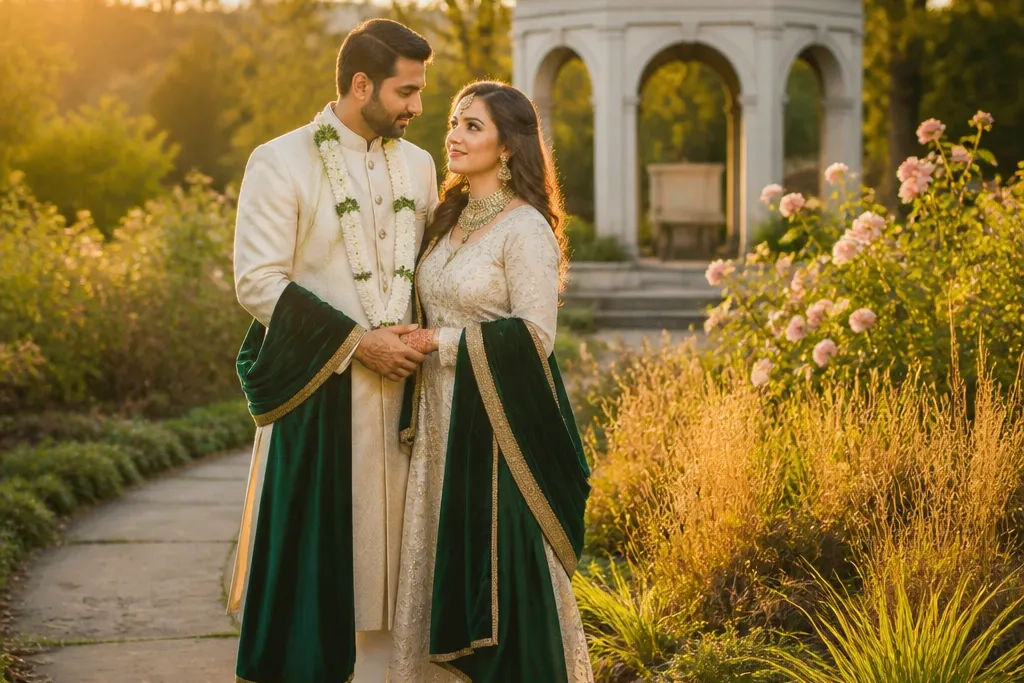
3. Rose Garden Path with Side-Glance Moments
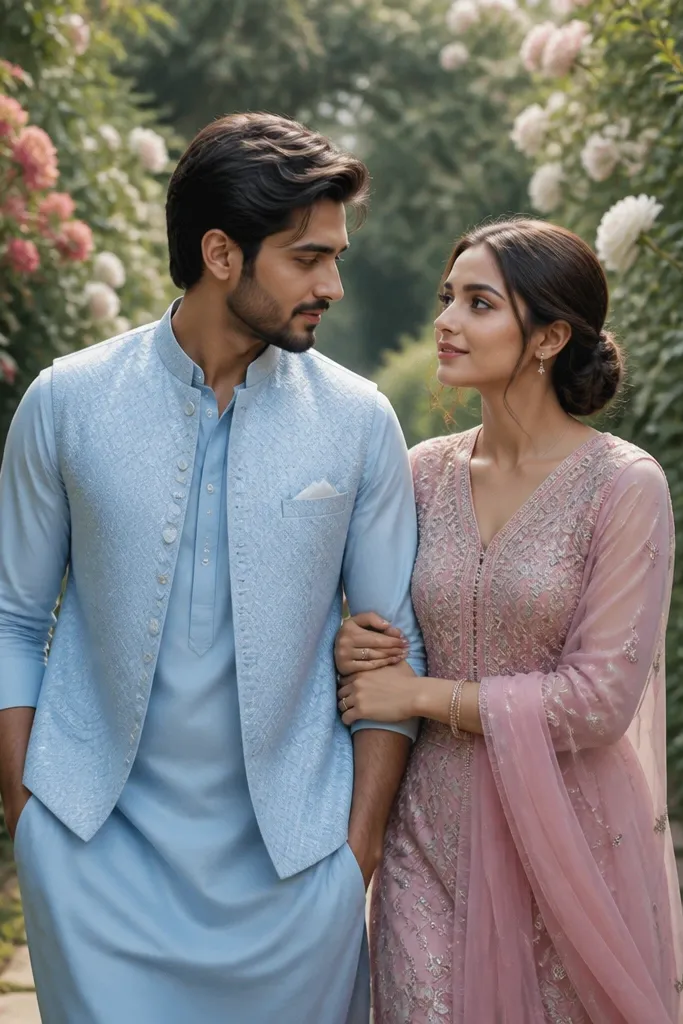
A rose garden path gives you built-in romantic structure. Rows of blooms create a soft, layered background that makes your outfits stand out without extra set dressing. This setup is especially flattering for traditional pre wedding looks because greenery and rose tones pair well with both gold jewelry and muted pastels. You get gorgeous photos with minimal effort: walking frames, gentle turns, and side-glance moments that feel natural.
Start by choosing a path with consistent rows so the background doesn’t change every few steps. Then arrive early enough to pick a spot where the sun hits the path but not directly in your eyes — 30-60 minutes before sunset is a strong window. Do one outfit look focused on long walking lines, then switch to seated frames near a denser rose patch. Finally, keep the garlands and bouquets low and close to your body so the flowers don’t block faces.
Quick tipBring a lint roller and a small anti-smudge cloth for light outfits — roses leave tiny marks.
Skip thisAvoid gardens where the flowers are mixed with bright plastic fences — it breaks the romantic palette.
4. Wheat Field Golden Hour with Handheld Fan Flow
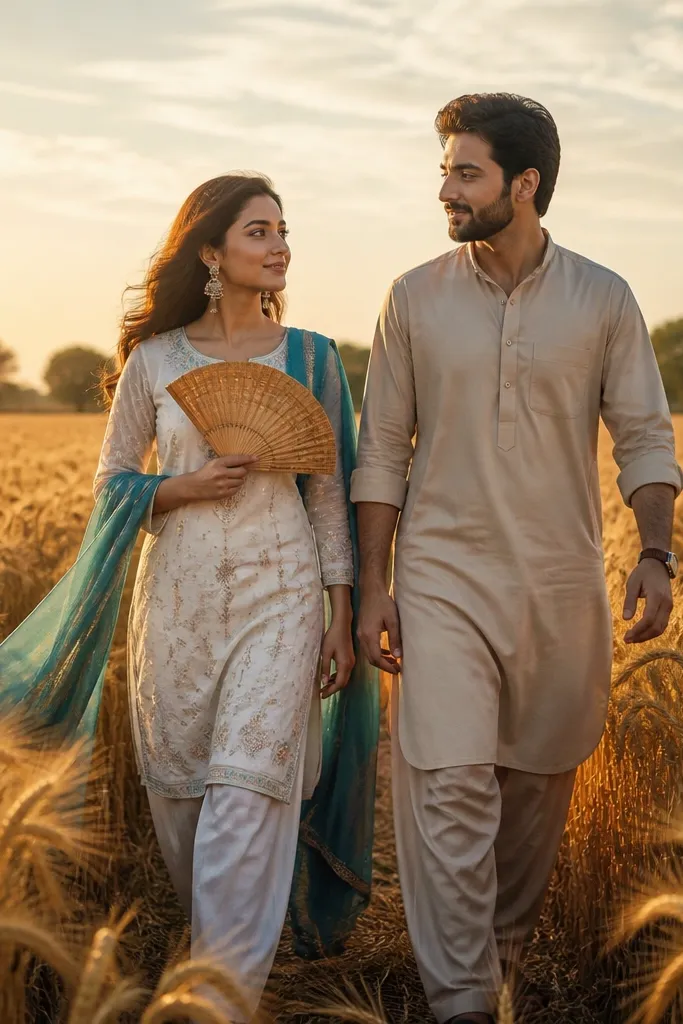
Wheat fields look gorgeous because the background is warm, soft, and naturally directional. When the sun hits from the side, the grass creates a glowing edge around your silhouettes — that classic pre wedding warmth everyone wants. This shoot suits couples who want motion: walking through the rows, turning back, and letting fabric catch the breeze. It also photographs well for both traditional bridal-style outfits and simpler ethnic sets, because the field color does the styling work.
Start by scouting for a field edge with a clear walkway — don’t plan to shoot in the deepest part of the field. Then schedule your shoot 60-90 minutes before sunset when the wheat heads shine without blowing out the highlights. Bring a handheld fan or light veil movement tool so you can create repeated fabric flow between poses. Keep your photographer on a simple path plan: straight line walk, then one stop at the same mark for the close frames.
Quick tipWear shoes with good grip — wheat can hide uneven ground and you don’t want tripping mid-walk.
Skip thisSkip midday shoots in open fields — the shadows under eyes and nose look harsh on traditional makeup.
5. Lakeshore Reflections with Barefoot Sand Steps
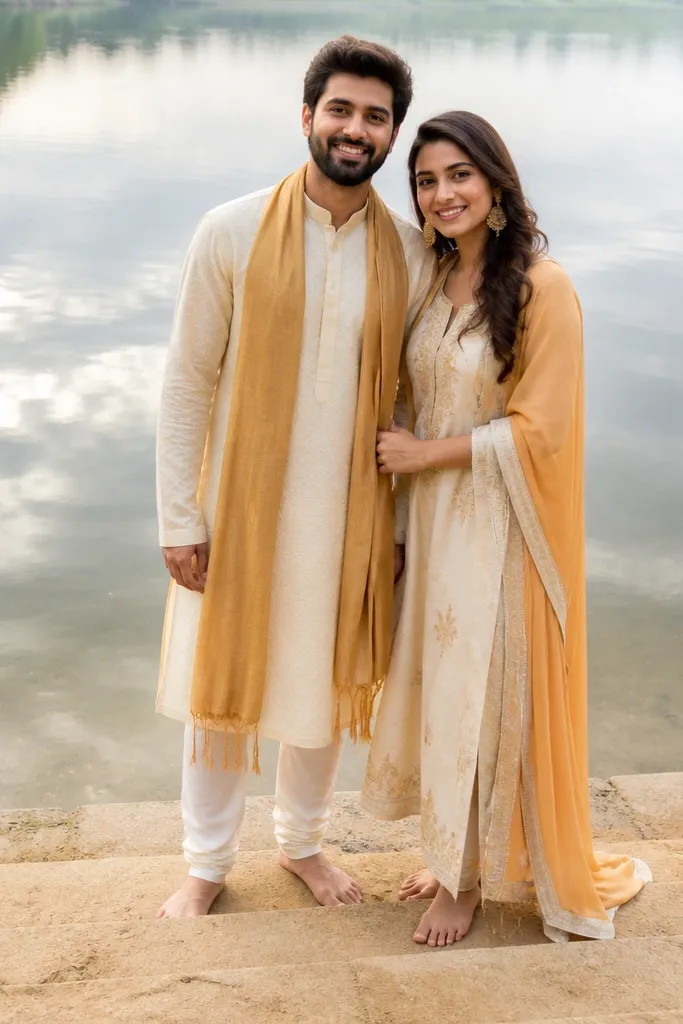
Lakeshore shoots look premium because reflections add depth without needing extra props. Calm water gives you soft tones and a cleaner background, which is exactly what makes pre wedding photos feel “finished.” This setup is perfect for traditional outfits because the fabric texture shows well against water and sand. You also get a natural rhythm for photos: slow walking, turning toward each other, and hands resting near the shoreline.
Start by choosing a lakeside spot with calm water and minimal boats or bright lights in the distance. Then plan for early morning or the last 75 minutes before sunset so the water is reflective and the sky is warm. Do a quick walk-through to find a sand area that isn’t littered with rocks or seaweed. Finally, bring a dark towel for feet and keep the “sand steps” shots limited to a few frames so you don’t end up with heavy sand on fabric.
If the lake is windy, shift to a sheltered corner and shoot only when the water smooths out.
Avoid water edges with floating trash or bright shoreline buildings — they ruin the reflection look.
6. Banana Leaf Courtyard with Hanging Lights
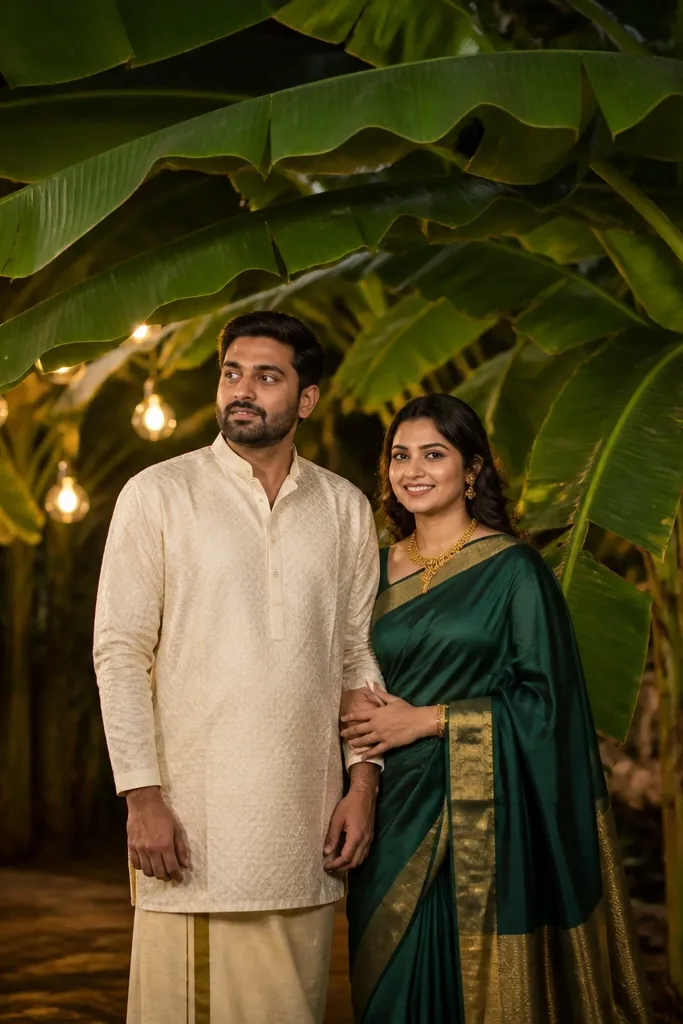
A banana-leaf courtyard gives you that distinctly traditional garden vibe, with big leaves creating a lush canopy. Hanging warm lights add a soft glow that makes faces look smooth and romantic, even when the sky is dim. This is a strong option if your shoot timing is later in the day. The leaves also create natural depth — you can frame one person slightly forward and one back for a layered look.
Start by selecting a courtyard where the leaves form a consistent background behind you, not scattered in random corners. Then shoot after sunset when the lights are on, but before it gets fully dark so your background still shows texture. Use 2-3 positions: under the light glow, near the leaf wall, and in a wider spot with the lights fading into bokeh. Keep props minimal: a small bouquet or garland works better than bulky decor that competes with the leaves.
Ask for a quick “lights on” check before you start — some places dim lights after a certain time.
Skip courtyards where the leaves are dusty or browning — the background looks tired in photos.
7. Coconut Grove Shade with Soft Portrait Close Frames
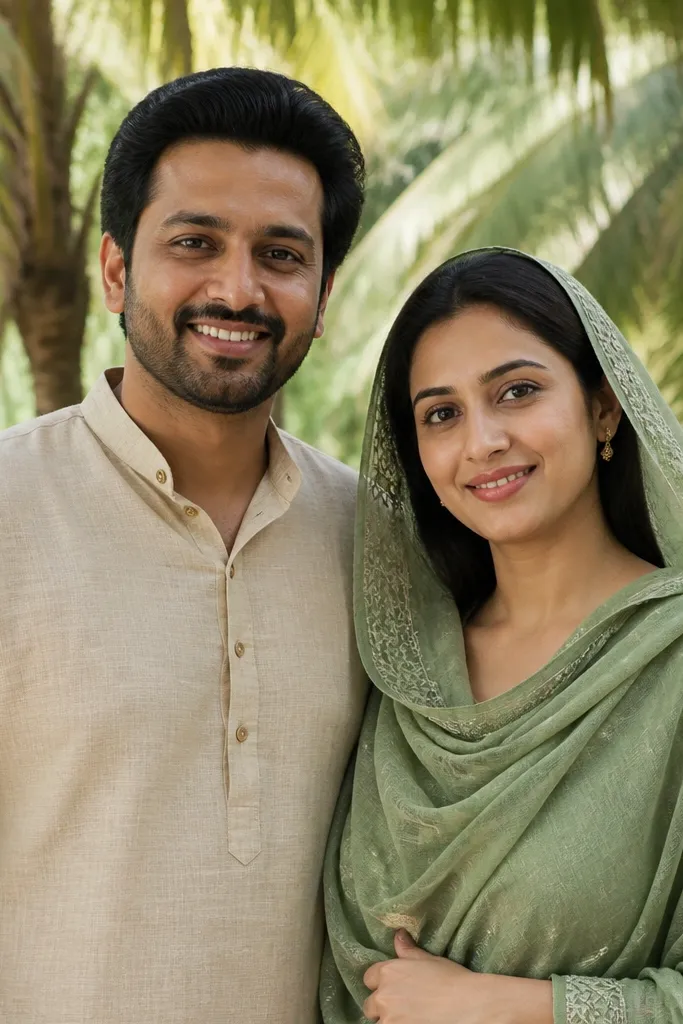
Coconut groves are underrated for pre wedding photos because the shade is gentle. You get even lighting on faces, which is a lifesaver if you’re dealing with heavy sun or harsh makeup highlights. The leaves create a natural canopy background that feels traditional and calm. This is a great choice for couples who want a more intimate look, with fewer wide landscape shots and more storytelling portraits.
Start by finding a grove path with enough space for the camera to move without stepping on roots. Then shoot on a partly cloudy day or in the late afternoon when the sun filters through leaves. Use a simple background rule: stand where trees line up behind you so the background stays consistent. Keep your couple positions slightly separated from the nearest trunk so you don’t get distracting bark texture across the frame.
Bring a small spray bottle for hair or veil — leaf shade can still make fabric look dry in photos.
Avoid shooting right under thick trunks where the light becomes patchy and creates dark face shadows.
8. Maple or Palm Avenue with Walking Gestures
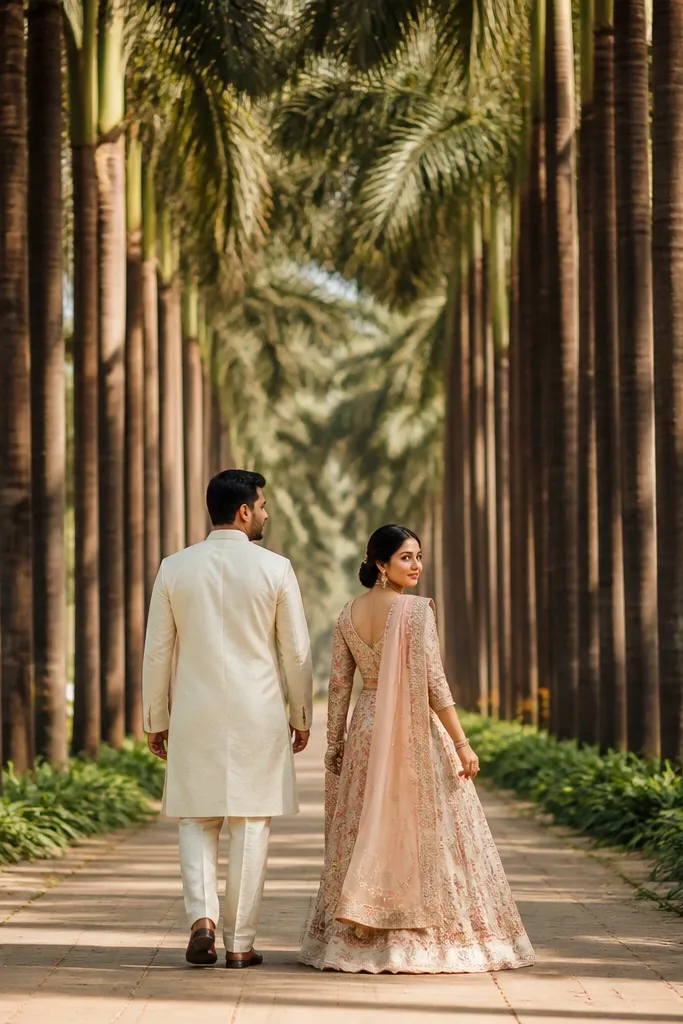
A tree or palm avenue is pure composition. The repeating trunks create strong leading lines, so even simple walking gestures look cinematic. This setup works for traditional pre wedding styles because you can keep outfits flowing while the background stays structured. It also makes it easy for a photographer to keep you centered, which reduces the “we’re lost in the frame” problem that happens on open locations. You can get both full-body shots and close portraits just by changing your stance.
Start by scouting for a straight stretch with clean sidewalks or clear ground so you’re not weaving around people. Then plan for side light — 30-60 minutes before sunset — so the trees cast flattering, soft shadow patterns. Do a walking sequence with a consistent pace, then stop at 3 marks for the close frames. If the avenue is crowded, choose an early weekday slot and pick a spot where you can blur the background by staying a few steps away from the street edge.
Bring a small foldable stool or step prop for quick seated frames when the walk needs a break.
Skip avenues with visible power lines overhead — they cut the frame and pull attention away from faces.
9. Terrace Steps Overlooking a City Glow
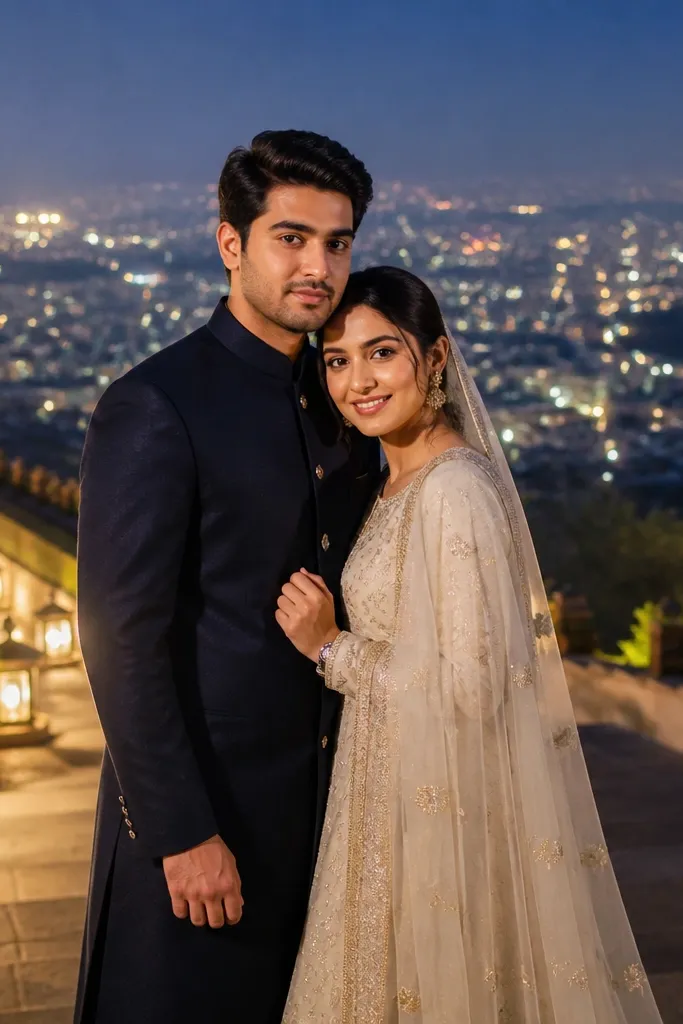
Terraces with a view give you that romantic “traditional meets modern” look without changing the classic outfit vibe. City glow turns your background into soft bokeh, which makes your expressions stand out. This works best for evening shoots when you want more mood and less daylight sharpness. The terrace steps also give you natural height and posture control, so you look posed even when you’re walking.
Start by choosing a terrace angle where the city lights sit behind you, not directly behind your heads. Then shoot about 45-60 minutes after sunset so the sky isn’t fully black but the lights are visible. Use a tripod if you have one, or ask your photographer to keep shutter speed safe to avoid motion blur on walking shots. Finish with a “pause and look” set — standing still for 5-10 seconds helps the camera lock focus on faces.
If there’s wind, keep the longer fabric secured with a small pin so it doesn’t wrap around legs on steps.
Avoid terraces with bright billboards — the colors overpower your outfits and makeup tones.
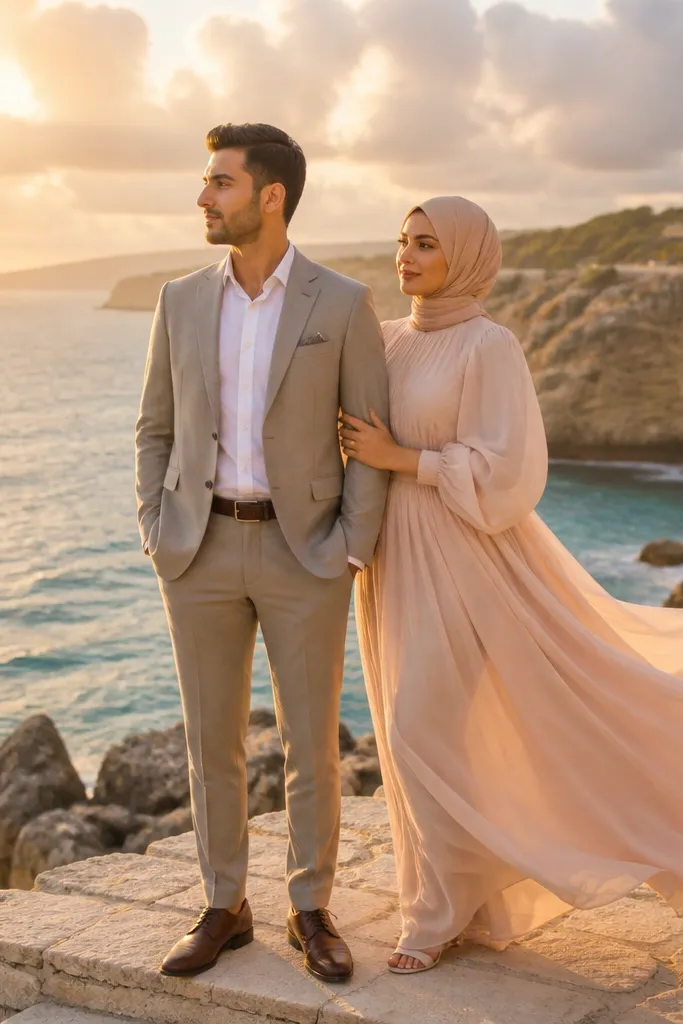
10. Riverbank Sunset with Draped Dupatta Swish
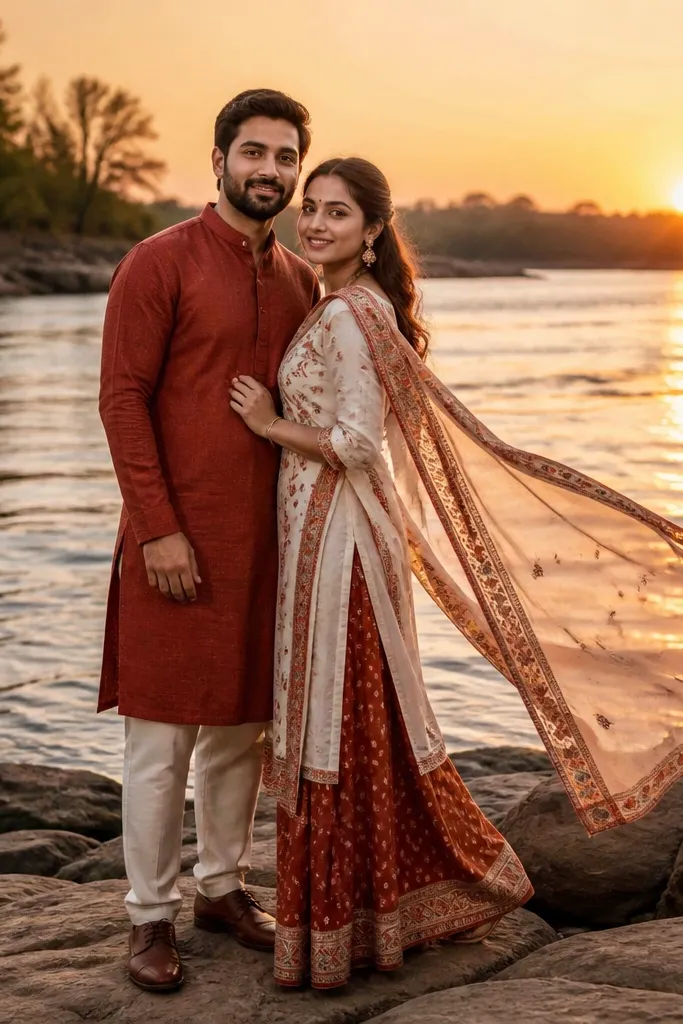
Riverbanks create movement without looking chaotic. The flowing water gives you soft texture, and sunset adds warm color that flatters skin. This setup is ideal for traditional pre wedding outfits because fabric movement looks intentional here — dupattas, scarves, and veils have something to “react” to. The result feels romantic and classic, with enough space for wide shots and close frames.
Start by choosing a riverbank segment with a clear view of water and no trash or boats close to the camera. Then aim for the last 60 minutes before sunset when the sky is warm and the water reflects light. Plan 2 fabric moments: one gentle swish while turning, and one still pose where the dupatta falls naturally over the shoulder. Keep the camera position slightly higher than your waist line when possible, so the water doesn’t dominate the frame.
Quick tipIf the river is muddy, shift a few meters away from the bank edge so the reflections look cleaner.
Skip thisSkip riverbanks with steep muddy edges — you’ll spend more time negotiating footing than posing.
11. Cottage Garden Fence with Matching Ribbon Props
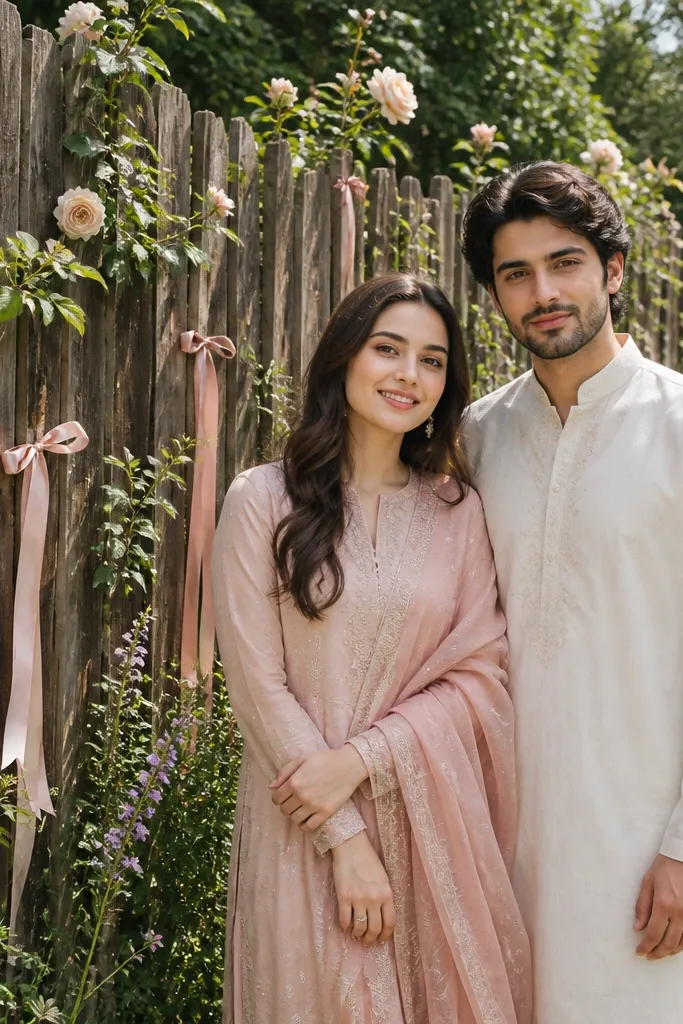
A cottage garden fence brings order to a scene that could otherwise look messy. The fence lines help you keep a traditional, photogenic composition while the flowers soften everything around it. Ribbon props work well because they add movement without looking heavy or staged. This setup suits couples who want “sweet and classic” photos — less grand architecture, more charming detail. The fence also creates consistent spacing for the photographer to place you.
Start by picking a fence section with flowers that aren’t overcrowded — you want visible gaps for depth. Then choose a time when the sun hits the fence at an angle so you get texture but not glare. Use ribbon props in coordinated colors with your outfits and keep them short enough to avoid tangling during walking shots. Do a set of frames where one person holds the ribbon end and both look toward the same direction for clean, matching lines.
Quick tipTie ribbons to a lightweight stick so you can lift them quickly for movement shots.
Skip thisAvoid fences with peeling paint — the background texture looks like clutter in close frames.
12. Desert Sand Dunes with Footprint Pose Lines
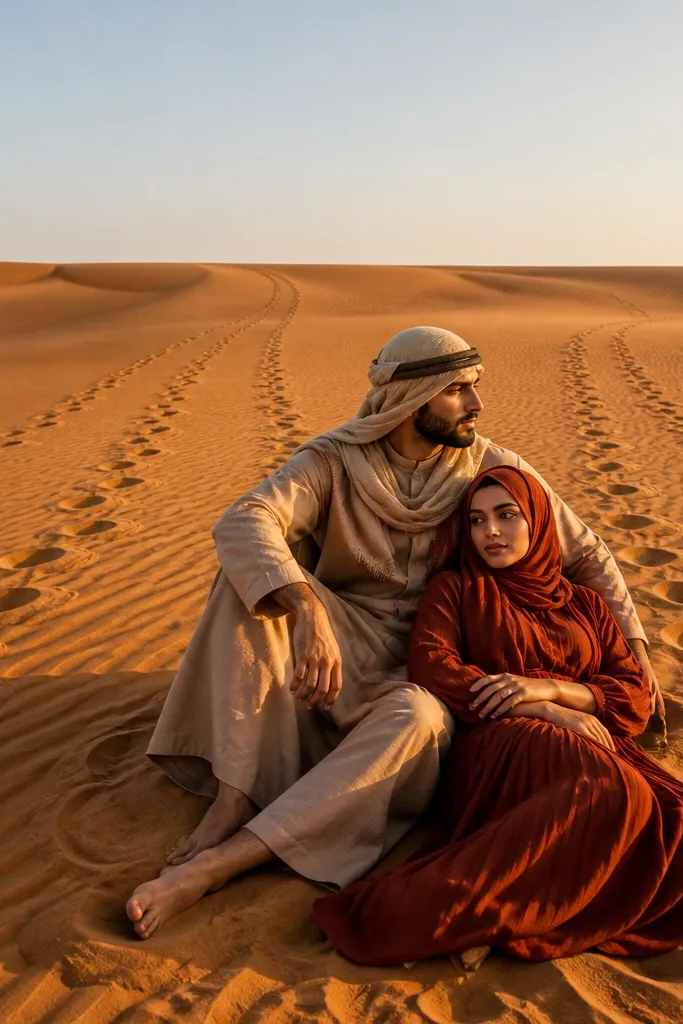
Desert dunes look gorgeous when you treat them like a graphic backdrop. The sand is warm, the horizon line is clean, and you get a strong traditional mood without needing ornate decor. Footprint pose lines add a simple story to the frame, so your photos don’t feel static. This works best for couples who can handle a bit of dryness and want high-contrast, cinematic traditional frames. The dunes also give you wide space for full-body shots and flowing fabric movement.
Start by choosing dunes with a smooth slope and minimal debris or tire tracks. Then schedule your shoot around sunrise or late afternoon so the sand texture is detailed but shadows are soft. Use footprints as your guide: step forward in a controlled line, then turn and pose at a pre-planned pause spot. Bring a scarf or light face cover for wind, and keep the fabric color lighter if you’re worried about sand sticking.
Pack a small brush for outfits — sand clings to hems and cuffs quickly.
Skip midday dunes — the light flattens the sand texture and makes the scene look gray.
13. Cypress or Olive Trees with Draped Shawl Portraits
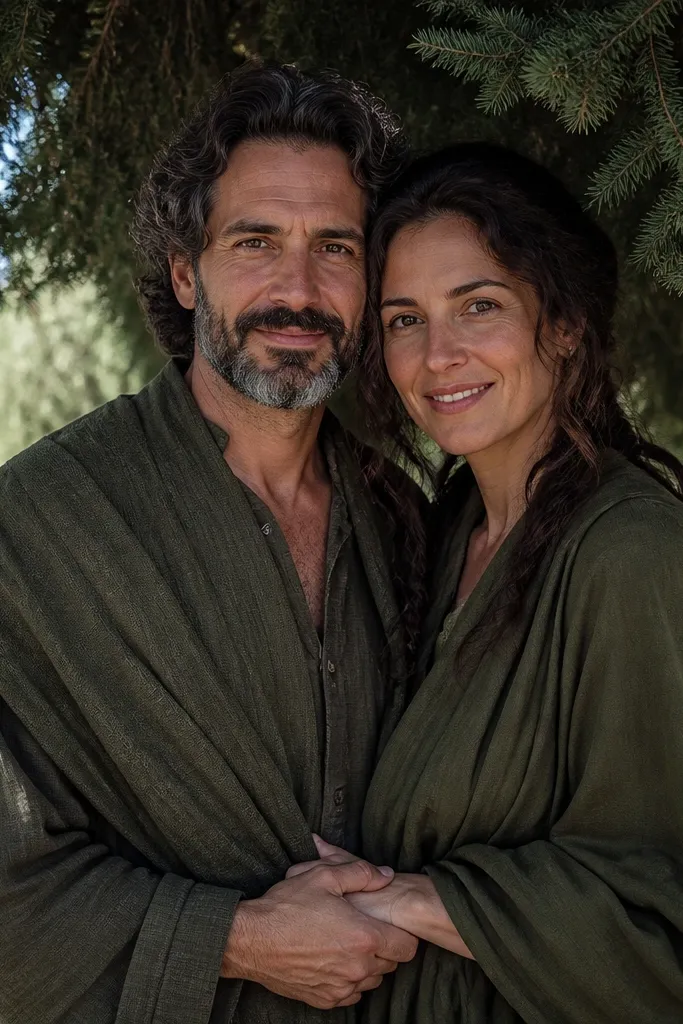
Cypress and olive trees give you a traditional Mediterranean feel even if you’re in a local park. The dark green leaves create a natural frame behind your faces, and that contrast makes skin tones look cleaner. This setup is great for portrait-heavy pre wedding shoots where you want close expressions, hands, and fabric textures. It also handles windy weather better than open fields because the trees give some shelter and visual depth.
Start by selecting a spot where the tree line is dense enough to blur the background beyond it. Then shoot during late afternoon when the light filters through leaves and creates soft highlights on fabric. Position the couple slightly apart from the trunk so the camera doesn’t catch a distracting branch across your faces. Do one sequence where you stand still for 10 seconds each pose, then a second sequence with gentle walking between two points.
Quick tipUse a shawl pin or brooch to keep fabric from sliding — leaf shade can hide movement blur until you review photos.
Skip thisAvoid standing with your backs directly against the brightest sky — it turns faces into silhouettes.
14. Waterfall Trail with Flowing Fabric Movement
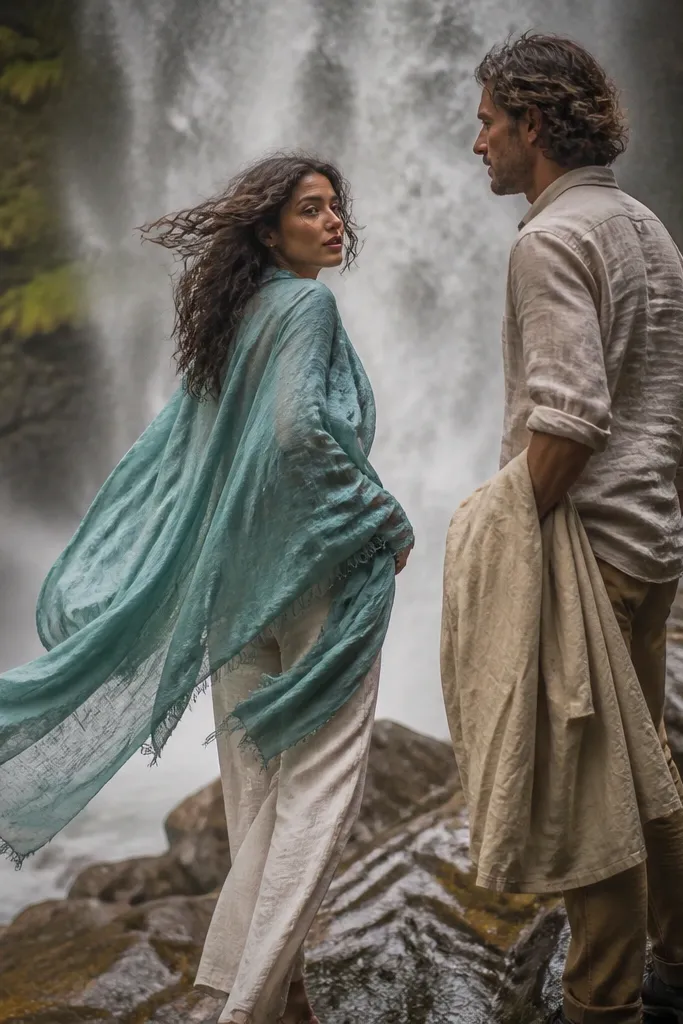
A waterfall trail adds drama without needing a theme. Mist softens backgrounds, and the moving water gives you a dreamy, traditional feel that looks great in both wide and mid shots. This is for couples who want a more cinematic pre wedding series, with fabric movement that looks natural. The waterfall backdrop also hides uneven ground, so you can focus on posing instead of worrying about every step. Just be realistic: you’re trading comfort for atmosphere.
Start by choosing a viewing spot with stable footing and a clear path for the photographer to step backward. Then aim for early morning or late afternoon so the light is softer and you don’t get harsh glare on wet rocks. Wear shoes with grip and keep fabric away from the splash zone. Shoot a few “mist frames” with faces closer to the camera, then step back for wider shots once you’re sure the background isn’t too dark.
Bring a small garment-safe plastic cover for the phone or camera gear if the mist is heavy.
Skip trails that force you to stand on slick rocks — safety comes first and it shows in the photos.
15. Sunlit Garden Arch with Curtain-Style Veil Pulls
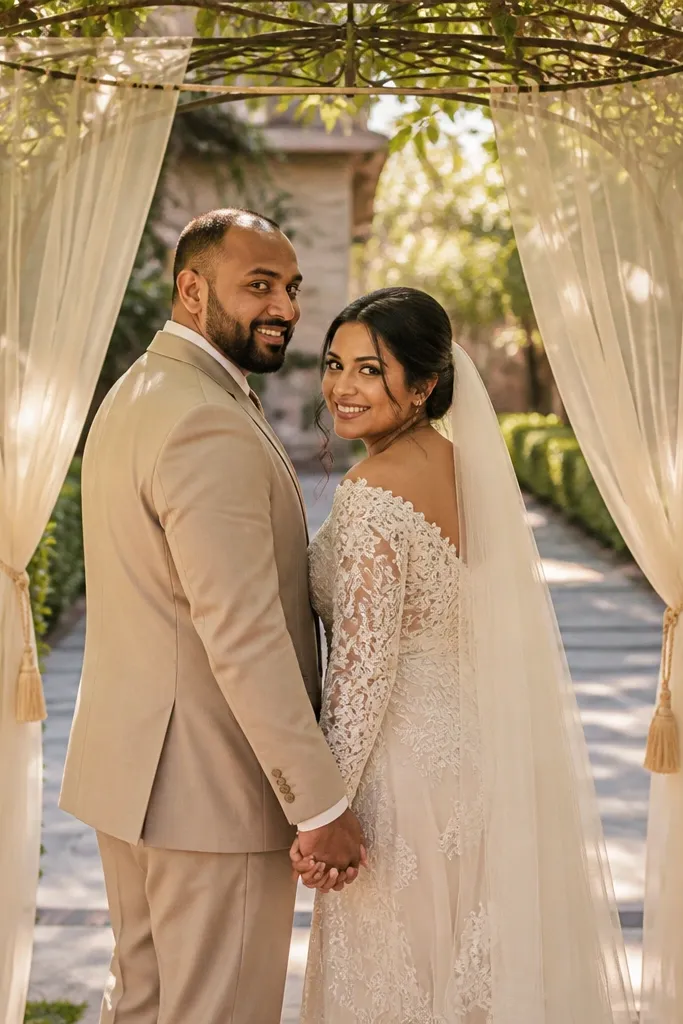
A garden arch gives you instant structure. It frames you like a doorway, so even simple poses look intentional and traditional. Curtain-style veil pulls add movement that reads beautifully in photos because the arch creates a natural “stage” behind your heads. This setup works for couples who want classic, romantic frames with clean composition and lots of face focus. It’s also forgiving if you’re not comfortable with complicated posing — stand, pull gently, and let the arch do the directing.
Start by selecting an arch with greenery behind it, not a plain wall, so the background stays soft. Then shoot around golden hour so the arch leaves catch light and create a warm glow around your edges. Do two pose sets: one where you stand close and the veil forms a vertical line, and one where you step back for a wider framed shot. Keep the veil pull controlled; use one gentle motion and then hold still for the camera to capture sharp facial detail.
Quick tipBring a small spray of fabric-friendly anti-static if your veil clings in dry air.
Skip thisAvoid arches with thin, sparse leaves — they make the background look empty and flat.