1. Old Stone Steps With a Gentle Walk
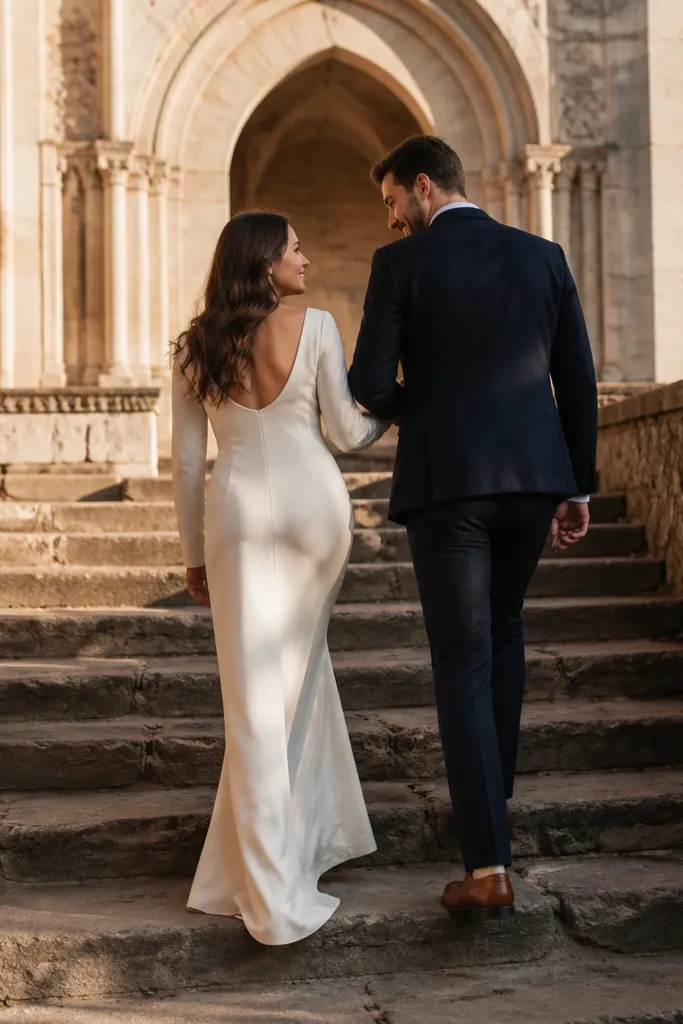
Stone steps photograph like classic wedding stationery because they create natural leading lines. Choose steps that curve slightly or have a landing so you get multiple angles without changing locations. Keep your movement slow — walk, pause, turn toward each other — so your clothes fall naturally and you don’t end up with stiff “standing” photos. Traditional outfits do best here: long skirts or tailored trousers, simple fabric that moves. The best time is late afternoon when the stone warms up and your faces stay evenly lit.
Start by scouting a stair set with open sky above it so you avoid harsh overhead shadows. Then plan 60-90 minutes: 20 minutes for walking frames, 20 minutes for leaning/hand poses on the landing, and the rest for variation with different step heights. Book your timing around 60 minutes before sunset for warm tones. If crowds block the center, shift to the side steps and shoot diagonally so you still get clean lines.
Bring a small lint roller; stone dust shows up fast on light fabrics.
Don’t stand on the very top step under direct sun — faces get shadowed.
2. Quiet Waterfront Promenade Classic Stroll
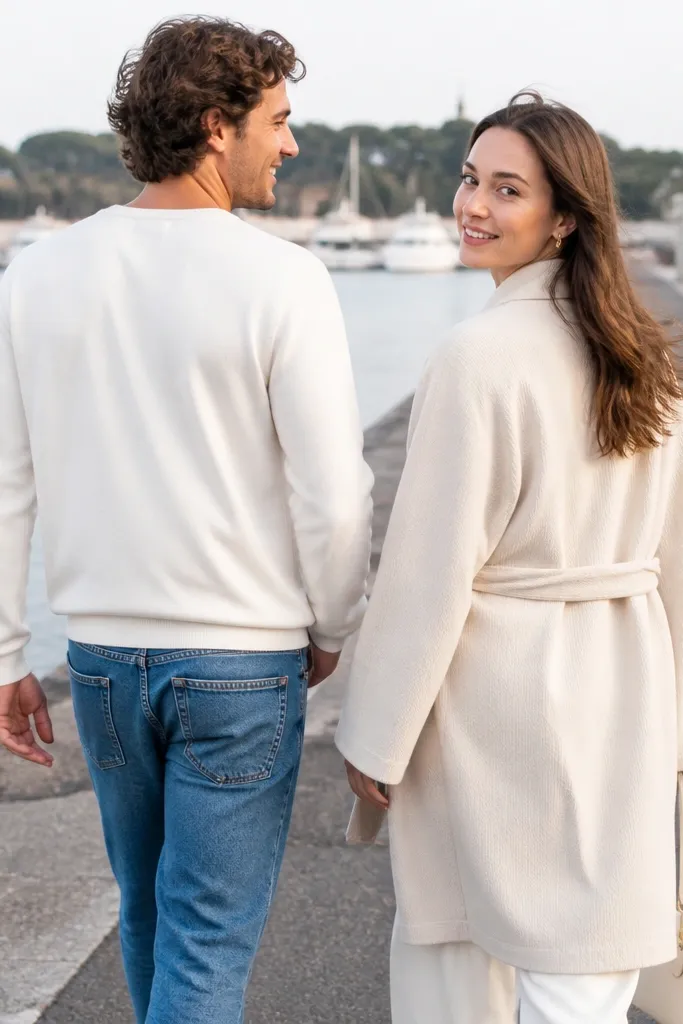
A waterfront promenade is a beginner-friendly win because it has an easy, natural direction for movement. The water line gives you a soft background and keeps the frame from looking cluttered. For timeless appeal, aim for calm expressions and simple poses: walking side-by-side, turning shoulders, and a brief look back. Neutral outfits blend well with water — think beige, navy, white, or black. If the water is calm, you get extra reflectiveness that makes the images feel romantic without looking staged.
Start by picking a stretch with a clear path and minimal signage in the background. Then arrive 45-60 minutes before sunset so the sky and water glow without harsh glare. Spend about 75-105 minutes: 30 minutes for walking sequences and 25 minutes for still poses near the railing. If wind is strong, rotate to a spot with a wall or trees behind you so hair doesn’t whip around.
Quick tipWear shoes that handle wet pavement; you want steady footing for walking shots.
Skip thisSkip bright reflective midday water — it blows out highlights on faces.
3. Botanical Garden Walled Path and Gate Frames
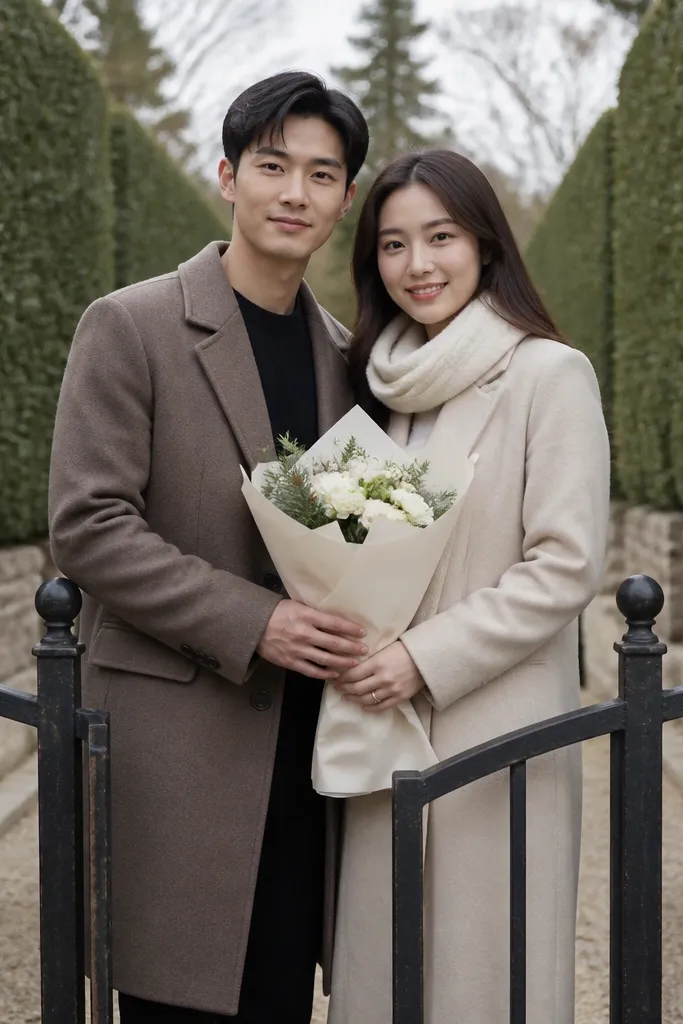
Garden walls and gates create instant “traditional” framing, like a portrait studio set, but outdoors. The key is finding a path that feels enclosed so your background stays smooth and flattering. Choose a gate or arch that sits at chest height in the frame so you can pose naturally without craning your neck. This setup looks best with one prop: a bouquet, a silk scarf, or a woven basket. The light under leaves is soft, but you’ll still want late afternoon for warm contrast.
Start by walking the path and checking what the background looks like at eye level, not from the entrance. Then plan 90 minutes total: 25 minutes for gate-framed portraits, 30 minutes for walking down the path, and the rest for side-angle shots near wall textures. Bring a light shawl or scarf to control wind and add movement. Book earlier in the day if the garden opens late, so you still hit golden hour.
Use a darker outfit color if the path is very green; it prevents color cast on skin.
Don’t pick a spot with busy signage or bright benches behind you.
4. Classic City Archway With Shoulders Turn Pose
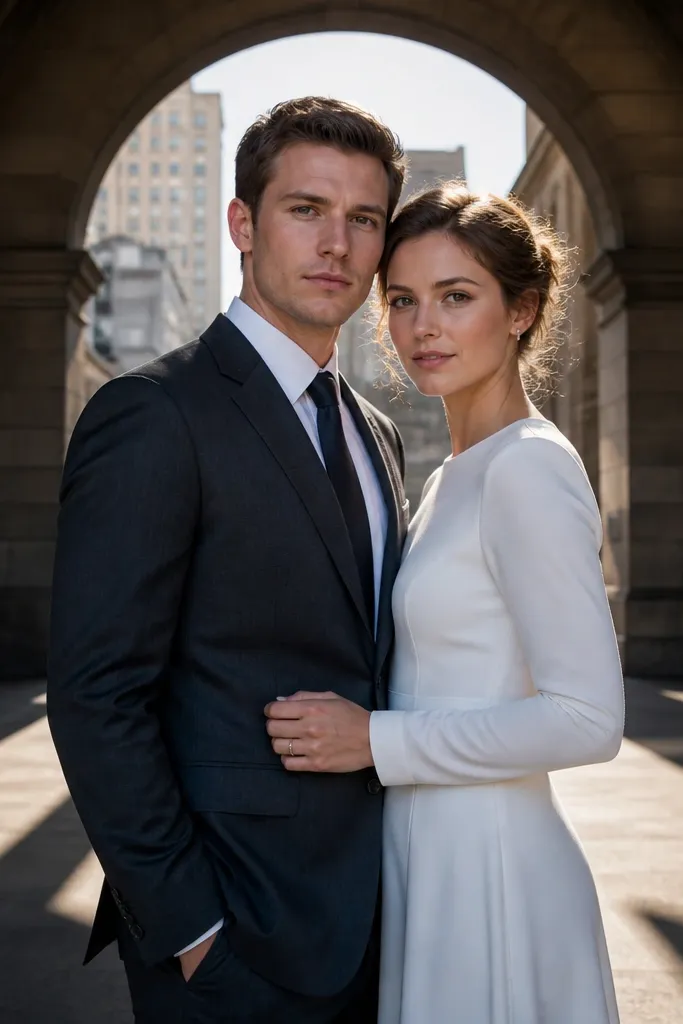
An archway gives you structure and a timeless silhouette. The trick for beginners is to keep the pose simple: stand close, turn your shoulders toward the camera, and let your hands do one clean thing. Arch shadows can help if the sun is behind the arch, creating a soft glow on faces. For a traditional look, wear solid colors or subtle patterns and avoid loud logos. When you get the angle right, the arch makes your background feel intentional instead of like a random street.
Start by checking the arch at two times: 20 minutes before golden hour and again at golden hour. Then shoot in three blocks: 10 minutes of full-body portraits centered under the arch, 15 minutes of side angles, and 15 minutes of walking-in frames toward the arch. Spend about 60-80 minutes so you don’t rush through the best light changes. If there are people passing, move just a step off center and shoot diagonally to keep the frame clean.
Carry a small hand mirror; it helps you fix hair quickly when light shifts.
Avoid standing where the arch casts a dark stripe across one face.
5. Museum Courtyard With White Columns
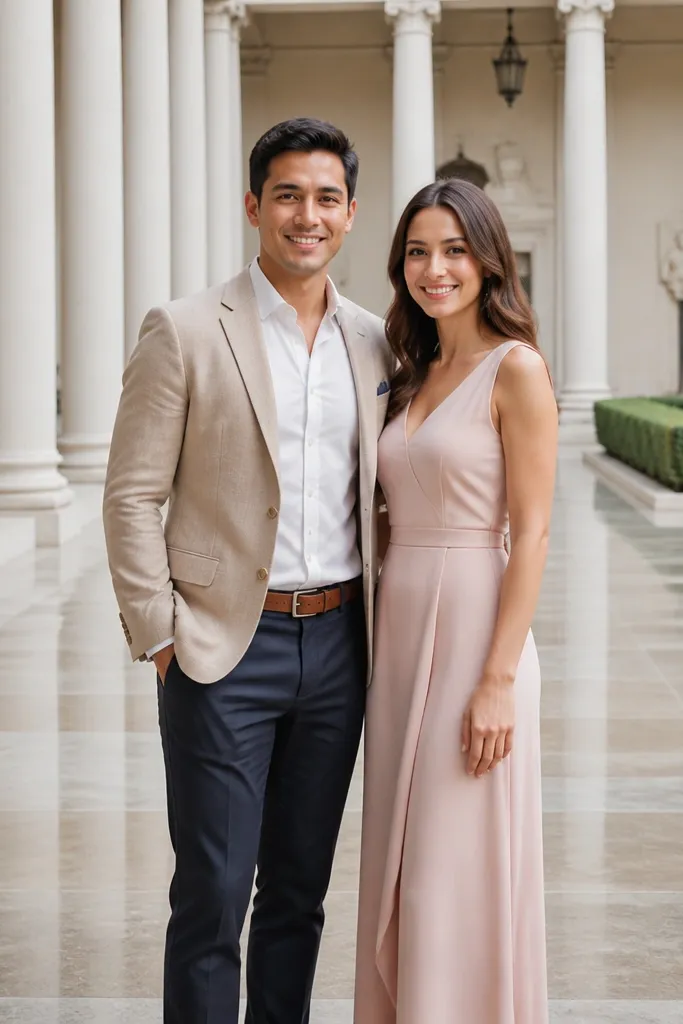
Museum courtyards with white columns photograph like classic wedding editorials: clean lines, controlled backgrounds, and a polished feel. You don’t need fancy props because architecture creates the “story.” Keep your outfits crisp and traditional — think button-downs, tailored jackets, simple dresses, and minimal accessories. Pose with calm closeness: hands lightly on sleeves, a soft forehead touch, or resting forearms on a column. The look is timeless because it’s geometric and uncluttered.
Start by choosing a courtyard corner where the background is mostly wall or column, not crowds. Then arrive 30-45 minutes after opening to reduce foot traffic, and plan 75-100 minutes. Shoot wide for full-column frames, then step slightly forward for tighter portraits with clean edges. If it’s bright, position yourselves so the sun hits from the side — it adds dimension without blowing out highlights.
Quick tipBring a plain tote bag or bouquet wrap; it gives your hands something natural.
Skip thisDon’t use patterned outfits in a courtyard that already has strong visual lines.
6. Countryside Roadside With Classic Car Stop
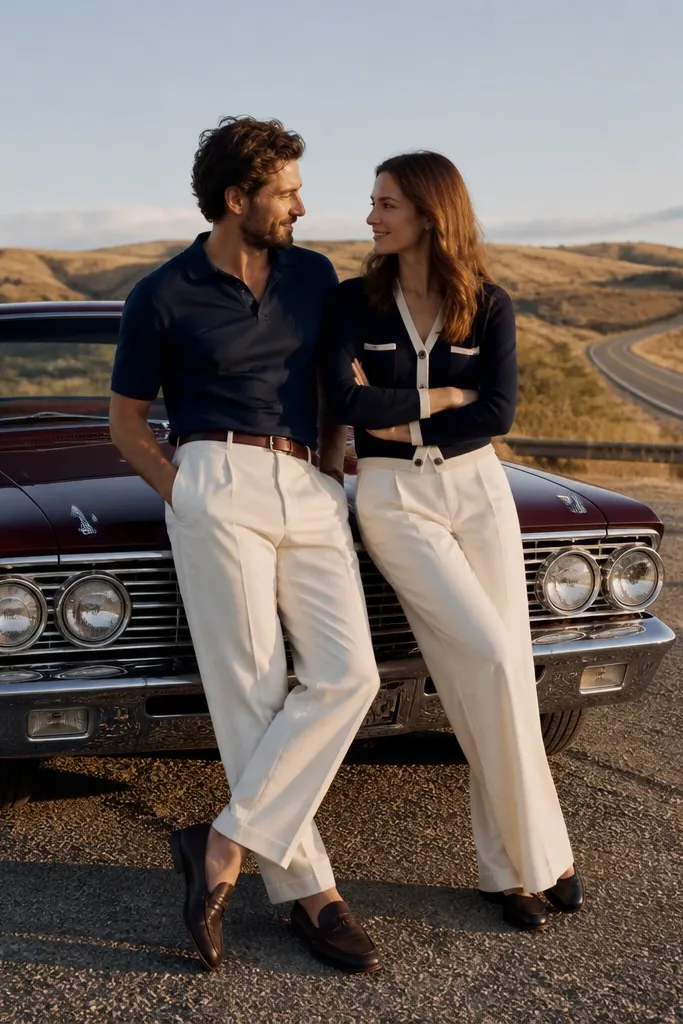
A countryside roadside with a classic car gives you traditional romance with story. You’re not doing anything fancy: you’re using color contrast and texture — smooth car paint, worn road texture, and open sky. For beginners, this is easy because you can pose with the car as a natural anchor: lean on the hood edge, stand by the driver-side door, or walk a few steps away then turn back. Keep the outfits grounded in earth tones to look intentional against the landscape. Late afternoon makes the road look cinematic and soft.
Start by choosing a safe pull-off or a quiet lane where you won’t block traffic. Then plan 60-90 minutes: 20 minutes for car-adjacent portraits, 20 minutes for walking away from the car, and the rest for turning-back frames. Book a location early so you’re not driving around at the best light window. If the car is bright or reflective, shoot with the sun behind you or slightly off to the side so faces don’t glare.
Quick tipUse a dark outfit for the person closest to the car to reduce color bounce.
Skip thisDon’t shoot on a road with random clutter — fences, trash bins, and power lines ruin the look.
7. Linen Curtain Café Window Portraits
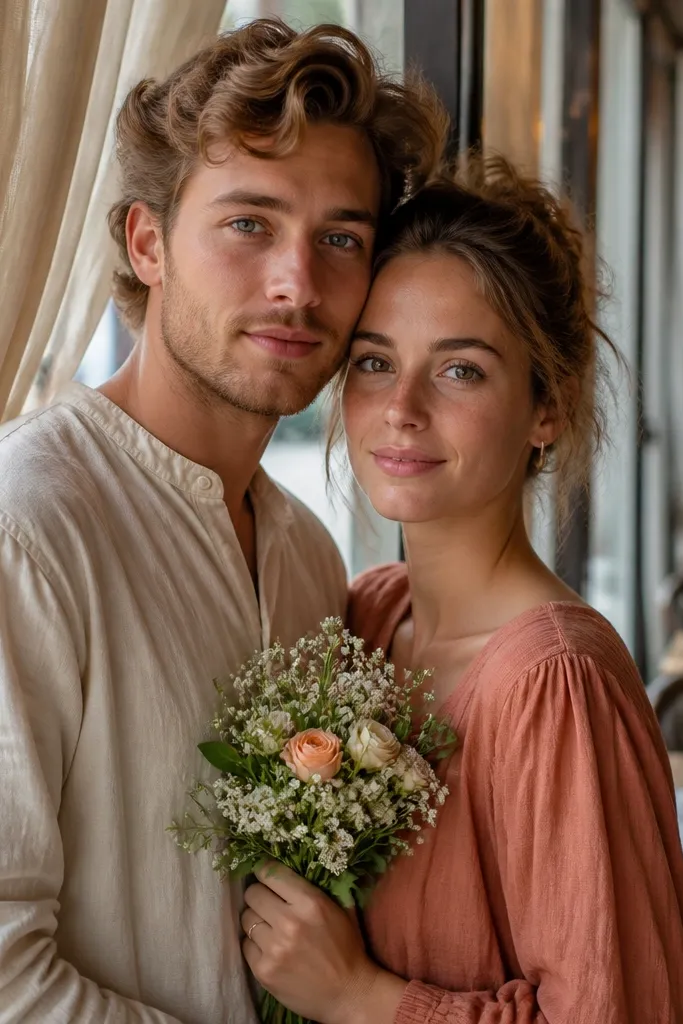
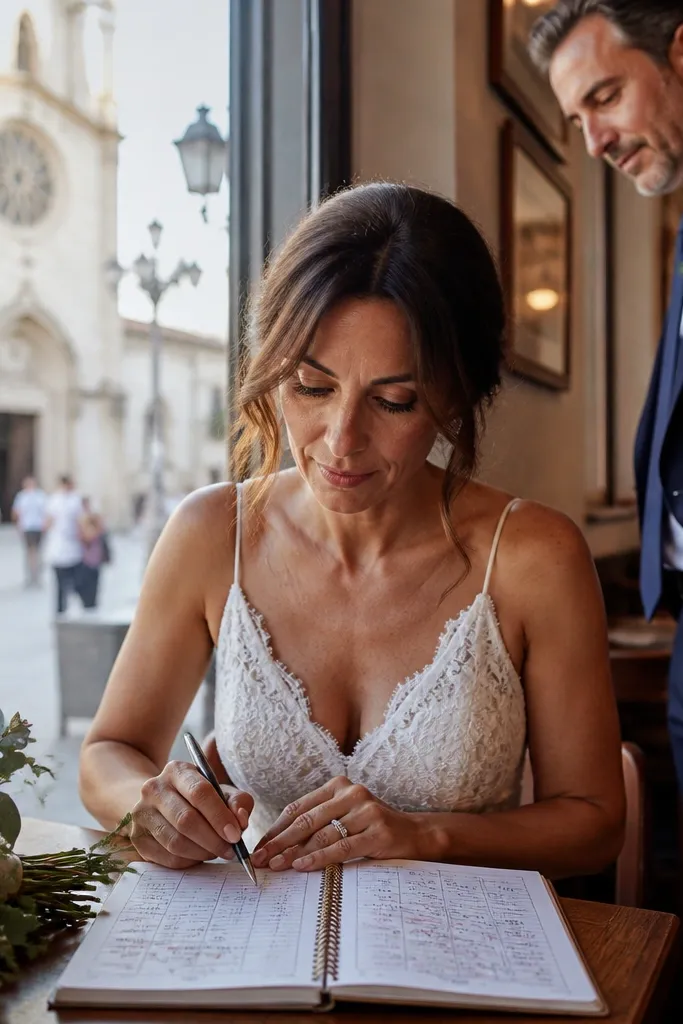
This is a traditional, aesthetic move that works in almost any travel city. Linen curtains soften light, and window frames give you a clean border that looks styled. You can do simple poses without feeling exposed: stand close with shoulders touching, hold a small bouquet near the chest, or turn slightly for a profile angle. Choose a café with large windows and fewer neon signs. For timeless appeal, stick to neutral outfits and keep accessories minimal so the window light stays the focus.
Start by picking a café with seating near big windows and asking if you can take photos while you order. Then shoot in two rounds: 15 minutes for portraits by the window and 15 minutes for seated frames with hands on a cup or folded napkin. Spend about 45-60 minutes total so you’re not overstaying. If it’s cloudy, window light is still good — just avoid the darkest corners of the room.
Order something small and quick so you’re not rushed and you don’t feel awkward.
Don’t shoot directly under ceiling lights — the color cast shows on skin.
8. Sunlit Alley Brick Wall and Hand-in-Hand
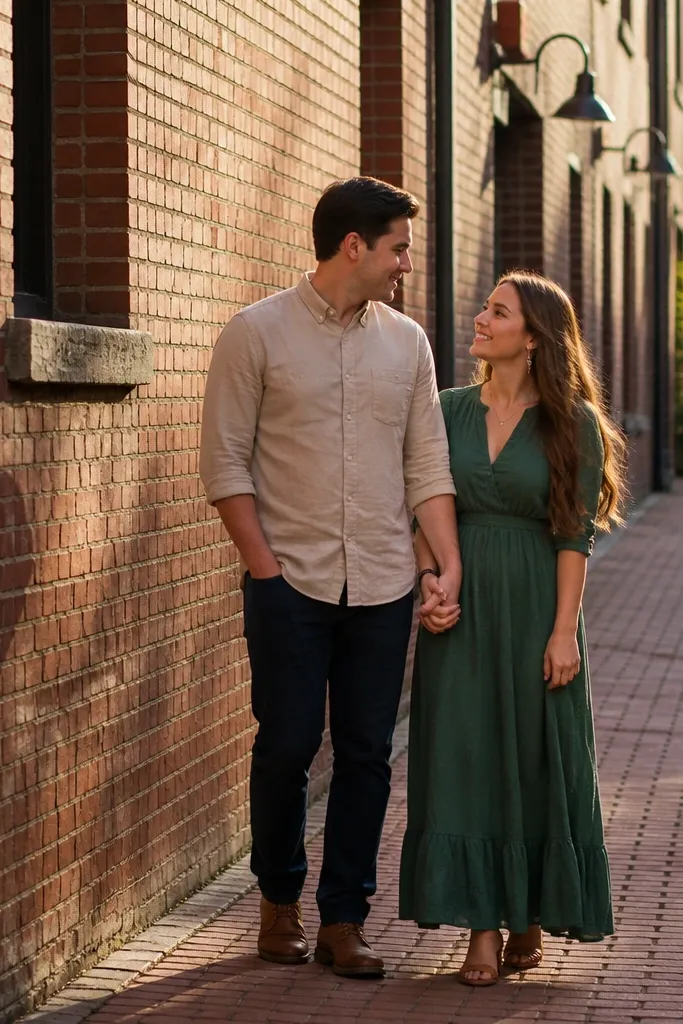
Brick alleys look timeless because they have texture and color depth. The key is choosing an alley where the sun hits the wall at an angle, not straight-on. For beginners, hand-in-hand works because it creates a natural rhythm and hides awkward arm positions. Pose by walking slowly toward the camera, then stop and turn your heads together for a classic “almost laughing” look. Keep outfits simple and solid so the brick texture stays the visual star.
Start by scouting for a section where the wall texture is bright but your faces are still in soft shadow. Then shoot for 60-75 minutes: 20 minutes for walking sequences, 20 minutes for stop-and-turn frames, and the rest for tighter portraits. Arrive at least 30 minutes before golden hour so you get warm highlights. If someone passes frequently, shift to a wider angle and let them blur out rather than fighting the scene.
Use a compact umbrella if you get sudden sun; shade fixes skin tones fast.
Skip alleys with lots of doors, posters, or cables — they read messy.
9. Classic Staircase Inside a Grand Hotel Lobby
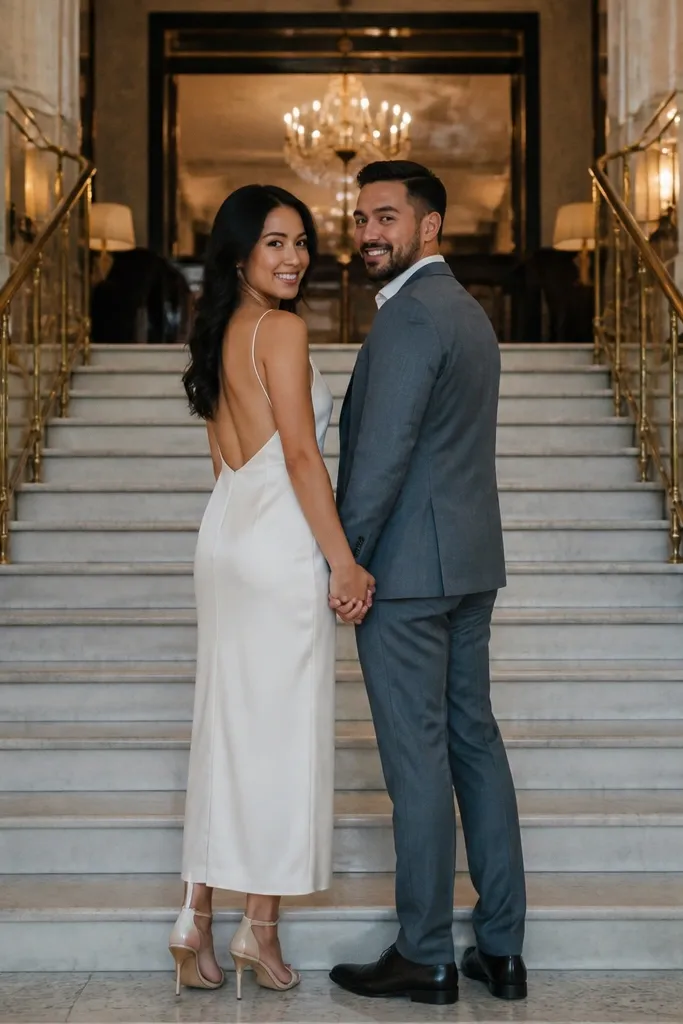
Grand hotel staircases deliver traditional elegance without needing a fancy set. Look for places with marble or wood steps and a clean background behind you. Pose like you’re arriving for something important: stand side-by-side, hold hands, then do one slow turn to face the camera. This works especially well for beginners because you can keep your feet steady on a defined step line. Choose simple outfits — crisp shirts, tailored trousers, long dresses — and avoid heavy patterns that compete with the lobby.
Start by picking a lobby area with controlled lighting and no busy traffic behind you. Then plan 45-75 minutes, focusing on the staircase landing and one side angle. Ask staff if needed and keep the session tight so the space stays calm. If the lobby is very bright, shoot with the light behind you or angled so your faces don’t blow out.
Quick tipWear shoes you can walk in quietly; hotel floors can be slippery.
Skip thisDon’t shoot at the very base of the stairs — distortion makes legs look odd.
10. Park Lake Shore With a Long-Close Walk
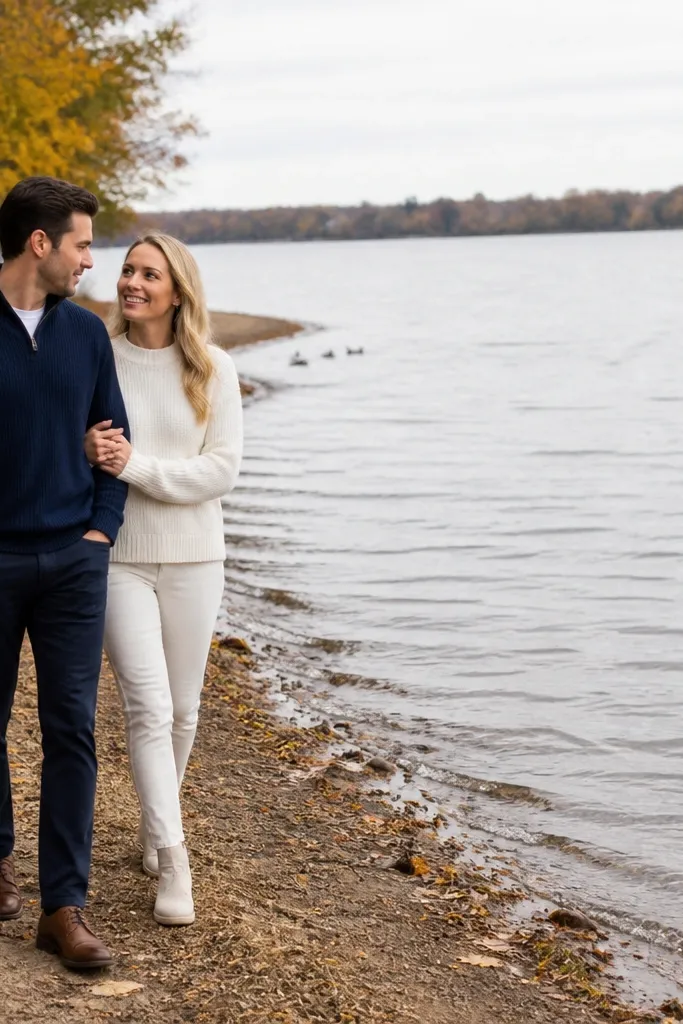
A lake shore gives you a timeless horizon line and space for movement. The photos look good because you get separation: your subjects are clear against a softer background. For beginners, do a long walk from one side of the frame to the other, then stop and turn back. Keep expressions calm and slightly playful — the lake makes everything feel gentle. Choose outfits that match the season: airy pastels for spring, darker neutrals for fall, and richer jewel tones for winter light.
Start by choosing a shoreline with a clear path and minimal docks or boats in the immediate background. Then arrive about 60 minutes before sunset for warm sky and softer reflections. Shoot in two distances: 20 minutes for full-body frames farther from the camera and 20 minutes closer for face-forward portraits. If the wind is strong, switch to a spot with tree cover behind you.
Quick tipBring a small fabric for the breeze — a scarf is easier than trying to fight hair.
Skip thisSkip muddy shoreline areas; they show in photos faster than you think.
11. Old Town Market Street With Quiet Corner Framing
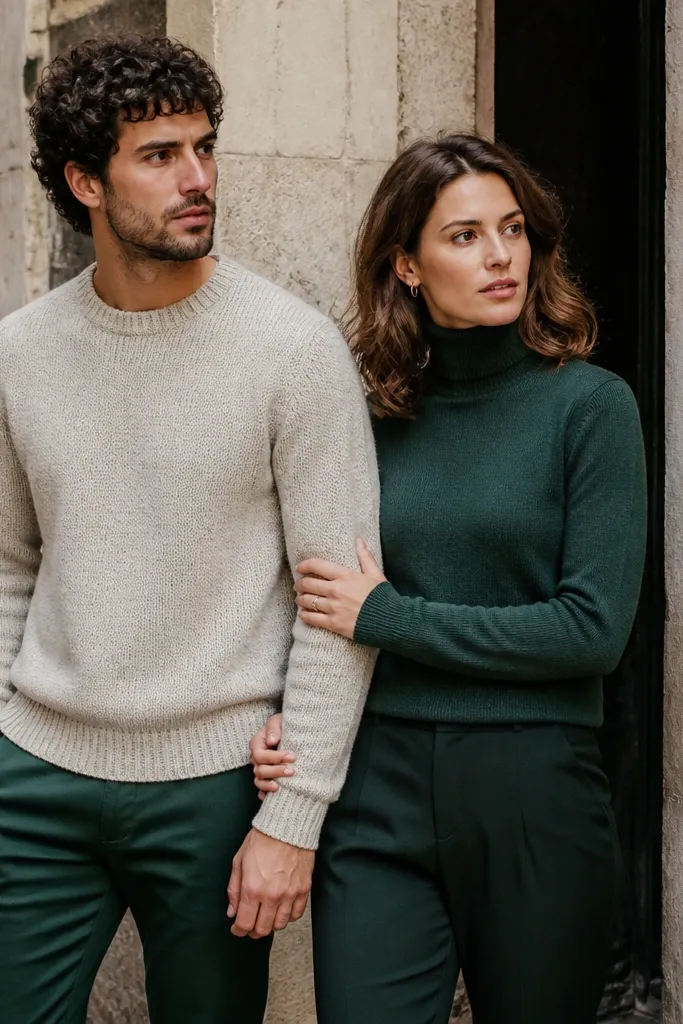
Old town streets can look messy, but you can make them timeless with the right corner. The trick is to find a quiet side segment with clean storefront walls and little clutter. Then frame yourselves with a doorway edge, a window frame, or a narrow street opening so the background feels like a photograph set, not a busy street. Keep poses simple: walk toward the corner, pause, then look at each other. Traditional outfits work best: solid colors and fabrics that don’t wrinkle easily.
Start by arriving early on a weekday so you get a window with fewer people. Then spend 60-90 minutes: 25 minutes for corner-framed portraits, 25 minutes walking frames, and the rest for close portraits where the background is a single wall. If you can, shoot with the sun at your back or slightly side-lit to avoid harsh shadows across faces. Keep your camera-ready time short so crowds don’t build behind you.
Quick tipIf the street is busy, shoot at least 1.5-2 meters away from the curb so you can wait for clean gaps.
Skip thisDon’t choose the busiest intersection; you’ll spend the session chasing clear backgrounds.
12. Traditional Garden Bench and Hand-Over-Heart Pose
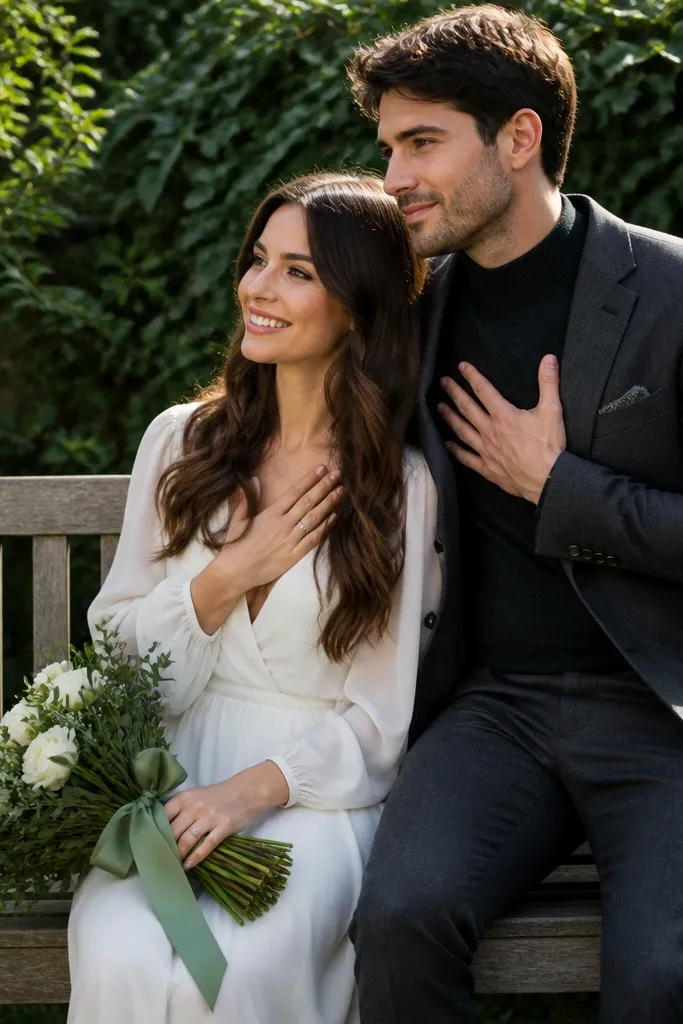
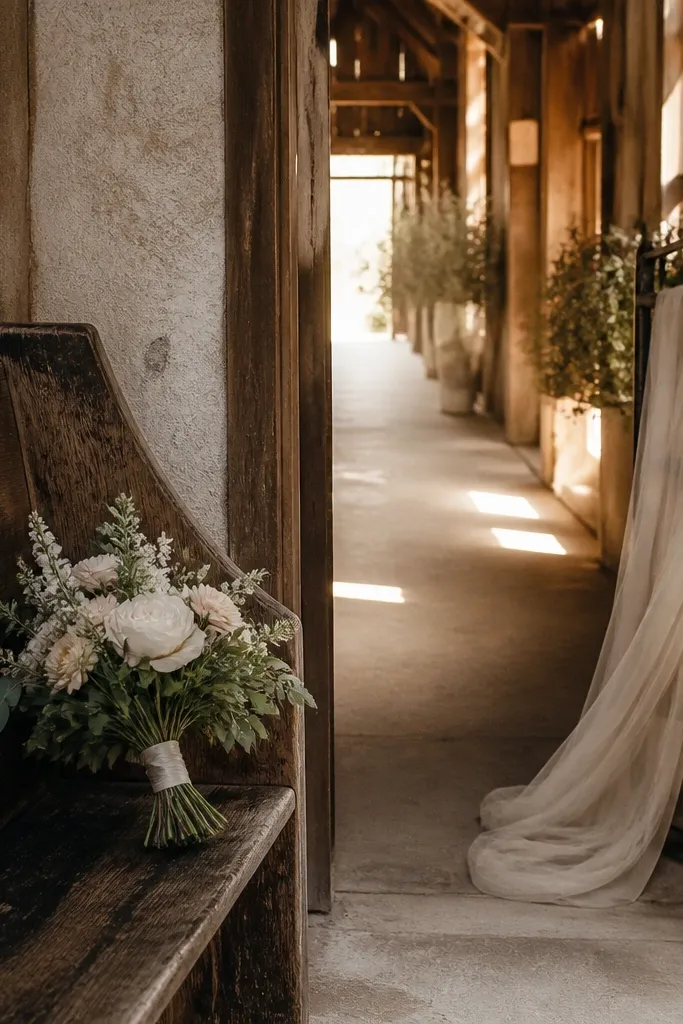
A garden bench is classic because it gives you an immediate, natural pose. You don’t have to figure out what to do with your hands — they can rest on the bouquet, hold a sleeve, or interlace. For timeless appeal, pick a bench with one strong background element: a hedge, a single tree, or a clean wall. Keep the expressions soft and real — a slight smile, eyes on each other, then a glance to the camera. This setup works in almost any season because the background texture does the styling.
Start by choosing a bench that has shade behind it so faces stay even. Then plan 60 minutes: 20 minutes for seated portraits, 20 minutes for standing frames beside the bench, and the rest for close shots with the hedge as a smooth background. Arrive when the light is soft, usually morning or late afternoon. If there are lots of visitors, position yourselves slightly off-center so the background stays clean.
Use a bouquet wrap or silk ribbon so the bouquet doesn’t look flat in photos.
Skip benches with graffiti or cluttered planters behind — they steal attention.
13. Rooftop Terrace With City Skyline and Simple Lean
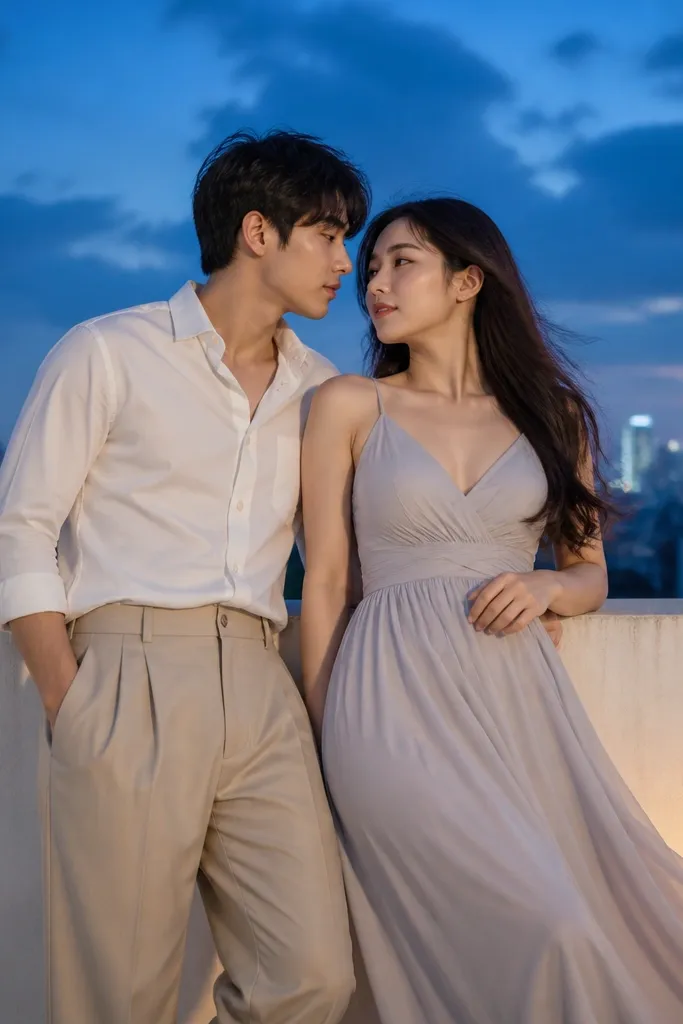
Rooftop terraces can look very “wedding” when you keep the pose clean and the frame uncluttered. The skyline gives scale; your outfits give style. Beginners should focus on one classic movement: a gentle lean toward each other, then a slow turn to face the camera. Choose a terrace with a clean parapet edge so you have a natural line under your hands. Traditional aesthetics come from neutral outfits and calm expressions, not from adding too many props.
Start by finding a terrace with a visible horizon and minimal power lines or messy rooftop equipment. Then plan for golden hour and stay 60-90 minutes so you can catch light before it turns harsh. Shoot from two heights: one from standing with the skyline behind and one slightly lower angle for softer framing. If it’s windy, keep fabric movement controlled with a light shawl or pinned scarf.
Quick tipBring anti-fog wipes; rooftop breeze can dry sweat and create glare on glasses.
Skip thisDon’t shoot in full midday sun — the skyline reflections can overpower faces.
14. Lighthouse Path With Classic Couple Turn
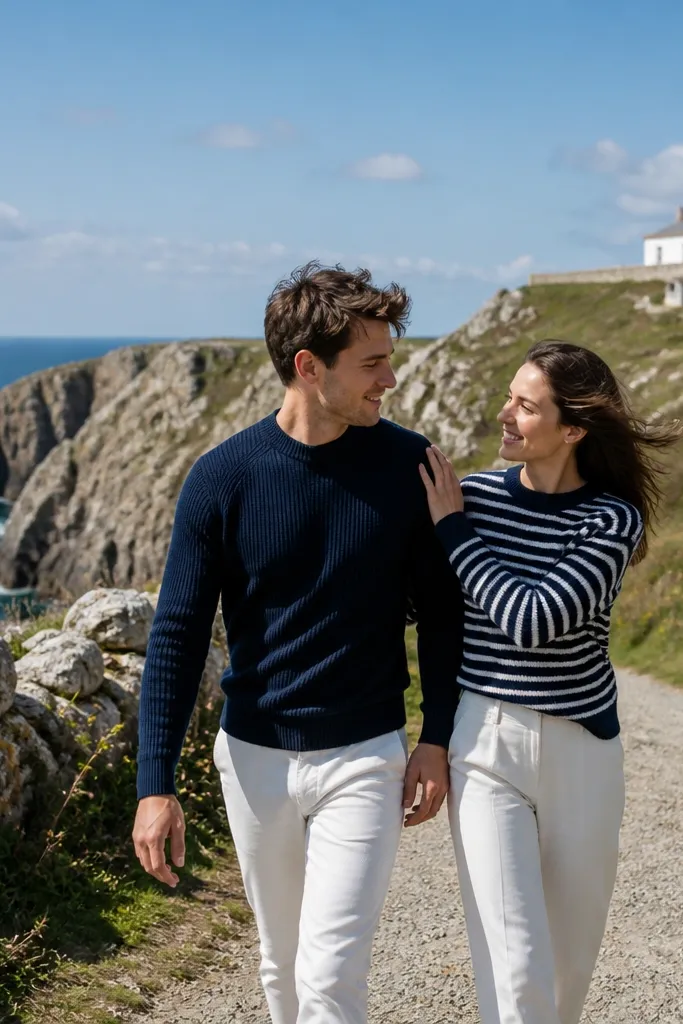
Coastal paths near a lighthouse look timeless because you get strong shapes and open sky. The lighthouse structure gives a clear focal point, while the path creates depth for movement. For beginners, the best pose is a classic turn: walk forward, then rotate your bodies toward each other while still moving slowly. Outfit colors matter here — navy, cream, and charcoal look natural against the sea. Wind is part of the look, but you want it gentle, so choose a calmer day or plan shaded stops.
Start by choosing a path with a visible curve so the background leads to the lighthouse. Then schedule 75-100 minutes around late afternoon for warm light and softer contrast. Shoot in three segments: wide frames with the lighthouse, mid frames on the path, and tight portraits when the path narrows. If the wind is strong, shoot more close frames and keep skirts and scarves secured.
Pack safety pins for hems and scarf corners; coastal wind can undo fabric fast.
Skip overexposed sky — position yourselves so the sun isn’t directly behind you.
15. Candlelit Chapel Exterior or Courtyard
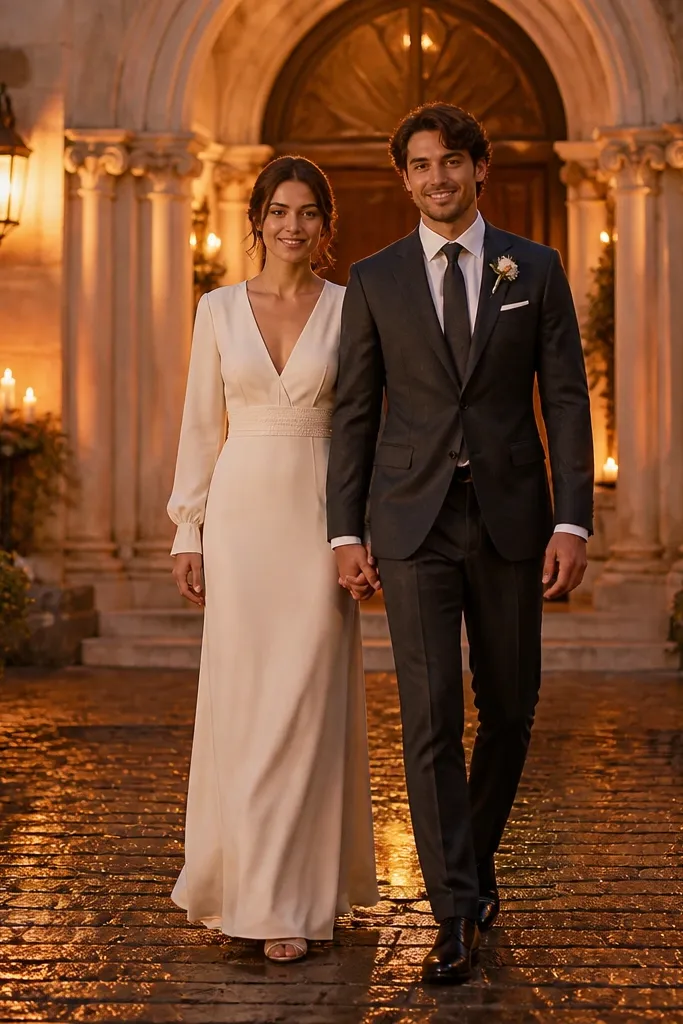
Evening chapel courtyards look romantic and traditional because warm light makes skin tones flattering and hides minor outfit wrinkles. You’re aiming for a soft glow, not bright flash look. Keep poses simple: stand close at an entrance, hold hands, and do one slow step forward for a natural “arrive” feel. Traditional styling matters — avoid shiny fabrics that reflect harsh light. This idea works best in places that have warm exterior lighting and calm walkways around the entrance.
Start by checking if the chapel courtyard is open for photos and what time lights turn on. Then plan 60-90 minutes: 20 minutes for entrance portraits, 20 minutes for side angles, and the rest for walking frames on the path. Arrive 30 minutes before the light switch so you can adjust to changing brightness. If there are people around, shoot from a doorway edge and wait for clean moments.
Bring a small shawl for warmth; cold makes poses tense fast in evening air.
Don’t shoot in the darkest corner where faces fall into shadow.
16. Library Steps and Window Light Portraits
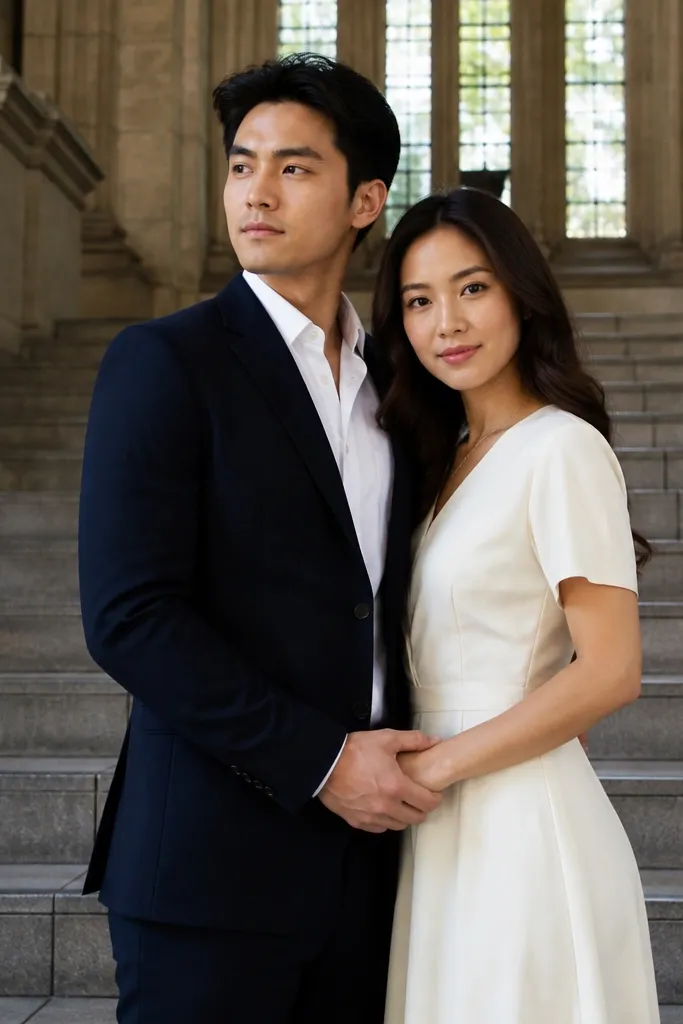
A library building gives you traditional, academic romance. Tall windows and clean stone steps create a calm background that looks intentional in every frame. This is great for beginners because you can pose like you’re waiting for someone: standing close, hands together, then a gentle look away and back. Choose outfits with texture — wool, cotton, or linen — because the building materials complement them. Morning light is best to avoid harsh shadows under the steps.
Start by scouting the window side where light hits evenly on faces. Then plan 70-90 minutes: 25 minutes for step portraits, 20 minutes for window reflections or side angles, and the rest for close shots with the building behind you. Arrive before crowds pick up, usually mid-morning. If it’s cloudy, the windows still give soft light — just keep the background uncluttered.
Quick tipWear darker tones for the bottom half so shadows under the steps don’t look heavy.
Skip thisDon’t stand under a tree canopy — leaf shadows look patchy.
17. Classic Arch Bridge With Framed Side Profiles
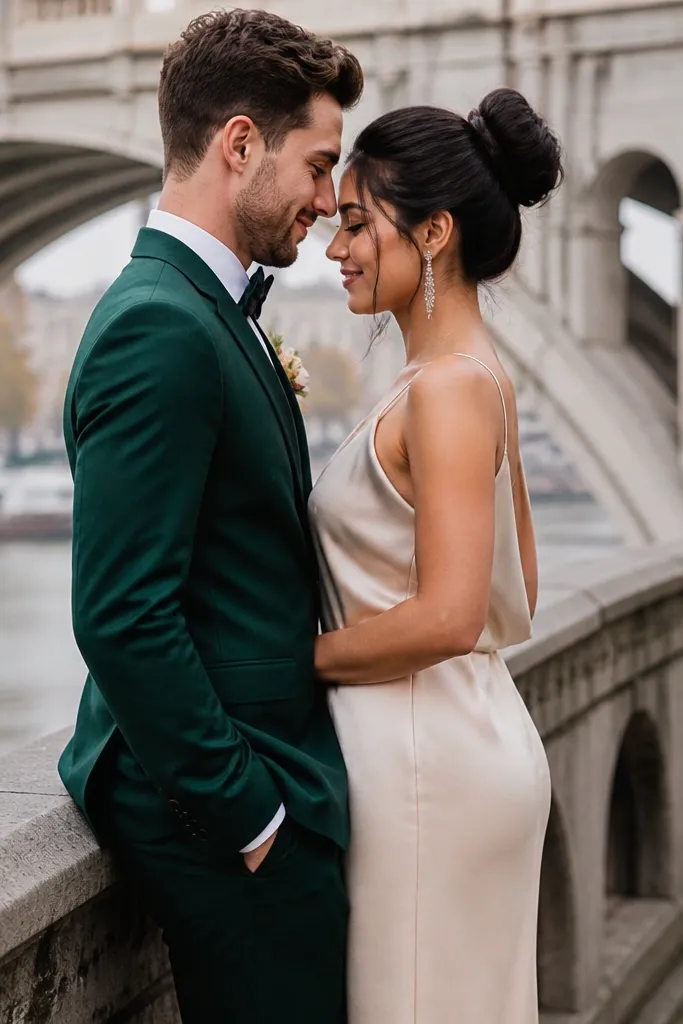
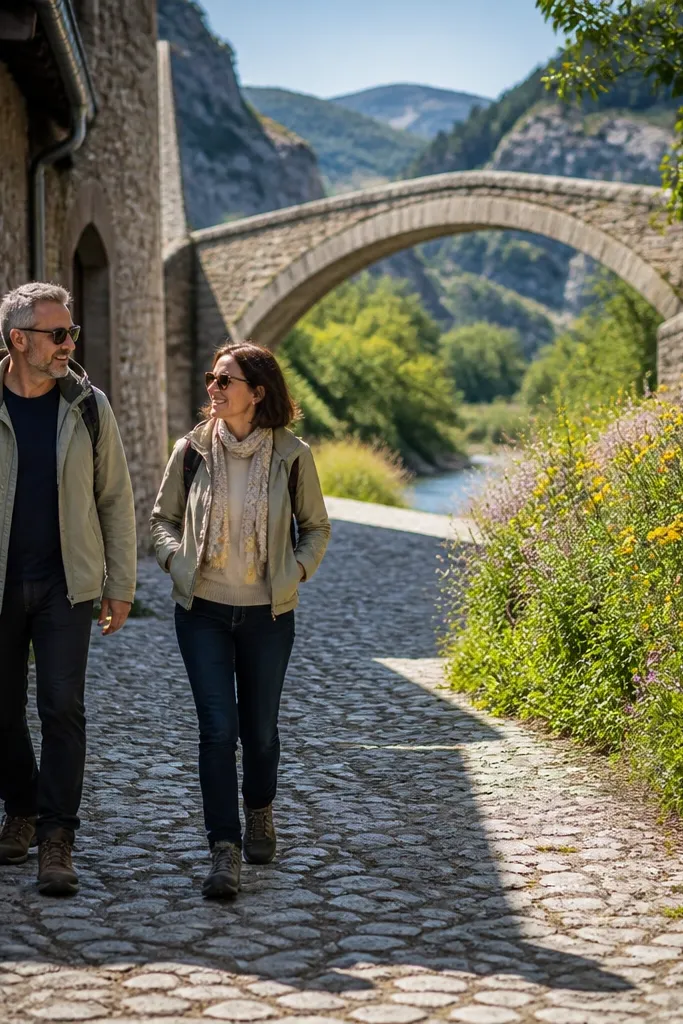
Bridges with arches look timeless because they create strong geometry and a natural frame. Side profiles work especially well here because the bridge lines guide the eye and make the couple look composed. Beginners can keep it simple: stand close, turn slightly, and let shoulders relax. Choose one outfit that contrasts with the bridge material — cream against gray stone or navy against warm metal. Timing matters: late afternoon gives the bridge a warm glow and makes faces look evenly lit.
Start by finding a bridge section with a clear view behind you and minimal traffic in the background. Then plan a 60-80 minute session, focusing on side profiles and walking frames along the walkway. Arrive when the light hits from the side so you get shape on faces without glare. If there’s vibration from traffic, pick a quieter time and shoot more still portraits.
Bring a small lint brush; bridge railings grab dust.
Avoid shooting with the sun directly in the walkway — lens flare ruins details.
18. Rose Garden Rows and Classic Hand-to-Waist Pose
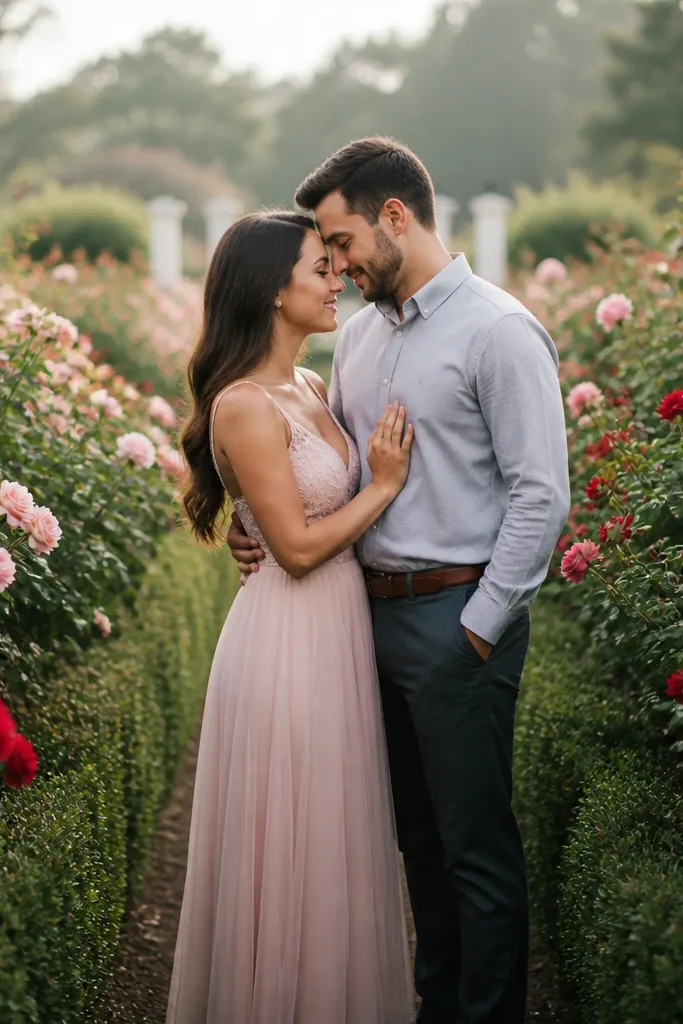
Rose gardens look traditional because the rows create depth and the flowers add color without needing extra props. For beginners, the best pose is one where your body has a clear center point: hand to waist, shoulders close, and a gentle head tilt. Keep expressions soft and intentional — look at each other, then look slightly past the camera for a calm portrait. Choose outfits that match the season’s flower tones: blush and cream for pink blooms, or navy and charcoal when roses are darker. Early morning makes petals look fresh and reduces harsh shadows.
Start by locating the main rose rows with the clearest pathway between plants. Then plan 75-100 minutes: 30 minutes for row-walk frames, 25 minutes for standing portraits, and the rest for close flower-adjacent shots where you keep faces sharp. Arrive early enough to avoid crowds and heat. If roses are not in bloom, use the garden’s structural hedges instead and skip flower close-ups.
Quick tipWear breathable fabrics; sweat shows faster in close garden portraits.
Skip thisDon’t pick a spot with scattered petals all over the ground — it reads messy.
19. Old Cemetery Path With a Soft, Respectful Distance
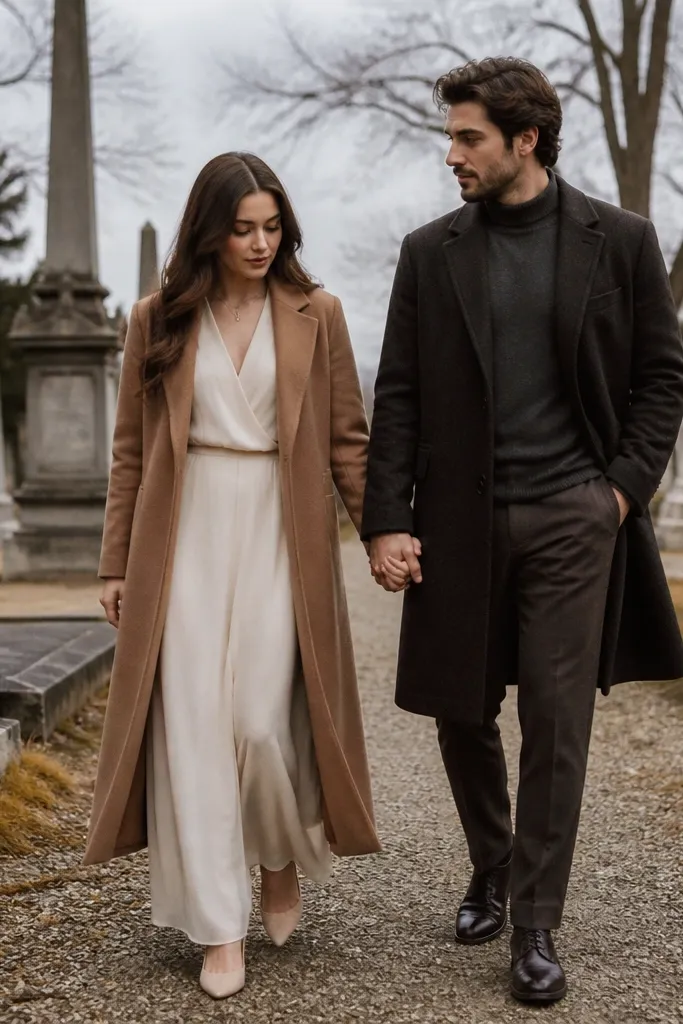
Old cemetery paths can look stunningly timeless when you treat them respectfully and keep compositions clean. The stone textures and spacing create a calm, classic background. Beginners should avoid dramatic posing; go for slow walking, gentle hand-holding, and a soft look toward each other. Keep your outfits traditional and muted so you don’t clash with the setting. This idea works best at low crowd times and in soft light so the mood stays respectful and romantic, not spooky.
Start by choosing a section with clear paths and readable stones that aren’t cluttered with decorations. Then plan 60-90 minutes in early morning or late afternoon for softer lighting. Shoot at a respectful distance so you don’t block paths and so backgrounds stay orderly. If there are visitors, switch to quieter angles near trees and shoot wider to reduce interaction.
Quick tipBring a small water spray for dusty shoes; it keeps hems from picking up grit.
Skip thisDon’t stage poses directly on graves or near fragile stones.
20. Winding Canal Side With Classic Shoulder Touch
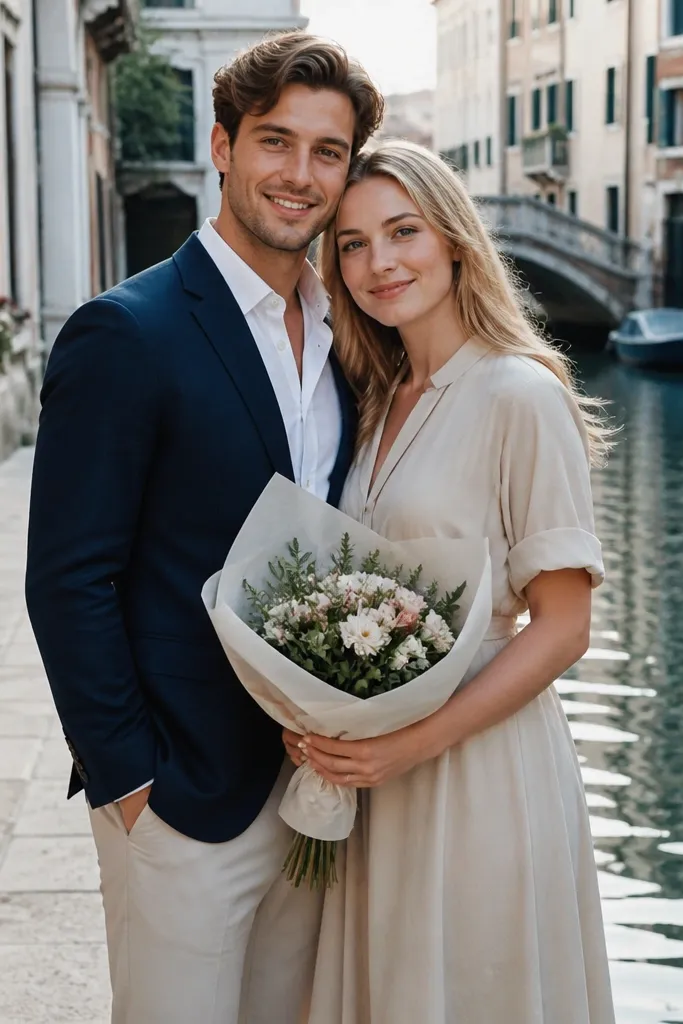
Canal sides look timeless because the water and buildings create a layered background. The winding shape gives you depth, so even simple poses look cinematic. For beginners, the best move is a classic shoulder touch: stand slightly angled, touch shoulders, and let hands rest naturally at your sides or on a bouquet. Keep outfits in solid tones so reflections don’t pick up extra colors. Late afternoon makes the water glow and keeps the buildings warm.
Start by finding a canal section with clean edges and minimal boats or clutter in the immediate frame. Then spend 70-95 minutes: 25 minutes for shoulder-touch portraits, 25 minutes for walking along the canal, and the rest for close frames with the water behind. Arrive when the sun is angled so reflections don’t glare. If boats pass, wait for a clean gap and shoot quickly rather than shifting constantly.
Quick tipWear dark trousers or a longer skirt; canal reflections show every light fabric wrinkle.
Skip thisSkip canal banks with lots of ropes, signs, or overflowing trash bins behind you.
21. Traditional Wooden Bridge With Crossing Steps
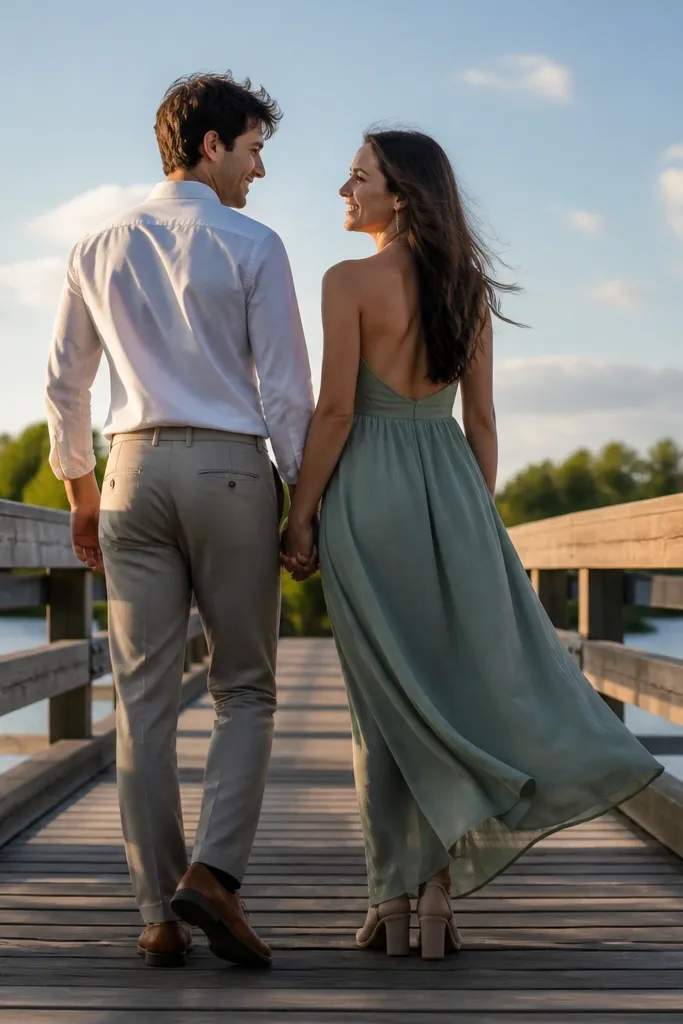
A wooden bridge creates a warm, classic travel feel that reads traditional in photos. The planks create leading lines and add texture that looks good in both wide and tight frames. Beginners should focus on crossing movement: walk a few steps, pause, then turn back toward each other. This gives you variety without needing complicated posing. Choose outfits that look good with warm wood tones — cream, camel, forest green, and navy. Overcast days work well because the light is even.
Start by picking a bridge with a clear view behind you and no messy rail clutter. Then plan 60-80 minutes, doing: 20 minutes for stepping sequences, 20 minutes for a pause-and-turn, and the rest for side profiles. Go at a time with fewer pedestrians so you can keep the background clean. If it’s sunny, position so the sun isn’t directly hitting the bridge boards and causing glare.
Quick tipBring a small fabric steamer or wrinkle spray; wood bridges make you stop and pose a lot.
Skip thisDon’t shoot with the bridge boards in direct sun — they reflect and distract.
22. Classic Waterfront Steps at a Harbor Wall
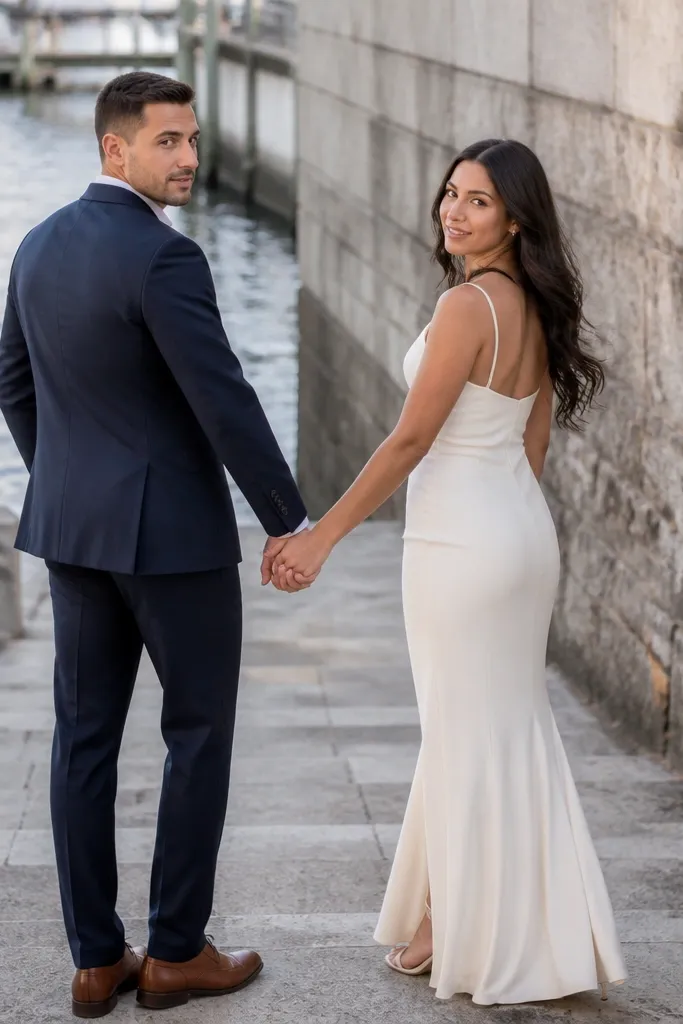
Harbor walls and waterfront steps deliver traditional romance with a clean, structured background. The stone wall gives you a solid backdrop that doesn’t fight your outfits, and the water adds softness. For beginners, this is a straightforward setup: stand one person slightly ahead, hold hands, and do one slow turn toward the water. Keep your expressions relaxed and your movement small. Choose outfits in neutral tones so the sea doesn’t color-cast your skin.
Start by scouting steps that are stable and safe, with a wall that stays clean behind you. Then plan 70-90 minutes around late afternoon for warm highlights and soft water. Shoot wide for the whole harbor scene, then move closer for portraits where the wall fills most of the background. If boats are noisy or moving, time your shots between passings to keep the frame calm.
Bring a small towel for damp steps so your outfit hems stay clean.
Skip places with graffiti or wet, reflective puddles in the background.
23. Traditional Courtyard Fountain With Classic Stance
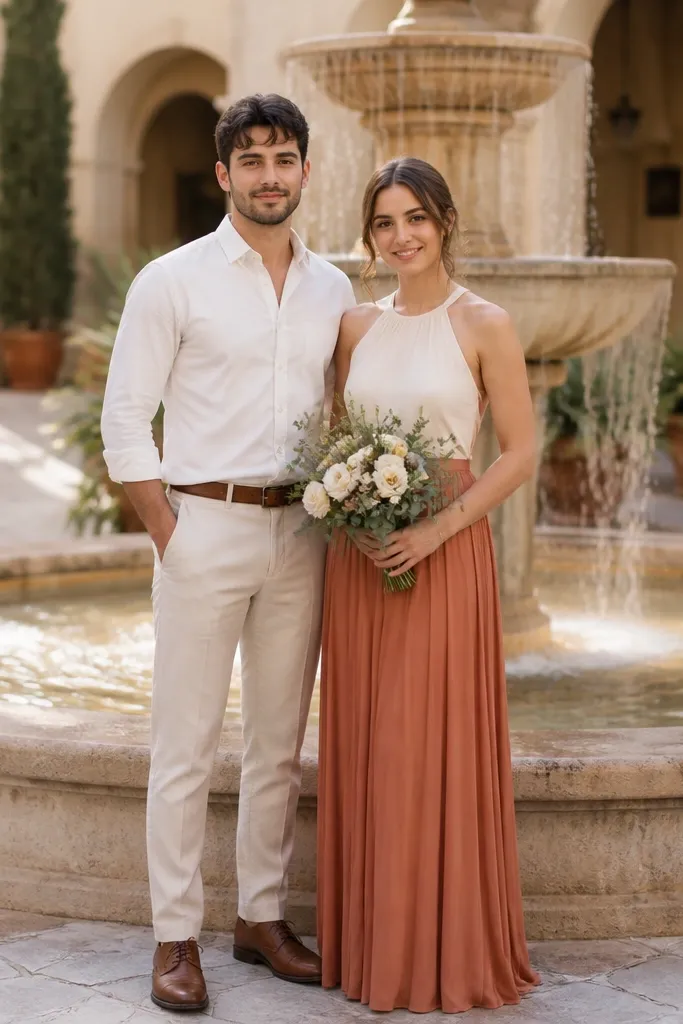
Courtyard fountains look traditional because they add motion and sparkle without needing extra props. The water movement creates a gentle blur behind you, which makes faces stand out. Beginners should use a stable stance: feet planted, shoulders relaxed, hands holding a bouquet or lightly touching. Keep your outfits simple and matte so they don’t reflect fountain light too harshly. Morning or late afternoon gives you the most flattering water highlights.
Start by choosing a courtyard angle where the fountain water sits behind you, not directly beside your faces. Then plan 60-85 minutes: 25 minutes for planted portraits and 20 minutes for walking near the fountain edge. Arrive early so you can avoid crowd noise and get quieter frames. If the fountain is turned off, switch to the courtyard architecture and shoot without relying on the water.
Use a compact umbrella or hood for hair control if mist falls.
Don’t stand too close — the mist makes skin look shiny in photos.
24. Old Town Doorways With Matching Color Blocking
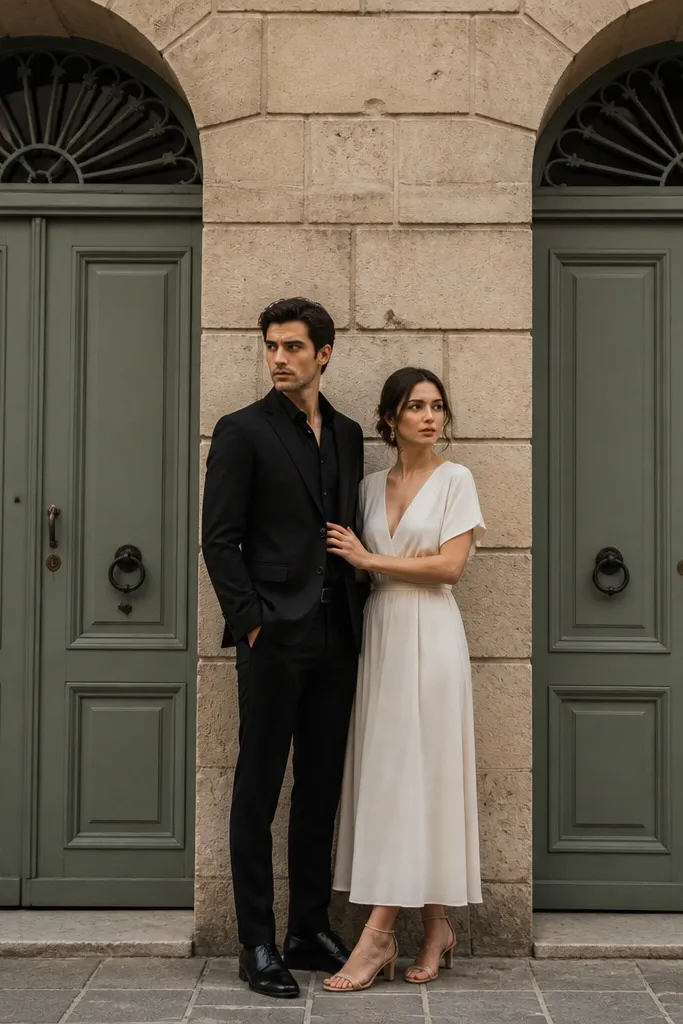
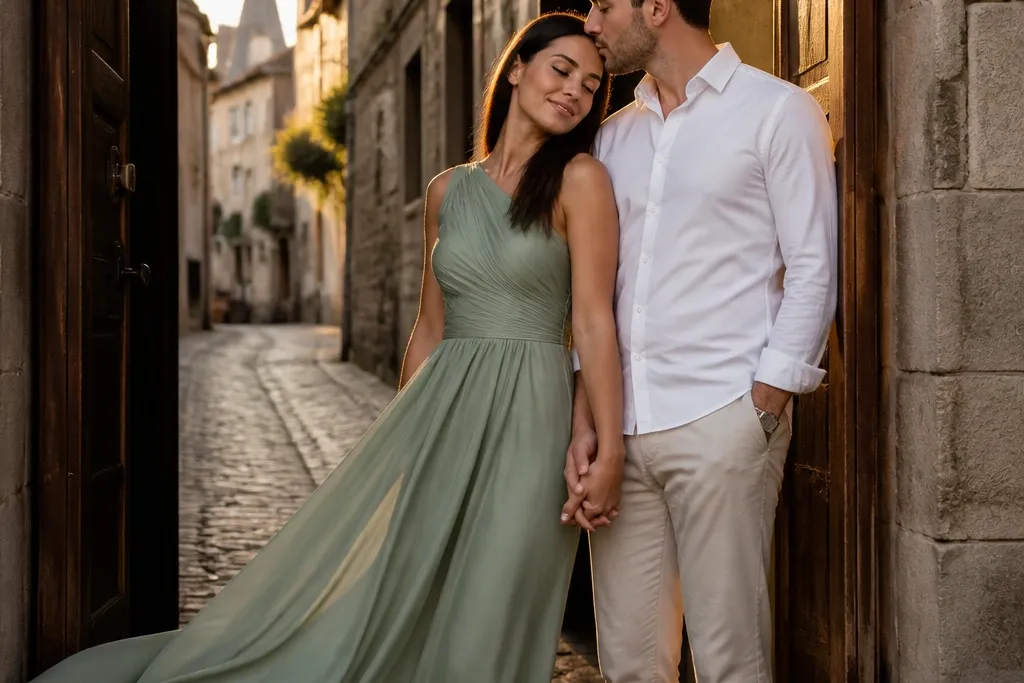
Doorways are the fastest traditional travel trick because they frame your subjects like a portrait set. The best ones have clean edges and a single dominant color in the background. Beginners can keep it easy by posing as if you’re about to step out: stand close, one hand on the other’s wrist, and a slow head turn. For aesthetic consistency, match your outfit palette to the doorway color — cream next to deep blue doors, or black next to warm wood. This gives timeless appeal even in crowded towns.
Start by finding three doorways on the same street so you can move quickly between setups. Then plan 45-70 minutes total: 15-20 minutes per doorway and a short walking segment between them. Shoot in the shade of the doorway for even skin tones. If you hit a crowd, switch to a side doorway with less foot traffic and keep moving.
Quick tipCarry a small cloth to wipe hands; doorframes can be dusty and smudges show.
Skip thisSkip doorways with peeling paint directly behind your heads — it looks distracting.
25. Classic Beach Boardwalk With Breeze-Controlled Hair
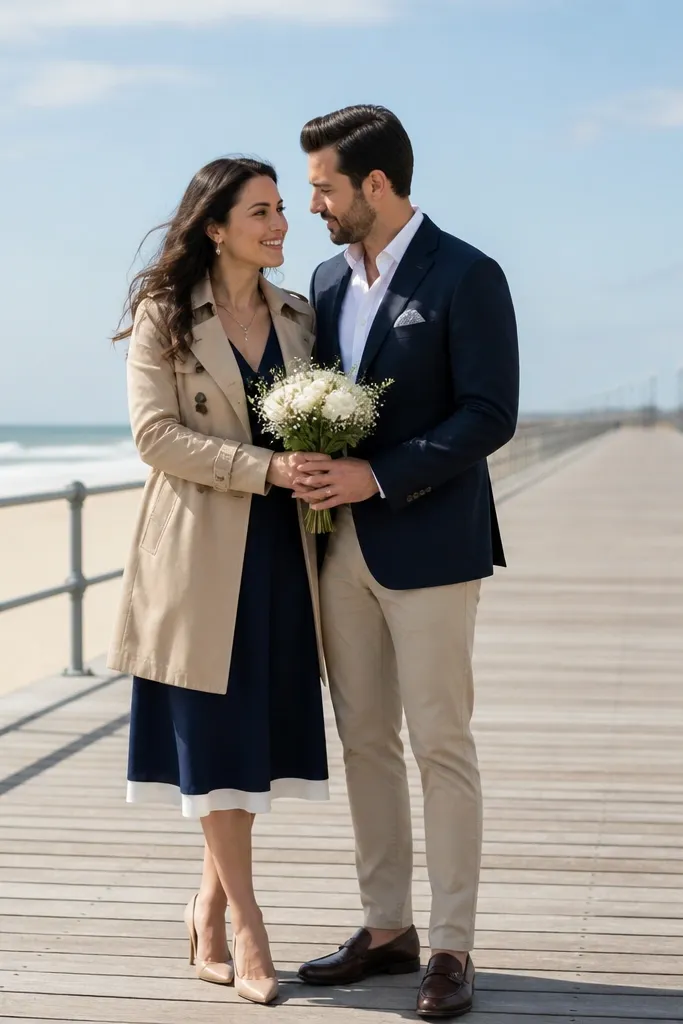
A beach boardwalk gives you a traditional seaside look while keeping the ground stable for beginners. You get long lines, open sky, and movement without tricky terrain. Pose with controlled breeze: walk slowly, then stop with shoulders close and hands holding. Outfit colors that look timeless here are sand, navy, white, and charcoal. The boardwalk rail adds a graphic element that makes photos look styled even if you keep the pose simple.
Start by choosing a boardwalk stretch with a clear view and minimal loud signage. Then plan 75-100 minutes around late afternoon, when the sand and sky warm up. Shoot wide for the environment, then step closer for face-forward portraits with the ocean blur behind. If wind is aggressive, shoot more near rail walls or behind dunes to reduce hair chaos.
Bring bobby pins and a light hairspray; boardwalk wind can undo hair in minutes.
Don’t schedule right at midday; glare on the water makes faces look washed.