1. Doorway Frame Lean With Matching Shoulder Angle
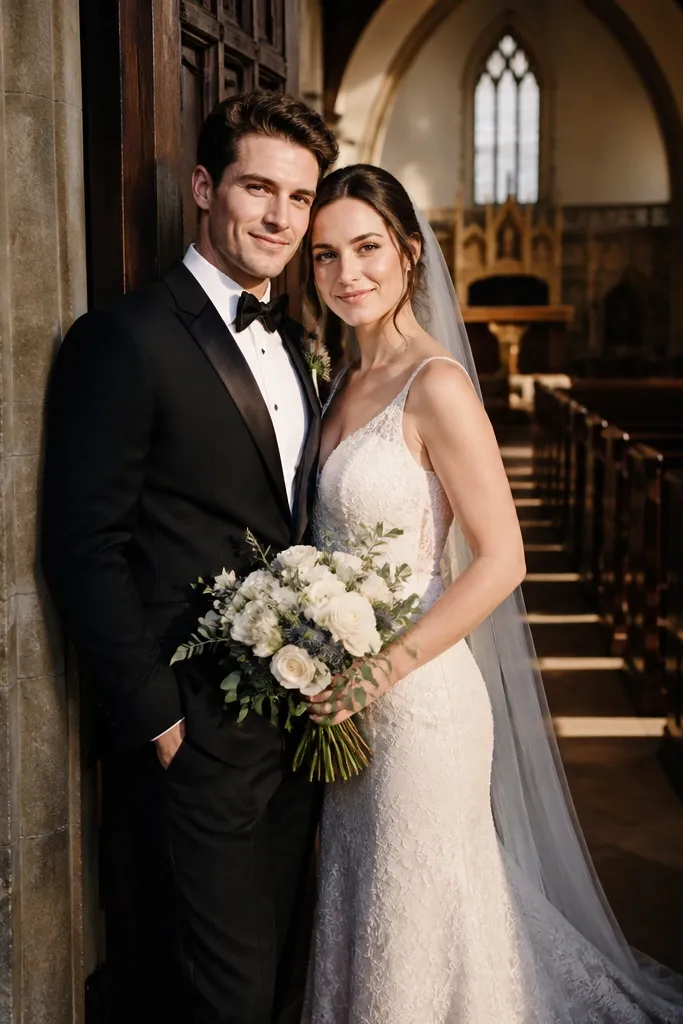
Doorways give you instant composition. The frame makes faces the first thing the viewer sees, and the couple’s bodies can angle without looking like you’re posing for a passport photo. This works especially well for historic hotels, old churches, and rental houses with tall trim. It also photographs cleanly in late afternoon because the doorway often holds softer light than the street outside.
Step 1: Position both people inside the doorway so the camera sees trim on both sides of their heads. Step 2: Angle your shoulders about 30 degrees toward the camera, then do a gentle lean — front person slightly forward, back person slightly back — so there is depth between you. Step 3: Give hands a job: bouquet held at mid-torso with elbows slightly tucked, or one hand resting on the other’s forearm.
Quick tipScout doorways with consistent light by checking shade lines at least 20 minutes before photos.
Skip thisAvoid standing perfectly straight and centered — flat alignment makes the doorway look like a mugshot.
2. Stair Step Profile With One Foot Tap
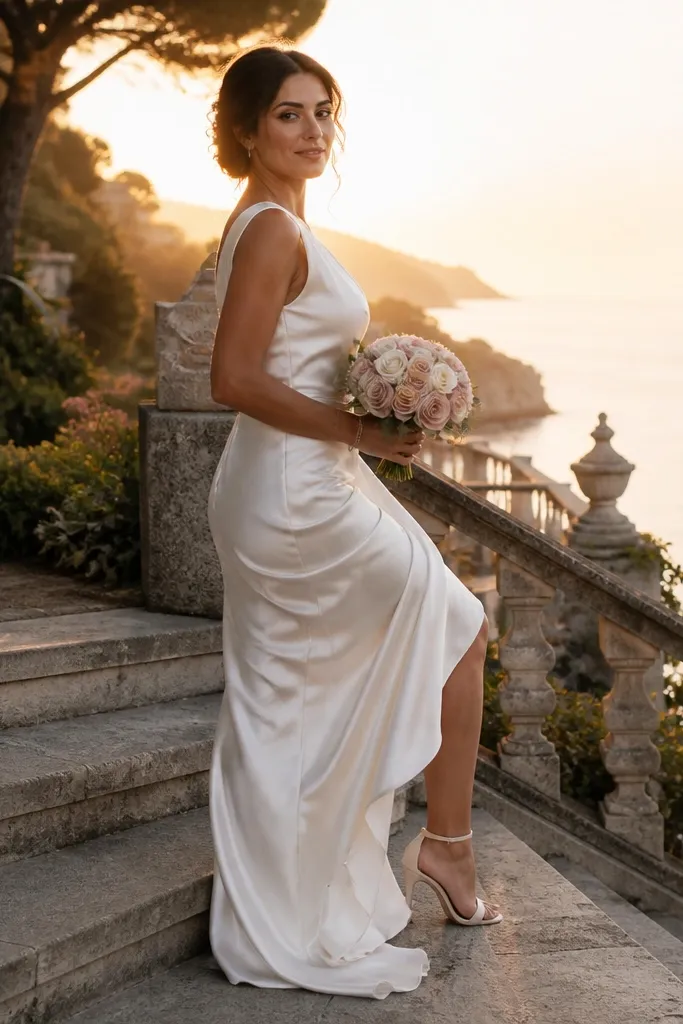
Stairs add height and separation, which makes even simple outfits look editorial. Side profile helps you avoid the common mistake of both faces being equally forward and flat. This look is great for venues with indoor steps, outdoor terraces, or any walkway with a natural incline. The photos feel romantic because your bodies create diagonals that guide the eye from shoulders to hands.
Step 1: Place one person one step higher than the other, then turn both bodies into side profile while keeping faces angled back toward the camera. Step 2: Use a tiny “tap” — the lower person’s toe lightly touches the next step, not the whole foot, so the stance reads casual but intentional. Step 3: Keep hands close to the body: bouquet at waist for the lower person, and a relaxed grip or coat hold for the higher person.
Bring a small lint roller; stairs pick up dust and your hem will show it.
Avoid full-body steps where both feet land on the same step — it flattens the composition.
3. Wall-Sit With Elbows Anchored and Chin Tilt
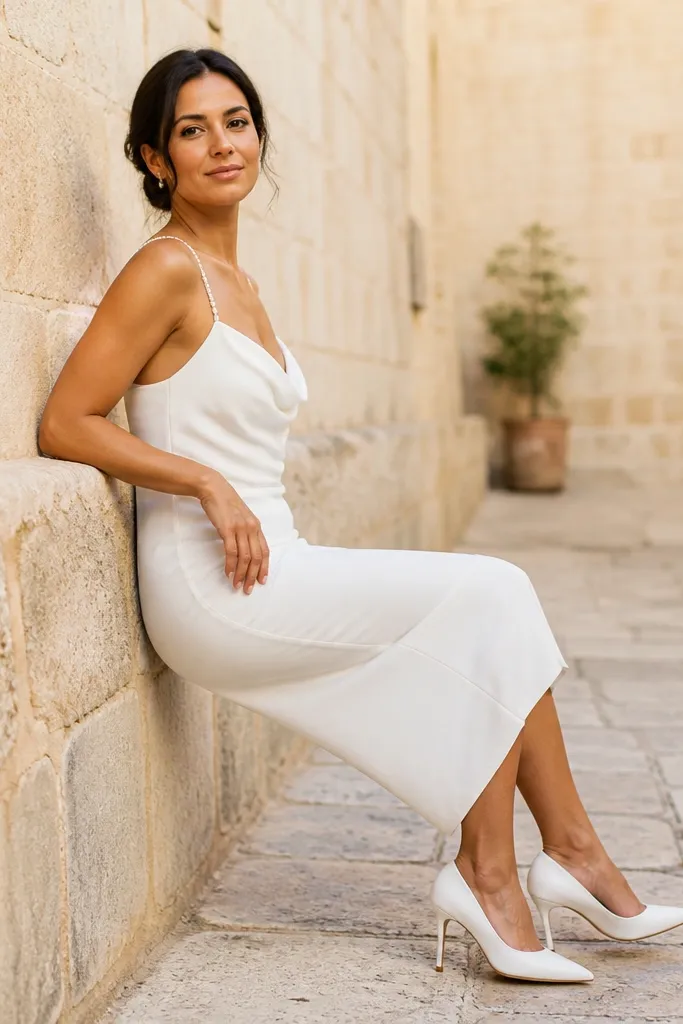
Seated wall shots look styled because you control posture without “posing fatigue.” Anchored elbows prevent the floating-hand problem and give the image a clean silhouette. This is a strong option for parks, courtyards, and urban streets where you can find a plain wall with a little texture. It also works when the couple feels tired, because the body position is stable and flattering.
Step 1: Sit with one hip slightly off-center so the camera sees a diagonal line from shoulder to knee, not a straight block. Step 2: Anchor elbows — one elbow on a knee or near your waist, the other supporting the bouquet or resting lightly on the partner’s hand. Step 3: Use a chin tilt toward the camera by a few degrees, not a dramatic head turn, and keep eyes locked on the lens.
Quick tipPick a wall that is two shades darker than the dress and suit so contrast holds.
Skip thisAvoid legs straight out toward the camera; it turns the pose into a flat bench picture.
4. Walk-Buy Through Soft Archway Light
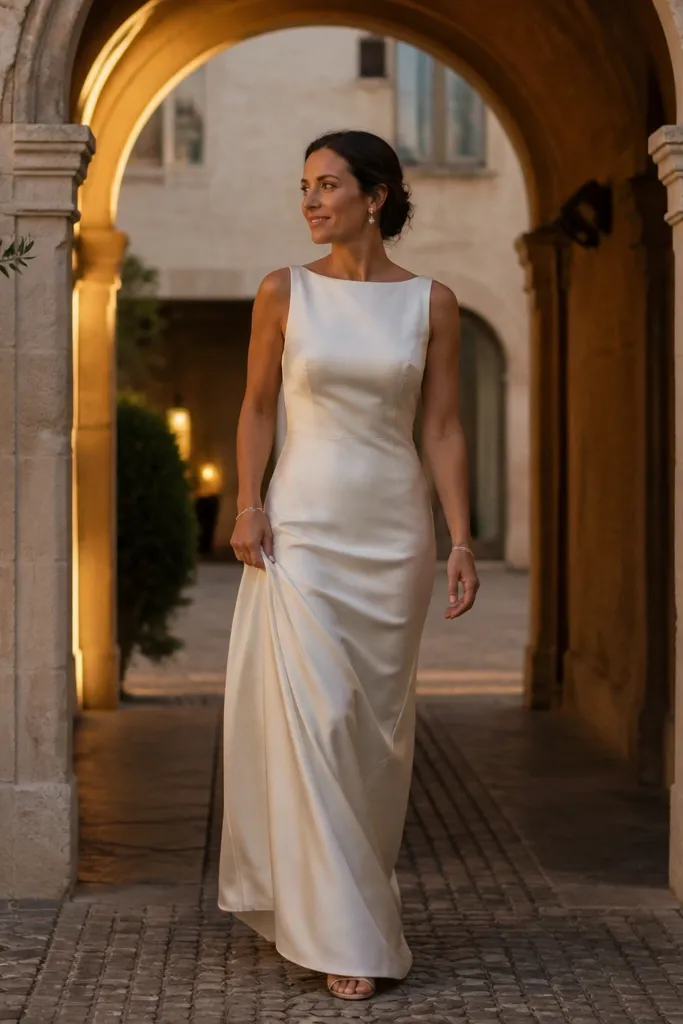
Walk-bys create movement without blur if you keep the pace slow and the faces intentional. Archways give you a natural “window” of light and a clear foreground-to-background depth. This is a top choice for outdoor ceremonies and hotel courtyards where you can find repeated arches or columns. The photos look romantic because the outfits move, but your faces still feel present.
Step 1: Position at one side of the arch and set your photographer to track as you move, keeping your feet in a slow rhythm. Step 2: Both people face the camera for the first step, then keep your faces turned while your bodies glide forward. Step 3: Bouquet stays at mid-torso; avoid waving it because it creates messy motion trails.
Schedule this 10-15 minutes before the sun drops so the arch stays bright, not dim.
Avoid turning away mid-walk — it makes the sequence feel like candid by accident.
5. Golden Hour Hands-Under-Chin Close Couples Frame
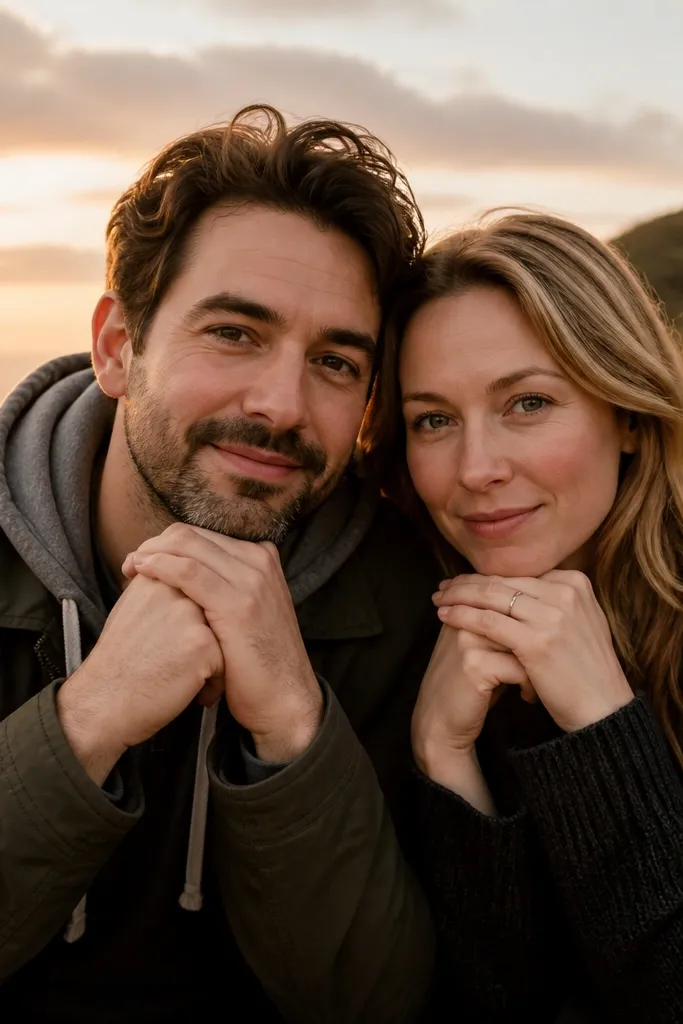
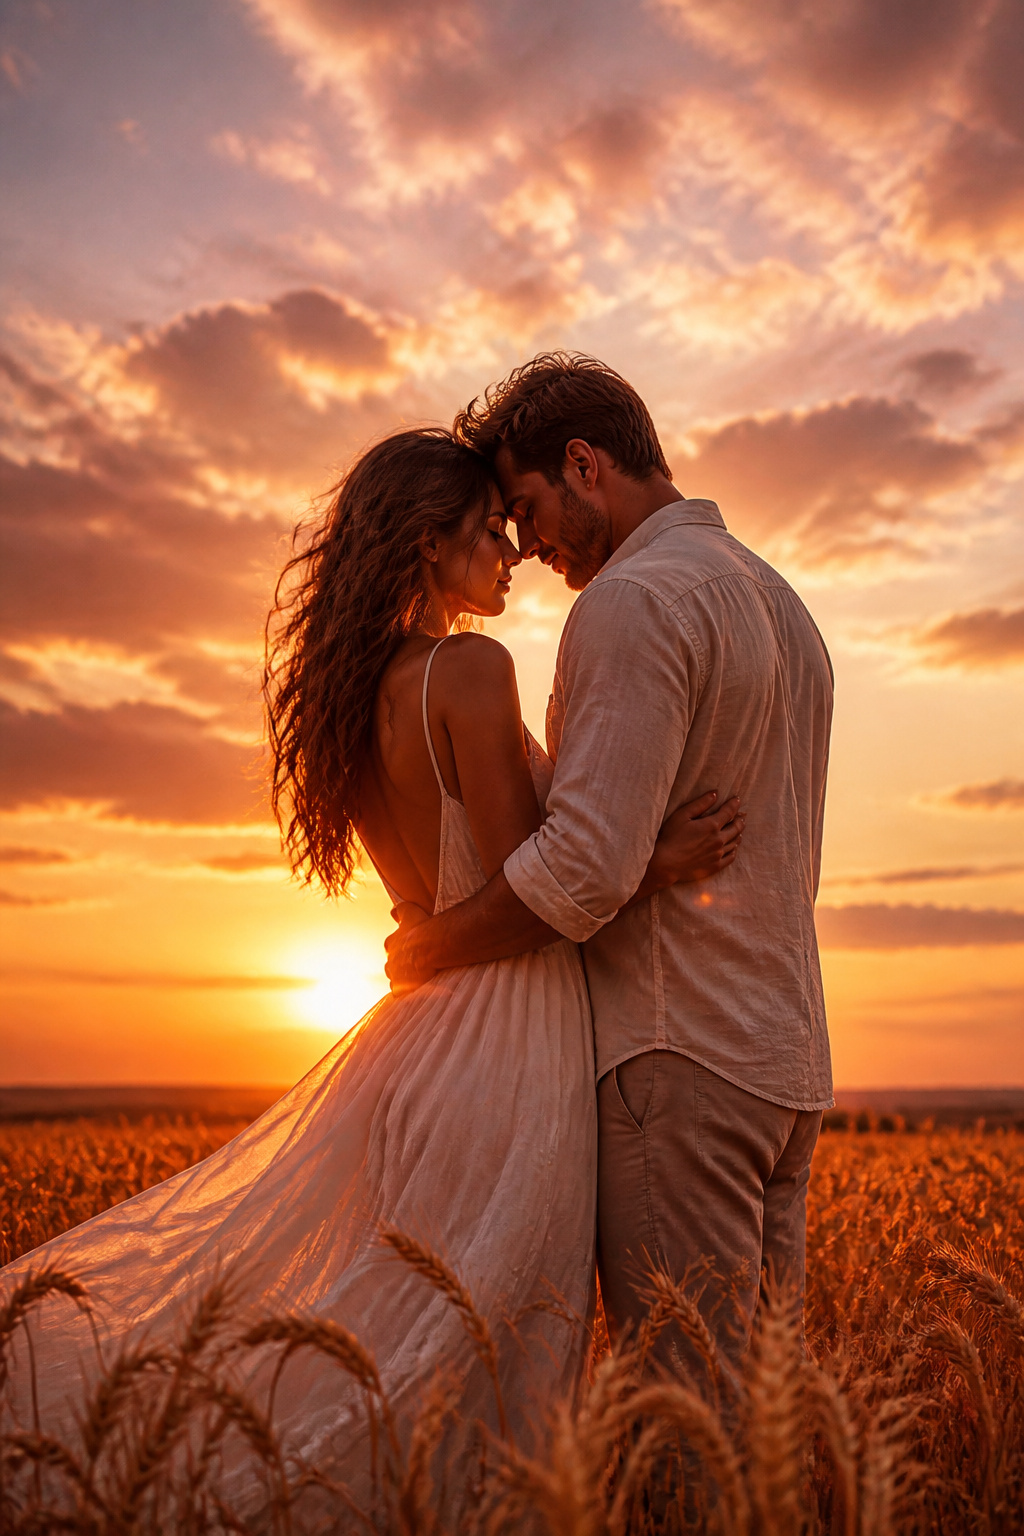
This look is about intimacy and clarity. Hands near the face create a strong focal point, and warm backlight makes skin tones look smooth without heavy editing. It works best when you have a clean background like open sky, a field edge, or a wall with no clutter. It also helps if you’re uncomfortable with big posing — you just need calm eye contact and gentle touch.
Step 1: Stand close enough that your shoulders overlap in frame, then angle bodies 15-25 degrees to avoid a flat, front-on look. Step 2: One person supports the other’s chin with fingertips lightly, while the other keeps hands low on the bouquet or partner’s wrist. Step 3: Turn your face slightly toward the light source and ask for slow breaths — it reduces tension around the mouth.
Quick tipLook for backgrounds that are one color — sky or a single-toned wall — so the hands stay the hero.
Skip thisAvoid gripping too hard; tight hands make the jaw look tense in every frame.
6. Bouquet Over Shoulder With Twist and Soft Smile
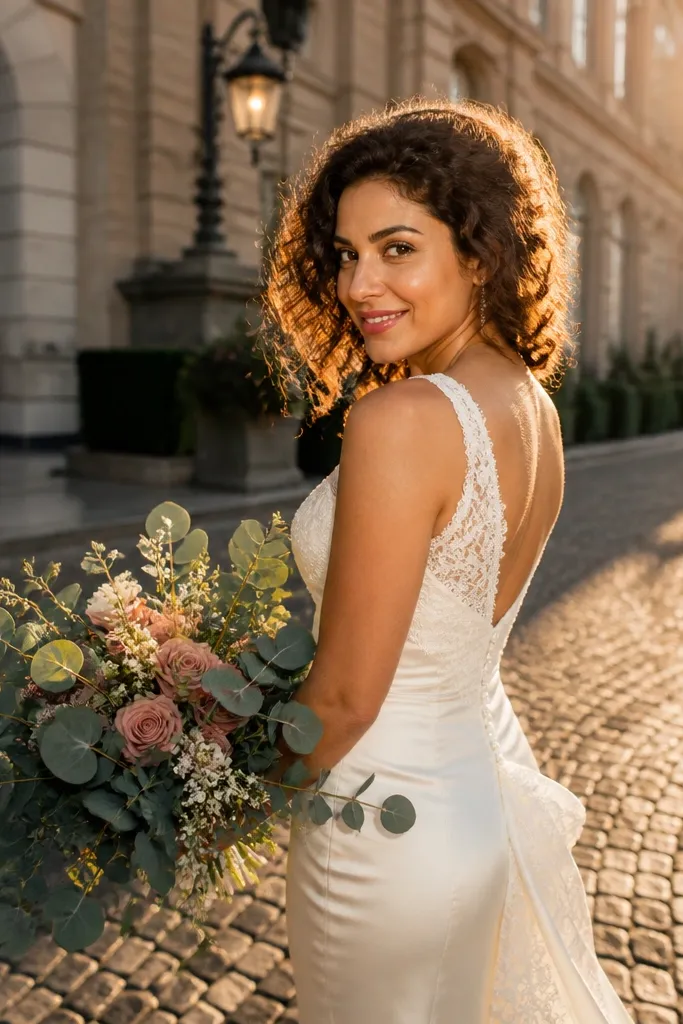
This pose makes the bouquet part of the composition instead of something you hold at your side. The over-shoulder angle adds depth and shows off the dress shape, especially with straps, lace backs, or a statement train. It looks best with textured bouquets — mix of greens and flowers — because the detail stays sharp. It’s a great fit for outdoor sessions where you can stand against a simple background.
Step 1: Turn your body about 45 degrees away from the camera, then rotate your head back toward the lens. Step 2: Lift the bouquet over your shoulder so it sits above the shoulder line, not behind your neck, and keep the elbows slightly bent. Step 3: Have the partner place a hand at your waist or upper back and match the twist so you don’t look like two people standing back-to-back.
Use a slightly higher bouquet position in bright sun; it prevents the bouquet from becoming a dark blob.
Avoid dropping the bouquet to waist level — it hides the flowers and makes the pose look unfinished.
7. Bench Sit With One Leg Cross and Coat Sweep
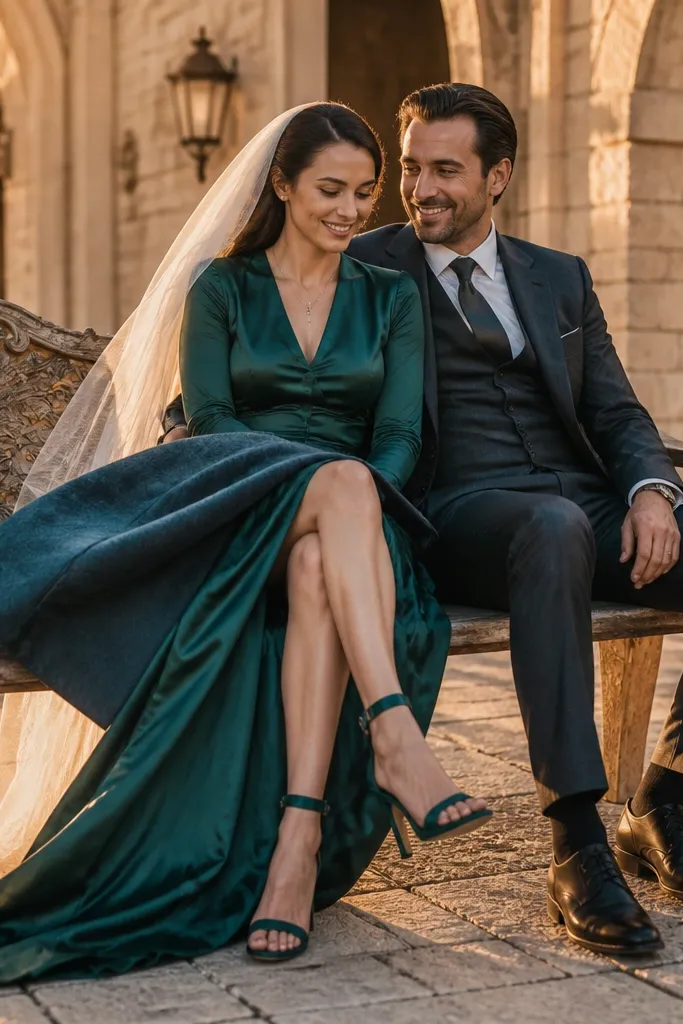
Benches are easy and forgiving, and leg-crossing adds shape fast. The coat sweep trick makes the image feel styled because fabric creates a curve that frames the couple. This works in parks, city streets, and any venue courtyard with seating. If the weather is breezy, you also get movement without losing control of hands.
Step 1: Sit side-by-side with a slight gap that you close by leaning in; then cross one leg over the other for the person closest to the camera. Step 2: Drapes matter — pull the coat or shawl across laps in a shallow arc so it doesn’t bunch. Step 3: Hands go on fabric: bouquet across lap or one hand holding the other’s sleeve edge.
Pick benches with light-colored slats if your dress is dark; it keeps contrast from flattening.
Avoid sitting too far back on the bench; it shrinks the couple in frame.
8. Lakefront Reflection Kiss Frame (No Full Pucker)
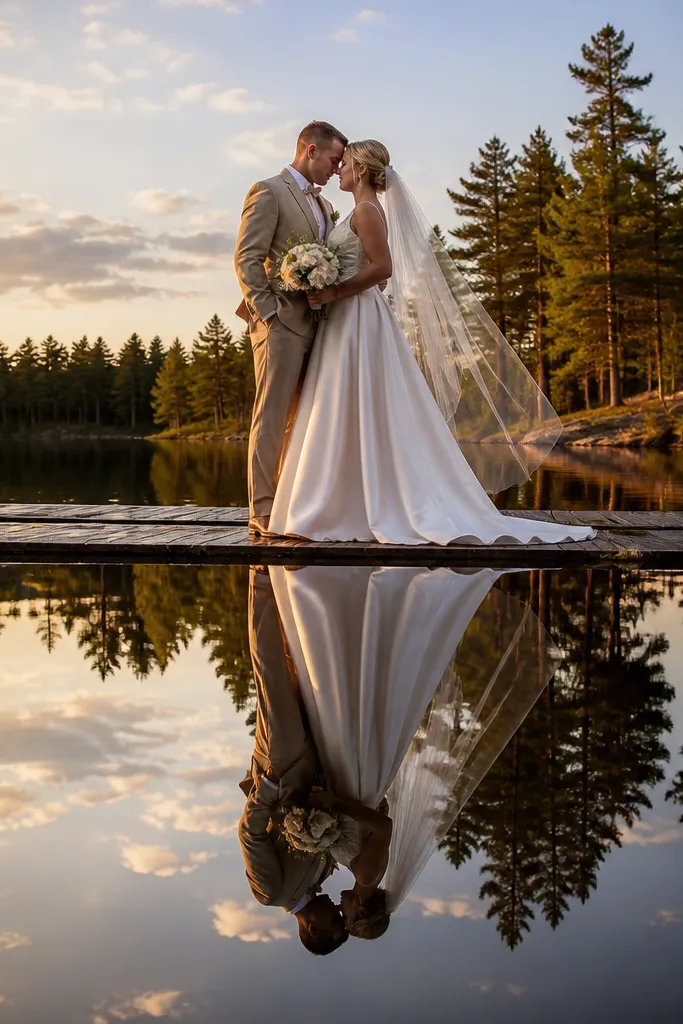
Reflection shots look expensive because they add symmetry and depth. The key is keeping it gentle — a near-kiss with foreheads close often looks better than a big pucker, and it reads more natural in wind. This works for lakes, slow rivers, and calm ponds where reflections are visible. It’s also great for early evening when the water is still and the light is warm.
Step 1: Find a spot where the water is mirror-smooth, then position slightly off-center so the reflection doesn’t cut off faces. Step 2: Lean in slowly so foreheads meet first; the partner stays still for a clean face line. Step 3: Keep hands low and steady — one hand at waist, the other holding bouquet near hip height.
Avoid shooting after people pass nearby; ripples ruin the reflection in seconds.
Avoid fast movement right before the kiss; you’ll lose the reflection alignment.
9. Forest Trunk Back-to-Back With Forehead Touch
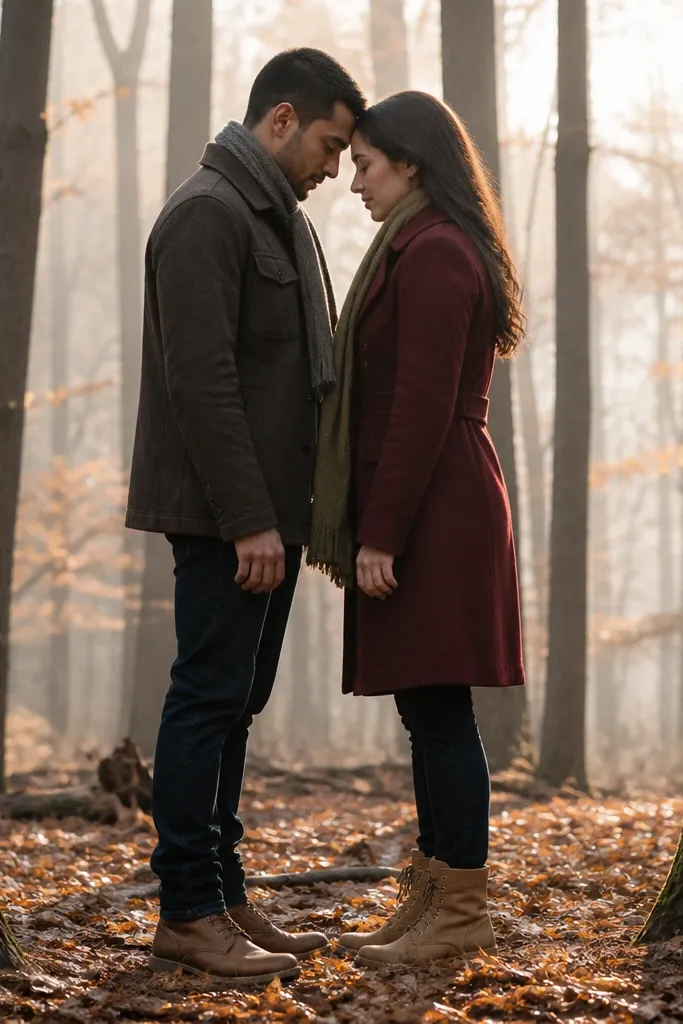
Back-to-back is a strong aesthetic because it creates separation while still feeling intimate. In a forest, tree trunks add vertical lines that frame the couple and make the background feel dimensional. Forehead touch adds tenderness without needing a big kiss pose. This is a great pick for fall and spring when there is enough foliage texture to hide messy backgrounds.
Step 1: Stand close to a single tree trunk so one person is slightly behind the other, not perfectly aligned side-by-side. Step 2: Touch foreheads and keep faces turned toward the camera, using the trunk to block distracting background. Step 3: Hold bouquet low and close to the body to keep it from swinging into the frame.
Choose a trunk with rough texture; smooth bark can look washed out in shade.
Avoid standing too far apart; back-to-back only looks good when bodies still overlap in frame.
10. Street Wall Hands-on-Shoulder Turnaway
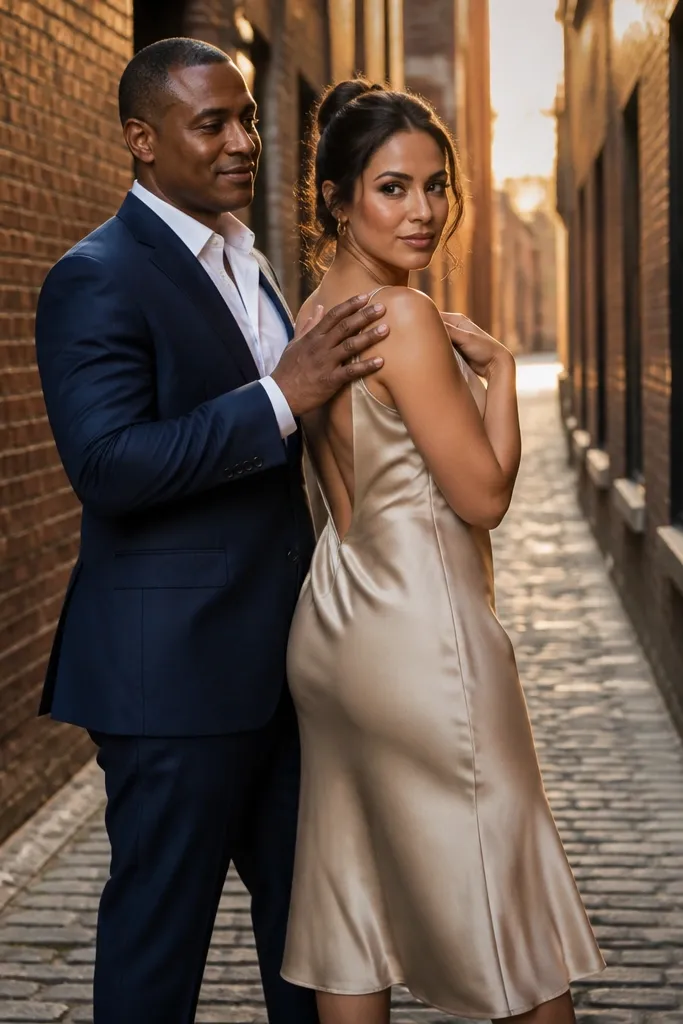
This is an editorial trick: one person turns their body slightly away while the other uses hands-on-shoulder to keep connection visible. The wall gives you a clean background, and the turnaway angle adds tension that feels romantic. It works in alleys, brick streets, and covered walkways where you can find a long stretch of uniform texture. The photos look good because your posture is intentional even when you’re not “smiling at the camera.”
Step 1: Stand with backs near the wall, then turn the front person’s torso 20-35 degrees away from the camera. Step 2: Place hands on the partner’s shoulders and keep the partner’s face turned toward the lens. Step 3: Ask for a slow head movement — chin stays, eyes shift — so you get multiple expressions without changing the pose.
Quick tipPick a wall that is not glossy; glare ruins the brick texture and makes skin look flat.
Skip thisAvoid random leaning with no shoulder angle; it makes the posture collapse.
11. Railing Sit With Downward Bouquet and Eye Contact
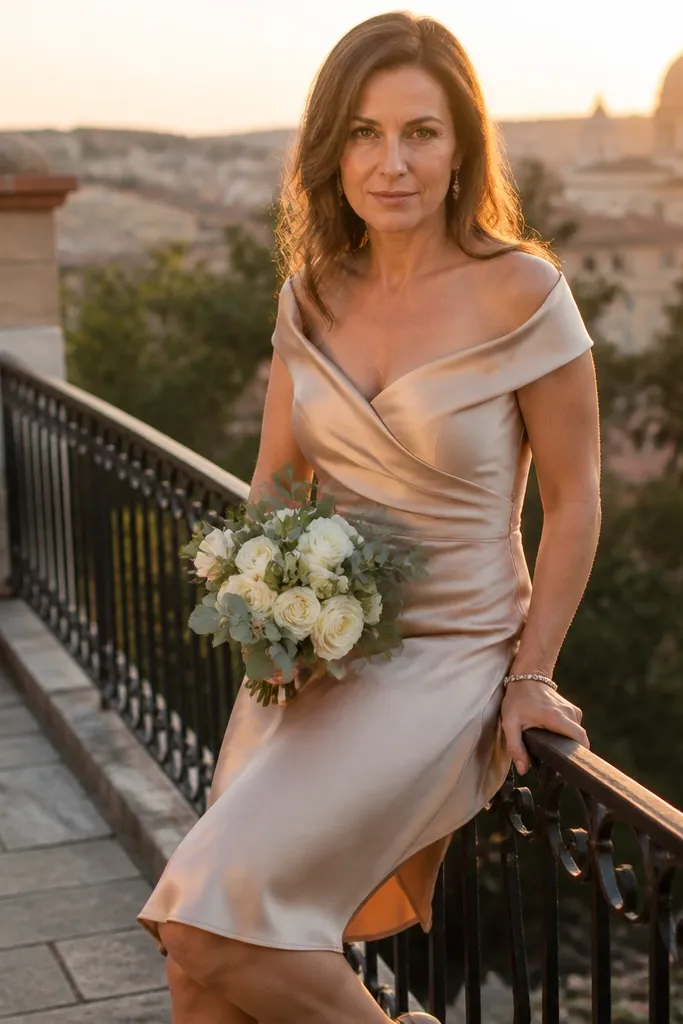
Railing shots create a clean, graphic background and give you a built-in leading line. Angling the bouquet downward makes the flowers read clearly instead of blending into the dress. This is ideal for rooftops, terraces, and stair landings where you can see sky behind you. It also creates a flattering silhouette because you’re seated and the camera sees the curve of your outfits.
Step 1: Sit on the railing edge or step behind it (safely), keeping your torso tall and shoulders relaxed. Step 2: Turn your bodies slightly toward each other, then angle the bouquet downward across your thigh so it forms a diagonal. Step 3: Hold eye contact — direct, not wide — and have your photographer shoot at chest height for clean proportions.
Bring a small shawl or fabric in case wind lifts your dress too high.
Avoid looking down at the bouquet; the pose loses the couple focus.
12. Field Wind Shot With Bouquet Tip Toward Camera
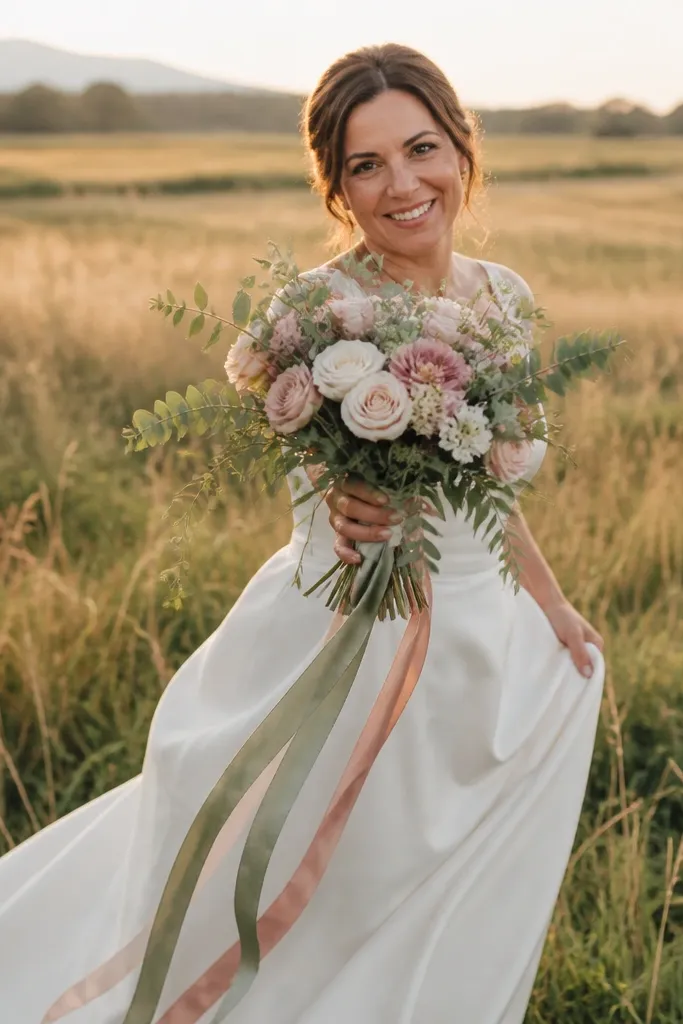
Wind shots look best when you give the camera a clear shape to hold onto. By pointing the bouquet tip toward the lens, you create a visual anchor while the dress moves. Fields, meadows, and open parks give you clean backgrounds and long sightlines. This look is best when the wind is real but not chaotic, so you get motion without losing faces.
Step 1: Position on a slight rise or open patch so your bodies are separated from the background. Step 2: Keep the bouquet at mid-torso and aim the bouquet tip toward the camera; then move slowly — one step, pause, one step. Step 3: Ask for a gentle hair and fabric “lift” by turning your bodies slightly, not flinging arms wide.
Quick tipShoot this before dusk when the light is still directional; wind creates stronger texture in that window.
Skip thisAvoid fast spinning; it blurs faces and makes the bouquet look random.
13. Arm-in-Arm Swing Walk With Matching Hand Height
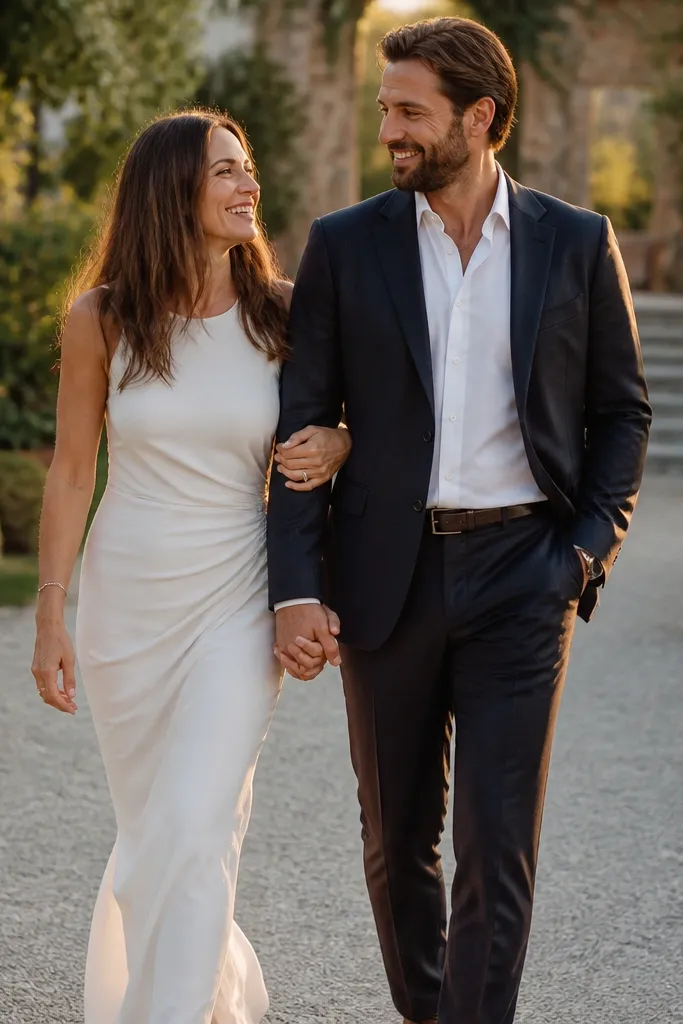
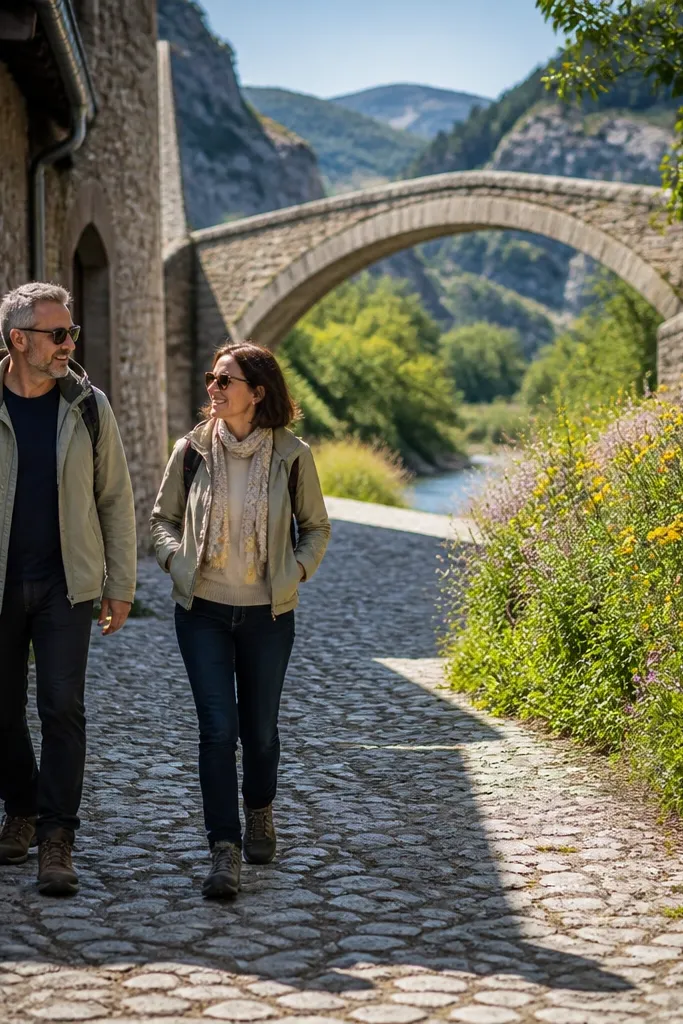
Swing walks create a natural rhythm that looks good in sequences. The key is matching hand height so one partner doesn’t look like they’re reaching while the other looks relaxed. This works in gardens, city sidewalks, and venue paths where you can walk without stopping every second. The photos feel genuine because your movement is the pose.
Step 1: Walk toward the photographer at a slow pace, keeping arms linked at chest level. Step 2: Both people keep hands at the same height — bouquet hand stays steady, free hand stays near partner’s arm line. Step 3: After three steps, pause for one beat and look at each other, then back to the camera for the final frames.
Quick tipPick a path with a repeating background pattern like hedges or columns; it makes the walk look intentional.
Skip thisAvoid holding hands too low; low hands create awkward wrist angles in motion.
14. Curtain or Draped Fabric Pull-Back Portrait
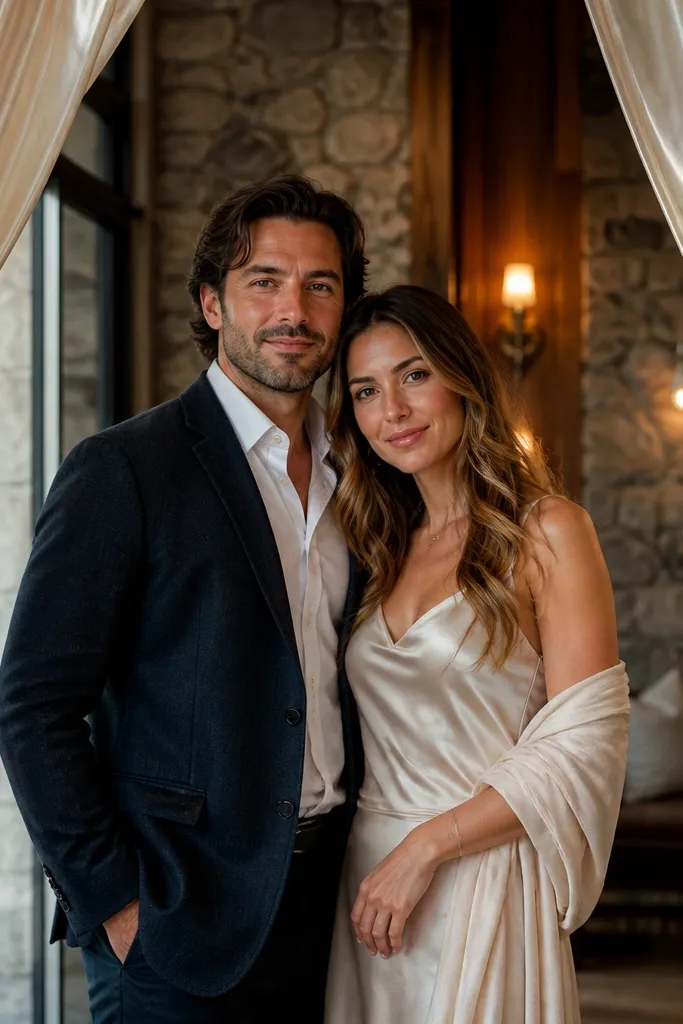
Draped fabric instantly turns a plain room into a styled set. The pull-back framing gives you a cinematic look without relying on complicated lighting. This is a strong choice for indoor venues, hotel lobbies, and wedding days with weather issues. It also flatters couples because the fabric hides harsh backgrounds and shapes your silhouette.
Step 1: Locate a curtain, sheer panel, or draped fabric wall, then position the couple behind it at arm’s length. Step 2: One person gently holds fabric back with a light grip near the edge, keeping fingers out of the face area. Step 3: Keep the other person’s hands low — bouquet at waist — so the frame stays clean and the faces stay sharp.
Quick tipBring a white lint brush; fabric attracts dust and it shows in backlit frames.
Skip thisAvoid covering faces with fabric; partial obstruction makes expressions unreadable.
15. Sunset Silhouette With Bouquet Cut-Out Shape
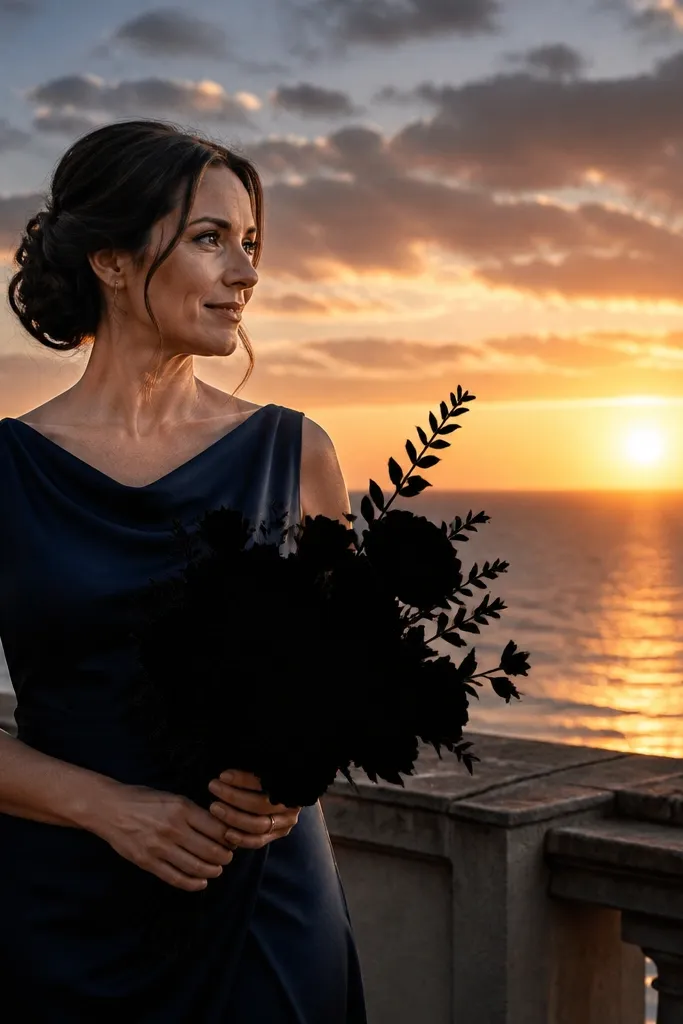
Silhouettes look dramatic because they simplify the scene. Your job is to create a readable bouquet shape so the flowers show as a dark cut-out against the sky. This works best with open sky — beaches, fields, rooftops, and wide terraces. It’s also forgiving for complicated outfits because you’re not relying on small details.
Step 1: Stand with the sun behind you so the faces are in shadow while the bouquet remains visible. Step 2: Hold bouquet slightly higher than chest level and keep elbows tucked to avoid messy outlines. Step 3: Ask for a slow lean toward each other — the silhouette line stays clean and you get romantic symmetry.
Use a cloudy sunset plan too; thick clouds still give a strong outline.
Avoid turning the bouquet sideways; it turns the outline into a blob.
16. Bride's Hand on Suit Lapel With Forehead-to-forehead Angle
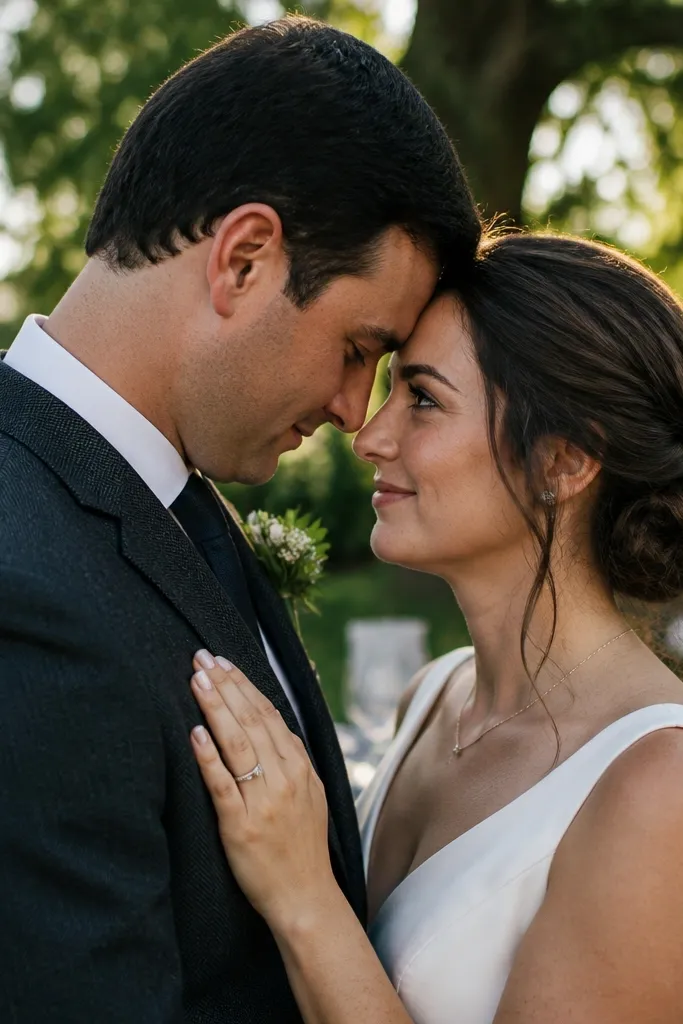
This pose is about texture and closeness. A hand on the suit lapel reads naturally in photos because it looks like you’re adjusting clothing, not performing. Forehead-to-forehead angles create tenderness without needing a full kiss. It looks great in indoor receptions and shaded gardens where the background is not too bright.
Step 1: Stand close and angle bodies 20-30 degrees so your shoulders don’t overlap into one flat block. Step 2: Place one hand on the partner’s lapel or collar area and let the other hand rest on the bouquet at waist height. Step 3: Bring foreheads together, keep smiles subtle, and have the photographer shoot from slightly above chest level.
If the suit fabric is shiny, choose a slightly darker background wall to avoid glare.
Avoid grabbing the lapel with a fist; a light touch looks more romantic and natural.
17. Reception Table Edge Lean With Elbows Tucked
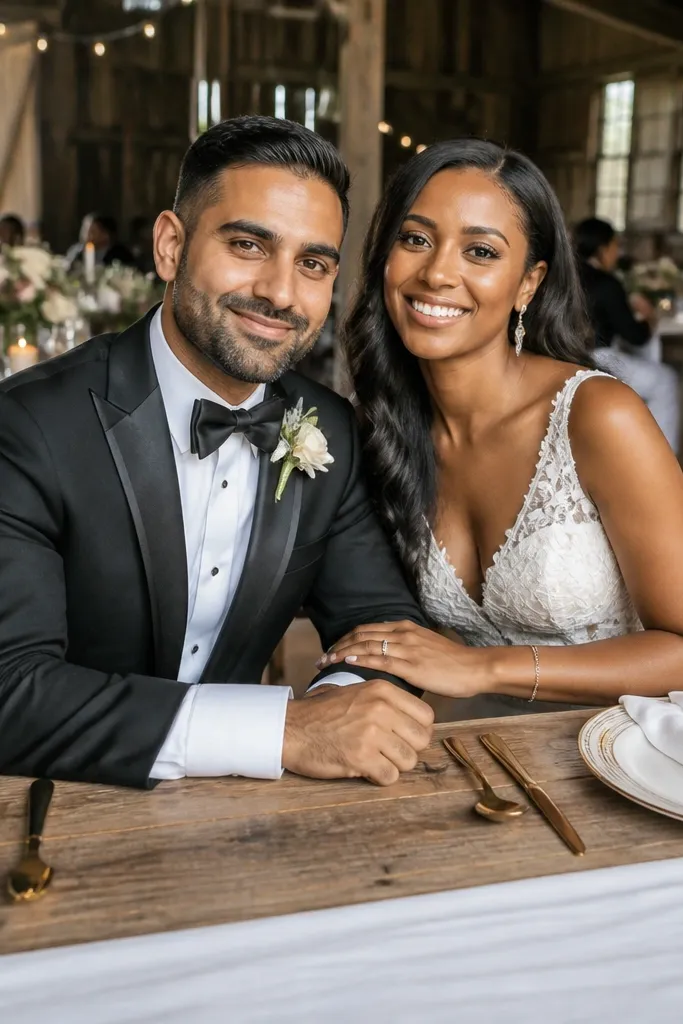
Reception portraits can look stiff because everyone is tired and the room is busy. Leaning on a table edge creates a stable posture and keeps hands busy, so you get flattering angles without forcing movement. This works in banquet halls, barns with long tables, and outdoor dinner setups with a clear table line. It also pairs well with warm lights, which makes skin look good.
Step 1: Find a table edge with a clean background behind you, then position your bodies so only one side of the table is visible. Step 2: Lean in with elbows tucked — hands can hold napkins, bouquet, or rest lightly on the table edge. Step 3: Keep faces close and turn your chin slightly toward the camera so you don’t look like you’re looking past it.
Quick tipAsk the venue for one unused corner table; it gives you a cleaner background and fewer interruptions.
Skip thisAvoid leaning with arms straight down; straight arms turn into long, awkward lines in warm light.
18. White Wall Shadow Play With Side Lighting
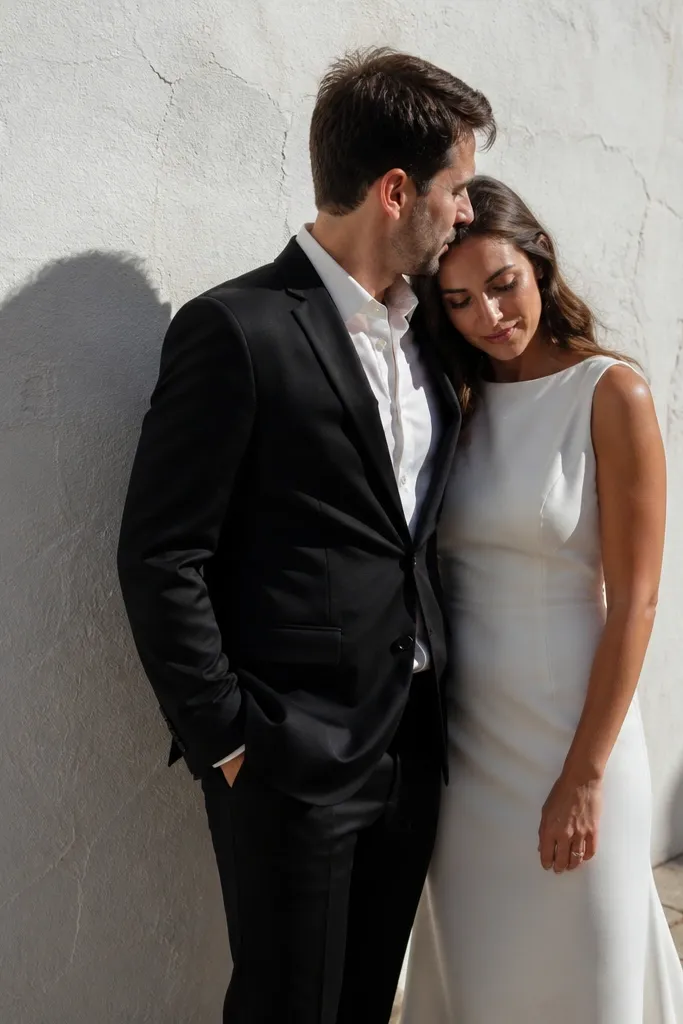
Side lighting against a white wall turns your bodies into graphic shapes. You get clean contrast and the shadows make the couple look intentional even if the pose is simple. This is best for venues with bright white exteriors, courtyards, and alleys where light hits from one direction. It also helps when the background indoors is cluttered.
Step 1: Stand a few feet from the wall so you get separation between you and the shadows. Step 2: Angle both bodies toward the light source, then bring faces closer while keeping hands low and controlled — bouquet at waist or held near hip. Step 3: Ask for a small shoulder turn and chin angle change between frames to create a few different shadow patterns.
If the wall is too bright, wait for a slightly shaded patch; you want contrast, not blown highlights.
Avoid standing flush to the wall; shadows flatten and the couple loses separation.
19. Harbor Pier Walk With Coat-Sleeve Hold
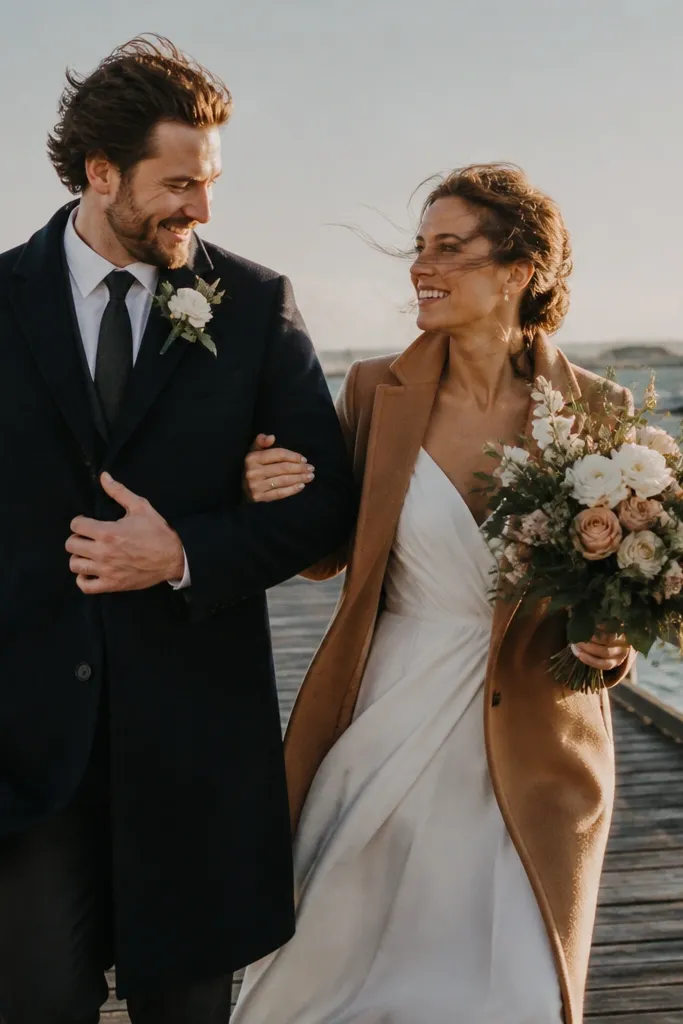
Piers and harbors give you a clean horizon line that makes couples look grounded. Holding sleeves or coat cuffs creates a natural connection that reads well in motion. The best part is the wind — it moves fabric and hair, so photos look alive without extra posing. This is ideal for breezy coastal weddings and any venue with open waterfront views.
Step 1: Choose a pier section with an unobstructed horizon behind you, then start walking slowly toward the camera. Step 2: One person holds the other’s sleeve or coat cuff at mid-arm height, not near the wrist, so the gesture looks secure. Step 3: Keep bouquet stable and close to your body; let the free arm move slightly with your stride.
Quick tipBring a small safety pin or fashion tape for loose hems; pier wind loves to grab fabric.
Skip thisAvoid waving hands at the camera; it makes the motion feel random.
20. Sunroom Window Frame Lean With Ribbon-Wrapped Bouquet
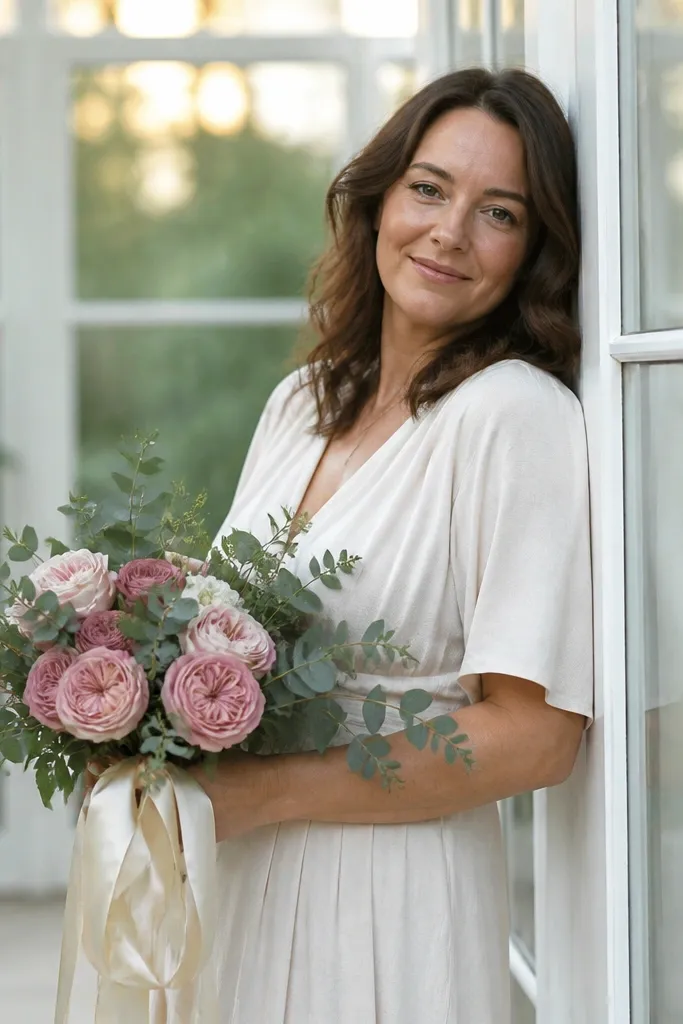
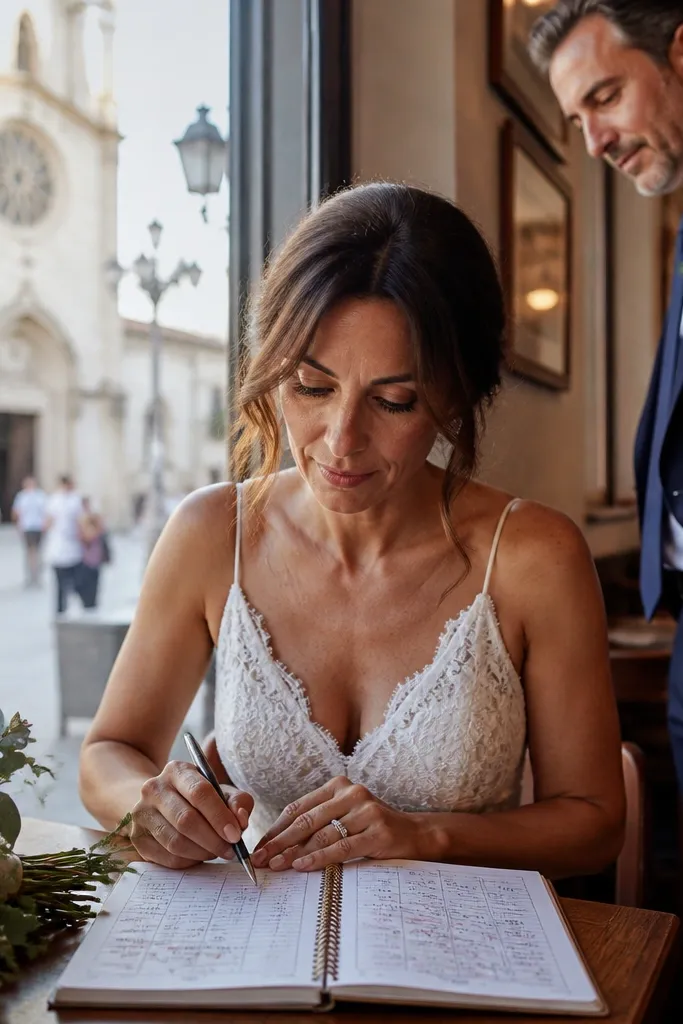
A sunroom or covered conservatory gives you clean, flattering light without fighting harsh outdoor shadows. The window frame creates a natural border so your posing looks intentional, not like a random standing shot. Leaning in keeps faces closer and makes the bouquet feel part of the composition. This one works especially well for couples who want a soft, romantic mood without full-on silhouettes. It also photographs great in cooler months when you still want bright light but you do not want wind in hair or cold hands on props.
Go to the nearest sunroom, conservatory, hotel lobby atrium, or even a greenhouse-style café with large window panes. Pick a spot where the window frame is straight and wide enough for both of you to fit — stand so the frame sits behind your shoulders, not behind your heads. Book the shoot for late morning or early afternoon when the light is even, then ask for one quick 10-minute window of calm before guests arrive. Plan on 45-60 minutes total here: 10 minutes of test framing, 20 minutes on the lean pose, and 15 minutes for two variations with different bouquet angles. For cost, pay whatever the venue charges for entry or a quiet photo slot; expect the cheapest option to be a hotel lobby or public conservatory during off-peak hours.
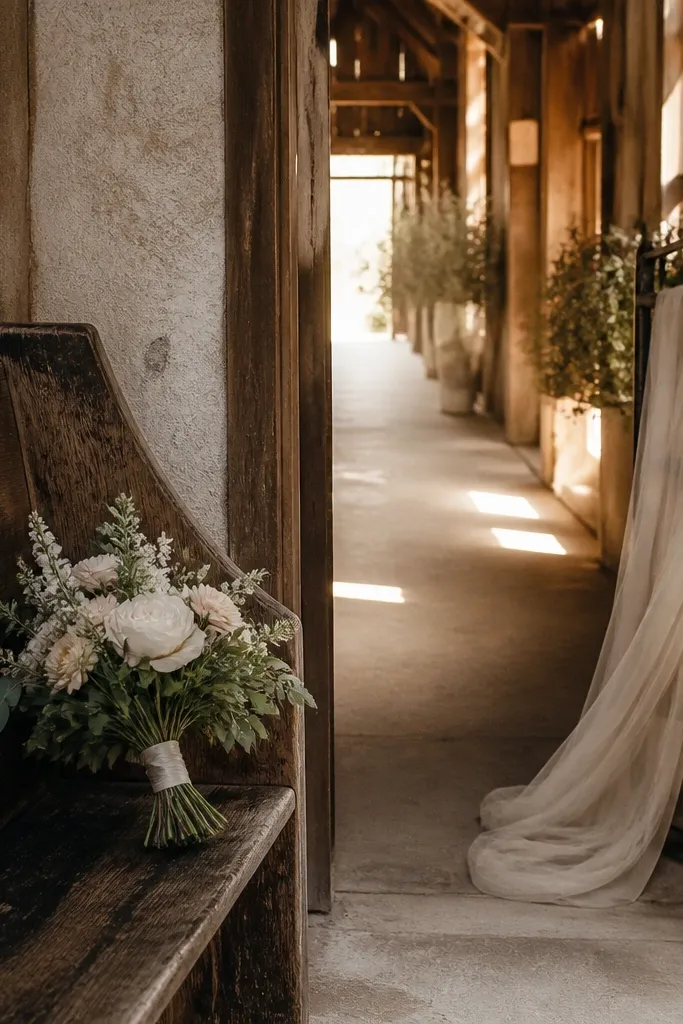
Bring a ribbon you can tie around the bouquet handle so the ends catch the window light and add movement with zero extra posing.
Do not place the bouquet directly against the glass — it turns into a blurry glare spot instead of a clean focal point.