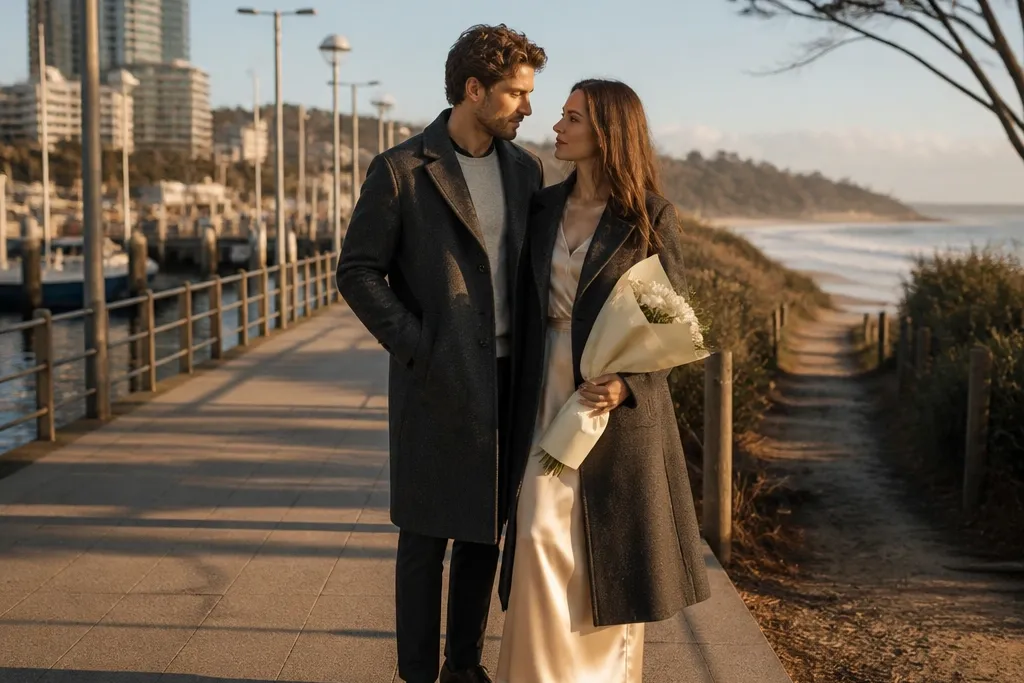
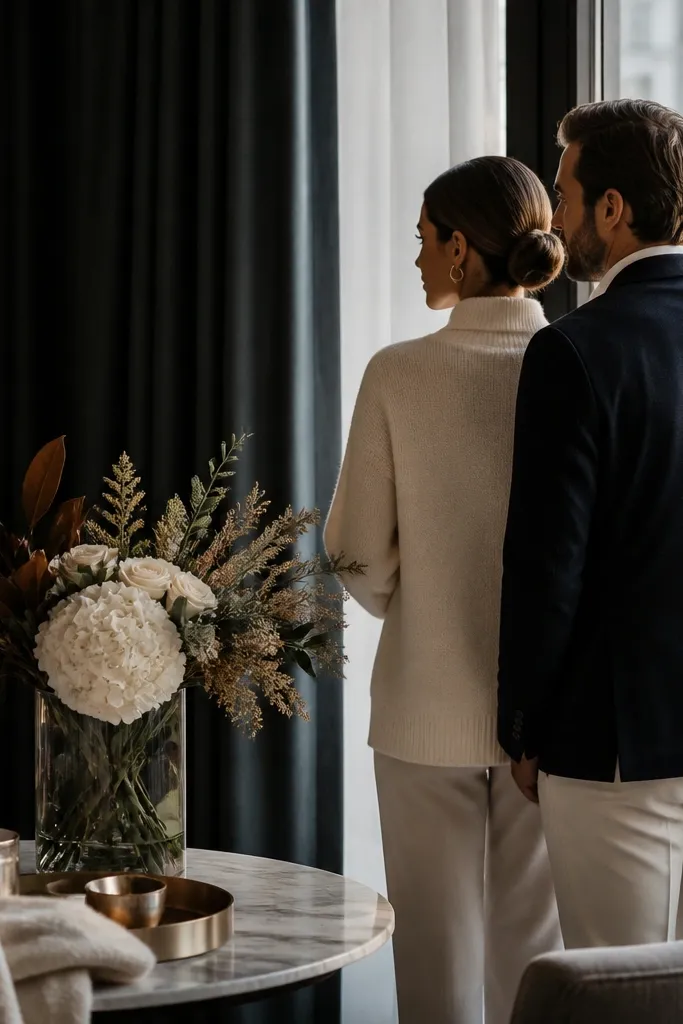
1. Marble hotel lobby with symmetry and a single statement bouquet
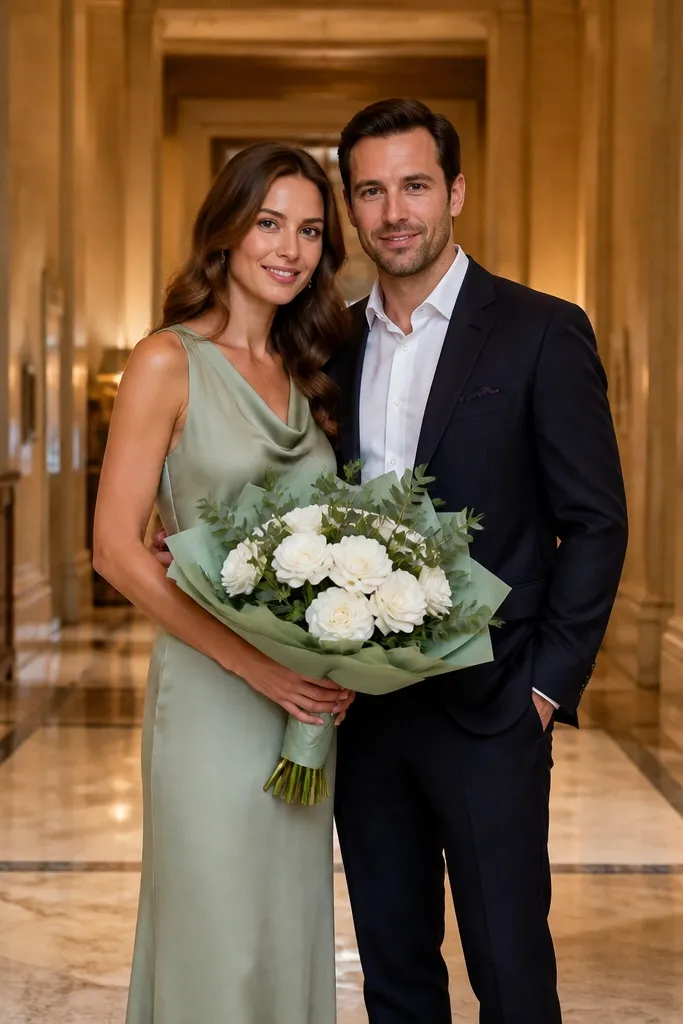
A high-end hotel lobby is one of the cleanest backdrops for luxury pre wedding photos because the surfaces stay consistent and flattering. Look for a space with tall columns, polished stone, and a clear line of sight where you can place the couple without background chaos. The vibe reads romantic and expensive because the architecture frames you like a stage. It suits couples who want a polished, indoor session with minimal weather risk and easy posing options for both walking and still moments.
Quick tipChoose a lobby with minimal signage in-frame; crop later only if the light stays even.
Start by booking a time slot 60-90 minutes before sunset so you can blend warm window light with indoor lighting. Ask the venue if you can use a quiet corner near the main walkway and confirm you’re allowed to bring one small bouquet and a discreet garment steamer. Then plan two scenes: one centered and symmetrical, and one angled where you sit or lean slightly toward the light. Budget for 45-75 minutes of shooting so you can reset outfits and not rush the slower romantic poses.
Skip thisAvoid bringing lots of props like baskets, umbrellas, or extra people — the lobby already has visual weight.
2. Golden hour coastal cliff walk with a wind-catching veil moment
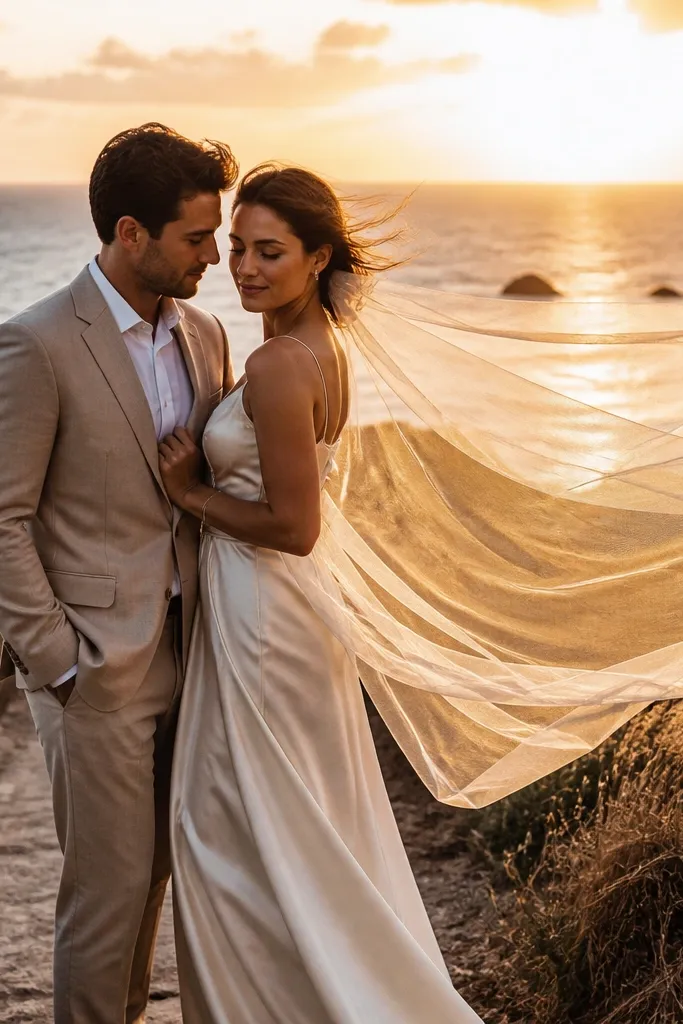
Coastal cliffs give you a luxury look because the horizon line stays clean and the sky does the heavy lifting for color. The key aesthetic is movement: a veil, long dress hem, or lightweight wrap that catches sea wind so the photos feel alive. This setup is perfect for couples who want romance that looks cinematic without heavy styling. Best suited for late spring through early fall, when the air is clear and the beach paths aren’t muddy.
Start by scouting a flat-ish section of the cliff path where you can stand without blocking the view for passersby. Plan to arrive 30-40 minutes before sunset; you want the sky to glow while the light is still soft on faces. Then shoot three sequences: a slow walk toward the camera, a profile turn facing the ocean, and a hand-hold pause with fabric moving. Finish with one wider frame where the horizon sits high enough to keep the couple prominent.
Wear shoes you can walk in on uneven paths; you’ll get better movement shots when you feel stable.
Avoid shooting at bright midday — harsh sun flattens skin and makes the sky look washed out.
3. Quiet botanical garden path with oversized blooms as a color anchor
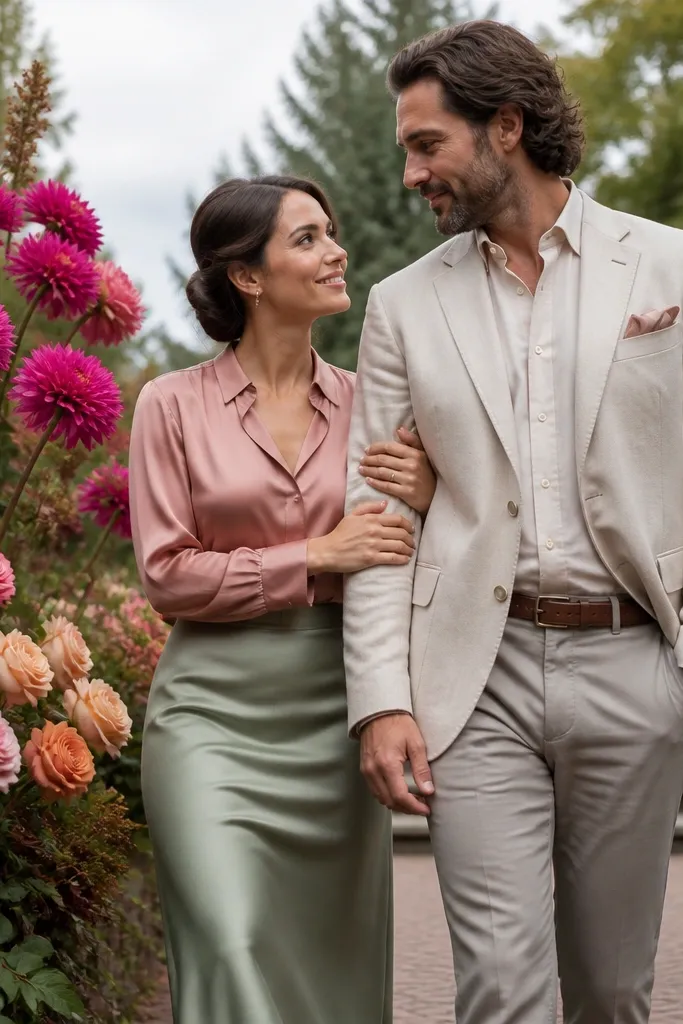
A botanical garden works when you use it like a set, not a generic nature background. The luxury feel comes from oversized blooms and controlled greenery — you want one color anchor that frames your outfits instead of random color everywhere. This is ideal for couples who want romantic, soft photos with a gentle depth-of-field look. It also photographs well in early morning or late afternoon when the light filters through leaves.
Start by choosing one corridor of the garden where the background stays consistent for at least 20-30 feet. Then match your bouquet color to the dominant bloom patch you found — for example, deep blush flowers against dark green foliage. Shoot a tight “hands and bouquet” moment first, then move into full couple poses along the path. Plan 60-90 minutes so you have time to wait for light shifts under the canopy.
Bring a small lint roller; garden leaves and pollen cling to dark fabrics fast.
Avoid overcrowded flower zones where other visitors constantly enter the background.
4. Modern staircase in a museum with clean lines and soft shade
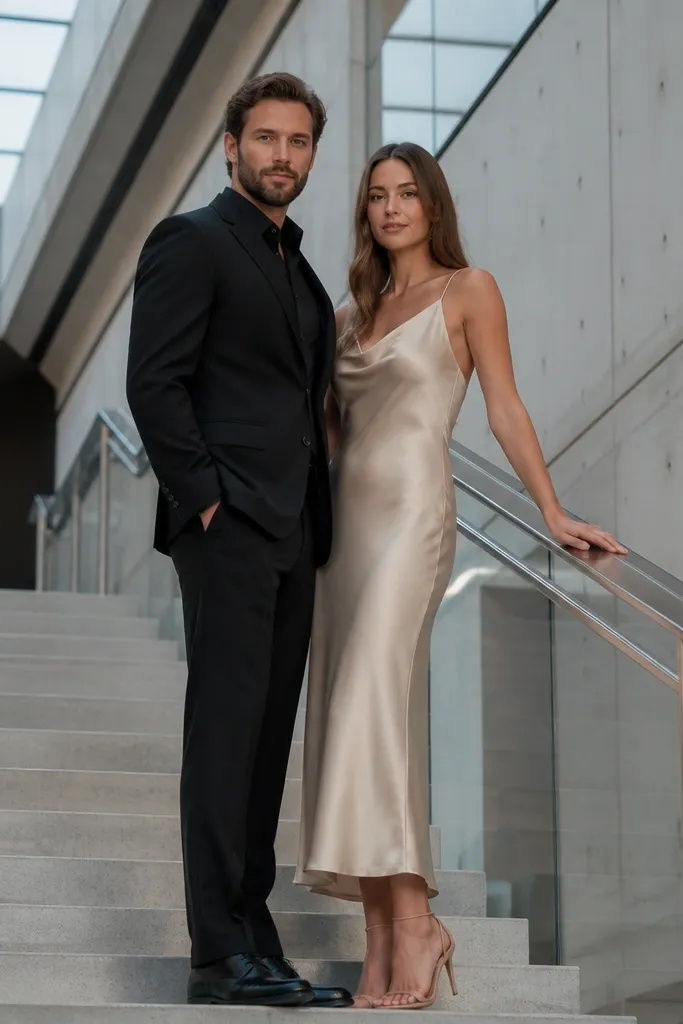
Museums and galleries look high-end because the architecture is designed to be visually quiet. A modern staircase gives you instant composition: leading lines, height variation, and flattering shade for faces. This setup suits couples who want a romantic editorial look without outdoor wind or crowds. The best part is you can do multiple poses quickly because the staircase naturally creates layers in the frame.
Quick tipWear shoes with a low profile; stair movement looks smoother and steadier in photos.
Start by contacting the venue rules first; some museums require a permit even for small photo sessions. Then arrive early and test angles from the bottom and side — you want a view where the background stays neutral. Shoot three scenes: standing close at the landing, walking slowly up or down with controlled spacing, and a seated pose with legs angled toward the light. Keep the session to 45-70 minutes so you don’t feel rushed between exhibits.
Skip thisAvoid busy marble floors with heavy reflections if your outfits are dark — they can steal attention.
5. Old town cobblestone street with warm lantern light
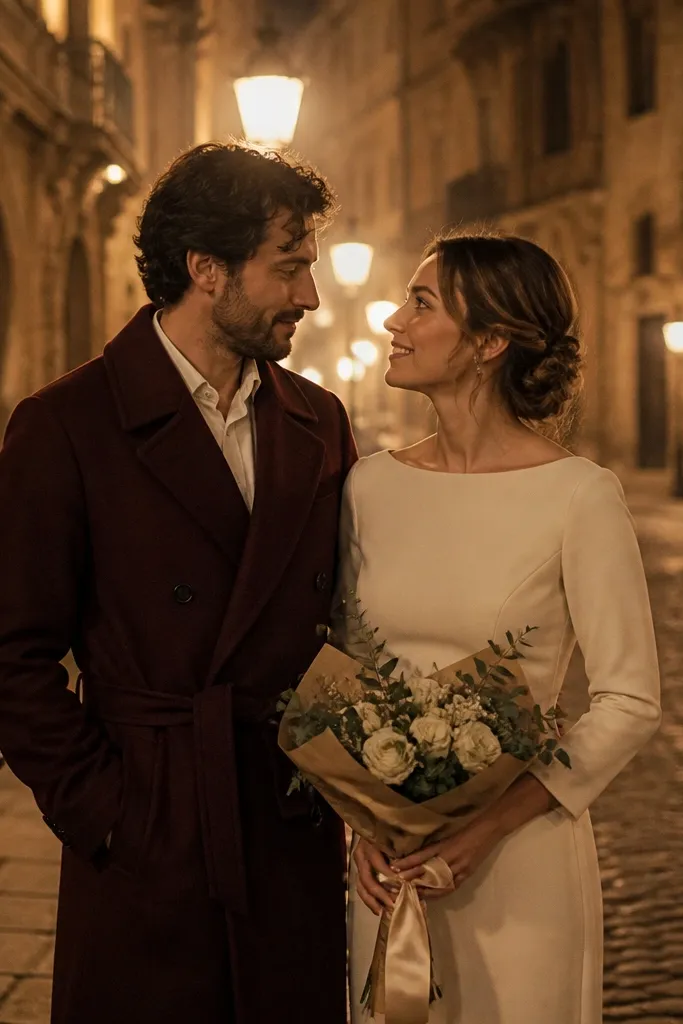
Cobblestones and old streets create romance because the texture reads in every frame. Warm lantern light adds that luxury glow without needing dramatic edits. This setup is best for evening sessions when street lighting softens contrast and gives skin a gentle warm tone. It’s a great choice for couples who want a European-feeling gallery while keeping styling simple.
Start by picking a street section with minimal modern storefront clutter; look for consistent stone color and clean building facades. Schedule 45-60 minutes after sunset, then stand in the same spot while you wait for lantern brightness to stabilize. Shoot a walking sequence first, then do one still pose with the couple slightly angled to catch the light from the side. Plan wardrobe colors that complement warm lighting — cream, deep green, burgundy, and black all photograph well here.
Bring a small handheld fabric steamer or ask your stylist to handle wrinkles — evening light shows creases.
Avoid bright white street walls right behind you; they blow out highlights and flatten faces.
6. Rooftop skyline with a long-sleeve wrap and soft wind
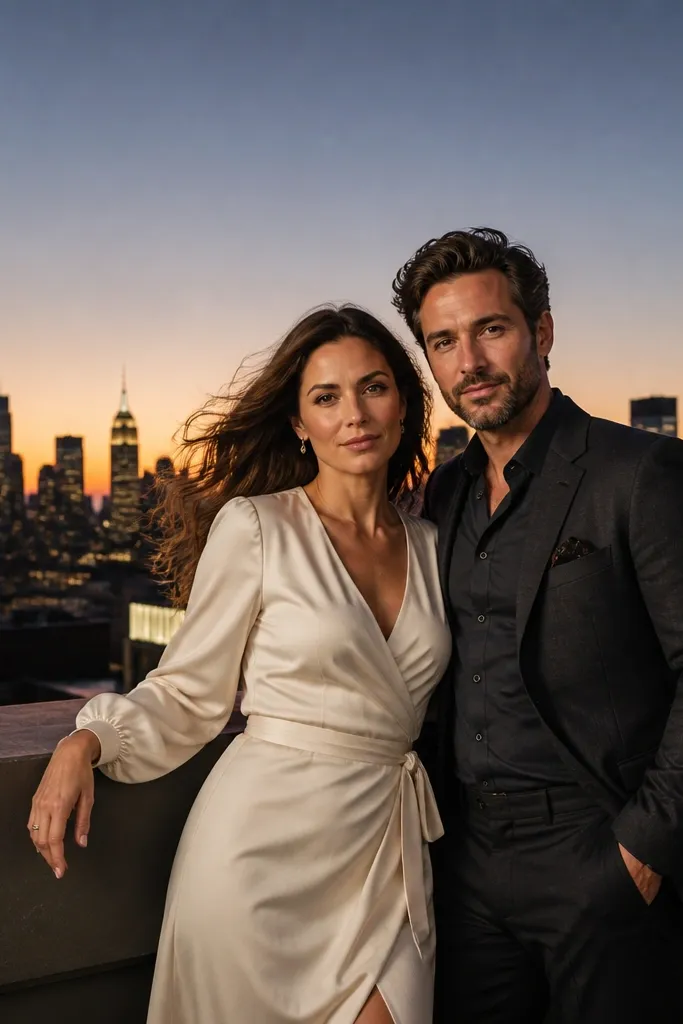
A rooftop skyline gives you luxury because the background becomes a clean graphic — sky gradient, building shapes, and depth. The secret is choosing a look that handles wind: a long-sleeve wrap, a satin robe, or a lightweight outer layer that moves without tangling. This is for couples who want bold, modern romance and don’t mind a slightly more energetic vibe. It photographs best on clear evenings when the air is crisp and the city lights start to pop.
Quick tipChoose a wrap color close to your suit or gown — contrast looks intentional, but random contrast looks messy.
Start by checking rooftop access rules and whether guests are allowed during your booking window. Then go 30-45 minutes after sunset so you get both remaining daylight and city lights. Shoot a sequence with the wrap pulled gently across the chest, then do one close pose with your faces turned slightly toward the skyline glow. Finish with a wide frame where you’re placed off-center to let the skyline breathe.
Skip thisAvoid shooting during heavy haze; city lights smear and the luxury vibe turns muddy.
7. Sunset vineyard rows with a tailored suit-and-dress color match
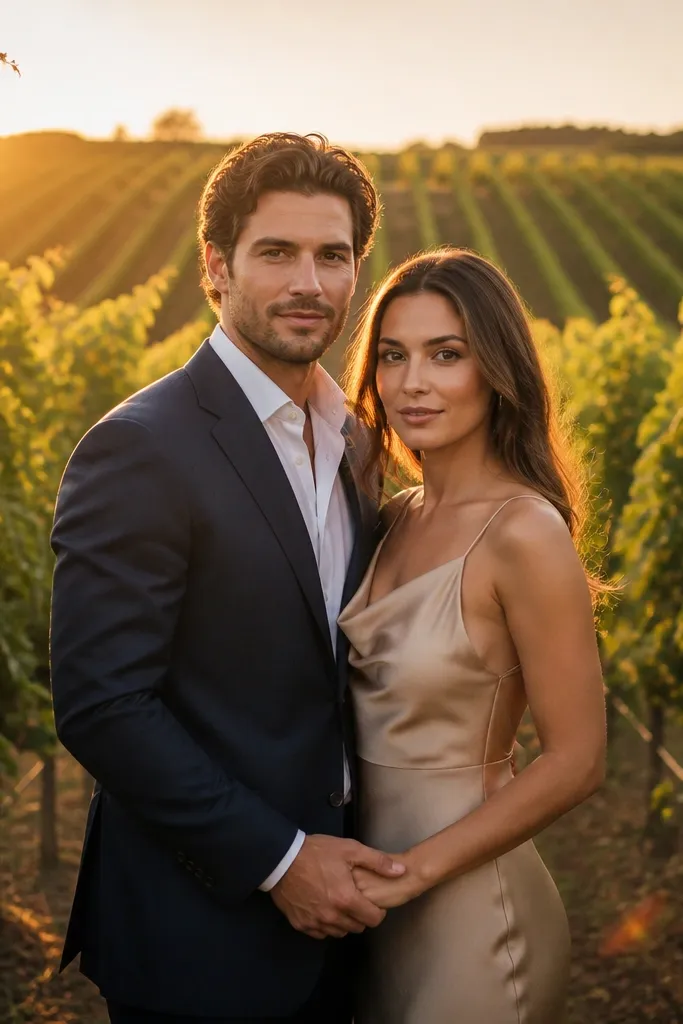
Vineyard rows create a luxury look because they form natural leading lines and a repeating pattern that makes photos feel composed. The best aesthetic is color matching: your wardrobe should echo the vineyard tones, like deep navy against warm gold light or champagne tones against green leaves. This setup is perfect for romantic memories that feel grounded and slightly cinematic. It also works year-round, but spring and early fall give you the most visually consistent greenery.
Start by choosing rows that are wide enough for walking without stepping into narrow paths. Plan for late afternoon when shadows stretch and faces stay warm, not overexposed. Then stage two scenes: one where you stand between rows for maximum depth, and one where you step to the side for a softer background. Keep props minimal — one bouquet is enough, and it should look intentional against the vineyard palette.
Bring a lint brush; vineyard dust shows up on light fabrics in strong sun.
Avoid shooting straight down the row if the background is too repetitive and your couple becomes visually lost.
8. Lakeside promenade with mirrored reflections on calm water
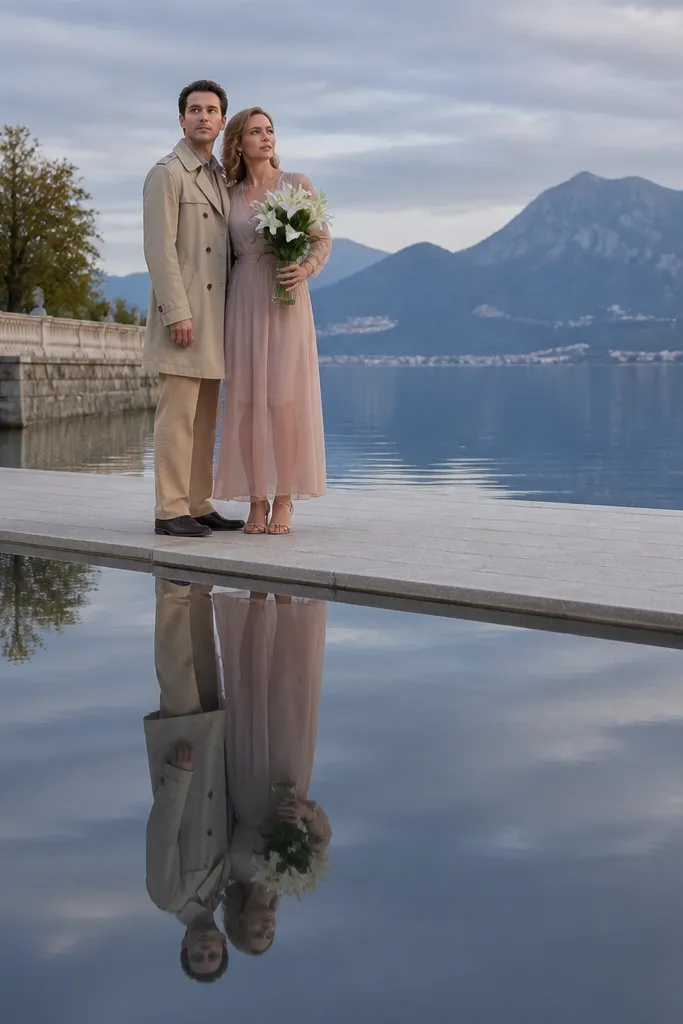
Calm lakes give you luxury reflections that make pre wedding photos feel like a magazine spread. The romance comes from the mirrored background and the way you can position the couple near the waterline for clean symmetry. This setup suits couples who want calm, not crowded, and who like a softer color palette. The best time is early morning or just before sunset when the wind is light and the water stays glassy.
Quick tipUse a slightly lower camera angle near the waterline to exaggerate reflection without needing heavy edits.
Start by scouting for a stretch of shoreline with minimal docks or boats blocking the reflection. Then arrive early and test the water — if you see ripples, shift location or wait 15-20 minutes. Shoot with the couple angled slightly so reflections form a natural frame, then do one close pose with hands visible. Plan 60-80 minutes so you can catch multiple reflection moments as the sky changes.
Skip thisAvoid windy days; reflections turn into streaks and the luxury look disappears.
9. Sculptural bridge at blue hour with a satin dress glow
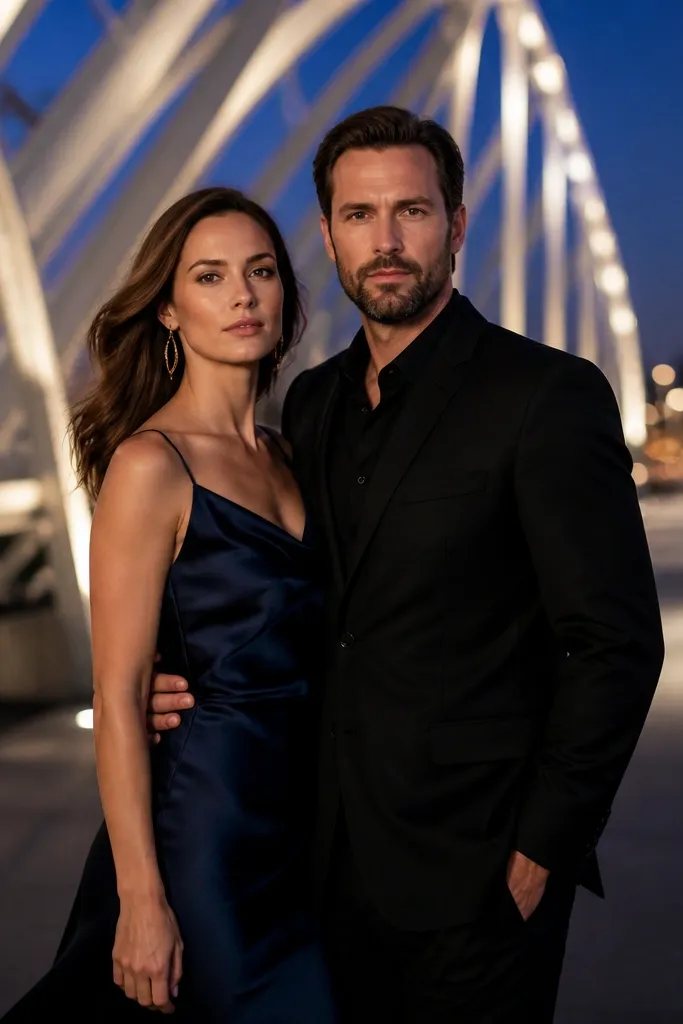
Blue hour makes cities look expensive because the sky becomes a smooth gradient and streetlights stay gentle. A sculptural bridge adds geometry, so your photos feel designed rather than accidental. This setup is best for couples who want a sleek, romantic mood with a touch of drama. Satin or silk fabric pops here because the cool ambient light makes highlights look clean instead of harsh.
Quick tipBring a dark umbrella or a collapsible jacket for pre- and post-shoot timing; blue hour sessions run cold quickly.
Start by picking a bridge with strong structure in-frame and clear sightlines from both sides. Schedule 25-35 minutes after sunset, when the sky is deep blue but streetlights are on. Shoot two angles: one with the bridge lines leading toward you, and one closer where your faces sit against the darkest background. Keep outfits simple and polished so the light can do the work; you’ll get better results with fewer competing details.
Skip thisAvoid bright white clothing if the background has strong light sources — highlights blow out faster at blue hour.
10. Desert hotel courtyard with linen textures and a golden stone backdrop
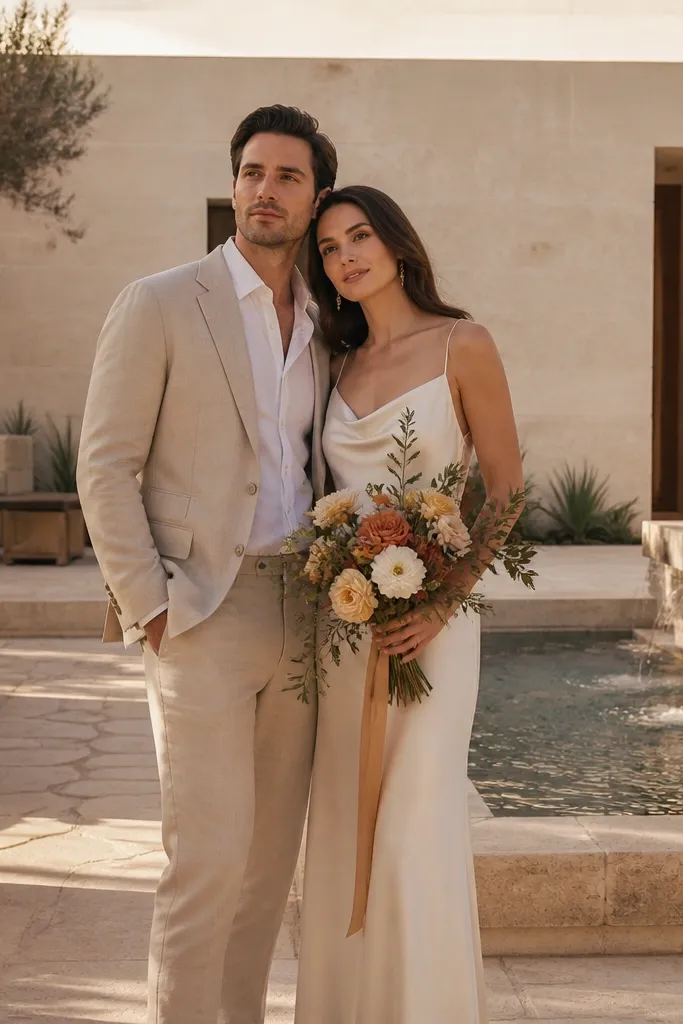
Desert courtyards look high-end because stone surfaces and minimal landscaping keep the background clean. Linen textures photograph beautifully in warm light, and the neutral palette lets your bouquet and skin tone stand out. This setup is for couples who want romance with a modern, editorial calm. It’s especially good in the cooler months when the light is clear and you can walk comfortably without heat stress.
Start by finding a hotel courtyard with high walls and soft shadows; you want shade that flatters faces. Then plan a morning session for softer sun or late afternoon for deeper warmth. Shoot with one scene where you’re walking through a narrow corridor and one scene where you’re framed by a doorway or arch. Spend 60-90 minutes total so you can do both wide frames and close detail shots of fabric and bouquet.
Choose bouquet stems with long lines like delphinium or eucalyptus — they look elegant against stone.
Avoid busy patterned rugs or colorful murals in the background; they steal attention from the couple.
11. Art-deco street tiles with a champagne color palette
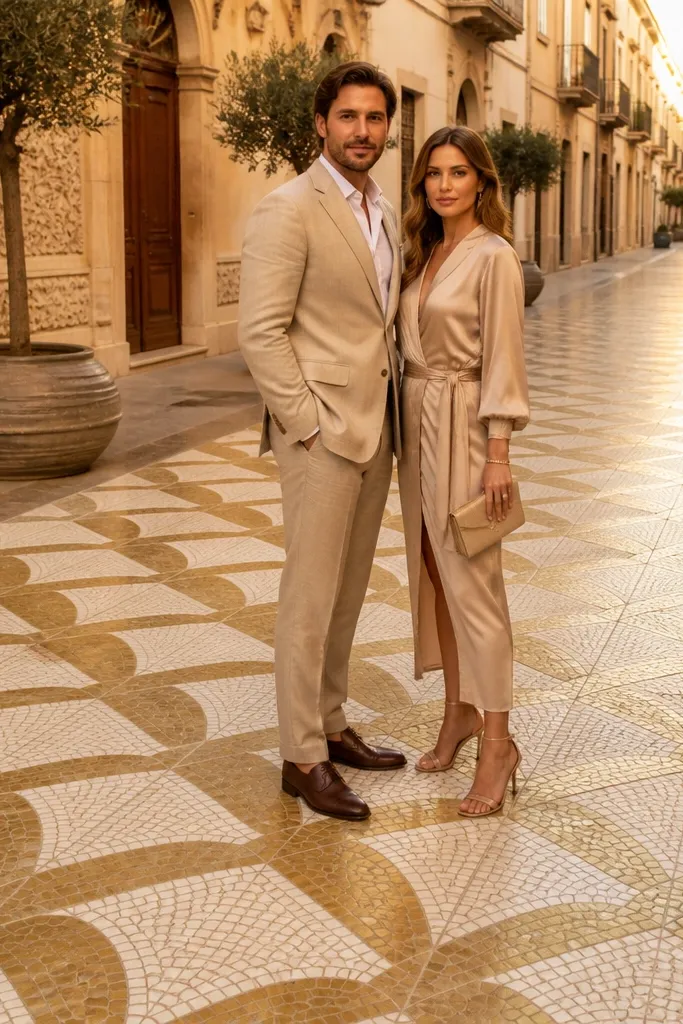
Art-deco tiles and geometric street details give you a luxury look because they create repeating patterns that frame your poses. A champagne palette in outfits makes the scene feel cohesive and expensive under warm street lighting. This setup suits couples who want a stylish, slightly glamorous vibe without heavy props. It also works well when you want lots of frame options because tiles give you natural “background” even in tight spaces.
Quick tipBring a lint roller and a small towel; street dust shows on light shoes and hems.
Start by scouting for a block with consistent art-deco patterns and low visual clutter at street level. Shoot near dusk when tiles catch light but don’t glare. Then do two types of frames: one where you’re standing on a strong tile pattern for symmetry, and one where you’re closer to the wall so the tiles blur softly behind you. Plan 45-70 minutes; you can get a lot of variety without moving far.
Skip thisAvoid standing directly under overhead lights that create harsh shadows on faces.
12. Indoor conservatory with sheer curtains and soft daylight
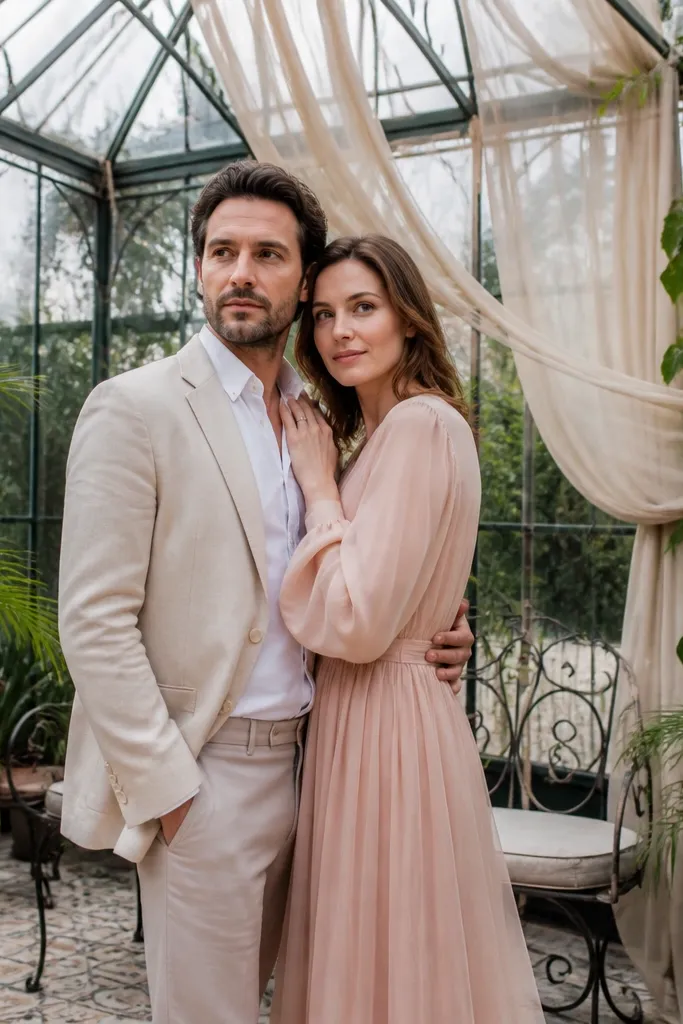
A conservatory is a luxury cheat code: glass ceilings create even, flattering light and the plants add romance without looking messy. Sheer curtains help you get a dreamy layered look where the couple remains the focus. This setup fits couples who want a lush, romantic gallery but don’t want outdoor wind or weather variables. It’s especially good in spring and early fall when the conservatory is already full and colorful.
Quick tipChoose a bouquet with green foliage and one main flower — it looks natural against glass without looking staged.
Start by booking a time when the conservatory isn’t crowded; you need space for clean backgrounds. Then position the couple near the curtain — shoot one frame with the curtain behind you and one with it partially in front for depth. Focus on gentle movement: slow turns, light hand touches, and fabric drape. Plan 60-90 minutes and schedule one wardrobe refresh if you’re using a veil or layered dress.
Skip thisAvoid bright flash in glass spaces; it creates reflections that ruin the luxury look.
13. Old church steps with soft evening light and a minimal bouquet
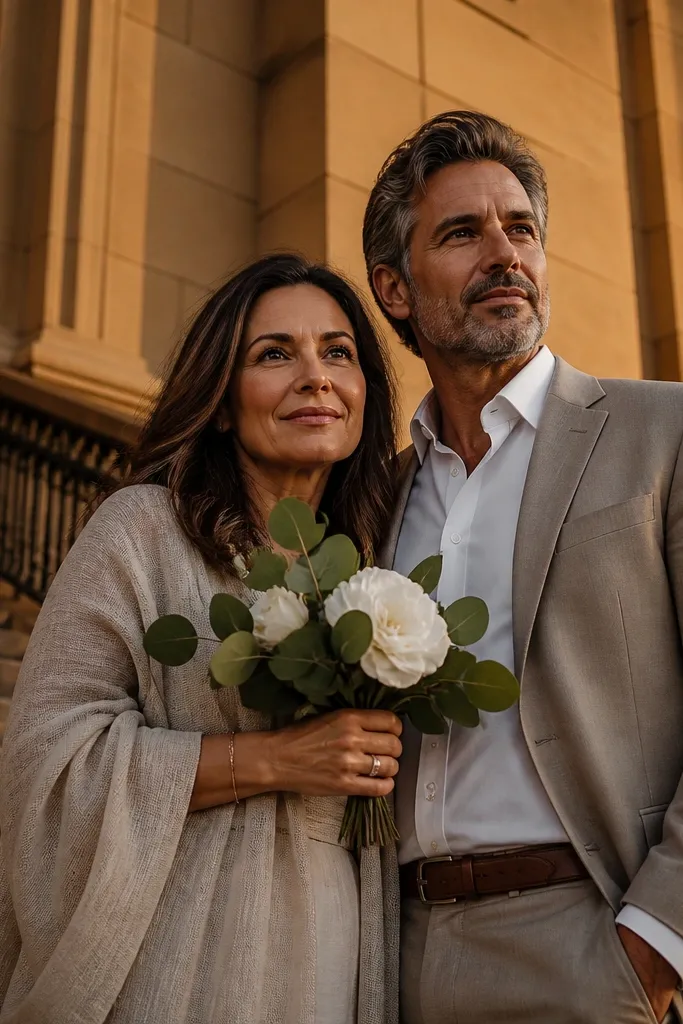
Church steps add romance because they’re built for portraits — wide surfaces, strong geometry, and a timeless feel without needing extra styling. Soft evening light keeps the stone warm and flattering, and a minimal bouquet keeps the scene elegant instead of busy. This setup is for couples who want a classic, sentimental tone with polished posing. It photographs best in late afternoon or early evening when the sun is low enough to create gentle shadows.
Quick tipUse a bouquet wrap in neutral tones so it blends with the stone color.
Start by finding a section of steps with clean lines and minimal signage in the background. Then arrive 30 minutes before you want to shoot so you can test angles and avoid harsh shadow bands. Shoot one wide frame with you centered on the steps, then move into closer poses where the bouquet and hands are visible. Keep your session to 45-70 minutes so you don’t lose light and so your fabric doesn’t get too wrinkled.
Skip thisAvoid large, round bouquets that block your faces from certain angles.
14. Rainy-day luxury with umbrellas and a dark street reflection scene
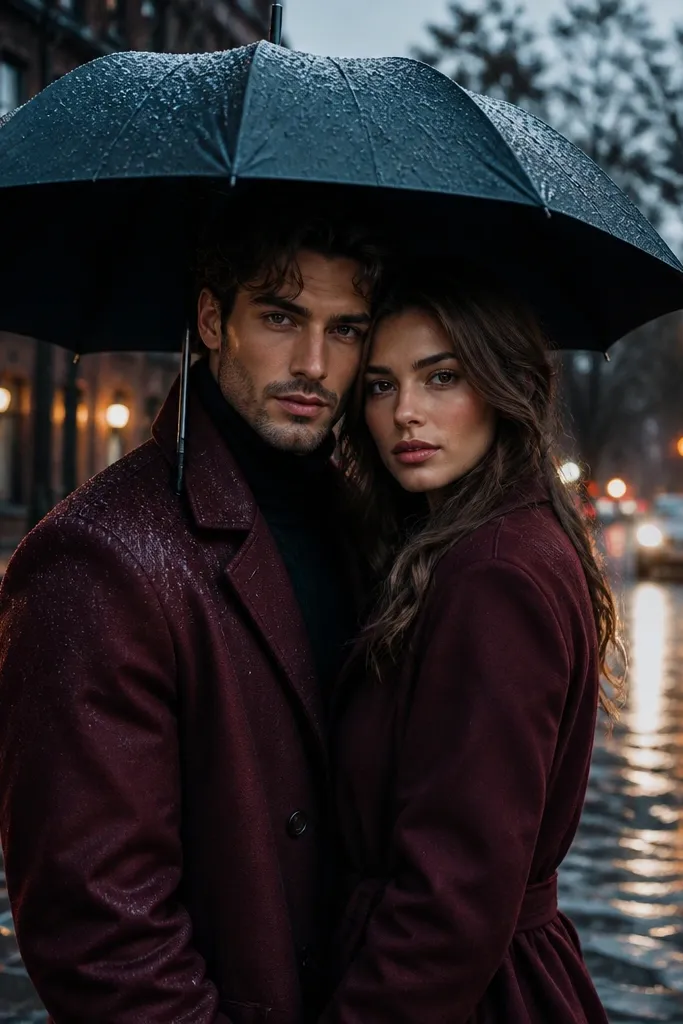
Rain turns normal streets into luxury scenes because reflections add depth and color glow. Umbrellas look intentional when you match them to your wardrobe palette — black, deep navy, or rich burgundy. This setup is for couples who want romantic mood and don’t mind moving quickly to beat showers. The best part is that rain hides background clutter; you get clean, cinematic frames with fewer distractions.
Start by scouting a street with consistent streetlights and dark pavement; reflections are the whole point. Then plan your timing around a light drizzle window, not a full storm — you need enough visibility for faces. Shoot close frames first so you can capture droplets on fabric, then step into the reflection area for wider shots. Bring a towel for shoes and a garment cover for your dress so you don’t end up with soaked fabric that looks heavy in photos.
Choose umbrella fabric that doesn’t shine; matte umbrellas look more expensive in reflections.
Avoid bright sidewalks or reflective marble — reflections can become distracting glare.
15. Sculpted garden hedge maze with a slow-turn portrait
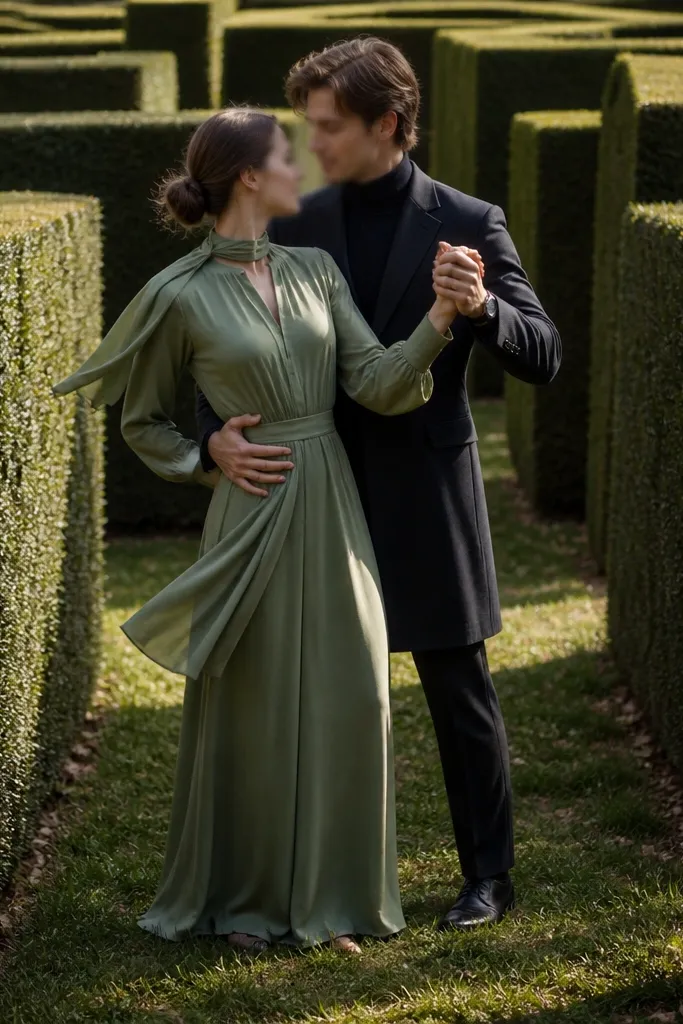
A hedge maze creates luxury because it gives you built-in framing and depth without clutter. The romantic look comes from a slow turn where the couple’s faces stay soft while the background lines shift behind them. This setup suits couples who want something playful but still polished. It also photographs well because the green walls keep colors consistent across the entire gallery.
Quick tipWear breathable fabrics; hedge sessions get warm fast and you’ll look calmer if you’re comfortable.
Start by choosing a maze section where the hedge height is tall enough to hide paths and other visitors. Then plan one shot sequence at each location: start centered, then turn so the couple ends up slightly off-center for a more editorial composition. Walk slowly, keep your steps measured, and avoid fast movement that makes fabric whip. Budget 60-90 minutes because maze paths take time to navigate and you’ll want at least two hedge corridors.
Skip thisAvoid bright neon outfits — greens and shadows can make neon look harsh.
16. Coastal lighthouse grounds with wind and long-lens portraits
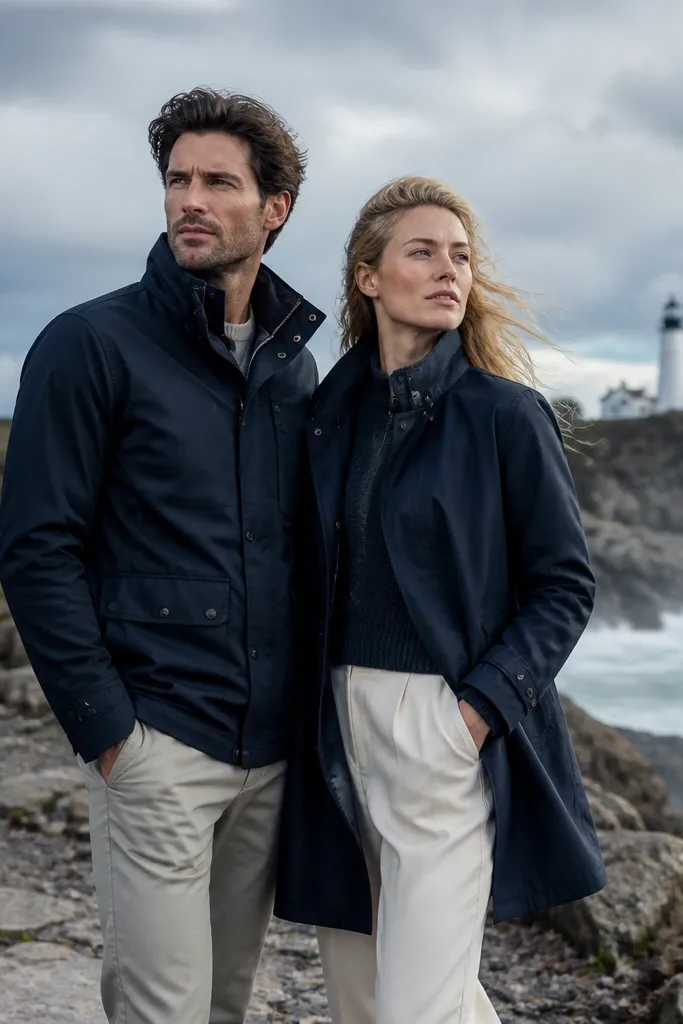
Lighthouse grounds feel romantic because they combine open sky, rugged texture, and a clear focal point in the distance. The best luxury look happens when you use the wind: hair and fabric move, and the couple looks cinematic without extra props. This setup suits couples who want dramatic scenery but still want their faces to be the center of attention. It works best on clear days with good visibility so the lighthouse and horizon read cleanly.
Start by arriving early enough to find a spot where the lighthouse isn’t blocked by crowds. Then position the couple so the background has depth — one wide frame with the lighthouse visible, one tighter frame where the lighthouse is blurred. Shoot during late afternoon so the sky is warm and the ground isn’t too harsh. Plan 45-75 minutes and keep your bouquet compact so it doesn’t get blown out of shape.
If the wind is strong, use hair pins or a light hair spray; messy hair reads casual, not luxury.
Avoid placing the couple too close to the rocks; splashes and sand ruin hems.
17. Satin slip dress and tailored suit on a glass rooftop edge
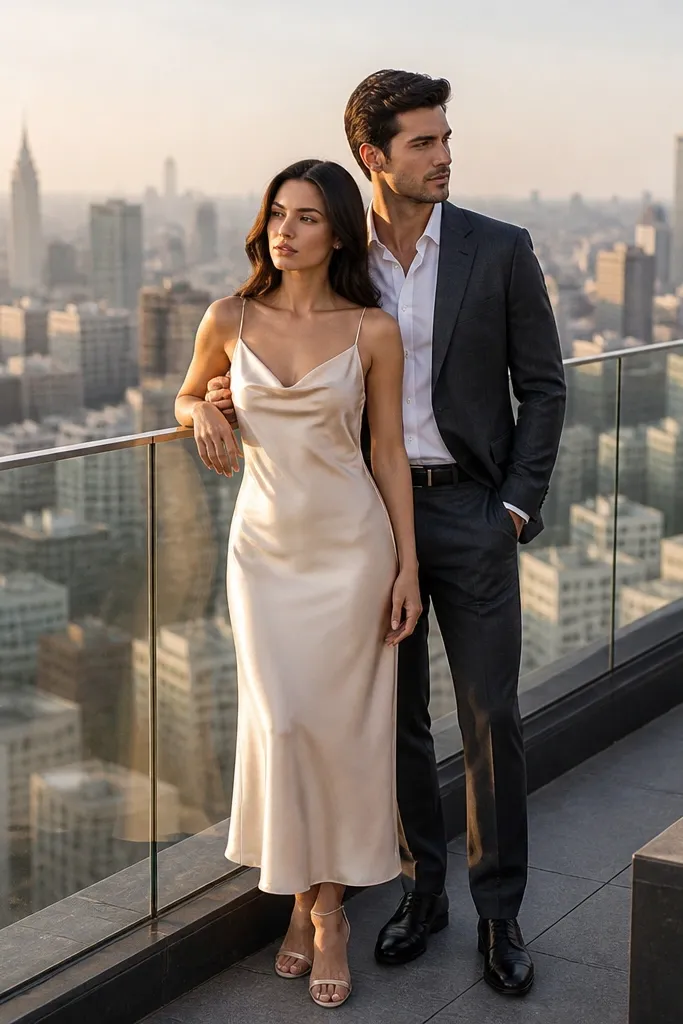
A glass rooftop edge creates an instant luxury look because it adds depth and modern shine without extra styling. The key is safety and clean lines: place the couple far enough from the edge that poses look effortless, not tense. This setup works best for couples who want a modern, high-fashion mood and a gallery with strong geometry. It also photographs beautifully at night when city lights reflect in the glass and create a polished glow.
Start by confirming the rooftop rules and where you’re allowed to stand for photos. Then do one wide shot first to check reflections and glare, and adjust your angle until the couple stays crisp. Shoot close portraits with hands and fabric — the satin catches light in a way matte fabrics don’t. Plan 45-70 minutes because rooftop light changes quickly and you’ll want to capture the best reflection window.
Use a neutral bouquet wrap so it doesn’t compete with the glass highlights.
Avoid filming or posing right under strong signage or LED strips; they create ugly color casts on skin.
18. Linen picnic style on a terrace overlooking city lights
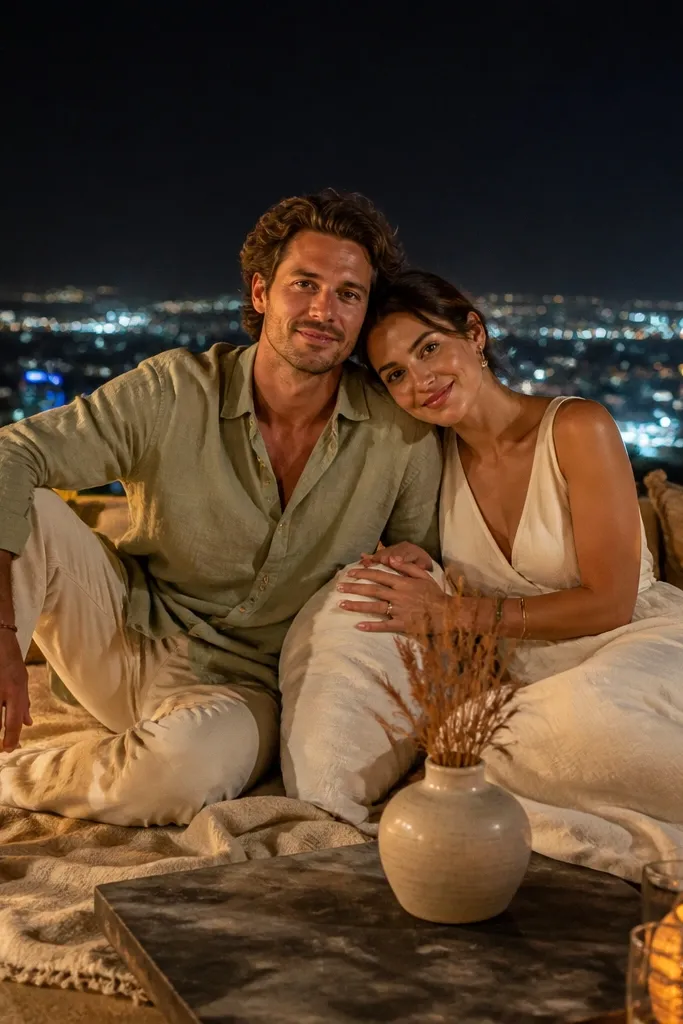
A linen picnic look is luxury when it stays minimal and feels curated through texture, not objects. Terraces overlooking city lights give you romance with depth, and linen adds softness that photographs well in low light. This setup suits couples who want relaxed intimacy but still want their photos to look styled. It’s ideal for evening sessions when the city glow starts and the terrace stays calm.
Start by bringing a single large linen cloth in cream, sand, or warm gray — keep it wrinkle-free with a quick steam. Then place one bouquet and one simple accessory like a ribbon or small candle holder only if permitted by the venue. Shoot seated portraits first for calm intimacy, then stand and do a walking sequence across the terrace for variety. Plan 60-90 minutes so you have time to adjust cloth placement and avoid the wind fighting your fabric.
Pack a small weight for the linen cloth corners so you don’t spend half the shoot chasing fabric.
Avoid clutter like multiple baskets, snacks, or mismatched linens — it ruins the high-end look fast.
19. Stone courtyard archway with a gentle veil lift
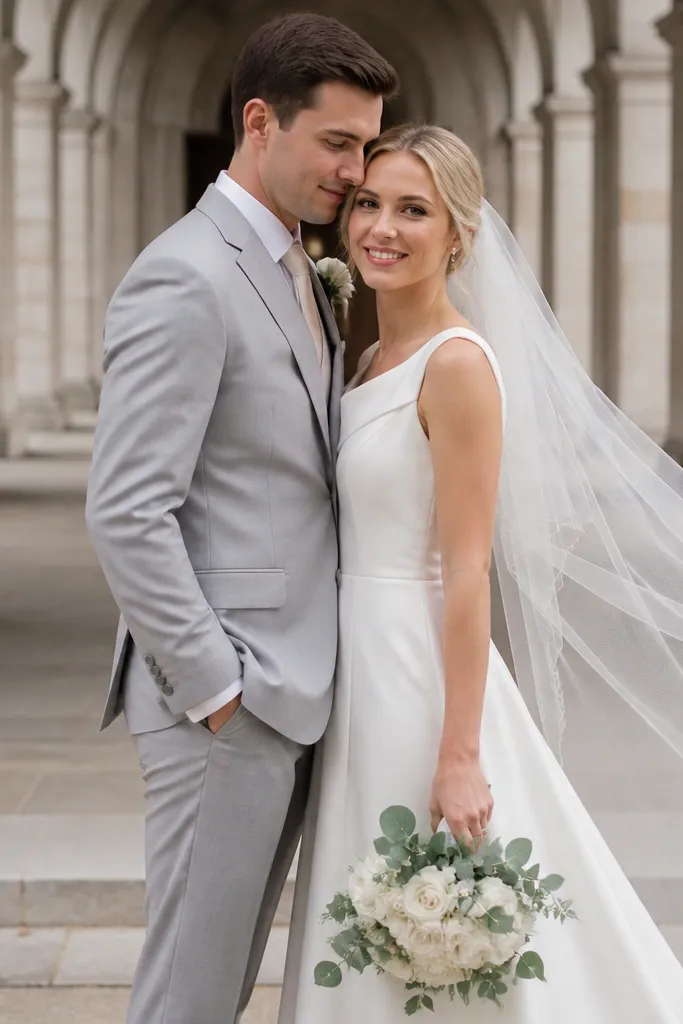
Stone archways look luxury because they frame your bodies naturally and add depth through repetition. The romantic moment here is the gentle veil lift — just enough movement to show texture and softness. This setup is for couples who want a classic, architectural romance without relying on elaborate florals. It photographs best in late afternoon light when the arch casts flattering shadows and the center stays bright enough for faces.
Start by scouting an archway with a clear opening so your faces don’t end up in deep shadow. Then schedule 45-60 minutes before sunset and position the couple so the light hits from the side. Shoot one centered portrait under the arch, then step slightly forward for a close frame where the veil movement is visible. Keep the bouquet small and close to the body so it doesn’t clash with the strong architecture.
Coordinate veil and bouquet colors with the stone tone — warm whites and soft blush work beautifully against beige stone.
Avoid heavy headpieces that block light on the face; you want soft illumination, not darkness.
20. Snowy garden romance with dark coats and warm window glow
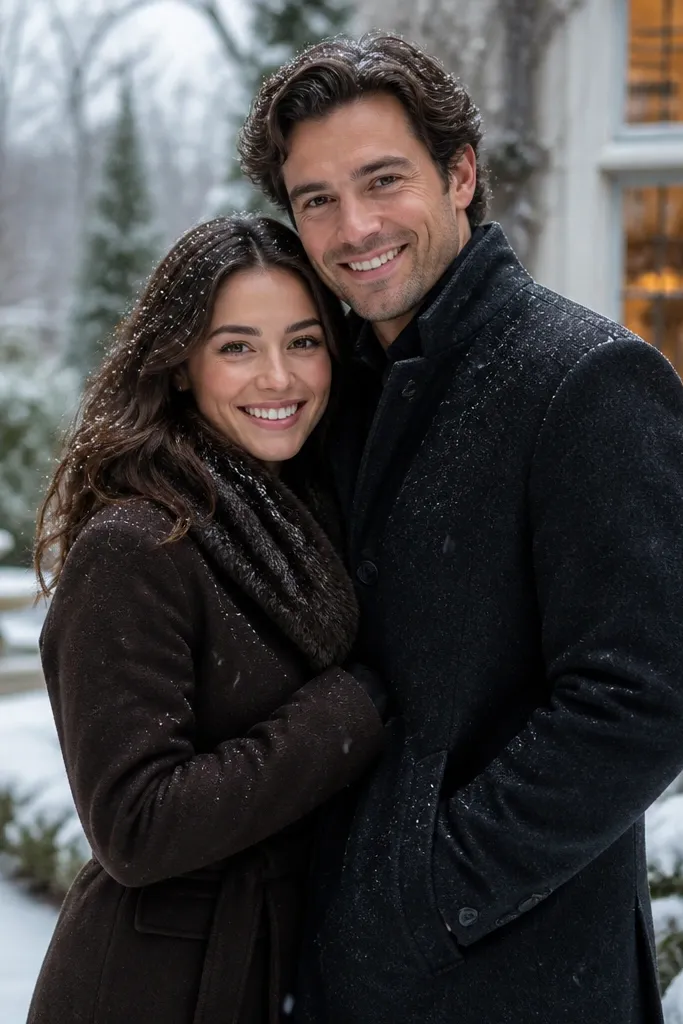
Winter can look extremely high-end in photos because snow smooths backgrounds and makes colors pop. Luxury comes from contrast: dark coats, warm skin tones, and a soft warm light source in the background. This setup suits couples who want a dramatic, romantic look without complicated styling. It’s best in cold, clear weather when the snow is fresh and the sky is bright, so your photos don’t look gray.
Quick tipBring hand warmers and keep them hidden; relaxed hands make a huge difference in close photos.
Start by choosing a location with sheltered window light — a hotel garden, a restaurant patio edge, or a conservatory entrance. Then shoot near dusk when the windows glow but the sky still has color. Use two wardrobe layers: a dark outer coat and a lighter inner layer visible at the collar or sleeves. Plan 45-70 minutes because cold drains your energy and you’ll want your faces to stay relaxed.
Skip thisAvoid thin fabrics that get stiff and droop in snow — you want fabric that moves softly.