1. Terracotta Old Town Walk + Matching Neutral Outfits
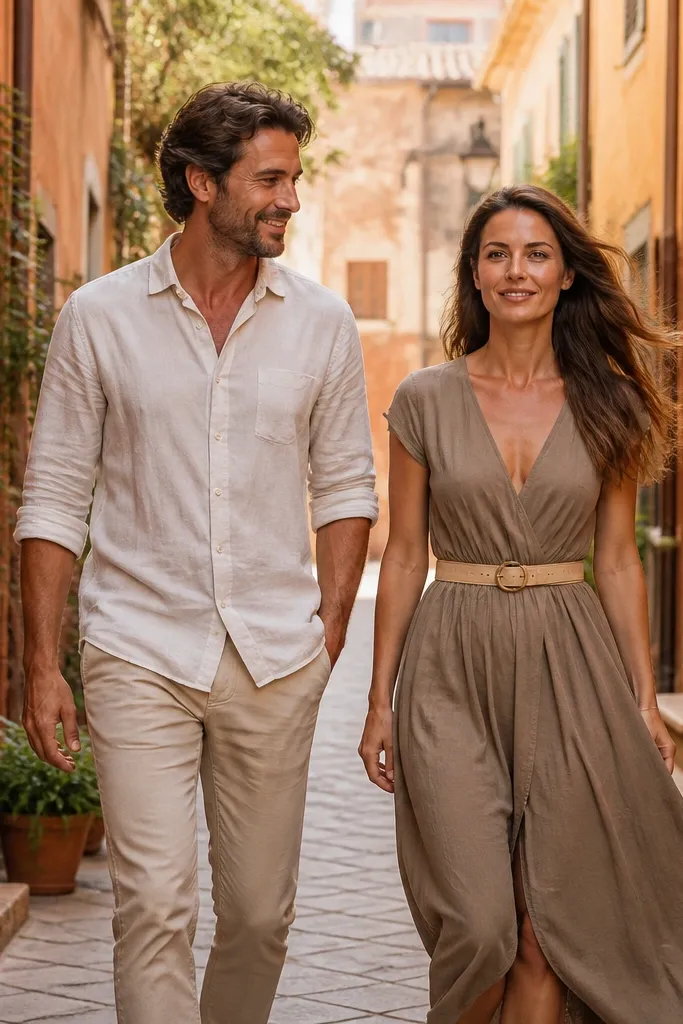
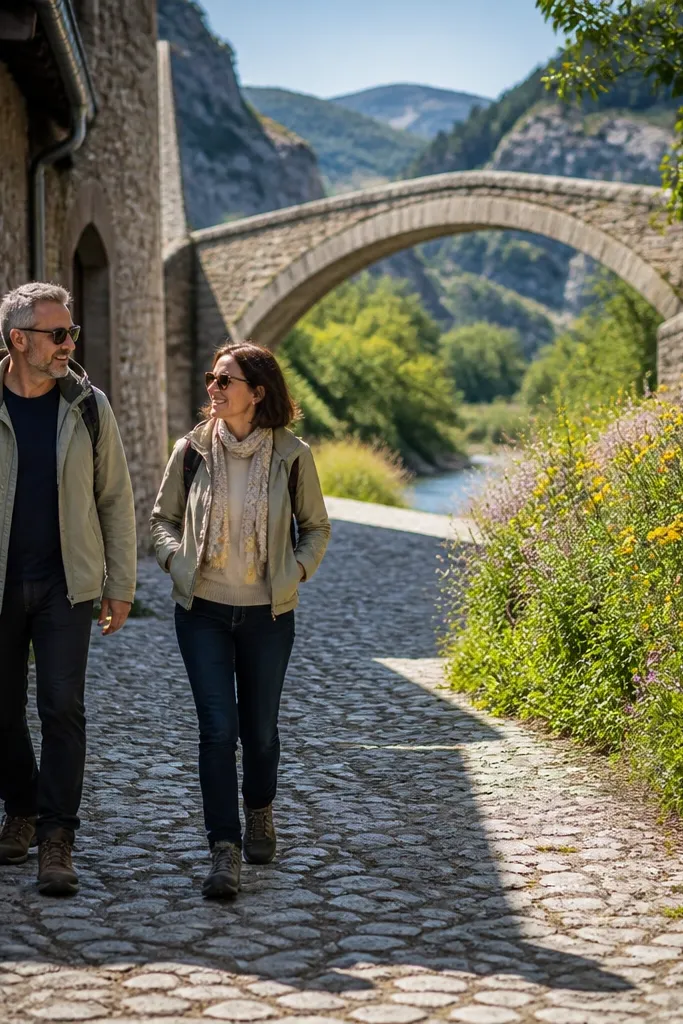
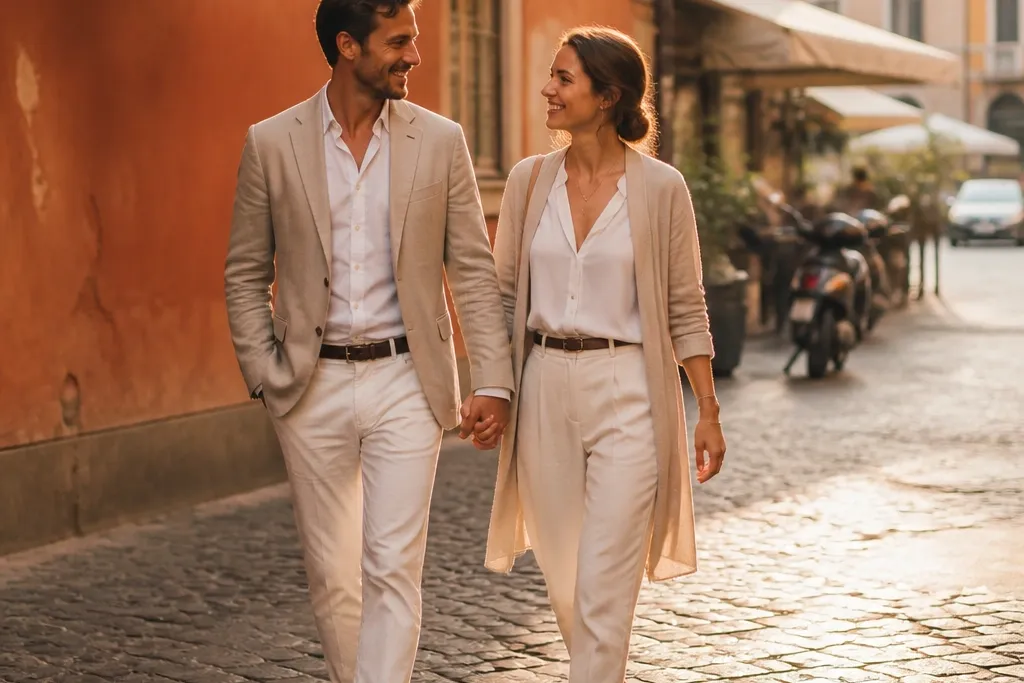
Choose a compact old town area with terracotta stucco and narrow lanes. The colors photograph cleanly because the walls act like a warm backdrop, and the tight streets create natural leading lines that pull the eye toward you. This works best when you want an aesthetic that feels romantic but not overly staged — walking side-by-side reads effortlessly on camera. Go for a morning or late afternoon slot so shadows fall across the alley texture instead of flattening everything.
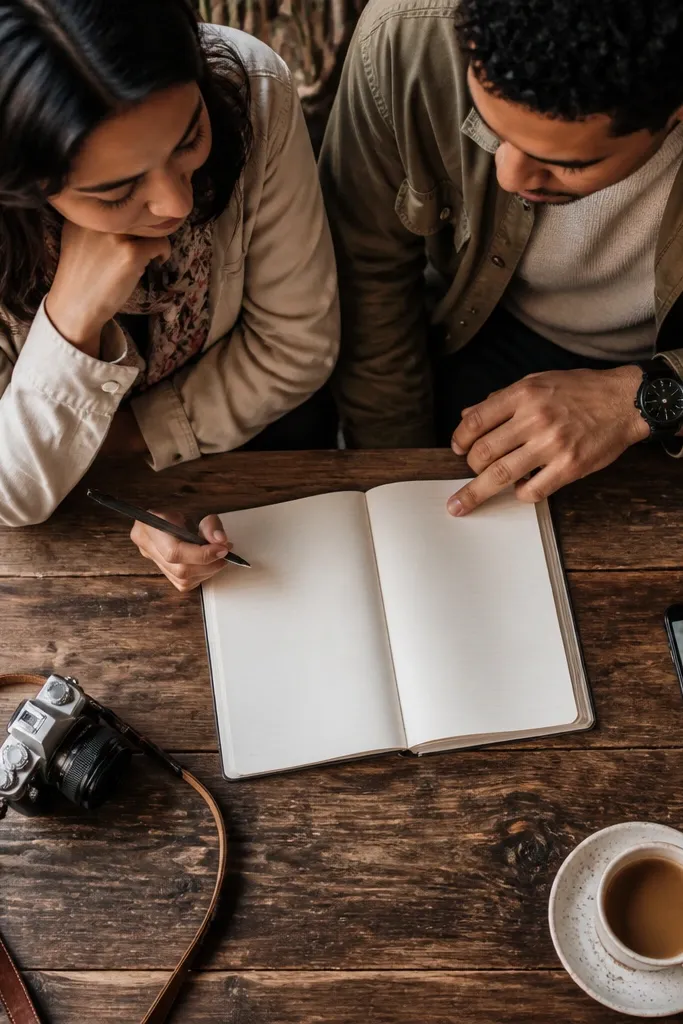
Start by picking one walkable loop you can cover in 40-60 minutes on foot. Then schedule your first portrait block 45-60 minutes before sunset, and save the second block for 30-40 minutes after sunrise if you’re staying nearby. For outfits, keep it neutral and warm — think cream, tan, camel, and muted olive — so you blend with the architecture instead of competing with it. Plan travel time between spots so you never rush across streets mid-session.
Wear comfortable shoes you can walk in for 45 minutes — your pace shows up in the photos.
Don’t schedule this right after midday — harsh sun kills the stucco texture and makes everyone squint.
2. Coastal Cliff Wind + Flowing Fabric Portraits
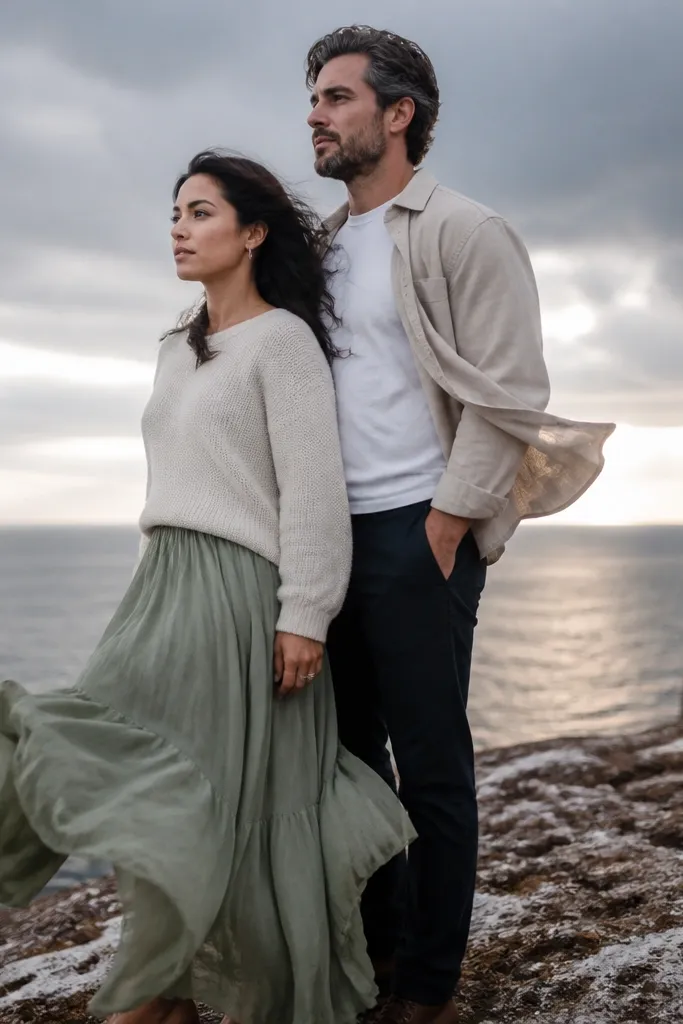
A coastal cliff gives you big sky, dramatic horizons, and movement from wind. That wind is what makes the images feel alive: it lifts hems, adds motion to hair, and creates natural separation from the background. This is especially good for couples who want a cinematic look without needing props. Plan it for the end of the day when the sun grazes the coastline and the ocean turns darker and richer.
Start by finding a cliff viewpoint with a safe, clear path where you can stand without crowding. Then arrive 60 minutes before sunset for a calm scouting pass, and shoot portraits from two angles: facing the sun and with your backs to it. Bring a hair plan (pins or a light spray) and layers you can adjust fast when wind spikes. Keep the session length to 45-75 minutes so you don’t get cold or lose the wind rhythm.
Quick tipPack a small lint roller — coastal air sticks to dark fabrics fast.
Skip thisDon’t wear flimsy fabric that tangles easily; you want controlled movement, not constant adjusting.
3. Waterfront Promenade at Blue Hour
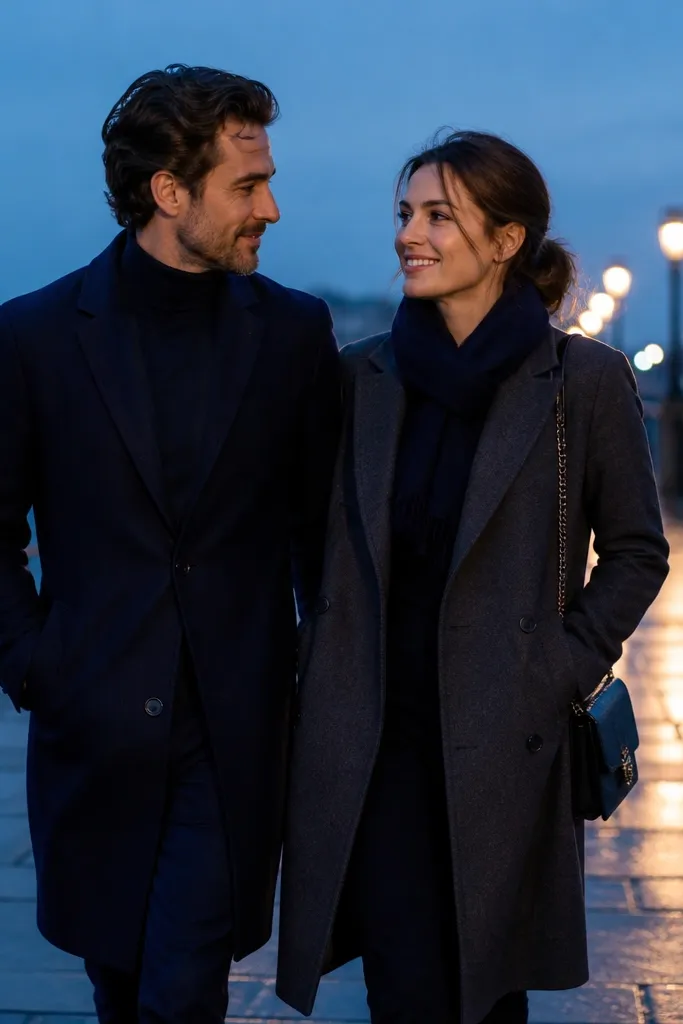
Blue hour on a waterfront looks expensive because streetlights and reflections create a soft glow behind you. The background stays colorful without washing your faces out, and the promenade gives you a natural “walk and talk” rhythm. This is ideal if you want moody, romantic photos that don’t rely on golden-hour brightness. If your venue is inland, this setup is also a great way to keep the aesthetic cohesive with evening wedding lighting.
Start by choosing a promenade with visible lights and water reflections — you want both, not just one. Then plan your shoot to begin 25-35 minutes after sunset and keep moving so you don’t get stuck as the sky darkens. Use two wardrobe tones: one lighter top to catch the glow and one darker layer to anchor the frame. For travel, park once and walk the length of the promenade; driving between spots wastes time at dusk.
Bring a compact hand warmer or small prop you can hold — it keeps hands comfortable and poses natural.
Don’t choose a waterfront with only one type of light; flat LED glare makes skin look gray.
4. Botanical Garden Glasshouse + Green Backdrops
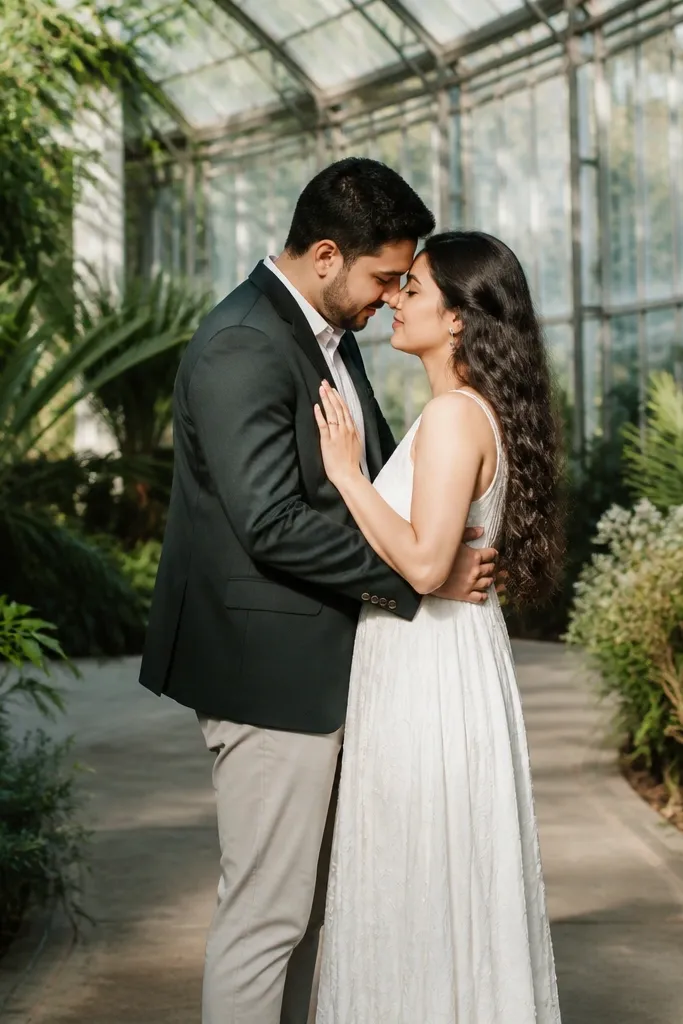
A glasshouse or conservatory gives you lush green backgrounds with controlled light. The glass softens harsh sun, and the plants add color depth that makes skin tones look warm. This setup is perfect when weather is unpredictable because you get shelter and consistent backgrounds. It also works for close-ups — hands, sleeves, and facial expressions look great against leaves and glass.
Start by checking the garden’s hours and whether glasshouse entry is timed-ticketed. Then book your shoot for late morning or early afternoon for steady light, and plan 20-30 minutes for portraits plus 15-20 minutes for detail shots. Use outfits with texture — linen, cotton poplin, or a soft knit — so the fabric shows against the greenery. Get there early enough to avoid crowds, since people walking through ruin clean backgrounds.
Bring a small fabric steamer or wrinkle spray if you’re packing light; gardens show wrinkles quickly.
Don’t pick outfits that match the exact green shade; you’ll blend into the background.
5. City Rooftop Staircase + Clean Skyline Lines
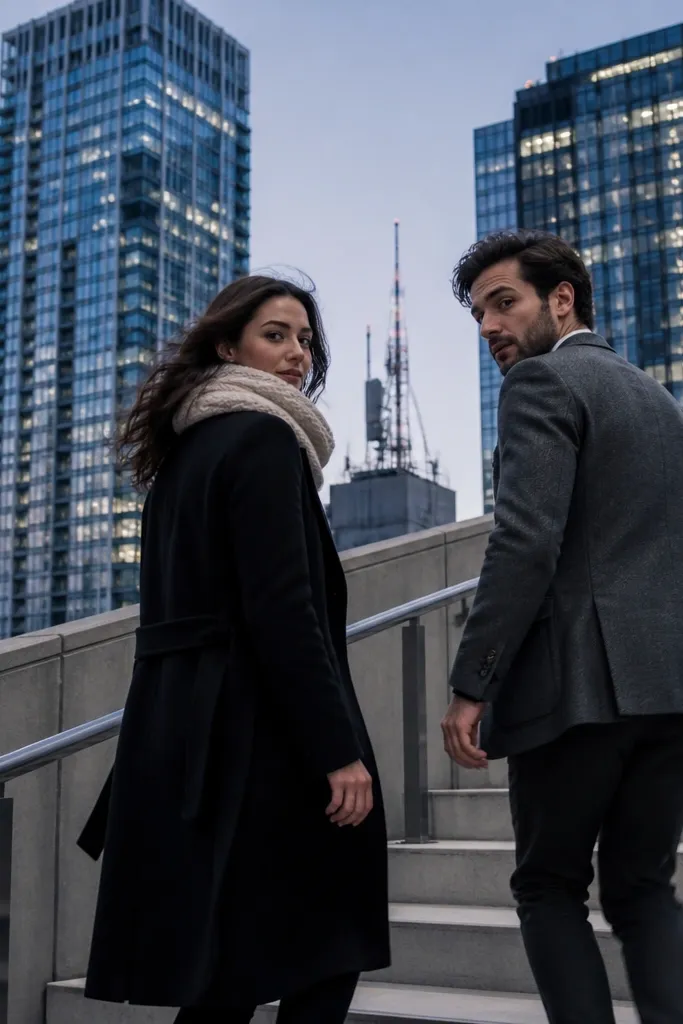
Rooftops and staircases create graphic compositions: straight lines, strong angles, and a skyline that feels modern. This is a great choice for couples who want “editorial” energy without going full fashion shoot. The staircase gives you natural posing — leaning, walking up, turning back — and the skyline becomes a clean layer behind you. Shoot when the sky has color, like late afternoon, so the city lights don’t overpower your faces.
Start by scouting a staircase view that has open sky and enough space to avoid crowds. Then schedule your session 60 minutes before sunset, and do a quick test photo to check glare on windows. Wear one solid color that reads well at distance (navy, charcoal, cream) and one accent tone (rust, burgundy, forest green) to add warmth. For timing, keep it to 45 minutes so you don’t get bored or stiff and so the skyline light stays consistent.
Quick tipBring a small garment bag or a foldable chair — you’ll change faster and look fresher.
Skip thisDon’t shoot in direct overhead sun; it makes the staircase shadows look harsh on faces.
6. Desert Roadside Dunes + Off-White Wardrobe
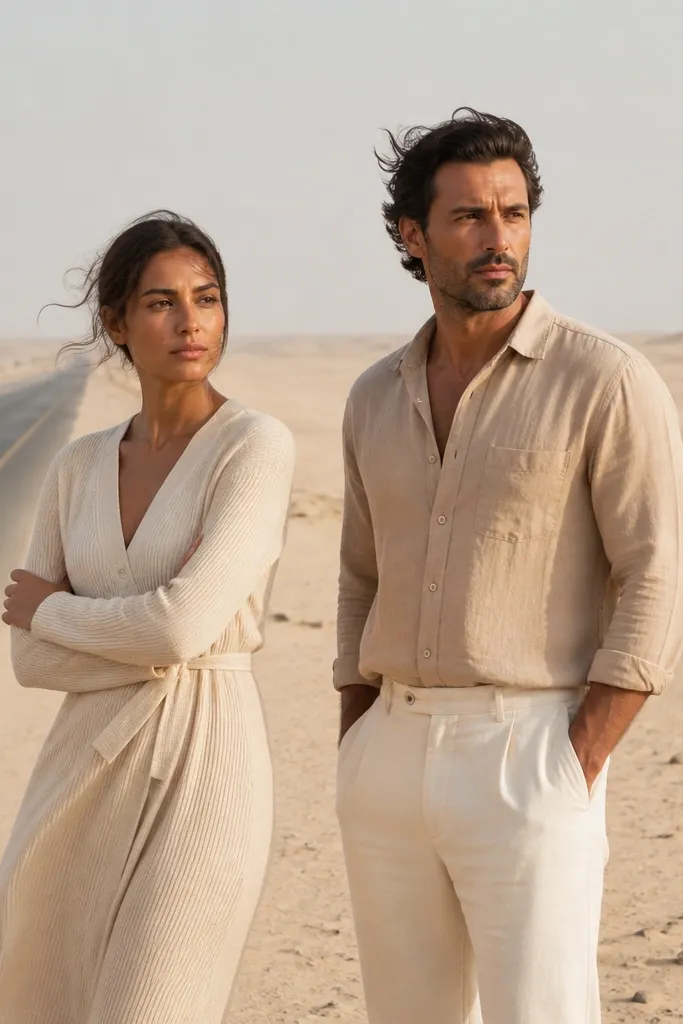
Desert dunes give you endless negative space and smooth, flattering color. Off-white and warm beige look especially good because the sand reflects light back onto your faces, reducing harsh shadows. This style is photogenic even when you don’t have elaborate props — the landscape does the work. It also gives you a calm, slow-moving vibe that photographs well for couples who don’t love constant posing.
Start by choosing a dune area where you can park close and walk 10-20 minutes to a clean horizon. Then shoot either early morning or late afternoon for softer sand tones and longer shadows. Bring a layered outfit because desert evenings cool fast once the sun drops. For logistics, plan water and a towel for sand on shoes; it ruins the look fast when you wipe your feet on fabric.
Use a lint brush on darker fabrics — sand sticks and shows under sunlight.
Don’t plan this at midday; the sand glare makes images washed out and uncomfortable to shoot.
7. Old Pier + Boat Colors for Pops of Contrast
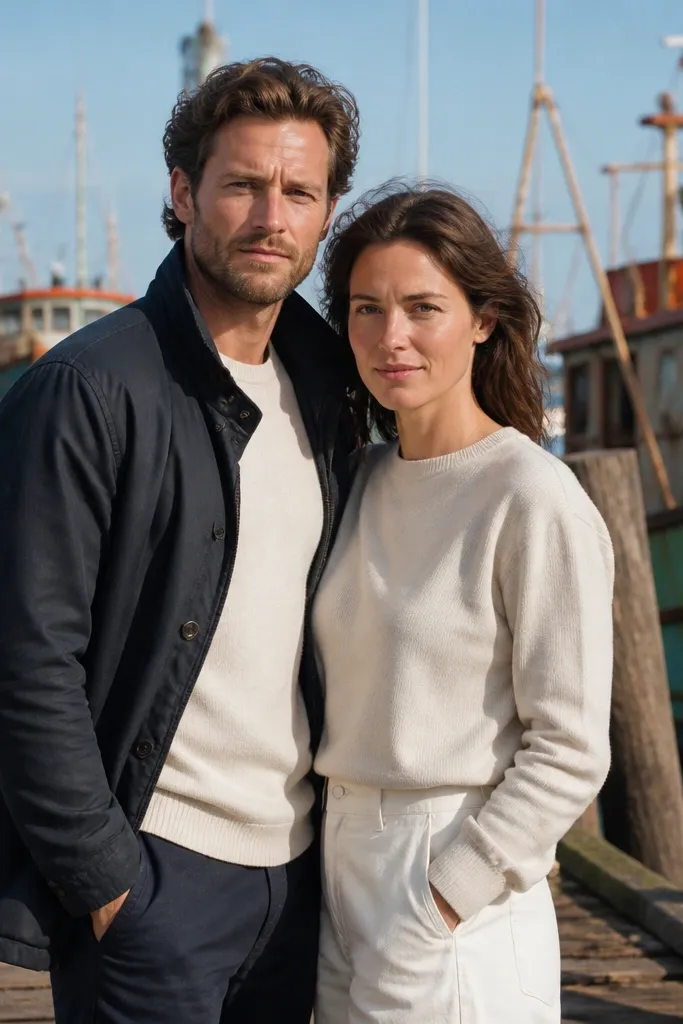
A pier with anchored boats gives you texture, color blocks, and depth. The wooden planks create a strong leading pattern, while boat colors add small bursts of interest that don’t overwhelm your outfits. This is a strong choice for couples who want their photos to feel travel-specific without looking like generic beach shots. It’s also great for movement: walking along the dock reads natural and gives you varied angles.
Start by picking a pier with boats that are visible but not crowded. Then shoot in late afternoon so the wood and water have warm tones, and do one “walk” segment plus one “pause and turn” segment. Wear one neutral base (cream, navy, black) and add a color accent that matches the boat tones (teal, red, or mustard). Allow 60-90 minutes total so you can wait out a few cloud shifts and keep the water texture consistent.
Quick tipBring a small towel for wet dock spots — you don’t want damp shoes mid-session.
Skip thisDon’t rely on a single static background; dock photos look best when you rotate positions.
8. Farm Field Rows + Wind-Driven Movement
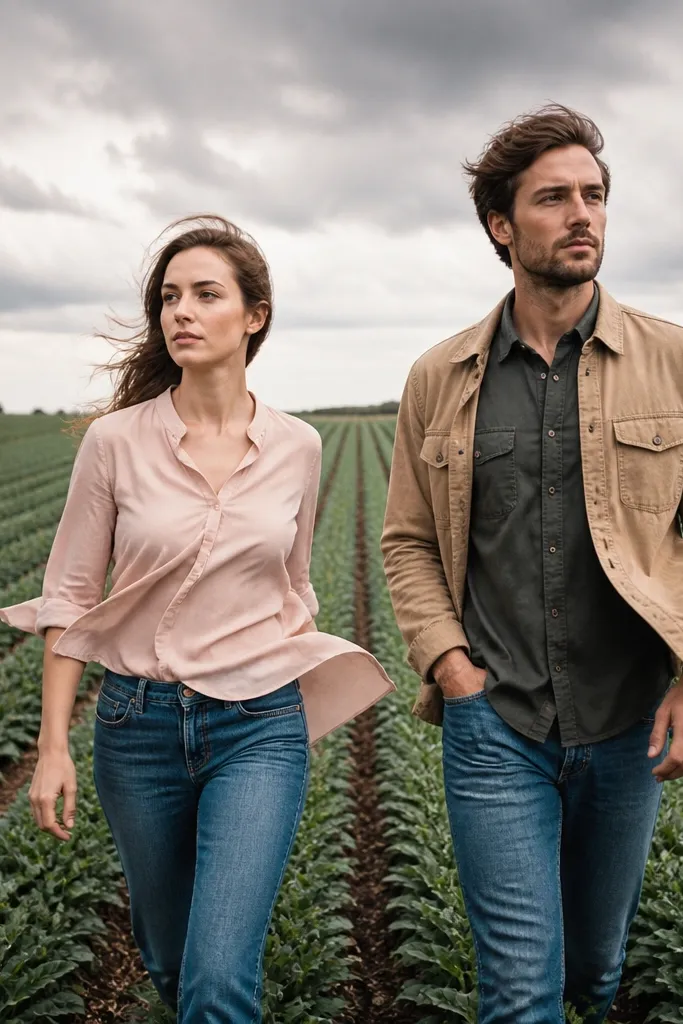
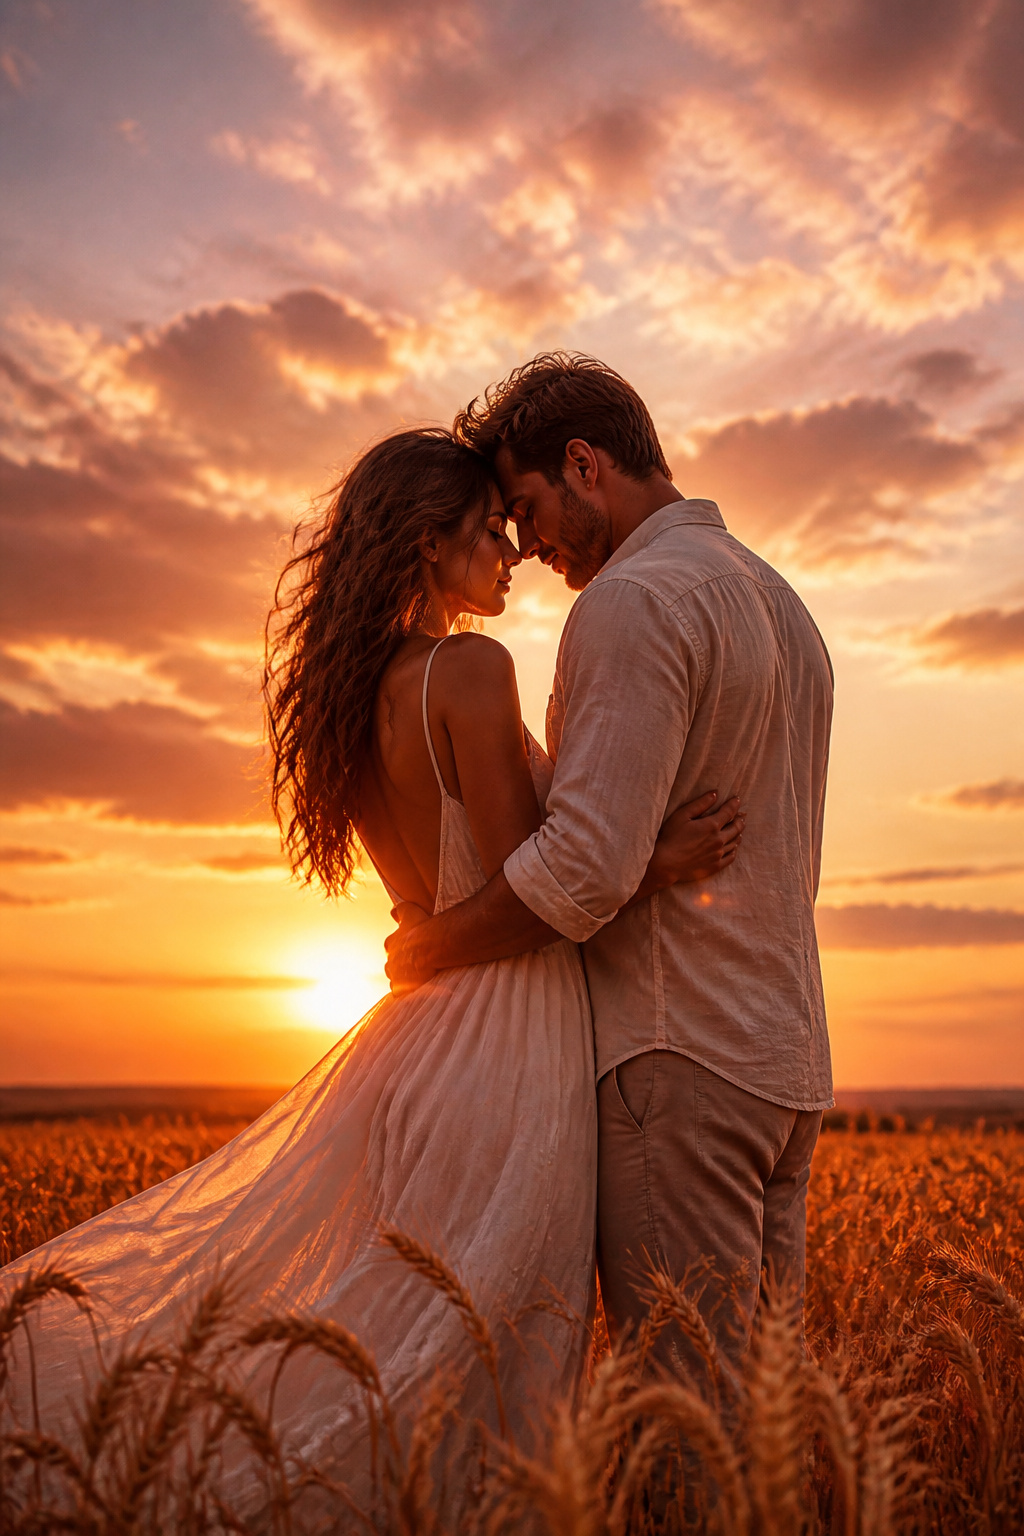
Field rows create a built-in composition: repeating lines that frame you and add height. When the crops move, the photos get motion without needing props, which makes the entire set feel cohesive. This look is perfect for couples who want a soft romantic vibe with a little drama from the sky. Choose open fields where you can stand far enough from the road for quiet backgrounds.
Start by scouting for a field edge where you can see rows receding behind you. Then plan your main portraits for golden hour and add a short overcast backup session at midday if the forecast shifts. Wear breathable fabrics that handle wind well — linen dresses, soft knits, or a light button-down. For travel, keep it to one field location; hopping between farms eats time and adds stress.
Quick tipBring small safety pins or fashion tape for collars and hems — wind catches details fast.
Skip thisDon’t wear bright neon colors; they overpower the natural palette and look harsh on skin.
9. Classic Train Station Platform + Soft Evening Glow
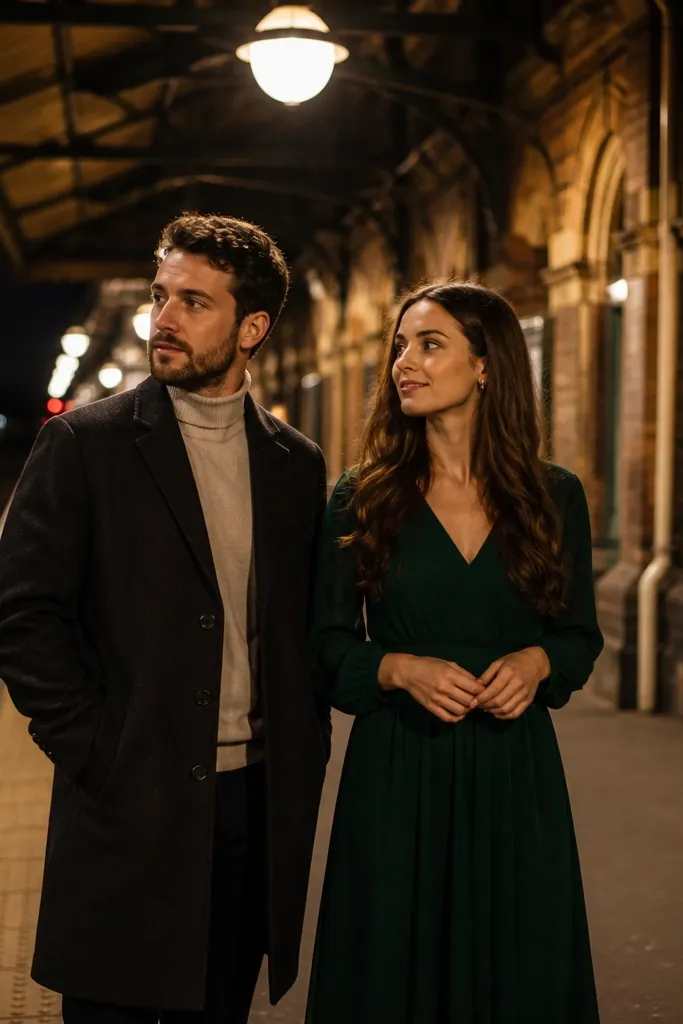
A classic train station gives you architecture, depth, and story without adding props. The platform lines lead straight toward you, and the warm overhead lights create flattering skin tones at night. This is ideal for couples who want an urban romantic look with clean backgrounds. It also works well when it’s too hot outside or raining — you still get dramatic lighting and texture.
Start by choosing a station with visible tracks and a roofed platform so the light stays consistent. Then schedule your shoot 30-60 minutes after sunset for warm light, and do portraits near the roof support beams for even glow. Wear darker neutrals to ground the frame, and add one warm accent like cognac leather or a rust knit. For logistics, arrive early to check where you’re allowed to stand — some stations have restricted areas.
Bring a compact umbrella even if it’s not raining; station platforms get sudden mist and you’ll want dry hair.
Don’t shoot beside bright timetable signs; they pull attention and mess up color balance.
10. Lake Dock Sunset + Holding Hands in Negative Space
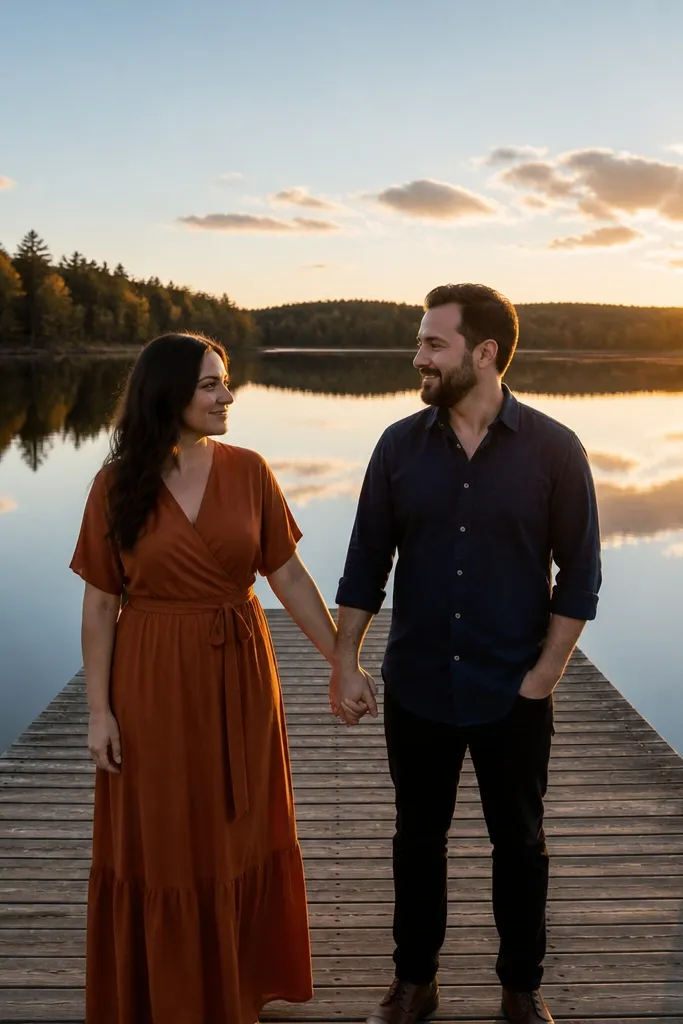
A lake dock at sunset is the cleanest way to get romantic photos without clutter. The water gives you mirror-like reflections, and the dock creates a simple foreground that makes you look grounded. This setup is perfect for couples who want “tender” images that still look cinematic. Keep poses simple — holding hands, leaning in, walking slowly — because the background does the heavy lifting.
Start by choosing a dock with open water behind it and minimal boats. Then arrive 45-60 minutes before sunset and shoot from two distances: close enough for faces, and farther back for dock + horizon. Wear one lighter outfit tone for reflection-friendly color (cream, light gray, soft blue) and add a dark layer if it cools. Plan to shoot for 60 minutes total so you can catch the sun before it dips low and the wind picks up.
If the water is choppy, angle slightly — calmer reflections appear off to the side of the dock.
Don’t stand too close to the shoreline weeds; they create messy foreground blur.
11. Museum Steps + Monochrome Outfit Contrast
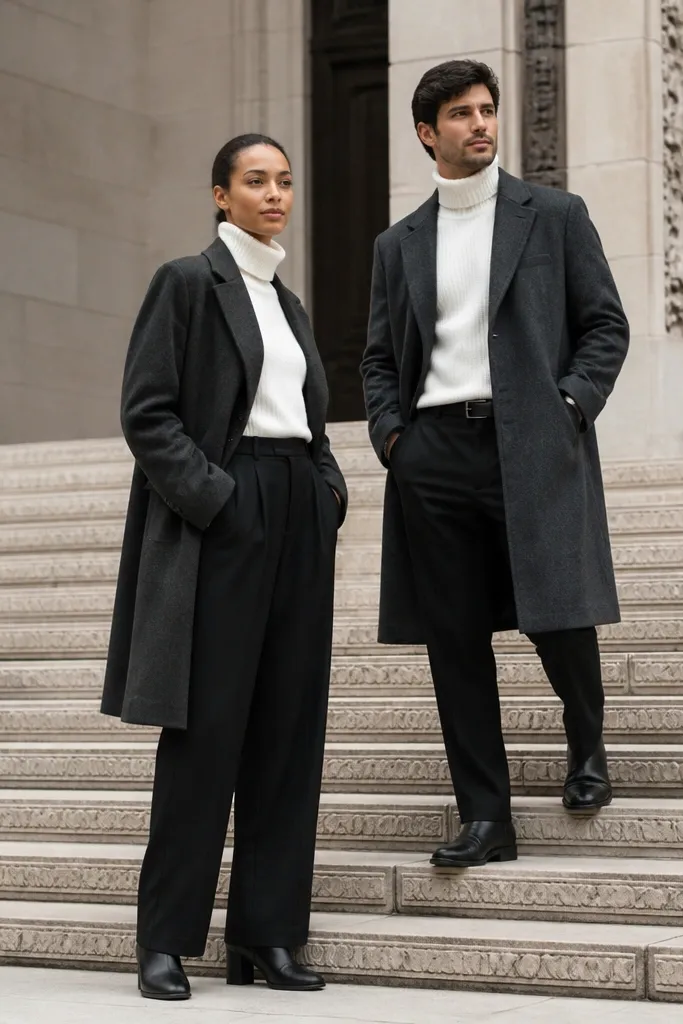
Museum steps and stone facades create a polished look with minimal effort. The architecture gives you clean lines, and monochrome outfits pop against light stone. This is a good choice for couples who want their pre wedding shoot to look “designed” even if they don’t love posed sessions. The best part is the variety: you can do wide couple portraits, mid shots on landings, and detail photos near columns.
Start by checking whether the area is open for photography and whether there are rules about tripods. Then schedule your shoot for late afternoon so the stone has warm shadows and the sky doesn’t look flat. Wear monochrome tones (black and cream, charcoal and light gray) and keep accessories simple so the background stays dominant. Walk the steps in sections — top landing, middle landing, bottom steps — and keep each segment to 10-15 minutes.
Quick tipBring a small lint roller and brush off stone dust; it shows on light pants.
Skip thisDon’t pick a crowd-heavy time; people walking behind you ruin the clean architectural look.
12. Street Market Morning + Hands-and-Food Details
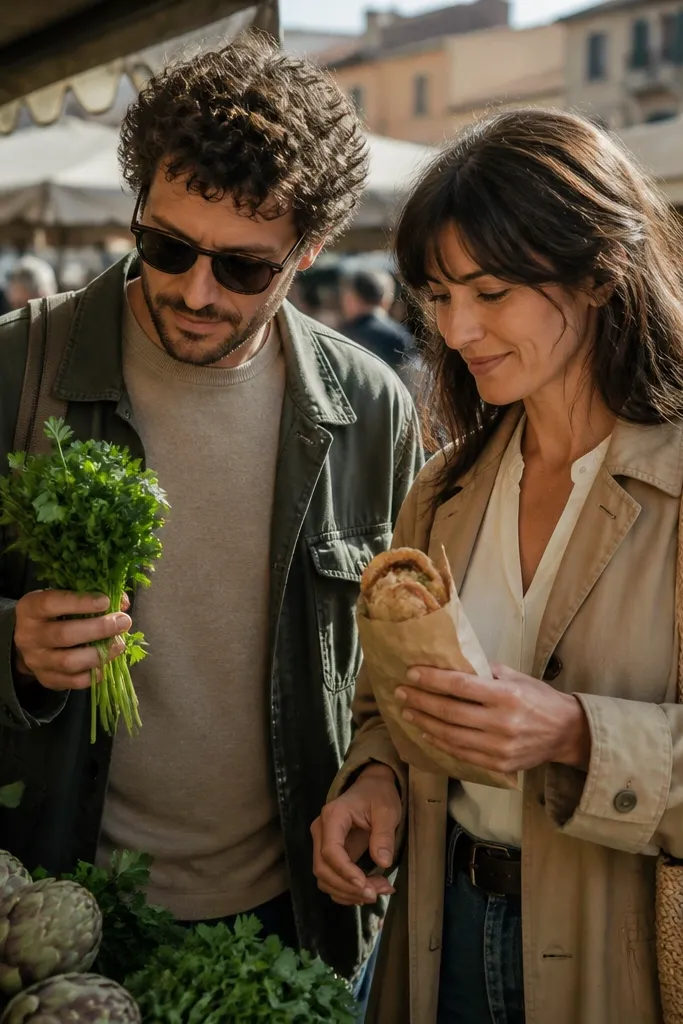
A street market gives you color, texture, and real life energy that still photographs beautifully. You get natural movement from browsing, carrying a small item, and turning toward each other between stalls. This is ideal when you want your pre wedding photos to feel like a travel moment, not a generic portrait session. Keep the styling simple so the market colors don’t clash with your outfits.
Start by choosing a market that opens early and has covered sections for shade. Then plan 9:00-11:00 for softer morning light and more comfortable temperatures. Wear one neutral base and one accent color that matches a common market hue (like terracotta, deep green, or cobalt). For shots, focus on hands, forearms, and faces in between stalls, and do one short walking segment through a main aisle.
Bring a small reusable tote — it gives you something natural to hold without looking like a prop.
Don’t wear loud patterns; they fight with the busy background and make skin tones look off.
13. Lighthouse Path + Cape Wind Layers
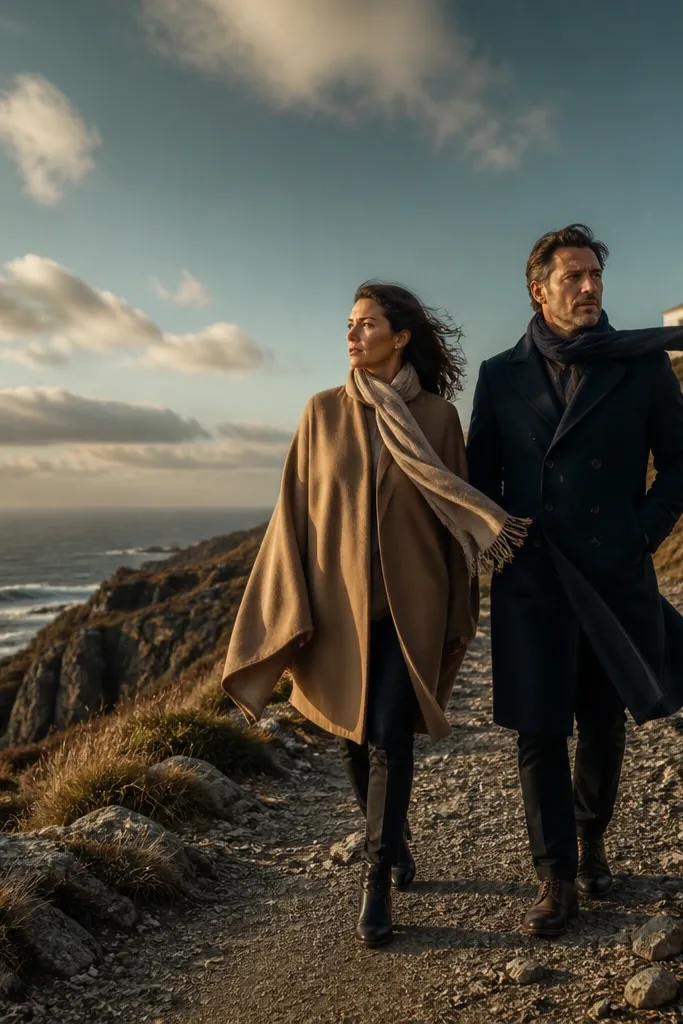
Lighthouse paths look great because you get a clear subject point and a dramatic coastline curve. The key to making it aesthetic is wind and layers: a cape, long coat, or skirt hem that moves creates a fashion-like feel. This setup is best for couples who want variety — you can do close portraits near rocks and wider frames with the lighthouse in the distance. Plan for late afternoon so the lighthouse and coastline glow without harsh glare.
Start by scouting a safe path that has one vantage point where the lighthouse lines up behind you. Then shoot in two parts: portraits on the path, and then wider frames from the vantage point 15-20 minutes later. Wear layers you can remove — a light sweater under a long coat looks great and keeps you comfortable. For travel, park once and walk; lighthouse areas often have limited parking and tight footpaths.
Use a small step stool or flat rock only if it’s stable and allowed; it helps you control height without awkward stretching.
Don’t overpack — lighthouse wind punishes heavy bags and makes you look weighed down.
14. City Park Lake Trail + Matchy Soft Neutrals
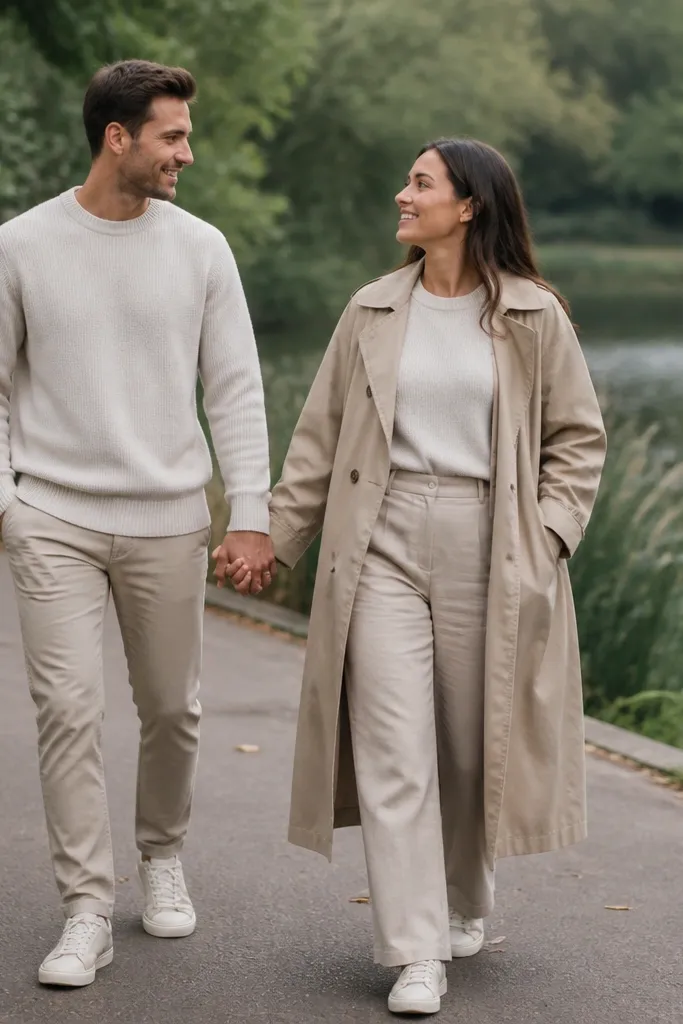
A city park lake trail is the best “easy win” when you want photogenic nature without the travel hassle. The waterline gives you a calm background, and the trail gives you a consistent path for natural walking shots. Soft neutrals look clean here because the greenery is the color source, not your clothes. This is a dependable option for couples who need multiple looks across a weekend but don’t want to commit to remote locations.
Start by picking a trail section with open sky and a clear view of the water, not just dense trees. Then schedule your shoot around sunrise or late afternoon for flattering light and fewer people. Wear coordinated neutrals with one texture difference — like linen vs knit — so photos have depth even in calm conditions. If there are crowds, move 100-200 meters down the trail and reset; the camera sees distance.
Bring a small bottle of water for a quick refresh and calm hands during pauses.
Don’t choose a trail with bright orange signage or playground clutter behind you.
15. Café Window Light + Shadowy Indoor Portraits
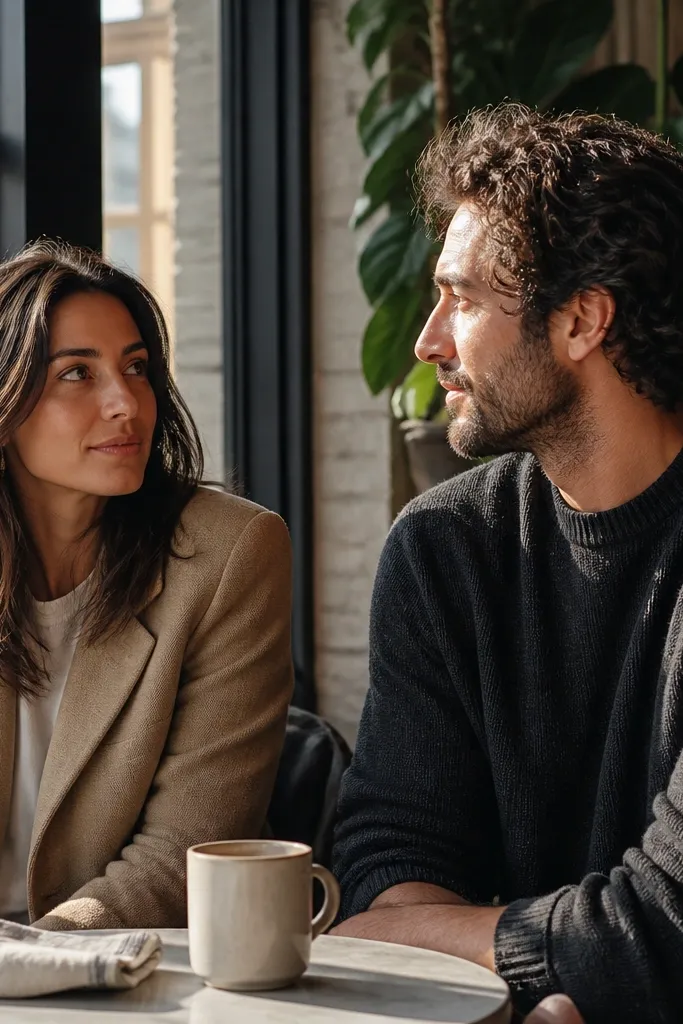
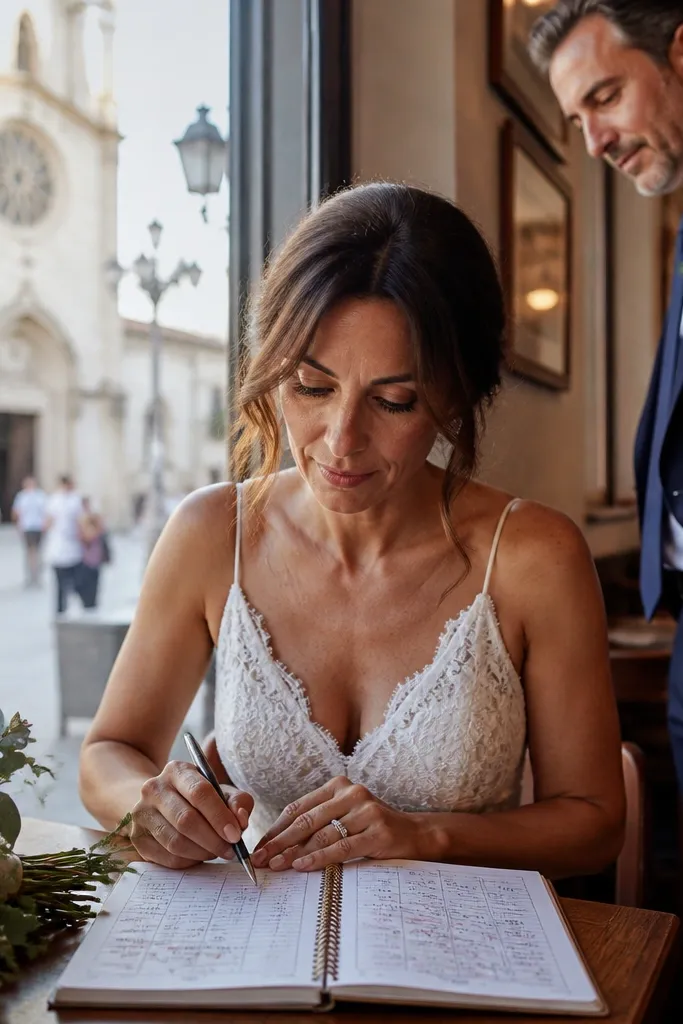
Indoor café window light gives you flattering skin tones when outdoor light is too harsh. The background stays soft, and the window creates a natural rim of brightness that makes faces look warm and intentional. This setup is ideal as your midday reset on a 3-day weekend when the sun is brutal or the weather turns. It also helps you get variety in your gallery because the textures — glass, wood, cups — add visual richness without needing scenery.
Start by choosing a café with large windows facing a direction that gets light in your planned time block. Then book your shoot for 1:00-3:00 if the forecast is sunny, because you’ll avoid overhead glare outdoors. Order two drinks you can hold easily, and plan close portraits at the table edge so your faces sit in the brightest part of the window. Keep it tight — 25-40 minutes — so staff aren’t rushed and you don’t lose the cozy vibe.
Quick tipWear sleeves that look good in indoor light; rolled cuffs and crisp collars photograph better indoors.
Skip thisDon’t pick a café with flickering neon signs; the color shifts across faces in every frame.