1. Skylight Staircase Story (Museum or Gallery Steps)
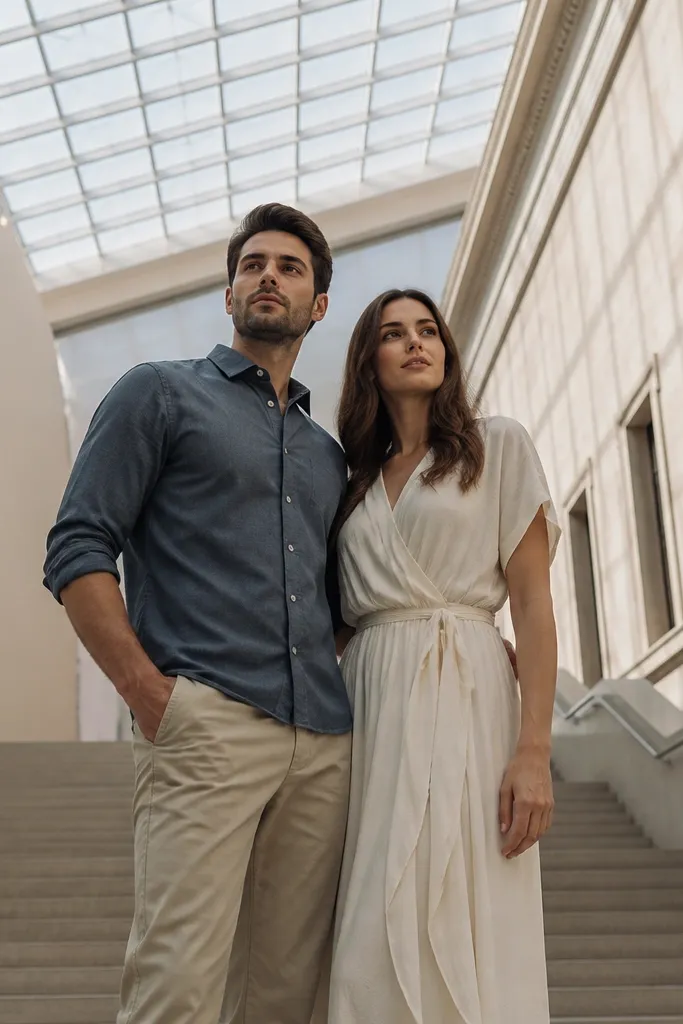
This is a best vs worth it idea because it looks editorial without needing travel. Skylights give you even illumination on faces, so skin tones stay natural and you don’t fight harsh midday glare. The stairs add height and natural leading lines, which makes simple poses look intentional. It suits couples who want a clean, modern aesthetic and a shoot that stays comfortable even if it’s hot or windy outside. Go in late afternoon or early evening when the skylight brightness is strong but not blown out.
Quick tipBring a small lint roller for dark outfits — museum steps get dusty fast.
Start by picking a stairwell with a visible skylight or high windows above the landing. Then coordinate wardrobe in one light color + one dark anchor (cream dress with black trousers, or navy suit with a white shirt) so your frames don’t blend into the walls. Finally, arrive 30 minutes early to test exposure: have your photographer meter on skin, then shoot a quick 5-minute warm-up so you can adjust before you dress fully and start the “story” poses.
Skip thisSkip locations with yellow tungsten lighting; it makes whites look sickly in every frame.
2. Rooftop Parking Deck Dusk With Neon Lines
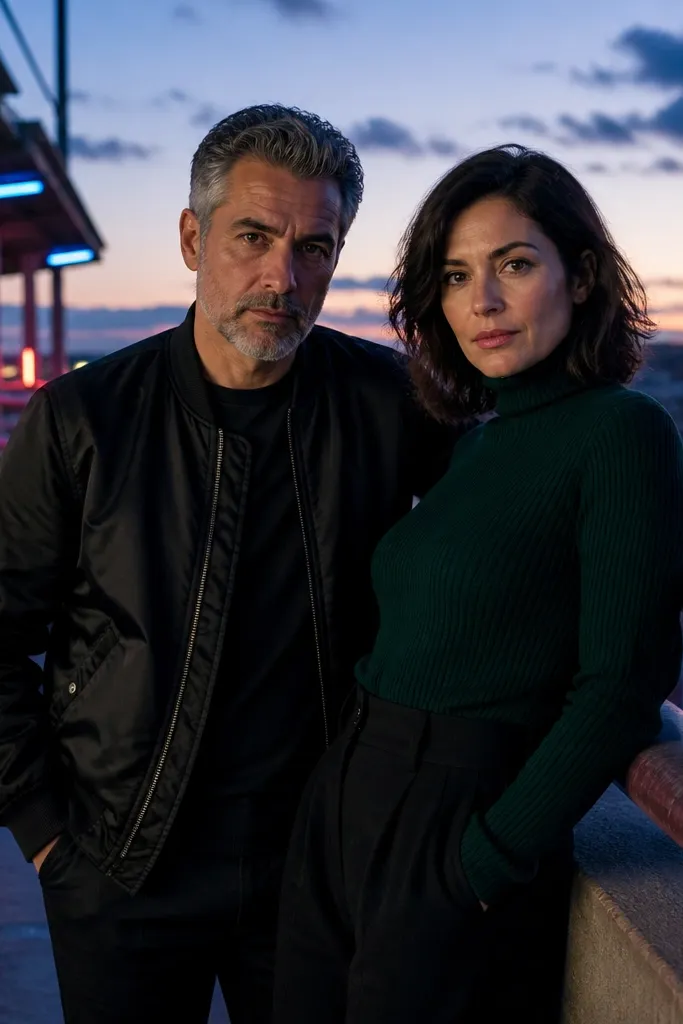
Worth it if you’re after a moody, city-couple vibe that still looks romantic. The parking deck’s geometry gives you straight lines, rail reflections, and a clean background even with crowds nearby. Dusk is the sweet spot because the sky holds color while lights start to glow, so you get depth without overexposure. This works best for couples who like a slightly edgy look and want photos that feel like a music video still — but with real tenderness. Shoot during the blue hour window right after sunset.
Quick tipIf you can, bring small LED string lights for the couple’s hands or a subtle prop — it gives consistent eye highlights.
Start by choosing a deck with open edges and visible street lights below, then scout from street level so you know where the wind is strongest. Then plan your wardrobe around reflections: black, dark denim, and deep jewel tones read best against concrete and neon. Finally, schedule the session for 45-60 minutes around sunset, with one set of slow walking frames and one set of stationary “lean and touch” frames so you get both motion and crisp faces.
Skip thisDon’t use bright white sneakers; they blow out highlights in neon reflections.
3. Sunken Courtyard With Linen + Shade Contrast
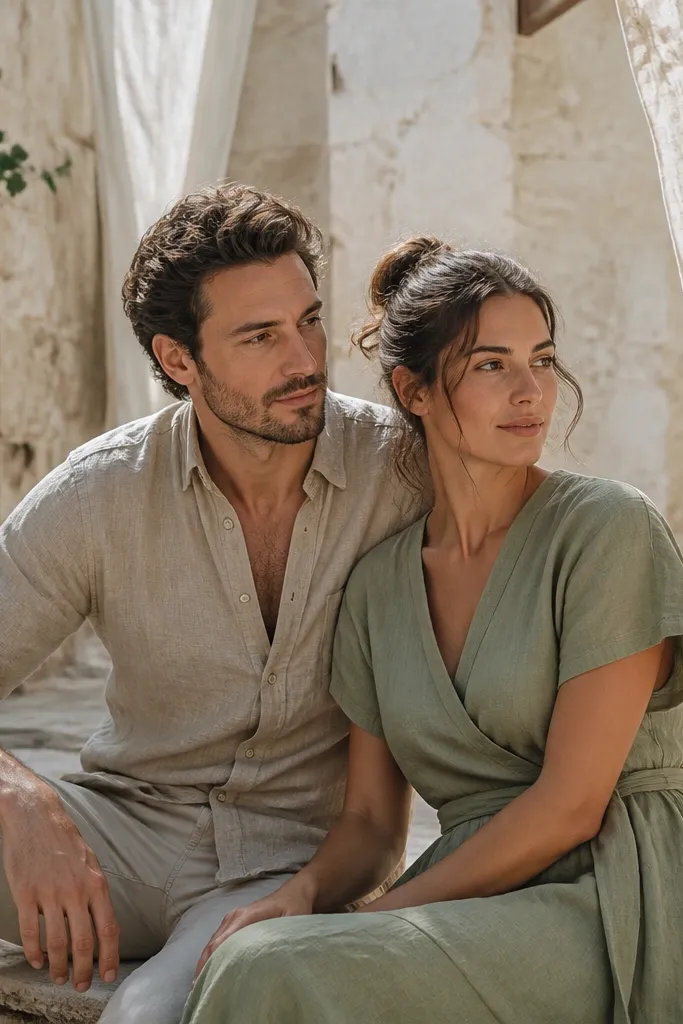
This idea is best vs worth it for couples who want soft, flattering photos without chasing golden hour. Sunken courtyards create built-in contrast: bright stone walls around you and shade where your faces sit. Linen textures look amazing here because the fabric catches light at the edges and moves naturally. It suits a classic, airy aesthetic and works even on warm days because shade keeps everyone comfortable. Aim for mid-morning to early afternoon so the wall light stays strong.
Quick tipPack a hand fan or small paper fan; it gives motion without needing constant posing.
Start by finding a courtyard with a clear boundary between sun and shade, ideally with stone or stucco walls that reflect light. Then choose outfits with breathable fabric and minimal patterns — think cream, pale blue, sage, and charcoal. Finally, do two rounds: one in the shade with direct eye contact, then one step into the sun for a few “turn and walk” moments so you get variety without losing face clarity.
Skip thisSkip courtyards with heavy graffiti or cluttered signage; it turns your photos into a background mess.
4. Rain-Plan Umbrella Walk on a Cobblestone Street
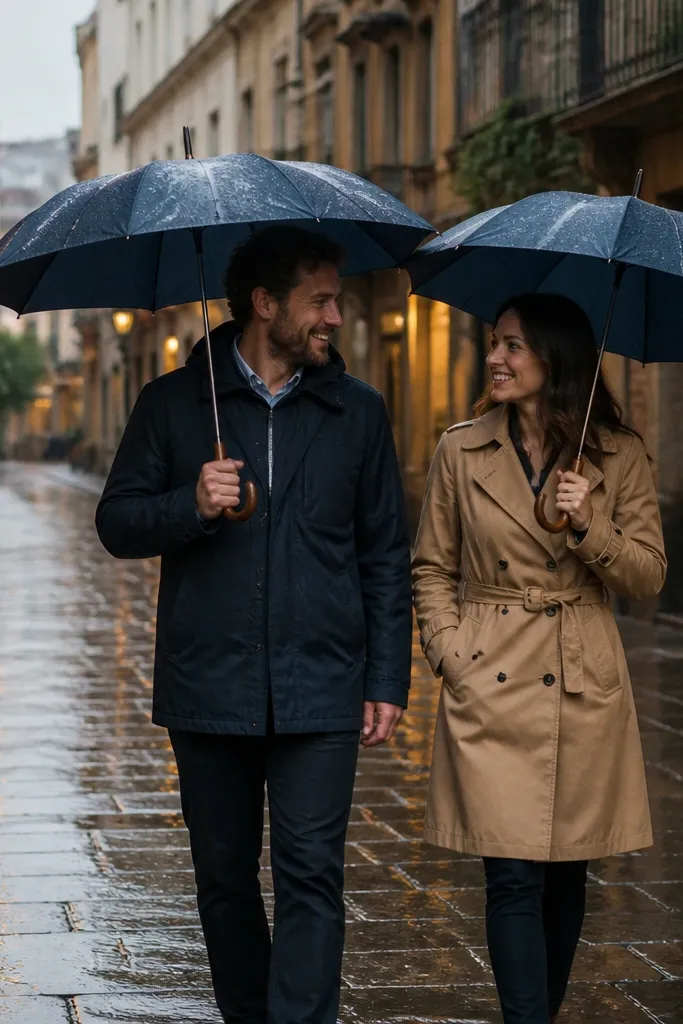
This is a “worth it” idea because rain makes the scene look richer instantly. Wet cobblestones reflect light, which gives you depth and glow without editing gymnastics. Umbrellas also control framing and create a natural silhouette, so even simple walking poses look composed. It suits couples who want romantic mood and don’t mind dressing slightly warmer. Schedule for the hour before rain hits if you can, or go right after the heaviest drops when the street is glossy but traffic slows.
Quick tipBring a microfiber towel and a small trash bag for wet umbrella storage between outfits.
Start with two matching umbrellas or one coordinated set (black + muted red looks great against gray streets). Then wear shoes you can walk in — ankle boots or waterproof sneakers — because cobblestones punish slipping. Finally, plan a 30-45 minute loop: 10 minutes of slow walking, 10 minutes of stopping for close touches, then 10 minutes of turning back toward the camera for reflection shots.
Skip thisDon’t pick flimsy umbrellas that flip in wind; you’ll spend the session fixing them.
5. Pier Morning With Steam and Soft Fog
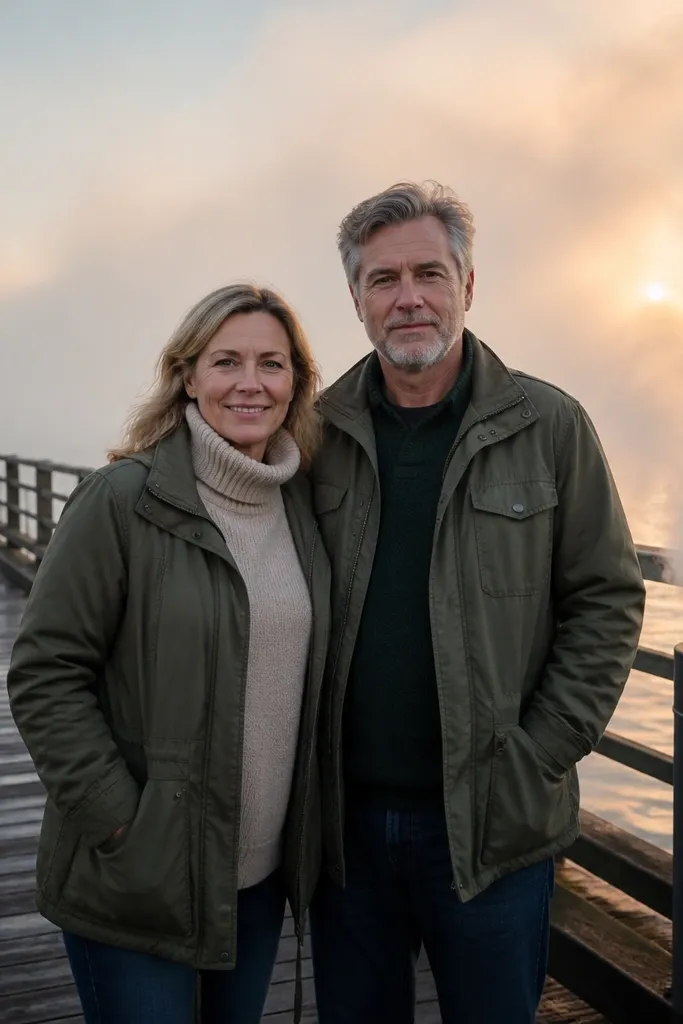
This is best vs worth it for people who live near water and want photos that look cinematic without harsh sunset glare. Morning fog and steam from vents (where available) add atmosphere, and the pier gives you clean leading lines toward the horizon. Your faces stay softer in diffused light, which makes this great if anyone hates strong contrast. It suits couples who like a calm, intimate vibe and want a travel-feeling backdrop without loud crowds. Go in the first 2 hours after sunrise.
Quick tipWear layers you can remove quickly; pier mornings cool fast even in summer.
Start by checking tides and wind — calm mornings look best and keep waves from turning into a blur. Then arrive early enough to scout for a spot where the water line isn’t too bright, like slightly angled toward the sun. Finally, shoot in two modes: wide horizon frames for atmosphere, then tighter steps closer to the pier rail for eye contact shots.
Skip thisSkip midday — the water glare flattens faces and blows out the horizon.
6. Botanical Garden Greenhouse Glass + Sun Rays
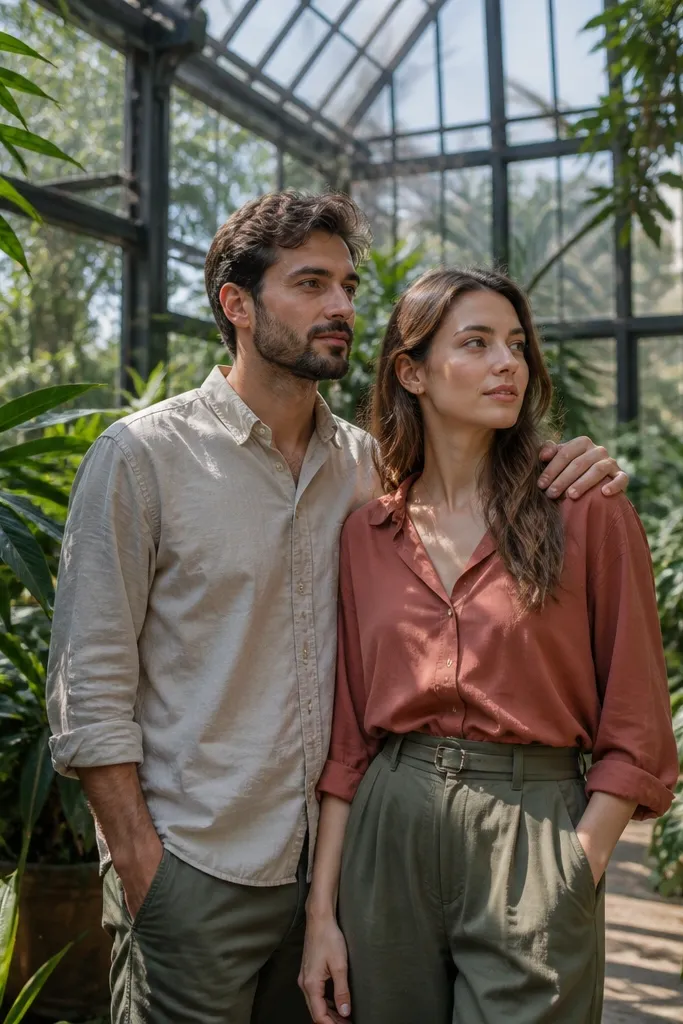
Worth it if you want a lush look that still feels controlled. Greenhouse glass creates beautiful highlights and shadow patterns on skin, so your photos look stylized without heavy props. The plants give texture in every direction, and the glass structure makes backgrounds feel intentional. It suits couples who want romance with color, especially in spring and early fall. Aim for late morning when sun hits the glass at an angle and casts visible leaf shadows.
Quick tipBring a small hair clip or two; humidity makes flyaways show up fast.
Start by choosing a greenhouse with high glass panels and thick foliage so you get layered depth. Then keep outfits simple and breathable; medium-tones like olive, terracotta, and cream pop against green. Finally, do a “shadow sequence”: position your subjects so leaf shadows fall across shoulders and hair, then move a step at a time to change the shadow shapes across frames.
Skip thisDon’t rely on heavily patterned dresses; the greenhouse already has busy texture everywhere.
7. Desert Roadside Wind With Neutral Wardrobe
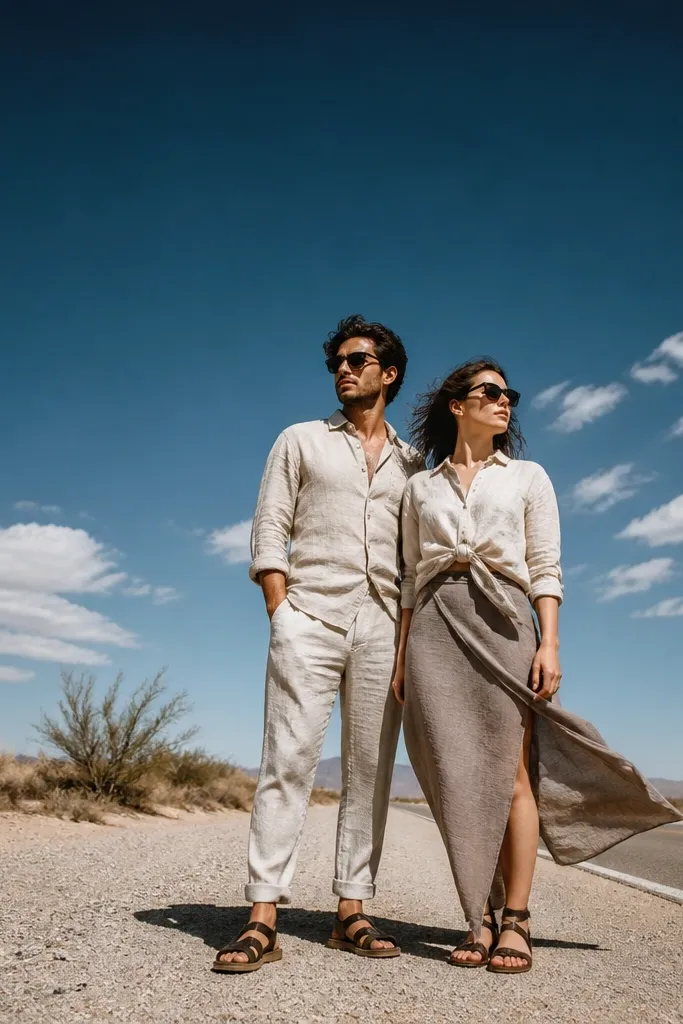
This is best vs worth it when you want dramatic scale without a long hike. Desert roads give you big sky, clean horizons, and that cinematic “we’re somewhere far” feeling. Wind becomes your creative twist — fabric movement reads beautifully in photos and makes poses look alive. It suits couples who like minimal, modern style and want a look that’s all about texture and atmosphere. Shoot in golden hour or just after sunrise for long shadows and soft color.
Start by picking a stretch with a clear horizon and no clutter like billboards or power lines in the frame. Then plan wardrobe in neutrals with one accent color (sand + black, or stone + rust) so you don’t look washed out. Finally, shoot two locations within the same drive: one with open sky and another with a rock formation or low scrub for variety without changing outfits.
Pack a scarf you can swap — it gives you quick “wind” motion without changing your whole outfit.
Skip midday desert sessions; heat haze makes faces look slightly blurred in photos.
8. Old Town Alley With One Color Accent
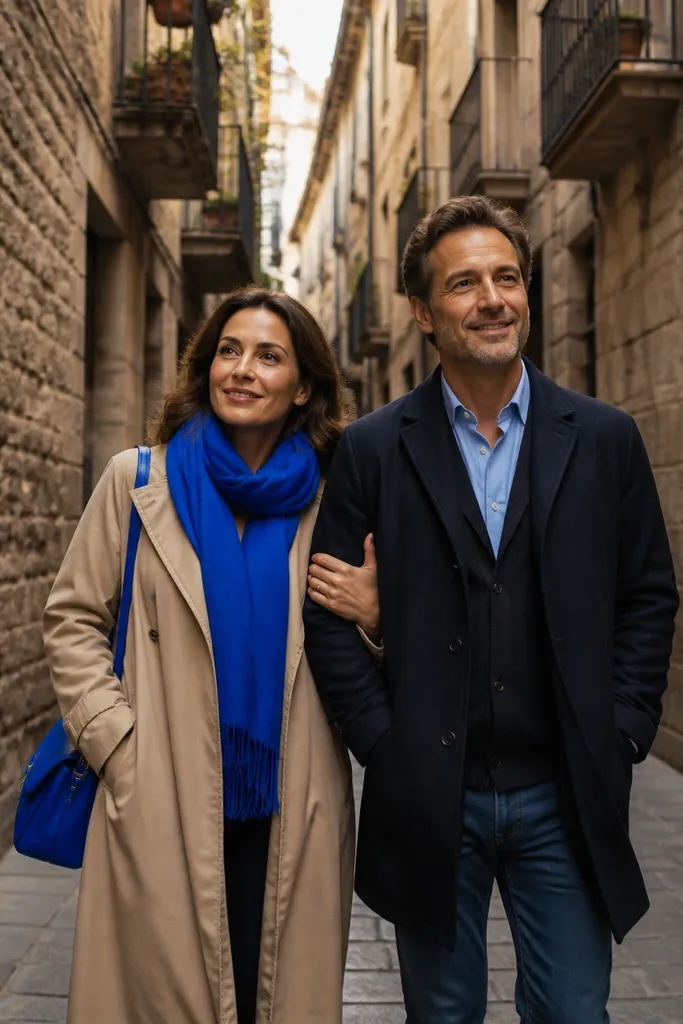
Worth it if you want European-style charm but still need planning to be realistic. Narrow alleys create a natural frame, so your faces stay the focus even when the street is busy. The trick is controlling the color story: choose one bold accent that pops against stone walls. This suits couples who like romantic, slightly vintage photos and want a shoot that feels intimate instead of staged. Go in late afternoon when storefront shadows add depth.
Quick tipAsk your photographer to shoot a few frames at waist height — it makes alleys feel deeper.
Start by choosing an alley with consistent wall colors and minimal signage, then scout for an open patch where you can stand without blocking traffic. Then pick one accent item in both outfits — a red scarf, cobalt tie, or emerald dress layer — and keep everything else neutral. Finally, plan 3 stops: one at the alley entrance (wide frame), one mid-alley (shadow contrast), and one near a doorway or arch for a tighter, romantic shot.
Skip thisDon’t shoot directly under harsh overhead lights; it creates raccoon shadows.
9. Library Steps With Page-Turn Motion
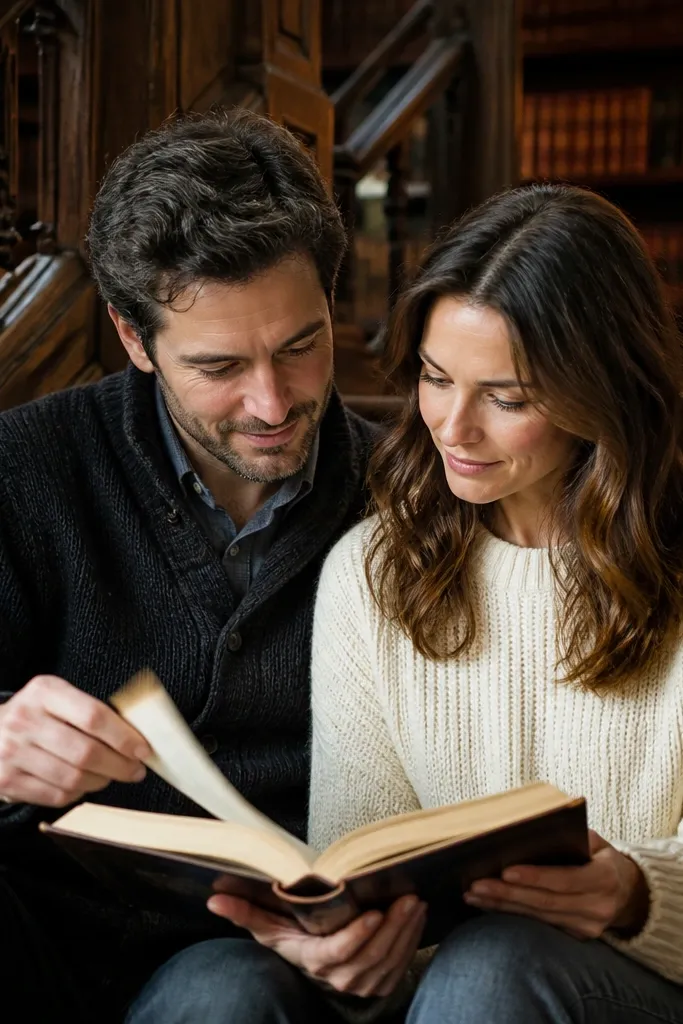
This idea is best vs worth it because it looks artsy without needing a special landscape. Library stairs and reading nooks give you built-in structure, and the “page-turn” action adds movement that still looks tasteful. It’s perfect for couples who want storybook energy but in a grounded, real-world setting. The light is usually soft near windows, and you can control backgrounds with shelves. Shoot around late morning for bright window light without midday glare.
Start by finding a library with visible window light and a stair landing that frames both people. Then choose books that match your aesthetic — neutral covers or one consistent color — and keep the pages open for real movement. Finally, do two sequences: one slow sitting sequence for clean portraits, then a standing sequence where you turn pages and step closer for eye contact.
Bring a small piece of book-safe paper or a bookmark so pages don’t tear or flip too wildly.
Skip places where flash photography is banned; it ruins natural look and can get you kicked out.
10. Coastal Rock Platform With Wind-Swept Hair Frames
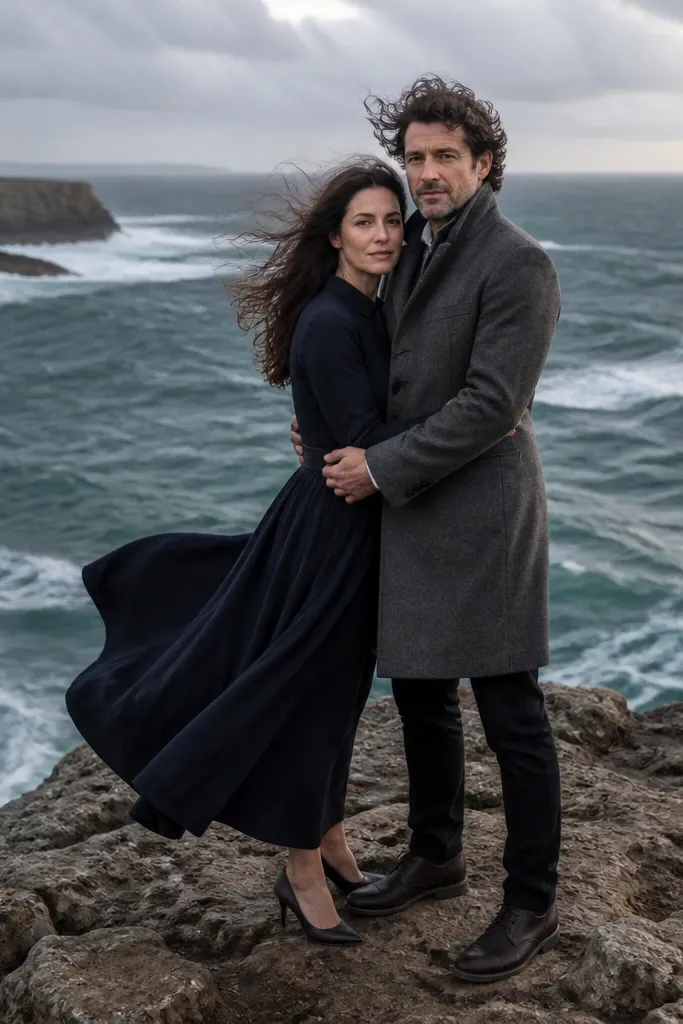
Worth it when you want dramatic nature without a full hike. A rock platform gives you height, texture, and a clean separation between sea and sky, which makes the couple pop. Wind is the creative twist — it adds motion to hair and fabric so frames feel alive. It suits couples who like bold, cinematic images and want travel vibes that still read romantic. Shoot at sunset or during late afternoon when the sky has color and the sea isn’t too bright.
Quick tipWear grippy shoes; wet rock changes everything in one step.
Start by picking a safe platform with space to stand back from the edge, then check tide timing so you’re not rushed or trapped. Then plan wardrobe with movement in mind: long skirts or lightweight dresses catch wind, while fitted layers keep the silhouette sharp. Finally, shoot in 3 zones: wide frames from a safe distance, medium portraits near a flatter rock surface, then a few close frames where the ocean line sits behind one shoulder.
Skip thisDon’t shoot when the wind is so strong that eyes squint — you’ll lose half the expressions.
11. Train Station Platform With Departure-Line Composition
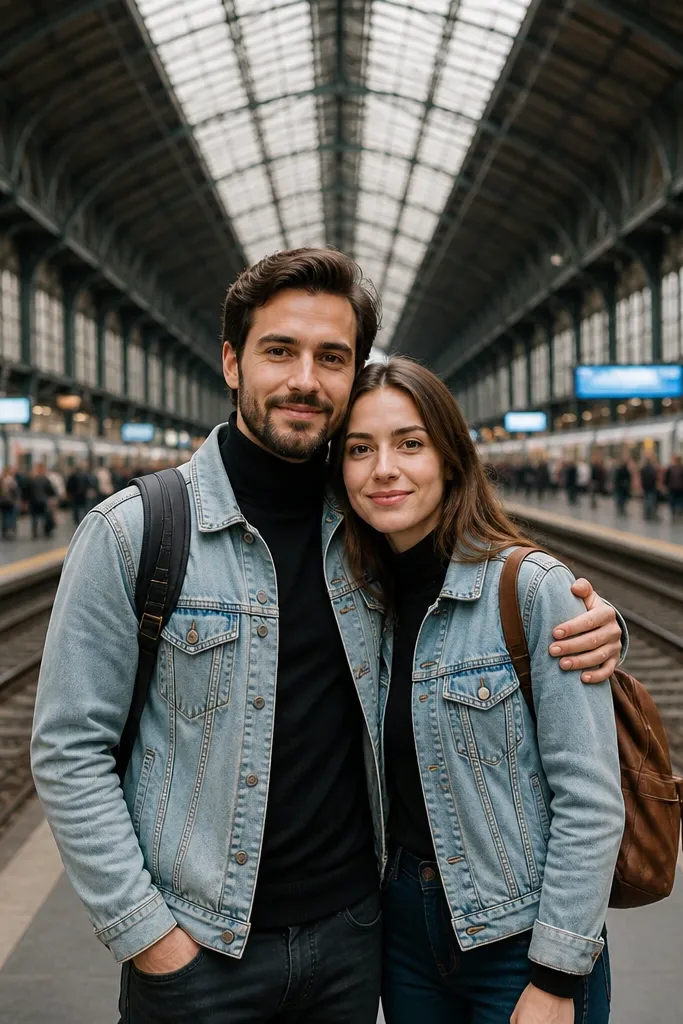
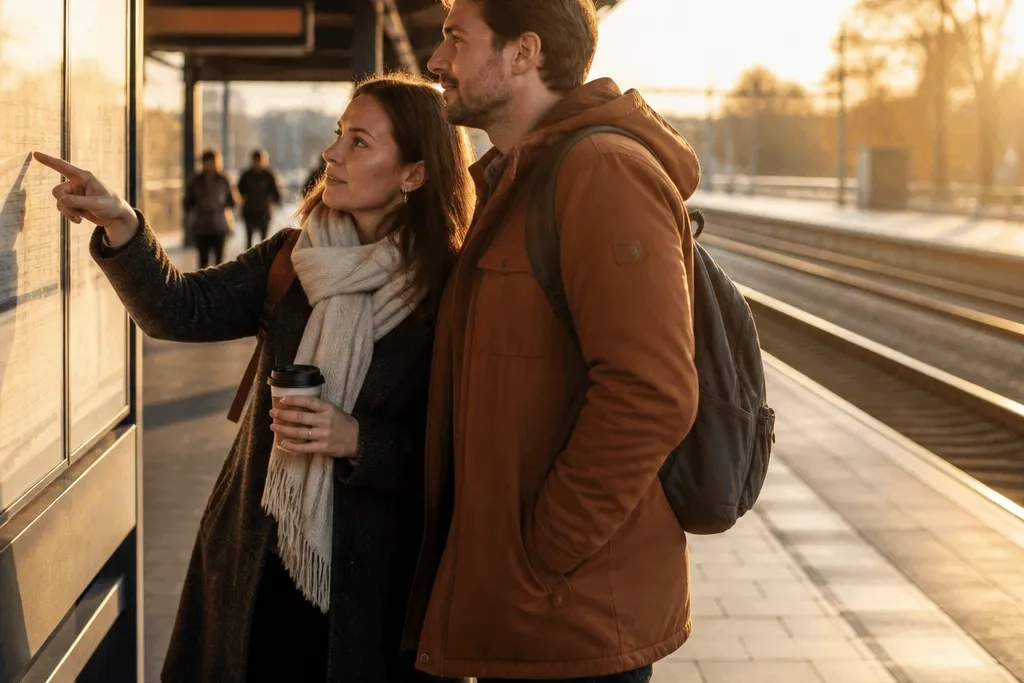
This is best vs worth it for couples who want a story without buying props. Train tracks create instant leading lines, and the station architecture adds symmetry that looks intentional even with casual outfits. The creative twist is composition: put the couple on a line that points toward the “destination,” then let the background blur for movement. It suits couples who like modern, urban romance and want photos that feel like a scene from a movie. Shoot during off-peak hours for better control of crowds and noise.
Quick tipIf trains run frequently, ask your photographer to shoot a burst right before the train arrives for dramatic blur without losing faces.
Start by selecting a station with visible tracks and a clear platform line you can stand on without blocking foot traffic. Then choose outfits that photograph well in station lighting — dark neutrals with one light layer or a bright scarf. Finally, plan the timing: shoot first for portraits, then for “walk toward me” frames while keeping the camera position consistent so your background lines stay aligned.
Skip thisSkip stations with messy overhead ads dominating the frame.
12. Waterfront Steps With Color-Block Clothing
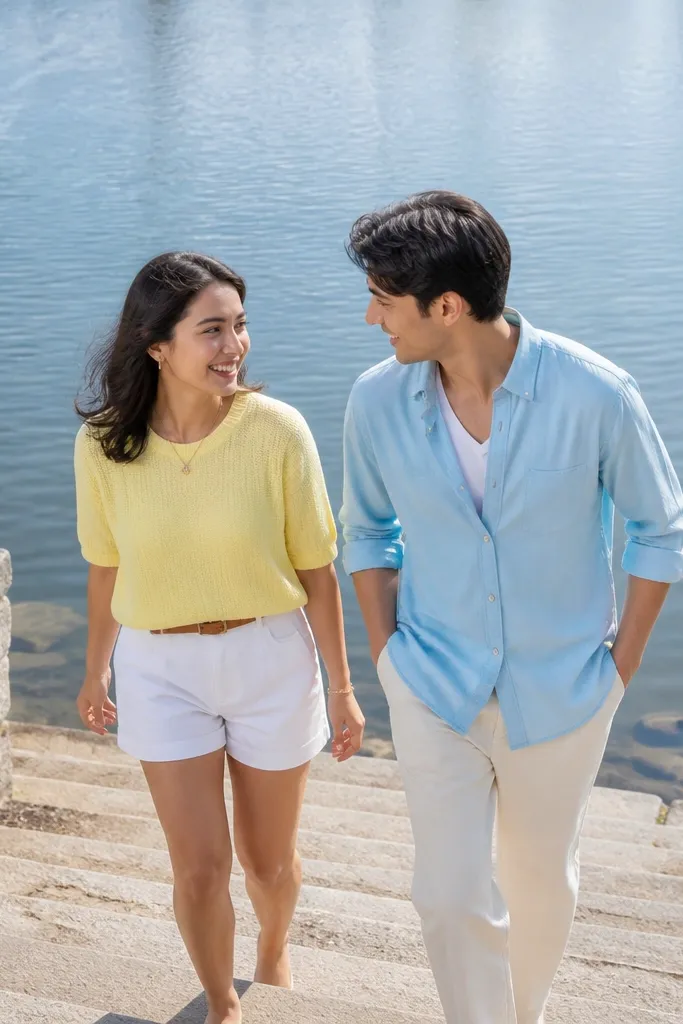
Worth it if you want clean, bright photos that still look designed. Waterfront steps give you natural levels for posing, and color-block outfits make the couple stand out against neutral water and stone. This idea works well for couples who want to look playful and fresh rather than moody. It suits spring and summer especially because you can use lighter fabrics and keep the palette crisp. Shoot around late afternoon when the stone isn’t scorching and the water reflects warm tones.
Start by picking steps with a wide view of water so the background doesn’t feel cramped. Then choose a two-color palette that repeats: one color for her top/outer layer and the other for his shirt/jacket, with neutral bottoms to ground it. Finally, do a vertical posing set: sit on the lower step, stand on the middle step, then walk up to the top for a “reveal” sequence.
Bring a small steamer if you’re in linen; waterfront humidity wrinkles fast.
Don’t pick a palette that matches the stone — you’ll blend into the steps and lose separation.
13. Sunset Ferry Ride With Handheld Interaction Frames
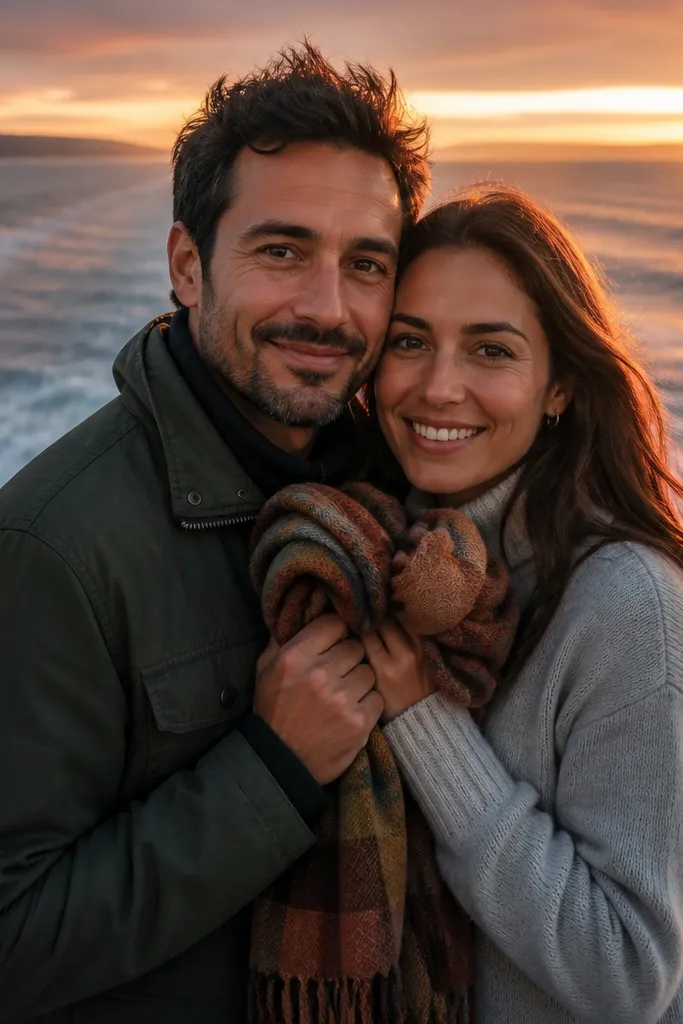
This is worth it when you want motion and a travel mood that feels real, not staged. Ferry decks give you consistent backdrops and constant background movement, which makes photos look cinematic even without fancy locations. The creative twist is interaction: keep hands busy and faces close, so the motion reads as energy rather than blur. It suits couples who like a lively vibe and want a shoot that feels like an experience. Book for sunset so the sky stays colorful for your whole sequence.
Quick tipCharge phones and cameras fully — ferry decks can drain battery fast in cool wind.
Start by choosing a short ferry route with a clear deck area where you can stand without blocking others. Then plan wardrobe around wind: bring a light layer and choose fabrics that don’t cling too hard when wet air hits. Finally, shoot in two phases: portraits near the railing at the start of the ride, then more movement frames when the sky turns orange and the lights come on along the shoreline.
Skip thisDon’t schedule this in the last minute of sunset; you’ll spend half the ride in flat light.
14. Café Window Side With Reflections and Espresso Steam
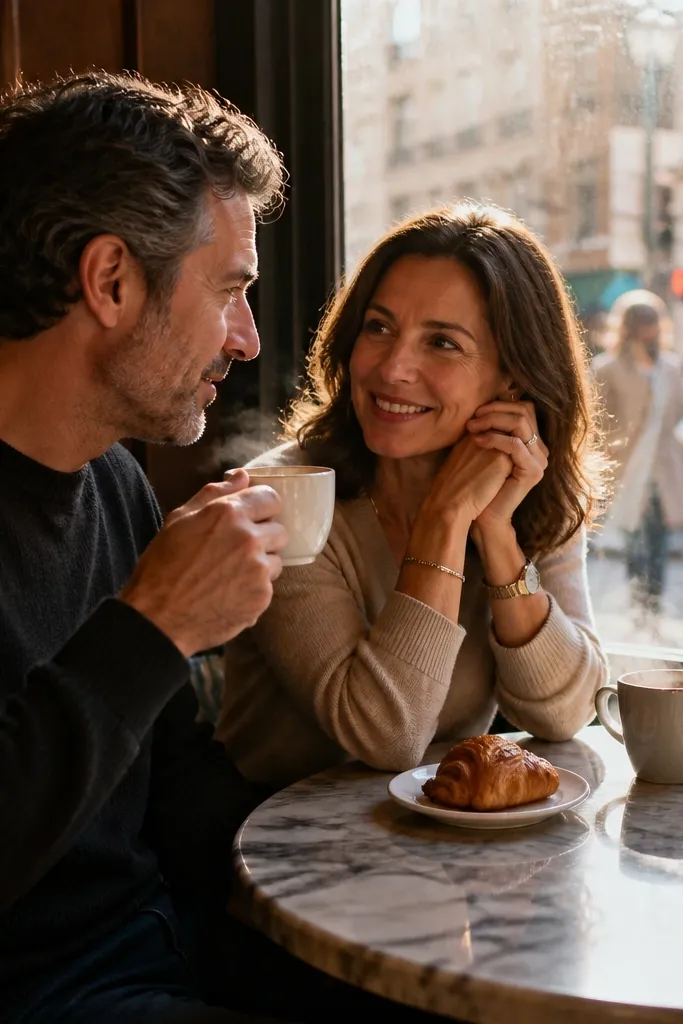
Best vs worth it for couples who want a cozy, aesthetic shoot without leaving town. Window reflections add depth, and steam from hot drinks gives you a natural texture that looks good on camera. The creative twist is timing: steam rises when the cup is fresh, so your photographer can capture it right as you take sips or lean in. It suits couples who like soft, warm tones and intimate body language. Choose a café with large windows and minimal clutter behind you.
Quick tipBring a lint roller and a dark napkin; espresso stains happen fast.
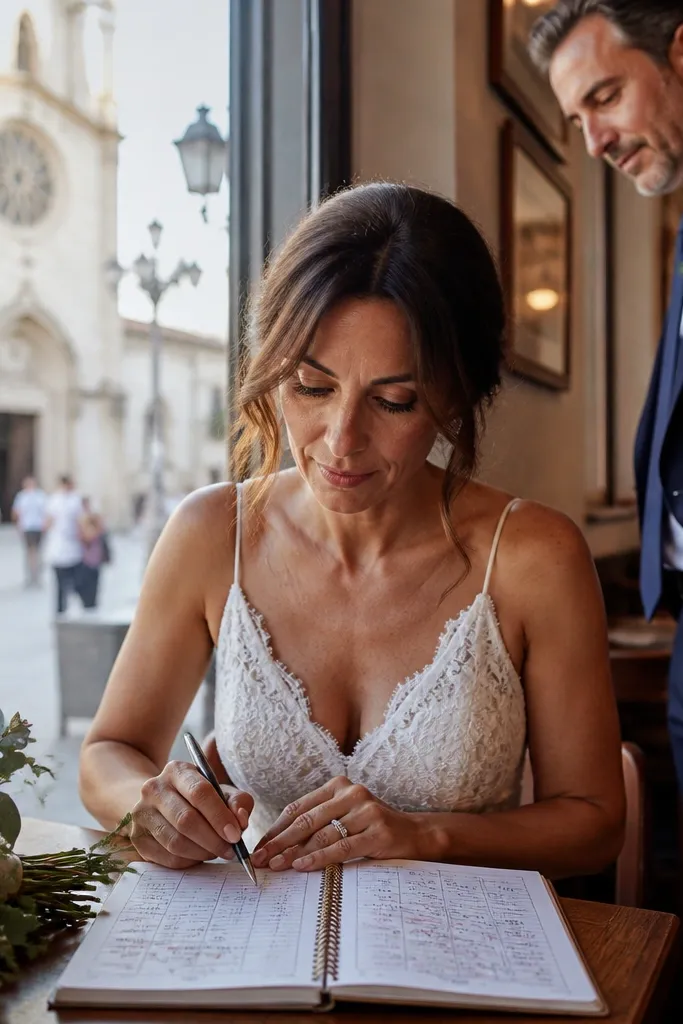
Start by reserving a table near the window and asking staff if you can bring one simple prop like a small bouquet or a matching scarf. Then pick a palette that works with warm interiors: cream, caramel, chocolate brown, or deep green. Finally, shoot in short bursts: one set while you’re sipping, one set with both cups on the table for reflection frames, then a final set standing by the window with the city lights behind you.
Skip thisDon’t overdo props like signs or large balloons — the café background gets busy instantly.
15. Waterfall Viewpoint With Controlled Spray Portraits
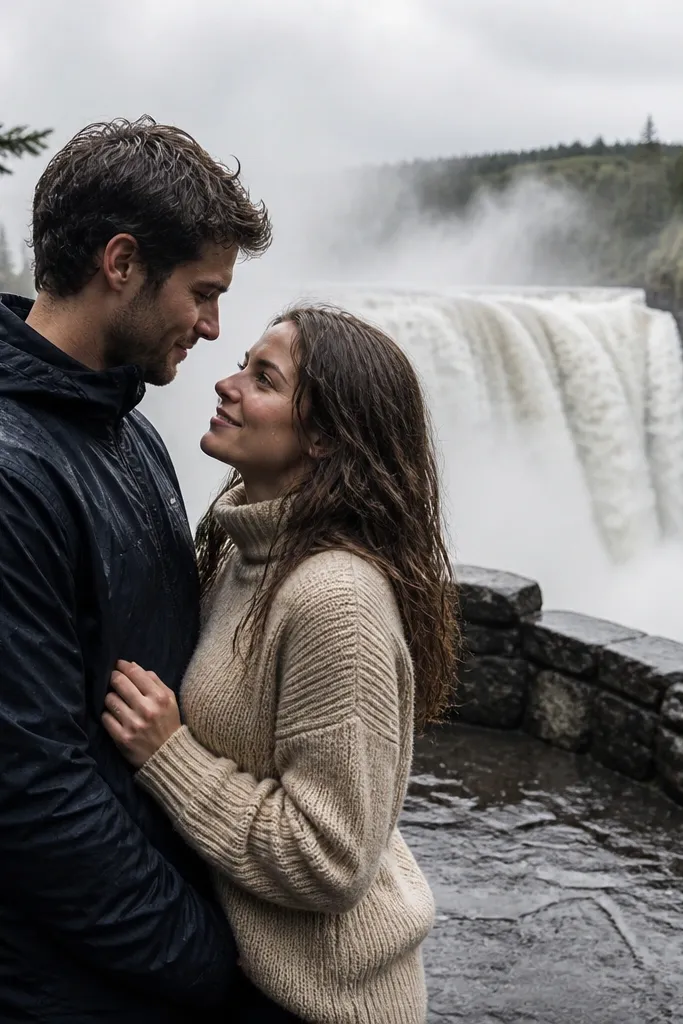
Worth it if you want dramatic scale and a romantic, cinematic backdrop. Waterfall mist adds natural diffusion, which softens harsh facial shadows and makes highlights look creamy. The creative twist is controlled distance: stand far enough to keep faces clear, then move slightly closer for a few mist-kissed frames. This suits couples who can handle a bit of damp and want bold nature photos. Shoot in late afternoon so the light angles across the falls and creates texture.
Start by choosing a viewpoint with a safe platform where you can stand without slipping — prioritize grip over closeness. Then bring a compact umbrella or poncho for your outfits; you want your clothes to stay presentable even with spray. Finally, do 3 distances: far for crisp portraits, medium for visible mist around hair, and close for one or two frames only so you don’t soak the entire session.
Pack a clear phone case or keep your phone in the bag; mist gets everywhere.
Skip windy days at exposed viewpoints; spray blows into eyes and ruins expressions.