
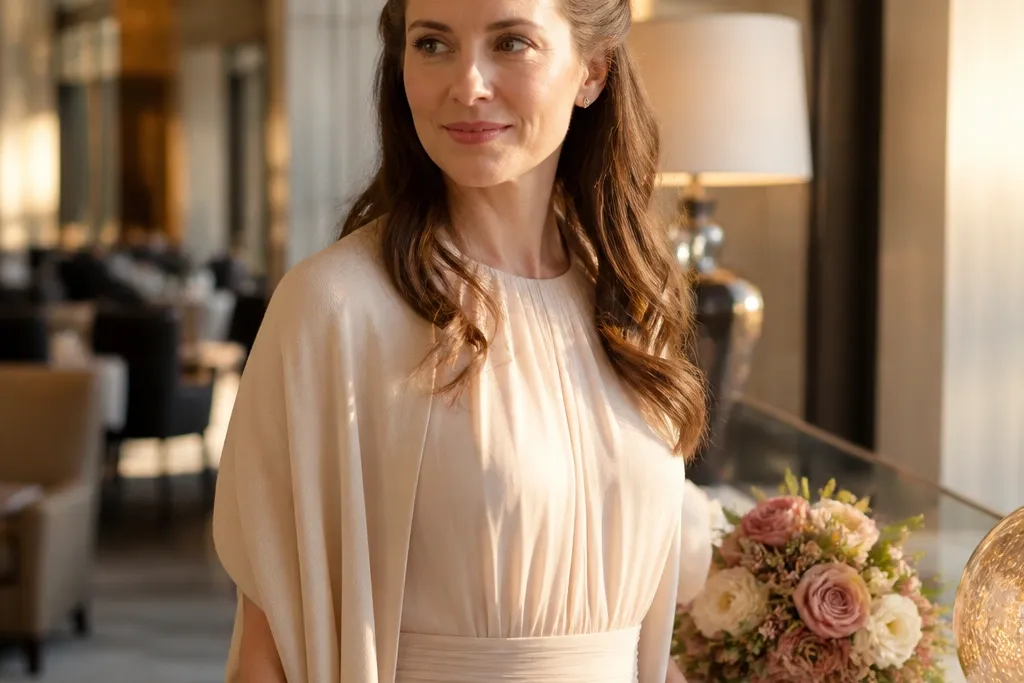
1. Half-Up Twist Halo
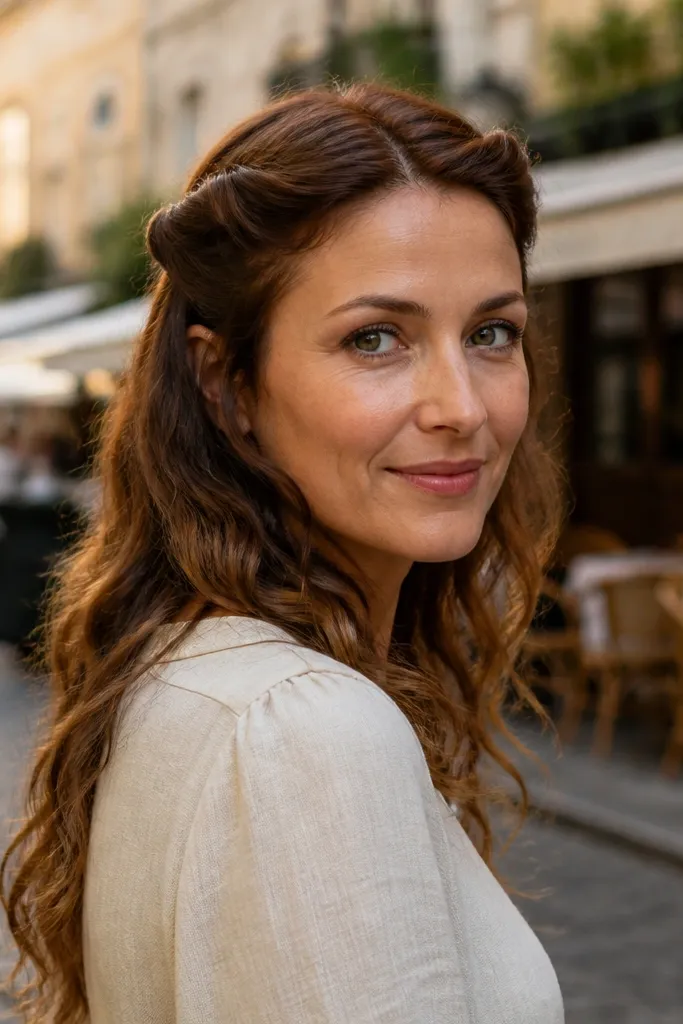
This is the quickest “wedding guest but still effortless” look for medium hair because it creates an elegant frame without needing to gather every strand. The halo shape looks intentional in photos, especially from the front three-quarter angle where the twists catch light. It works for straight, wavy, and loose curls, but the key is making the twists look smooth, not stringy. Wear it with earrings that sit near the jawline and a dress with an open neckline so the pinned frame shows.
Start by parting your hair slightly off-center and pulling the top half back into two sections. Twist each section toward the back, then pin the ends to the opposite side using two U-pins in an X pattern. Finish by tucking one or two loose face strands behind your ear and smoothing the twist with a fingertip of styling cream.
Quick tipBring two extra U-pins in your clutch. The only time this look fails is when one pin slips.
Skip thisDon’t twist too tight — tight twists make medium hair kink and look dry in close-up photos.
2. Soft Side French Braid Sweep
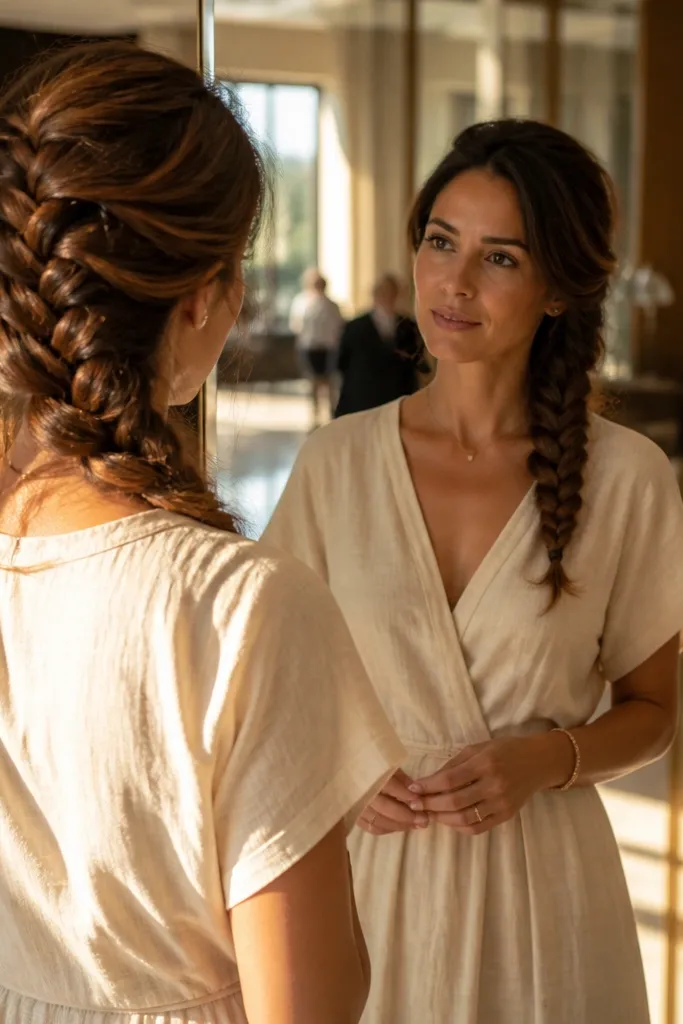
A side French braid looks polished even when you do it fast, and it’s perfect for medium hair because you can stop at the shoulder and still get a full look. The sweep across one shoulder gives you that “styled for the occasion” photo angle without building a complicated updo. It also hides second-day texture well, which matters when you can’t wash before the wedding. Pair it with a strapless or off-the-shoulder top so the braid reads clearly.
Start on damp hair that’s dry now or fully dry hair — part your hair deep on one side and take three strands at the crown. Build a French braid for 5-7 passes, then braid normally to the end and secure with a small elastic. Loosen the braid slightly by pulling the edges to create thickness, then tuck the end under itself with one pin.
If your braids look too flat, tease only the crown section before you start the braid.
Skip tight braiding. Tight braids on medium hair shrink fast and look thin by the end of the night.
3. Pinned Crown Half-Up with Volume
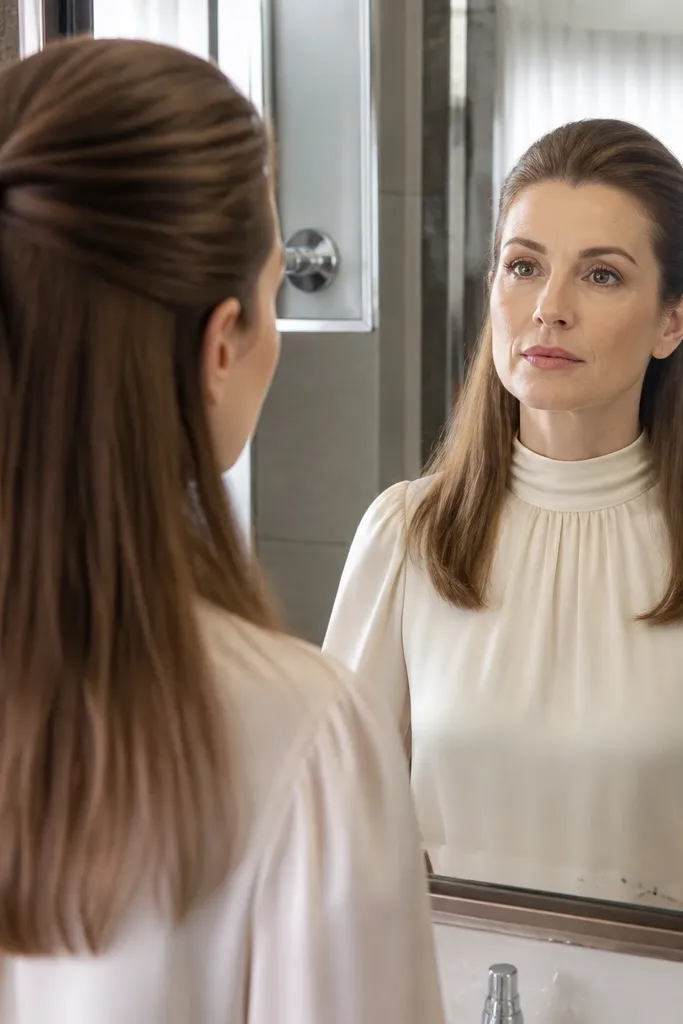
This is the “I woke up ready” look that still photographs like you planned it. The crown lift makes medium hair look fuller, and the pinned back keeps it neat around the face. It’s great when your hair is straight and fine, because you get height without needing a full blowout. Wear it with a sleek neckline or a high collar so the lifted top stands out.
Start by creating a clean side or center part and separating the top section from ear to ear. Tease the roots lightly at the crown, then smooth the surface with a brush so it doesn’t look messy. Pull the top back and pin it at the sides using two U-pins, then finish with a light spray on the part line only.
Use a comb to smooth the teased hair — it’s the difference between “volume” and “cowlick.”
Don’t pin directly on slick roots. Add a tiny bit of dry shampoo first so pins grip.
4. Low Chignon with Two-Point Pin Lock
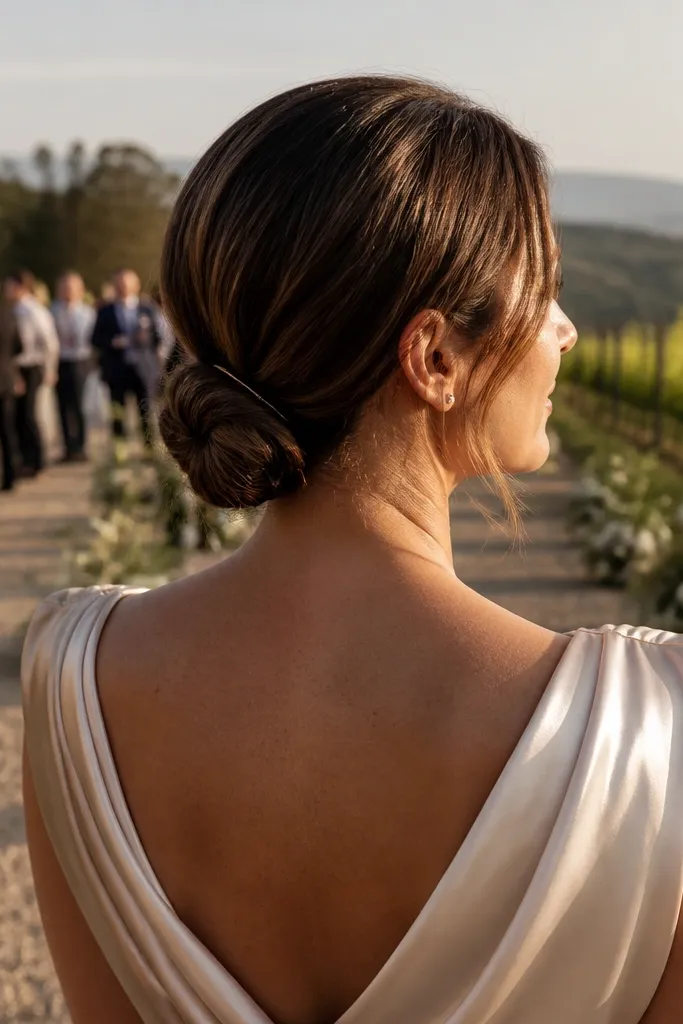
A low chignon reads dressy fast and looks expensive on medium hair because the shape is compact and clean. It works best when your hair is at least shoulder-length, so you have enough to wrap and tuck. This style is ideal for evening weddings, especially outdoors where wind can mess up loose hair. Choose it if you want your face to look open and your neckline to be the focus.
Gather hair into a low pony at the nape, twist it once, then wrap the twist into a bun and tuck the ends inside. Secure with two U-pins placed in a V shape across the bun, not just one pin. Pull one thin strand out at each side for softness, then set with a quick spray to the bun only.
Quick tipUse a small hair tie for the pony, not a thick one — it leaves fewer bumps.
Skip thisDon’t spray your whole head. Too much product makes the bun look shiny and heavy.
5. Twisted Waterfall Half-Up
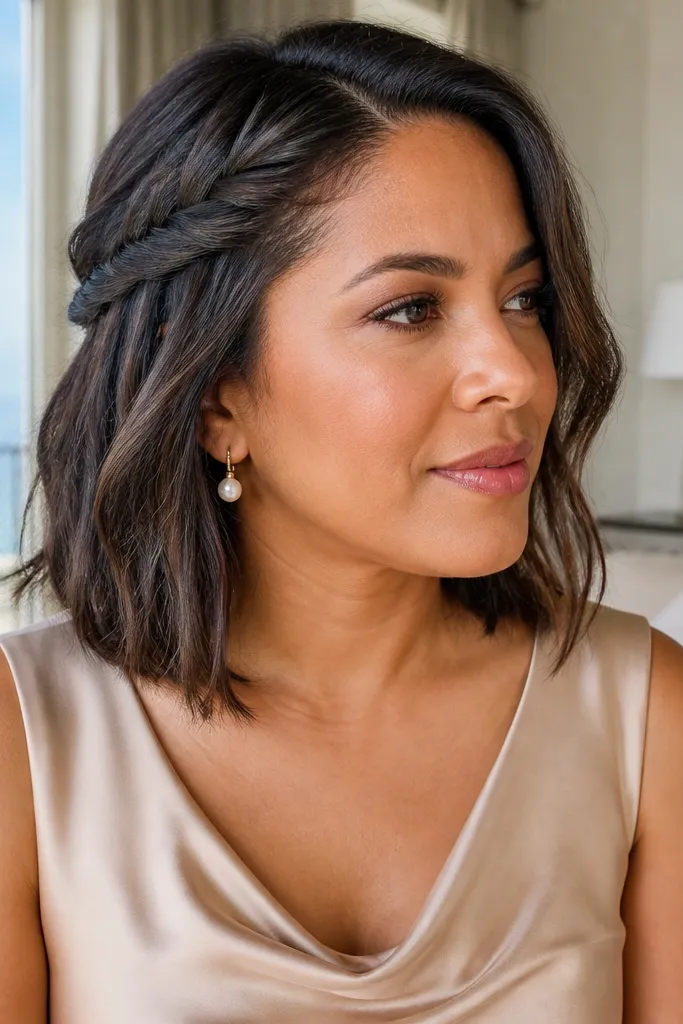
This one looks romantic without taking time, and it’s made for medium hair because the “waterfall” strands land right at the shoulders. The twisted sections add structure while the flowing pieces keep it soft for wedding photos. It’s especially pretty with a side part and a slightly longer bob, where the falling strands frame the cheek. Great for garden venues and daytime ceremonies where you want pretty, not severe.
Start with a side part and take a small front section on one side. Twist it back, then pin it lightly while letting a few strands fall forward like the waterfall effect. Repeat on the other side, then connect both pinned sections at the back with one small pin so the twists hold without flattening the rest.
If your waterfall pieces look too thin, add one extra strand to each twist before pinning.
Don’t pin too low. Pin the twists near the crown so the waterfall strands fall cleanly.
6. Classic Braided Crown on Medium Length
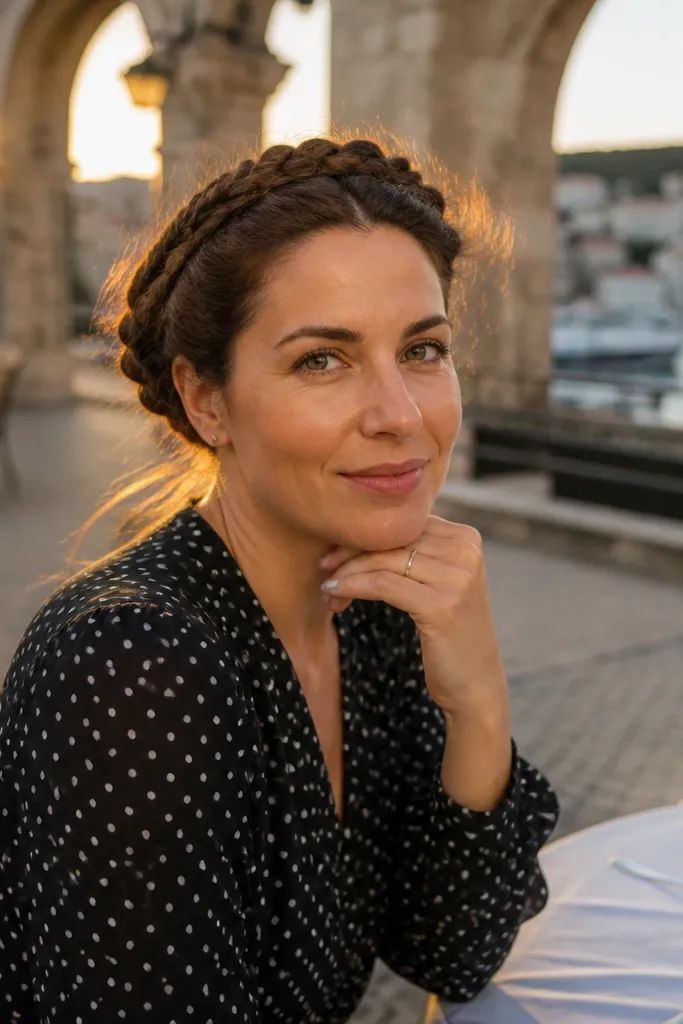
A braided crown feels bridal-adjacent but works perfectly for wedding guest styling when you keep it sleek and not too tight. Medium hair is ideal because you can braid two sections and wrap them around without needing a full thick mane. It looks stunning in overhead photos and when you’re outside in natural light. This is a strong pick for spring and summer weddings when you want something that feels airy but still polished.
Part your hair down the center and braid each side normally. Wrap the right braid over the top toward the left, tucking the end under and pinning it flat. Repeat with the left braid, then adjust the crown by gently loosening the braid edges for a fuller ring.
Use matching bobby pins to your hair color, not black, so the crown looks clean in flash.
Skip huge teasing. Crown braids look best when the braid shape is smooth and controlled.
7. Tucked Side Swoop with Hidden Pin
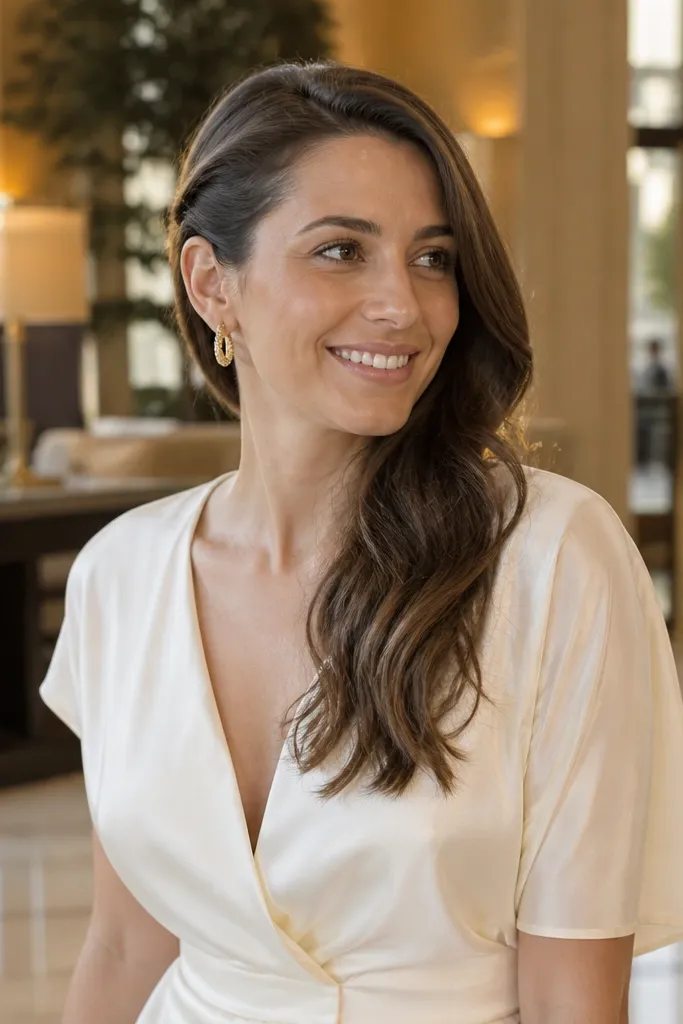
If you want “pretty hair” in minutes, this is the one. It’s basically a side swoop with a tucked section that makes medium hair look styled even if you’re wearing it mostly down. The hidden pin keeps the tuck from popping out when you turn your head or hug someone. Great for casual wedding dress codes where you still want to look put-together.
Start by brushing hair to one side and smoothing the top. Take a 2-inch section from the front, twist it once, and tuck it behind your ear. Secure with a single bobby pin placed horizontally under the tuck, then lightly mist the front for hold.
Quick tipIf your hair slips at the ear, add a tiny dot of wax to the ends of the front section before twisting.
Skip thisDon’t use a vertical pin. Vertical pins show and slide more on medium hair.
8. Half-Up Bubble Pony (Medium-Friendly)
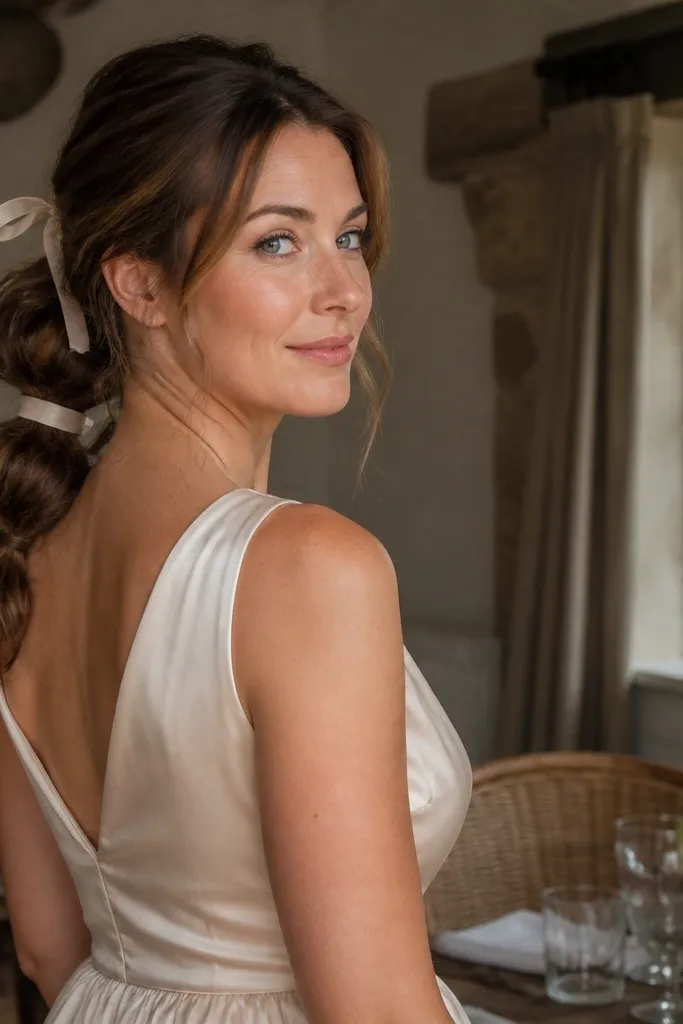
Bubble ponytails look playful in a wedding way, especially with soft curls and a dress that has movement. Medium hair works because the bubbles create volume and hide uneven lengths. This style is photogenic from the side, and it also keeps hair off your neck during dinner. Choose it when you want something fun but still polished.
Section the top half into a pony at crown height and secure with a small elastic. Add 2-3 more small elastics down the pony, spacing them evenly to form bubbles. Gently tug each bubble outward for fullness, then wrap the last elastic with a small strand if you want a cleaner finish.
Match elastics to your hair color. Contrast elastics kill the “finished” look fast.
Don’t over-tighten the elastics. Tight bubbles can crimp medium hair and look harsh.
9. Sleek Low Pony with Wrap Knot
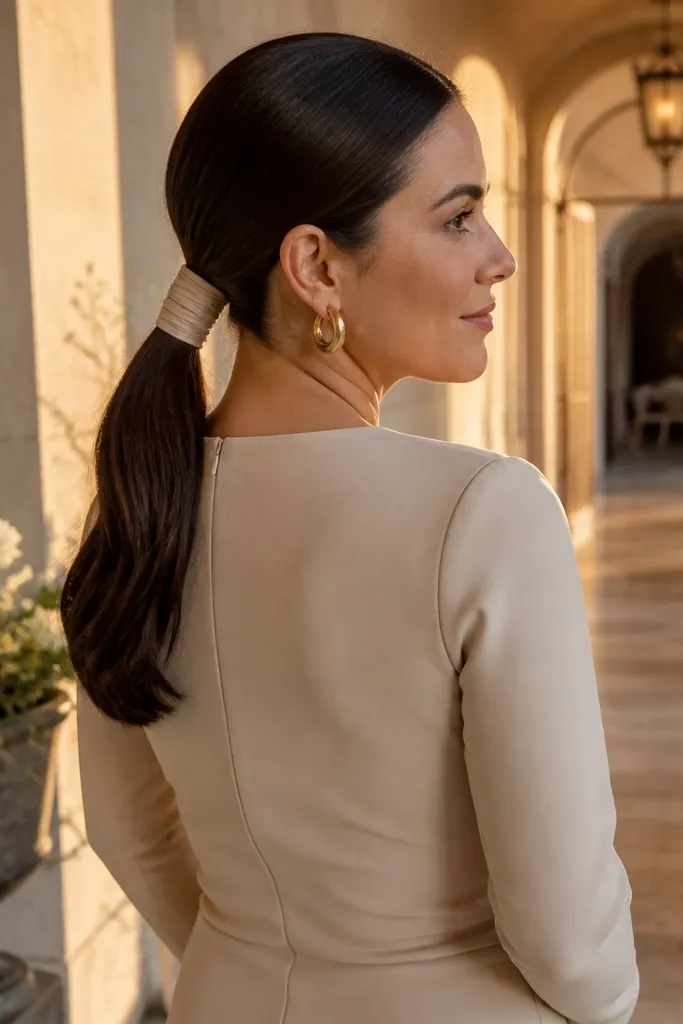
This is the easiest way to make medium hair look formal without building a bun. The sleek pony gives a clean silhouette, and the wrap knot at the base reads intentional in photos. It’s a great option for weddings where you want your hair to look structured, especially with satin, crepe, or fitted dresses. If your hair is straight or can be smoothed quickly, this one lands fast.
Brush hair smooth and gather into a low pony at the nape, then secure with a tight elastic. Take a small strand from the pony, wrap it around the base, and tuck the end under. Pin the tucked end with a bobby pin so the knot doesn’t loosen, then add a light shine serum to the pony surface.
A damp brush pass before you gather hair makes the pony look salon-smooth.
Skip heavy hairspray. It flakes on the pony and makes it look stiff.
10. Twisted Rope Knot at the Crown
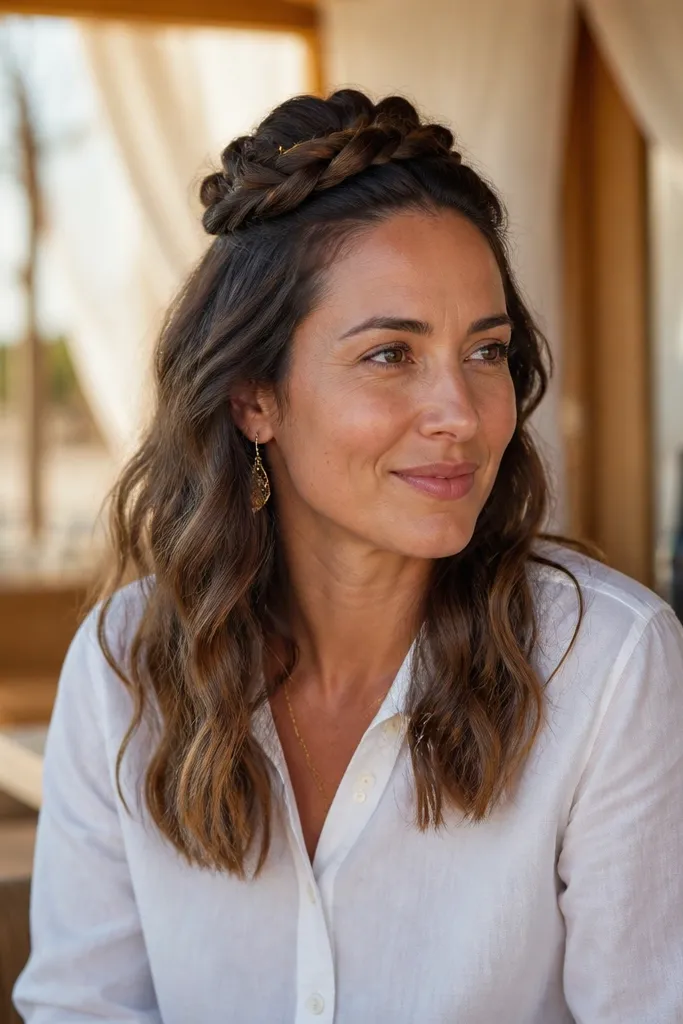
This style looks creative but still doable in 5 minutes, and it’s perfect for medium-length waves. The rope twist creates a defined texture that shows up in close-up photos. A small crown knot also keeps hair off your face while leaving the rest down and soft. Great for beachy venues or late afternoon weddings where the hair needs to move.
Part hair slightly off-center and take two sections from the front. Twist each section in the same direction, then twist them together in the opposite direction to form a rope effect. Gather the rope twist into a small knot at the crown, pin it with two U-pins, then let the remaining hair fall naturally.
If your rope twist unravels, use a tiny bit of styling cream on the sections before twisting.
Don’t make the knot too big. Big knots on medium hair look bulky and take longer to secure.
11. Milkmaid-Style Braids Without the Time
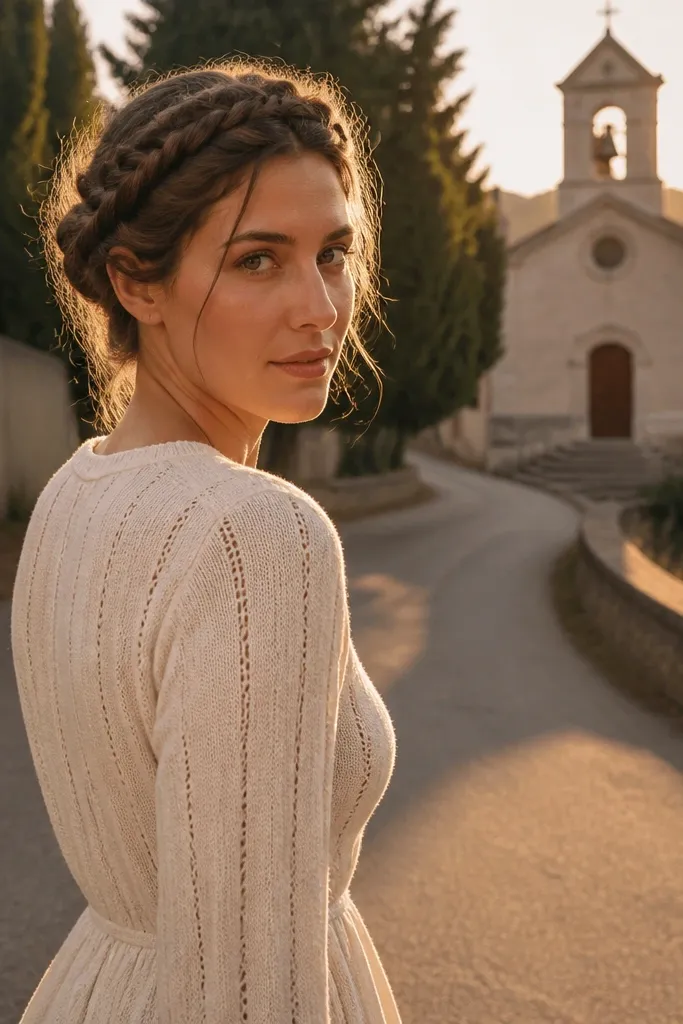
You get the milkmaid look without spending extra time on perfect symmetry. Medium hair is enough to create two braids that wrap around and look charmingly imperfect. It’s ideal when you want a face-framing hairstyle that still feels romantic rather than formal. This also hides messy texture at the crown because the braids pull focus.
Create a deep side part and braid each side from the front for 6-8 inches. Wrap the right braid toward the back and pin it at the left side, then repeat with the left braid. Loosen slightly at the braid edges for a fuller crown, then secure any loose ends with one hidden pin.
Quick tipPack one mini bottle of hair spray for touch-ups after dinner.
Skip thisDon’t braid all the way to the ends. Leaving a bit of length makes the wrap look softer.
12. Half-Up Bow Twist (No Sewing, Just Pins)
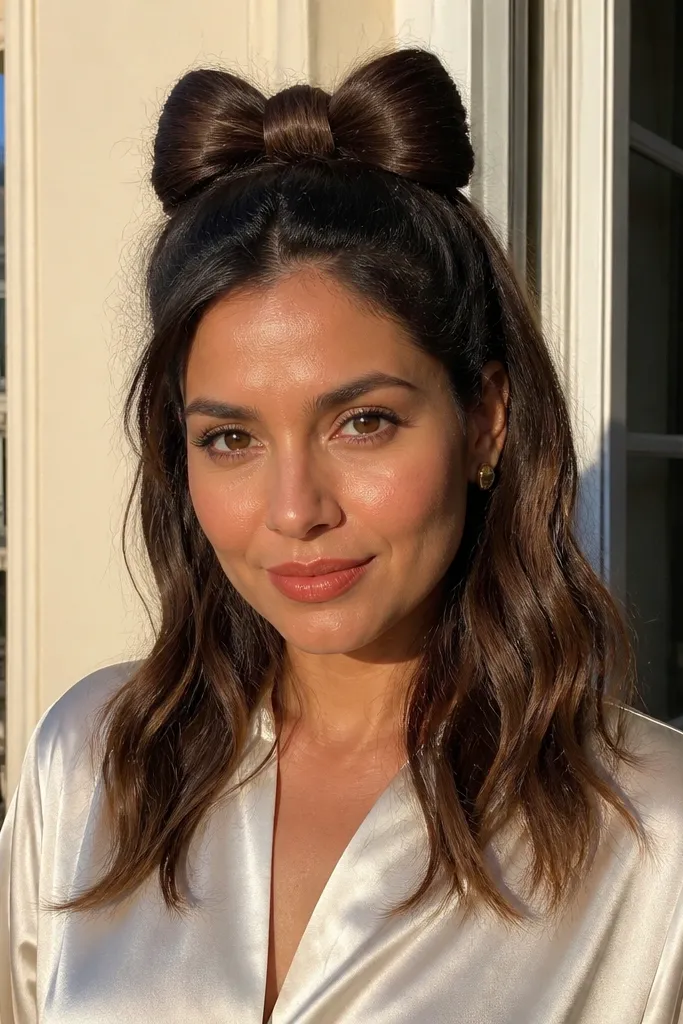
A bow twist is a cute wedding guest look that reads “intentional” even on medium hair. It works because the loops are made from hair sections you already have, then pinned into place. This is a great pick for bridal showers, rehearsal dinners, and daytime weddings where you want something sweet. It also looks adorable in photos with smiling close-ups.
Pull the top section back into a pony, but stop before you pull it fully through the last loop of the elastic to create two “ears.” Split the ears into two loops, then secure each loop with bobby pins at the base. Tuck the remaining hair down and pin it under the bow so it stays tidy through photos.
Use a smaller elastic than you think. A tight base makes the bow hold its shape.
Don’t over-puff the loops. Too much volume makes the bow look lopsided.
13. Low Twisted Side Bun
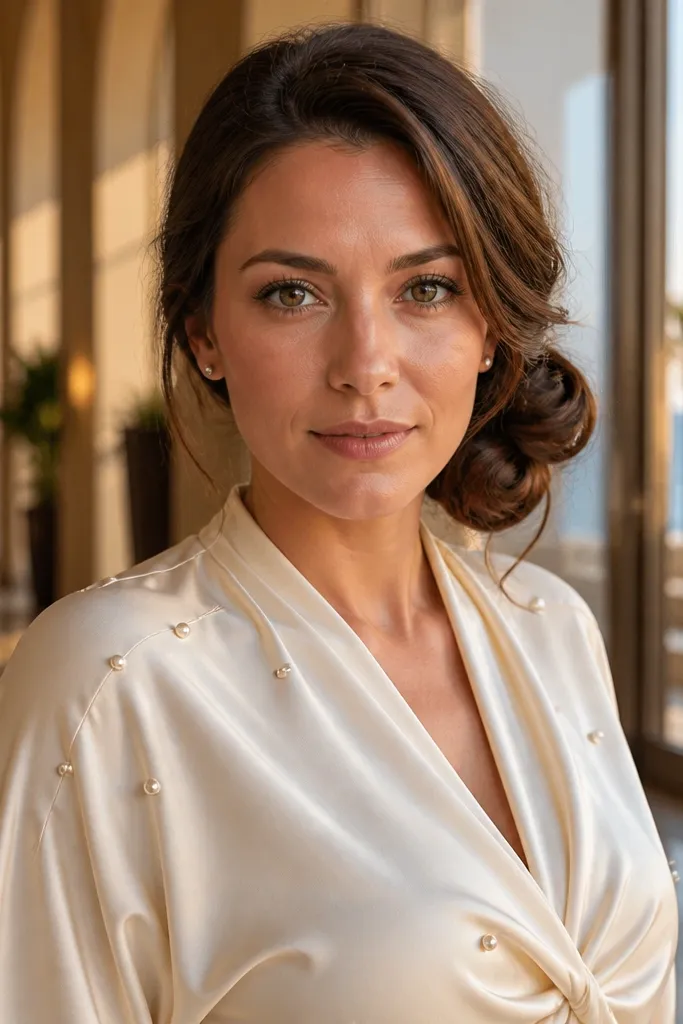
This one looks chic because it’s asymmetrical, and asymmetry photographs better than perfectly centered buns. Medium hair can twist into a compact side bun quickly, and the side placement keeps it from looking flat. It’s ideal for weddings where you want a polished look but still have movement around the front. Pair it with a side-swept hairstyle vibe and a bold lip for a strong photo.
Gather hair into a low pony on one side, twist it, and wrap into a bun at the side of the nape. Secure with two U-pins that go through the bun and into the wrapped hair. Pull two thin strands from the front and lightly twist them backward, then pin just the ends for a soft frame.
If your bun slips, add one bobby pin crosswise through the bun base before the U-pins.
Skip slicking everything back. A little front texture keeps the look wedding-ready, not severe.
14. Braided Chignon with a Single Plait Accent
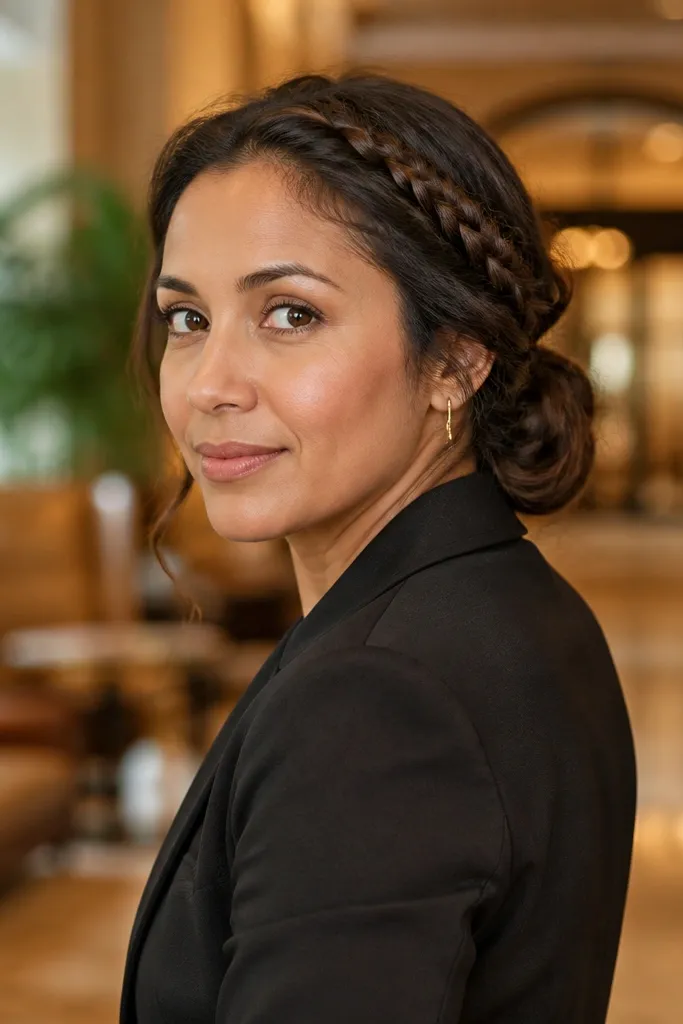
If you want “fancy” without a full braid-updo, this is it. You build a simple low chignon, then add one small braid across the top for texture and detail. Medium hair makes the braid look believable and not bulky, which is what usually happens when people try this with too-short hair. This works beautifully for evening weddings because it looks styled from every angle.
Create a low pony and twist it into a bun, pinning it with 2-3 U-pins. Take a small 1-inch section from one side of the bun, braid it, and wrap the braid across the top. Pin the braid ends underneath the bun so they disappear, then gently tug the braid for a slightly thicker look.
Use a braid elastic that matches your hair. Visible elastics make the accent look unfinished.
Don’t braid too tight. Tight small braids sit flat and don’t catch light.
15. French Twist Half-Up
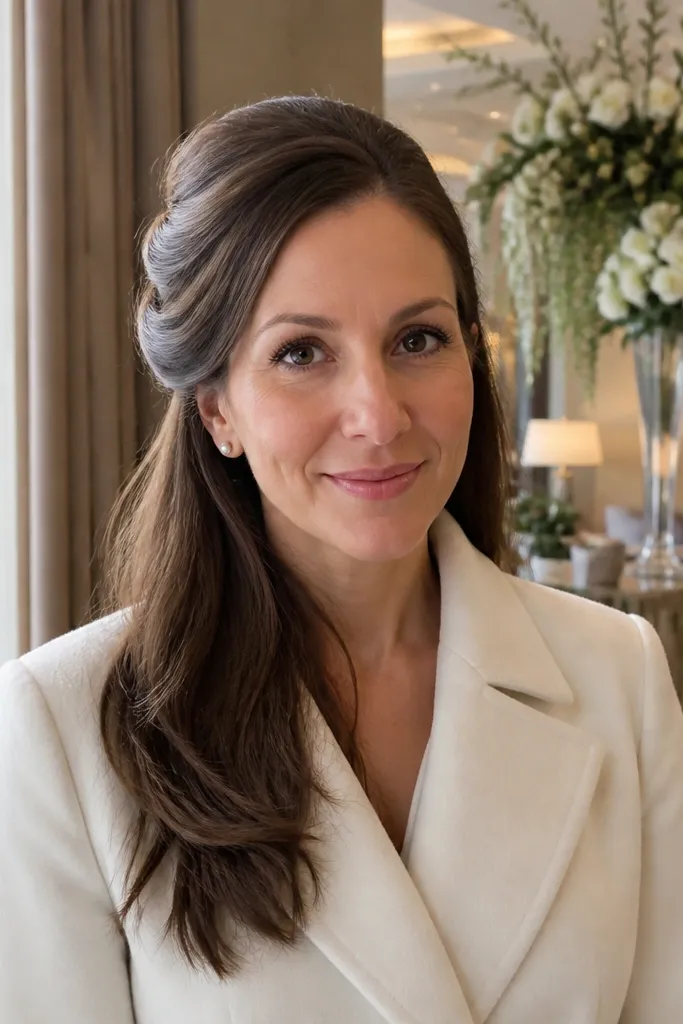
A French twist half-up makes medium hair look instantly formal while still leaving length down. The twist gives you that “hairdresser finish” look without building a full updo. It’s great for colder-weather weddings and indoor venues where you want the hair off your shoulders. This is also a good solution if you don’t want to deal with a full bun’s bulk.
Part hair and take the top section from temple to temple. Twist that section toward the back, then fold it slightly upward at the crown and pin along the fold using U-pins. Smooth the top surface with a brush, then leave the rest of your hair down as waves or curls.
Quick tipSet the twist with pins first, then add product. Product before pinning makes hair too slippery.
Skip thisSkip a loose twist. A loose twist collapses and looks messy instead of chic.
16. Knotted Half-Up with Two Tucks
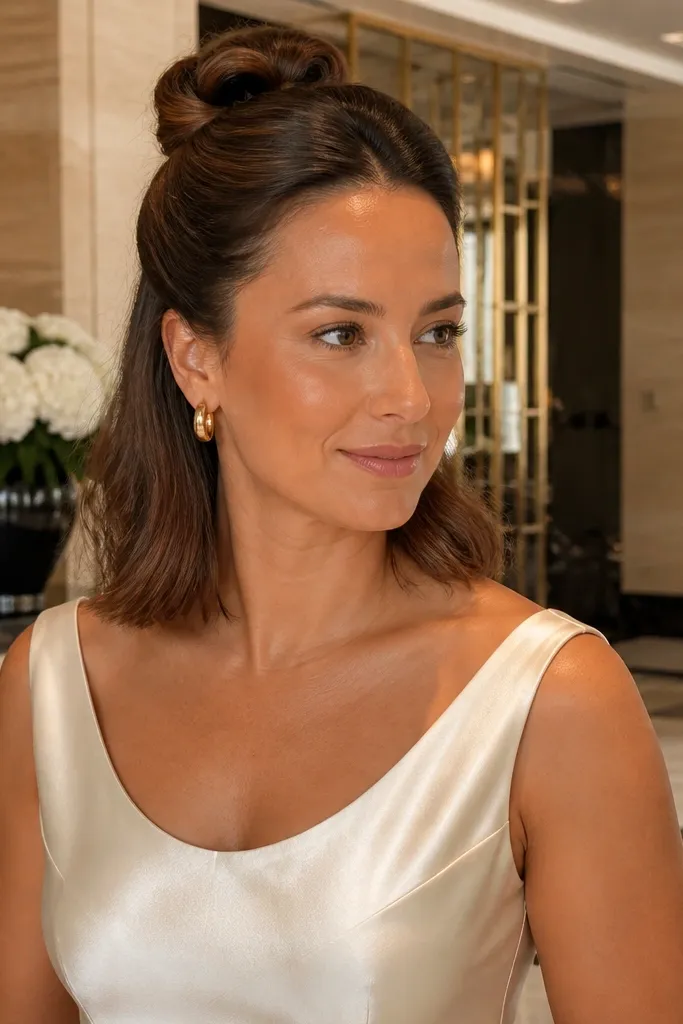
This is a fast, secure half-up style that looks like you spent longer than you did. The knot shape adds dimension, and medium hair tucks nicely under itself. It’s perfect for receptions where you’ll be moving and taking lots of pictures. Wear it with a neckline that shows your collarbones, since the knot draws attention upward.
Take two front sections and twist each one backward. Cross the twists in the center and pin them lightly, then tuck the ends underneath the pinned area and add one more pin to lock them. Smooth the top and pull a couple of strands forward to soften the look.
If your pins slide, add a quick swipe of dry shampoo at the top before you start.
Don’t cross the twists too low. Keep the knot near the crown for a cleaner silhouette.
17. Claw Clip Up with Face-Framing Pieces
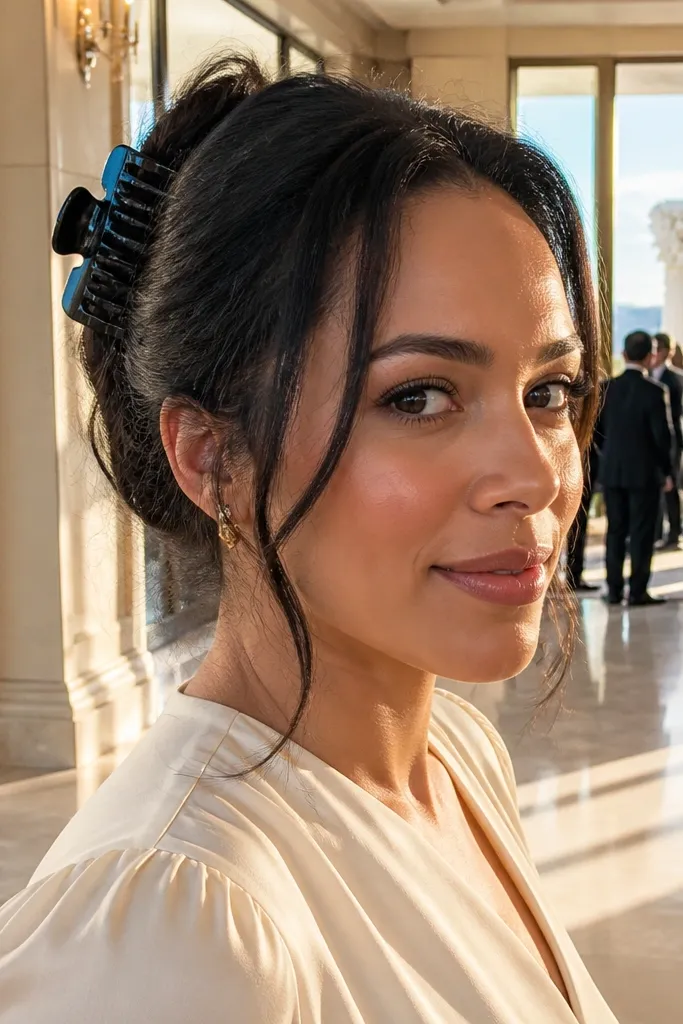
A claw clip is the fastest route to a wedding guest look that still feels styled, not sloppy. Medium hair is the perfect length for a secure grip without needing extra elastics. The secret is leaving face-framing pieces so it looks intentional and flattering. This works for casual weddings, outdoor venues, and daytime events where you want comfort and a clean shape.
Pull the top half back and twist it slightly, then clamp the claw clip at the crown. Adjust the clip height until it lifts your face — higher looks more polished. Tug gently at the sides to create volume, then smooth the front with a brush and add a tiny amount of wax to the ends of face strands.
Choose a claw clip with teeth that grip. Smooth clips slide on medium hair during hugs.
Skip full “no pieces out” styling. A face frame is what makes this look pretty.
18. Side-Part Sleek Waves with Pin Cuff
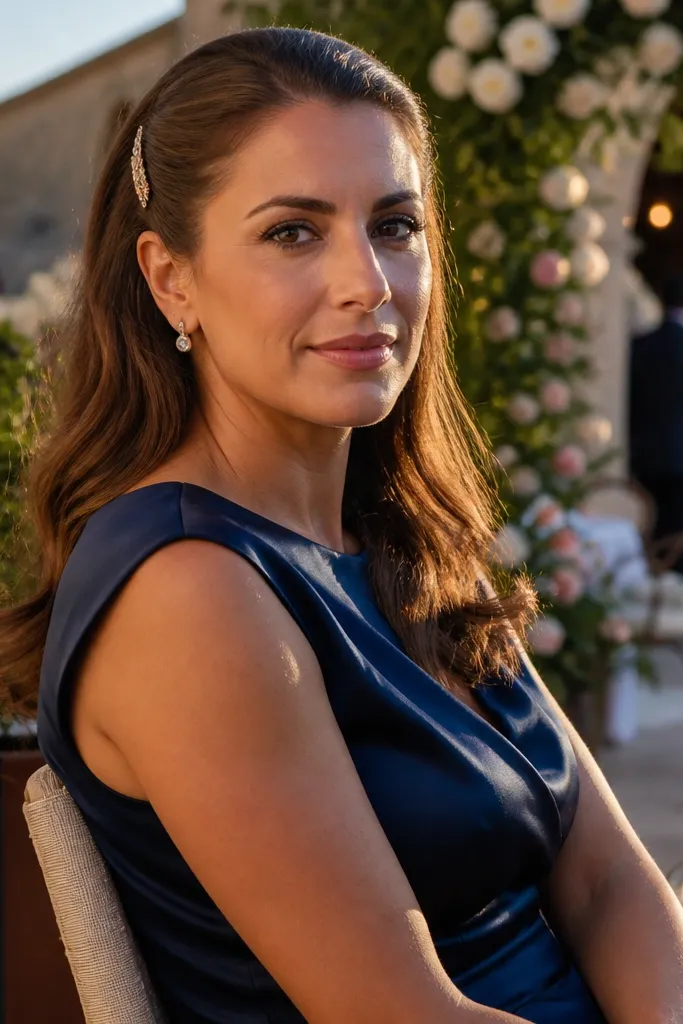
This is for the wedding guest who wants hair down but still wants it to look finished. The pin cuff keeps one side controlled while the rest stays wavy and soft. Medium hair holds waves well, and the side part gives you a flattering line in photos. It’s perfect for evening ceremonies when you want shine and movement without a heavy updo.
Create a deep side part and brush the top smooth. Take a small section from the front and tuck it behind your ear, then pin it with one bobby pin under the tuck. Lightly brush through the mid-lengths to keep waves soft, then mist lightly for hold.
Quick tipIf you’re using heat, curl away from your face and brush through after cooling for a smoother finish.
Skip thisDon’t pin directly on top of a wave. Pin underneath so the wave stays intact.
19. Double Loop Ponytail (Quick Medium Hack)
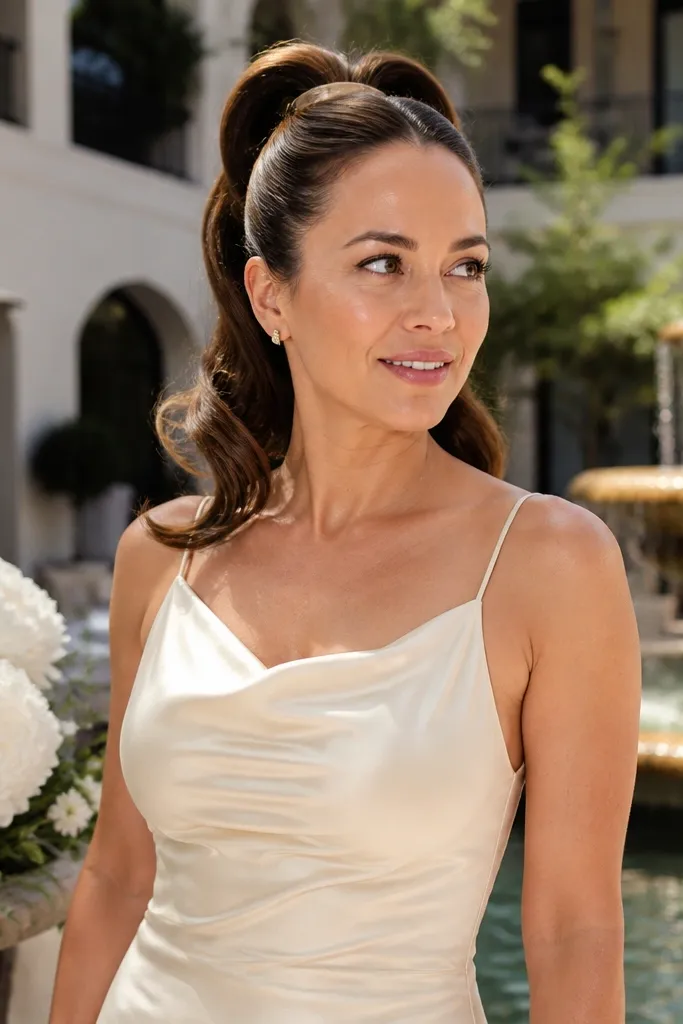
This style reads fun and pretty in photos, but it’s also practical because it keeps hair contained. Medium hair gives you enough length to create two loops that look like a mini updo. It’s a great choice for weddings where you want something youthful without going full messy bun. Add a soft wave at the ends to keep it from looking too sporty.
Secure a pony at mid-height with an elastic. Create the first loop by pulling the pony halfway through the elastic on the last loop, then secure with a second elastic below it. Fluff each loop by gently pulling outward, then pin any loose ends flat against the pony base.
Use two elastics, not one. One elastic makes loops collapse on medium hair.
Avoid pulling the loops too tight. Loose loops look intentional; tight loops look crimped.
20. Textured Half-Up with Two Pin Rolls
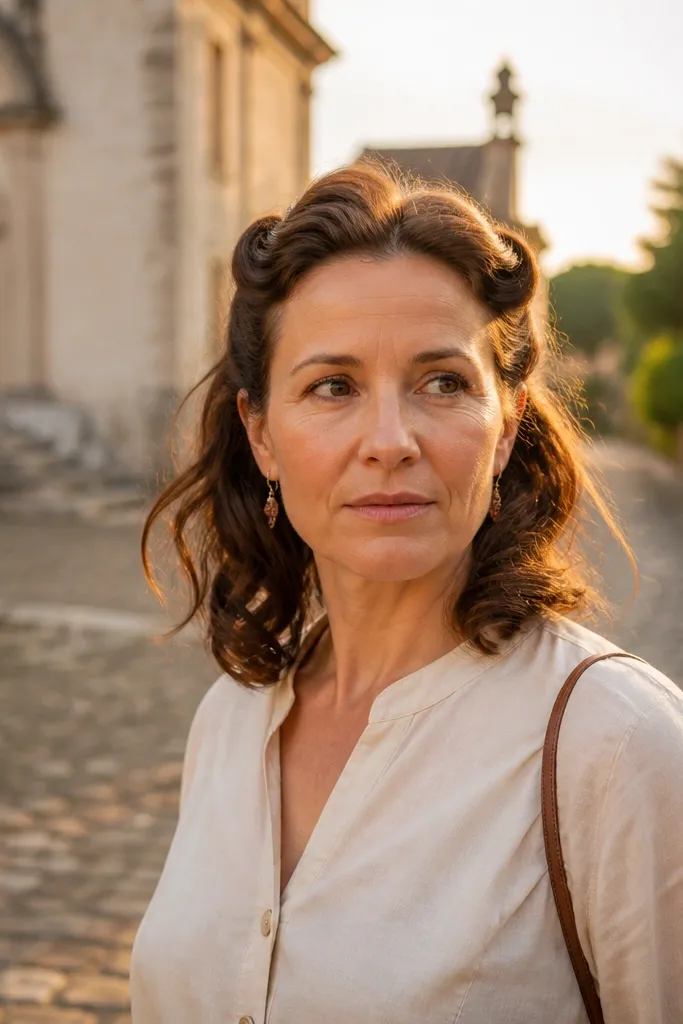
This is the “medium hair texture” look that looks good even if your hair isn’t perfectly styled. The pin rolls add shape at the sides while the rest stays natural and soft. It’s great for wavy hair and also works on straight hair if you add a bit of texture spray first. This look photographs well because it has movement, not just shine.
Start with a light texture spray or dry shampoo at the roots. Take two small side sections and roll them backward like tiny pin curls, then pin each roll at the back using one bobby pin. Pull the front section slightly away from your face so it frames, then add a quick mist to set the pins.
Quick tipIf your hair is straight, twist the side sections for 5 seconds before rolling them into pins.
Skip thisSkip heavy smoothing. Textured hair looks best when you keep the surface slightly lived-in.
21. Bubble Braid Ends into a Low Pin
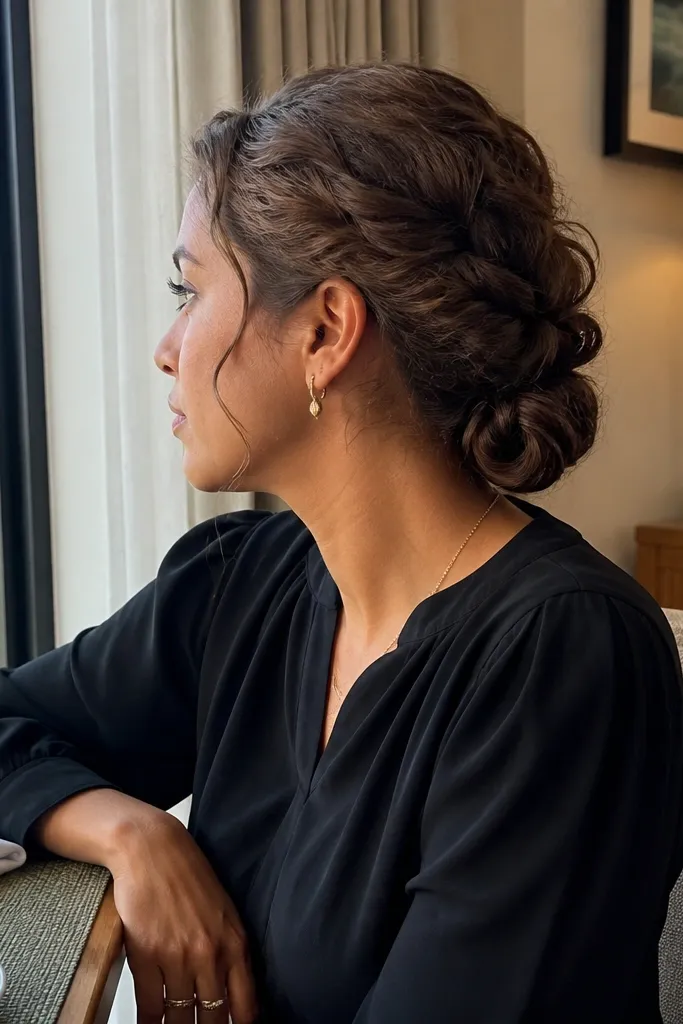
This combines two photogenic details: the bubble texture and the low tuck. Medium hair lets you create short bubble segments that still look full, and the low pin keeps everything neat for dinner. It’s a great choice when you want “romantic braid” energy but you also want it to stay put. The low finish also looks clean in seated photos.
Braid the top section loosely and secure with a small elastic. Add more tiny elastics along the braid to create bubble segments, then gently pull each bubble outward. Tuck the braid end under near the nape and pin it with two bobby pins so it doesn’t loosen when you turn.
Quick tipUse thin elastics. Thick elastics create bulky ridges on medium hair.
Skip thisDon’t make the bubbles too uniform. Slight variation looks more natural and expensive.
22. Pinwheel Side Bun with Loose Waves
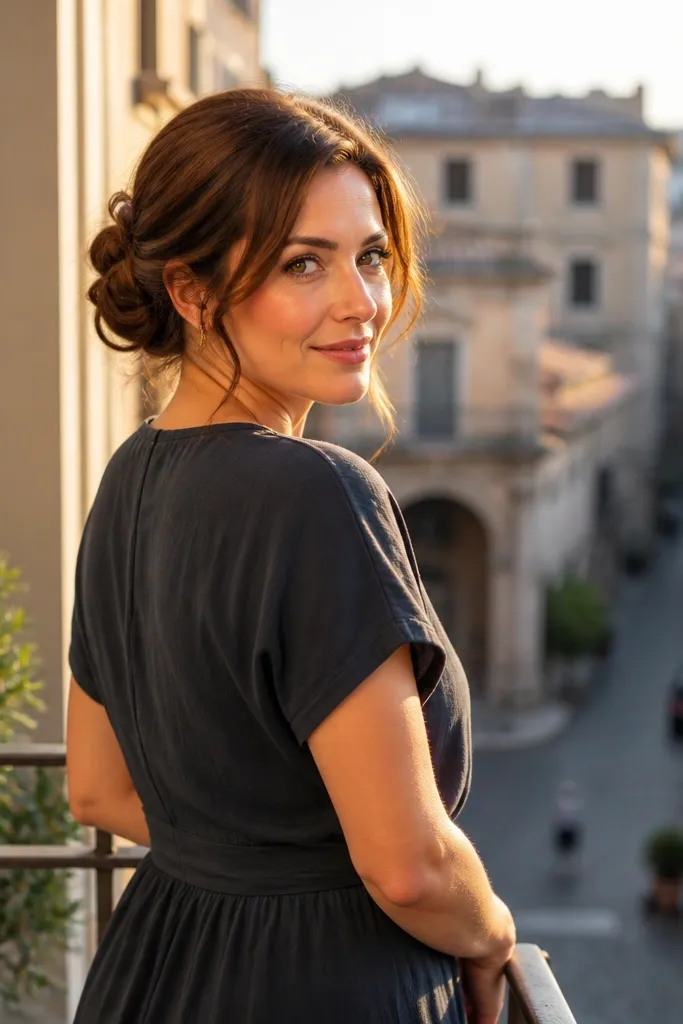
This is a more sculpted look that still fits the 5-minute promise if you keep it small. The pinwheel effect shows detail without needing an intricate braid, and medium hair is perfect for stacked twists. It’s especially flattering if you have wavy hair because the waves soften the edges of the bun. Great for evening weddings and cocktail hours when you want something that looks styled in every photo.
Gather hair into a low side pony and twist it into a roll. Wrap the roll into a small bun and pin the base first, then add two more pins through the top edge so it looks stacked. Let a few waves fall around the bun and lightly brush them forward for a face-framing sweep.
Keep the bun smaller than you think. Small pinwheels hold better and look cleaner on medium hair.
Skip straightening everything. The contrast between waves and a sculpted bun looks better than uniform smoothness.
23. Ribbon-Style Hair Wrap Knot (No Scarf Required)
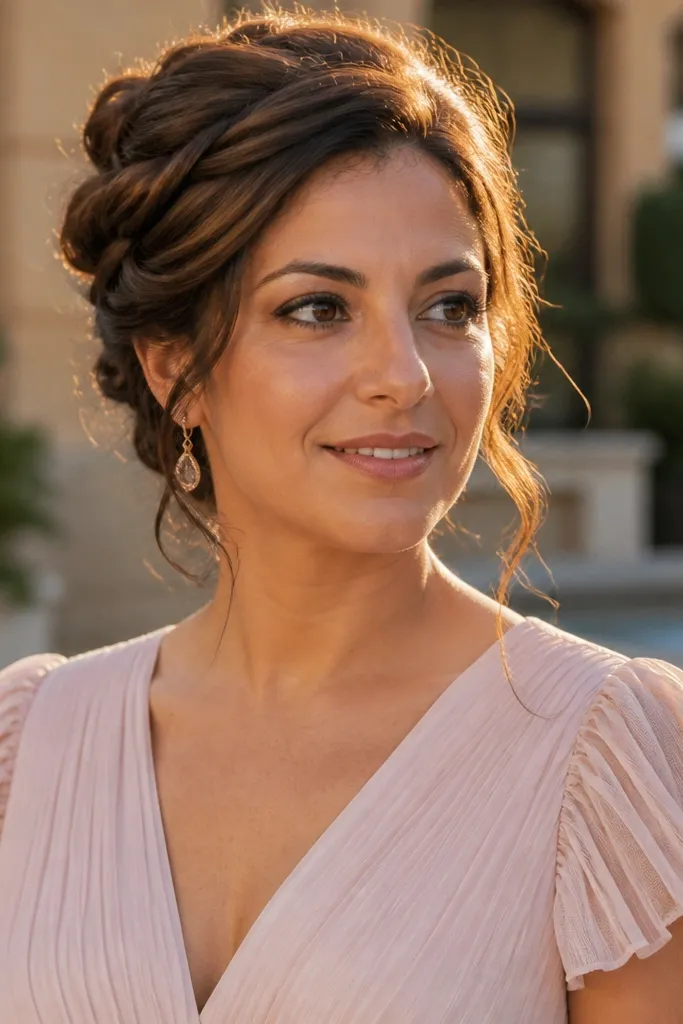
This gives you the “ribbon twist” look without needing an actual scarf, and it’s perfect if you hate accessories that slide. The wrap knot makes the hairstyle look special even when it’s simple, and it’s easy to keep it neat on medium hair. This one is great for spring weddings where you want a soft, feminine finish. It also looks good with sleeveless dresses because the wrap draws the eye upward.
Create a half-up pony at crown height and secure with a small elastic. Take a thin strand from the pony, wrap it around the base like a ribbon, and tuck the end under. Pin the tucked end so it stays flat, then smooth the pony and add a light mist to control flyaways.
If you have flyaways, rub a tiny bit of wax on your fingertips and press them down at the end, not the start.
Don’t use a thick strand. Thick wraps hide the knot and look bulky on medium hair.
24. Half-Up Dutch Braid Mini Crown
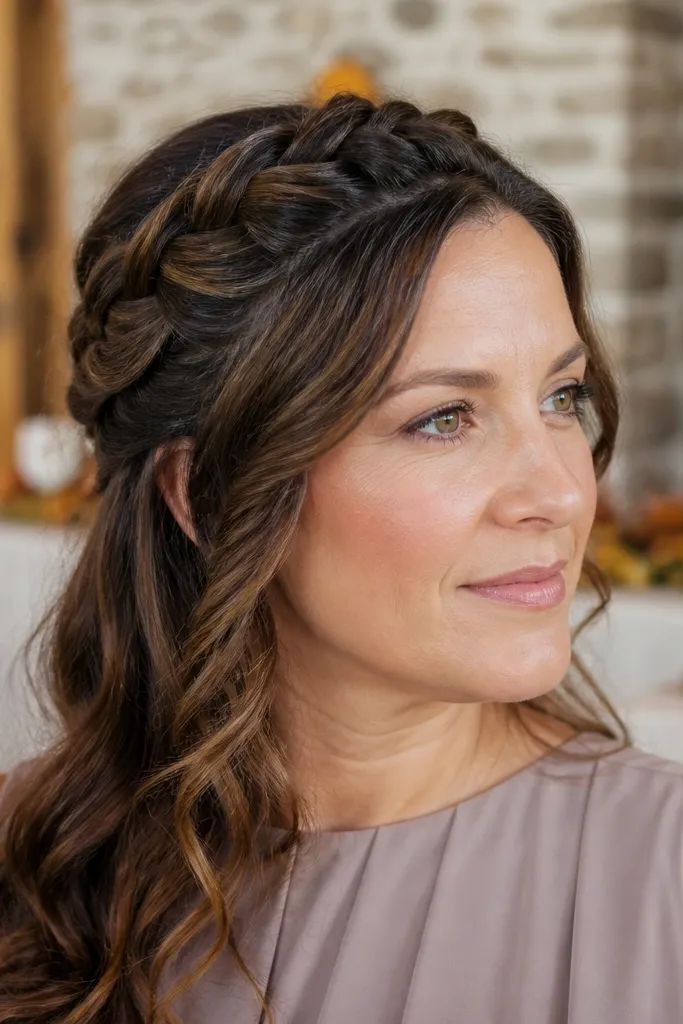
A mini Dutch braid crown looks detailed and wedding-ready without turning into a full updo. Medium hair makes it easy to braid short sections that still show definition, and the raised braid looks great in flash photos. This is a strong pick for fall and winter weddings when you want texture and structure. It also works nicely with bangs or face-framing layers.
Separate a top band of hair from temple to temple and split into three sections. Dutch braid by crossing strands under, not over, for 4-6 moves, then secure with a small elastic. Lift the braid slightly by gently pulling the sides, then pin the end under the braid so it hides neatly.
Use matte styling powder on the braid area if your hair is slippery. It improves grip and definition.
Skip a flat braid. If the braid looks too narrow, loosen the edges right after you secure.
25. Velvet-Soft Victory Roll Half-Up with Pin Comb
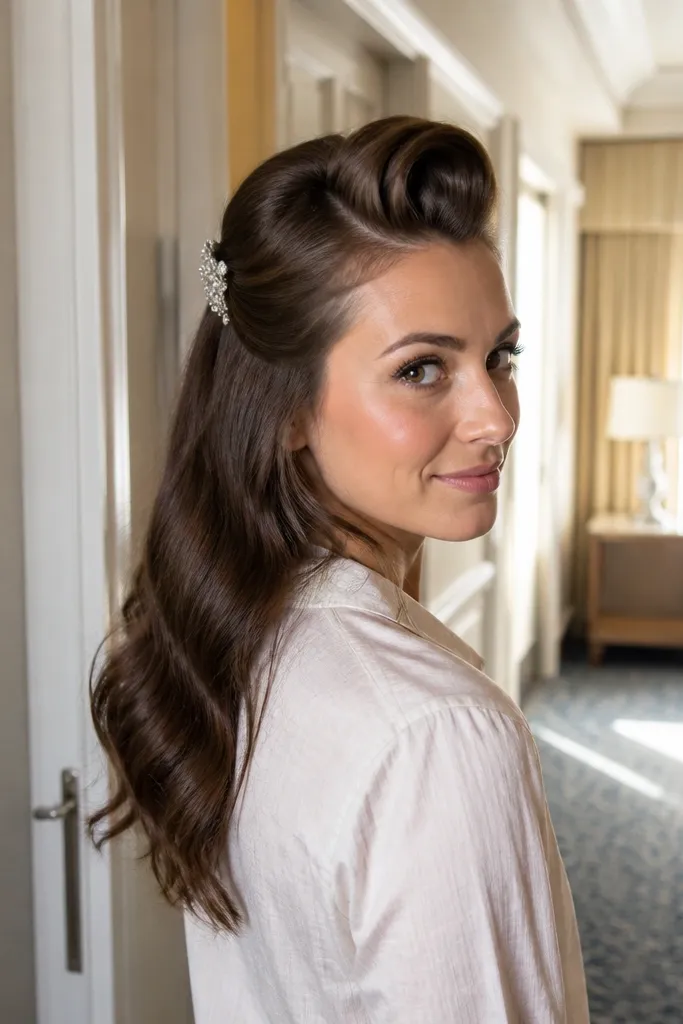
This is the “dressy but still fast” option for medium hair when you want something that looks styled, not done. The victory roll gives you height at the crown, and the half-up section keeps it wearable for a wedding day schedule that runs from photos to dinner to dancing. It looks especially good with soft waves underneath because the roll frames your face without making the rest of your hair bulky. I’d pick this for fall and winter weddings because the shape looks crisp with coats and turtlenecks, but it works in summer too if your hair can hold a little texture. It suits medium hair that’s at least shoulder length and has enough body to roll smooth, not flat. If you love quick and easy wedding hairstyles in 5 minutes, this one is fast once you’ve practiced the roll once at home.
Step 1: Prep with a dry-texturizing spray on the top half only, then smooth the surface with your hands so it rolls clean. Section a wide band from temple to temple, clamp it at the back for a moment, and take a smaller front section for the first roll; twist it toward the face, then roll it back and pin with 2 bobby pins that cross in an X. Step 2: Repeat on the other side, then release the bottom hair and finger-wave it lightly if it needs shape. Step 3: For travel logistics, pack 1 small comb and 12-15 bobby pins in a zip pouch, plus travel hairspray; you’re not bringing tools beyond that. Step 4: Allow 5-7 minutes at the venue to style and set, and book hair time early if you’re also doing makeup, since this style looks best when you’re not rushing. Step 5: Keep it photogenic by aiming the pins toward the crown — you want the roll to lift, not collapse.
Pack bobby pins in two shades: match your hair color for the roll and use one darker pin for the underside so nothing flashes in photos.
Don’t try to create a victory roll on freshly washed, slippery hair — add texture first or the roll will sag by cocktail hour.



