1. Honey Champagne Lid with Soft Taupe Outer Corner

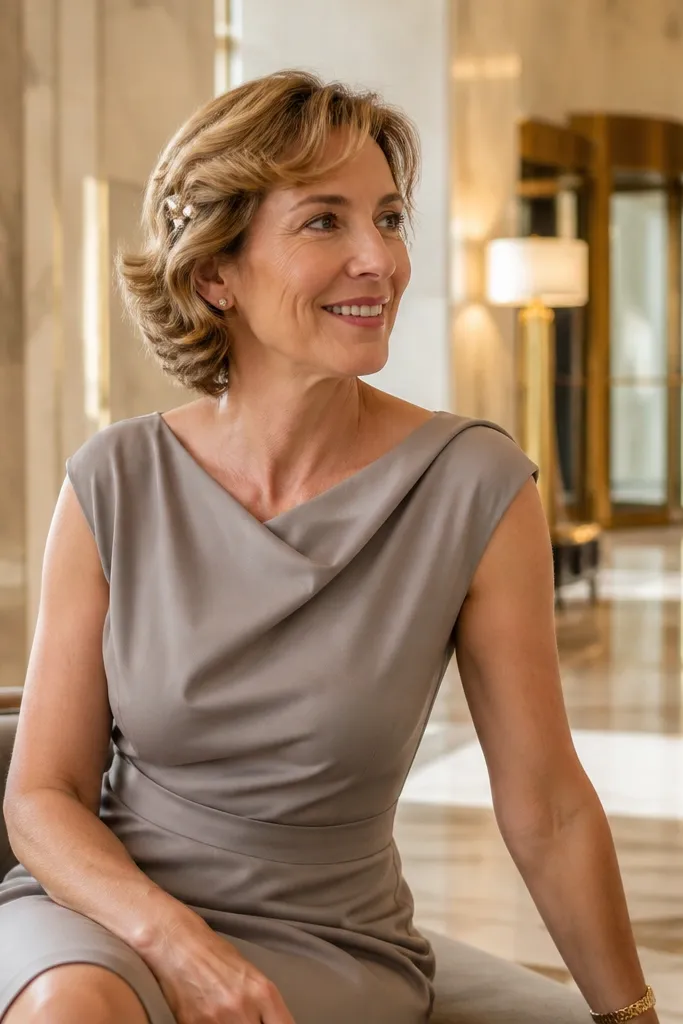
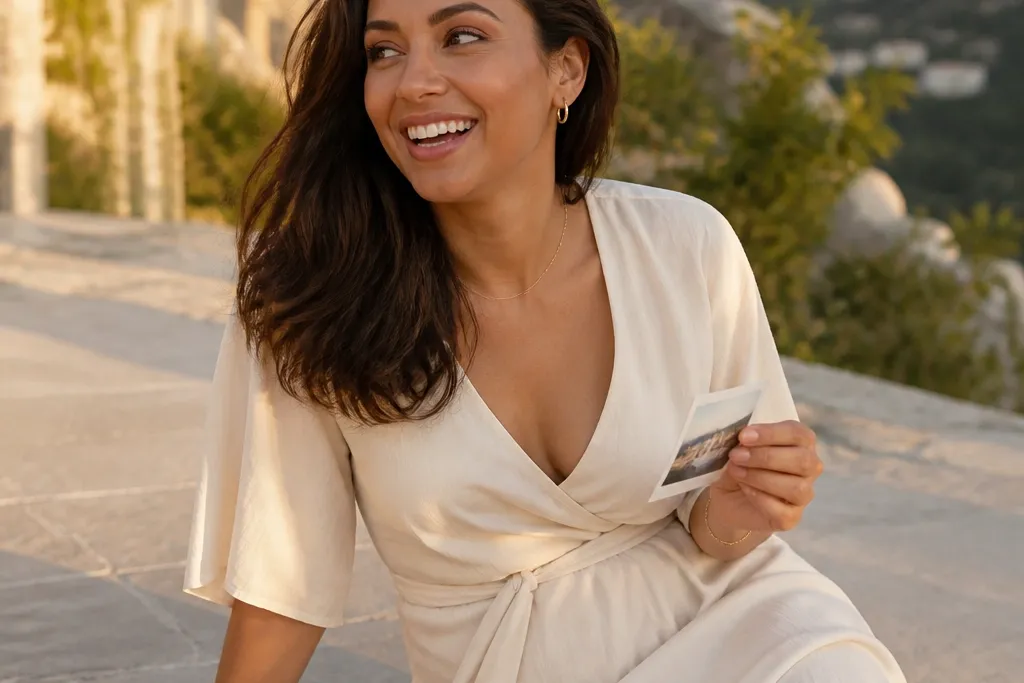
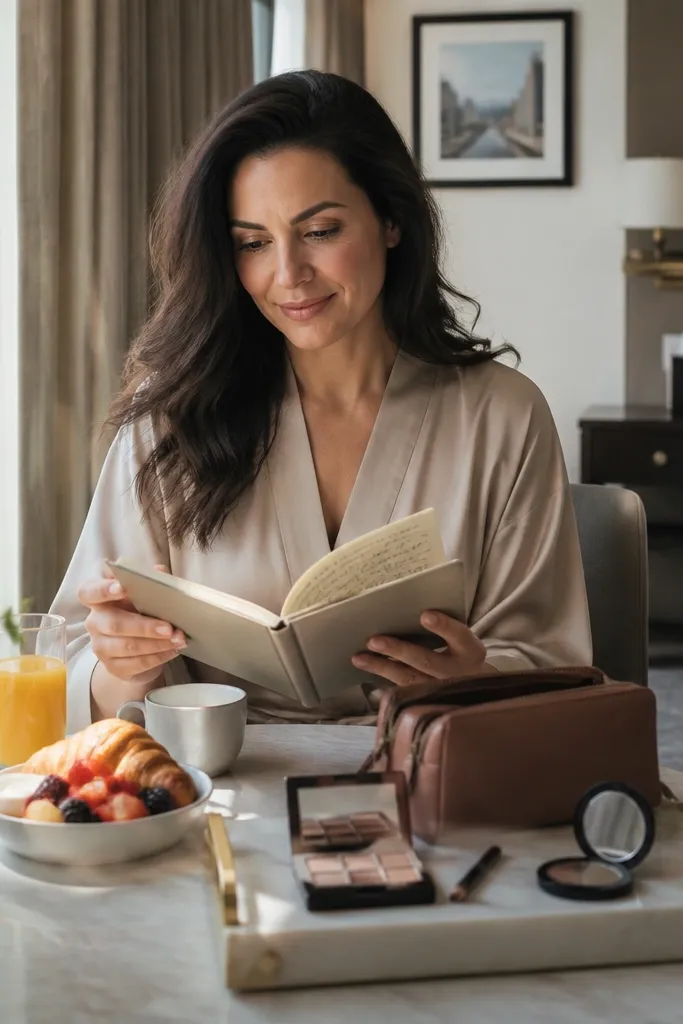
This look flatters brown eyes because it uses warm light on the center lid, then adds a muted shadow at the outer corner to create lift. The champagne tone reflects without looking metallic-slick, so it reads natural in daylight and still shows up in camera flash. Taupe keeps the definition from turning harsh, especially if your brown eyes pull more hazel than deep espresso. It’s a smart pick for a garden ceremony or a beach wedding where you want “pretty and effortless” rather than glam.
Start by sweeping a champagne cream or powder across the inner lid to the center, leaving the outer third slightly lighter. Then blend taupe shadow from the outer corner along the upper lash line and stop before it reaches the crease. Finish with a thin line of brown-burgundy liner at the lash line and coat lashes with water-resistant mascara for travel and outdoor wind.
Use a dense fingertip to press shimmer on the lid instead of dragging a brush — it keeps edges soft.
Don’t extend the taupe into the crease; that’s what makes brown eyes look smaller.
2. Rose-Brown Smoke Liner with Feathered Edges
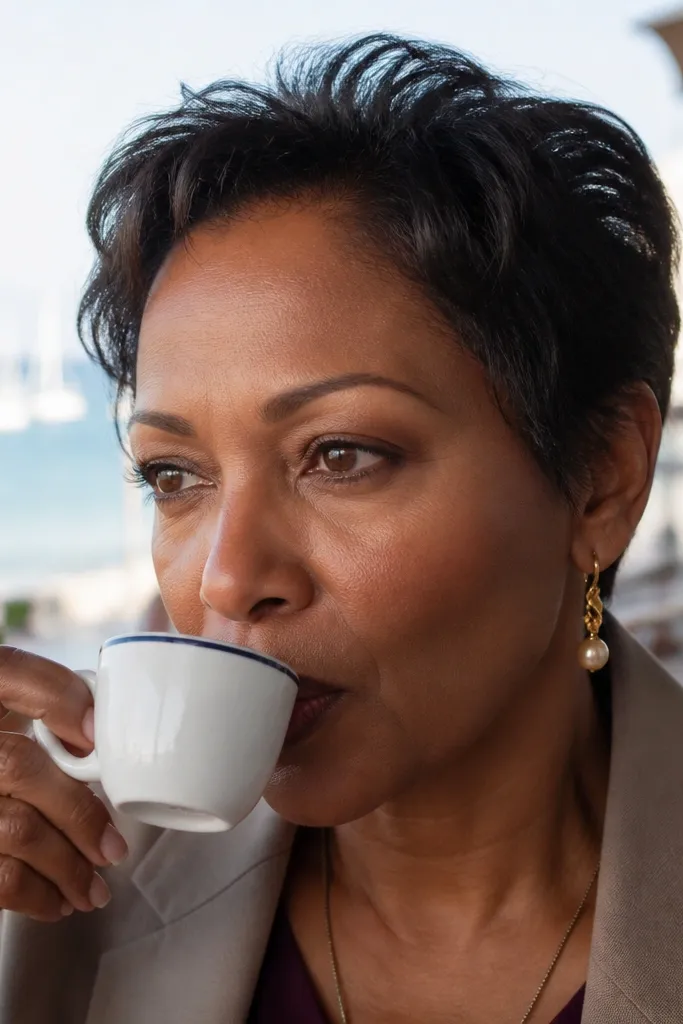
A rose-brown smoke liner makes brown eyes look bigger because it sits close to the lash line and stays slightly smoky instead of graphic. The rose undertone warms the eye and flatters most brown shades, from chestnut to dark cocoa. “Soft” comes from feathering the edge so it melts into the lid, not from skipping definition. This is a great option for indoor ceremonies with flash, since the rose tint adds dimension without turning gray on camera.
Start with a tight line using a rose-brown pencil, keeping it between the lashes on the upper lid. Then smudge only the outer half with a small blending brush and a matching shadow, stopping short of the inner corner. Add a dot of pale champagne highlight at the inner corner and finish with two coats of mascara, focusing on the outer lashes.
Quick tipIf you’re worried about transfer, set the liner with the same rose-brown shadow using a tiny patting motion.
Skip thisSkip black eyeliner for this style; it can look too stark against a natural base.
3. Latte Crease with Nude Lid and Tightline Brown
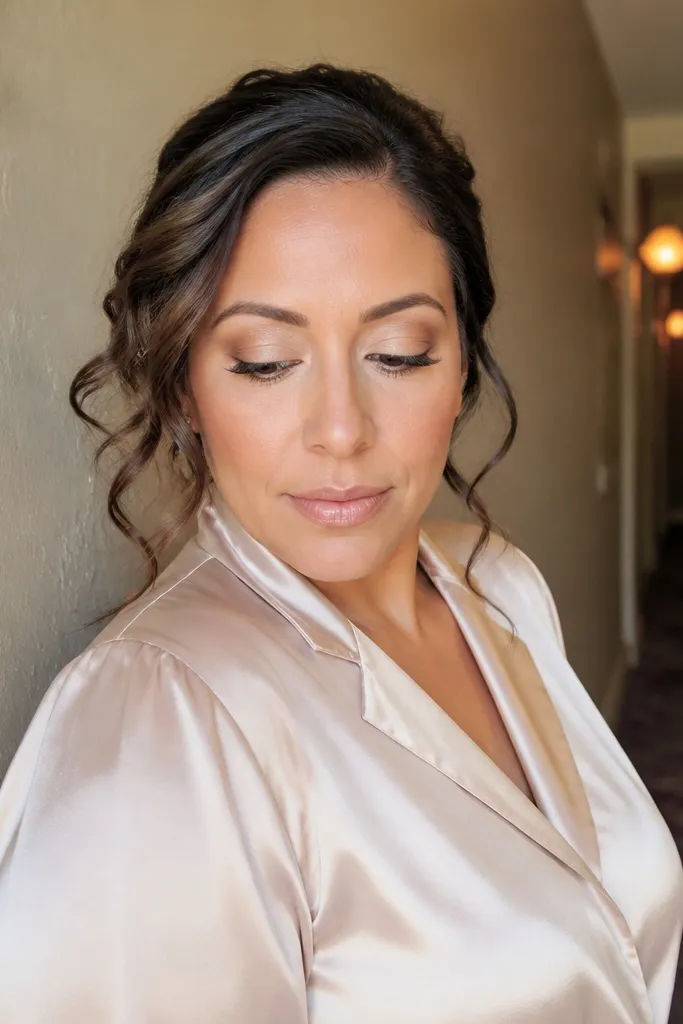
This one is clean, flattering, and photo-friendly because the matte crease does the work while the lid stays nude and bright. Brown eyes love latte tones because they echo the warmth already in your iris without turning red or orange. Tightlining with brown keeps the lash line defined while avoiding the “drawn-on” look. It’s ideal for a courthouse wedding or a minimalist venue where you want your eyes to look polished, not dramatic.
Start by dusting a matte latte shade into the crease and blending upward slightly, then soften the edges with a clean fluffy brush. Next, apply a nude satin shade on the lid from lash line to just past the crease. Tightline the upper waterline with a brown pencil, then curl lashes and apply mascara only to the upper lashes for a lifted, natural finish.
Quick tipChoose a nude lid shade that matches your skin tone two shades lighter, so it brightens without looking pale.
Skip thisDon’t add shimmer to the inner corner if your lids are oily; it can crease under flash.
4. Bronze Halo Shadow with Center Lift
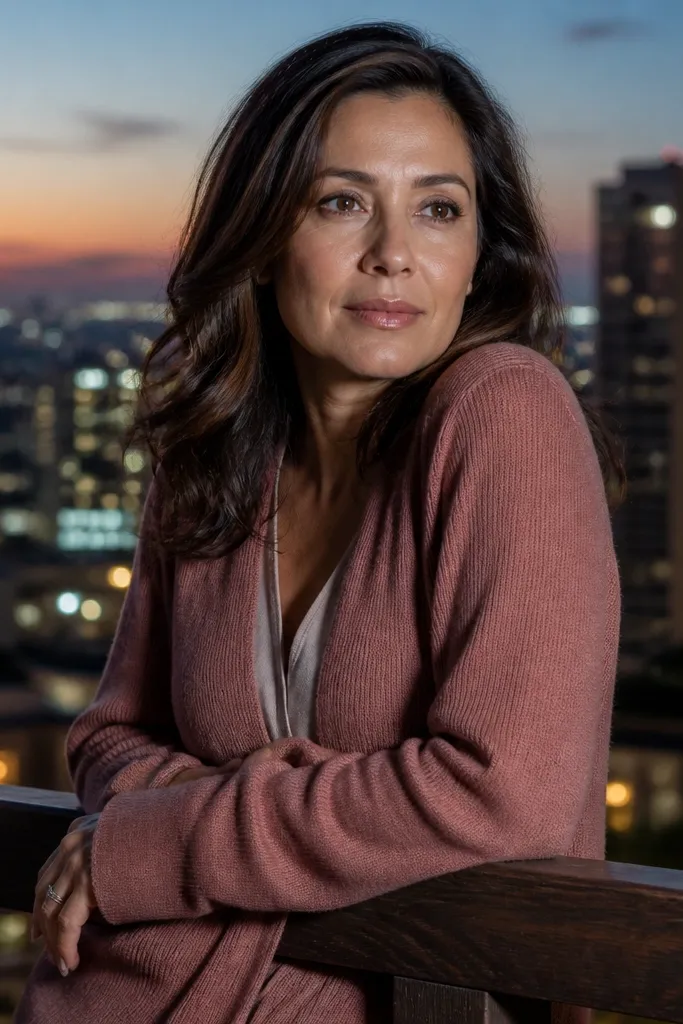
A bronze halo is one of the most flattering “soft glam” options for brown eyes because it brightens the center lid and frames the iris. The key is a halo shape: brighter in the middle, deeper on the outer edges. In photos, that center lift makes your eyes look awake even when you’re tired from travel. This works well for evening receptions and sunset ceremonies where warm tones photograph beautifully.
Start with a medium bronze shadow on the outer lid and blend into the crease, then keep the center lid clear. Next, press a lighter bronze or champagne shade right in the middle from lash line to crease. Add a whisper of liner at the outer lash line, then blend upward with a small brush so there’s no harsh line.
Quick tipPress, don’t swipe — a halo looks best when the center highlight is concentrated.
Skip thisAvoid thick winged liner; the halo already creates the wing effect.
5. Soft Copper Shimmer on the Lid, Cocoa Liner
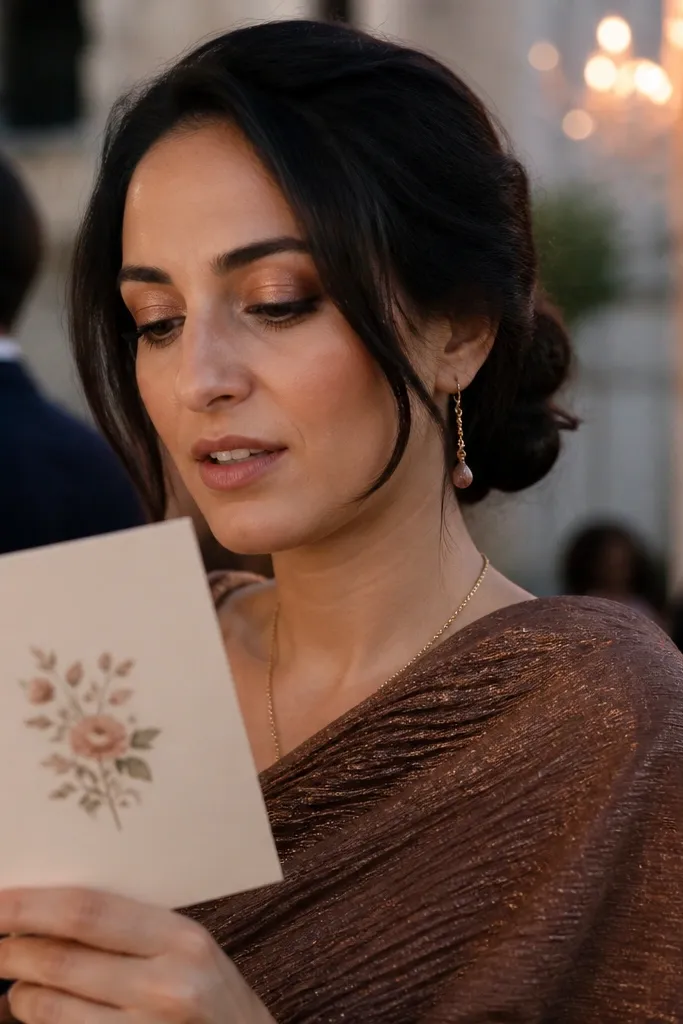
Copper shimmer makes brown eyes look dimensional because it plays off the warm pigment in your iris. Pair it with cocoa liner instead of black so the definition stays natural and doesn’t dominate your face. This look reads “romantic” in close-up wedding photos, especially with a neutral blush and warm-toned highlight. If your wedding day is outdoors in late afternoon, copper is the color that makes your eyes glow without looking glittery.
Start by applying copper shimmer only on the lid — not up into the crease — using a flat brush or fingertip. Then line the upper lash line with a cocoa-brown pencil and smudge the outer third slightly. Finish with a soft inner-corner highlight and mascara, keeping the lower lash line light or skipping it entirely.
Quick tipSet shimmer with a thin dusting of similar-toned powder if you’re in humidity.
Skip thisDon’t extend copper over the lower lid; it can pull the look heavy.
6. Mushroom Beige Matte All Over with Dark Inner Corner
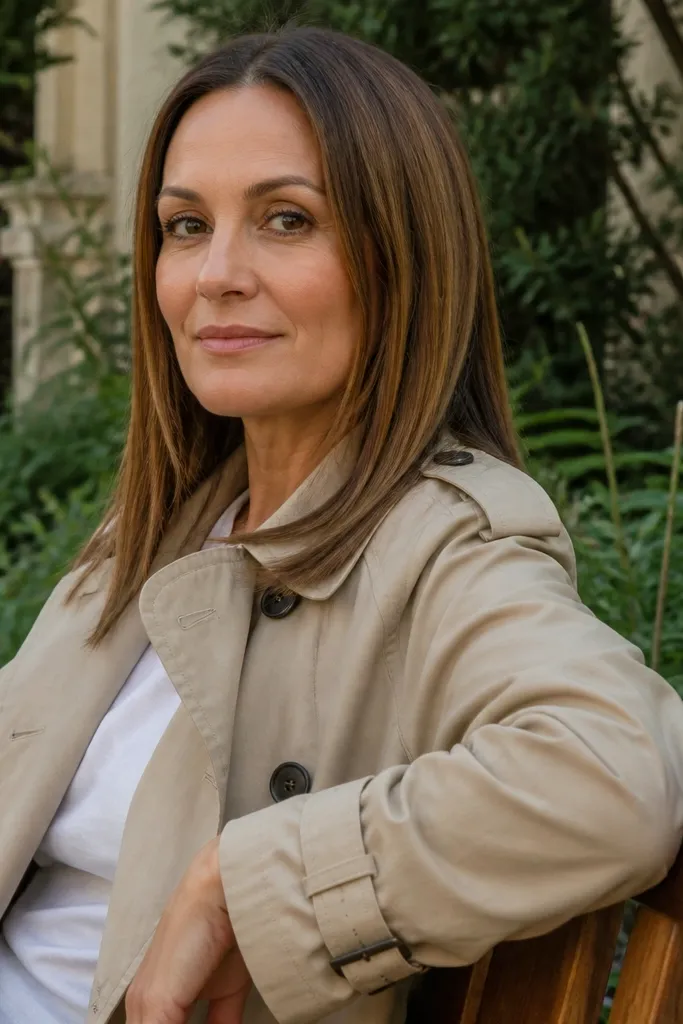
This is a “soft but special” option for brown eyes because it uses a matte beige base to keep everything smooth, then adds darkness where your eye naturally focuses. A deeper shadow at the inner corner creates depth and makes the eye look slightly more lifted. It’s also forgiving for travel because matte shades hide patchiness better than high-shine formulas. This one suits daytime ceremonies, especially if you’re wearing a lighter dress and want makeup that doesn’t fight the outfit.
Start by sweeping mushroom beige matte across the entire lid and crease, blending so there’s no visible line. Then tap a deeper taupe or chocolate shadow right at the inner corner and blend outward just a few millimeters. Curl lashes, apply mascara, and keep liner minimal — a thin upper lash line is enough.
Quick tipUse a small pencil brush for the inner corner so you don’t accidentally drag the dark shade too far.
Skip thisSkip heavy under-eye smoke; the inner corner trick does the lifting without extra darkness.
7. Champagne Shimmer Inner Corner with Barely-There Taupe
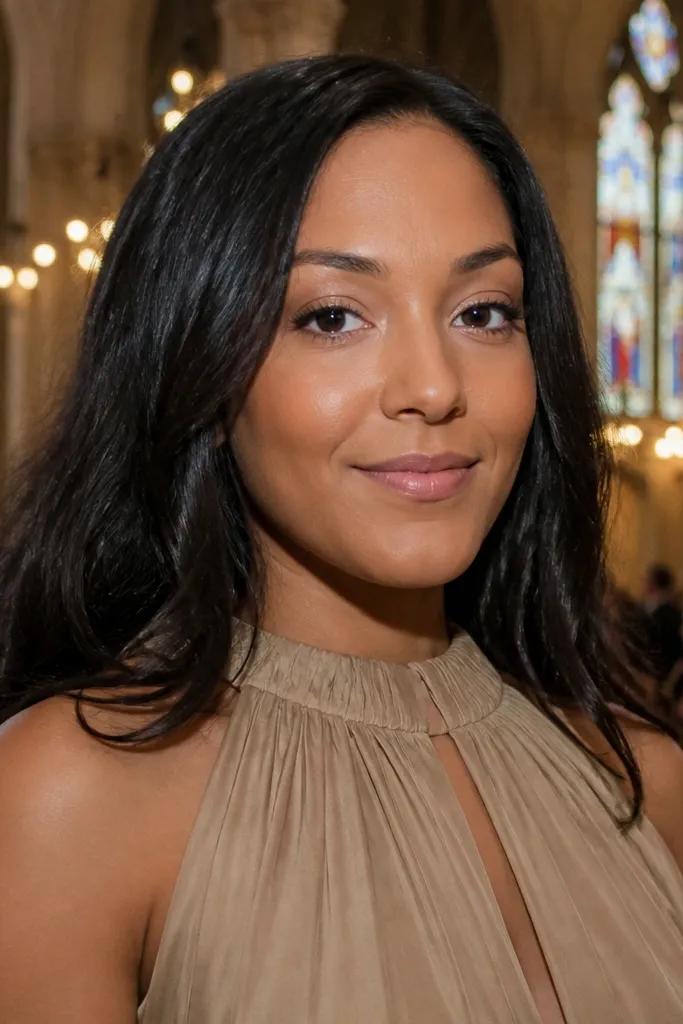
If you want natural wedding makeup that still photographs, this is the move. The taupe is barely there — just enough to define the crease — while the champagne inner corner adds sparkle that reads as “fresh” instead of “done.” Brown eyes love this because the highlight catches the iris color and makes your eyes look brighter. It’s perfect when you have a busy itinerary and want something quick that still looks intentional.
Start by blending a matte taupe into the crease and stop early so it doesn’t get smoky. Next, apply champagne shimmer only on the inner corner and blend it slightly into the center lid. Line the upper lash line with a smudgy brown pencil and keep the wing tiny or skip it. Finish with mascara and, if you want extra lift, add a touch of highlighter on the brow bone.
Use a damp brush for the inner corner highlight so it stays crisp in photos.
Don’t add shimmer across the whole lid; it stops looking natural fast.
8. Soft Plum Outer Corner with Neutral Lid
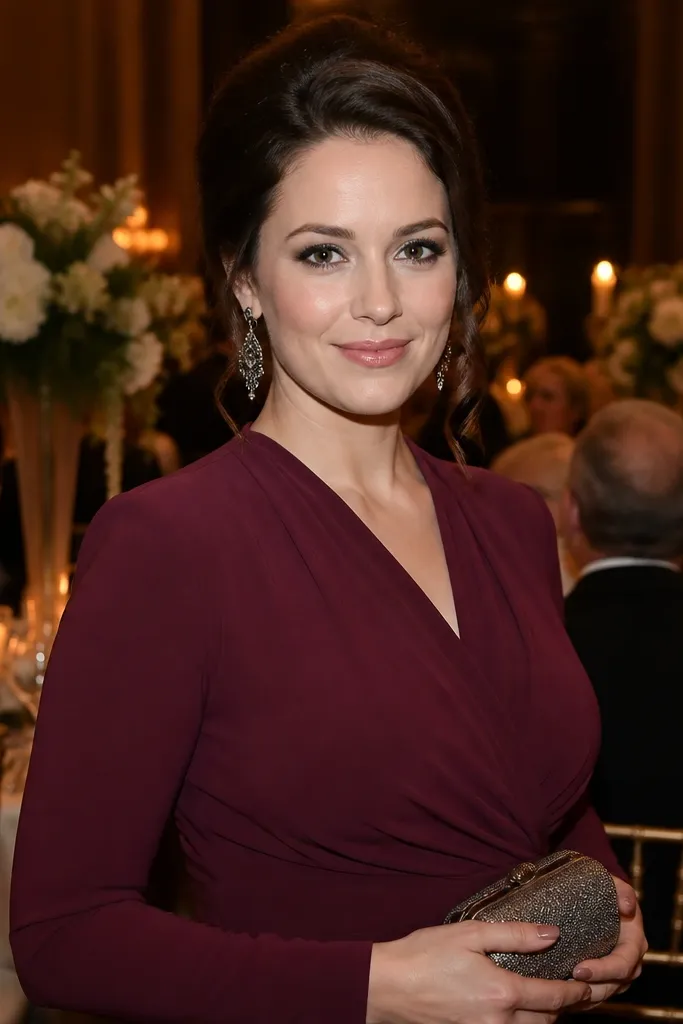
Plum can look stunning on brown eyes because it adds a cool-leaning contrast that makes the iris pop. Keep it soft by placing it only at the outer corner and blending it into the lash line — no heavy purple wash. This look is especially photogenic for evening weddings and indoor receptions where warmer lighting can flatten eyes. It also pairs beautifully with nude lips and rosy blush.
Start with a neutral matte shade on the lid and crease, then add plum only on the outer third. Blend plum upward into the outer crease and keep the center of the lid clean. Line the upper lash line with a deep plum-brown pencil and smudge lightly; then apply mascara, focusing on outer lashes.
Choose a plum that looks more brown than blue in the pan so it doesn’t go icy on camera.
Skip plum on the lower lash line if you want a softer, more open eye.
9. Classic Brown Liner with Lived-In Smudge
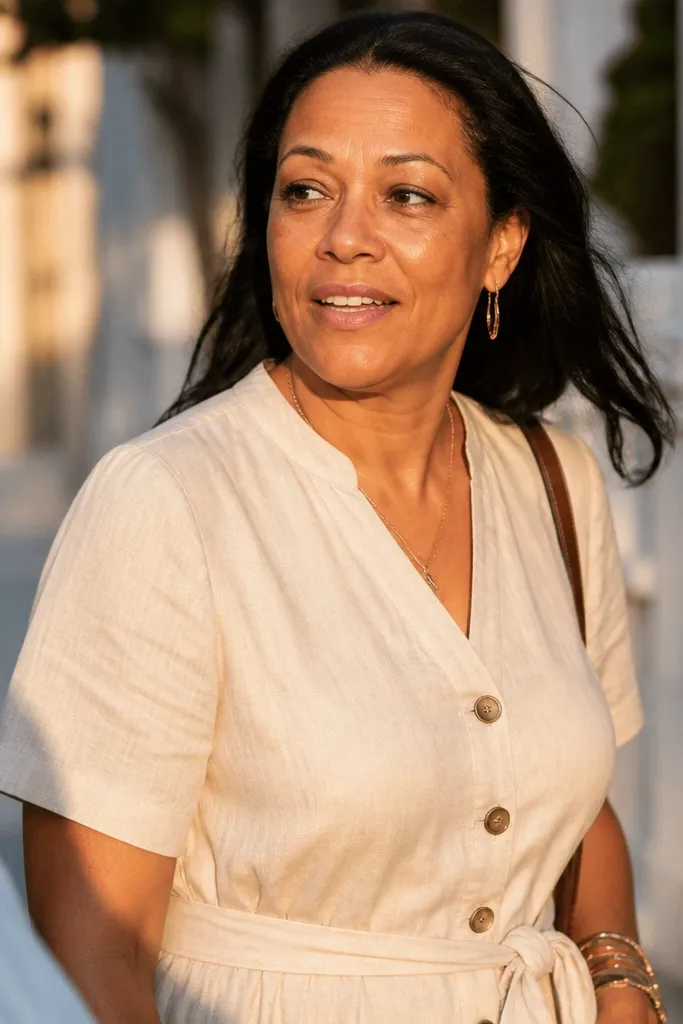
This is the most wearable “wedding day but still you” eye look. Brown liner makes your lashes look fuller without the harshness of black, and a lived-in smudge keeps it from looking like you drew it on five minutes ago. It’s flattering for brown eyes because it matches the iris warmth and lets your natural coloring lead. Great for Day 1 travel photos and Day 3 dinner portraits when you want low effort, high polish.
Start by applying a light matte neutral on the lid, then line the upper lash line with a brown pencil close to the roots. Smudge the outer half with a small angled brush and a matching shadow so the edge disappears. Add a thin inner-corner highlight and mascara, then brush any fallout away with a clean spoolie.
If your eyeliner transfers, press a matching powder shadow over the liner instead of adding more liner.
Don’t make the liner too thick; thick brown can read heavy in daylight.
10. Peachy Nude Lid with Soft Espresso Lash Line
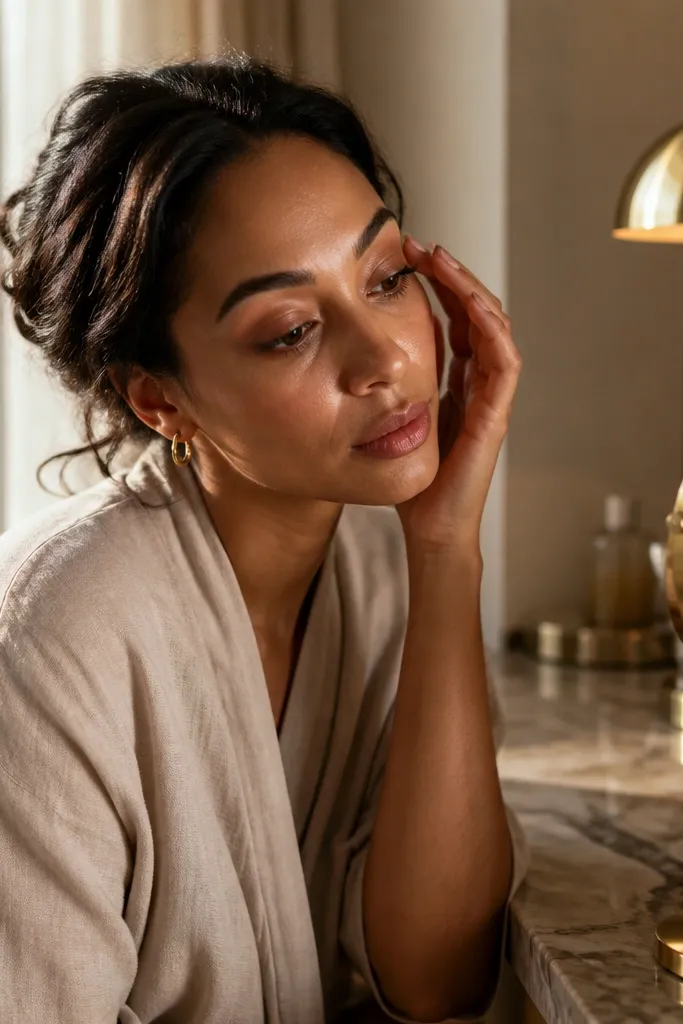
Peachy nude looks gorgeous on brown eyes because it warms the skin and makes the iris look richer. Espresso-brown on the lash line gives definition without turning the eye into a “liner look.” This is ideal for brides who want a natural eye that still shows in portraits, especially when their dress has warm undertones. It’s also forgiving if your eyelids get a little oily during the day.
Start by sweeping a peachy nude shade over the lid and blend into the crease lightly. Apply espresso-brown shadow or pencil along the upper lash line, keeping it thin at the inner corner and slightly thicker at the outer corner. Curl lashes and apply mascara; keep the lower lash line either bare or lightly dusted with a neutral powder.
Quick tipUse a peachy nude with a hint of gold, not pink — gold reads bridal on camera.
Skip thisAvoid bright orange-peach; it can clash with warm-toned skin and look loud.
11. Soft Smoky Outer V with Warm Taupe
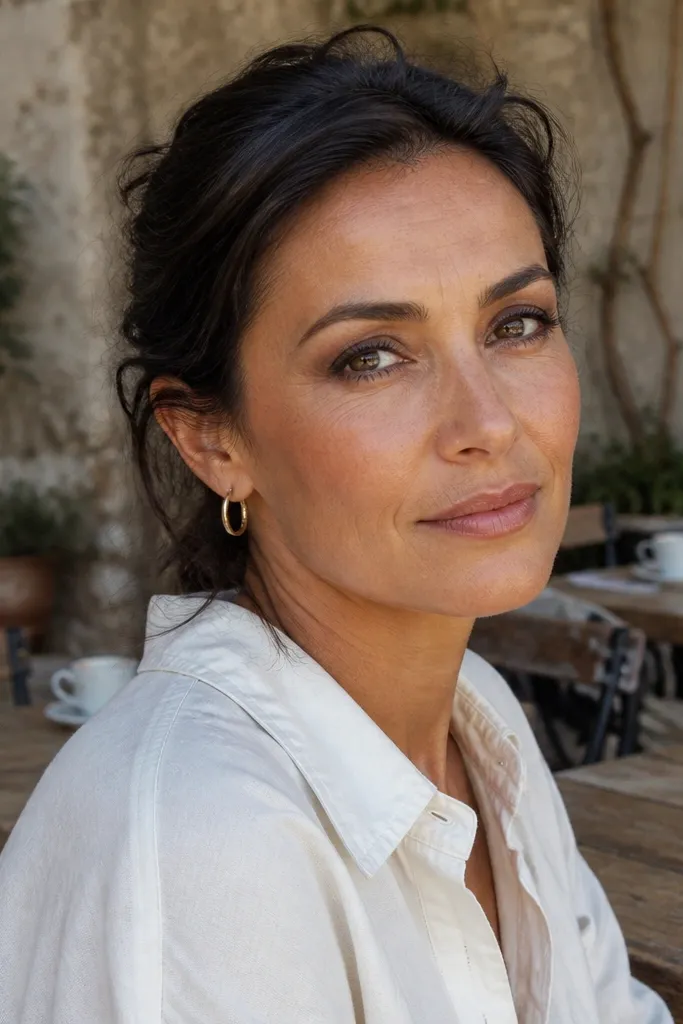
The outer V shape adds lift because it concentrates depth at the outer corner and tapers inward. Warm taupe is the sweet spot for brown eyes — it looks sophisticated and stays natural enough for daytime. This look photographs well because the depth gives your eye a clear frame, even if your lighting is flat. It’s a good pick for a wedding with windy outdoor portraits where you want definition that won’t disappear.
Start with a satin neutral lid shade and blend it across the lid up to the crease. Then build a warm taupe outer V: place shadow at the outer corner and blend toward the crease in a triangle shape. Tightline with a brown pencil and add mascara, keeping the inner corner bright with a light highlight.
Quick tipUse a smaller brush than you think — outer V needs precision to stay soft.
Skip thisDon’t blend the outer V too far into the inner lid; that kills the lift.
12. Gold Sheen on Center Lid with Matte Nude Crease
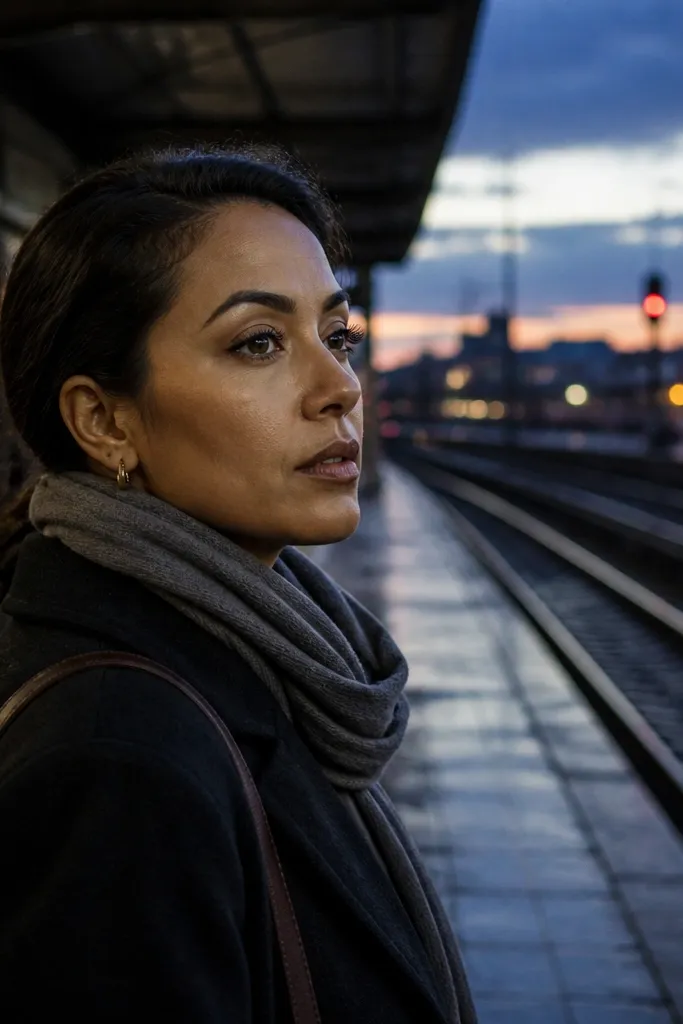
Gold sheen makes brown eyes look glossy and awake without turning them into a full-blown shimmer look. The trick is to keep the crease matte and nude, so the gold reads like a highlight rather than glitter. This is one of the best options for a wedding trip because it works across different outfits and still looks cohesive in group photos. It’s especially flattering if you have medium to dark brown eyes that can handle warmth.
Start by applying a matte nude shade in the crease and blending it softly toward the outer corner. Then press gold sheen only on the center of the lid, leaving the outer third more matte. Add a thin line of brown liner at the lash line and curl lashes with mascara, focusing on the top lashes.
Press a little translucent setting powder around the gold edge so it doesn’t migrate.
Avoid gold all over the lid; it can look dull and uneven in flash.
13. Satin Mocha Halo with Soft Winged Shadow
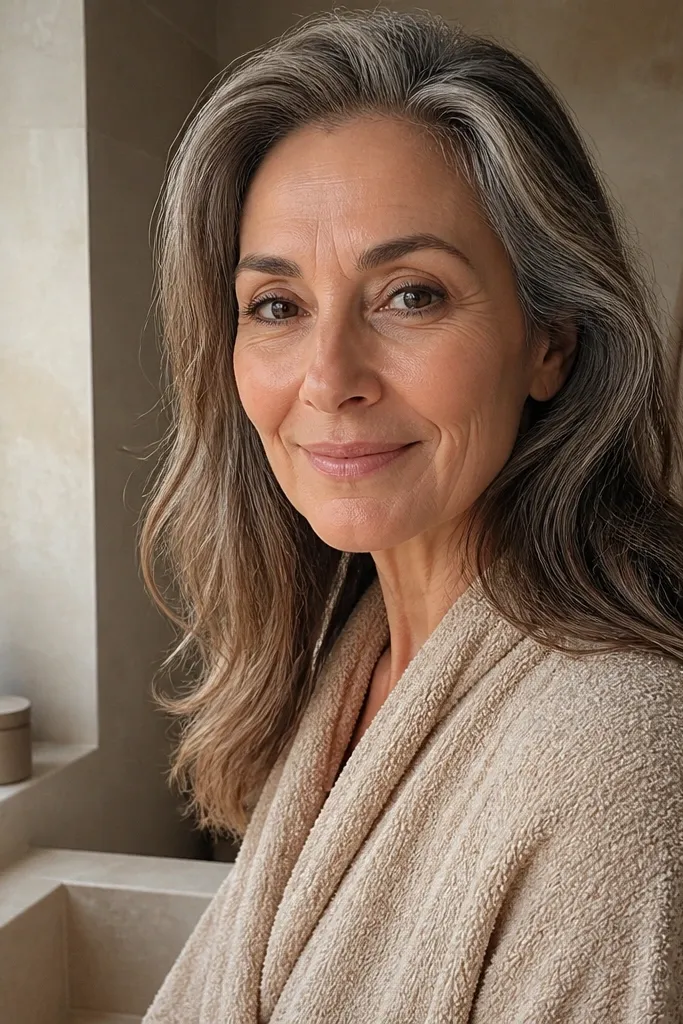
A satin mocha halo gives you a lifted, lens-shaped eye without needing a sharp wing. The wing here is made with shadow, so it looks softer and more bridal than a liquid line. Mocha flatters brown eyes because it’s close to your iris tone and doesn’t fight your skin warmth. This look is a great match for a 3 day wedding trip because it works for both ceremony photos and the more polished dinner shots on Day 3.
Start with a satin mocha shadow on the outer lid and blend toward the crease, keeping the center lighter. Then add a lighter beige-gold on the center lid and blend the two together so you get a halo. Create the soft wing by deepening mocha at the outer corner and sweeping slightly upward, then finish with mascara and a tiny amount of inner-corner highlight.
If you have hooded lids, keep the wing in the outer third only so it doesn’t disappear.
Skip thick liquid liner with this look; it breaks the soft-wing effect.
14. Neutral Smoky Lid with Soft Black-Brown Lash Line
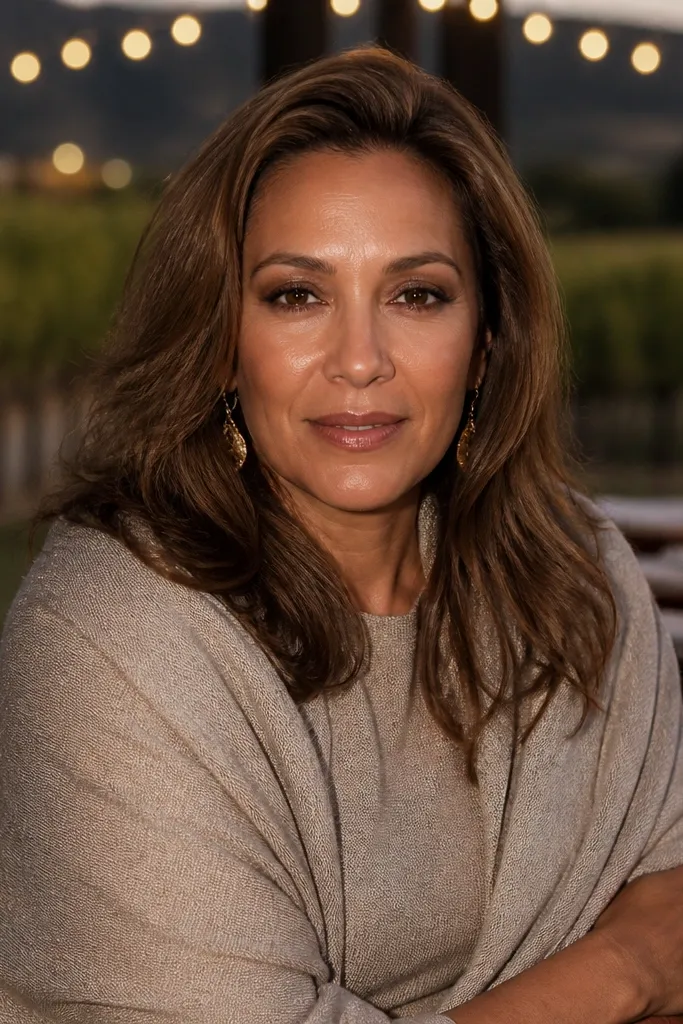
This is the “natural but more defined” option for brown eyes when you want photos to look crisp. Black-brown liner gives depth close to the lashes without reading as harsh black. The smoky lid stays neutral, so your eye doesn’t look colored-out, just stronger. It’s perfect for evening venues, especially if your wedding schedule runs later and you’re under indoor lighting.
Start with a neutral matte shade across the crease and outer lid, then blend a slightly deeper neutral into the outer third. Tightline the upper lash line with a black-brown pencil and smudge it just enough to soften the edge. Add a light highlight on the inner corner and apply mascara, then sweep any fallout away before you do concealer under the eyes.
Use a small amount of powder over the smoky edge to keep it from getting patchy in flash.
Don’t bring the smoky shade too low on the lower lash line if you want the eye to stay open.
15. Soft Olive-Taupe Blend with Champagne Inner Corner
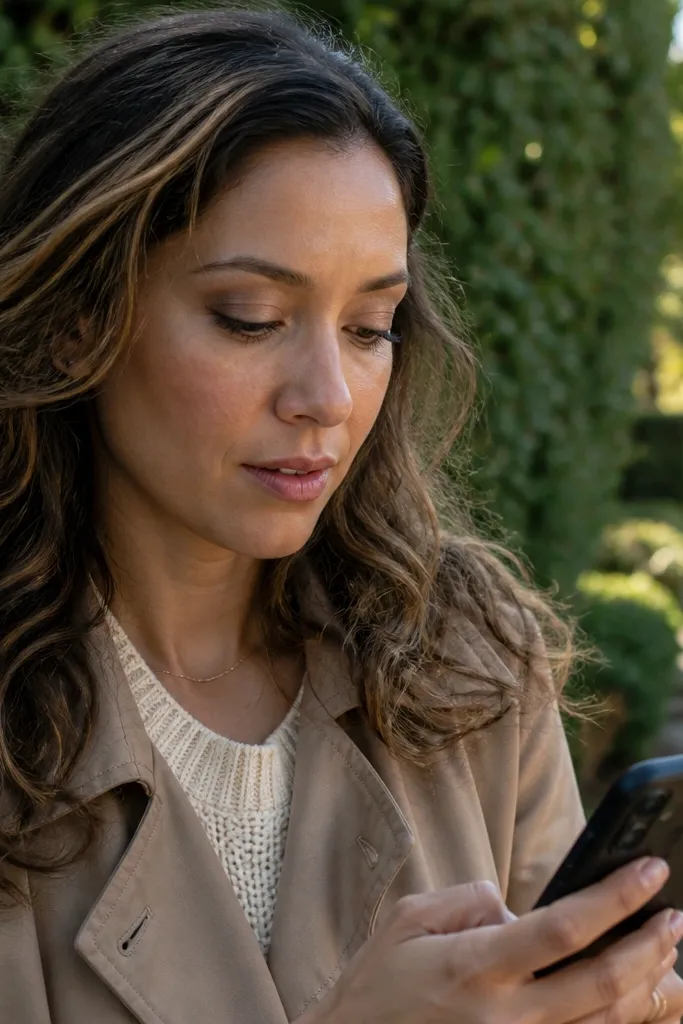
Olive-taupe is a sneaky win for brown eyes because it adds a muted green-brown tone that makes the iris look richer. It stays natural when blended softly and paired with a champagne inner corner highlight. This look is great for outdoor weddings in greenery-heavy settings because it harmonizes with the environment. It also photographs well because the olive tone adds subtle dimension without going too warm or too cool.
Start by blending an olive-taupe matte through the crease and outer lid, keeping the center lid lighter. Press champagne shimmer at the inner corner and blend it lightly toward the center. Line the upper lash line with a brown pencil and add mascara; keep the lower lash line minimal, just a light dusting of taupe.
If olive looks too gray on you, choose one with a warmer base so it reads brown-green, not smoky gray.
Avoid heavy green shimmer; matte olive-taupe looks more bridal.
16. Creamy Beige Lid with Cocoa Cut-Crease Shadow
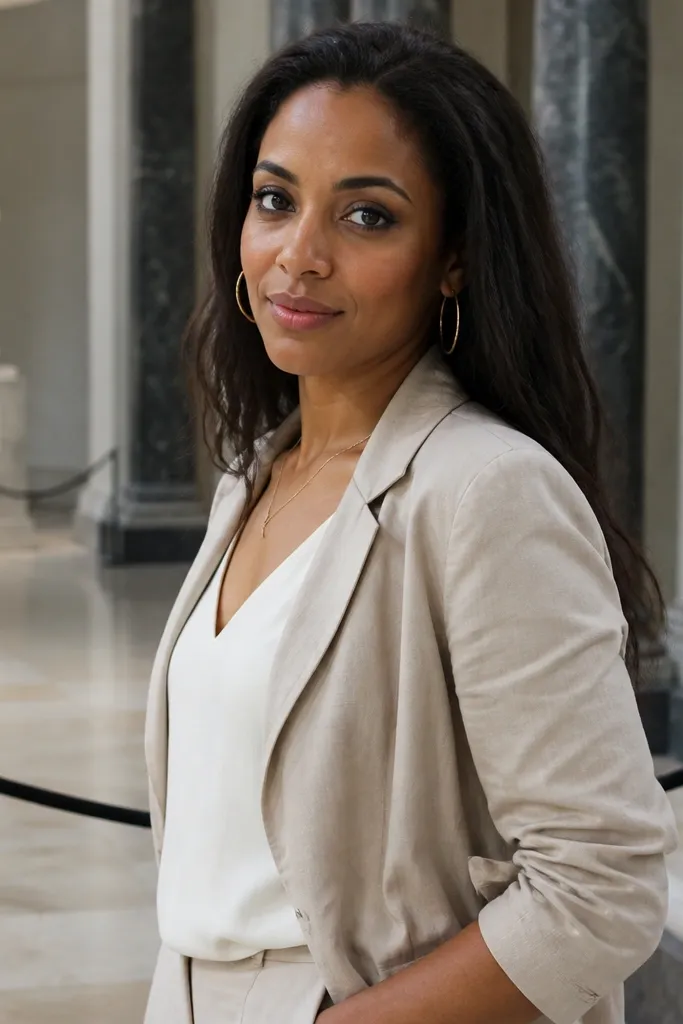
A cut-crease can still look soft when the contrast is gentle. Creamy beige on the lid keeps everything airy, while cocoa shadow defines the crease line without turning dramatic. Brown eyes benefit because the crease definition frames the iris and makes your eye shape look more lifted in photos. This is a strong choice for a wedding trip itinerary when you need makeup that stays photogenic even if you’re not wearing heavy glam.
Start by applying a creamy beige base across the lid and set it lightly with powder. Then use cocoa shadow on a small brush to draw a soft crease line, keeping it slightly above your natural crease for lift. Blend the edges with a clean brush so the cut looks blurred, then add a thin brown liner at the lash line and mascara.
Use tape or a spoon edge for 10 seconds to place the crease line, then remove — the shape stays cleaner.
Don’t make the cut-crease too dark; cocoa should look like depth, not a stripe.
17. Champagne Pearl Topper with Matte Toasted Crease
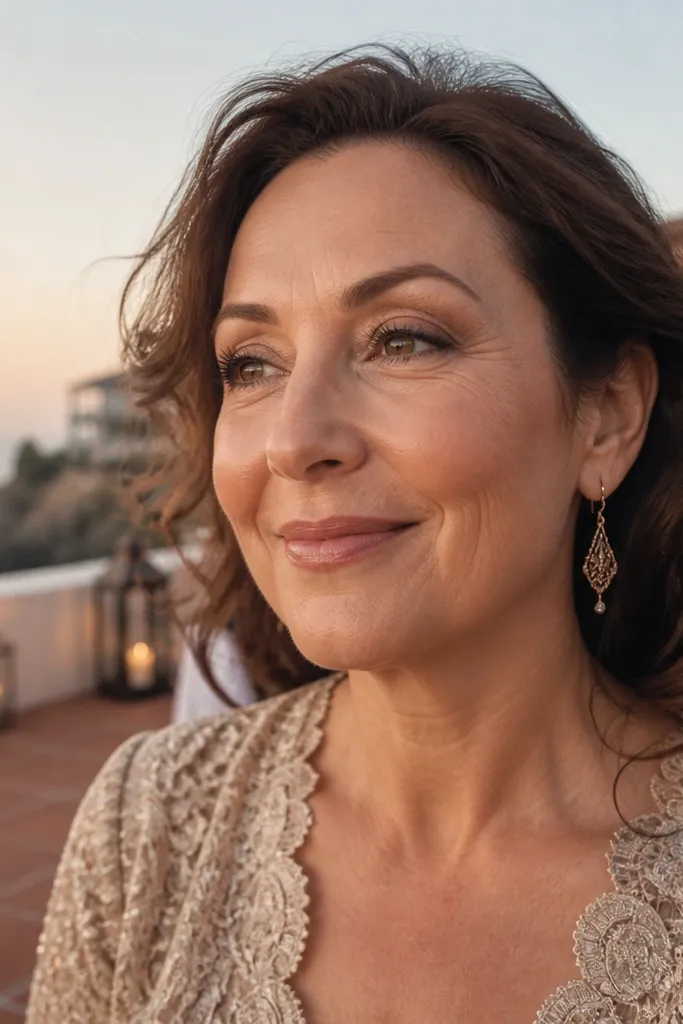
Pearl topper looks bridal when it’s placed strategically. A toasted matte crease gives structure, while champagne pearl on the lid adds that “wedding light” effect that shows in close-ups. Brown eyes look especially good with champagne because it reflects warm highlights and makes the iris look more complex. This look is also comfortable for long days because the pearl sits on top of a matte base rather than soaking in and getting patchy.
Start with toasted matte shadow in the crease and outer lid, blending up and out. Then press champagne pearl topper onto the center and inner half of the lid, stopping before the outer corner. Apply a thin brown liner and mascara, and keep the lower lash line either bare or lightly shaded with toasted taupe.
Quick tipTap off excess pearl on the back of your hand — too much topper looks chunky in flash.
Skip thisAvoid full coverage pearl; it can emphasize texture on lids.
18. Satin Nude Base with Dark Brown Waterline
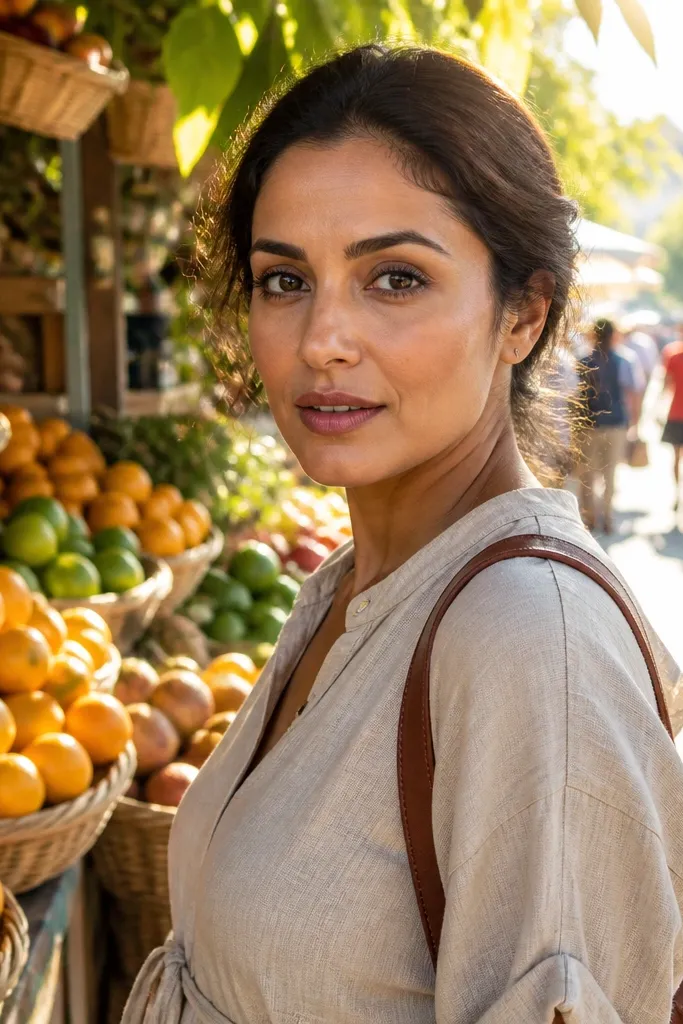
Dark brown on the waterline makes brown eyes look fuller without needing a visible wing. The satin nude base keeps the look soft and natural, while the waterline adds definition right where your lashes grow. This is a great pick if you want your makeup to look great from far away in photos but still feel light up close. It also works well for daytime weddings because it doesn’t look heavy or glittery.
Start with a satin nude shade on the lid and blend into the crease. Then apply dark brown eyeliner to the upper waterline using a pencil with a smooth glide. Curl lashes and apply mascara, focusing on length rather than clumping. Add a tiny inner-corner highlight and keep lower lash line clean.
If waterline eyeliner irritates you, stick to tightlining and skip the full waterline — same effect, less discomfort.
Don’t use black on the waterline; dark brown reads softer and more bridal.
19. Soft Cocoa Cut Crease with Warm Highlight Browbone
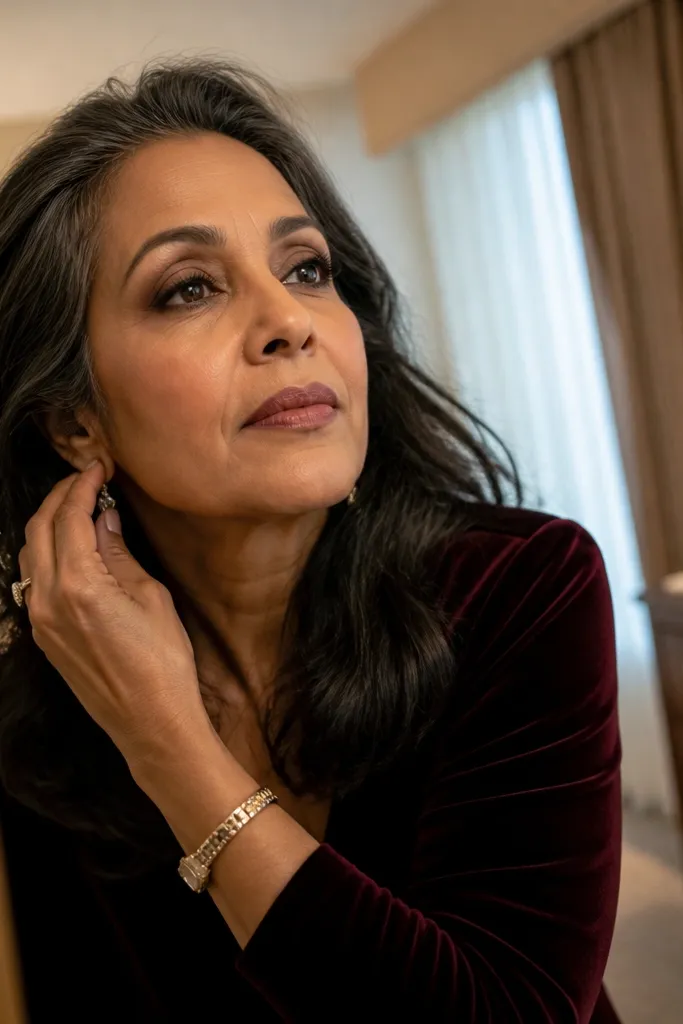
This look is built for photos where your eyes need shape. A soft cocoa cut crease creates structure, while a warm highlight on the browbone keeps the eye area lifted. Brown eyes pair well with cocoa because it’s neutral and doesn’t pull too red or too cool. It’s especially flattering if you have medium to deep brown eyes and want a wedding-ready finish that still looks understated.
Start by applying a light warm nude base on the lid and set lightly. Use cocoa shadow to define the crease line with a small brush, then blend the edges so it stays soft. Add warm highlight under the brow bone and at the inner corner, then line the upper lash line with a brown pencil and finish with mascara.
Blend the cut crease edges with a small fluffy brush — hard lines show in flash.
Skip heavy shimmer on the lid; the browbone highlight is where the glow should live.
20. Rosy Taupe One-Shadow Wash with Inner Glow
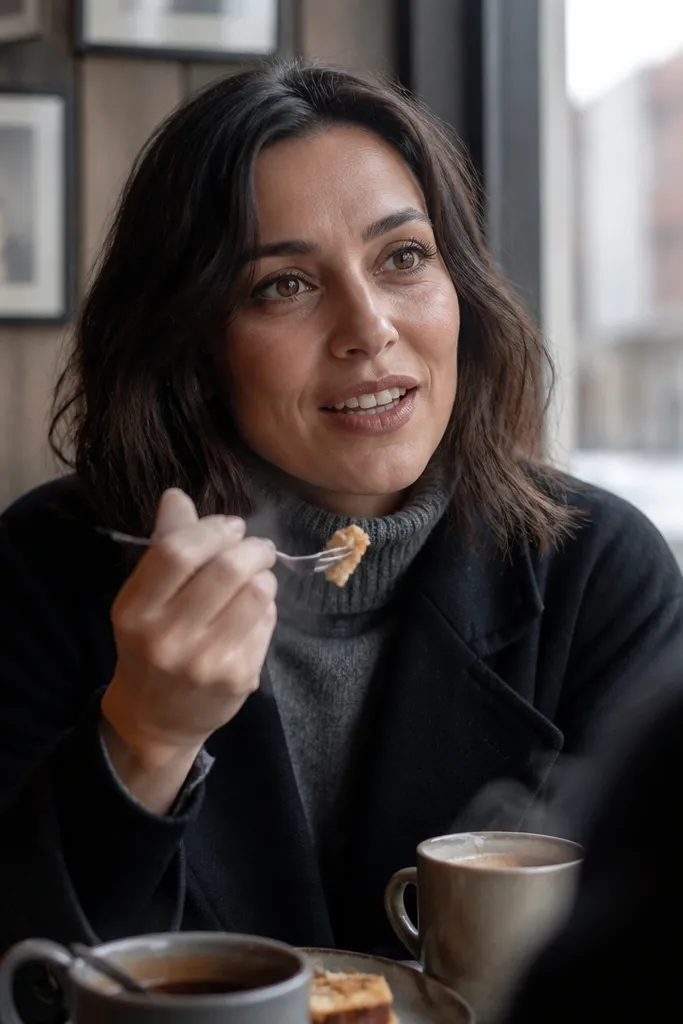
One-shadow looks can still be wedding-worthy when you nail placement. A rosy taupe wash gives brown eyes a soft rose warmth, then inner glow brightens the center so the eye looks awake. This works well for travel days when you want fast application and minimal cleanup. It’s also a good choice if your eyelids crease easily — the look is simple, so there’s less product to bunch.
Start by sweeping rosy taupe across the lid and into the crease with a fluffy brush, keeping it light. Add more pigment only at the outer half, then blend downward slightly to soften. Press a pale champagne highlight at the inner corner and along the upper lash line, then apply mascara and keep liner minimal.
If it creases, set the lid lightly with a matching powder — don’t add more shimmer.
Avoid layering too many shades; the look stops looking natural.