
1. Champagne Lid with Espresso Lash Line
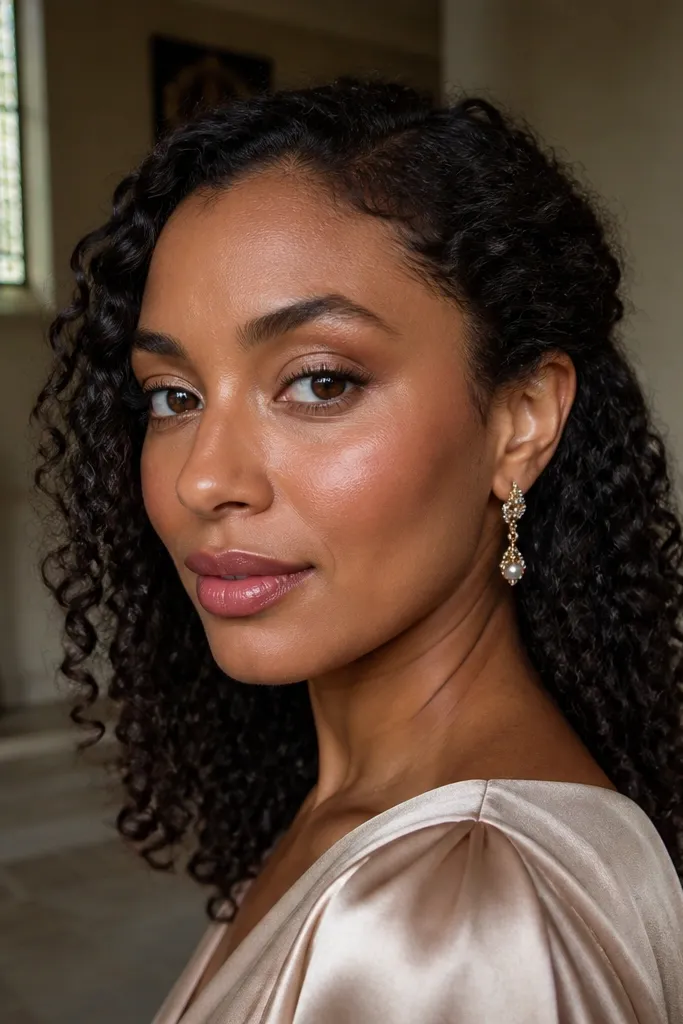
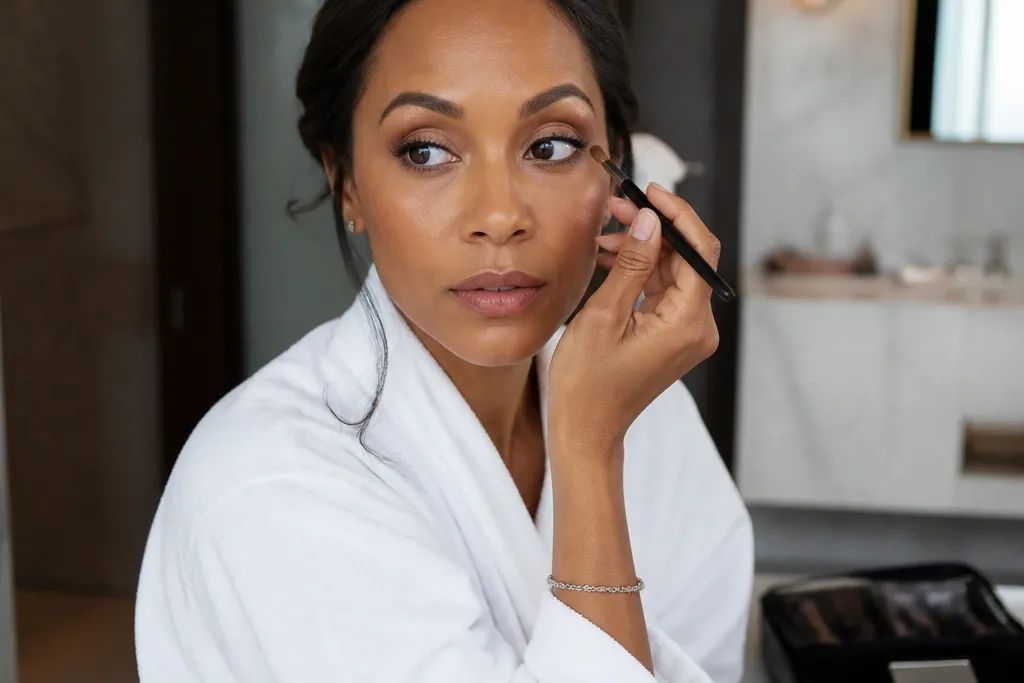
This one makes brown eyes look awake without turning you into a disco ball. The champagne lid reflects light in a clean, bridal way, while the espresso lash line adds the photo-ready definition that brown eyes naturally need. It works especially well for classic gowns and neutral palettes because the colors sit close to your skin tone but still create shape. If your venue lighting is warm, the champagne reads flattering instead of icy. It’s also a smart choice when you want something quick that still looks “done” in close-up photos.
Start by applying a thin layer of primer, then pat a champagne shadow across the lid up to the crease. Next, use an espresso pencil or gel liner on the upper lash line and smudge only the outer third with a small brush. Finish with a tiny highlight in the inner corner and under the brow bone, then tightline the upper waterline for extra depth.
Sharpen your espresso pencil right before you start so the line stays crisp and fast.
Avoid thick winging — it takes longer and can look harsh on brown eyes.
2. Rose Taupe Soft Smoky Crease
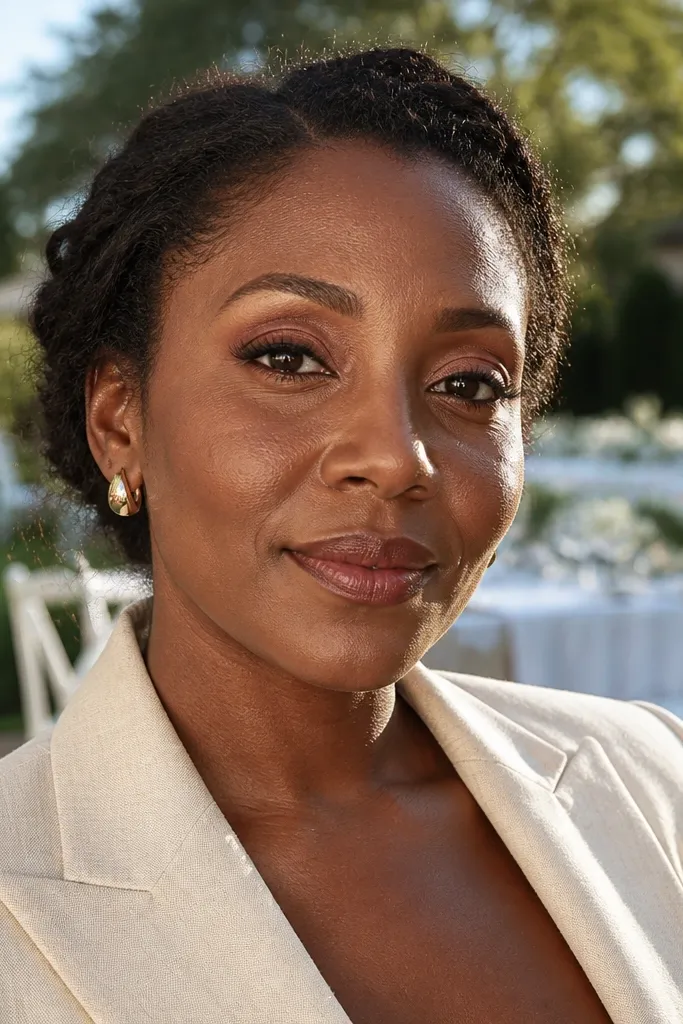
Start with a nude or pale beige shadow on the lid, then tap rose taupe into the crease and blend outward with a smudge brush. Add a deeper taupe on the outer corner only, then blend the edges until there’s no hard line. Tightline the upper lashes and finish with a light inner-corner highlight to brighten the eye.
This look is for brides who want romance without the drama. The rose taupe crease gives a lifted, blended shape, and the smoky outer corner adds depth that shows up in portraits. Brown eyes benefit from taupes because they don’t fight your natural warmth, and the rose note keeps everything from looking flat. It’s a strong pick for indoor ceremonies where you’ll be under warm chandeliers and flash. The result reads soft in person but still defined when the camera hits.
Skip thisDon’t add black liner — it can look too heavy and steal the softness.
Quick tipBlend with small circular motions, not back-and-forth strokes — it prevents patchiness.
3. Deep Plum Cut Crease in Minutes
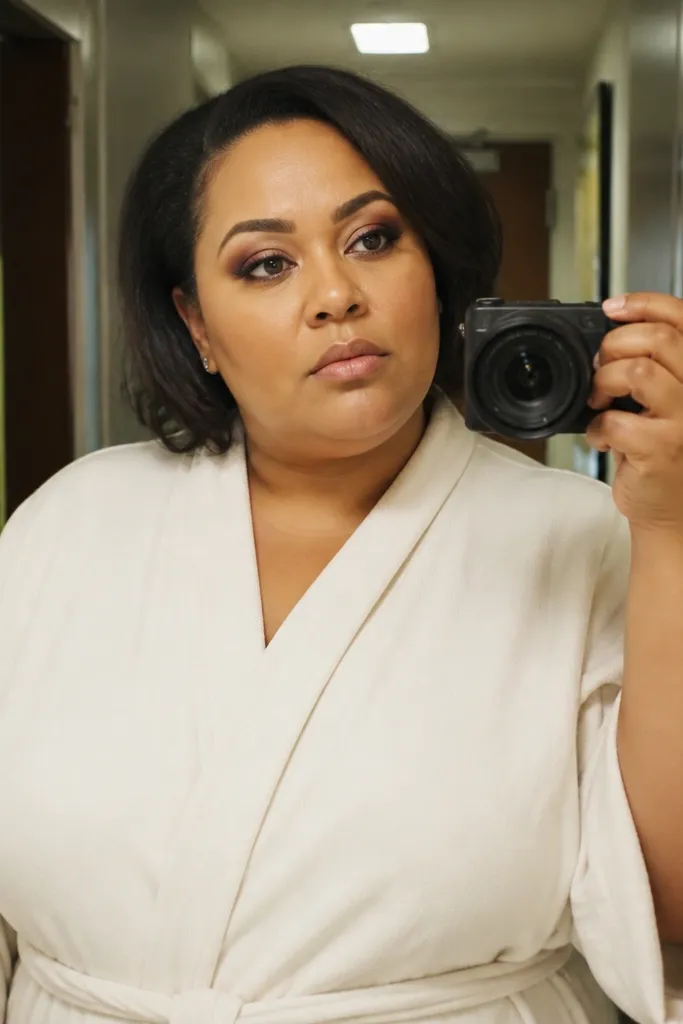
Apply primer, then place a light neutral shadow on the lid up to where you want the cut line. Use a flat brush with deep plum shadow to draw a sharp line slightly above your natural crease, then blend only the outer edge. Clean up the cut with concealer on a small brush, then add a shimmery highlight at the inner corner and a thin plum line along the upper lash line.
A cut crease is the fastest way to look polished because it creates structure immediately. Deep plum makes brown eyes pop, especially when the lid is kept lighter and the crease edge stays sharp. This look photographs like you spent time, even if you didn’t. It works beautifully with satin fabrics, velvet, and darker dresses because the plum mirrors that richness. If you want a modern bridal eye that still feels romantic, this is it.
Skip thisAvoid going too wide with the cut line — it can shrink the eye on camera.
Quick tipUse concealer to sharpen the cut — it’s faster than trying to blend plum into a perfect edge.
4. Bronze Halo with Tightline Spark
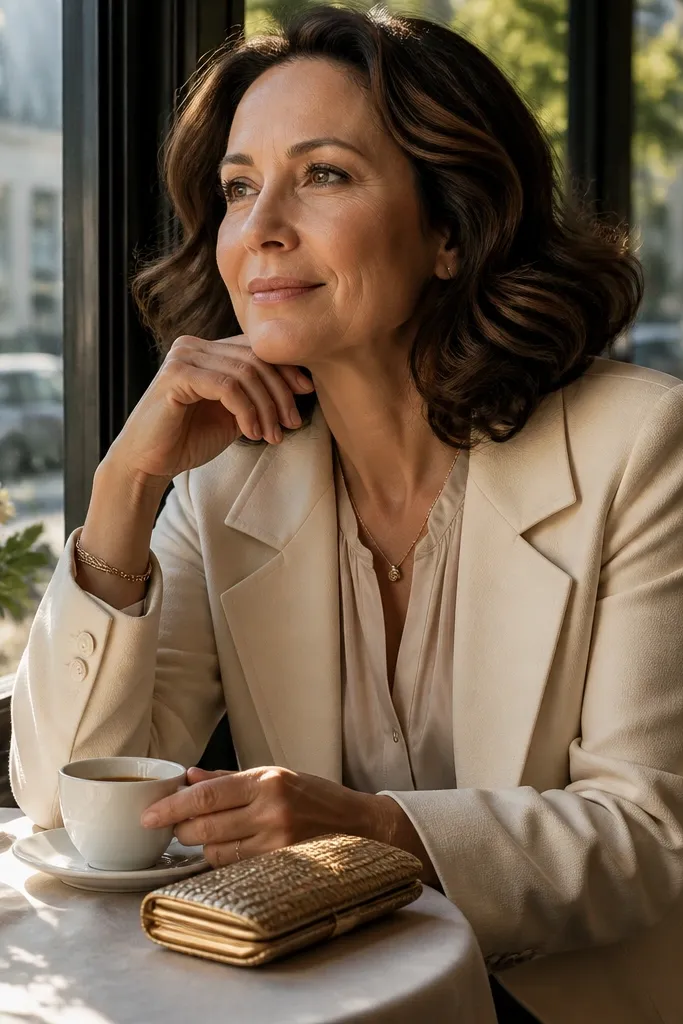
The halo shape pulls attention to the center of your eye, which makes brown irises look bigger in photos. Bronze is flattering because it matches the warmth in brown eyes and gives that bridal glow without looking neon. Tightlining adds a clean lash density effect, so your eye looks framed even if your wedding makeup is otherwise minimal. This is a great choice if your dress is warm-toned, like ivory with gold undertones or champagne satin. It also looks gorgeous with a soft updo because the eye remains the focal point.
Start with a medium bronze shadow across the lid, then deepen the outer and inner edges with a darker bronze-brown. Leave the center slightly lighter so it creates the halo effect. Tightline the upper lash line with a brown-black pencil, then add a tiny shimmer in the inner corner and the center of the lower lid. Blend the halo edges with a smudge brush so it looks intentional, not striped.
Tap off your brush before applying shimmer — it keeps fallout off your cheeks.
Skip full-face glitter — it can make bronze look messy under flash.
5. Smudged Espresso Pencil with Nude Lid
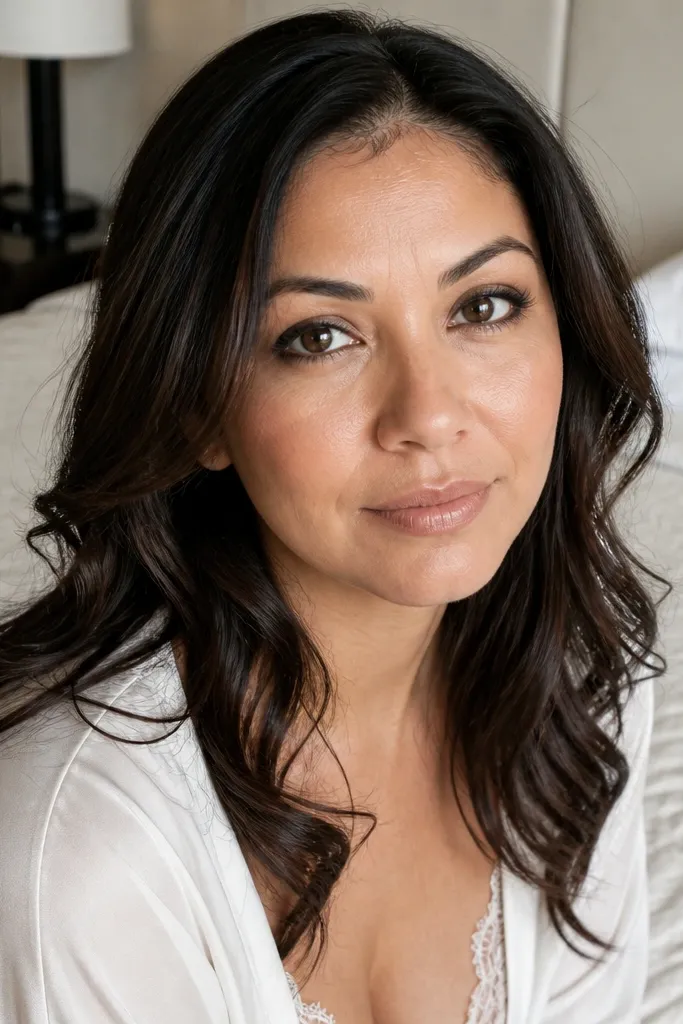
This is the “I need it done fast” look that still looks expensive. A smudged espresso pencil creates depth and shape instantly, and the nude lid keeps it bridal and light. Brown eyes look extra defined because the pencil sits close to the lash line instead of floating above it. It works for both formal and casual wedding aesthetics because the palette stays neutral. If you want minimal steps and maximum definition, this is the one.
Prime the lid, then draw an espresso pencil close to the upper lashes from the inner corner to the outer third. Smudge only the outer third with a brush, then pat nude shadow over the lid to soften the pencil edge. Add a whisper of the same espresso pencil on the lower outer lash line, blend once, and finish with mascara. For extra brightness, place a small dot of highlight in the inner corner.
Use a pencil that smudges easily — hard-wax pencils drag and take longer.
Don’t smudge the whole lash line — it blurs shape and can make your eyes look smaller.
6. Cocoa Brown Shadow with Peach Inner Corner
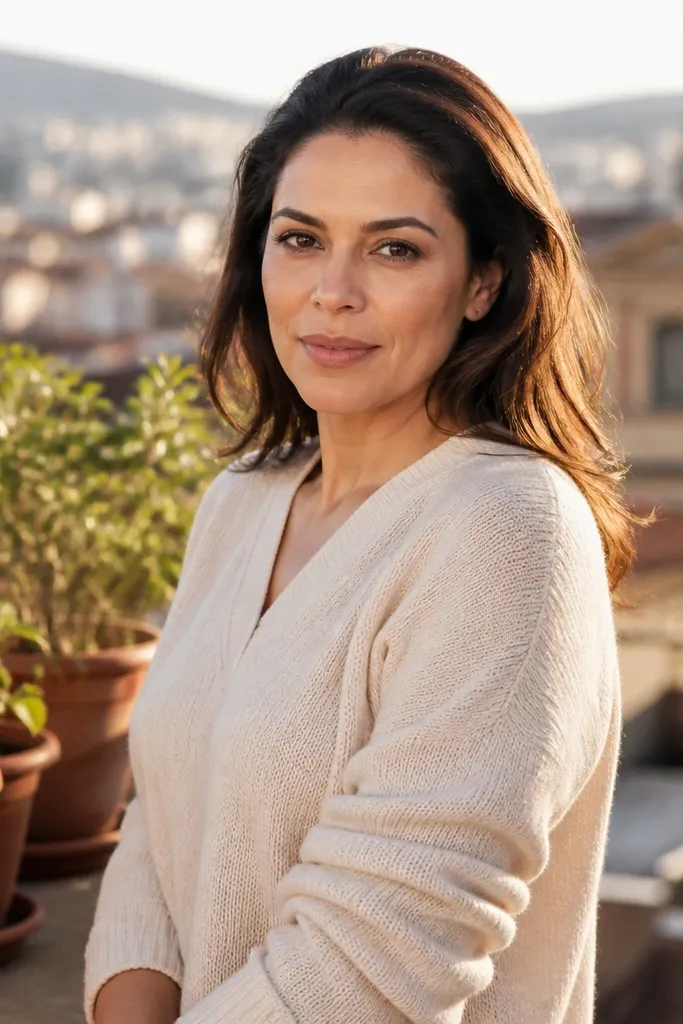
Start by applying cocoa brown shadow across the lid and into the crease lightly, blending upward and outward. Add a deeper cocoa on the outer corner to frame the eye, then keep the center lid a touch lighter. Use a small flat brush to place peach shimmer or satin at the inner corner and lightly on the upper inner lash line. Finish by smudging a brown pencil at the upper lash line and applying mascara.
Cocoa brown gives you soft depth, and a peach inner corner makes brown eyes look warmer and brighter. It’s especially flattering for brides with warm undertones and for weddings in late afternoon light. The key is contrast: keep the lid cocoa, then add peach where the eye naturally catches light. This look is photogenic because the inner corner spark is where cameras register “awake.” It also pairs well with neutral lip colors and light blush without clashing.
Skip thisAvoid cool mauve inner corners if your venue lighting is warm — it can look dull.
Quick tipUse peach only on the inner corner, not the whole lid — it stops the eye from looking washed out.
7. Classic Black-Brown Wing with Champagne Pop
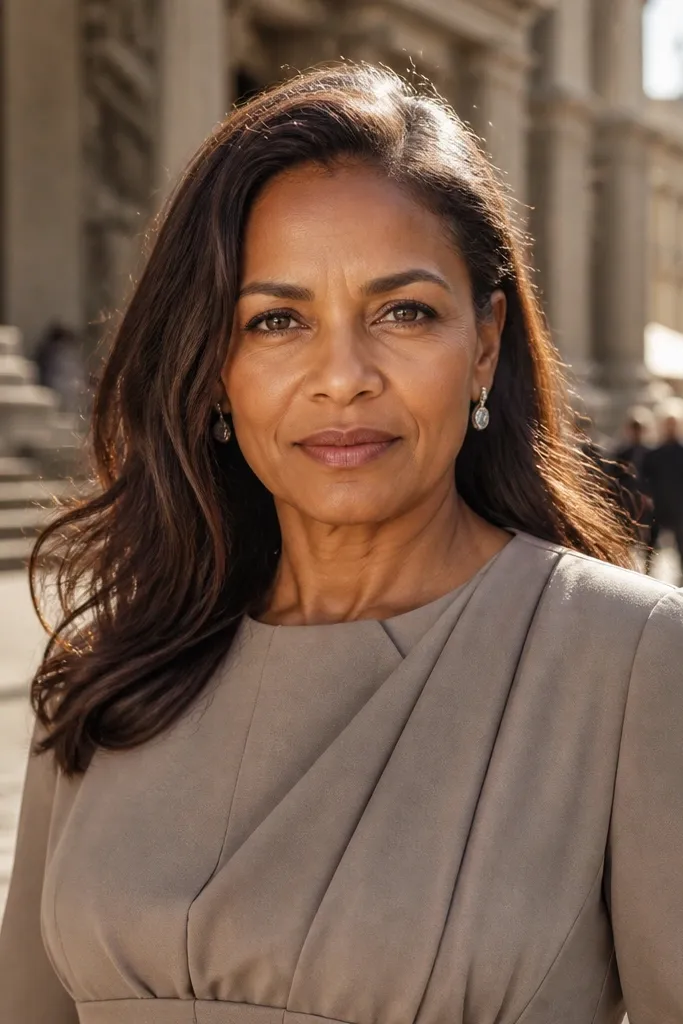
Prime your lid, then apply a thin coat of nude-beige shadow as a base. Use a liquid or gel liner to draw a tight lash line first, then extend a small wing that follows your lower lash line direction. Set the wing with a matching black-brown powder shadow if your liner transfers. Add champagne highlight to the inner corner and a thin line of liner on the lower outer lashes, then finish with mascara.
A black-brown wing is the fastest way to look pulled together because it instantly lifts the eye shape. Instead of going fully black, the black-brown tone looks softer on brown eyes and reads more bridal in daylight. Champagne pop at the inner corner keeps the eye bright and avoids the “angry liner” effect. This is a strong choice for formal ceremonies and for brides who want a clean, crisp aesthetic. Photos look sharp because the wing gives the camera a clear line to focus on.
Skip thisSkip heavy smoky shadow under the wing — it can make the line look blurry.
Quick tipKeep the wing short — a short wing looks better in flash than a long one that drags the eye down.
8. Gold Bronze Spark on the Lid Edge
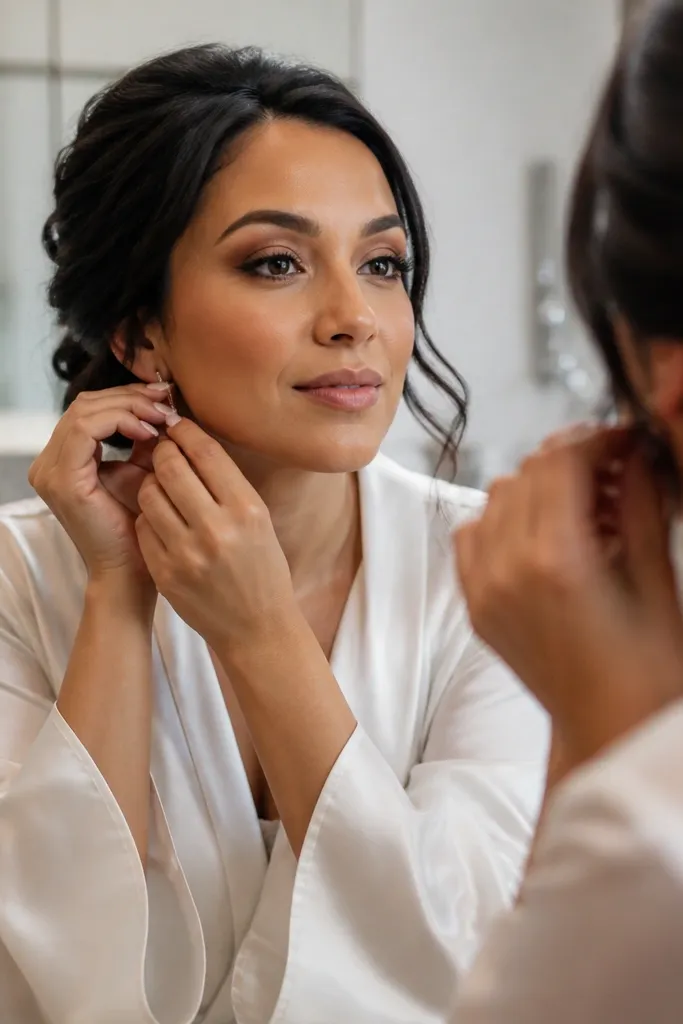
This look is for brides who want sparkle that looks intentional, not scattered. The gold bronze shimmer is concentrated along the lid edge so it catches light when you blink and move. A soft brown crease keeps it grounded and wearable for a wedding day. Brown eyes look extra luminous because the gold sits right against your natural warmth. It’s also great if you’re wearing a veil or hair pinned back since the eye is the only place for shine.
Start with a matte light brown in the crease, blended outward and slightly up. Pat a nude shadow on the lid, then press gold bronze shimmer only on the outer lid edge and slightly toward the center. Use a small brush to soften where shimmer meets nude so there’s no harsh border. Tightline with a brown pencil, then add mascara and a tiny inner-corner highlight.
Use your finger for shimmer placement — it sticks faster and looks smoother.
Don’t apply shimmer all the way to the inner corner — it can exaggerate texture and creasing.
9. Soft Smoky Lower Lash Focus
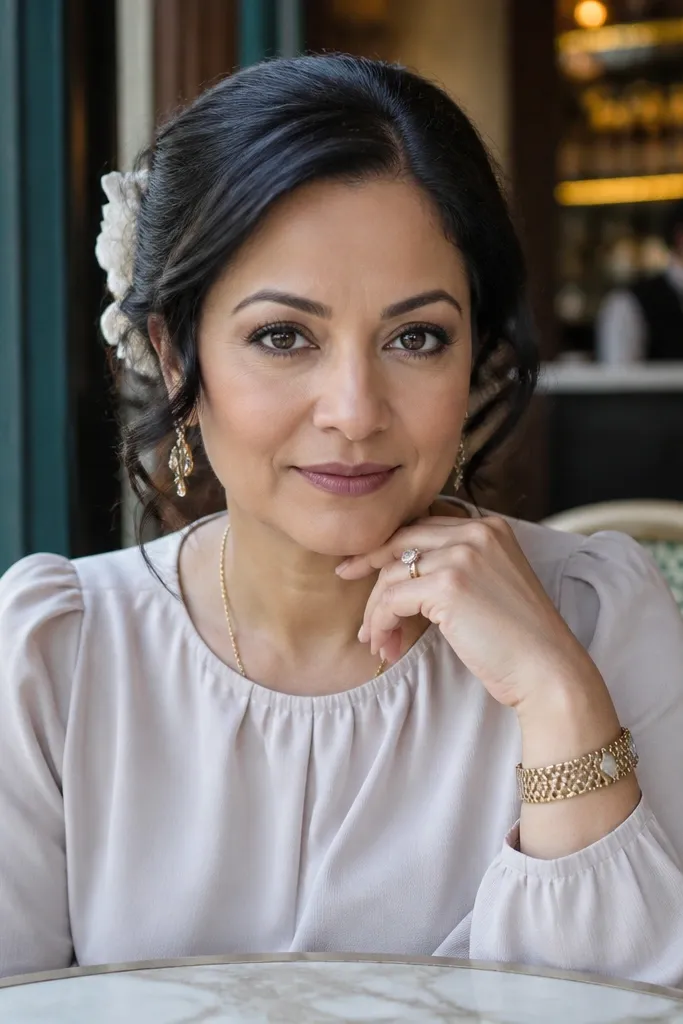
This is a smart trick when your upper lid feels “too busy” or you don’t want a strong crease. The focus is on the lower lash line, where you can add depth without making the eye feel heavy. Brown eyes look extra defined because lower shading frames the iris and makes it look sharper. This look is perfect for brides wearing statement earrings because it keeps the eye balanced. It also photographs well because the lower line shows up clearly in close shots.
Prime the lid, then keep the upper lid simple with a matte nude or light beige shadow. Use a brown pencil to line the lower lash line, then smudge it gently with a small brush. Add a deeper brown shadow on the outer half of the lower lash line for dimension. Finish with mascara on the top lashes and a lighter coat on the lower lashes, then place a highlight at the inner corner.
Use a cotton swab to clean fallout before you move to cheeks and lips — it saves time.
Avoid going too dark on the lower inner corner — it can make the eye look tired.
10. Bronze Wing + Feathered Outer Corner
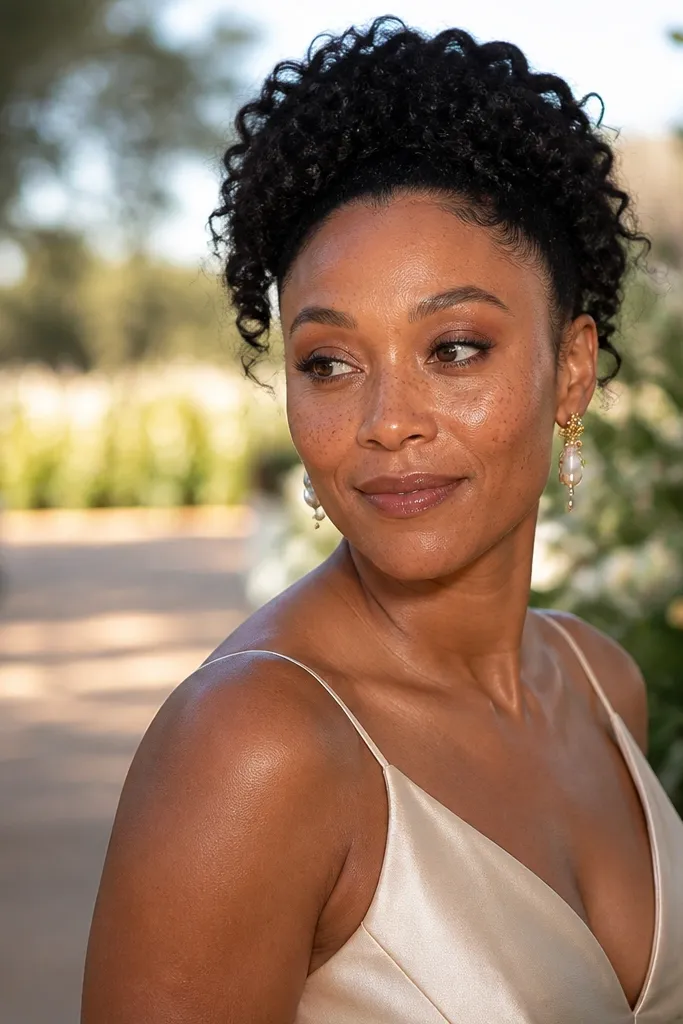
This look gives you that “brushed-up” bridal effect without spending time on full smoky blending. The bronze wing is softer than black and looks flattering on brown eyes, while the feathered outer corner adds a lifted, airy finish. It’s ideal for outdoor weddings because bronze holds up beautifully in natural light. The feathering also helps the eye look bigger rather than boxed in. If you want an aesthetic that reads romantic and slightly editorial, this is the move.
Prime, then apply a nude shadow on the lid and lightly in the crease. Draw a bronze-brown wing using a gel liner, keeping the wing thin at the start and thicker at the outer tip. Press a medium bronze powder over the outer corner to feather the edge so it blends into skin. Add inner-corner highlight, then tightline the upper lash line and finish with mascara.
Feather by pressing powder, not rubbing — it keeps the line smooth.
Skip dark shadow under the wing — it makes the wing look heavy and older.
11. Taupe Smoke with Pearl Inner Glow
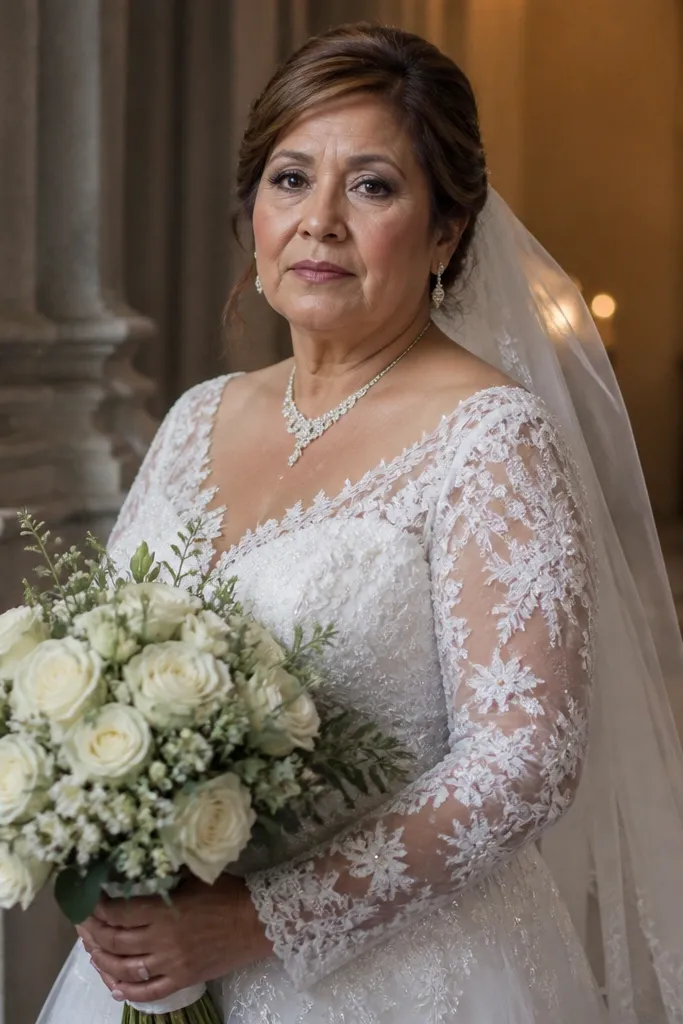
Taupe smoke is flattering because it adds depth while still reading soft and bridal. Pearl inner glow brightens the eye without looking like chunky glitter. Brown eyes pick up the pearl highlight and look more dimensional, especially in flash photos. This look works for silver-tone jewelry and cooler dress accents because taupe doesn’t clash. It’s also a good option if you want a “clean smoky” look that won’t smudge into a full mess.
Start with a matte taupe in the outer crease and blend inward halfway, leaving the inner lid lighter. Add a slightly deeper taupe on the outer corner and blend the edge. Apply a cream or satin pearl shade at the inner corner and along the brow bone. Line the upper lash line with a brown pencil, smudge once at the outer corner, and finish with mascara.
Use a cream pearl shadow if your eyelids crease — it stays put longer than powder.
Avoid black smoke — taupe gives the bridal effect without harshness.
12. Mauve-Brown Monochrome Lid
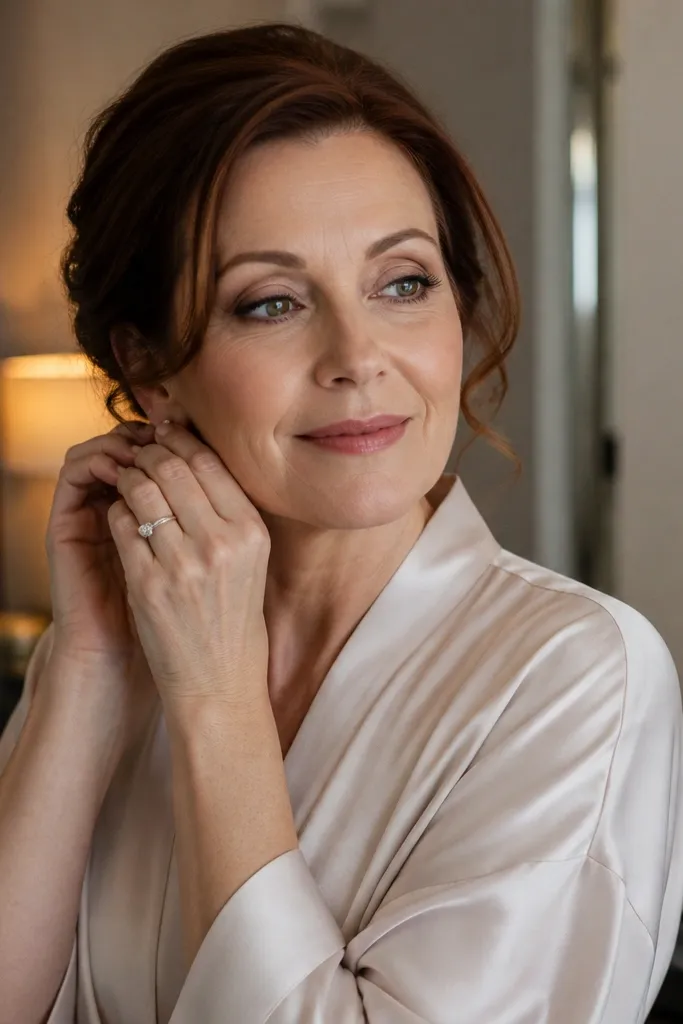
Prime the lid, then pat a mauve-brown shade across the lid and stop just before the inner corner. Use a deeper mauve-brown in the crease and outer corner, blending until there’s no hard edge. Add a light champagne highlight to the inner corner and a thin line of brown pencil along the upper lash line. Finish with mascara and keep the lower lash line light with only a touch of pencil at the outer half.
Monochrome eyes are fast because you’re working within one color family. Mauve-brown flatters brown eyes by adding a slightly cool note that still feels wedding-appropriate. The trick is using two depths: one for the lid, one for the crease and outer corner. This look reads cohesive in photos and pairs well with nude lips and soft blush. It’s also a great choice if you’re wearing a busy neckline and want your eye makeup to stay clean.
Skip thisAvoid skipping the crease shade — monochrome without depth looks flat.
Quick tipPick one mauve-brown palette and stick to it — monochrome looks messy when you mix too many undertones.
13. Olive Bronze Twist with Inner Lime Pop
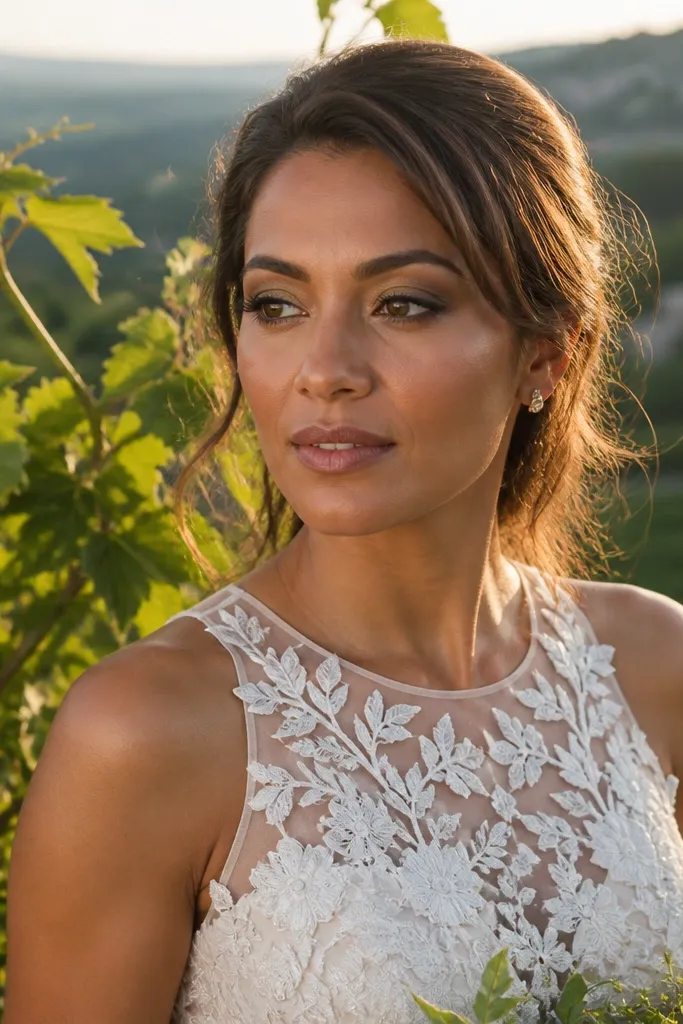
Prime your lid, then apply olive bronze shadow across the lid and blend lightly into the crease. Deepen the outer corner with a darker brown-green shade, then blend the edge with a clean brush. Use a tiny amount of light shimmer at the inner corner and lightly touch it to the inner upper lash line. Add brown-black pencil tightline on top, then mascara and a light lower lash smudge only at the outer third.
This look is for brides who want something different without going full colorful. Olive bronze adds a unique depth that makes brown eyes look richer, and a tiny bright inner corner pop draws attention to the iris. It reads editorial and photogenic, especially with warm lighting and greenery-heavy venues. The key is keeping the bright accent small so it looks like light, not like a random color. If you’re wearing a satin dress with a warm green or gold accessory, this will match beautifully.
Skip thisAvoid covering the whole lid with the bright accent — it turns the look into a costume.
Quick tipKeep the inner pop smaller than you think — it should look like a highlight, not a second shadow.
14. Cool Taupe Smoky Wing
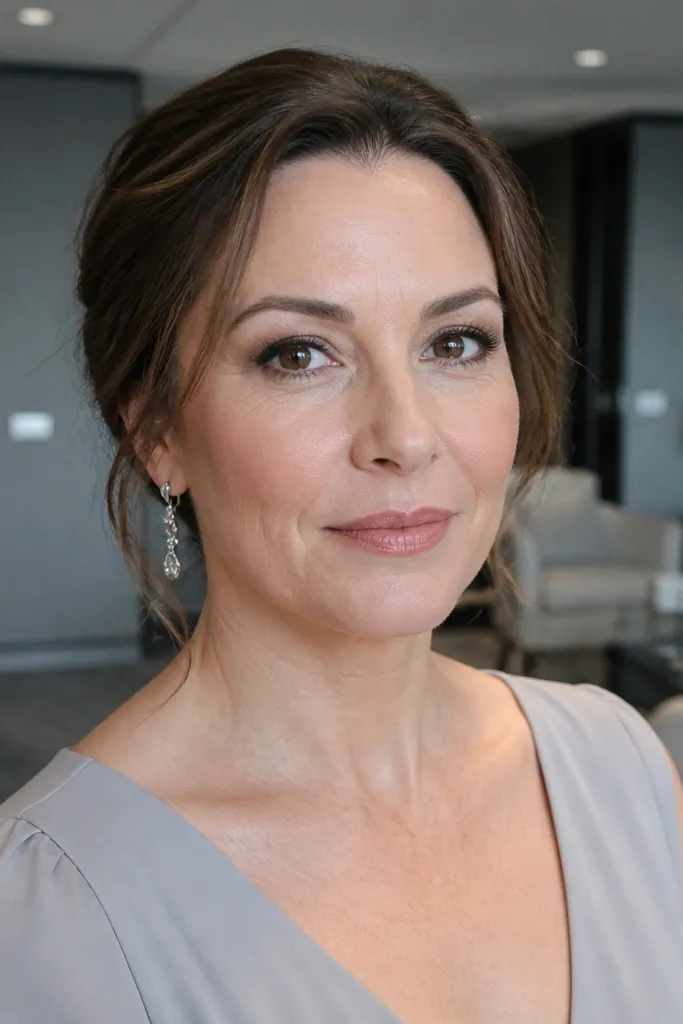
Prime, then apply a matte cool taupe in the crease and outer third. Use a gel liner to draw a wing, then blur the edge with a small brush so it looks smoky, not graphic. Press a matching taupe shadow over the wing line to set it and prevent smudging. Add an inner-corner highlight and tightline with a brown pencil, then mascara.
Cool taupe makes brown eyes look crisp and defined, especially under cool indoor lighting. The smoky wing gives shape without the starkness of black liner. It’s a flattering choice if your dress has silver accents or your jewelry is cooler-toned. The blend keeps it bridal, while the wing keeps it lifted and camera-friendly. This is a good pick when you want something “pretty first, dramatic second.”
Skip thisSkip warm orange tones in the crease if your lighting is cool — they can make taupe look muddy.
Quick tipSet the wing with shadow — it keeps the wing intact during tears and hugs.
15. Soft Brown Cut Crease with Nude Lid
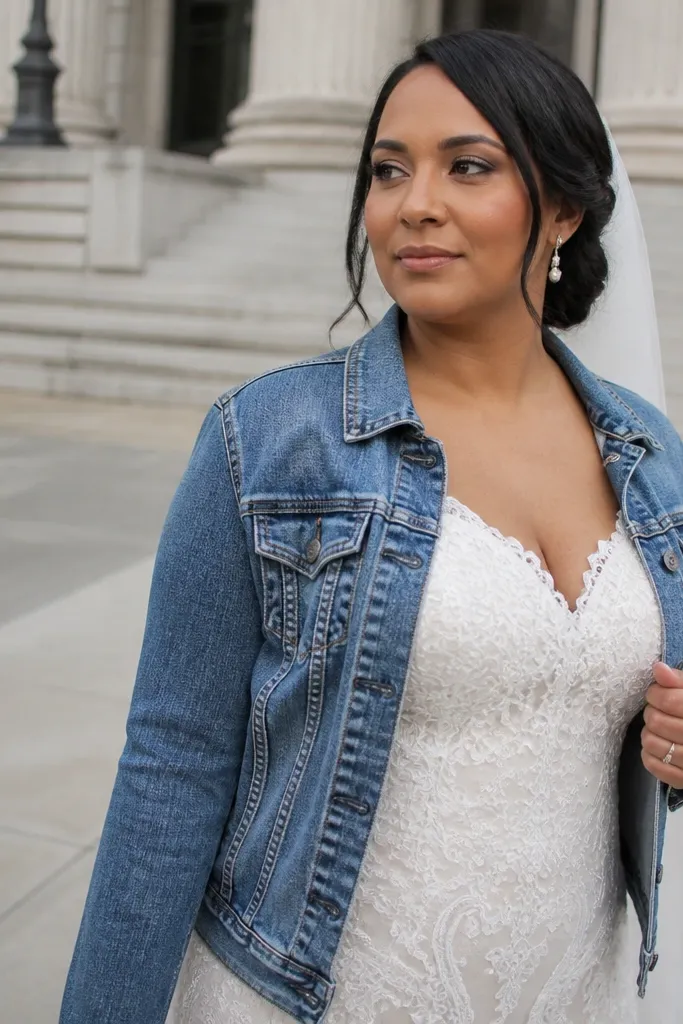
If you want the cut-crease look but not the sharp, heavy version, this is the middle ground. A soft brown cut gives structure while staying wearable for a daytime ceremony. Brown eyes love this because the depth stays close to your lash line and crease, which defines without overwhelming. It also looks clean with minimal base makeup and a natural lip. Under flash, the defined crease reads like a “lift,” even if you’re not doing a heavy smoky eye.
Prime the lid, then apply a nude shadow base across the lid. With a flat brush, draw a soft cut line using medium brown shadow just above your natural crease, then blend the edge lightly upward. Clean up the lower edge of the cut with concealer so the line looks intentional. Add inner-corner highlight, then tightline the upper lash line and apply mascara.
Use concealer only to clean the line — don’t spread it as a full base or you’ll lose speed.
Avoid blending the cut line too much — you lose the shape that makes it look “done.”
16. Matte Nude Lid with Espresso Outer V
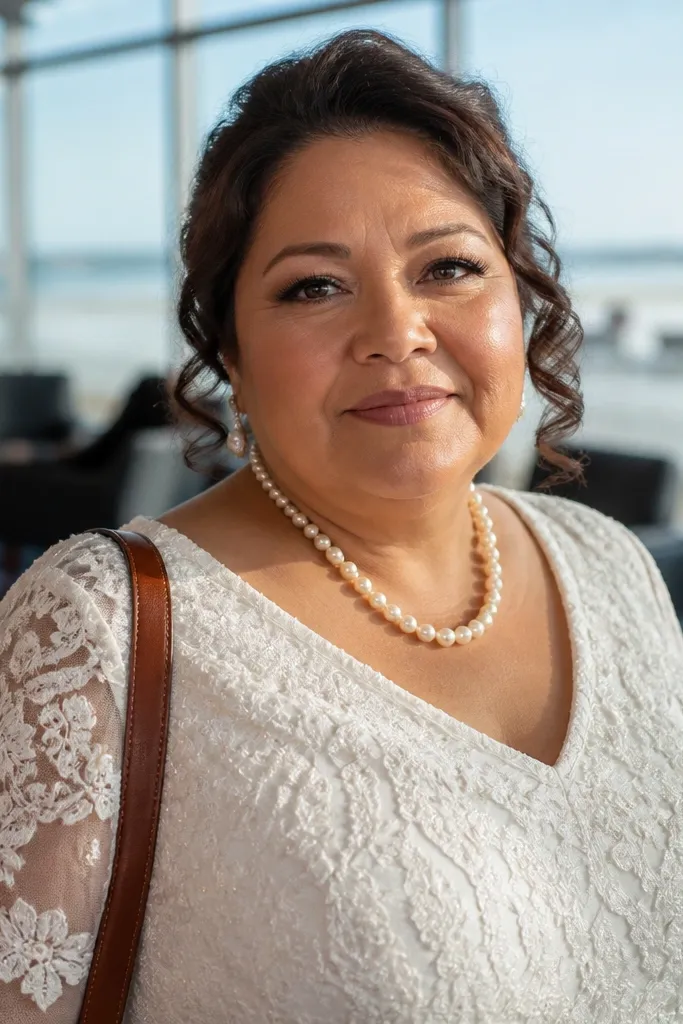
This is a flattering shape trick: the outer V creates lift and depth without needing a lot of product. Matte nude keeps your eye looking fresh, and espresso at the outer V frames brown irises in a way that shows up in photos. It’s perfect if you want to look polished but not overly shimmery. This look works for both daytime and evening because the matte base keeps it elegant and the outer V adds definition. It also pairs well with a bold lip because the eye stays structured.
Prime the lid, then pat matte nude shadow over the entire lid up to the crease. Use an espresso shadow to form a small V at the outer corner, blending the top point into the crease. Add a thin espresso pencil along the upper lash line and smudge only at the outer third. Finish with inner-corner highlight and mascara, keeping the lower lash line minimal.
Make the V smaller than you think — a tight V reads sharper on camera.
Avoid dragging espresso toward the center — it can make the eye feel smaller.
17. Satin Taupe Lid with Dark Brown Waterline
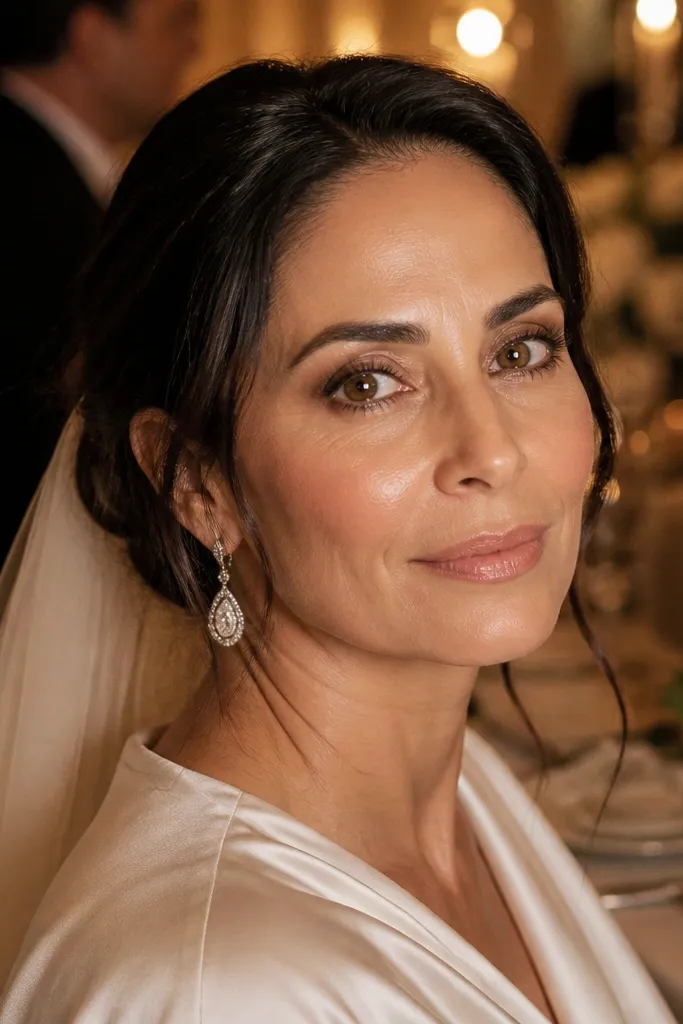
Prime the lid, then pat satin taupe shadow across the lid and blend into the crease lightly. Apply dark brown pencil to the upper waterline and keep it tight to the lashes. Use the same pencil to line only the outer half of the upper lash line, then smudge once. Add inner-corner highlight and mascara, and keep the lower line light with only a touch of taupe shadow on the outer corner.
Waterline definition is the shortcut that makes your eyes look fuller even when your makeup is light. Satin taupe on the lid adds a smooth, bridal sheen without glitter fallout. Dark brown on the waterline looks softer than black but still gives strong contrast for brown eyes. This look is ideal if you’re skipping heavy eyeshadow and want your lash line to do the work. It’s also a strong pick for humid venues because waterline products can stay put longer than loose liner.
Skip thisAvoid skipping primer — waterline definition looks uneven on creasy lids.
Quick tipUse a pencil labeled for waterline if you have it — it’s less likely to irritate and smear.
18. Golden Beige Halo with Thin Black-Brown Liner
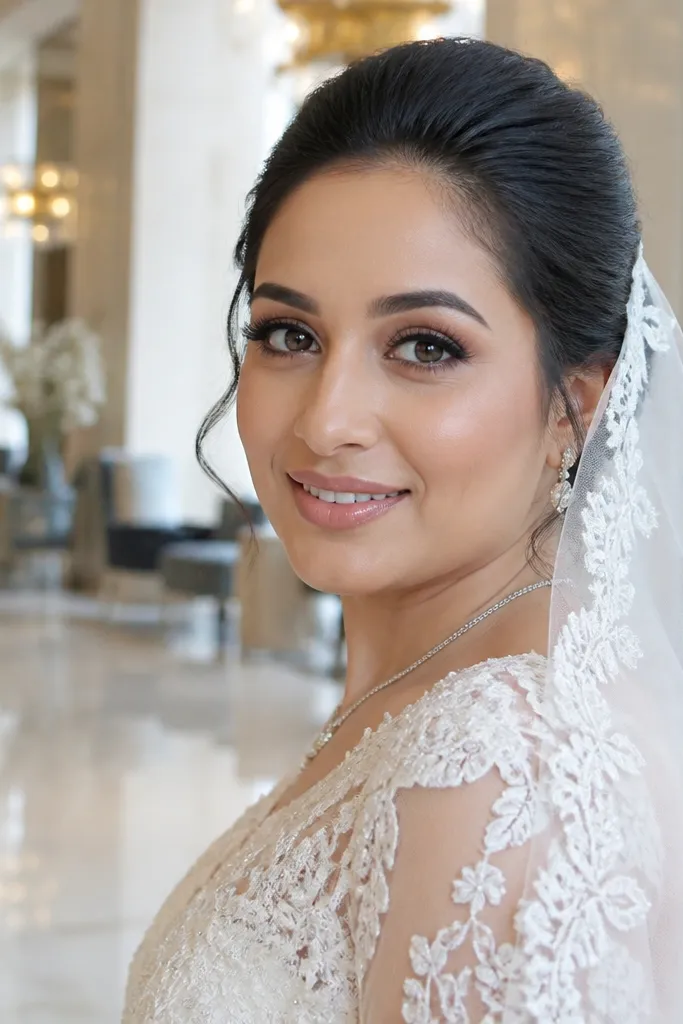
This look gives you that bridal glow without going full bronze. Golden beige creates a soft halo around the iris, which makes brown eyes look rounder and brighter in portraits. A thin black-brown liner adds crisp framing that cameras love, especially for close-up shots. It’s flattering for nearly every skin tone because the base color sits in the beige-gold family. If your dress is white-on-white and you want your eye makeup to be the only pop, this is a clean way to do it.
Prime, then pat golden beige shadow on the lid, leaving a slightly lighter center. Add a deeper warm brown to the outer corner and lightly blend toward the center to form a halo. Line the upper lash line thin with black-brown liner, then tightline if you want extra density. Finish with inner-corner highlight and mascara, keeping the lower lash line neutral.
Thin liner reads faster than thick liner — you’re buying impact with less product.
Avoid heavy lower lash liner — it can make the eye look tired.
19. Plum Brown Smoky Pencil on Top and Bottom
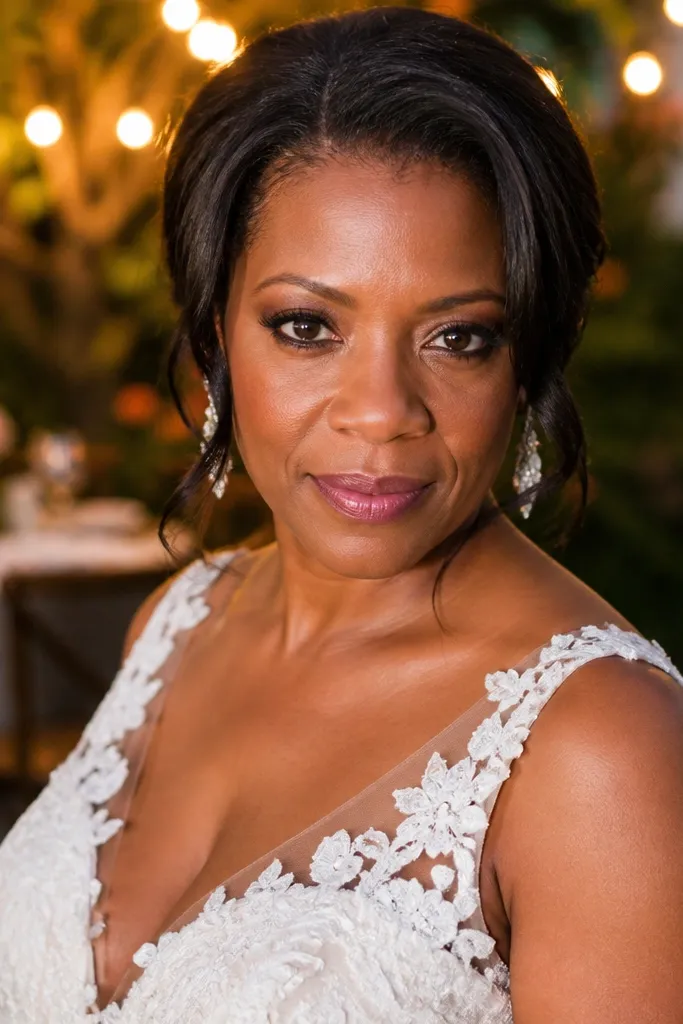
Plum brown is the happy medium between brown and berry — it looks romantic and it photographs with depth. Using a pencil on both top and bottom gives you a framed look even if you only apply one shadow shade. Brown eyes look richer because plum-brown contrast makes the iris color stand out. This look is great for evening receptions and for brides who want a stronger eye without a full smoky palette. It’s also forgiving if your blending isn’t perfect because the pencil texture hides edges.
Prime, then draw a plum-brown pencil along the upper lash line and smudge it outward with a brush. Add the same pencil to the lower lash line, focusing on the outer half, then blend once. Tap a matching plum-brown shadow lightly over the smudged areas to set and reduce transfer. Apply a small inner-corner highlight and finish with mascara.
Blend immediately after penciling — waiting makes it harder and patchy.
Avoid going too far into the inner corner on the lower line — it can close off the eye.
20. Cream Shadow Base with Cocoa Powder Over
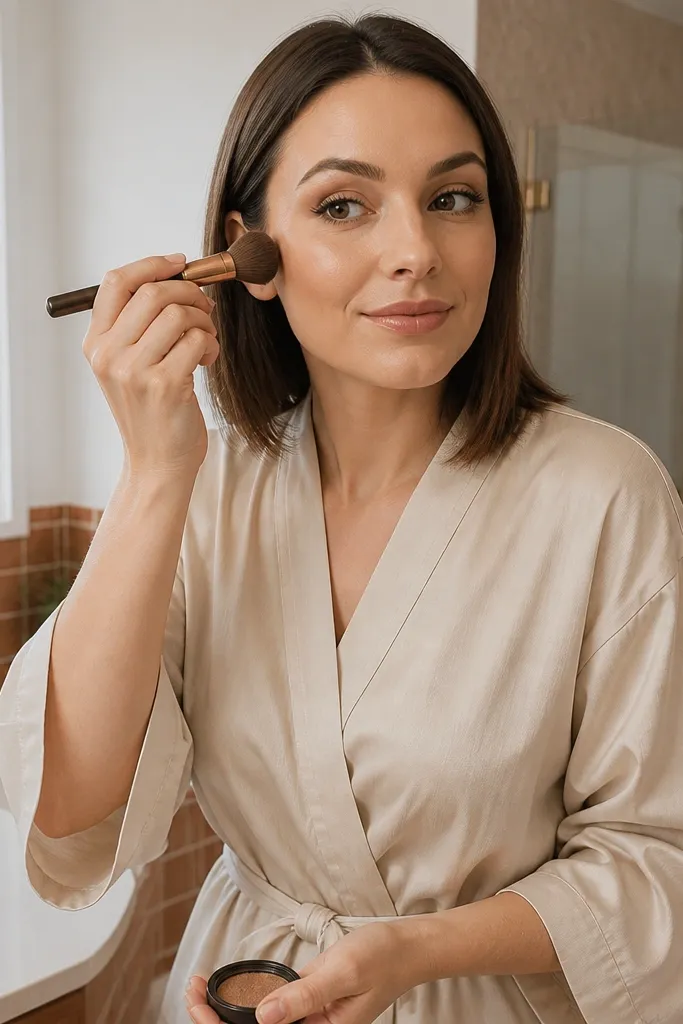
Prime your lid, then press a cream shadow base over the lid and lightly into the crease. Pat cocoa powder on the outer lid and crease, blending just enough to remove any harsh edge. Add a tiny highlight at the inner corner, then line the upper lash line with a brown pencil and smudge it slightly. Finish with mascara and a light touch of powder to set the shine if needed.
This is the speed-and-stay option. A cream shadow base locks in pigment quickly, then cocoa powder gives you the bridal depth and photo definition. Brown eyes look dimensional because the cream smooths texture and the powder adds shape. It’s a great choice for brides with lids that crease or get oily because the cream base reduces fade. This look also photographs well because the shadow looks smooth, not dry.
Skip thisAvoid skipping powder on top if you have oily lids — the look can slip.
Quick tipUse cream first so you don’t have to keep re-packing powder — it’s faster and cleaner.



