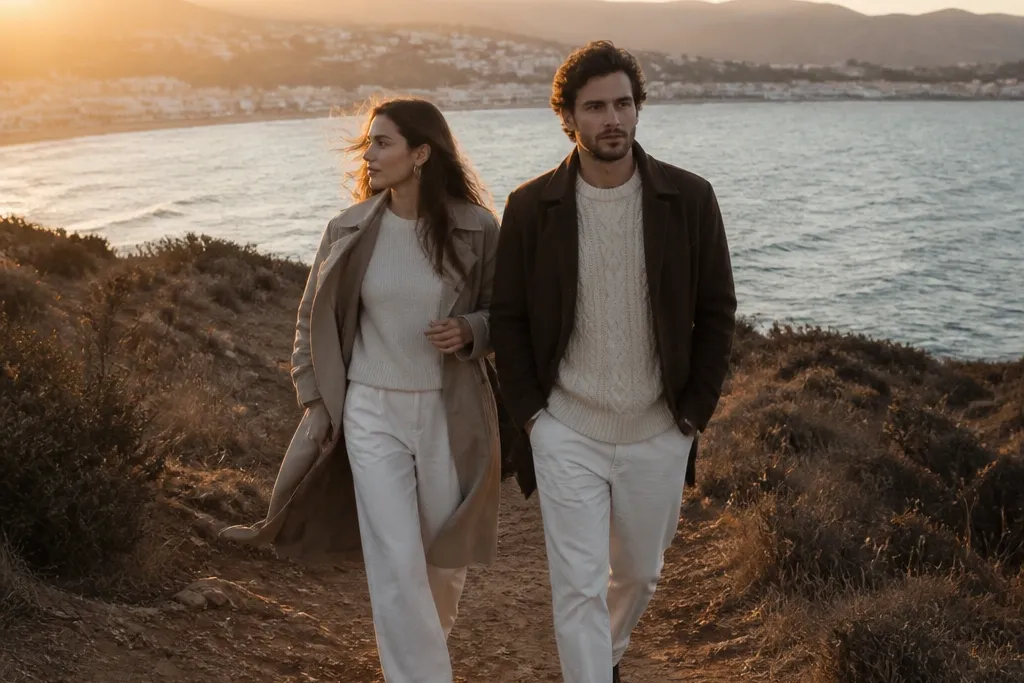
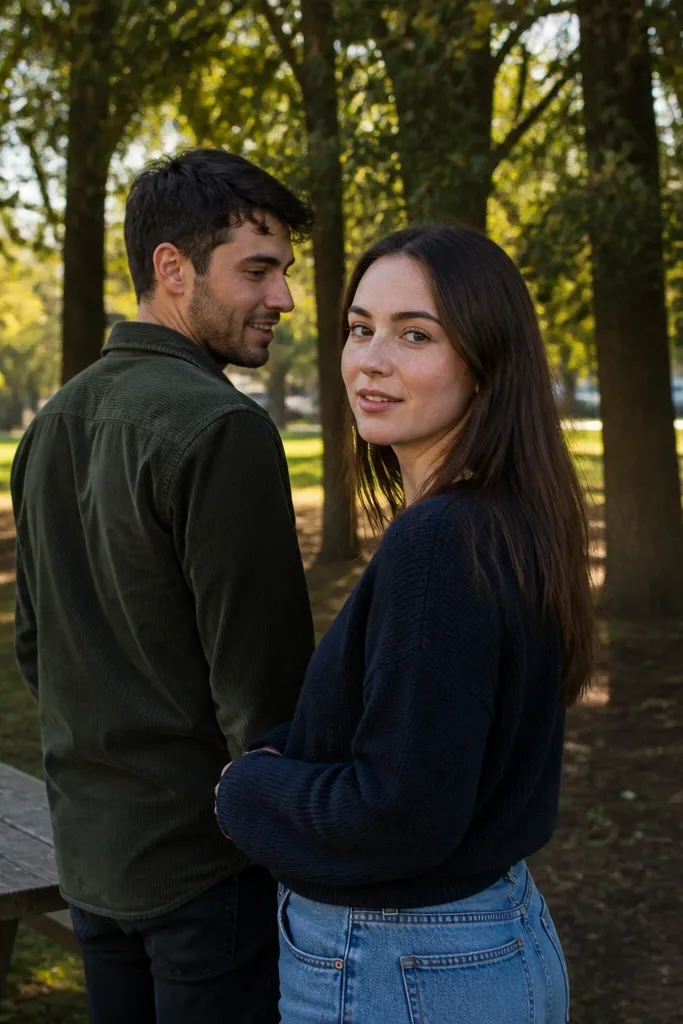
1. Wildflower field with a moving veil trail
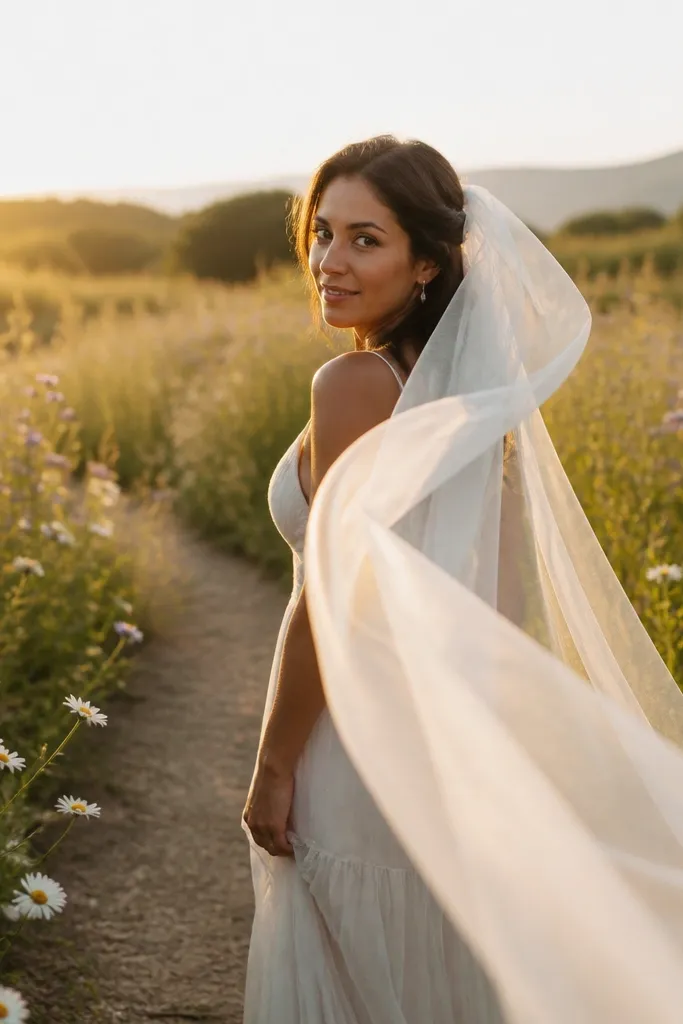
A wildflower field looks romantic, but it gets boring fast when everyone stands still. The version I’d recreate uses motion — you’re walking, turning, or slowing down while the veil catches air. That creates a photo with texture in the foreground and a soft blur behind you, so you get depth without editing heavy. Go for fields with mixed heights (tall stems plus shorter flowers) because they frame your bodies and make the bouquet pop.
Start at the edge of the field and pick a path line where the flowers part slightly. Then shoot during golden hour or 30 minutes before sunset so the stems glow and skin looks warm. Bring a small hand fan or ask your partner to gently move your veil once you’re in position, then keep walking for the whole burst. Keep your outfit colors simple — one neutral plus one accent — so the flowers don’t swallow your look.
Quick tipWear shoes you can wipe off fast. Tall-stem fields cling to everything.
Skip thisAvoid flat midday sun — it flattens faces and makes busy flower backgrounds look messy.
2. Stone staircase portrait with hand-on-rail symmetry
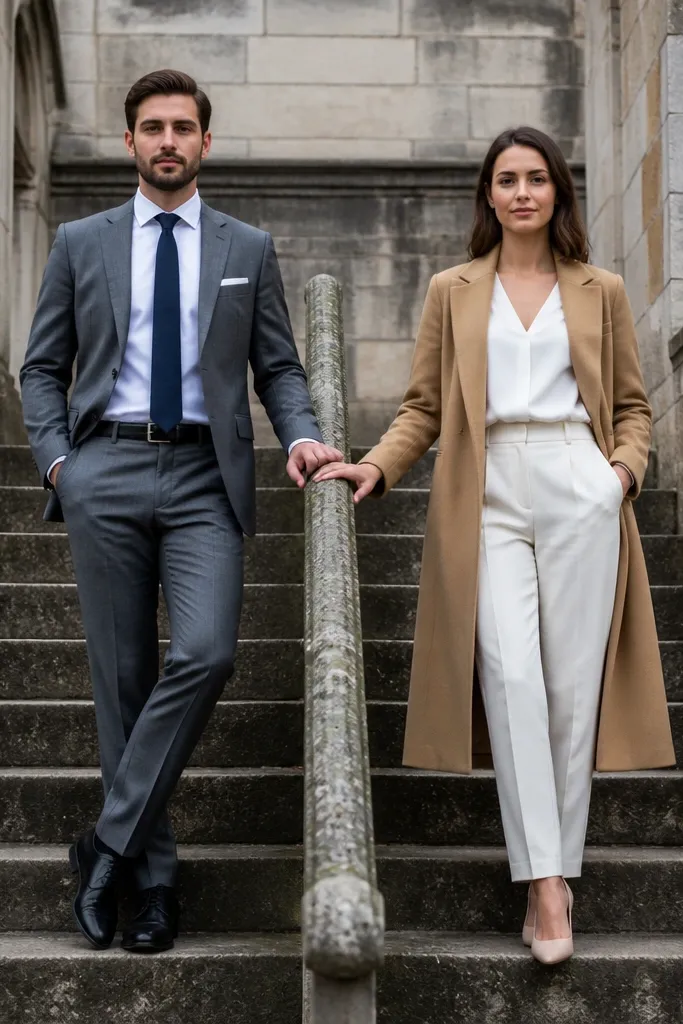
Stone staircases create instant architecture and strong leading lines. The aesthetic here is symmetry: both of you use the same rail height, and your bodies mirror each other while the stairs recede behind you. That makes the photo feel editorial even if you’re just standing and holding. Look for stairways with clean stone, not chipped clutter, and avoid steps that are too wide because you’ll look far apart in frame.
Find a staircase with a straight run and minimal distractions around it. Then position both hands at the rail at about waist-to-rib height and step into the same distance from the camera. Shoot from slightly below eye level for a flattering angle that emphasizes height. Spend 10 minutes adjusting your spacing so your heads land on the same horizontal line across the frame.
Quick tipIf the rail is cold or wet, warm your hands with fabric gloves or a quick sleeve touch so the moment looks natural.
Skip thisDon’t shoot from straight-on at eye level. It flattens the stairs and kills the leading-line effect.
3. Sunset lakeside with a jacket-sleeve wind moment
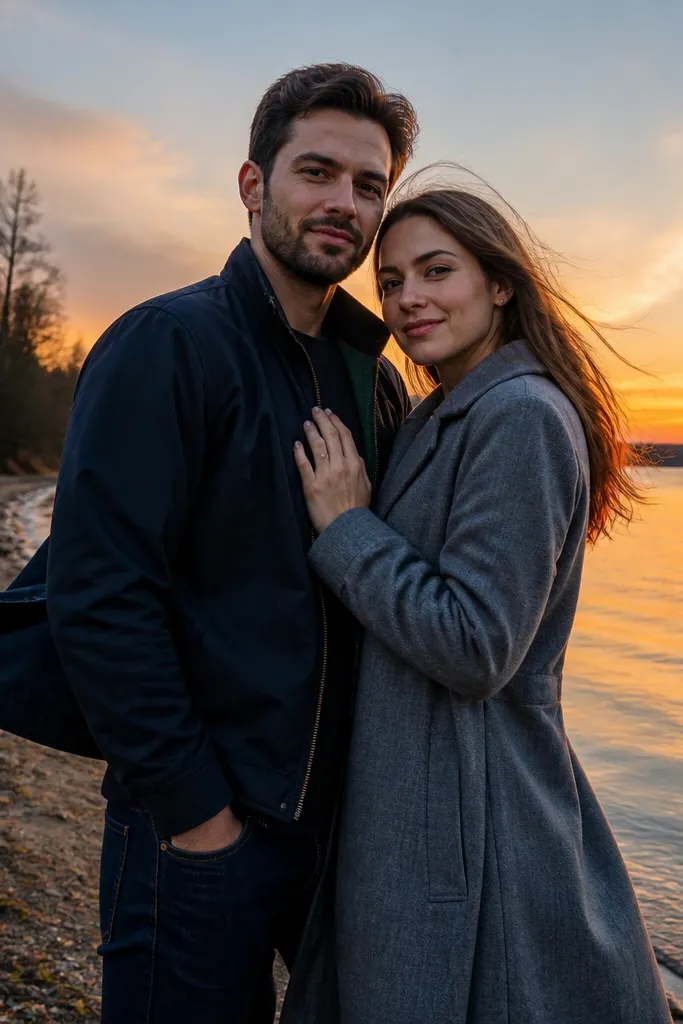
Water adds reflections, but lakeside photos go wrong when the background is too flat and the couple looks lost. This idea works because you use wind to create shape — your jacket sleeve lifts, your hair moves, and the water mirrors the movement. Choose a shoreline with a gentle curve or visible horizon line so the reflection has somewhere to land. Darker outerwear looks best against bright sky gradients.
Arrive 45 minutes before sunset and scout for a spot where the water is calm enough to reflect faces. Then stand at a slight angle to the camera, so one side of you catches the light and the other side falls into soft shadow. Have the person in the jacket lift and let the sleeve flutter once, then hold the still pose for the next few frames. End with one shot closer to the waterline where the reflection shows behind your legs.
Bring a microfiber cloth. Lake mist leaves spots on lenses and makes colors look dull.
Avoid choppy wind. It turns reflections into grainy noise and ruins the clean look.
4. Forest ferns under a canopy with slow spin
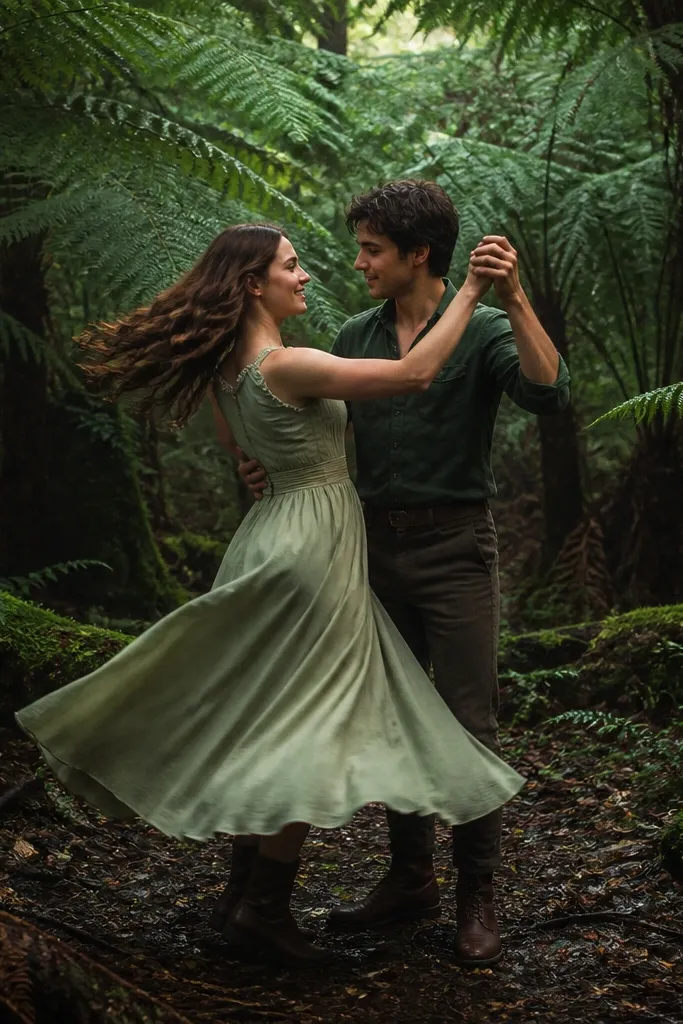
Fern-heavy forests look magical, but only if you control the background. The trick is to shoot under a canopy where light breaks into soft patches on the ground. That gives you that dreamy green glow without blowing out highlights. The slow spin pose creates separation — you get a moment of motion blur in hair and fabric, while your faces stay readable.
Pick a forest area with layered greens and a visible path through ferns. Then wait for a gap in the branches where sunlight hits the ground around knee height. Start the spin with your shoulders turned first, then let your feet pivot last so the face stays angled to camera. Shoot a quick burst as you complete the turn, then take one still frame immediately after.
Quick tipWear dark, matte clothing. Glossy fabric screams “daylight harshness” in forest light.
Skip thisDon’t stand on a bright patch of sun. Your faces will go shadowy-black while the ferns look overexposed.
5. Lavender rows with a face-to-camera pause
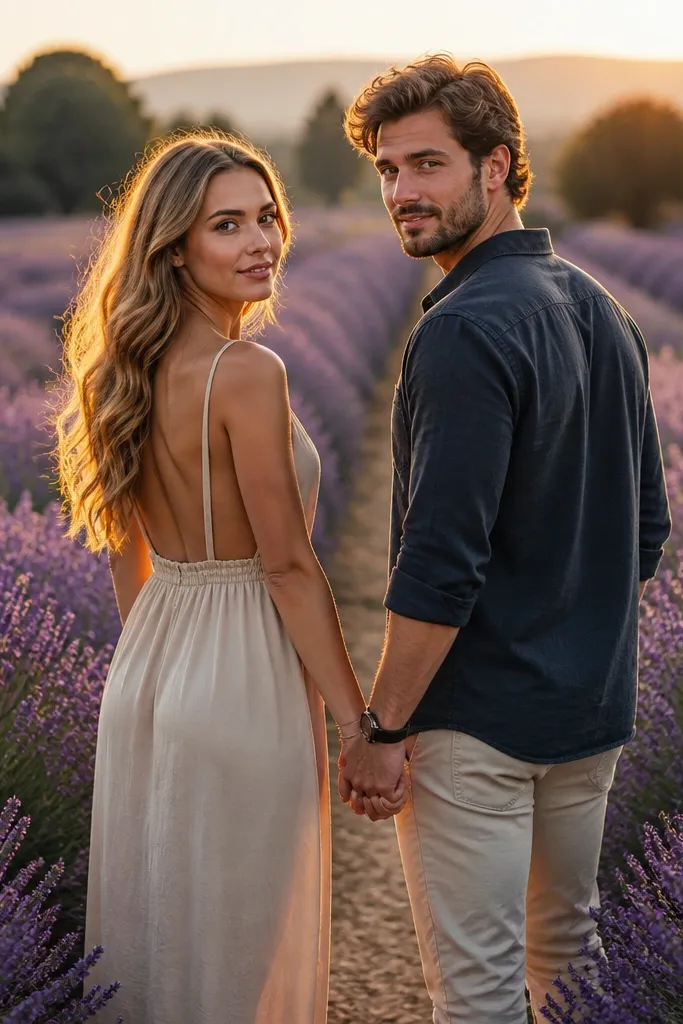
Lavender gives you color and a tidy pattern, but it can look like a stock photo if you keep it too casual. The best version uses a brief pause: you’re mid-walk, then you stop and look at the camera for one clean frame. The rows create a tunnel effect that makes you the subject, not the scenery. Choose lavender with full bloom and even spacing so the color looks consistent across the image.
Find rows that run straight away from the camera so the lines converge. Then walk toward the camera for 3-4 steps, pause, and hold a relaxed posture with shoulders slightly back. Keep the bouquet low enough that the lavender spikes frame your hands. For a second angle, stand off-center so one row forms a diagonal behind your head.
Schedule this for late morning or early afternoon only if the plants are not wet. Wet lavender makes the whole scene look gray.
Avoid tangled props and overstuffed bouquets. Lavender rows already have texture; too much clutter looks chaotic.
6. Desert dunes with a toe-drag line
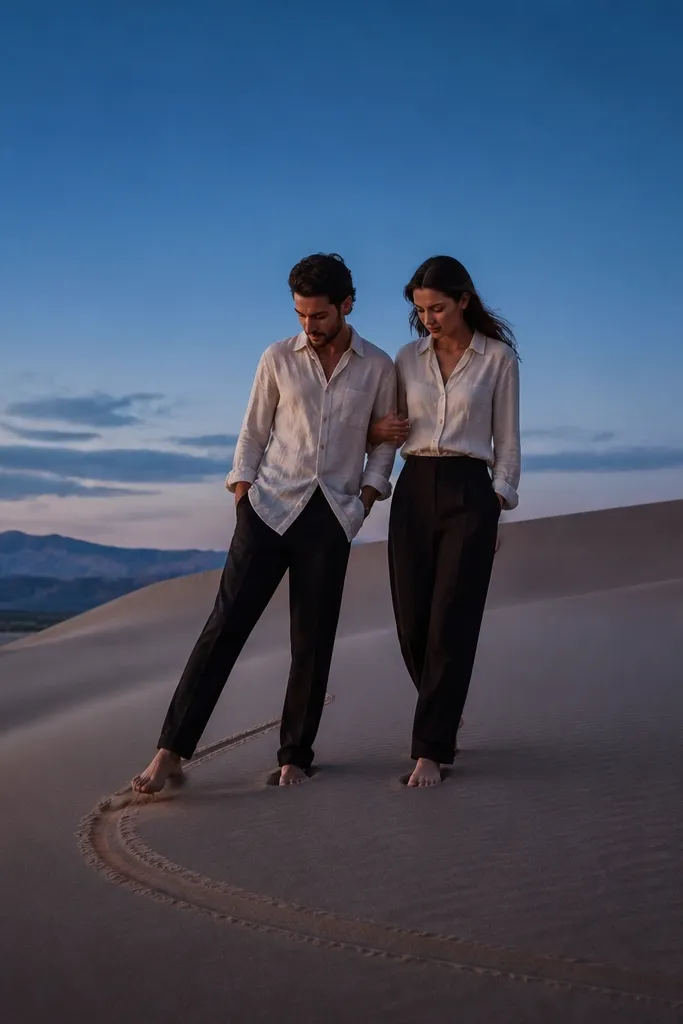
Sand dunes make photos look cinematic, but they need a clear action. The toe-drag line is simple and photogenic: one person drags a toe to create a curve in the sand, and the couple leans into it. The result is a graphic, minimal background with smooth gradients that flatter skin. Stick to outfits with strong contrast — cream against tan, or black against pale sand — so you don’t blend into the landscape.
Go during late afternoon when the dunes have long shadows and the sky has color. Then stand on a ridge where the horizon sits high and the sand texture stays clean. Drag the toe once, then step into the line and look at the partner, not the camera. Finish with a profile shot where the wind pushes fabric and your silhouettes read clearly against the gradient sky.
Bring a small towel. Sand gets into shoes fast and ruins comfort, which ruins posture.
Don’t shoot right after strong wind. Sand haze softens everything and makes the look feel washed out.
7. Old brick wall with soft shadow under brim hats
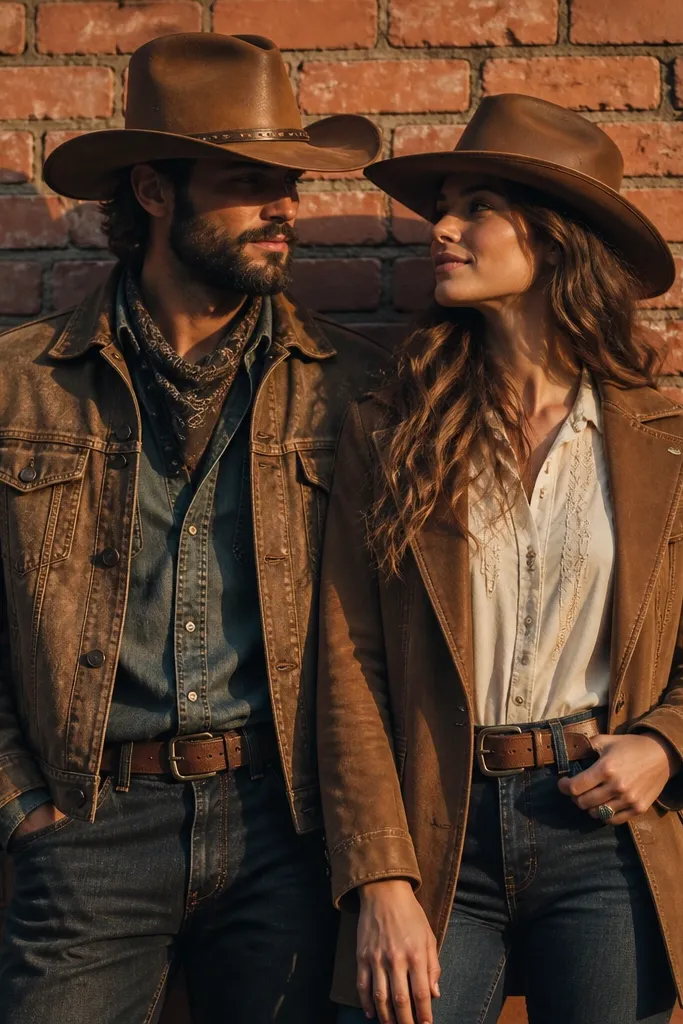
Brick walls look good, but plain brick can feel heavy. This idea uses hats and shadow for a lighter, more styled mood. The brim creates a natural shade line across the eyes and makes faces look dramatic without harsh lighting. Choose a wall with consistent color and minimal graffiti, and keep your palette warm — cognac, cream, olive, or charcoal.
Find a brick wall with no clutter and a clear open area for full-body shots. Then position yourselves about 2-3 steps away so the wall textures stay sharp behind you. Pick a time when the sun hits at an angle so the hat brim throws a defined shadow. Have one partner slightly tilt the hat forward for the first frame, then straighten for a second frame that shows eye contact.
If the wall is dusty, wipe a small area first. Dust makes brick look gray in photos.
Skip bright noon. You’ll lose the hat-shadow effect and your faces will look flat against the wall.
8. Beach pier with slow walk and railing blur
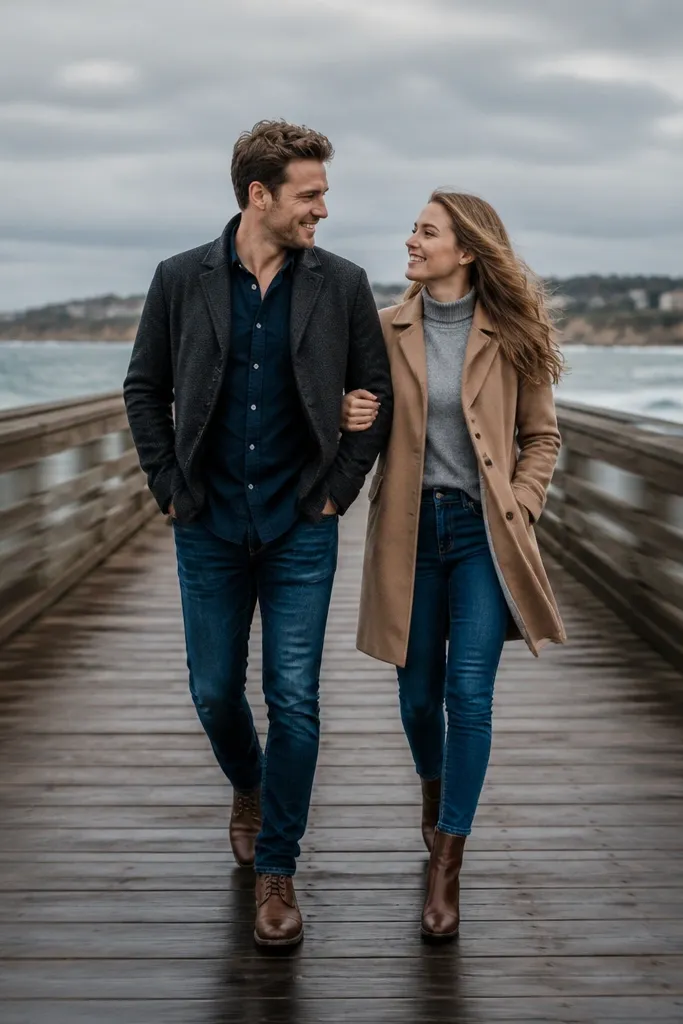
Piers are long lines and that’s why they work. But most pier photos fail because the couple walks too fast and the frame looks like a snapshot. This version slows everything down and uses the railing for motion blur — you get a clean subject with a dreamy streaked background. Pick a pier with sturdy wood or metal rails and avoid ones with missing boards or heavy clutter.
Go 45-60 minutes before sunset so the sky has color and the pier wood doesn’t look too orange. Stand near the start of the pier and walk toward the camera for 6-8 steps. Keep your hands connected or one hand on the railing for consistent composition. For the blur effect, move the camera slightly with you while shooting a burst, then pause for a sharp final frame.
Bring a light windbreaker. Pier breezes lift fabric and make the photos look intentional.
Don’t do this with flat, overcast skies and no horizon color. The pier still looks nice, but the “styled” feel drops.
9. Wheat field with layered height and one-step turn
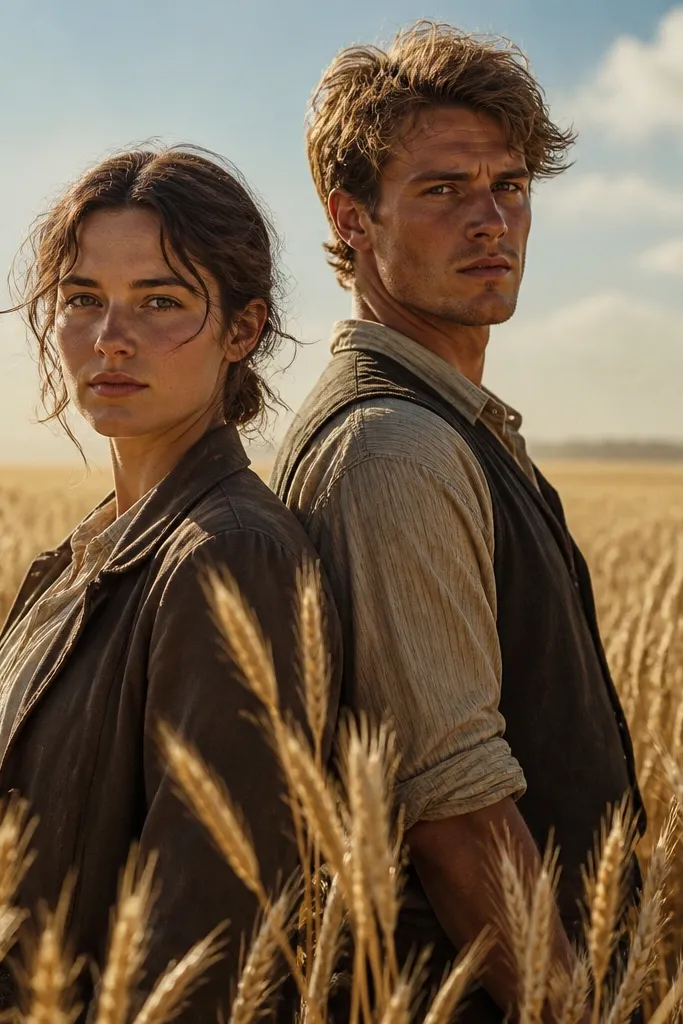
Wheat fields photograph like golden film because the stalks create soft, repeating texture. The aesthetic you want comes from layered height: one person slightly forward and the other slightly back, so the stalks overlap your bodies. The one-step turn pose is clean — you rotate shoulders just a little, not a full spin, and it looks natural. This is great for couples who hate big performance poses.
Pick a wheat field with a clear edge and avoid patches where weeds take over. Then walk into the field until you reach the height where stalks hit mid-thigh. Set your positions with one step difference, then do one slow turn so your faces stay readable. Shoot wide first, then crouch for a low-angle frame where stalks fill the bottom half of the image.
Quick tipIf you have a veil, pin it higher than you think. Wheat stalks snag it and ruin the clean line.
Skip thisAvoid over-swaying poses. Too much movement makes wheat look like a blur wall instead of texture.
10. Cypress tree lane with matching long coats
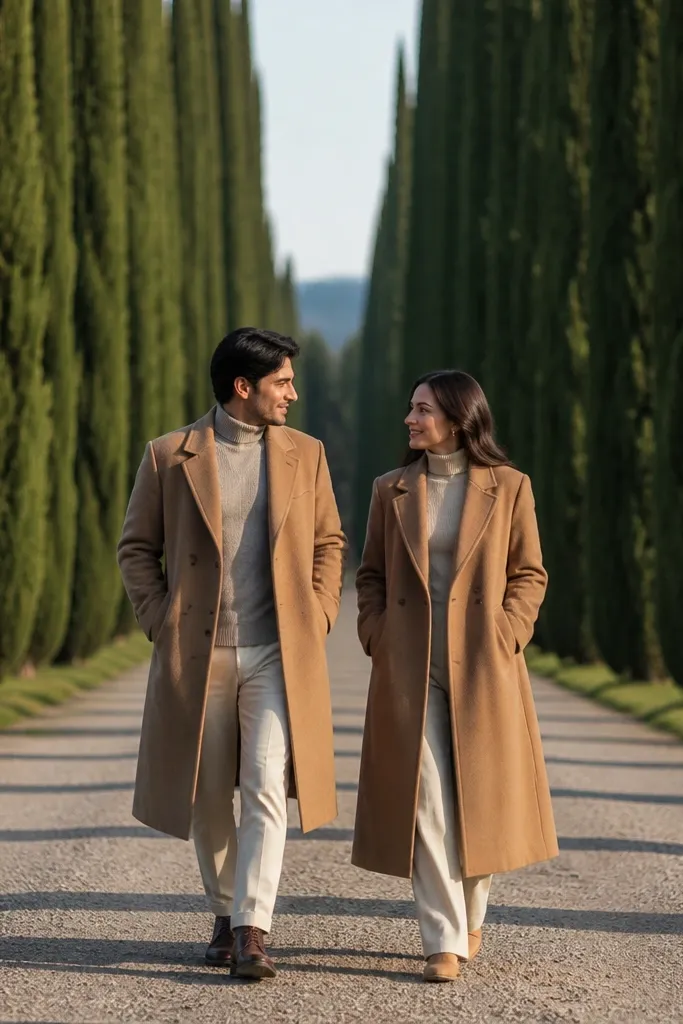
A cypress tree lane gives you a tunnel effect that looks expensive even in simple outfits. The key is to match silhouettes: long coats or long dresses create a continuous line that echoes the tree shapes. Walk slowly down the lane, and keep your heads turned slightly toward each other for warmth. If your coats are too short, the photo loses the tall, structured look the lane creates.
Scout for a straight lane with trees that arch overhead or run in parallel. Then shoot in late afternoon when the light filters through branches and throws dappled patterns on your coats. Keep one person half a step ahead and let the other follow, so the lane lines stay centered. Take a wide shot down the lane, then step to the side for a closer frame where the trees soften into bokeh.
Quick tipUse coats in dark neutral tones. Light coats can blend into bright bark and lose contrast.
Skip thisDon’t choose a lane with uneven ground and puddles. Water patches create distracting hotspots in photos.
11. Riverside stepping stones with bouquet toss freeze
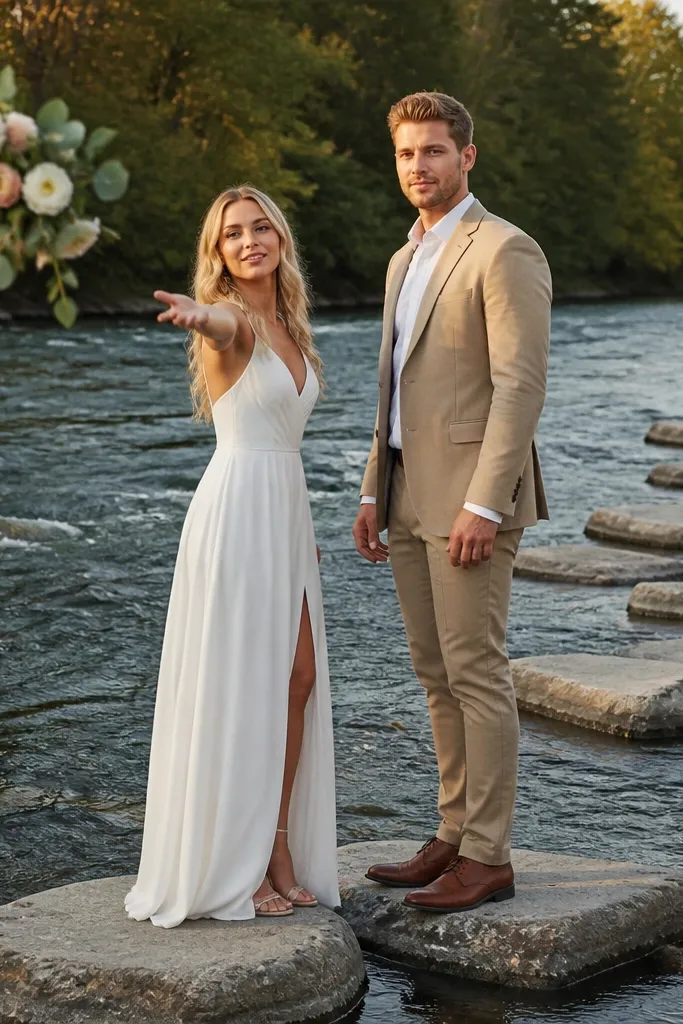
Stepping stones add shape and story. The bouquet toss freeze makes the shot feel alive without turning into a chaotic jump. You want a moment where the bouquet is in motion, but your faces are calm and connected. Rivers also give you layered depth — rocks in the foreground, water texture in the middle, and a calmer background behind you.
Find a river spot with stones that form a natural path, and arrive when the water isn’t high. Then practice the bouquet toss motion once on land so you know the arc. Stand on two stones facing each other, toss upward slightly, and catch or let the bouquet fall while you hold the gaze. Shoot bursts during the toss and then take a final still frame with feet planted and water behind.
Quick tipUse a bouquet with sturdy stems and wrap the ends. Loose flowers whip around and look messy mid-air.
Skip thisAvoid slippery stones. If you’re worried about footing, the photos turn cautious fast.
12. Mountain overlook with hands-in-jacket and wind hair
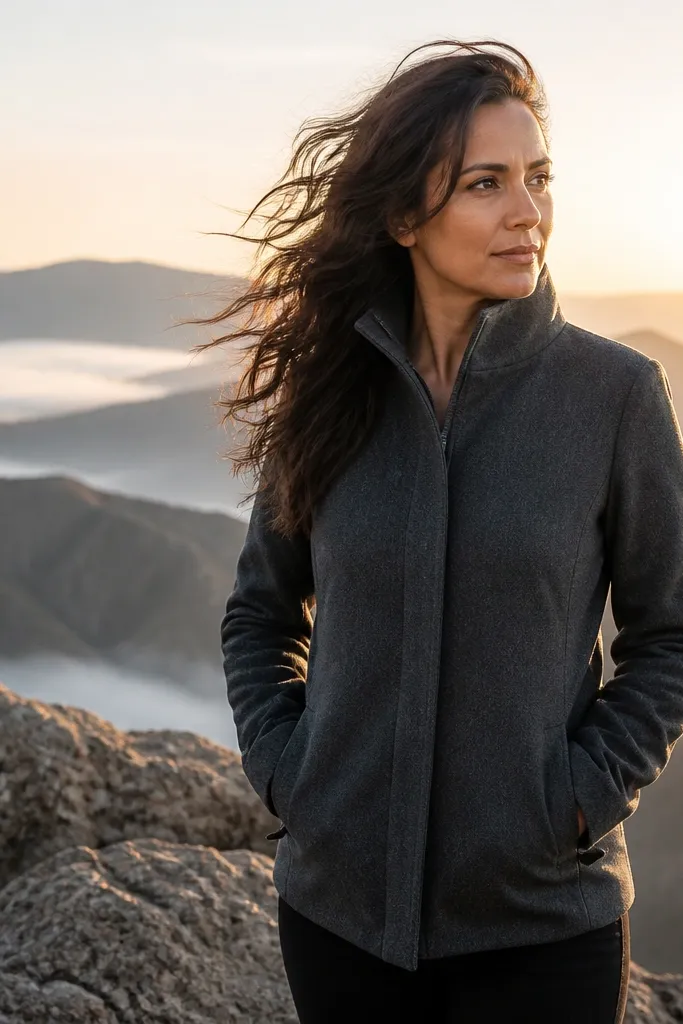
Mountain overlooks are dramatic, but the danger is wind. Instead of fighting it, use it — hands in jacket pockets calm the body while hair and fabric move. That creates contrast: controlled posture with natural motion. Look for an overlook where the horizon is clean and the background isn’t cluttered with buildings. Dark layers look best against bright sky and snow-dusted peaks.
Go on a clear day and aim for late afternoon so you get warm highlights on faces. Then stand close enough that both faces fill the frame, even with the wide mountain behind. Keep your hands in pockets for 3-4 frames, then pull one hand out for a gentle gesture toward your partner. Take one shot with your backs slightly turned to camera so the wind catches hair and the mountains read clearly.
Quick tipBring a small hair clip or bobby pins. Wind ruins flyaways fast in high-altitude sun.
Skip thisSkip overcast gray skies. Mountains look flat and you lose the layered depth that makes the photo feel cinematic.
13. Waterfall path with veil drape on a rock edge
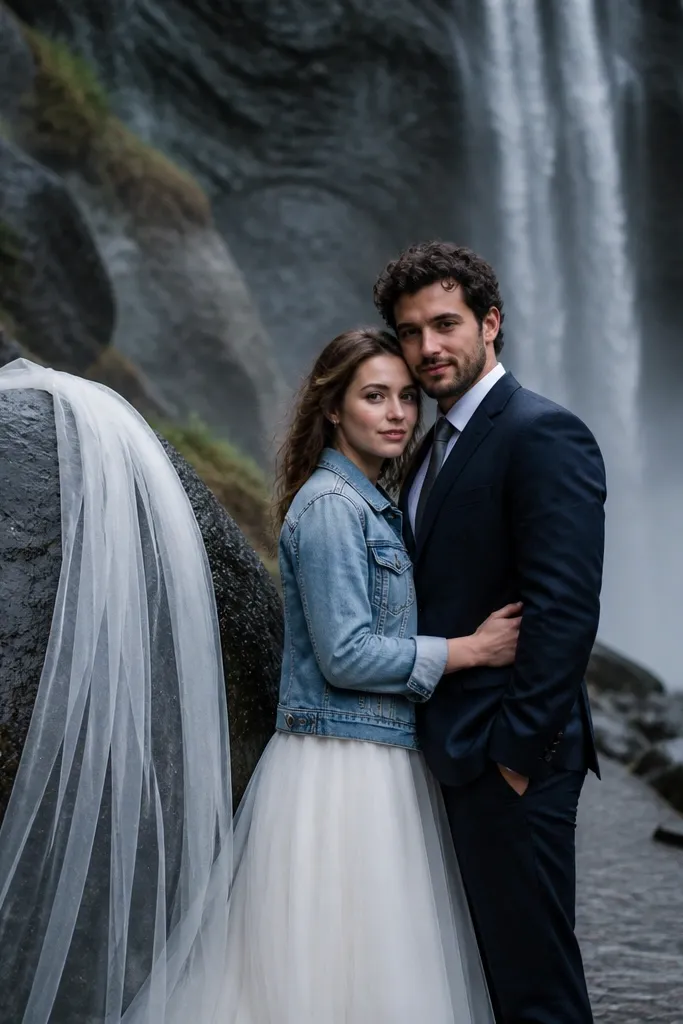
Waterfalls look stunning, but the photo needs a calmer subject zone. This idea uses a rock edge or large boulder to anchor the veil. You get a soft misty background while your faces stay crisp against a textured foreground. Choose a viewing spot where you can stand under a ledge or slightly off-axis so the mist hits your clothes evenly, not your camera.
Scout a waterfall trail section with a stable rock ledge and room for full-body framing. Then position yourselves so the waterfall is behind one shoulder, not directly behind both faces. Drape the veil over the rock edge, then adjust it with small tugs until it hangs naturally. Shoot from slightly higher than eye level to keep spray from obscuring faces.
Bring a rain cover for your camera and a towel for your hands. Mist makes everything slippery.
Don’t stand too close to the falls. The spray turns your image hazy and forces squinting.
14. Garden greenhouse with sunbeams through glass panels
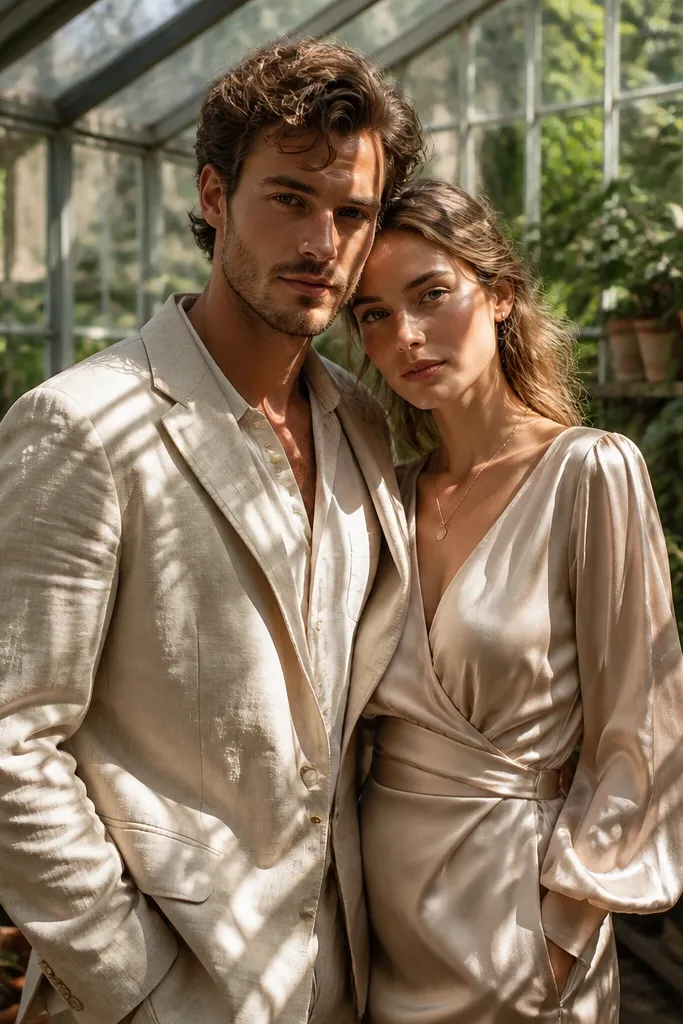
Greenhouses give you controlled chaos: plants everywhere, but glass creates gorgeous light patterns. The aesthetic you want is sunbeams through panes so you get stripes of light across hair and shoulders. Keep clothing simple and textured — linen, cotton, or satin — so it catches the beams. This works best when the sun is low enough to hit the glass at an angle, not overhead.
Choose a greenhouse with visible glass panels and a walkway where you can stand without blocking other visitors. Then arrive about 60-90 minutes before sunset or during late afternoon so beams appear diagonally. Position yourselves so the light falls across your faces, not only behind you. Shoot a mid shot first, then step back for a wider frame where plants create layered bokeh.
Avoid bright white outfits. In greenhouse beams, white can blow out and look chalky.
Don’t use busy prints. The glass patterns already add visual noise.
15. Cobblestone street with soft alley light and slow turn
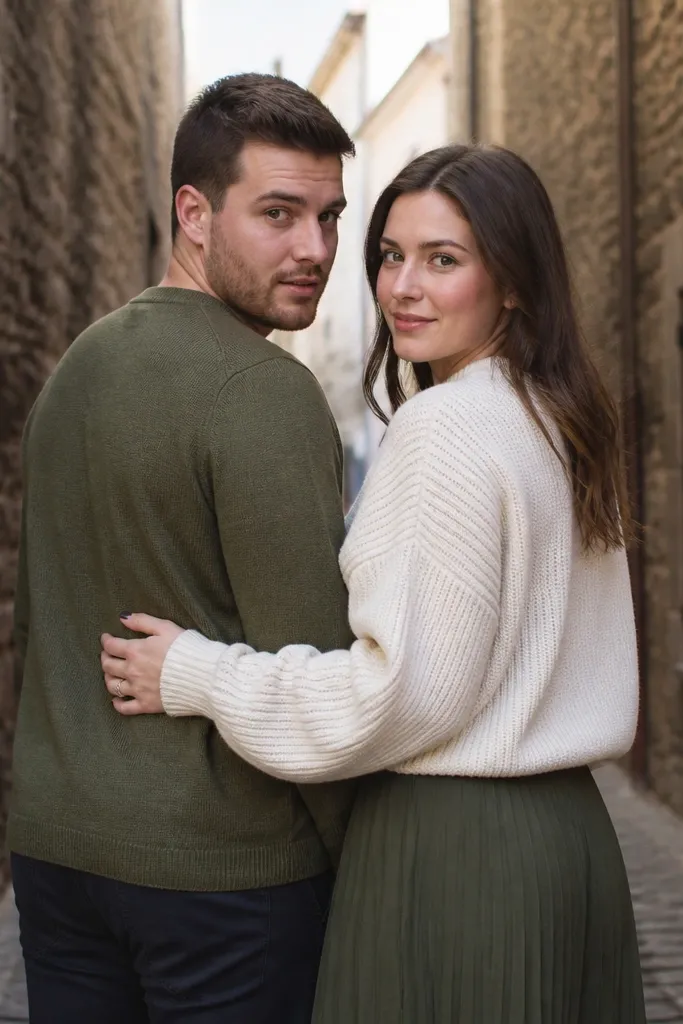
Old towns look romantic, but cobblestone can make photos look dull if you don’t use the alley geometry. The best look is a slow turn in a narrow corridor where one wall is darker and the other catches light. That contrast makes your faces stand out and keeps the background from stealing attention. Choose an alley with consistent stone and minimal signs in frame.
Walk to an alley corner where the streetlight or sky creates a soft gradient. Then stop and do a single slow turn — start with shoulders, then rotate hips — and keep your gaze on your partner. Shoot from a little off-center so one wall forms a strong line behind you. For shoes and texture, frame lower for at least one shot so the cobblestones add pattern.
Bring a lint roller. Cobblestone dust transfers fast and shows on light fabric.
Avoid alleys with bright storefronts or posters. They create competing highlights behind your heads.
16. Beach dunes at blue hour with silhouette flare
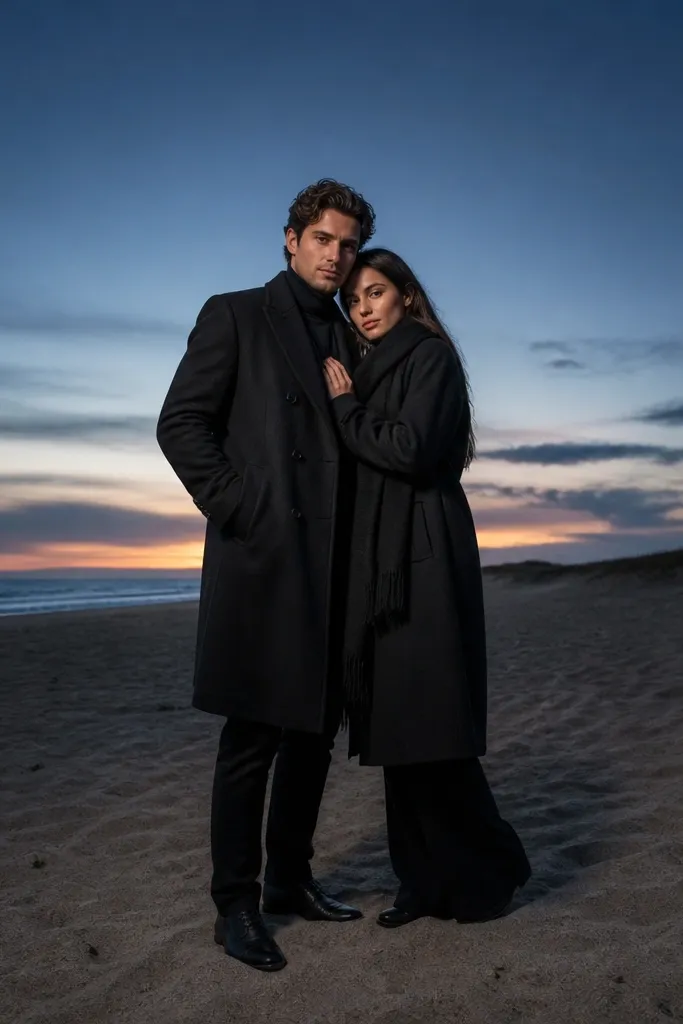
Blue hour makes outdoor pre-wedding photos look cinematic because colors cool down and the sky turns smooth. The standout look here is silhouettes with a gentle flare from the horizon. You need a place where the sky is open and the horizon line is visible — dunes or open beach are perfect. Keep your outfit dark and cohesive so the couple reads as a strong shape against the gradient sky.
Plan for the 20-30 minutes after sunset when the sky is deep blue but still not fully black. Then stand with the sun behind you or slightly to the side so you get a rim light on hair and shoulders. Walk slowly toward the camera, then pause for one still frame where you hold hands. Take one more shot from farther back to emphasize the dunes and sky take over the composition.
Quick tipUse a warm light source in your hand only if it’s safe and allowed. Small lantern light gives faces a soft glow without harsh flash.
Skip thisDon’t bring high-contrast neon accessories. They look wrong against blue hour and steal attention.
17. Autumn path with scarf swing and leaf swirl
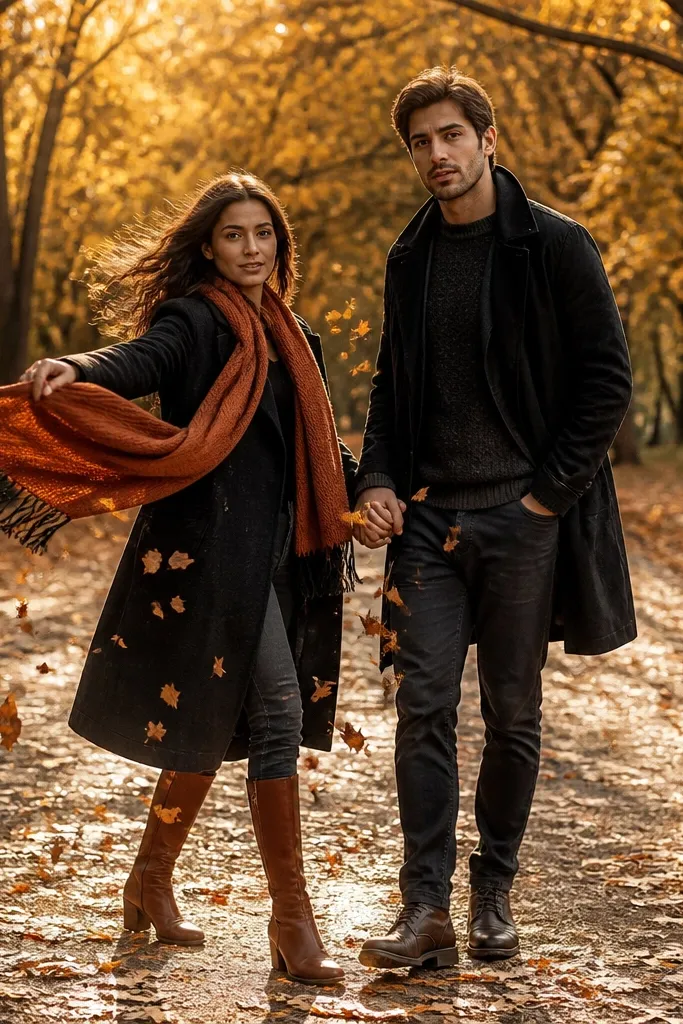
Autumn paths look great, but the formula needs a controlled action. A scarf swing is the easiest way to create motion that still looks elegant on camera. The wind should move the scarf and pull a small swirl of leaves around your feet so the image has energy. Choose a path with a consistent leaf layer and trees that form an arch overhead for a natural frame.
Go after a light dry day when leaves are loose but not soggy. Then stand with your backs slightly angled to the camera and swing the scarf across your body once. Take the burst during the swing, then settle into a calm stance while you face each other. Finish with a lower angle shot that shows leaf swirl at the bottom edge of the frame.
Pick scarves in muted tones like rust, olive, or deep plum. Bright colors fight the autumn palette.
Avoid muddy paths. Mud splatter ruins shoes and makes the whole set look unplanned.
18. Lake pier at dawn with coffee steam detail
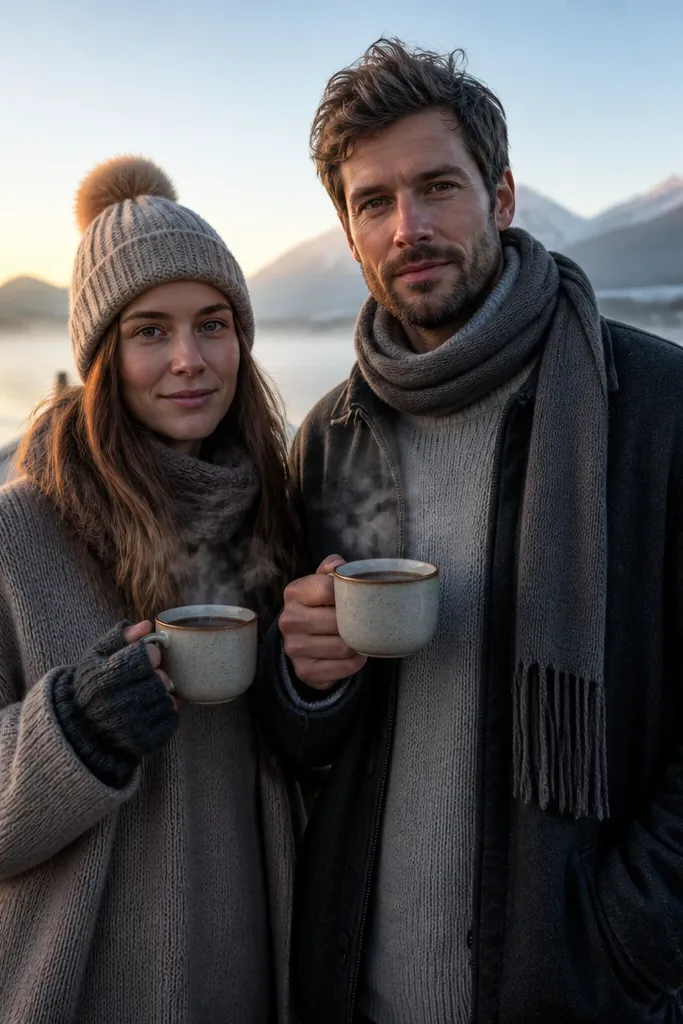
Dawn at a quiet lake gives you clean air and calmer backgrounds. The look is cozy and aesthetic because you add a small detail: visible steam from warm drinks. That detail makes your photos feel story-driven without needing props everywhere. Keep your clothing layers cozy and neutral so the steam stands out against cooler air and a soft sky gradient. The pier also gives you straight lines that make composition easy.
Arrive before sunrise and wait until there’s enough light to see faces, not just silhouettes. Then hold warm drinks at chest level for a few frames so the steam rises consistently. Walk a step forward, look at each other, and let the steam drift upward while the pier stays sharp behind you. Take one wide shot from farther back to show the pier line and the sky color, then return to close-ups.
Use drinks in lidded cups with a small sip opening. Steam stays visible and the mess stays low.
Don’t use drinks that cool too fast. Once steam stops, the detail effect disappears.
19. Meadow grass with one person crouch and hand reach
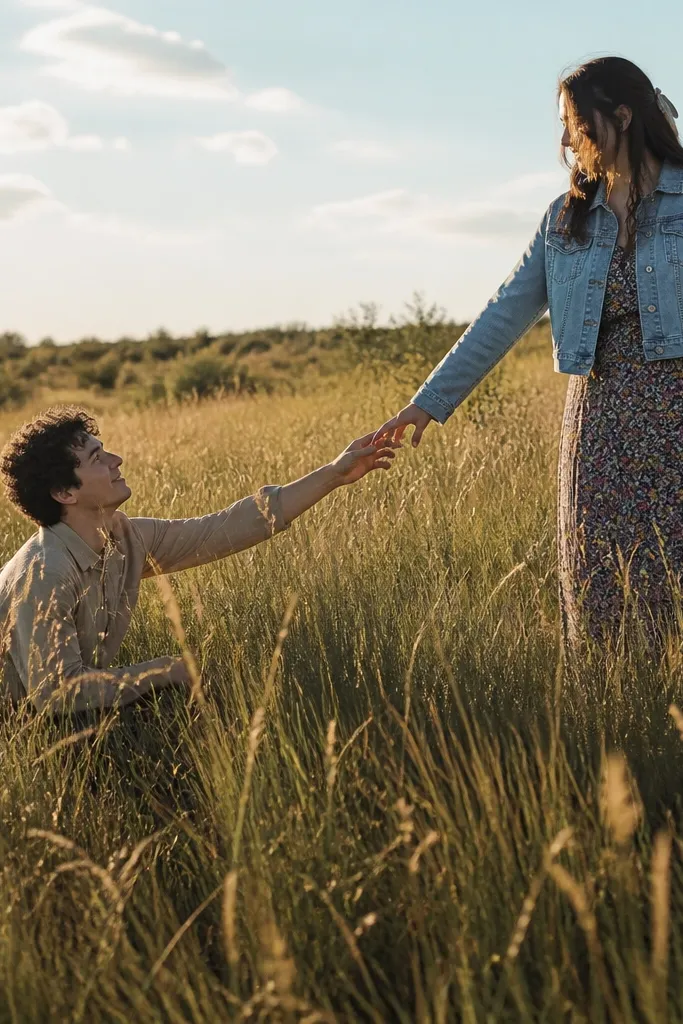
Tall grass can look messy unless you frame it like a set. This idea uses height difference on purpose: one person crouches low while the other stands tall, and hands reach toward each other. That creates a clear focal path through the grass and makes the image feel intentional. Pick a meadow with grass that’s long but not tangled, and keep the bouquet or flower detail close to the focal point.
Choose a spot where grass height is consistent and the background behind you is calmer. Then mark a spot for the crouch and keep the camera angle slightly lower than eye level. Reach hands slowly, hold the moment for 2-3 frames, then stand for a second shot with both faces centered. For travel-friendly consistency, use the same bouquet wrap color across the shoot so the set looks cohesive.
Tuck long dress hems or loose fabric into a belt or pin. Grass grabs hems and makes them look uneven.
Avoid crouching on uneven ground. You’ll end up leaning and it shows in face angles.
20. Outdoor sculpture park with clean lines and mirrored stance
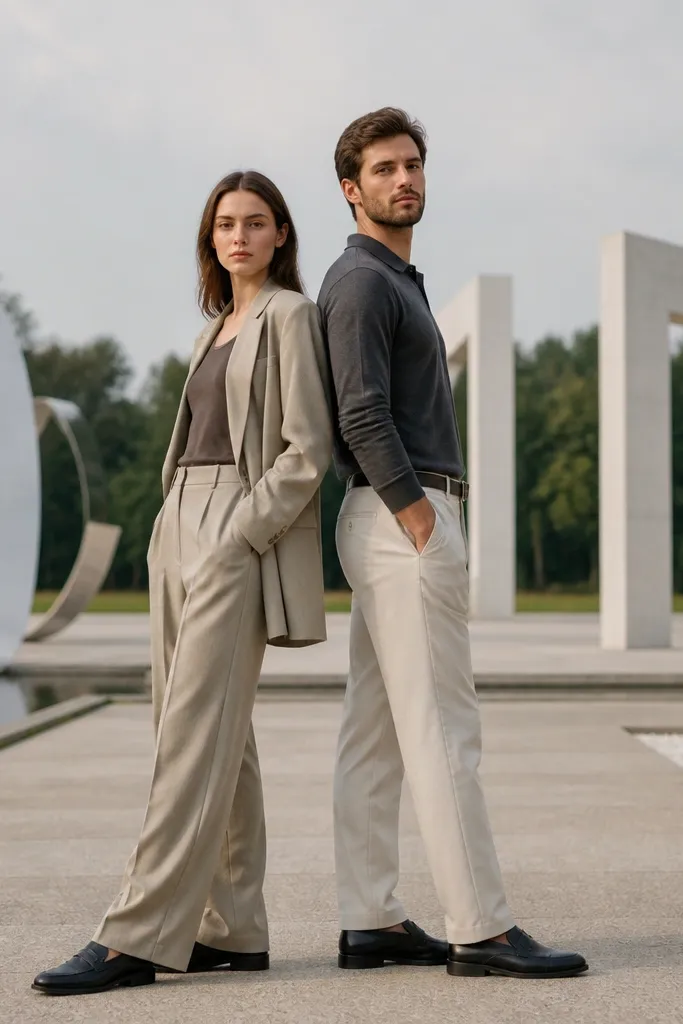
Sculpture parks are a cheat code for aesthetic photos because the background is already designed. The best look here is mirrored stance: your bodies face slightly different directions, but your arms and spacing match so the photo reads symmetrical. Clean lines also hide clutter since the sculptures give the eye a place to land. Pick a park with modern pieces and open spacing so you’re not competing with other visitors.
Scout for a sculpture with a strong silhouette and a clear walking path around it. Then stand so the sculpture sits behind one shoulder and doesn’t intersect with your heads. Hold mirrored arm positions and keep your chin angle consistent for a clean look across frames. Shoot first from a full-body distance, then move closer for a mid shot where the sculpture texture fills the background.
Quick tipWear shoes with a clean sole. Sculpture parks show scuffs instantly in close frames.
Skip thisSkip dark, cluttered sculptures with lots of small details. They compete with your faces.