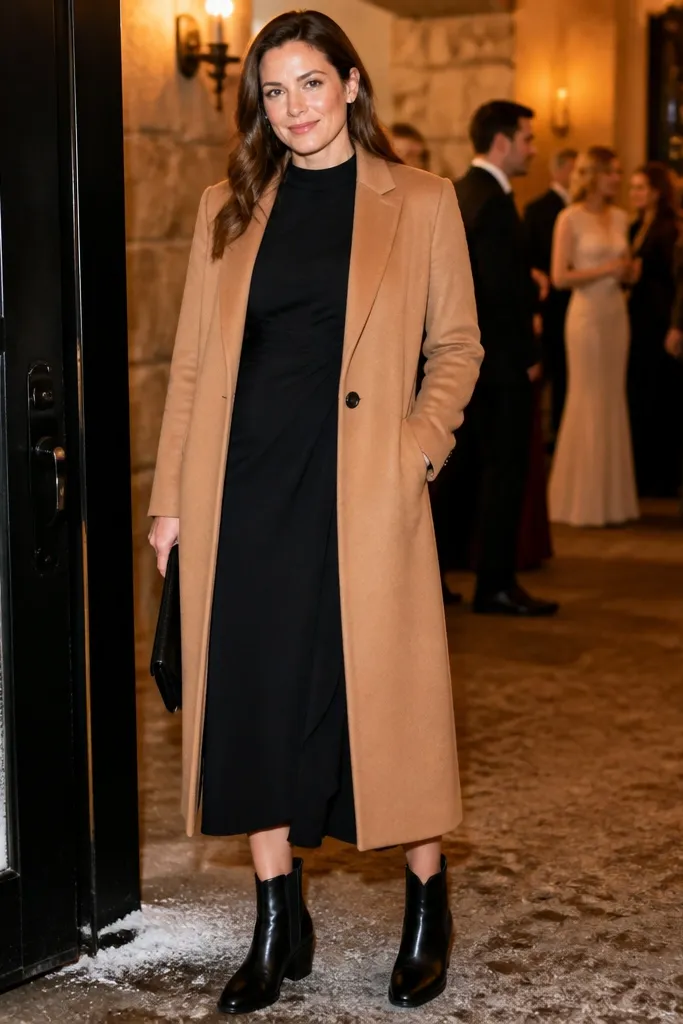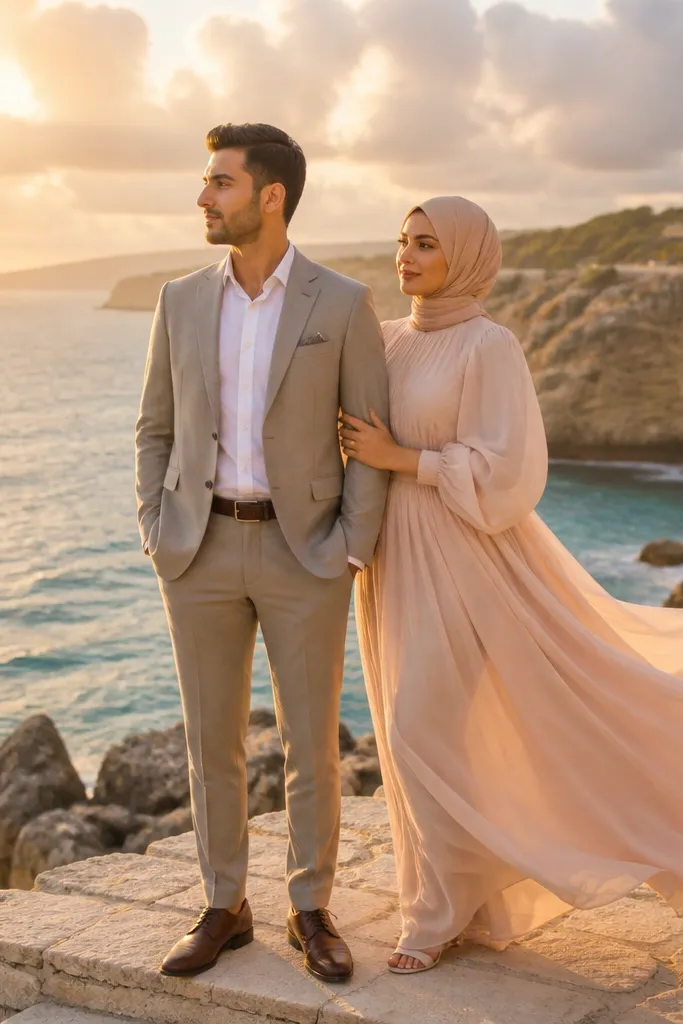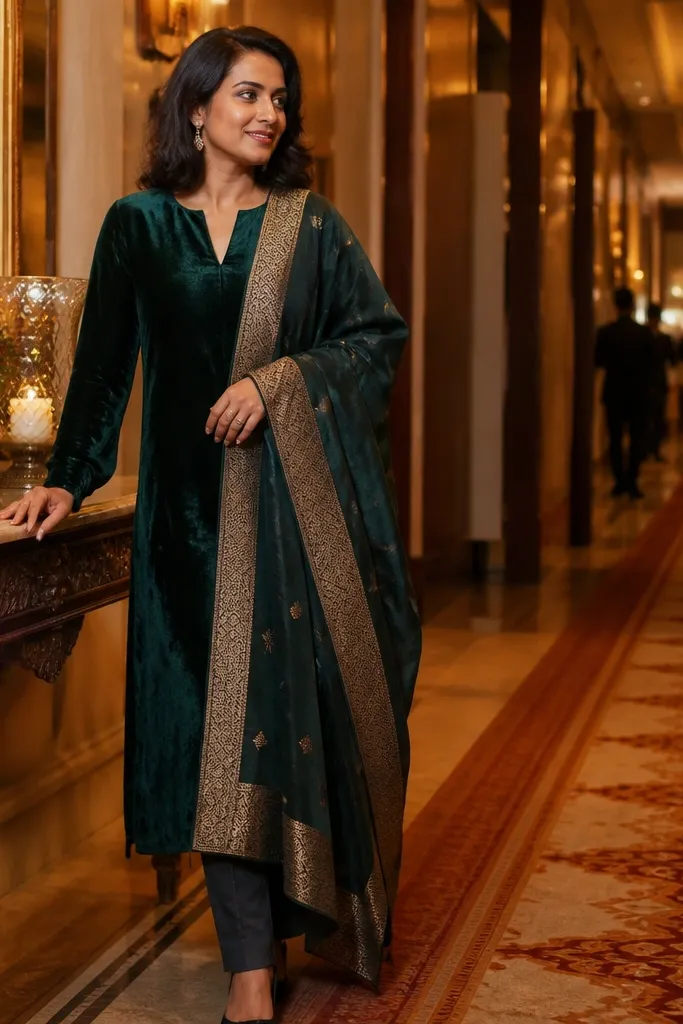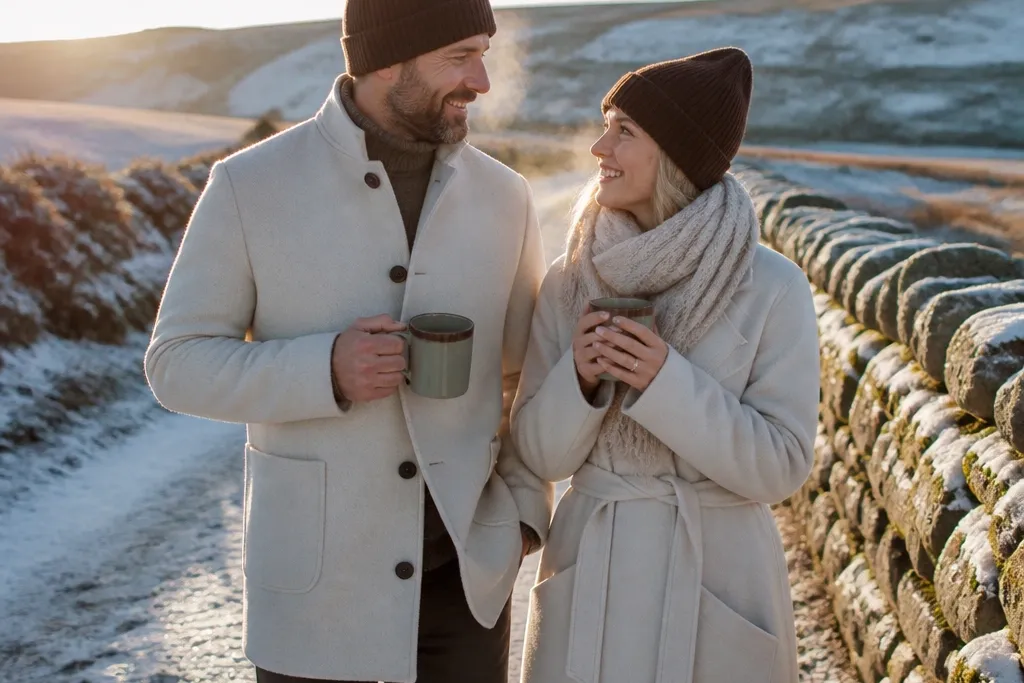
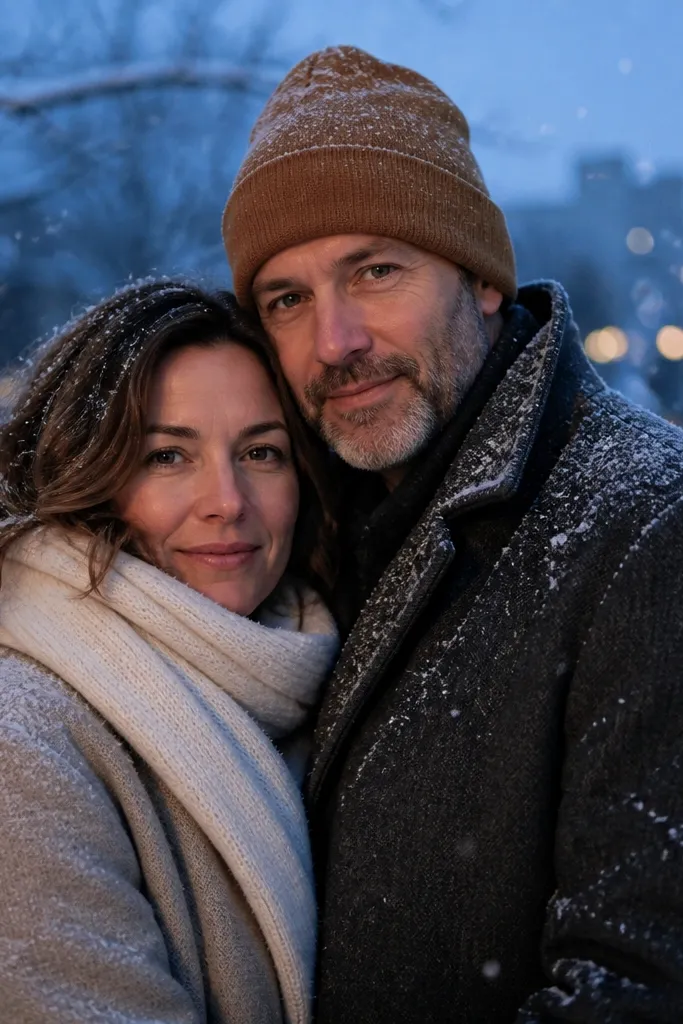
1. Snow-coat color match with cream + chocolate
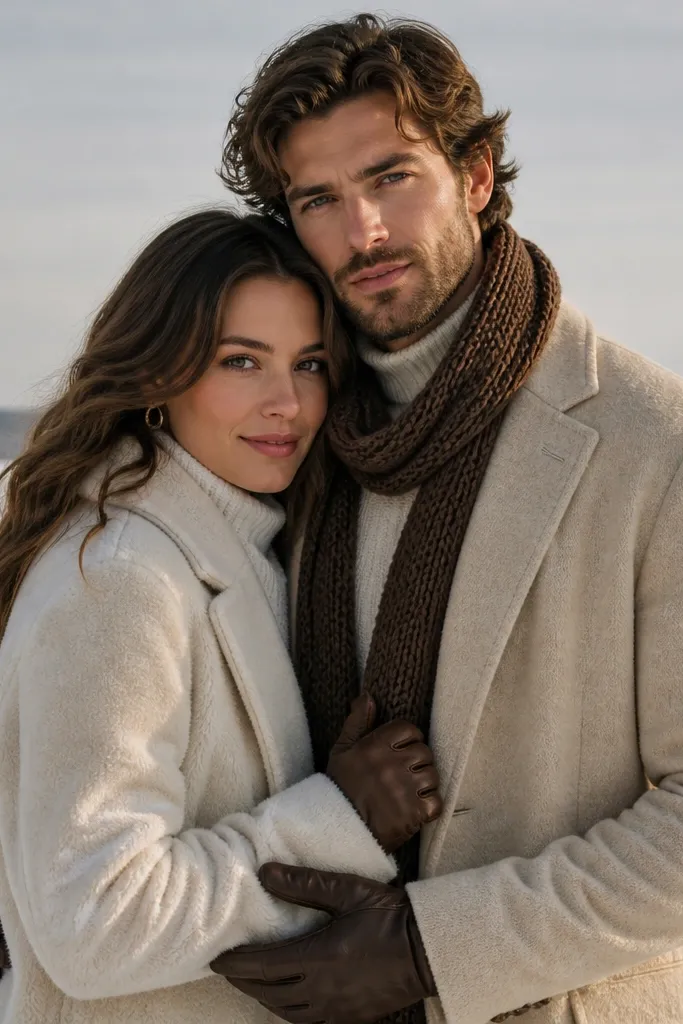
Winter photos look polished when your outfits fight the camera’s tendency to wash everything out. Cream wool or off-white knits make skin look warmer against snow, and chocolate brown adds depth without going too dark. Keep accessories in the same temperature family — warm browns, not black. This look works in open snow fields, but it looks best when the snow has texture (crunchy top layer, light drift lines) so your frames don’t feel flat.
Quick tipUse a knit scarf instead of a shiny one — it catches light softly and reduces the “spotlight glare” look.
Start by choosing two main colors: one warm light (cream) and one warm dark (chocolate). Then coordinate your couple pieces so jackets, scarves, or gloves repeat those colors within the frame. Finally, shoot in a spot where snow is clean and not gray slush, and do a quick test photo to check that faces don’t turn pale.
Skip thisSkip all-black outfits in heavy snow; the contrast makes skin look dull and eyes look less defined.
2. Evergreen wall frames for wind control
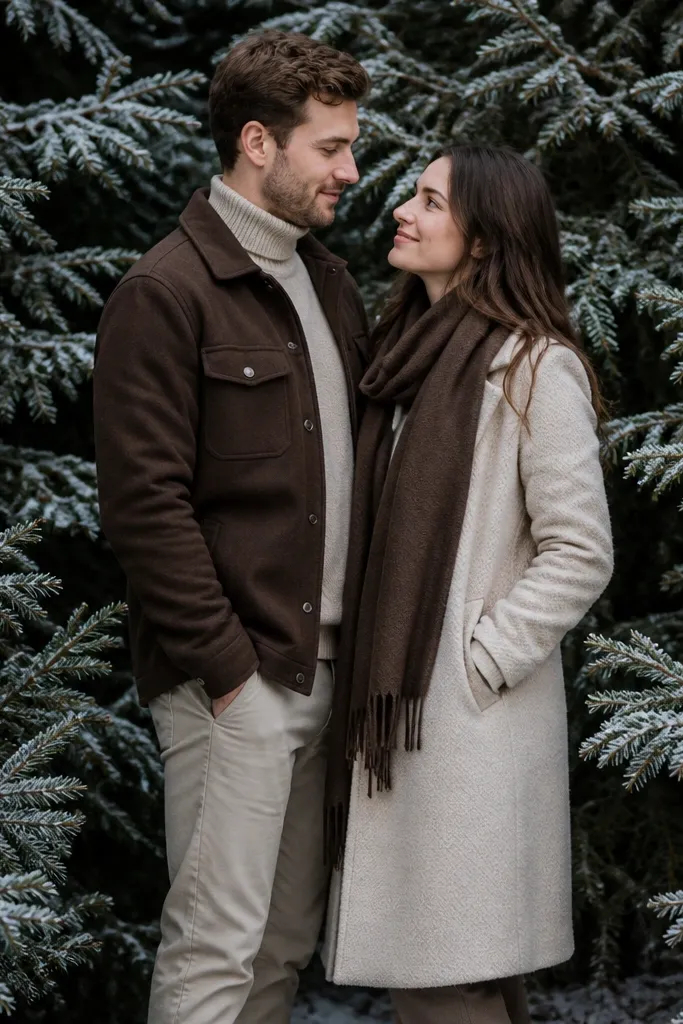
Evergreens give you two things winter portraits need: shelter from wind and a dark, textured background. When the trees are close enough, they also act like a natural vignette that makes your couple stand out. This is a go-to for couples who hate the “lost in a snowy field” look. The needles add depth even when the sky is flat, so your photos still feel rich without heavy editing.
Quick tipBring a lint roller. Evergreen needles love to cling to dark wool.
Start by finding a dense patch of evergreens and stand with your backs or shoulders angled toward the trees for wind protection. Then position the couple in a staggered stance — one person slightly forward — so the frames have dimension. Finally, shoot from a slightly lower angle to make the trees feel taller and more dramatic.
Skip thisDon’t place the couple too far from the trees or the background turns into gray blur.
3. Frosted window glow with steam breath
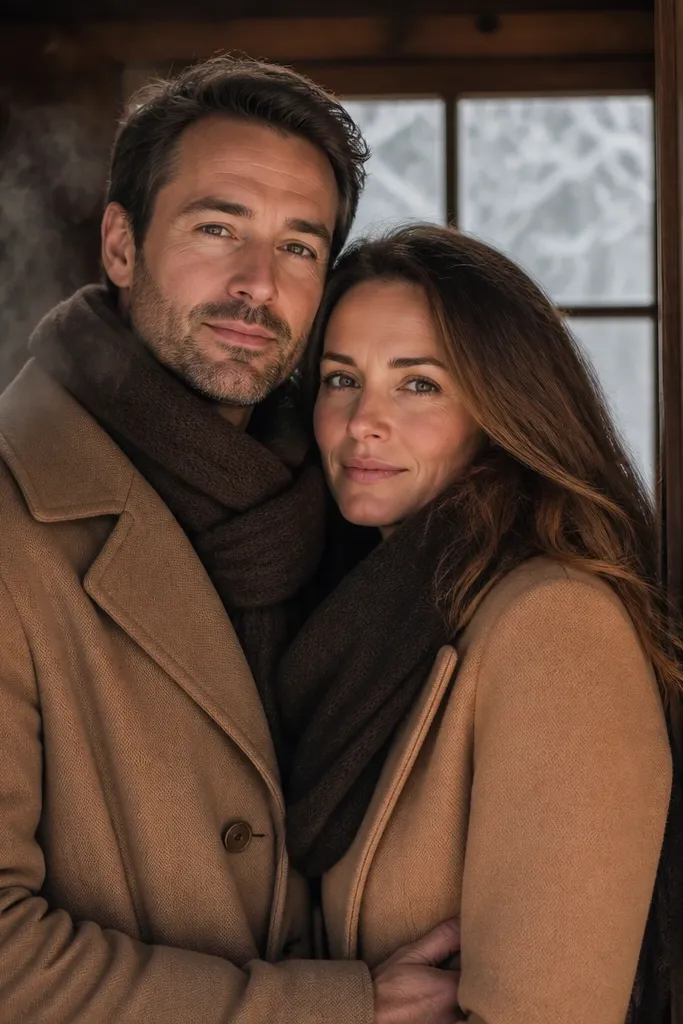
A frosted window gives you a built-in light source and a soft, dreamy background that still reads outdoor. Add steam breath or hot drink vapor and the image looks alive without needing props everywhere. This works best in cold air with clear visibility where breath catches light. Pair this with warm layers so you get that cozy winter mood while keeping faces bright and flattering.
Start at a building edge where you can stand near a window but still keep the couple outdoors in frame. Then use hot drinks or steam from breath by doing short bursts of speaking or laughter and shooting quickly. Finally, adjust your angle so the window reflection doesn’t blow out the highlights on coats.
Use a white or cream scarf near the face; it bounces light and prevents gray shadows.
Skip direct flash. It turns steam into harsh blobs and ruins the soft look.
4. Brick alley romance with warm lantern lighting
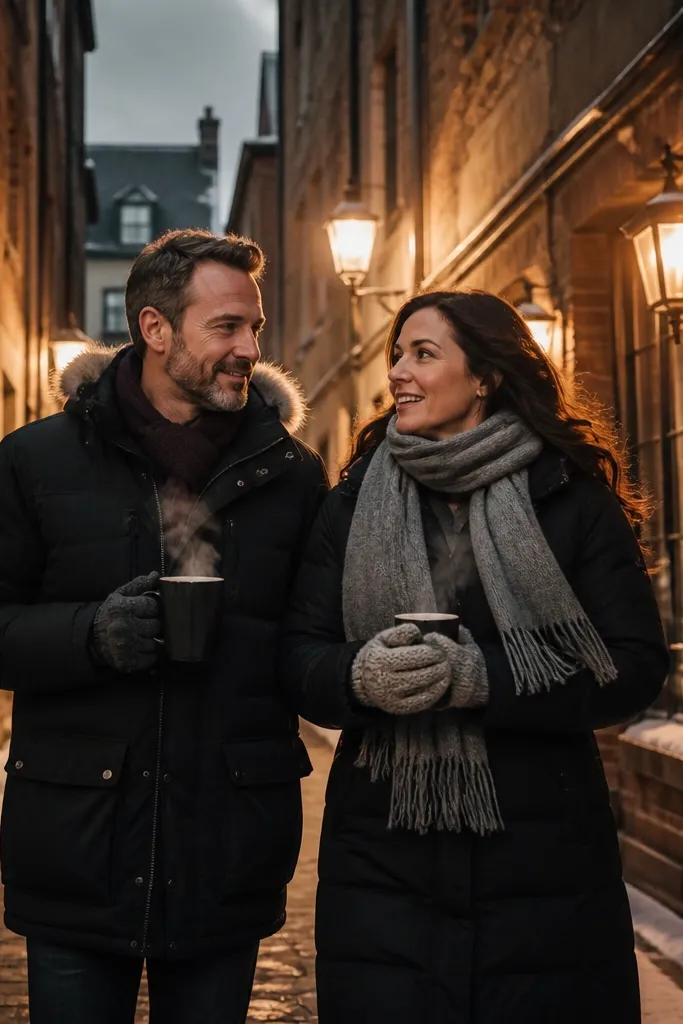
Brick alleys look cinematic in winter because the surface texture holds light and the color stays warm even with a gray sky. Lantern-style lighting gives you that romantic glow while keeping the background interesting. This is a strong choice when it’s overcast because the lantern warmth becomes the visual anchor. Keep your outfits warm-toned so the brick and clothing don’t fight for attention.
Quick tipUse one long exposure style only if your camera supports stabilization; otherwise stick to faster shutter settings and steady stance.
Start by picking an alley with consistent brick color and minimal graffiti, then arrive early to confirm there’s safe, walkable footing. Then place one person closer to the light source and have the other turn slightly toward them for natural direction. Finally, shoot at dusk when the alley is evenly dim but lanterns still show clearly.
Skip thisDon’t over-light the scene with multiple bright sources; it creates flat, blown highlights on faces.
5. Frozen lake horizon with simple silhouettes
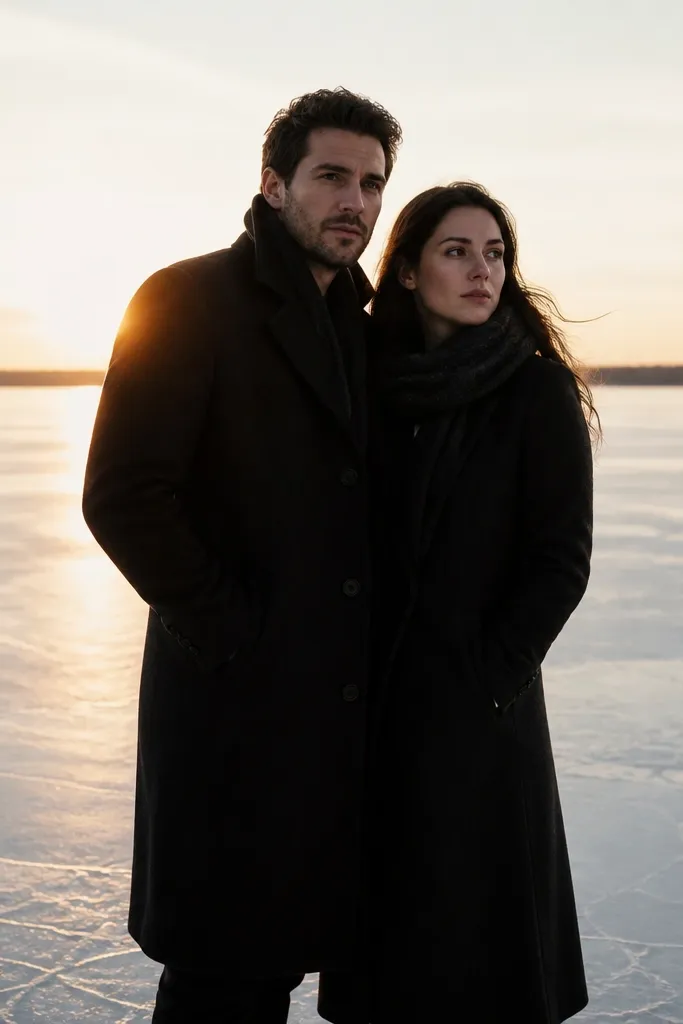
Frozen lake horizons give clean lines and big negative space, which makes winter portraits feel editorial. Silhouettes help when the sky is bright and faces tend to go dark in backlight. Choose a location where the ice looks smooth or has fine texture, not chaotic cracks that distract from you. If you want airy, aesthetic frames, this is one of the strongest outdoor setups in winter.
Start by shooting with the sun low behind the couple at a safe distance from any uncertain ice areas. Then have them walk slowly toward the camera between frames, keeping hands close for warmth. Finally, shoot multiple distances — full-body for silhouette and tighter crops for facial expressions.
Bring a small white reflector or even a white umbrella to lift face brightness during backlight moments.
Skip heavy snow blowing across the lens; it turns silhouettes into blurry smears.
6. Frosted branch framing with a tight crop
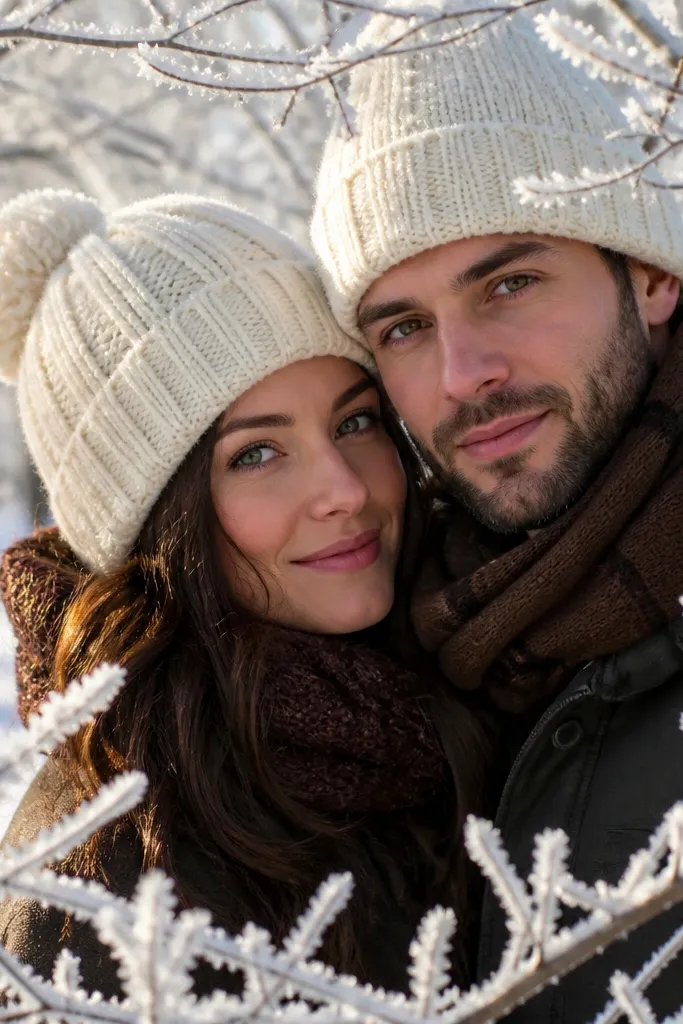
Frosted branches create natural framing and give winter photos that crisp, high-end look. The trick is to shoot tighter so the branches act like a border, not a messy background. This setup works when the branches actually have visible frost crystals — after a cold night, before midday thaw. It’s also great for couples who want the romantic vibe without traveling far.
Quick tipIf frost is faint, wait for a cloud break — even 10 minutes can make crystals pop.
Start by finding a tree with small, frost-covered branches at about head height. Then position the couple so their faces sit in the open center between branches. Finally, shoot with a narrower composition and move a step side to side to get the frost pattern symmetrical.
Skip thisDon’t use a wide shot where the frost competes with the couple.
7. Warm cocoa prop in textured mugs
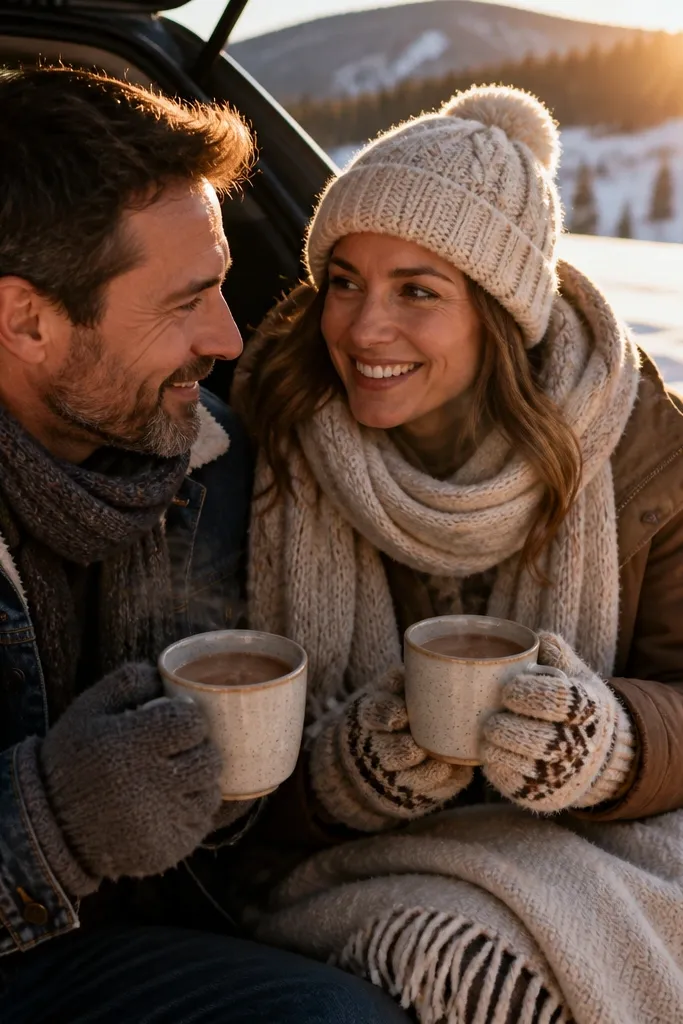
A warm drink prop solves two problems: it gives hands something to do and it creates visible steam that looks natural in winter air. The key is texture. Choose mugs with matte ceramic or a subtle pattern, not glossy ones that glare. Steam plus warm color (cocoa brown) looks photogenic against snow and dark trees. Keep the interaction simple — sip, pass, laugh — so it doesn’t look staged.
Quick tipWipe mug rims with a dry cloth so condensation doesn’t smear on hands and sleeves.
Start by bringing drinks in insulated bottles and pre-warming the mugs so the steam lasts longer. Then have one person offer the mug and the other take it with a small turn of the shoulders. Finally, shoot in short bursts within a minute because steam fades as the air warms.
Skip thisSkip plastic cups. They look cheap fast in close frames.
8. Black parka + red scarf pop against gray sky
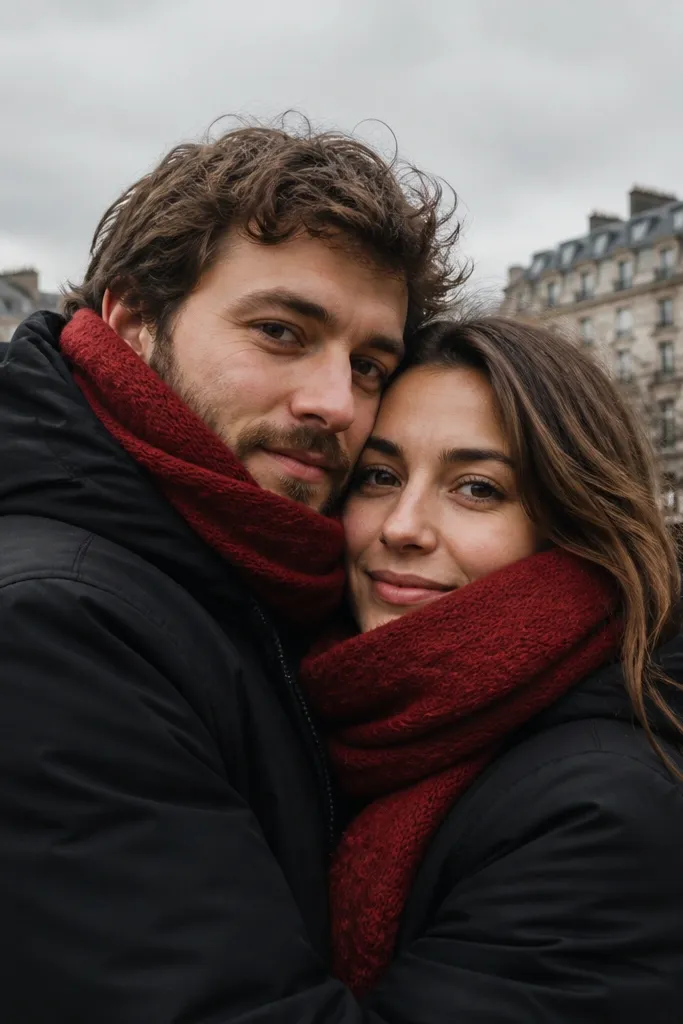
When the sky is gray, your photos need one strong color anchor. A red scarf (or any deep warm red) against black outerwear makes the couple pop without needing fancy locations. This works especially well in city parks, sidewalks, and courtyards where backgrounds are muted. The red should sit near faces — scarf ends tucked or draped — so it directly boosts eyes and skin tones.
Quick tipTie the scarf so fabric folds are visible; flat fabric looks less intentional.
Start by dressing both people in dark outerwear and adding a single coordinated red piece each. Then keep poses close and vertical — faces slightly angled toward the camera — so the red catches attention. Finally, shoot with the background kept simple: plain walls, distant treeline, or open sky behind.
Skip thisAvoid multiple bright colors. In winter gray light, it looks cluttered fast.
9. Crisp white shirt collar peek under wool coat
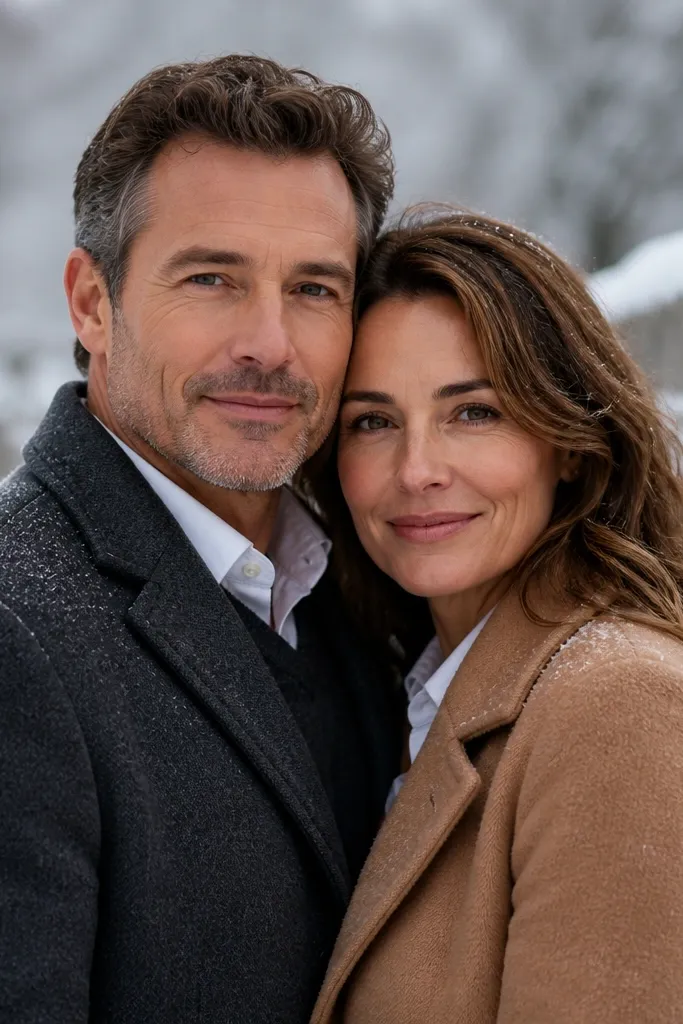
Small details matter in winter because you’re layering. A crisp white collar peek adds a clean highlight that frames the face and prevents everything from blending into one dark mass. This style reads romantic and classic in outdoor settings, especially with wood, stone, or snow backgrounds. It also gives you close-up photo opportunities without needing extra props.
Quick tipBring a travel steamer or at least a spray bottle — wool + static makes collars look messy quickly.
Start by adjusting collars and tucking fabric so it sits flat and doesn’t curl from static. Then plan a few close-up frames: hands adjusting scarf, chin tilt, and a gentle shoulder turn. Finally, shoot near a reflective surface like pale stone or snow to lift highlights on the collar.
Skip thisSkip wrinkled collars; winter light shows creases more than you expect.
10. Woodland path with falling snow timing
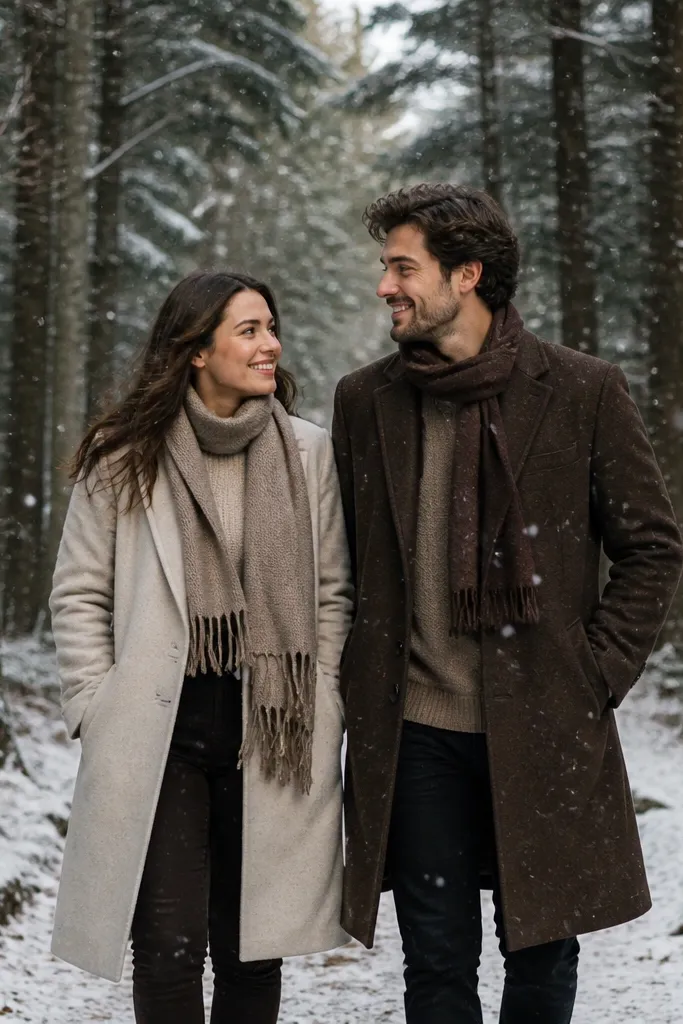
Snowfall turns ordinary trees into an atmosphere machine, but timing matters. The best photos happen when the snowfall is visible without becoming a blur. Woodland paths add depth and lead lines, making the couple look like they belong in the scene. Go for gentle walking or side-by-side pauses so falling flakes catch naturally around your coats and hair.
Start by picking a path with trees close enough to block wind and keep flakes drifting. Then shoot during light snowfall, not heavy gusts, and move slowly between frames. Finally, time your clicks for when your faces are still — count to two after each movement and shoot once.
Turn slightly toward the wind so snow drifts past you instead of directly into the lens.
Don’t shoot during thick blowing snow. It kills sharpness and makes the look foggy.
11. Stone steps with one hand on railing
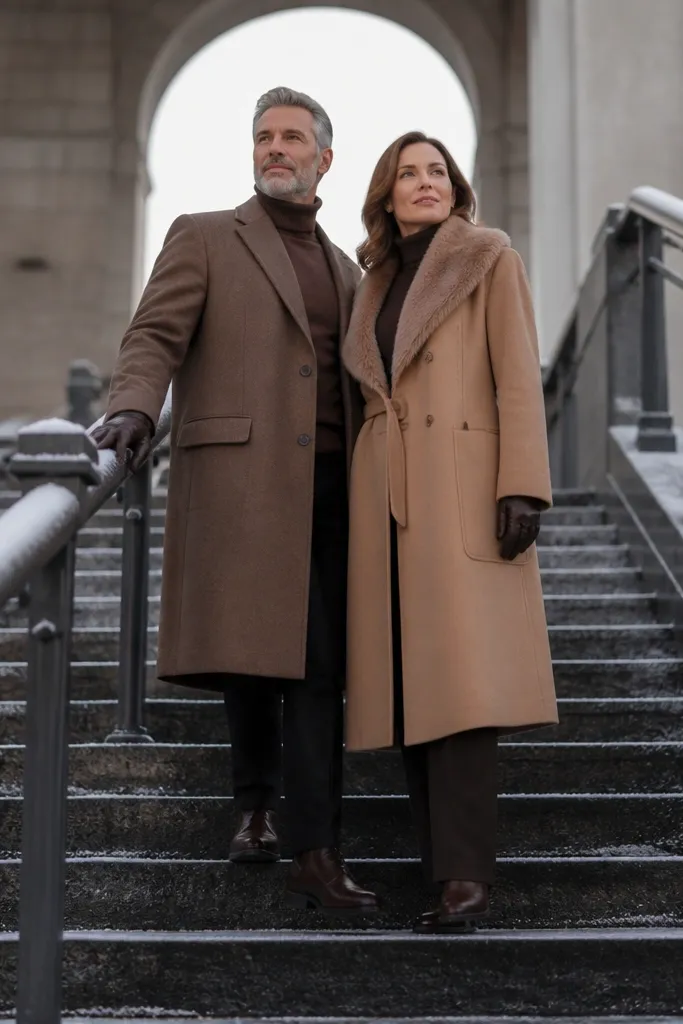
Stone steps are a cheat code for composition. The geometry gives you strong framing, and the couple can use the railing for a natural pose that doesn’t feel forced. In winter, stone looks extra good when it’s slightly wet or has a frost edge — it adds shine without looking messy. This is perfect for short shoots where you want dramatic backgrounds without long hikes.
Quick tipWear boots with grippy soles so you can hold stable poses without stiff, awkward balancing.
Start by choosing a staircase with clean lines and minimal distractions, then check footing for ice. Then have one person hold the railing lightly while the other steps closer and leans in for eye contact. Finally, shoot from a few angles: front for symmetry, and side for depth in the steps.
Skip thisSkip steps with lots of people or bright signage. It distracts from the couple fast.
12. Cozy fur-lined hood silhouette with backlight
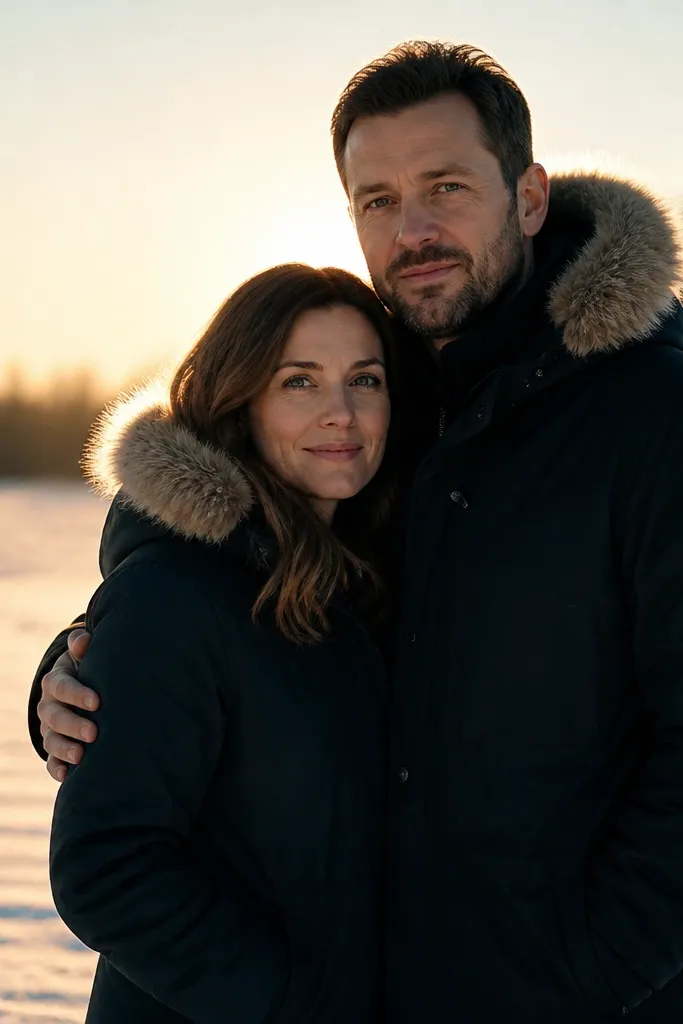
A fur-lined hood creates a clean silhouette around the head, which looks great in winter backlight. The trick is to keep the rest of the outfit simple so the hood trim becomes the visual shape. This look is strong in snowy parks, open fields, and tree edges where the light can sit behind you. It also hides wind-styled hair problems because the hood keeps things contained.
Quick tipUse matte makeup or skip highlighter on the hood area; backlight makes shine look greasy.
Start by choosing a location where you can stand with the light behind your heads and avoid direct sun flare across faces. Then angle chin slightly down and together so the hood frames both faces evenly. Finally, shoot a few frames where one person turns their body while the other stays still — you’ll get natural motion in the coat edges.
Skip thisDon’t over-style hair. Hoods flatten everything anyway.
13. Gloved hands and ring shot with frost sparkle
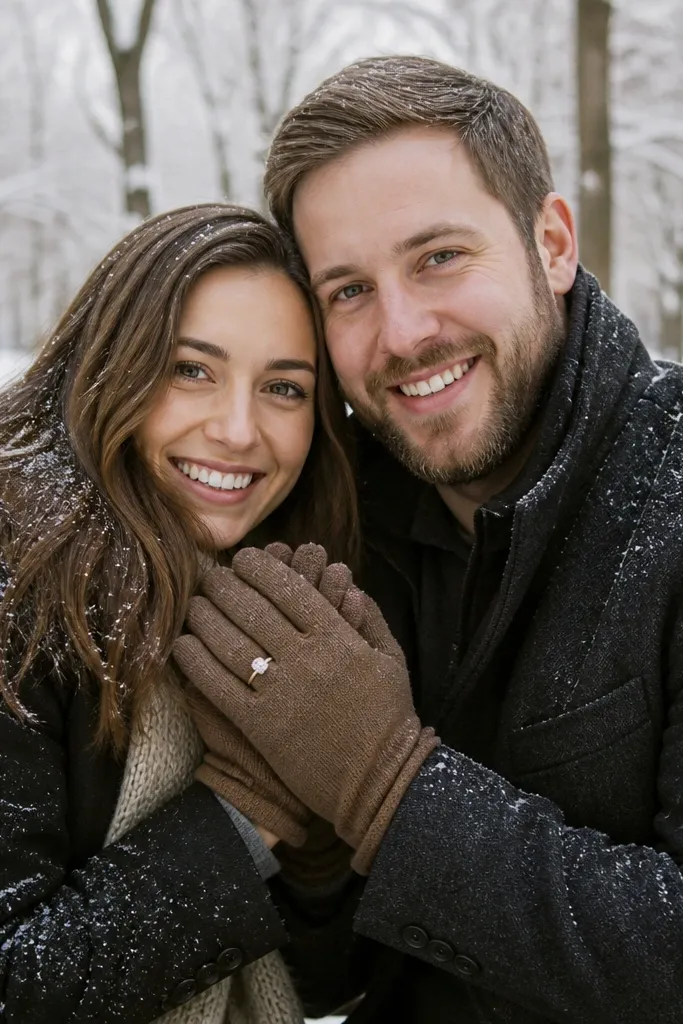
You want ring shots that look winter-specific, not generic close-ups. Frost sparkle and gloved hands make the image feel seasonal and romantic. This is also a practical solution when it’s too cold to keep bare hands outside for long. Choose gloves in a color that matches the outfit palette, and focus on small gestures — thumb rub, gentle hold, ring reveal.
Quick tipUse a darker glove for ring contrast if your ring metal is gold or rose gold.
Start by warming hands briefly, then keep the ring hand steady for 3-5 seconds before each shutter press. Then find a surface with frost or a textured sleeve cuff that catches light, and place the ring near that sparkle. Finally, shoot at an angle where the frost catches but the background stays blurred.
Skip thisSkip bright, shiny gloves; they throw glare into the frame.
14. Wool blanket picnic with one clean blanket edge
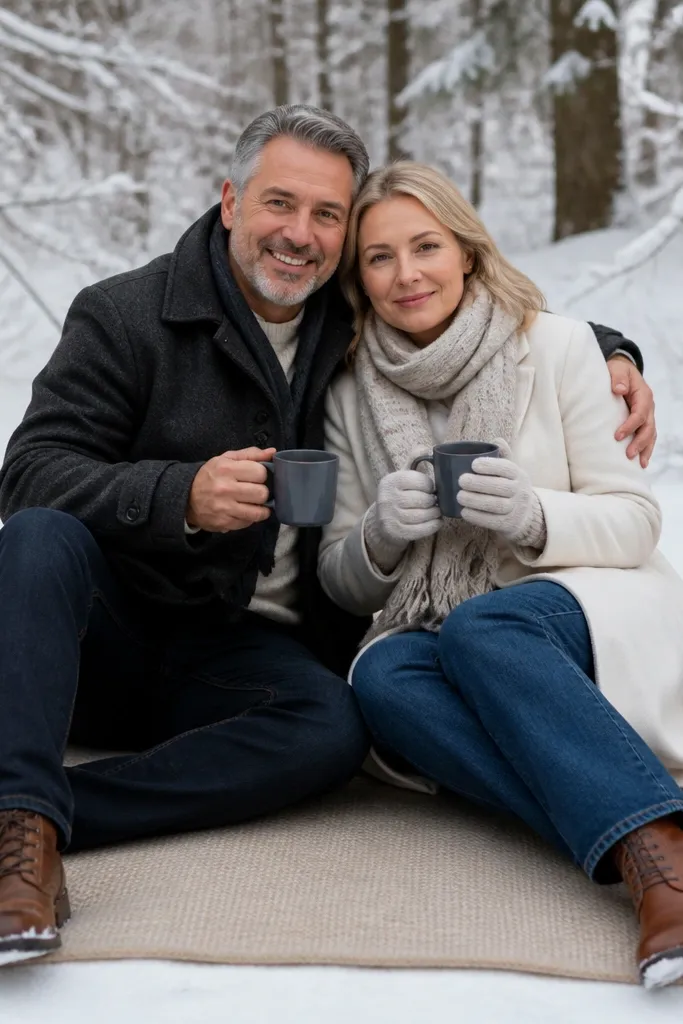
Picnic blankets look romantic, but only if they look controlled. In winter, choose a thick wool blanket in a solid tone like oatmeal, charcoal, or deep green. One clean blanket edge matters; messy folds make the scene look like a prop dump. This setup also creates natural seated poses that are flattering and stable, especially if you’re doing a longer pre-shoot.
Quick tipBring a small towel under the blanket if the ground is damp; it prevents soaking and makes the fabric look fresh.
Start by laying the blanket on a clean surface — dry grass patch, a mat on pavement, or a cleared area. Then keep props minimal: two cups, a small bouquet, and maybe one folded scarf instead of a dozen items. Finally, pose with one person angled toward the other and use the blanket edge as a compositional line.
Skip thisDon’t use thin throw blankets. They look flat and get crunchy fast.
15. City park path with bench framing and negative space
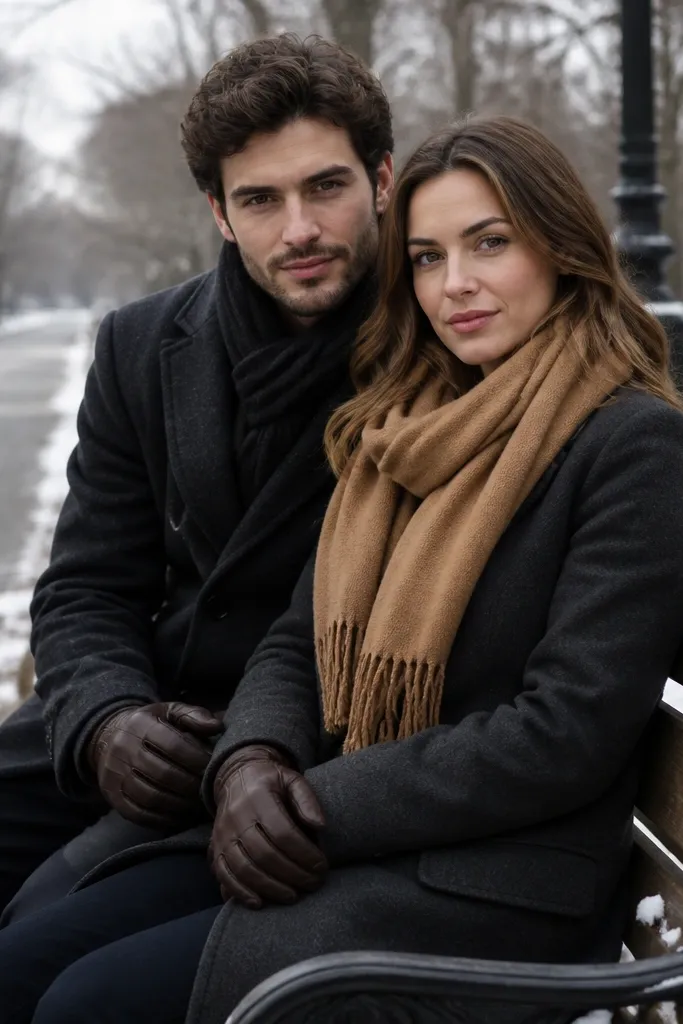
City parks can look just as aesthetic as remote snow forests when you use benches correctly. A bench creates a reliable seating shape and gives the photographer an easy frame boundary. Negative space behind you keeps the background from turning into visual clutter, which is a big problem in winter when everything looks gray and busy. Choose a bench with simple lines and a background with either sky or a single treeline.
Start by walking the park for 10 minutes and picking one bench location with a clean background. Then position the couple so their faces sit in the open part of the frame, not between tree branches. Finally, shoot a mix of seated and standing: stand for full-body and sit for relaxed expressions.
Wear gloves that match your outfit palette so hand details look intentional even when you’re adjusting coats.
Skip benches with peeling paint or random clutter nearby.
16. Sun flare through branches with controlled angle
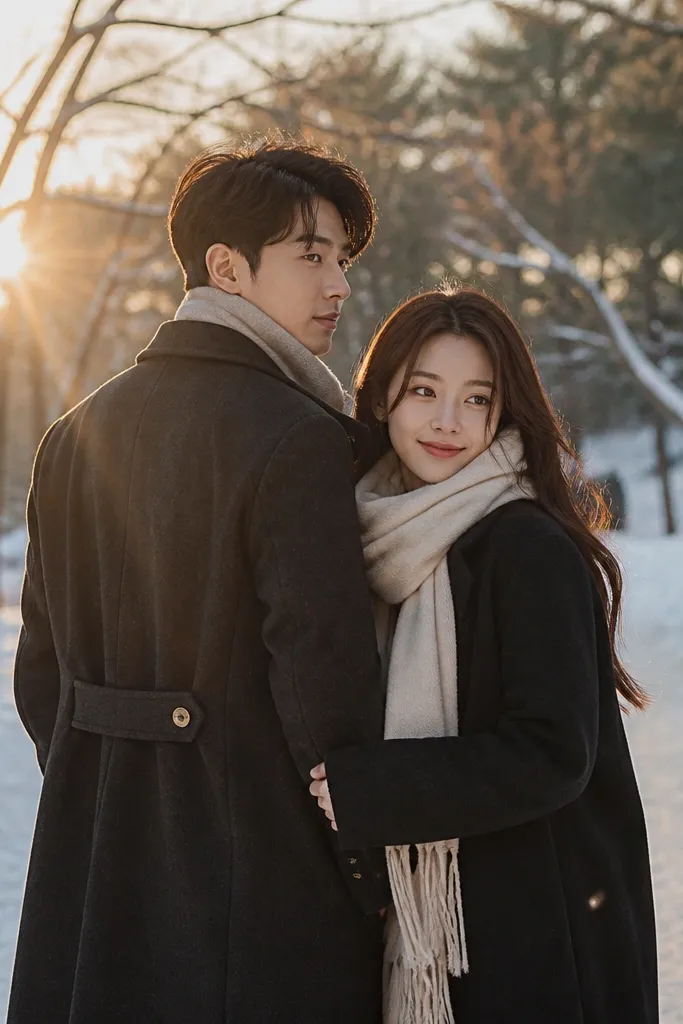
Sun flare can look gorgeous in winter, but only when it’s controlled. Branches act like a natural filter, turning harsh light into soft streaks that add romance. This style works best when the sun is low and the couple stands slightly off-center so flare doesn’t wash out faces. Keep outfits dark and warm-toned so the flare reads as atmosphere, not a blown-out mess.
Quick tipUse your lens hood if you have one. It reduces random flare that looks like haze.
Start by finding a spot where branches cross between the camera and the sun. Then place the couple so their faces are shaded just enough, while the background catches flare. Finally, take test frames and adjust your angle by inches until you get flare around the edges instead of across eyes.
Skip thisDon’t push flare too hard. If faces are bright and low-contrast, it’s ruined.
17. Frosty railing kisses with slow shutter for motion
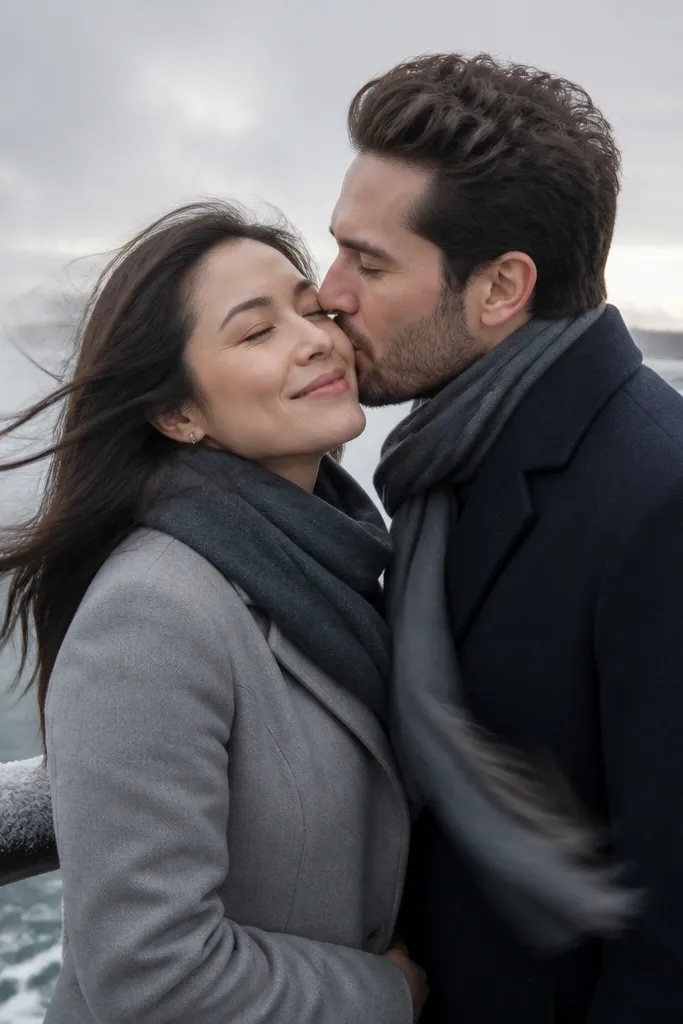
Frost on railings adds a crisp detail that makes close portraits feel intentional. The aesthetic comes from the contrast between sharp frost texture and slight motion in hair or scarf ends. This look is best when the cold is dry enough that you can breathe without fogging the lens. It also works with couples who feel awkward posing because the interaction is simple — close, hold, and let the scarf or coat shift naturally.
Quick tipIf your hands shake from cold, swap to gloved poses and focus on face closeness.
Start by choosing a railing with visible frost and clean surrounding space. Then set up for quick frames: one person stays steady while the other moves slightly, like a gentle turn. Finally, shoot with a slower shutter only if your camera is stable; otherwise do normal shutter speed and rely on scarf movement.
Skip thisAvoid busy backgrounds behind the railing; frost detail loses impact when the frame is cluttered.
18. Trail overlook with wind-stopped stance and wide coats
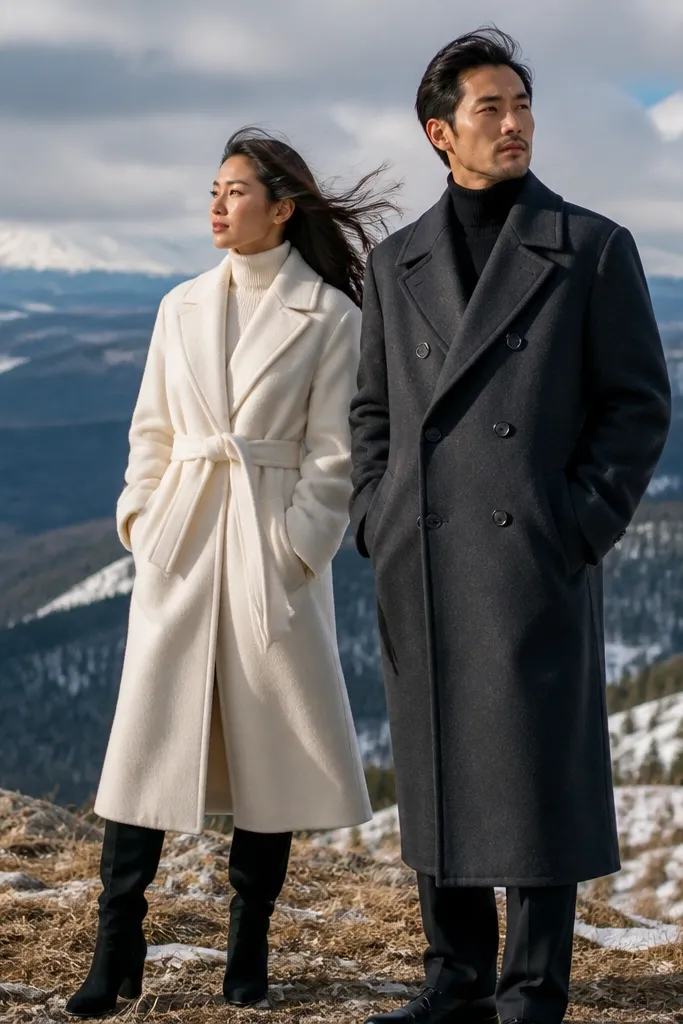
Overlooks look dramatic, but wind is the enemy because it ruins hair and makes couples look tense. The fix is stance: plant feet, keep bodies angled slightly away from gusts, and use wide coats to create a natural silhouette. This look works in winter because distant horizons show clean layers — darker trees, pale snow, and a sky gradient. If you want photos that feel like a postcard but still intimate, an overlook is a strong choice.
Quick tipBring a small scarf clip or hair pins. Wind steals time fast on outdoor winter shoots.
Start by scouting a spot with a natural barrier like a boulder wall, tree line, or building corner. Then have the couple stand close together and turn their shoulders so wind hits the coats, not faces. Finally, shoot wide for the horizon and then step a few feet closer for tighter frames when the wind eases.
Skip thisSkip exposed ridges with no shelter if you don’t have time for multiple wind resets.
19. Snow-dusted boots and step-by-step walking pose
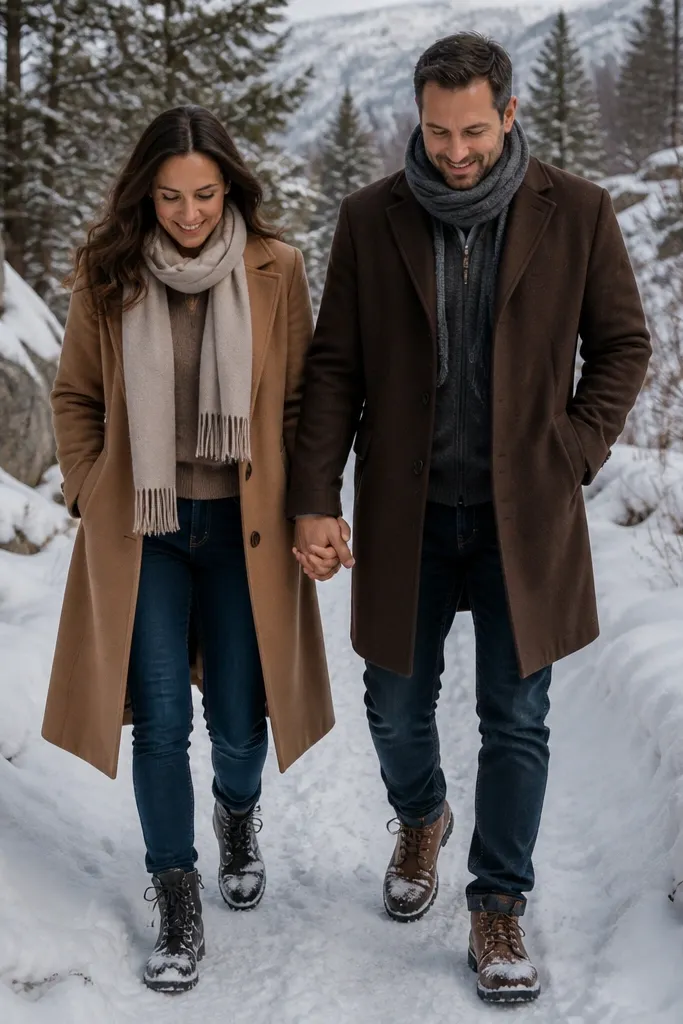
Close to mid-shots that show boots and foot placement add a winter-specific story. Snow-dusted boots look grounded and stylish, and the walking pose gives you motion without needing complicated choreography. This is perfect for couples who want photos that look natural and not like they’re standing still in freezing air. The key is clean steps — avoid stepping through slush that makes legs look wet and messy.
Start by choosing a path with intact snow cover or a cleared walkway with light snow dusting. Then have the couple walk toward the camera in slow, measured steps and stop for one held frame every few steps. Finally, shoot at lower height so boots and coat hem edges show texture.
Wipe boot soles once before each set of frames so you don’t track dirty slush into the scene.
Skip deep slush areas where boots look muddy and coat hems get stained.
20. Monochrome gray stone with one warm accent
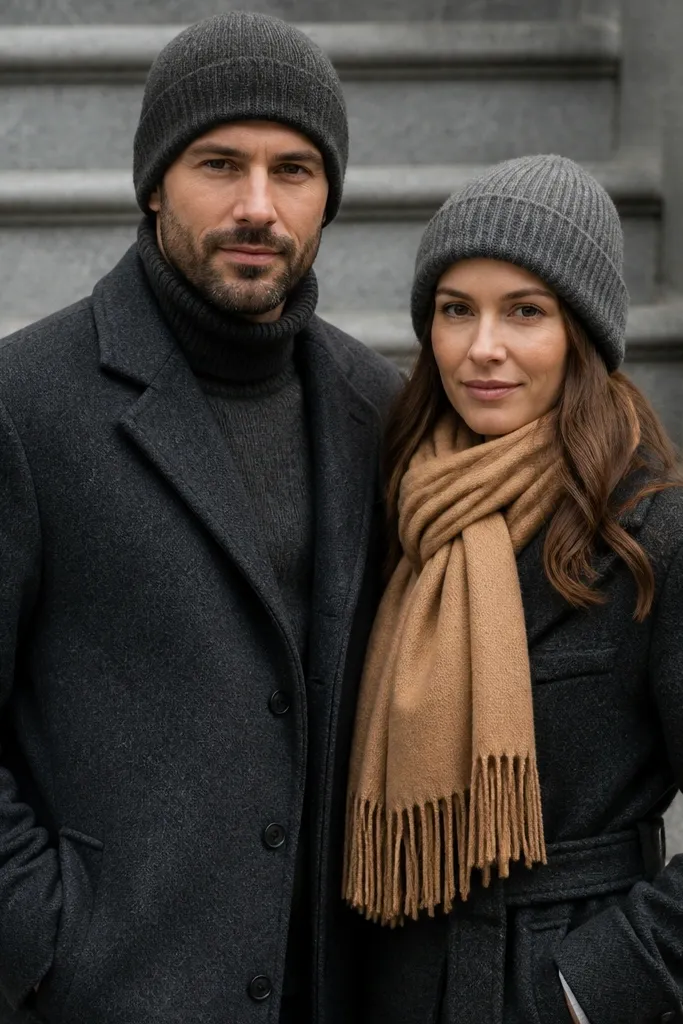
Gray stone backgrounds can look gorgeous, but they flatten color if your outfits are also gray. The aesthetic upgrade is monochrome base plus one warm accent near the face — camel scarf, rust gloves, or a warm-toned hat. This makes the couple the only color focus, which instantly improves photo impact. It also helps with skin tone because warm accents reflect light onto cheeks. Look for courtyards, museum steps, and stone walls with simple textures.
Quick tipChoose matte fabrics. Wool and brushed knits look better on gray stone than shiny synthetic layers.
Start by matching coats to the stone — charcoal with gray stone, navy with slate stone — so the background doesn’t overpower. Then add one warm accent piece for each person and keep other accessories minimal. Finally, shoot with the stone wall behind you and the camera slightly lower than eye level to add structure.
Skip thisAvoid multiple accent colors. One warm pop reads cleaner and looks more intentional.