1. Mini perfume sample vial with a custom label
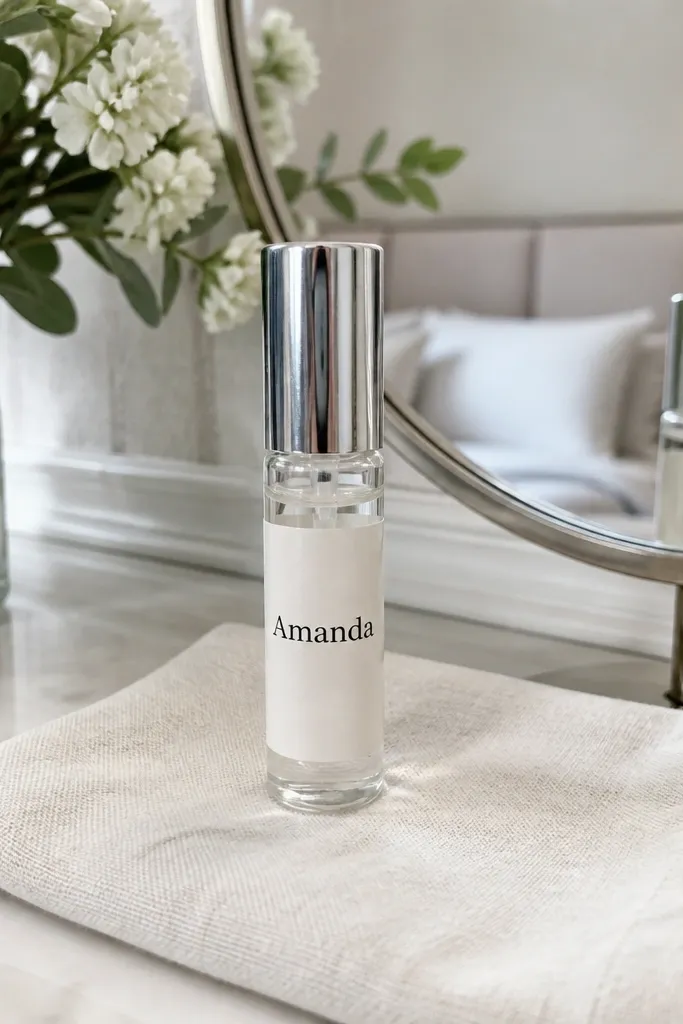
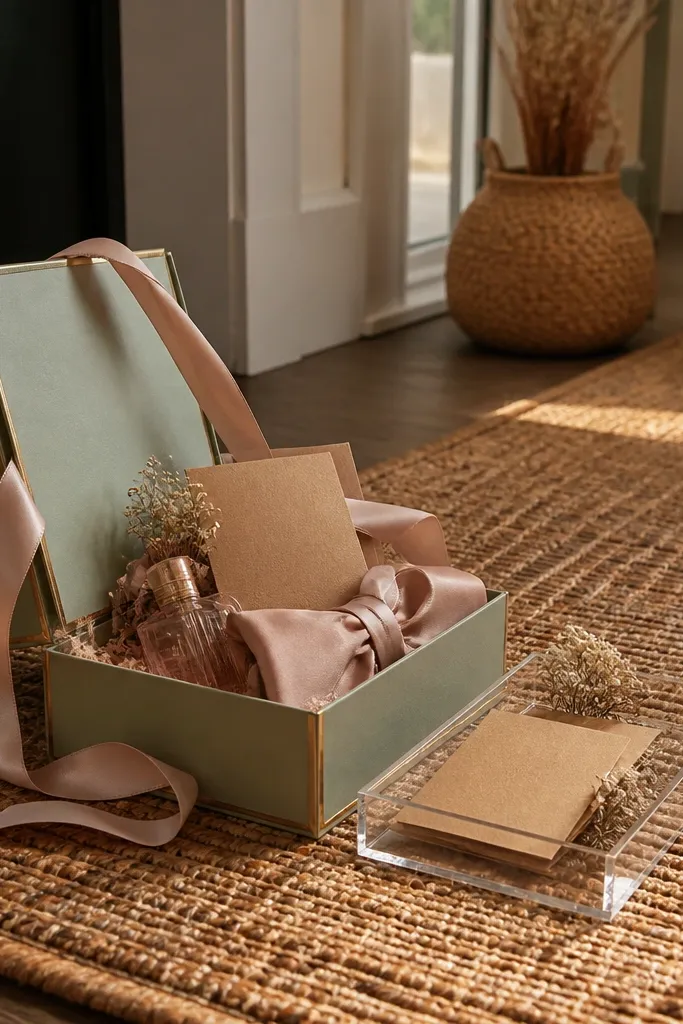
A mini perfume sample vial looks fancy because it’s small but shiny, and it reads luxury even when the box is simple. Pick a scent family that feels wedding-appropriate: soft floral, clean musk, or warm vanilla. The label is where you do the personalization — add the bridesmaid’s name on a matte sticker so it doesn’t glare on camera. This item works for any season, and it’s especially good when you want the proposal box to feel like a treat, not a “kit.”
Start by choosing 1 scent profile for all boxes so they match your theme colors. Then print a matte label (or use matte sticker paper) with the name and a short line like “For your next date night.” Finally, cushion the vial in tissue and place it near the top so the label is visible when the box opens.
Use matte label paper and keep the vial wrapped in a small sealed bag to prevent label smudging in transit.
Skip liquid-heavy perfume bottles; they raise spill risk and make the box feel messy.
2. Rose-gold bobby pins in a clear organza pouch
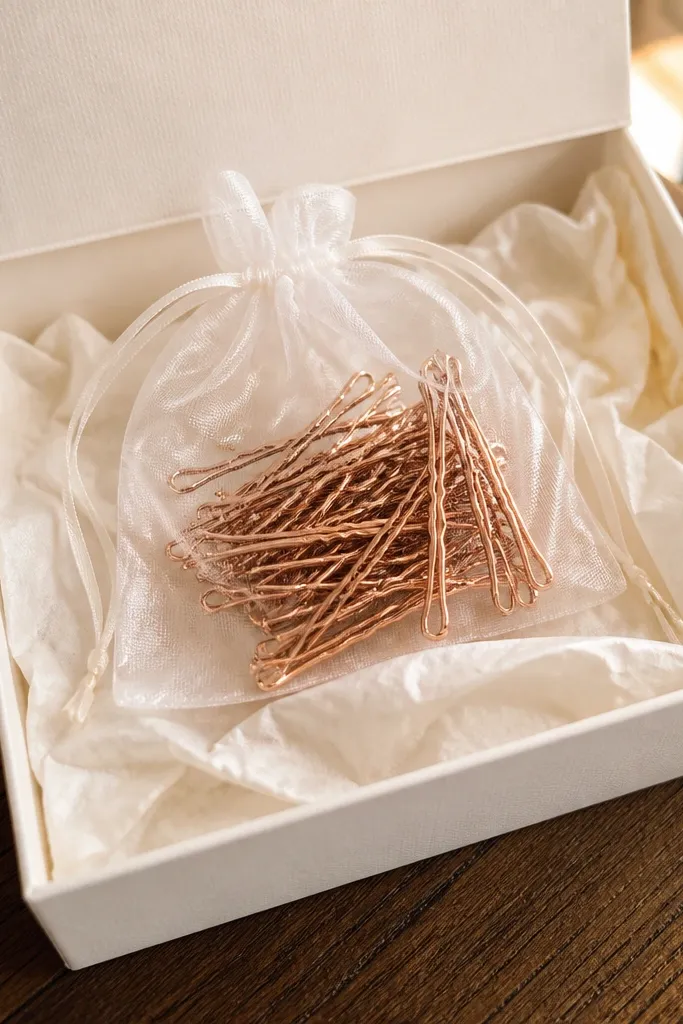
Bobby pins are a practical wedding-day item, but the right packaging makes them look like jewelry. Rose-gold tones match most wedding palettes and photograph with a gentle glow. The organza pouch adds softness and texture, which stops the box from looking like a bunch of flat paper pieces. Put them in the top third of the box so they peek out and create that “someone planned this” effect.
Quick tipPick pins with a smooth metallic finish; dull pins look gray in photos.
Start with a small clear organza pouch and fill it with 10-20 bobby pins so it looks substantial. Then tie a ribbon around the pouch using your main color and add a tiny tag with the bridesmaid’s name. Finally, tuck the pouch into a folded tissue nest and place it beside a card so it frames the message.
Skip thisDon’t overstuff the pouch; cramped pins make the pouch look wrinkled and messy.
3. Mini "bridesmaid emergency kit" sachet
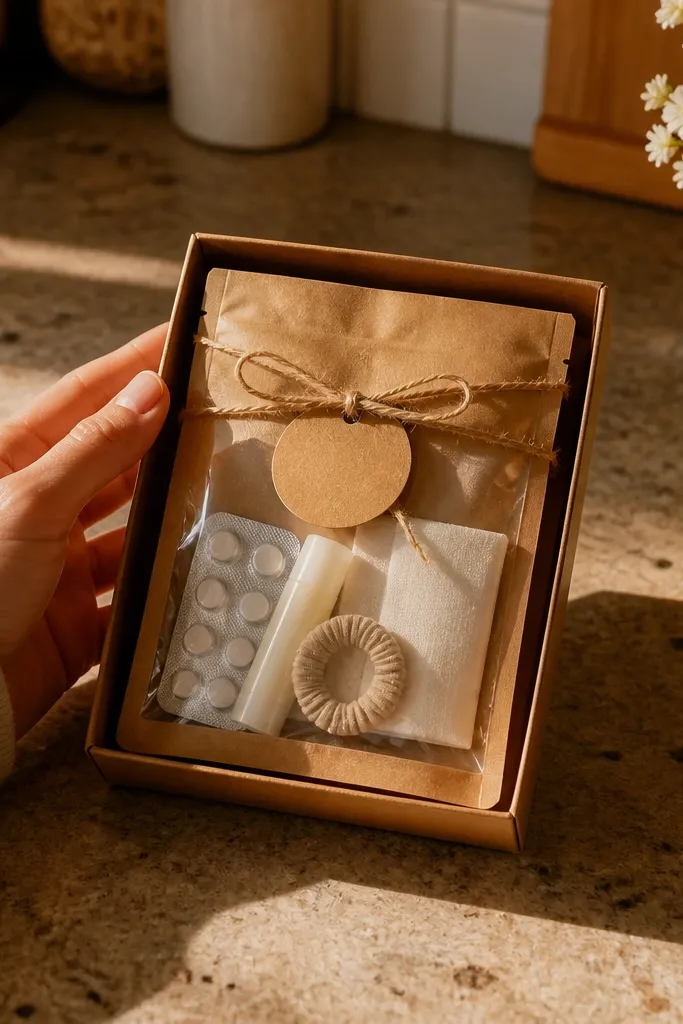
This is the kind of box item bridesmaids actually use, which is why it feels thoughtful. Make it visual by using a small kraft sachet with a neat label, then include travel-sized essentials that fit inside without bulk. Choose 3-4 items so it stays photogenic instead of turning into a clutter bag. It’s great for spring and summer weddings when people run into sweat, hair flyaways, and wardrobe tweaks.
Start by buying travel sizes of items like mini stain remover wipes, a blister patch, and a mini lint roller sheet or compact blotting paper. Then place them in a small kraft sachet and seal the top with a ribbon strip. Finally, add the bridesmaid’s name to the label and position the sachet vertically so the text is readable in the open-box photo.
Keep everything individually wrapped so the sachet looks clean even if it shifts during shipping.
Skip adding loose items without packaging; they spill and ruin the look fast.
4. Custom illustrated proposal card with layered paper frame
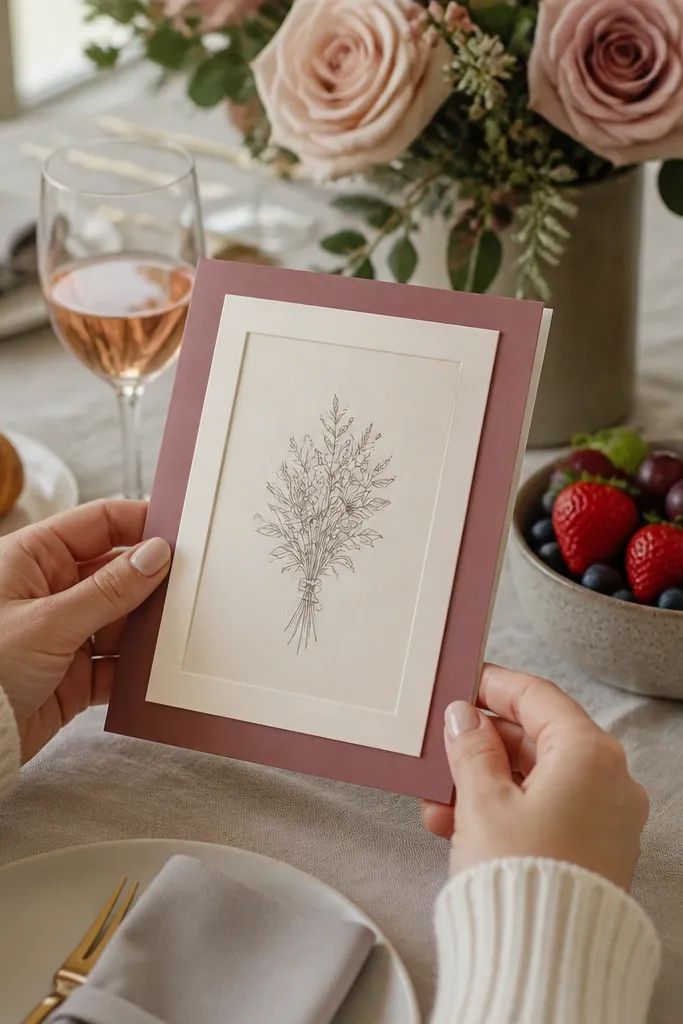
A card is the main message, but layered paper makes it look like decor instead of a plain sheet. Choose a frame color that matches your box palette and use thick cardstock so it stands up. Add a small illustration or simple line art of something specific to your theme, like a tiny bouquet silhouette or a “we found our date” motif. This is the anchor item for the whole box, because it’s what people reach for first when they open it.
Quick tipUse matte paper for the card; glossy cards glare under room lights.
Start by selecting a thick cardstock base (at least 110 lb) so it doesn’t bend. Then add a second layer behind it using a slightly larger piece of paper as the frame, leaving a clean border. Finally, place the card on top of the box contents and tuck the edges of tissue behind it for a crisp, styled look.
Skip thisDon’t use thin copy paper; it curls and looks cheap next to everything else.
5. Mini candle in a clear glass jar with a matching label
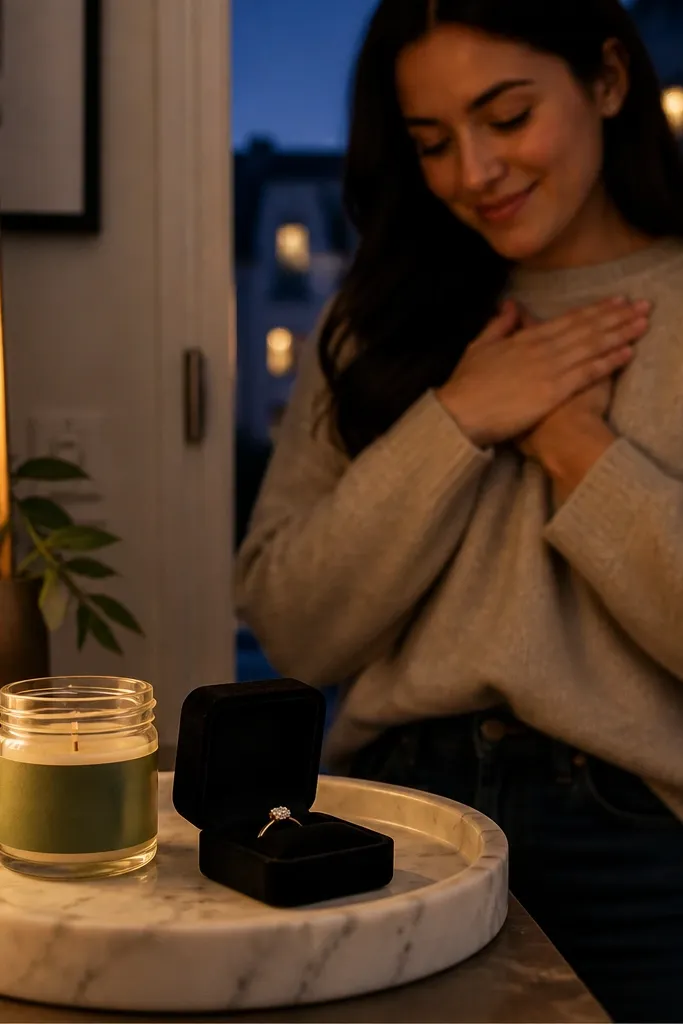
A mini candle makes the box feel like a full experience because it adds scent and a warm glow in the photos. Clear jars look clean and modern, and a custom label ties it to your color theme. Choose a short burn candle size so it ships safely and doesn’t take up the entire box. This works for nearly every season, and it’s especially strong in fall and winter when people crave cozy details.
Quick tipAdd a small circle of cardstock under the candle lid so it doesn’t scrape the label in transit.
Start by picking a soy or coconut wax candle in a small jar size that fits your box (think travel candle scale). Then print a label with the bridesmaid’s name and a short line about being part of your wedding. Finally, wrap the jar with a thin tissue layer and place it on the side, not flat, so the label faces outward.
Skip thisSkip candles with strong spill-prone lids; you want a tight seal for shipping.
6. Chocolate hearts in a mini kraft favor box
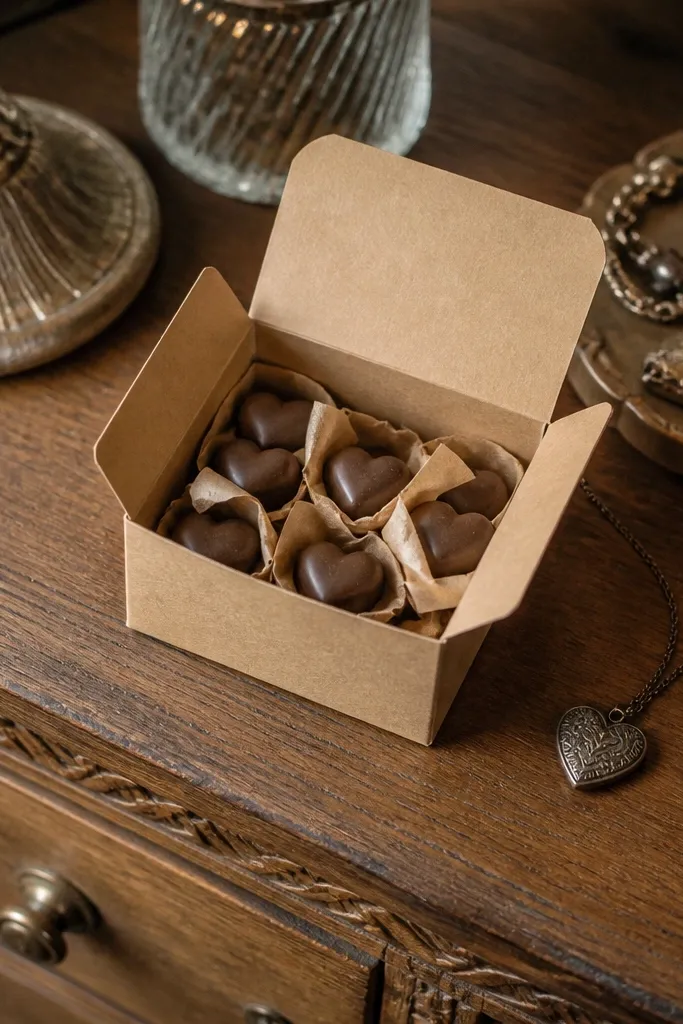
Edible items photograph well when they’re contained and tidy. A mini kraft favor box with chocolate hearts looks rustic-cute and pairs with almost any wedding color palette. The kraft paper also balances shinier items like metallic charms, so the box feels cohesive. Choose hearts wrapped in individual paper pieces so the contents look neat even if you tilt the box.
Start by buying individually wrapped chocolate hearts and filling a small kraft favor box until it looks full but not packed. Then tie a ribbon around the top and attach a mini name tag. Finally, place the favor box near the front so the chocolates are visible when the lid opens.
Avoid fragile chocolates that crumble; choose sturdy wrapped pieces.
Don’t use an open bag of candy; it looks chaotic and can leak during shipping.
7. Personalized lip balm with color-matched twist wrapper
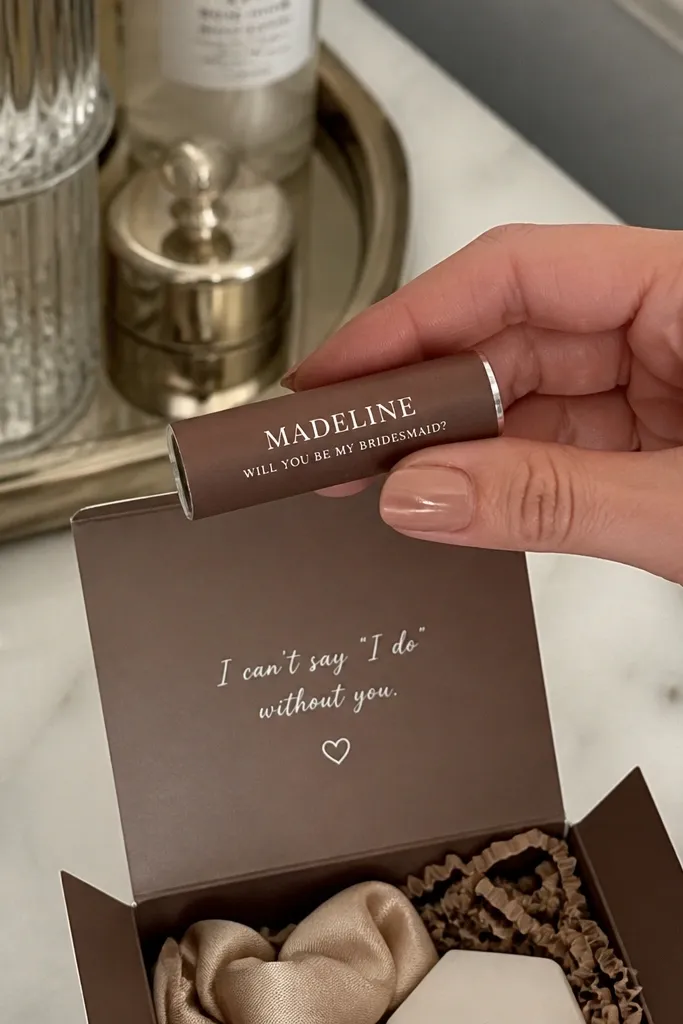
Lip balm is a practical bridesmaid gift, and it also adds a glossy pop in photos. Pick a neutral scent like vanilla or cocoa and choose balm packaging that matches your palette. The easiest upgrade is the label: a clean matte sticker with the name and a wedding-related line. Put it in a “sparkle zone” — near the top right — so it catches light and looks intentional.
Start by selecting a lip balm tube size that fits snugly in your box without wobbling. Then apply a matte sticker label and wrap the tube with a thin strip of ribbon in your accent color. Finally, tuck it upright in tissue and keep it beside the card so the open-box view shows it clearly.
Choose a balm with a smooth cap that won’t scuff the label.
Skip glittery lip products; they can smear and look messy in photos.
8. Mini bouquet keychain made from dried florals
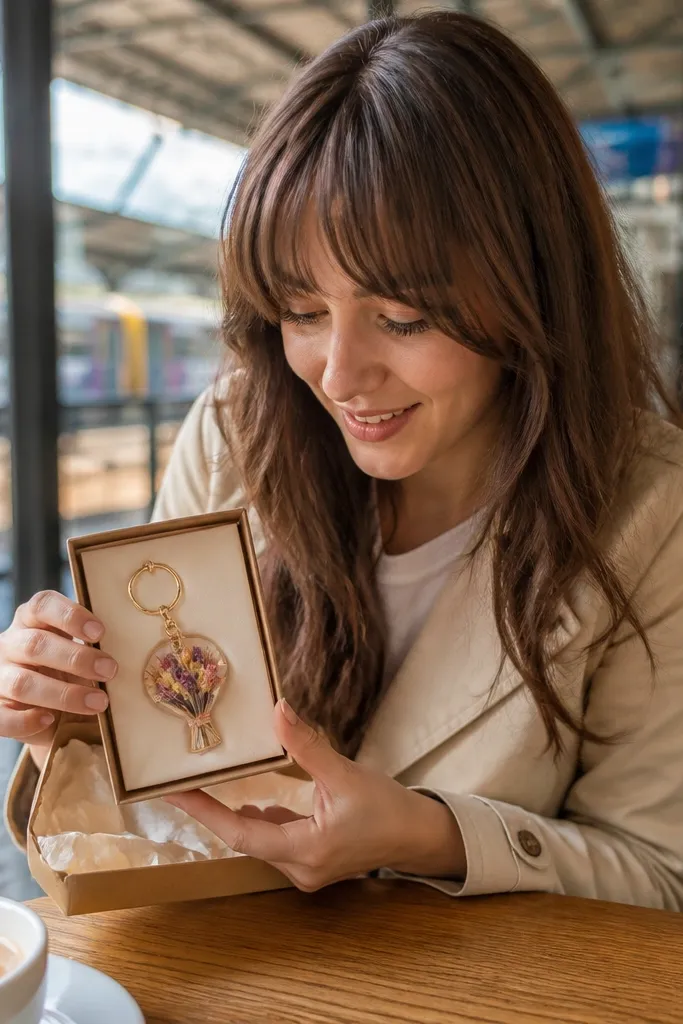
A tiny dried-floral keychain feels like a keepsake without taking over the box. Resin-encased florals photograph beautifully because you get gentle sparkle and clear edges. Keep the bouquet small and consistent across boxes so the look stays uniform. This item suits spring and summer weddings, and it pairs well with soft palettes like sage, blush, and cream.
Quick tipUse a tag with thick cardstock so it stays crisp in the open-box shot.
Start by choosing resin keychains with similar flower tones to your wedding palette. Then add a small tag that includes the bridesmaid’s name and your wedding date. Finally, attach the keychain to a ribbon loop inside the box so it hangs slightly and adds height.
Skip thisDon’t pick keychains with heavy metal chains that tangle; ribbon-hang looks cleaner.
9. Veil-inspired hair scarf in a satin ribbon fold
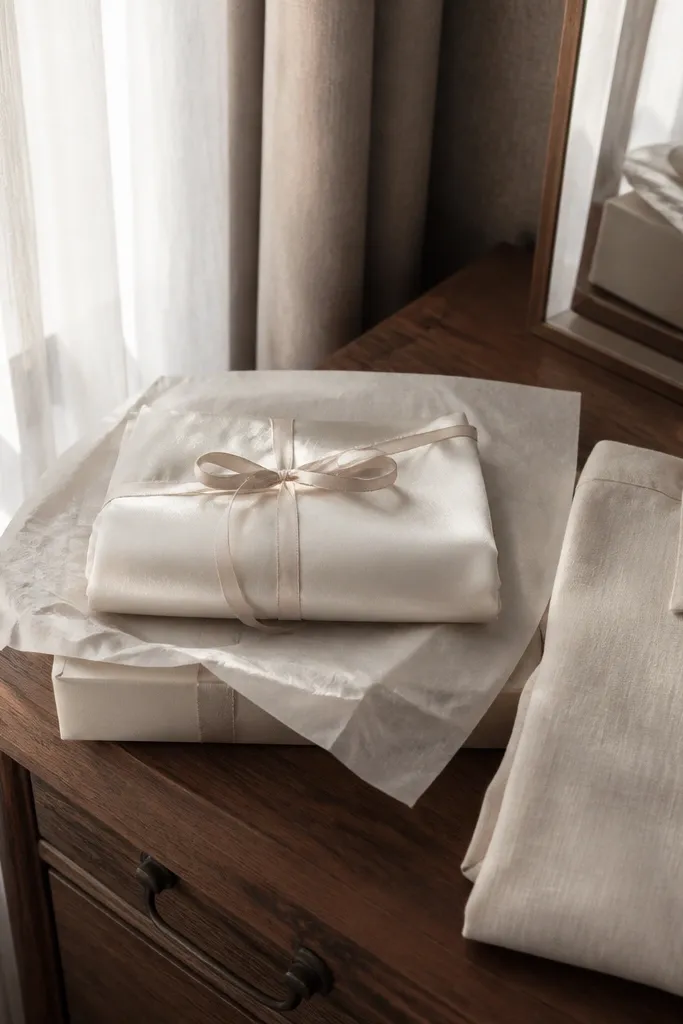
A small hair scarf adds movement and a luxe texture that reads “wedding-ready.” Choose satin or a soft silk blend so it catches light without looking shiny-glossy. Fold it into a tight rectangle and tie it with a ribbon so it looks styled, not shoved in. This is a strong pick when you want your bridesmaids to feel like they’re getting something they can wear again.
Quick tipPick a scarf with subtle print or solid color; loud prints fight for attention with your other items.
Start by buying a hair scarf in a color that matches your accent tone. Then fold it into a neat rectangle and tie a narrow ribbon around the center. Finally, place it flat under the card or on top of tissue so the fold lines show clearly in photos.
Skip thisSkip wrinkled scarves; they make the box look rushed.
10. Personalized mini photo strip holder with "bridesmaid" caption
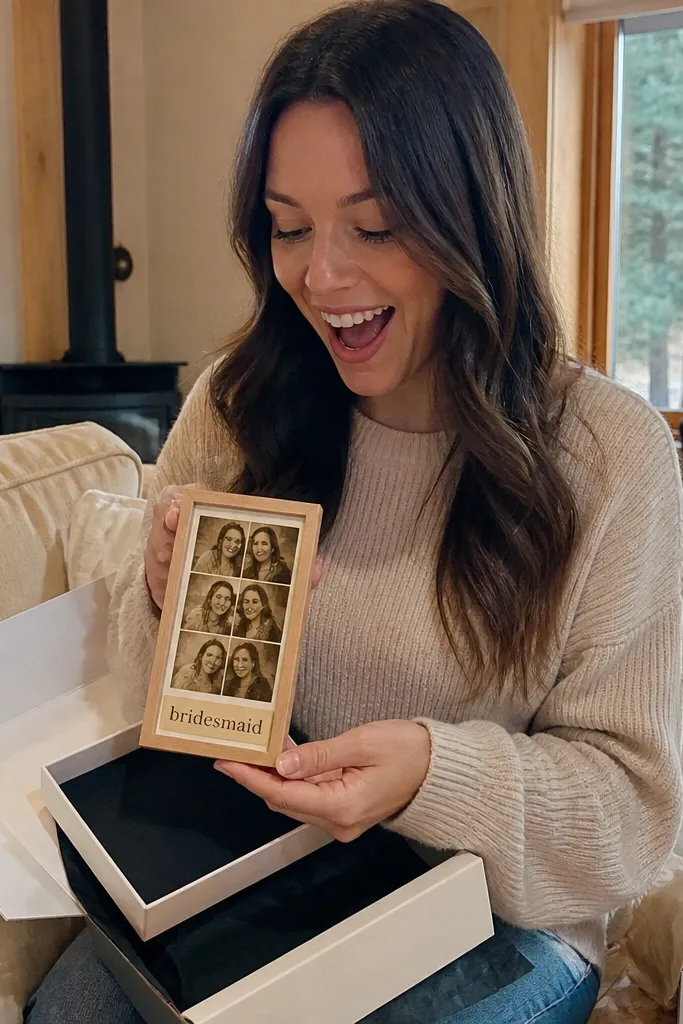
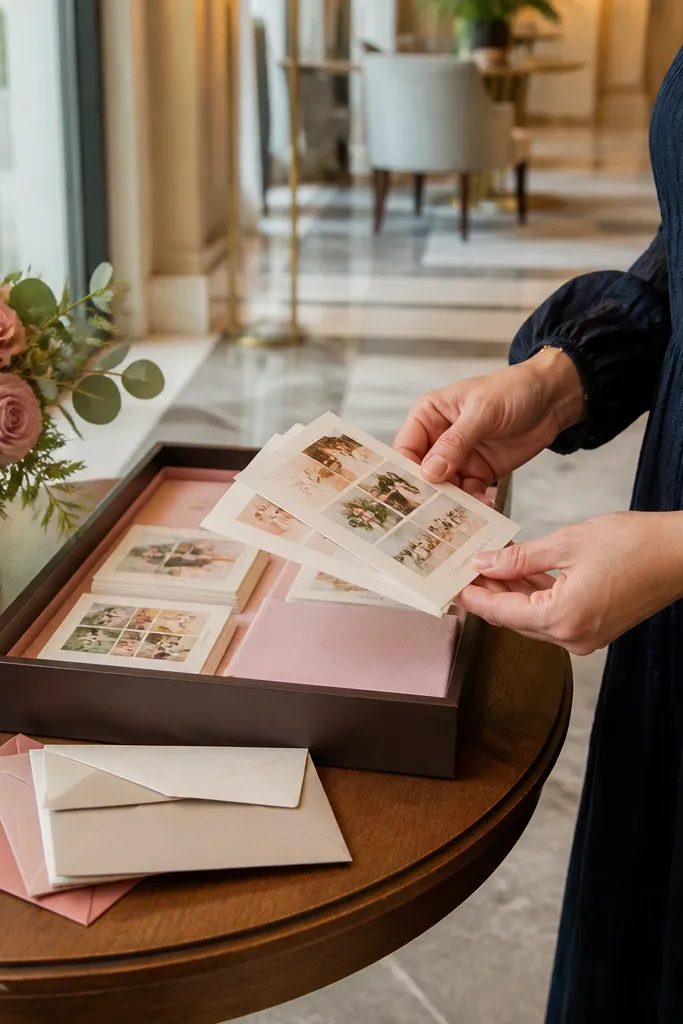
Photo strips add warmth because they feel personal without requiring a long backstory. Use a mini holder or frame you can fit in the box, then include a short caption like “Bestie since...” or “Our kind of chaos.” The holder makes it look like a keepsake display, not just a printed card. This works well for destination wedding groups because it adds a memory layer even if your bridesmaids don’t all meet often.
Start by selecting a photo strip size that fits your box dimensions (mini strip scale works best). Then print the strip and slide it into a mini holder with a matte back. Finally, place it upright behind the card so it frames the message and reads clearly in the open-box photo.
Use matte photo paper to reduce glare from indoor lights.
Don’t include loose photos without a holder; they crumple and look messy.
11. Sparkly "thank you" ornament tag with ribbon
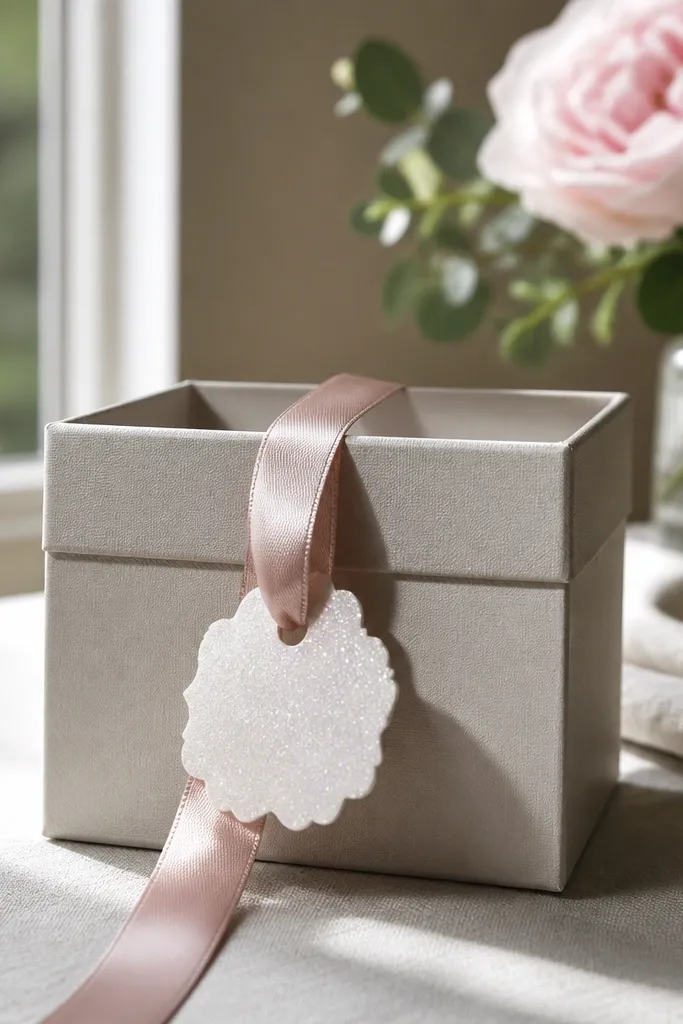
A small ornament tag turns the box into something you can hang or reuse. Go for a thick tag shape (like a circle or scalloped rectangle) with a light shimmer so it looks special in photos. Write a short thank you line and add your names or wedding date. This item is a great visual spacer — it fills empty areas and makes the box look fuller without adding clutter.
Quick tipUse a ribbon in the same color as your card accent to tie the whole box together.
Start by picking a tag size that fits your box lid opening view (small enough to look intentional, not bulky). Then attach it to a ribbon loop so it dangles slightly. Finally, tuck it into the tissue nest near the top so the shimmer catches the light when the box opens.
Skip thisAvoid tiny flimsy tags; they fold and disappear in photos.
12. Mini wooden wedding sign with "Bridesmaid" text
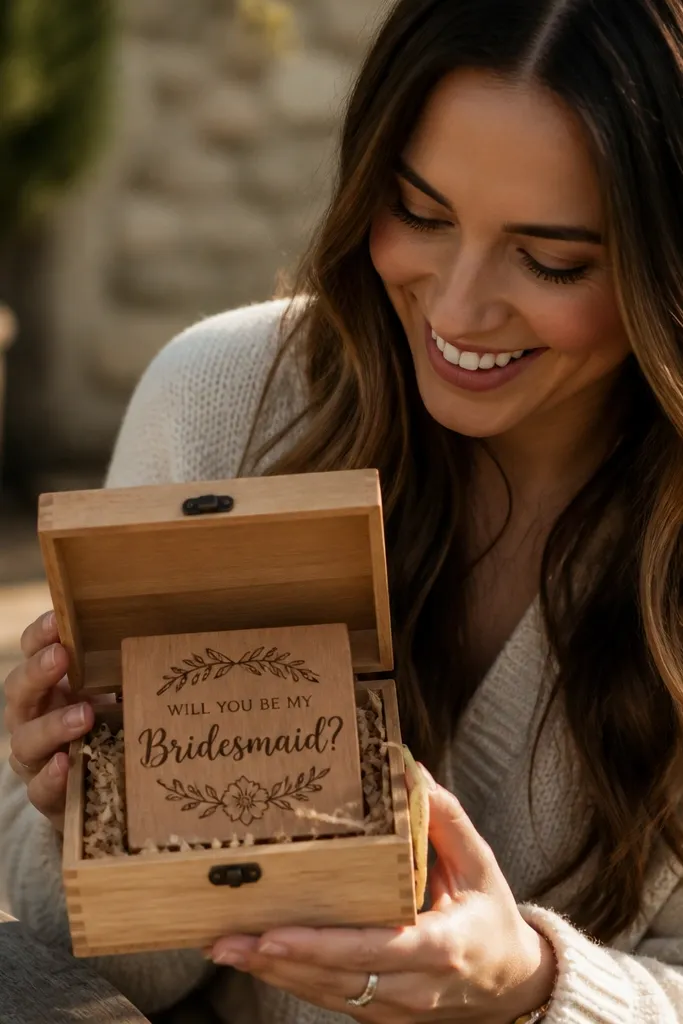
A mini wooden sign is one of the easiest “hero items” for proposal boxes because it gives height and structure. Wood tones look warm and photographic, and the words read instantly even from a distance. Choose a simple font and keep the text short so it looks clean. This works for rustic, modern rustic, and even minimalist palettes because it adds texture without color noise.
Quick tipUse a sign with rounded edges; sharp corners chip during shipping.
Start by choosing a sign size that fits your box depth without touching the lid (measure the box first). Then place it upright in the back layer of the box so it supports the rest of the contents. Finally, add small accents like a ribbon and a name tag to keep the sign from looking generic.
Skip thisSkip signs that are too big; oversize wood blocks the view of your other items.
13. Sealed tea sachets with a custom string tag
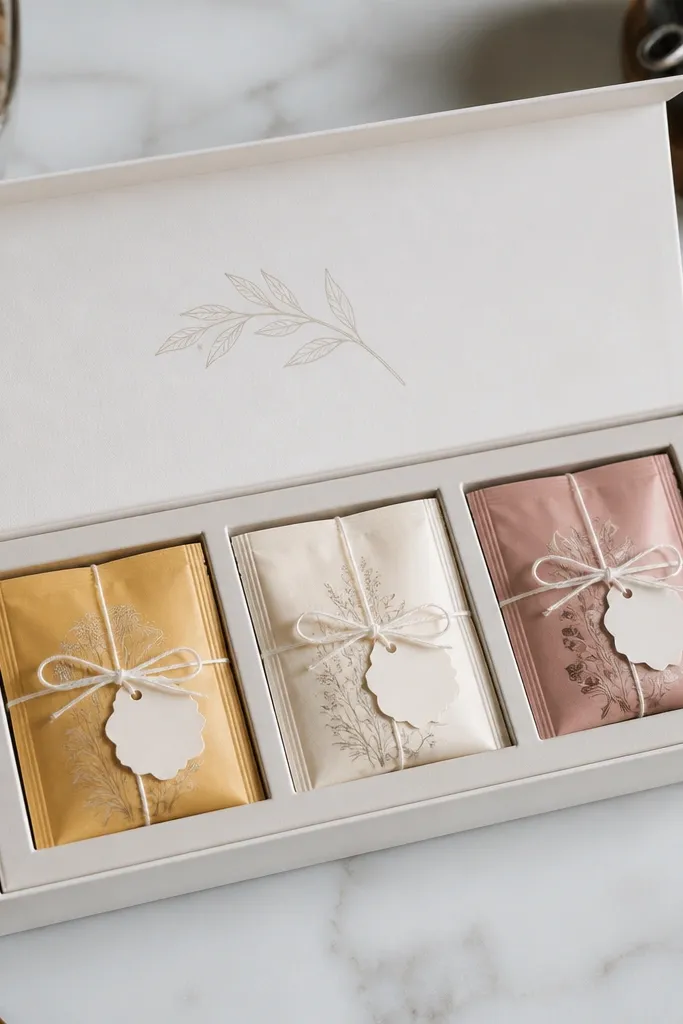
Tea sachets are a quiet, photo-friendly gift because the packaging looks neat and the colors are easy to match. Choose flavors with soft branding, like chamomile, vanilla rooibos, or berry blends. Add a string tag with the bridesmaid’s name and a short wedding line, then stack sachets in a tidy mini tray. This is ideal for fall and winter proposals, and it also works when you need shelf-stable items that travel well.
Quick tipPick tea packets with a matte finish; glossy wrappers reflect harsh highlights.
Start by buying tea sachets that come in sealed packs, not loose sachets. Then label each sachet or label the bundle with a custom string tag. Finally, place the tea bundle in the center layer so it sits flat and creates a color block under the taller items.
Skip thisDon’t mix too many flavors; it makes the box look like a random sample pack.
14. Mini champagne-style drink mix in a clear cellophane pouch
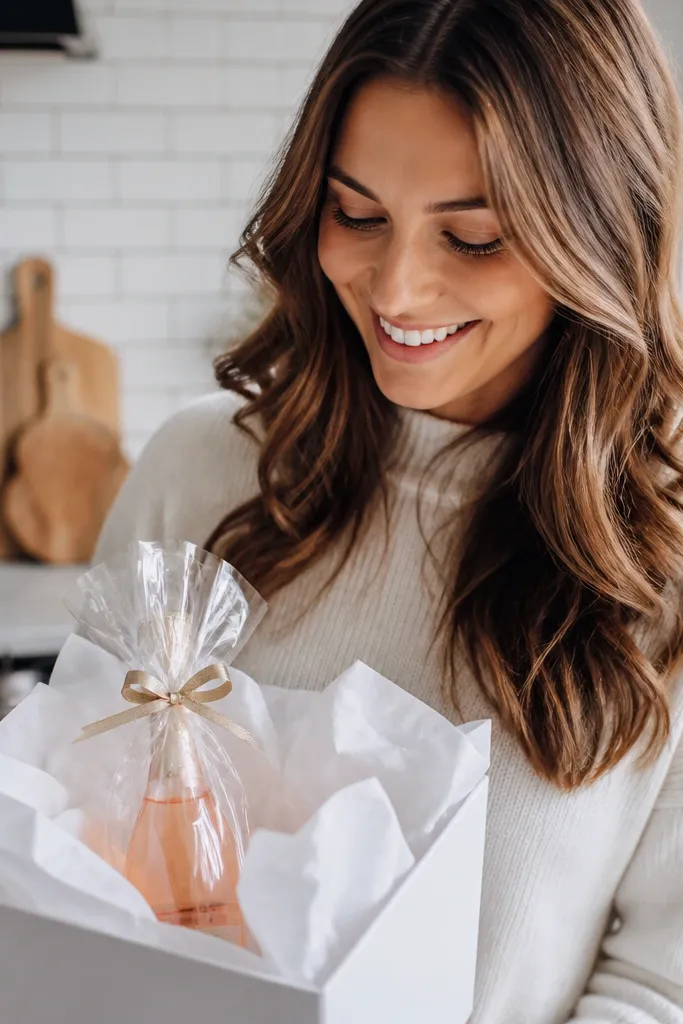
A champagne-style drink mix feels celebratory without needing actual alcohol. Use it as a fun “moment” item — bridesmaids can make it the night they open your box or anytime later. Clear cellophane looks crisp on camera, and gold ribbon ties in with lots of wedding color schemes. Choose a flavor like peach fizz or berry sparkle so it reads sweet and festive.
Quick tipAdd a small card with “Add to sparkling water” instructions so it doesn’t confuse anyone.
Start by buying drink mix packets that are individually sealed. Then bundle 2-3 packets in a clear cellophane pouch and tie it with your accent ribbon. Finally, place it on the side of the box where the clear pouch catches light in the open-box shot.
Skip thisSkip mixes that arrive loose; loose powder looks messy and can spill.
15. Reusable compact makeup mirror with engraved name
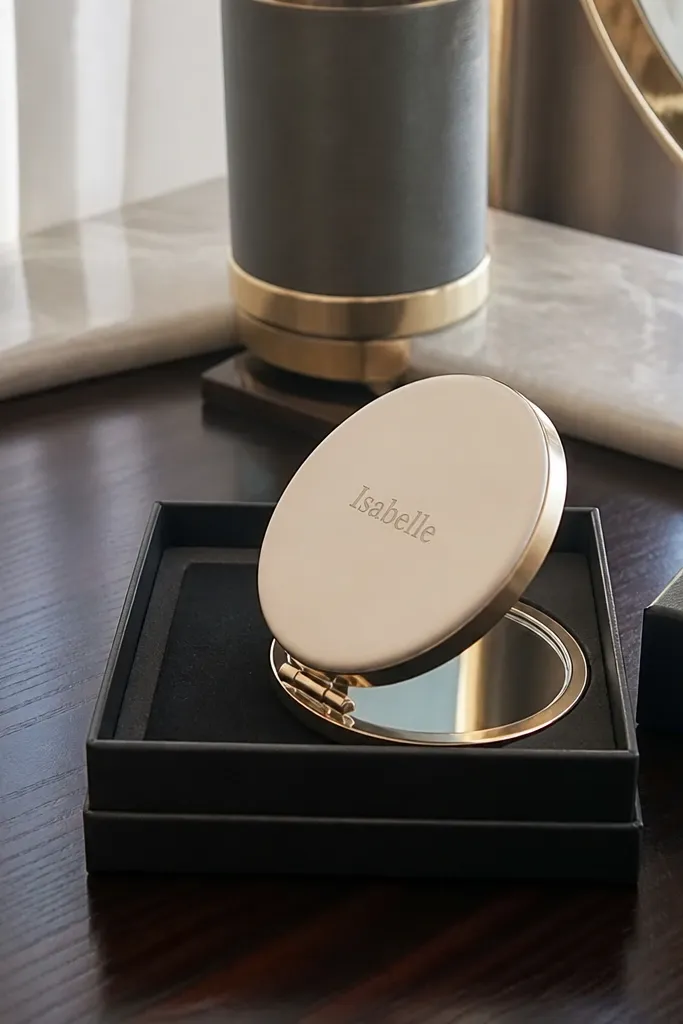
A compact mirror feels like a real gift because it’s useful and it looks polished. Engraved names make it feel personal without adding bulk. Pick a mirror with a smooth outer finish so it doesn’t scuff easily in shipping. This is a strong choice for bridesmaids who love getting ready details, and it pairs well with lip balm and hair accessories for a complete beauty mini set.
Quick tipUse tissue “rails” on both sides so the mirror doesn’t rattle.
Start by choosing a compact mirror that fits your box size and won’t scrape the lid. Then engrave or label it with the bridesmaid’s name and add a small ribbon accent. Finally, place it in the back layer and wedge tissue around the sides so it stays still during shipping.
Skip thisDon’t use mirrors with sharp edges; they can chip and ruin the look.
16. Wedding date mini stamp set for cards and envelopes
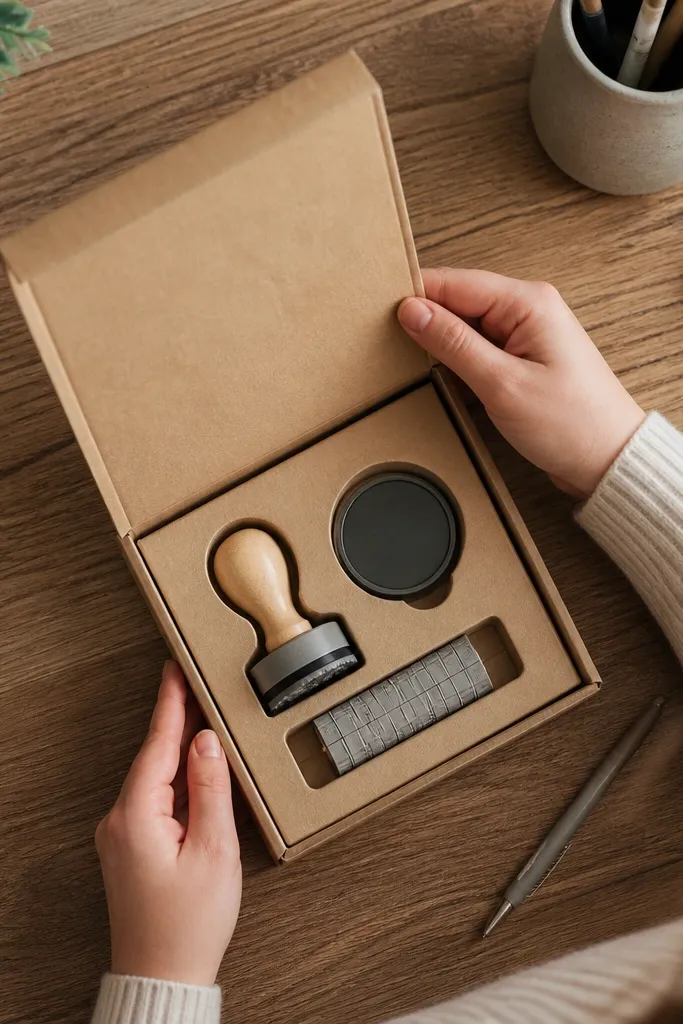
A tiny stamp set turns your proposal box into something creative they can use later. It’s also a cool photo detail because stamps come in tidy packaging and look like stationery. Choose a clean stamp design with just your wedding date and a short word like “Save the Date” or “Together.” This works best when you want a keepsake that isn’t sentimental in a heavy way — it’s practical and artsy.
Start by selecting a stamp size that fits in your box without crowding other items. Then include a small ink pad or inkless stamp insert depending on what you buy. Finally, attach a small cardstock instruction card that tells them how to use it on envelopes or thank-you notes.
Pick a black or dark ink so it prints crisp and matches most paper colors.
Skip stamp sets with messy ink pads; they smear and ruin the aesthetic.
17. Small ceramic trinket dish for rings or earrings
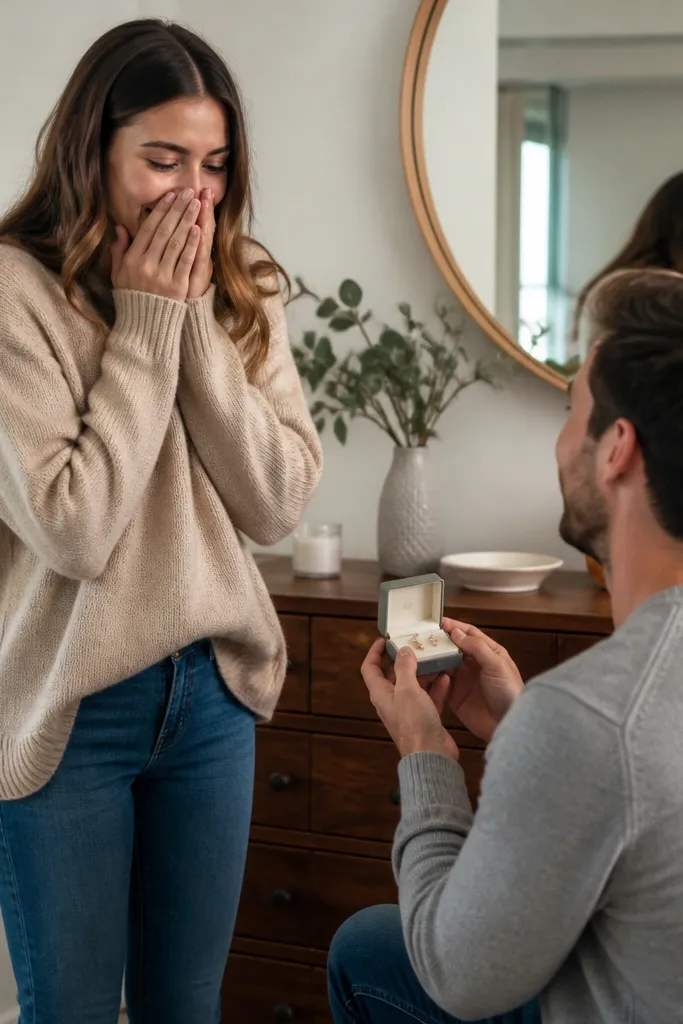
A trinket dish looks like home decor, which makes the proposal box feel elevated without being complicated. White ceramic with a gold rim photographs cleanly and matches lots of wedding styles. Use it for rings, earrings, or hair accessories, so it feels connected to wedding-day use. This is one of the best “keepsake” items because it has a long life after the proposal.
Start by choosing a dish with a flat base and a size that fits snugly in your box. Then wrap it with tissue and add a small name tag tied to the ribbon inside the box. Finally, place it in the bottom layer, and build the rest of the contents around it so the dish stays centered in the photo.
Use double tissue wrapping and a corner guard if your dish has a rim that chips easily.
Don’t pack it loosely; a dish that shifts looks cracked or careless in photos.
18. Tote bag mini with "bridesmaid loading" style text
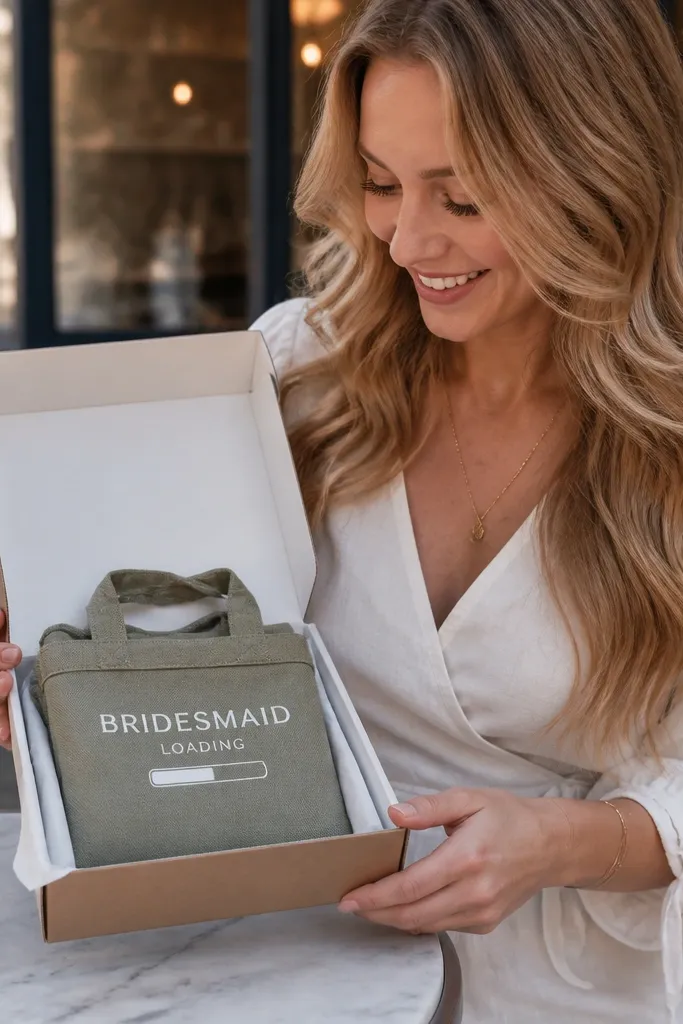
A tote bag is both useful and visually satisfying, because it adds a large fabric shape that breaks up small items. Choose a size that folds flat and doesn’t create lumps under tissue. Text-based designs photograph well, especially if you keep the font simple and the background color consistent with your palette. This works for destination proposals because bridesmaids can use it immediately for travel essentials.
Quick tipPick a tote with thick cotton or sturdy canvas; thin bags wrinkle and look cheap.
Start by selecting a tote that folds into a compact rectangle. Then tuck it into the box with the printed text facing outward so it reads in the open-box shot. Finally, add a ribbon tie around the tote handle and attach a name tag so it looks personalized rather than generic.
Skip thisDon’t use a tote that’s too big; it dominates the box and hides the smaller details.
19. Personalized mini bottle opener keychain
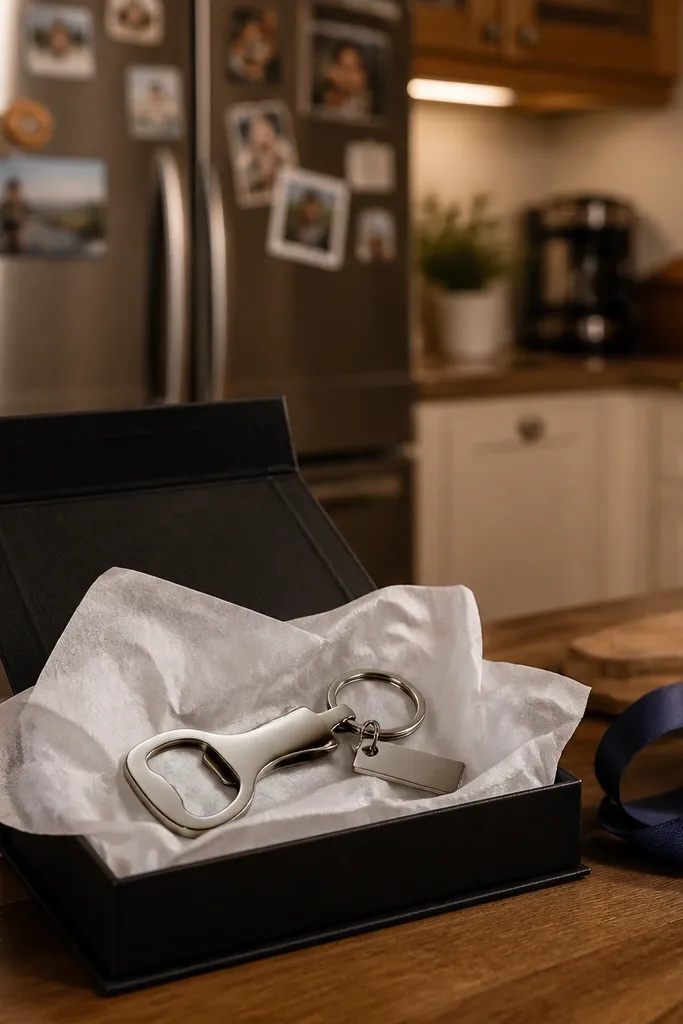
A bottle opener keychain is a fun keepsake that feels practical and playful. It adds metal shine, which makes the box look more “event” and less “craft.” Personalize it with a name tag and keep the design simple so it doesn’t look busy. This item fits casual wedding themes and also works when you want a proposal box that feels like a party favor without being childish.
Quick tipUse a tag with matte lamination so the metal doesn’t create glare spots on the text.
Start by choosing a metal keychain with a flat, readable name area. Then attach a small tag with the bridesmaid’s name and your wedding date. Finally, hang it from a ribbon loop inside the box so it creates a light-catching vertical accent.
Skip thisSkip novelty keychains with overly complicated shapes; they tangle and look messy.
20. Mini nail polish duo in matching accent colors
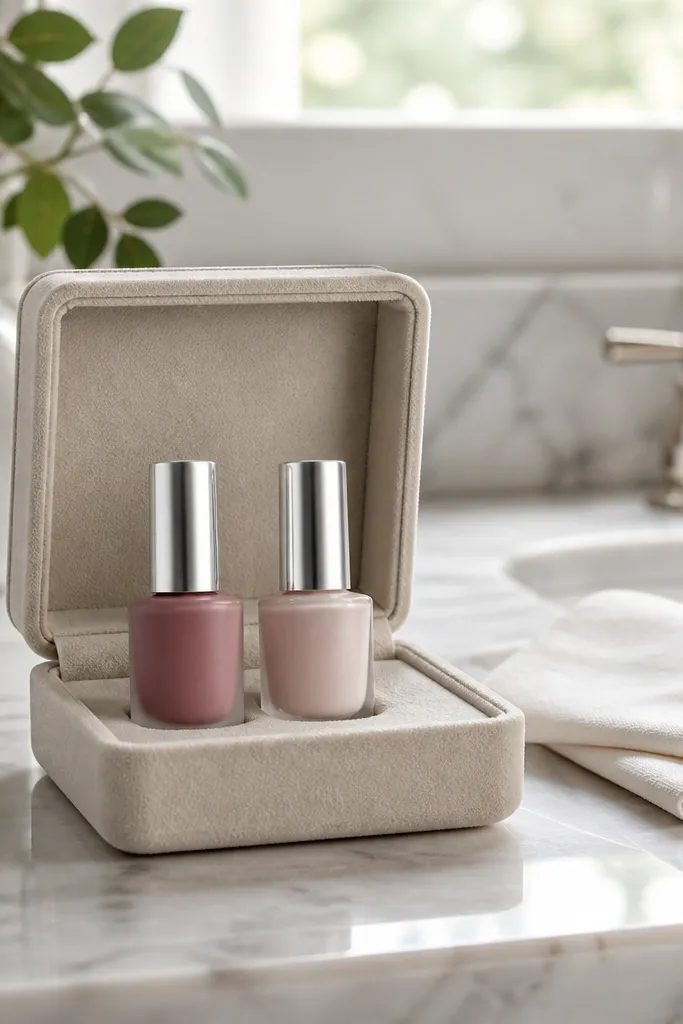
A mini nail polish duo looks like a coordinated beauty set, which photographs beautifully next to lip balm and hair accessories. Pick two shades that match your palette: one main shade (like dusty rose or soft sage) and one neutral topper (like sheer nude). The small bottles let you keep the box compact while still giving a “real product” feel. This is a great choice for spring, summer, and destination proposals when people want a quick refresh.
Quick tipChoose polishes with matte or satin finish; glossy bottles reflect harsh light in photos.
Start by selecting mini nail polishes with smooth caps and clean labels so they don’t look worn. Then arrange the two bottles side by side in the middle layer and anchor them with tissue on both sides. Finally, add a small card that suggests which shade to wear for photos or the rehearsal dinner.
Skip thisDon’t include full-size bottles; they take over the box and increase break risk.