1. Coastal Linen Proposal Box with Mini Shell Seals
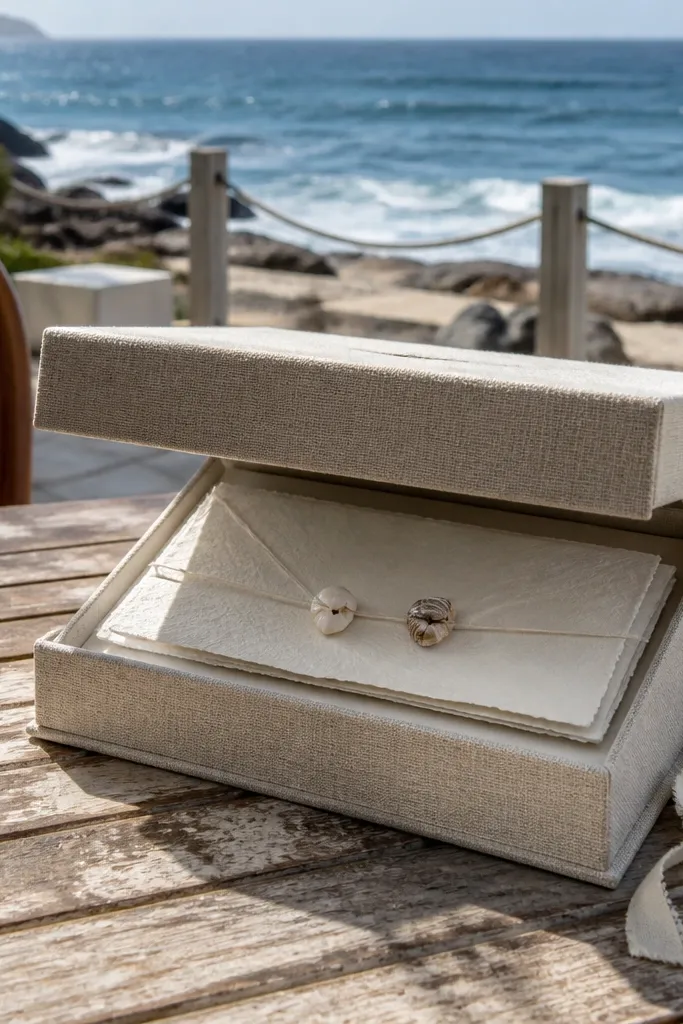
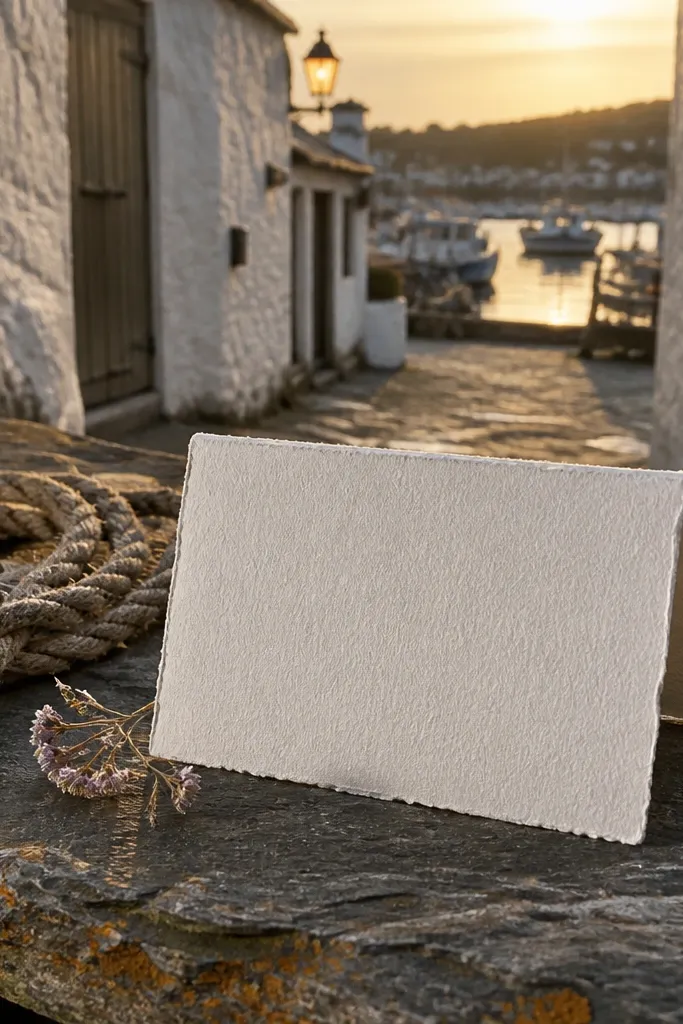
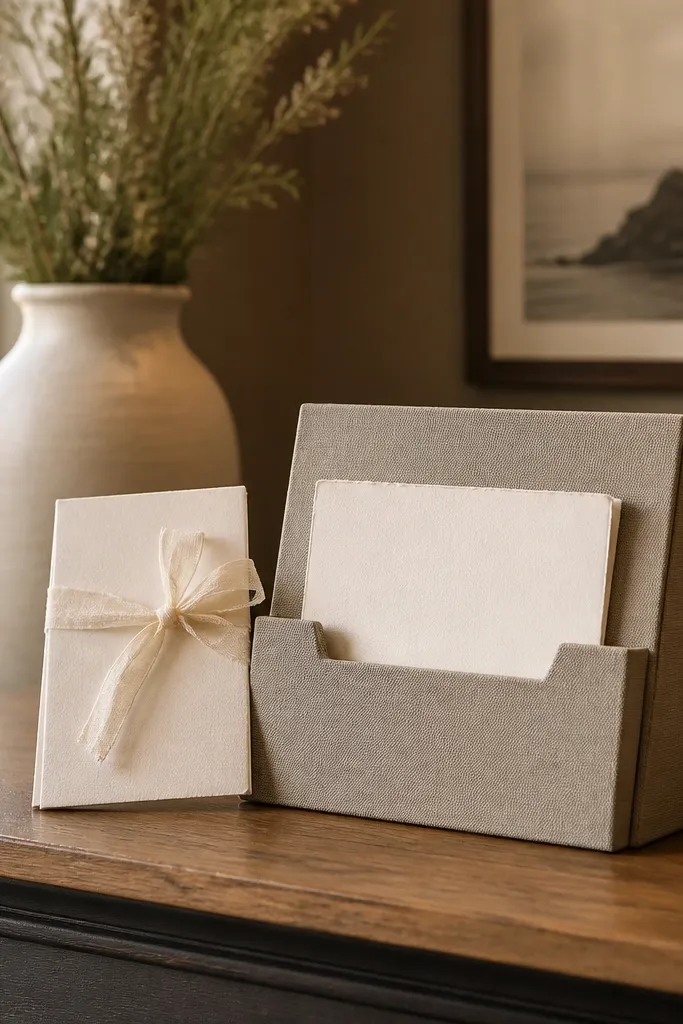
This box looks expensive because linen reads soft and airy in daylight, and the shell seals make it feel like a message found at the shore. It works best for beach towns, islands, or any trip where your Day 1 is a walk and coffee. Put the proposal card on thick, deckle-edge cream paper so it doesn’t look flimsy on camera. The pouch format is also practical: they can carry sunglasses or a small towel in it.
Quick tipBring one extra linen pouch per box for a “swap moment” on Day 2 when you get sand on something and need a clean prop fast.
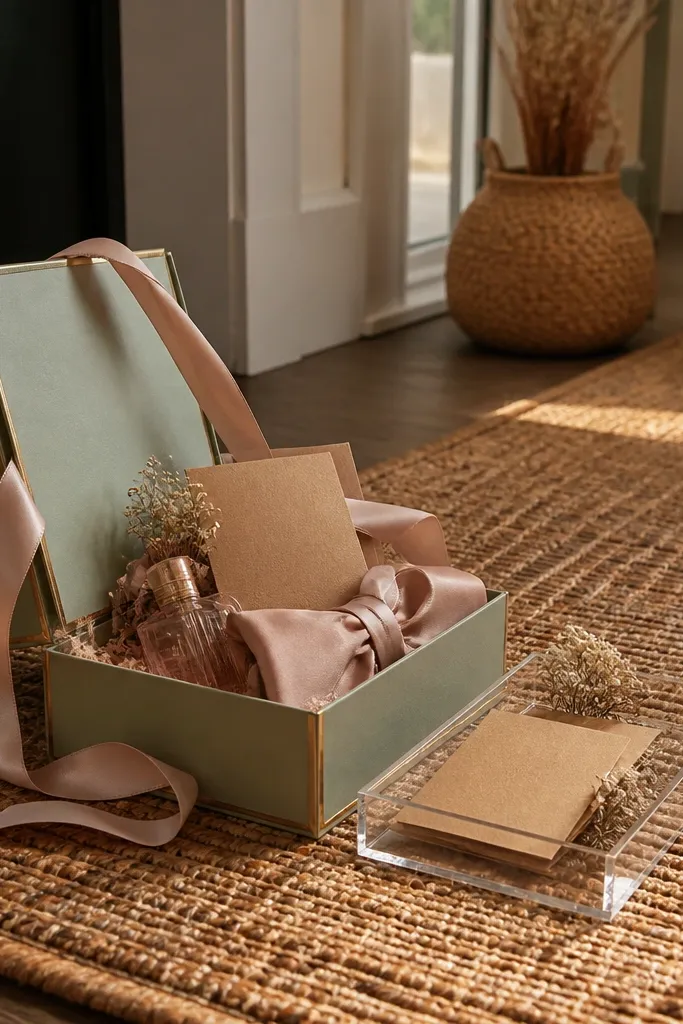
Start by wrapping the proposal card and itinerary note in cream linen tissue, then seal the outer envelope with a small shell sticker or a wax-style seal stamp printed with a shell icon. Next, pack each pouch inside a kraft gift box with rope handles so it’s easy to hand over at check-in. Finally, plan Day 1 for a casual beach walk: they open the box on a bench, then you take photos with the shells and linen textures in the background.
Skip thisSkip glossy plastic shells — they glare under sunlight and look cheap in photos.
2. Dark Denim & Oxblood Leather 'Suit Up' Box
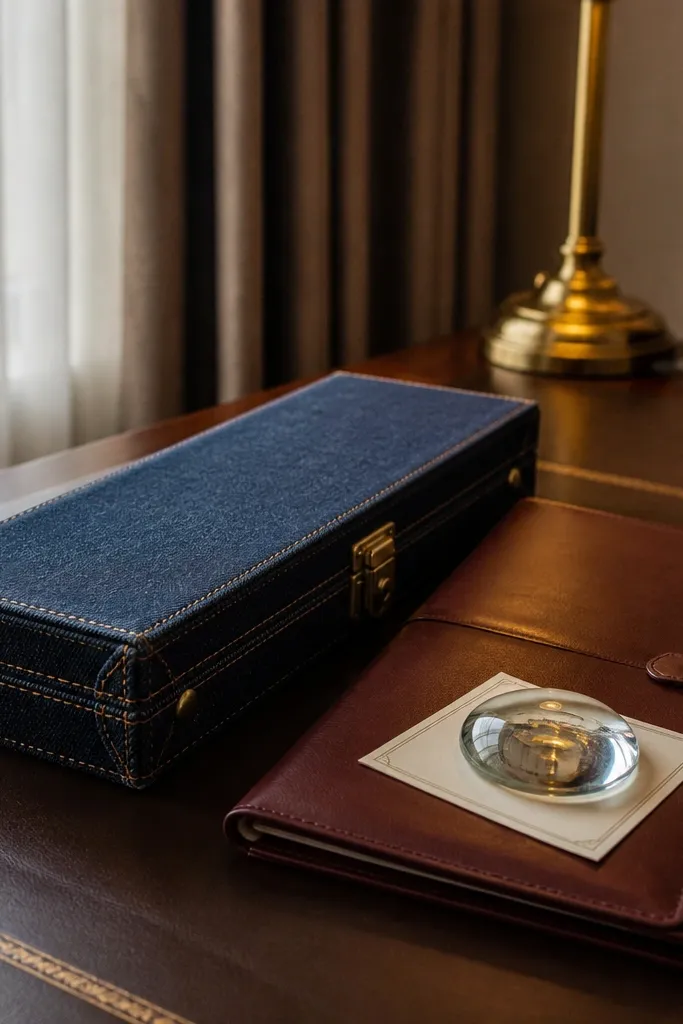
If you’re going to a city with steakhouses or rooftop bars, this color combo photographs like a magazine spread. Denim adds a rugged texture, while oxblood reads rich without needing gold. It suits groomsmen who like practical gifts they can wear again — think a slim travel accessory and a readable proposal card. Best time is fall or winter when the lighting is warmer and the denim looks especially deep.
Quick tipBook a reservation with a consistent light source (window seating or a bright bar) so denim doesn’t go flat in low light.
Start by using a charcoal denim zip pouch or denim folder as the outer layer, then attach an oxblood leather label with each man’s initial. Put the proposal letter inside a slim card holder shaped like a tie, and include a small leather keychain as the “use right away” item. Next, hand the boxes out the night you arrive, then schedule Day 2 for a dress-up dinner where they can wear the tie card holder as a photo prop. Finally, keep a microfiber cloth in each pouch to wipe smudges before Day 3 photos.
Skip thisDon’t use bright red paper under denim — it fights the oxblood and makes the box look like random craft supplies.
3. Olive Canvas 'Field Notes' Box for Mountain Trips
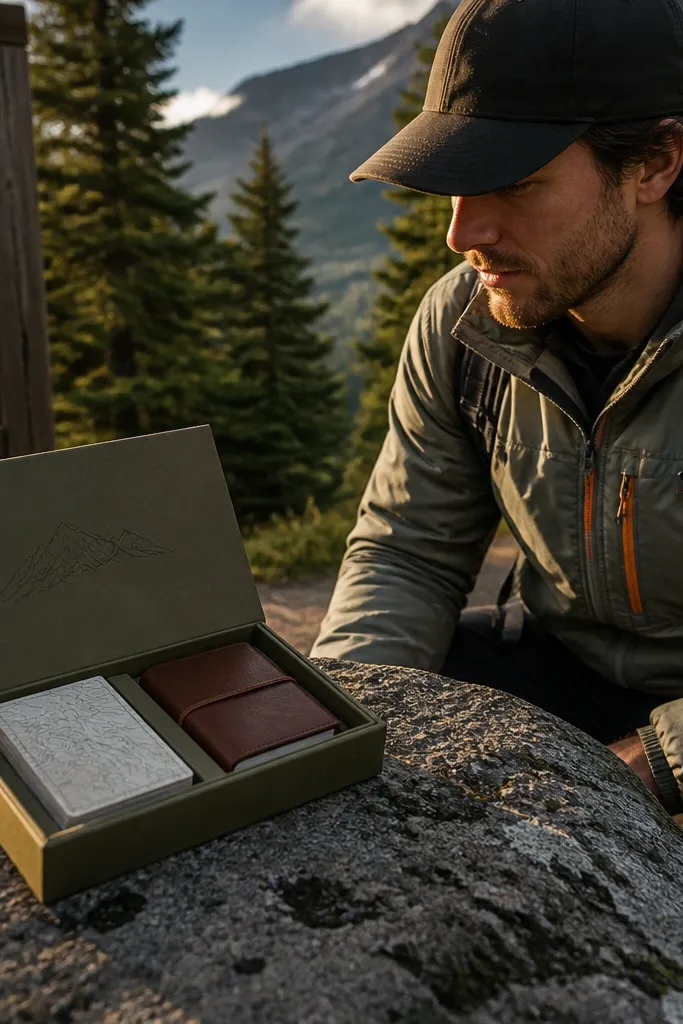
Mountain trips look best when the box feels outdoorsy, not fancy for the sake of it. Olive canvas and folded map cards create that “we’re going somewhere real” vibe that photographs well against stone and trees. This is perfect when Day 2 is a hike and you want a shared, candid photo moment. It also gives you a practical reason to use the box: they can carry trail notes, a small snack, or a compact compass.
Quick tipUse matte paper for the cards; glossy stock reflects sky and turns the text into glare on camera.
Start with an olive canvas roll-up (or wrap a small notebook in olive cloth), then tuck in a mini compass charm and a folded “Day 2 route” card. Next, place the proposal letter in a waterproof sleeve inside the roll so it looks intentional and feels safe. Finally, schedule Day 2 around a short summit or viewpoint: they open the roll before the hike, then you take photos with the compass and the route card in hand.
Skip thisSkip metallic foil on a trail box — it looks out of place outdoors and reads as cheap in shade.
4. Matte Black 'Night City' Box with Film-Strip Cards
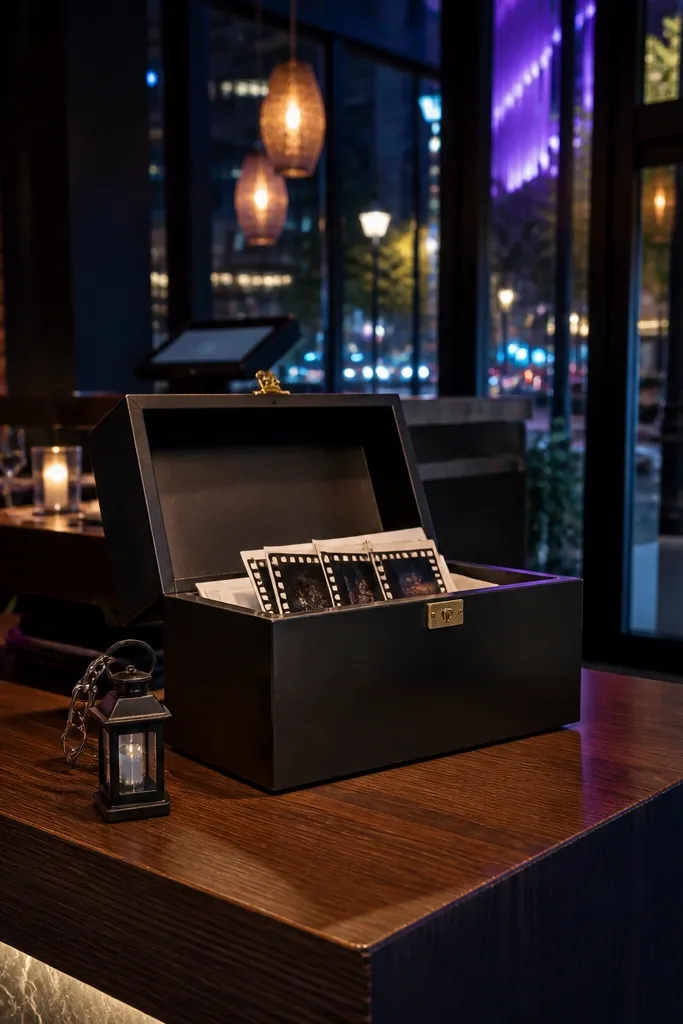
This one is for groomsmen proposals in neon-heavy cities where you want the box to look like a movie prop. Matte black packaging hides fingerprints and looks clean in restaurant photos. Film-strip style cards add a strong graphic element, and the lantern keychain gives you a practical keepsake. It suits Day 1 check-in and a night walk, then Day 3 for the proposal reveal at a viewpoint or rooftop.
Quick tipTake one photo before any one person opens the box — the film-strip alignment will look sharp and intentional.
Start by using matte black boxes or wrapping a black box in matte black paper, then add a film-strip insert that holds a sequence of three cards: arrival, together, reveal. Include a small lantern keychain or mini flashlight for the “action” piece. Next, hand over the box near your first evening activity so the film-strip cards are photographed under warm city lights. Finally, on Day 3, open the final strip card at your chosen spot and capture the moment with the same black background elements.
Skip thisDon’t use shiny black tape; it reflects harsh highlights and makes the box look like a generic gift bag.
5. Terracotta & Cream 'Old Town Market' Box with Spice Tags
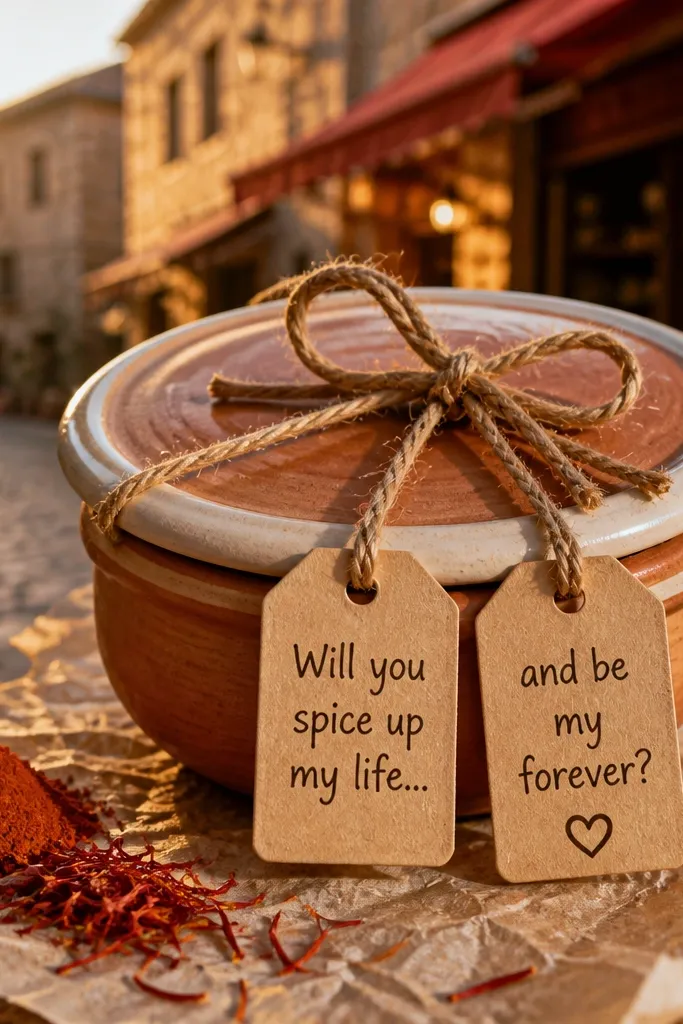
If your trip includes a market, this box turns that into a story instead of a random outing. Terracotta and cream look warm on camera, and the spice tags make the packaging feel handcrafted without being fragile. It works best when you want Day 2 to be a strolling food mission and Day 3 to be a calm sit-down proposal. The recipe card is a clever hook: it tells them what to taste together, then the proposal reveal feels connected to the trip.
Quick tipPick a market day with morning light; terracotta packaging can look too orange under late-night overhead bulbs.
Start by wrapping the proposal letter in cream tissue and tying it to a terracotta gift card with a mini spice-tag ribbon. Add a small “tasting list” card with 3 items and a short instruction like where to find them. Next, pack the box so it stays flat: use a rigid insert so the spice tags don’t bend. Finally, schedule Day 2 around market time and have them open the box right before you pick up the first item for your tasting list.
Skip thisSkip fragile glass bottle accents — they crack in transit and turn your photos into damage control.
6. Palm Green 'Resort Weekend' Box with Woven Coaster Inserts
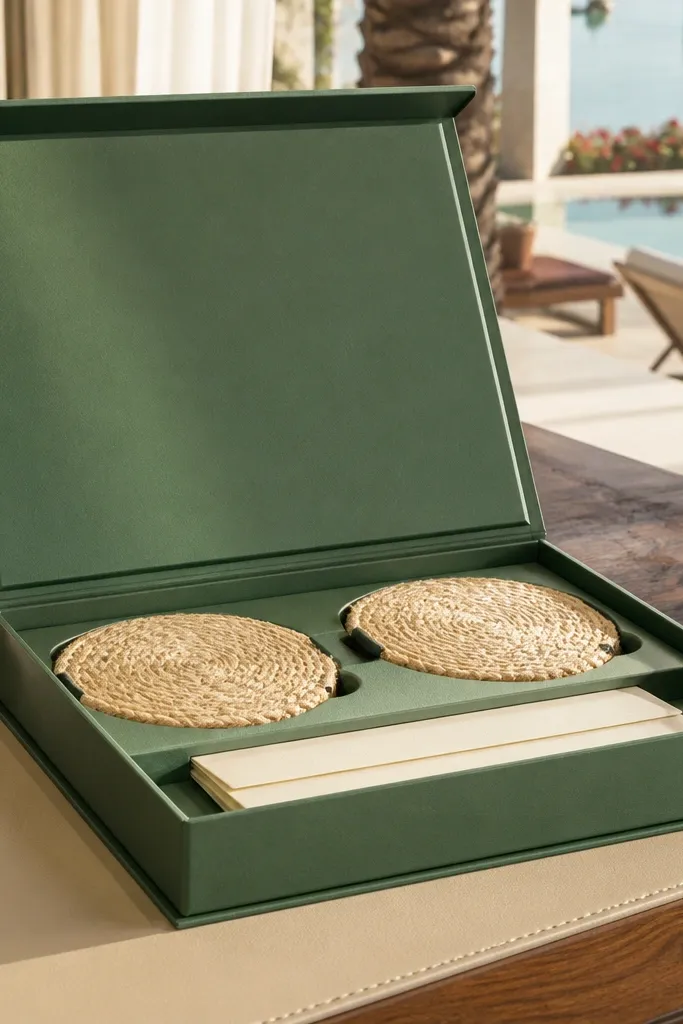
This is a clean, resort-friendly box that looks like it belongs on a hotel desk. Woven coasters add texture that catches sunlight without needing flashy colors. Pair palm green with cream cards for a high-contrast look that reads well in poolside photos. It’s a strong fit for a Day 1 arrival moment where you want quick excitement, then Day 2 is a shared “hangout” activity like cocktails or a beach club photo.
Start by lining the inside of the box with small woven coasters (or woven placemat pieces cut to size), then place the proposal letter on top of a cream card. Add a ribbon tie in a matching green shade and include a small card that tells them what to wear for Day 2 (linen shirt, white tee, or swim cover-up). Next, hand the box over right after check-in so it’s photographed on a clean counter. Finally, on Day 3, open the proposal card at the resort’s best lighting spot — aim for shaded but bright areas.
Bring a mini lint roller; resort lighting shows every fiber on packaging fast.
Don’t use neon green paper; it can look harsh and cheap under sunscreen-stained hands.
7. Vintage Postcard 'Three Stamps' Box for Classic City Breaks
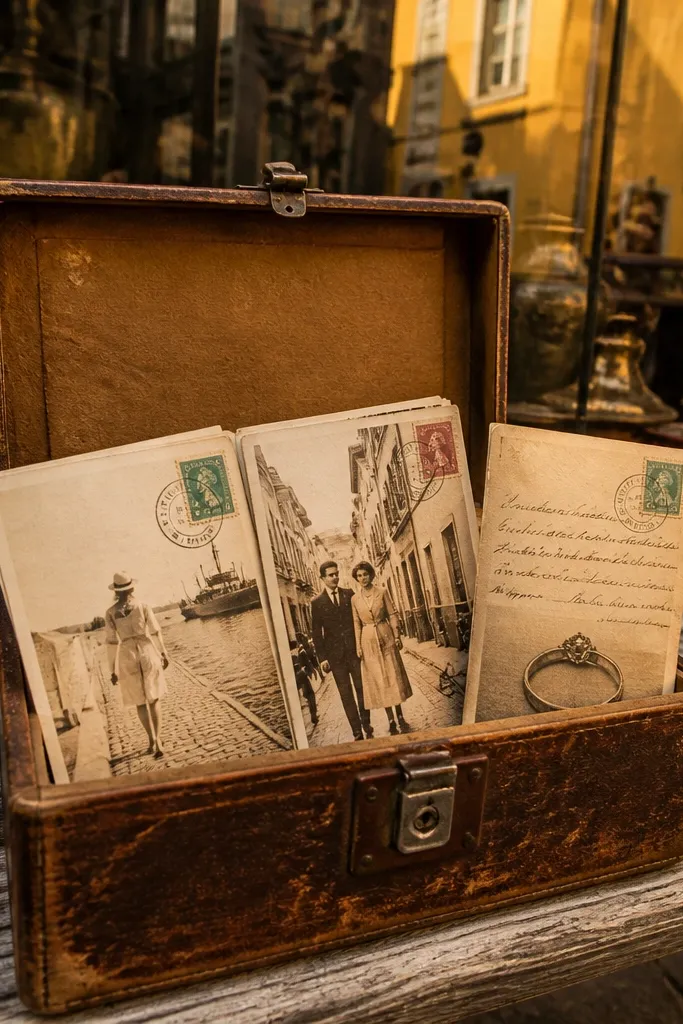
This box creates a story structure: postcard 1 for arrival, postcard 2 for together, postcard 3 for the proposal. Vintage postcards photograph beautifully because they have an instant visual pattern and they look authentic in older neighborhoods. It’s a smart pick for classic European-style cities or any place with old brick and street scenes. The best part is how clear the arc feels in photos, even if you don’t explain it on camera.
Quick tipUse postcards with dark ink and thick cardstock so the writing stays readable in low light.
Start with a kraft box and insert three postcards with matching stamp stickers in a vertical stack. Put the proposal reveal on the third postcard so Day 3 stays exciting and not spoiled. Next, include a tiny envelope labeled “Open Day 3” sealed with a stamp-style sticker. Finally, plan Day 1 for a landmark photo, Day 2 for a shared activity cue, and Day 3 for the final postcard reveal at a café or lookout.
Skip thisSkip modern glossy postcard prints; they glare and look like random tourist souvenirs.
8. Bourbon-Barrel 'Key to the Crew' Box with Metal Name Tags
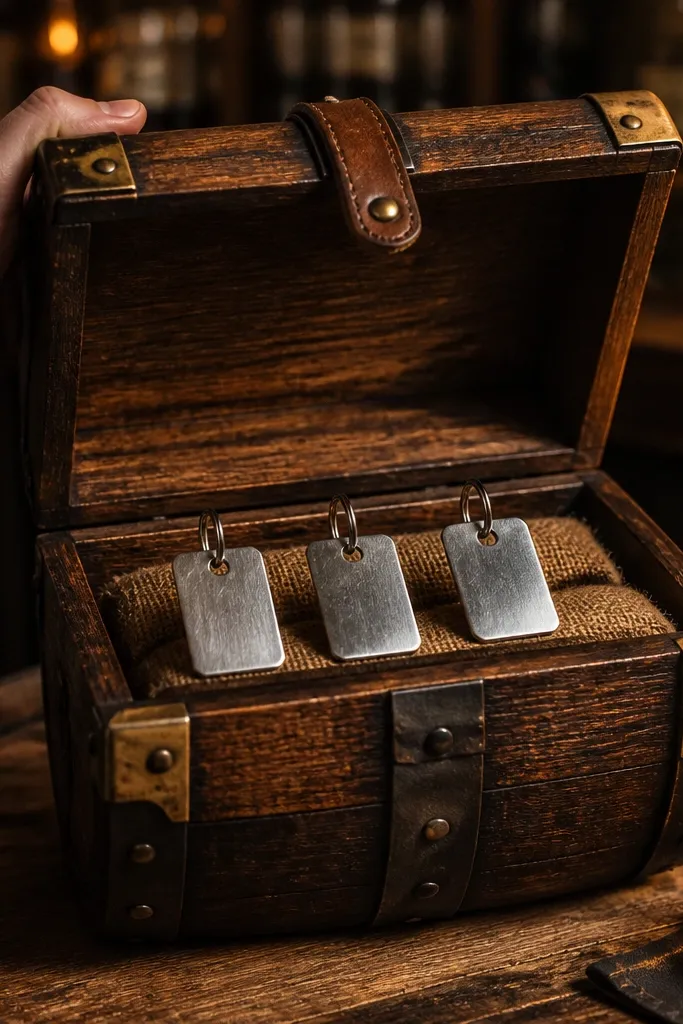
Wood tones and metal accents make this proposal box look like something you’d buy in a distillery shop. The phrase “key to the crew” reads fun, and the metal name tags give you a clean, stylish prop for group photos. It’s a great fit for trips tied to whiskey, beer halls, or general “adult” nightlife. Day 2 works especially well here: a tour or tasting gives you a natural time to hand out the box and take photos.
Quick tipPack the metal tags in separate tissue sleeves so they don’t scratch and dull in transit.
Start with a wood-toned gift box and add a metal name tag for each groomsman (engraved or printed on a small metal-style label). Inside, include a faux “key” card holder that opens to reveal the proposal letter. Next, plan to give the boxes at the start of your distillery tour or tasting so it feels connected. Finally, on Day 3, use the metal tags as the photo prop while you deliver the final proposal card at dinner.
Skip thisDon’t use cheap plastic “barrel” props; they reflect light and ruin the wood-and-metal look.
9. Sky Blue 'Boardwalk Weekend' Box with Ticket Stub Cards
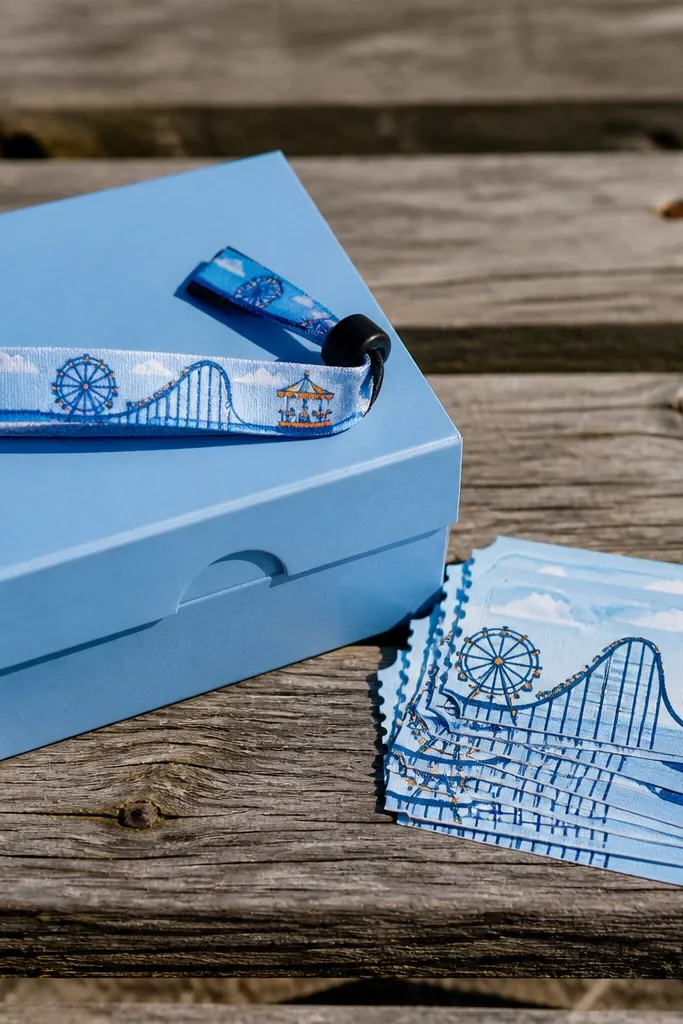
Ticket stub graphics scream boardwalk and make the box instantly photogenic. Sky blue keeps it playful and clean, and the wristband detail makes it feel like a real event. This works best for beach towns with arcades, mini golf, or seaside rides. For your 3 day Groomsmen Proposal itinerary, the ticket format naturally supports the arc: Day 1 is “your pass,” Day 2 is “our activity,” Day 3 is the reveal.
Quick tipUse matte clear film for the window; glossy windows glare under boardwalk lights.
Start by building the box in sky blue cardstock with a clear plastic window so the ticket stub cards look visible without opening. Place three ticket-style cards inside with punched edges: arrival, together, reveal. Next, include a striped wristband or mini lanyard they can wear for Day 2 photos. Finally, schedule Day 2 around an arcade or mini golf so the ticket cards stay relevant and you get action shots.
Skip thisSkip overly complicated inserts; if they have to fight the packaging, the reveal moment gets messy.
10. Forest Green 'Cabin Crew' Box with Pinecone Wax Seal
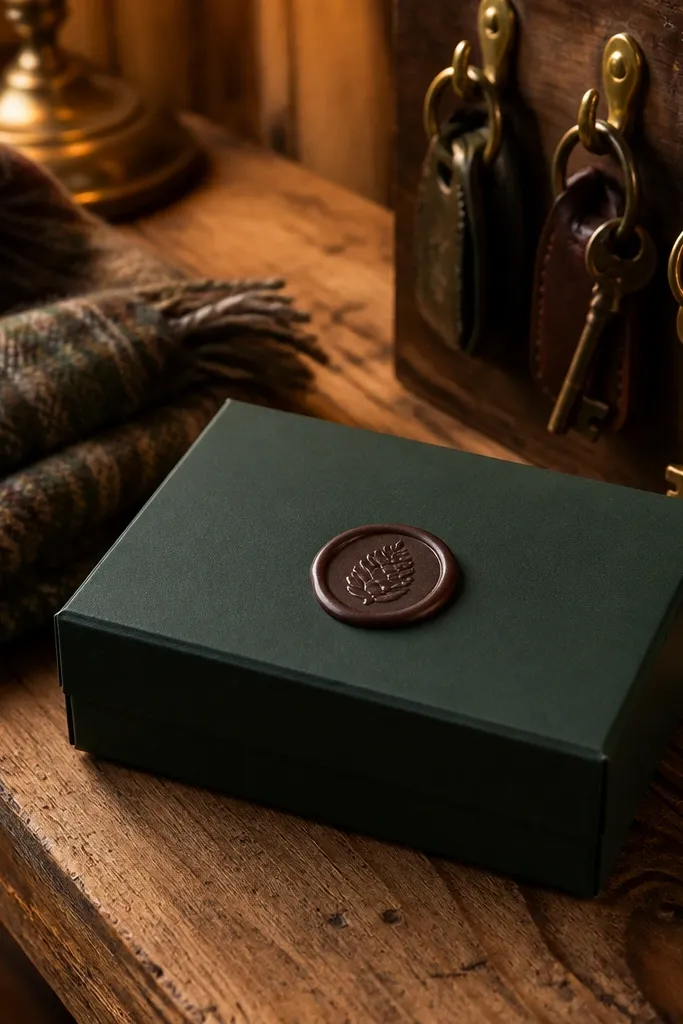
Forest green packaging makes the box look at home in cabins, lodges, and mountain towns. A pinecone wax seal adds a strong visual identity without needing expensive materials. This idea shines for Day 1 arrival when everyone is tired from travel and you want the box to feel comforting. It also works for Day 3 if you’re doing a cozy dinner — the dark tones look great in warm candlelight style lighting.
Quick tipBring a small candle or tea light for the Day 3 photo moment if your dinner spot allows it — warm light makes green packaging pop.
Start by choosing forest green cardstock or a green cloth bag as the outer layer, then seal a thick envelope with a pinecone-shaped wax stamp. Put the proposal letter inside a folded itinerary card that includes one “outdoor photo spot” line. Next, pack a small hot cocoa packet or tea sachet as the immediate-use item. Finally, schedule Day 1 for a short cabin walk and Day 3 for the proposal reveal at dinner so the seal and envelope are in the same photo lighting.
Skip thisDon’t use real pinecones inside the box; they shed and look messy after transit.
11. Ivory & Gold 'Engraved Ring Dish' Box for Proposal Reveal
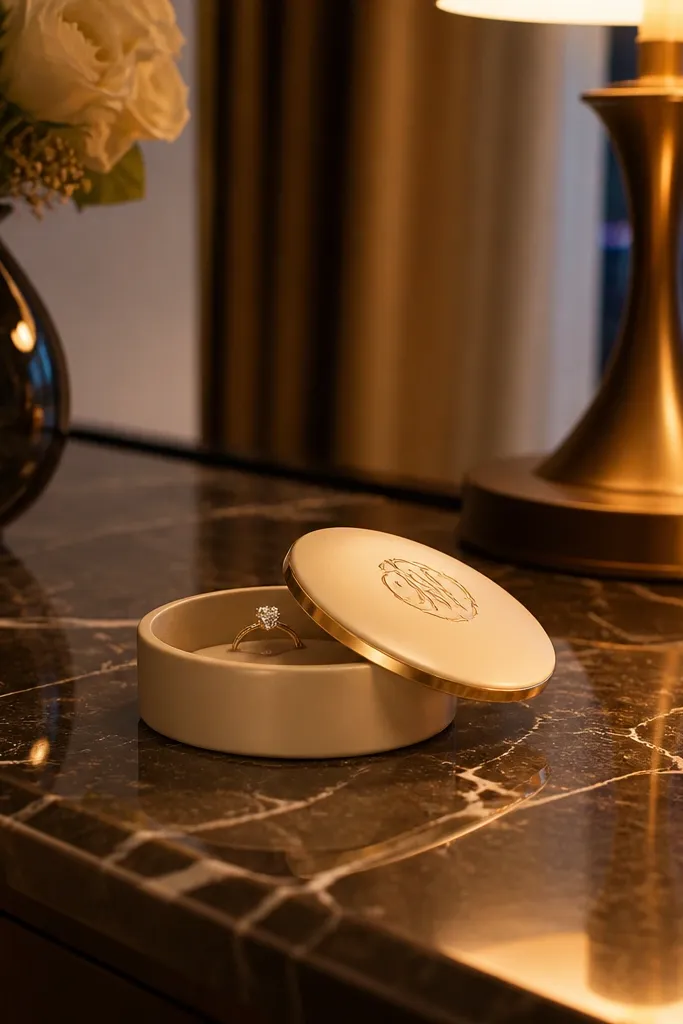
This is a clean, modern proposal box that photographs like a product shot. The small ring dish (even if it’s just a decorative dish) creates a strong focal point for Day 3. Ivory keeps it bright and classy, and gold accents look great in most indoor lighting. It suits groomsmen who like minimal style, and it’s ideal for trips where your Day 3 is a dinner reservation or a quiet rooftop moment.
Quick tipPick a dish with a matte gold finish; mirror gold reflects faces and ruins the look of the card.
Start by placing an ivory card layer on top of a small gold dish insert, then set the proposal letter neatly inside the dish so it’s visible when the box opens. Add a second card that tells them what to do with the dish for the photo (hold it with the group or place it on the table during the reveal). Next, pack the dish securely with foam or folded cardboard dividers. Finally, schedule Day 3 for a location with table seating so you can photograph the dish and cards in one frame.
Skip thisSkip overly ornate filigree dishes; they clutter the photo and make the proposal card harder to read.
12. Cream Paper 'Monogram Tie Card' Box with Wax-Cut Out
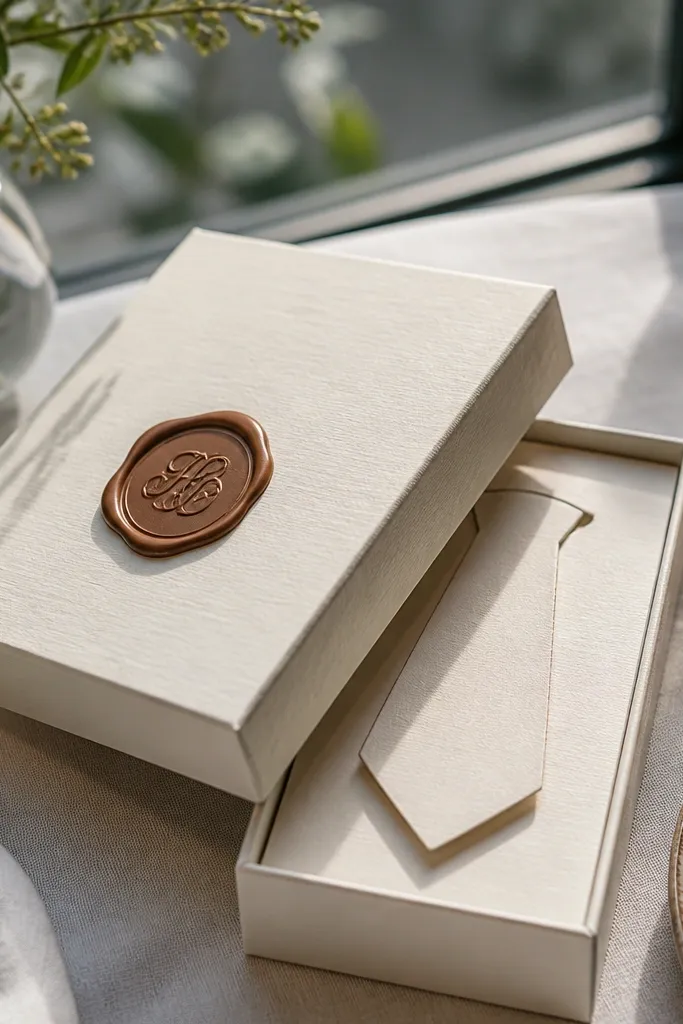
A monogram tie card is a smart way to make the box match the wedding vibe without forcing everyone to wear actual ties. Cream paper looks crisp in daylight, and the wax cut-out seal adds a graphic pop that reads well in close-ups. This idea works across seasons and cities because the design is the star, not the location. It’s perfect when you want the boxes to look consistent for a group photo on Day 2.
Quick tipUse black or deep navy ink for monograms; lighter ink disappears in shade.
Start by printing monograms on thick cream cardstock and cutting a tie silhouette that holds the proposal card inside. Seal the outer envelope with a wax-style cut-out sticker so the design stays clean and centered. Next, pack the tie card flat in a rigid sleeve to avoid bending. Finally, plan Day 2 for a group photo moment on a staircase, museum steps, or a clean street corner where the cream packaging contrasts the background.
Skip thisAvoid foil-heavy monograms; they look great in person but often blow out in camera flash.
13. Terracotta 'Passport to the Crew' Box with Custom Stamp Cards
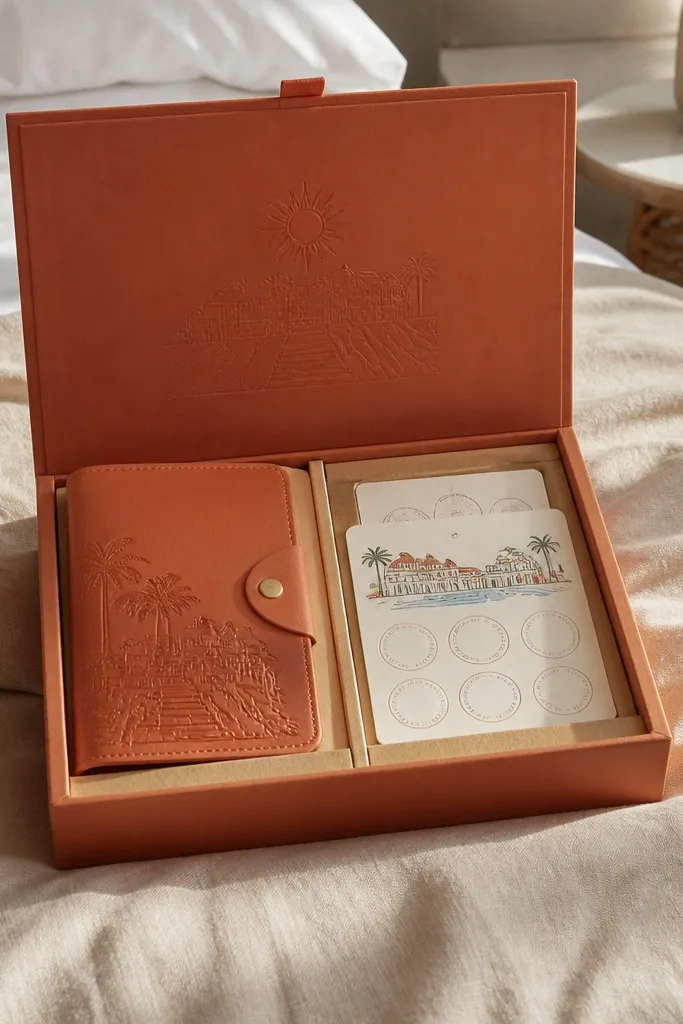
This box turns a travel trip into the gift itself. A passport folder and stamp cards look playful and graphic, and they create a perfect Day 1 “open and smile” moment. Terracotta stands out against neutral travel photos, especially beige hotel rooms and stone streets. Use it when your 3 day itinerary includes at least one “wandering” day where groomsmen can pose with the passport folder.
Quick tipBring one extra stamp card per person to replace any bent corners in transit.
Start by buying a small passport-style folder and adding three stamp cards inside for Day 1, Day 2, and Day 3. Put the proposal card on the Day 3 stamp so the reveal feels like a final destination. Next, include a mini stamp pad or sticker sheet so they can add one stamp on arrival (or you can pre-stamp to keep it neat). Finally, photograph them holding the passport folder at a landmark on Day 1, then again on Day 2 with the Day 2 stamp card.
Skip thisSkip flimsy paper passports; they crease and look sloppy in photos.
14. Navy 'Sailor's Knot' Box with Braided Rope Handles
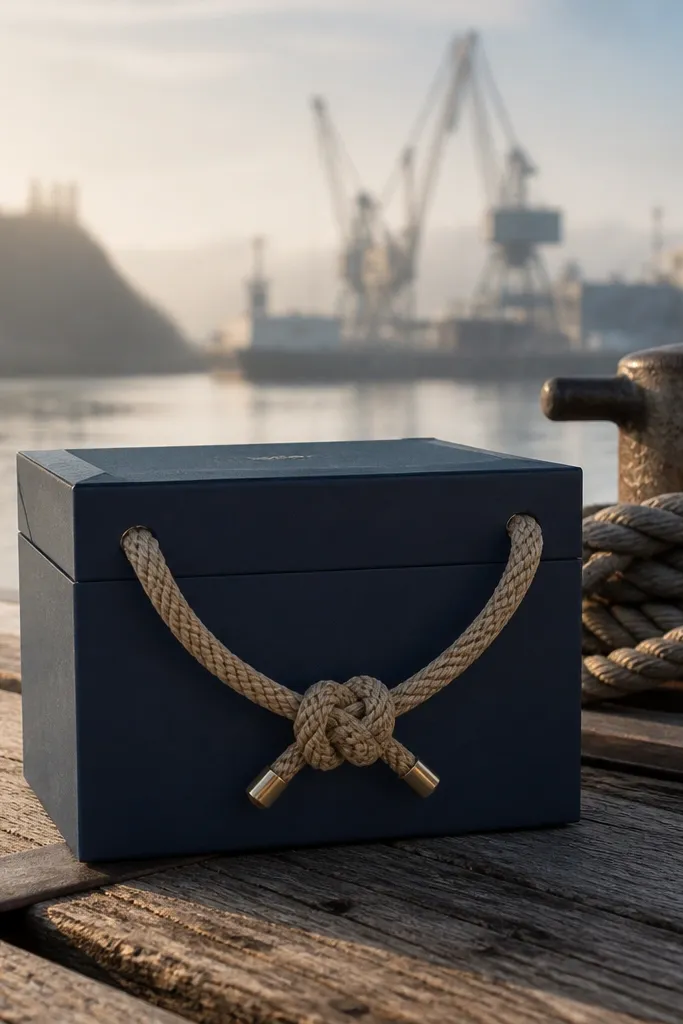
Braided rope handles scream “nautical” without needing a beach background. Navy packaging keeps it crisp, and the rope handle makes carrying the box look intentional in photos. This idea is strongest when your trip includes a harbor, boat tour, or coastal town — Day 1 can be a dock walk, Day 2 can be a cruise, and Day 3 can be a harbor dinner. The captain-style letter format makes the reveal feel playful and specific.
Quick tipUse thick rope, not thin twine. Thin rope bends and looks sad in group photos.
Start by selecting navy boxes with sturdy sides, then attach braided rope handles using a knot-style wrap on both sides. Inside, include a captain-style letter with a clear instruction card: open on Day 3 at [your plan]. Next, add a small nautical charm like a mini anchor keychain as the action item. Finally, plan photos on a dock or near a boat — rope and navy look best against metal and wood textures.
Skip thisDon’t attach rope handles with hot glue blobs; they show in close-ups.
15. Rose & Espresso 'Café Date' Box with Menu Card Proposal
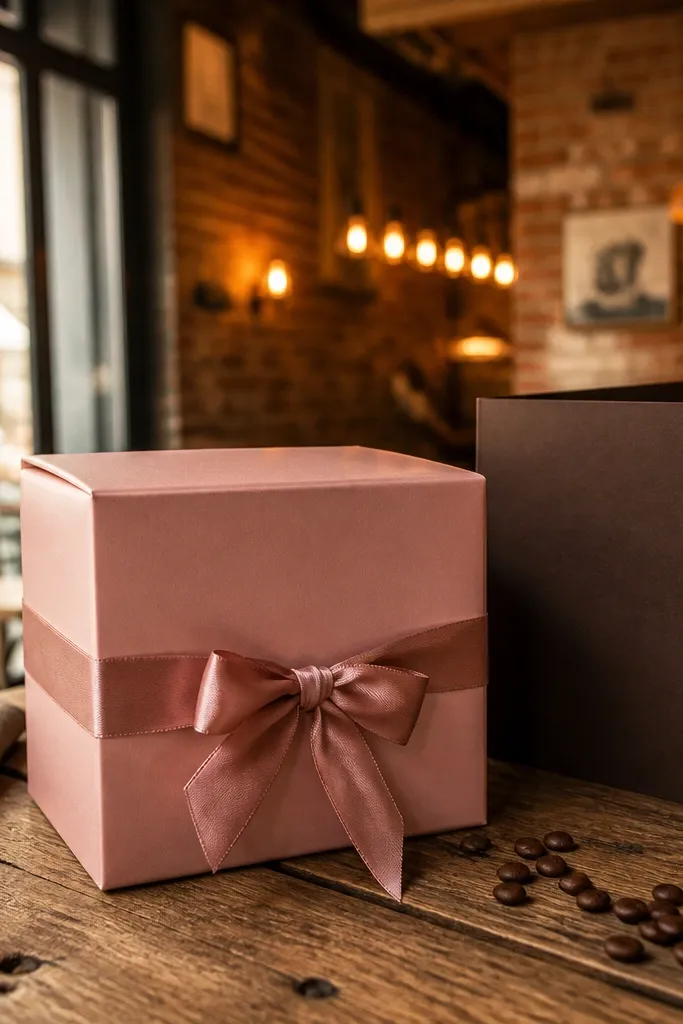
This box works when your itinerary has a walk-and-café day. Rose-pink looks good against brick streets and warm café lighting, and espresso-brown grounds it so it doesn’t look childish. A menu-style proposal card is clever because it looks like a real item you’d order. It suits groomsmen who appreciate humor and clean design, and it’s ideal for Day 3 reveal at a sit-down restaurant.
Start by building the box in rose-pink cardstock and inserting an espresso-brown “menu” card that has sections for arrival, together, and the proposal reveal. Add a small chocolate bar or biscotti wrapped in matching paper as the immediate-use item. Next, include a “what to order” slip so they feel guided, not surprised. Finally, schedule Day 3 for dinner where you can place the menu card on the table and take photos in the same lighting.
Choose a restaurant with paper menus or dark wood tables; it makes the menu card look even more believable.
Skip glitter accents; café lighting makes glitter look messy and cheap fast.
16. Sand Beige 'Desert Sunset' Box with Photo-Frame Reveal Card
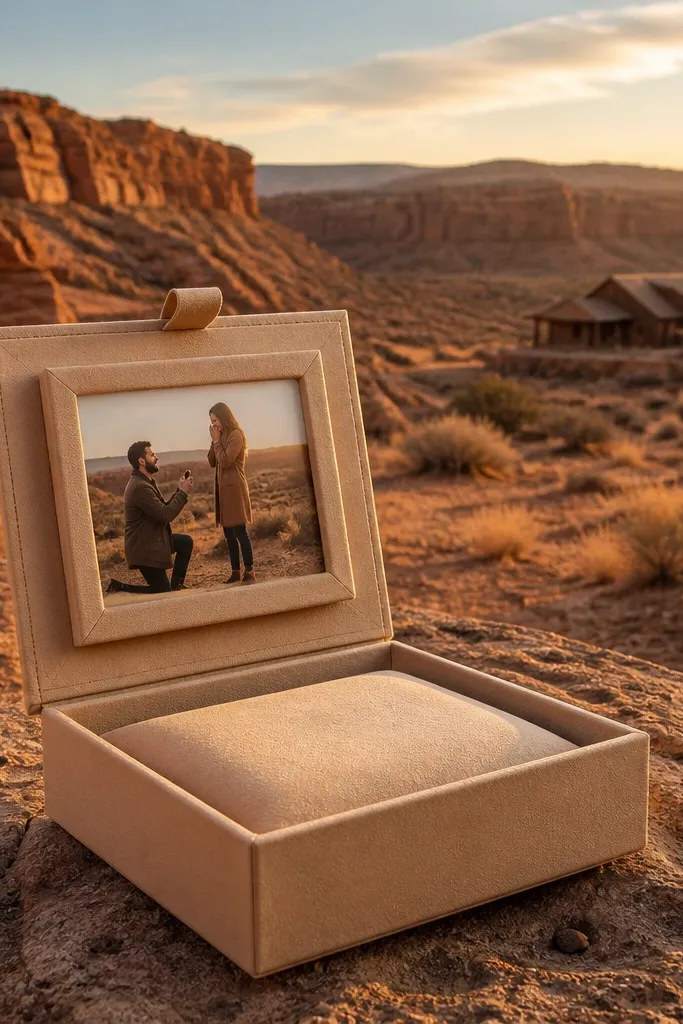
Sand beige is the safest color palette for sunset trips because it matches the sky tones and doesn’t fight the background. A small photo-frame reveal card gives you a built-in composition for Day 3: it frames the proposal moment. This idea fits deserts, canyon towns, and any place where the best photos are at golden hour. It also works when you want Day 2 to be an easy scenic activity instead of something strenuous.
Quick tipIf your viewpoint is windy, tie the ribbon with a double knot so it stays neat in photos.
Start by using sand beige boxes with a sunset-colored ribbon (burnt orange or muted coral). Insert a photo-frame style card where the “reveal” text sits in the center like a framed print. Next, include a small disposable camera or a “bring your phone for one photo” note so everyone knows to capture the moment. Finally, plan Day 3 for golden hour at a viewpoint; hold the frame card at chest height so it lines up with the sky.
Skip thisDon’t use bright neon ribbons; they look harsh against sunset colors.
17. Grey Felt 'Rooftop Cheers' Box with Shot-Glass Card Holders
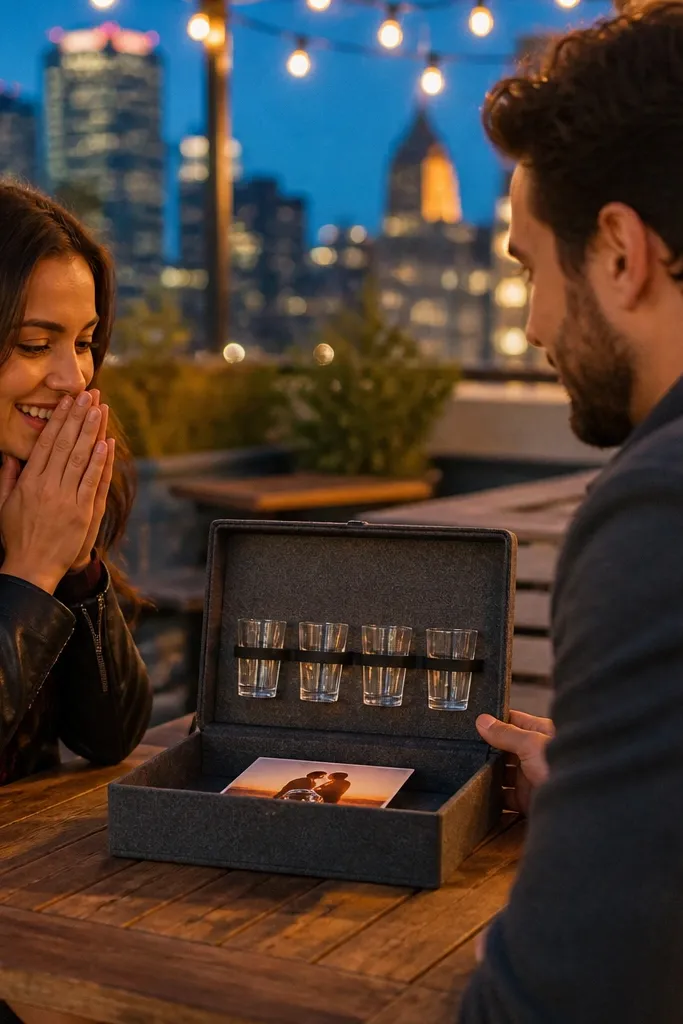
Felt is underrated for travel photos because it looks soft and absorbs glare. Grey felt boxes work perfectly for rooftop evenings where lighting is mixed and shiny surfaces cause problems. Shot-glass shaped card holders make the proposal feel like part of the night, not a separate “gift moment.” This idea suits Day 1 arrival at a bar, Day 2 a city walk, and Day 3 a rooftop dinner or cocktail spot.
Quick tipBring a lint brush for felt. One visible fiber can make the box look worn on camera.
Start by lining a grey box with felt so the proposal letter sits on a soft background. Add shot-glass shaped card holders and place the proposal card inside the final holder for the Day 3 reveal. Next, include a small “cheers” cue card that tells them when to open it during the itinerary. Finally, plan Day 3 for a place with stable seating so you can photograph the felt texture and the card holders on the table.
Skip thisSkip shiny acrylic holders; they reflect faces and ruin readability.
18. White Marble 'Modern Suite' Box with Acrylic Name Blocks
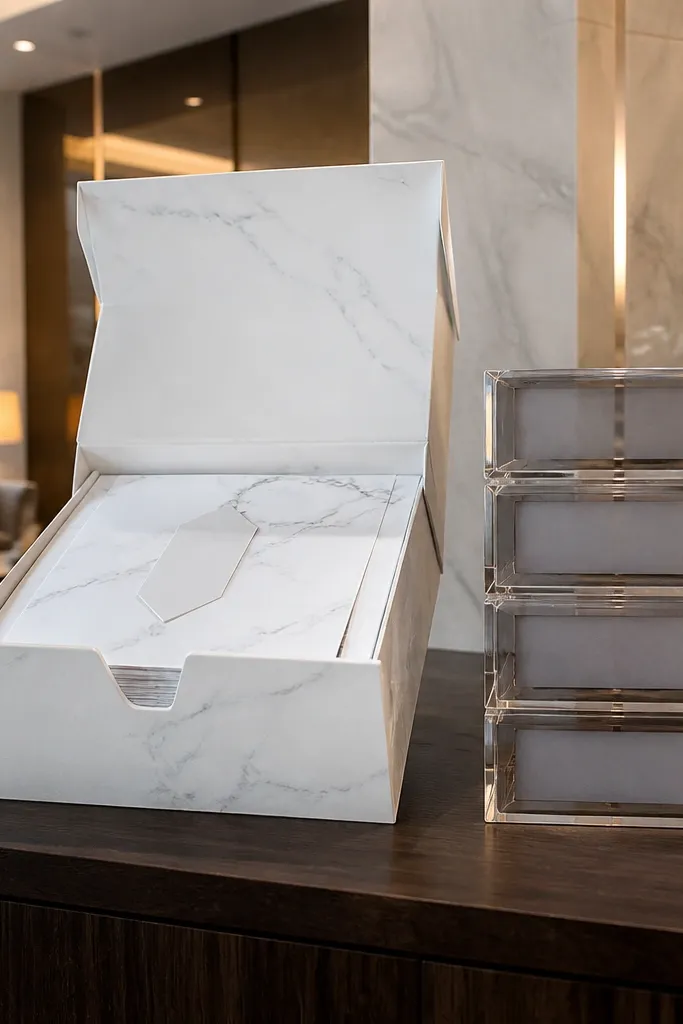
If your trip includes hotels with sleek interiors, this box matches the vibe instantly. Marble-pattern paper looks clean, and acrylic name blocks make the box feel modern and expensive. The visual payoff is strong because the name blocks create a clear focal point in group shots. It’s a great pick for a minimalist wedding aesthetic and for groomsmen who like clean, graphic design over themed trinkets.
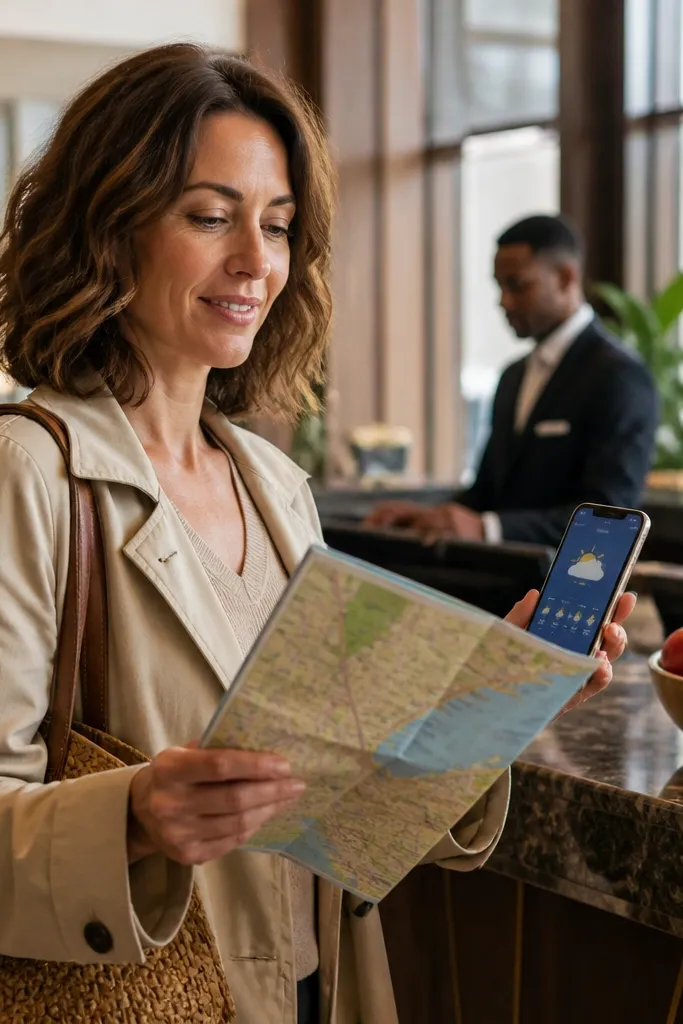
Start by wrapping a white box in marble-pattern paper so it looks like a desk prop. Add acrylic name blocks or clear name tags on top, then place the proposal letter underneath in a thick envelope. Next, include a second small card with your Day 2 meeting time and location so it feels organized. Finally, photograph Day 1 in the hotel lobby or near a clean wall, then do the Day 3 reveal at the best-lit spot in your room.
Use a consistent font style on the name blocks across all boxes so the set looks like one design system.
Avoid cluttering the top with too many items; the acrylic needs space to look premium.
19. Burgundy Wine-Tasting Box with Wax-Covered 'Pour Notes'
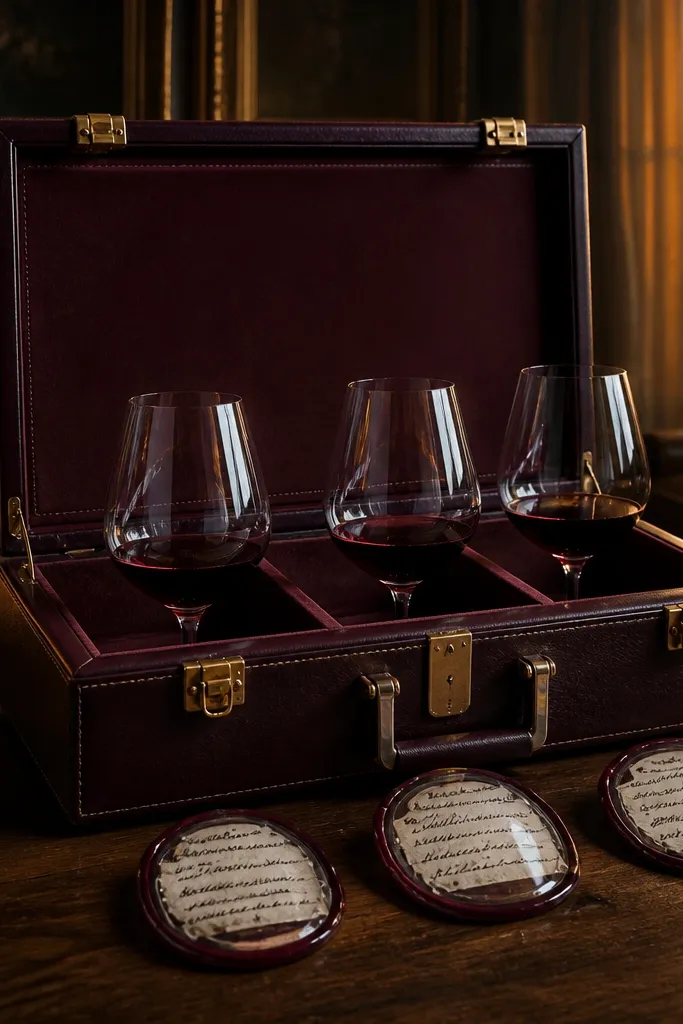
Burgundy looks rich under dim restaurant lighting, which is exactly when most proposals happen. Wax-sealed “pour notes” make it feel like a tasting flight, not a random card. This works well for trips with a winery, tasting room, or a wine-focused itinerary. Day 1 can be a relaxed landing gift, Day 2 becomes the tasting activity, and Day 3 is the reveal card at dinner with a matching wine theme.
Start by using burgundy boxes and adding wax-sealed cards labeled with tasting prompts (aroma, finish, favorite pour). Place the proposal letter inside a final envelope sealed with wax for Day 3. Next, include a small wine keychain or bottle opener as the immediate-use item. Finally, schedule Day 2 around a tasting room time slot and take photos with the pour notes before you taste.
Pack wax seals in a separate sleeve so they don’t smear in heat during travel.
Skip cheap printed wine labels; they look like party favors next to real tasting-room props.
20. Rainbow-Thread 'Crew Bracelet' Box with Proposal Knot Card
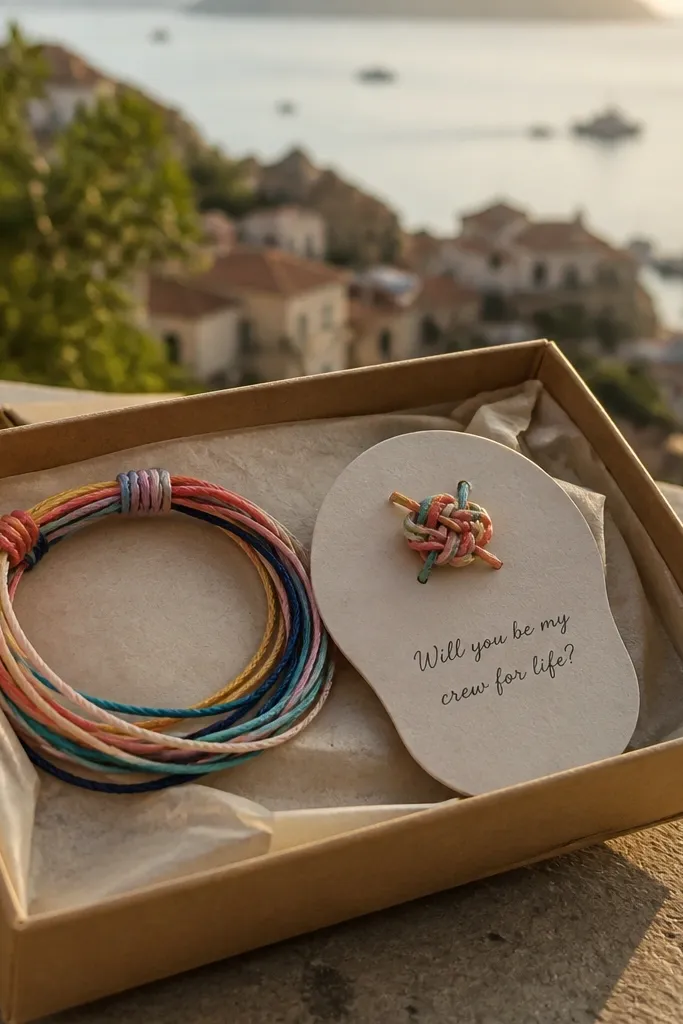
This is the best choice when you want the box to look joyful without turning childish. Colorful thread and a knot-shaped card give you a clear visual theme, and the bracelets make for easy Day 2 group photos. It suits beach towns, festivals, and any trip where you’ll be walking all day and need something light. The knot card format helps you build suspense, so the actual proposal reveal stays on Day 3.
Quick tipUse a tight paper band around each bracelet so it holds shape in your suitcase.
Start with a neutral box (kraft or cream) and place a braided thread bracelet on top of a knot-shaped card. Include a small instruction card: wear this on Day 2 for the group photo, open the final envelope on Day 3. Next, package bracelets separately with paper bands so they don’t tangle. Finally, plan Day 2 for a walking-friendly activity like a market stroll, then take photos with bracelets visible in sunlight.
Skip thisDon’t use loose string tied around the box; it tangles and looks messy in handoff photos.
21. Candlelit 'Cozy Suite' Box with Matchbook Proposal Cards
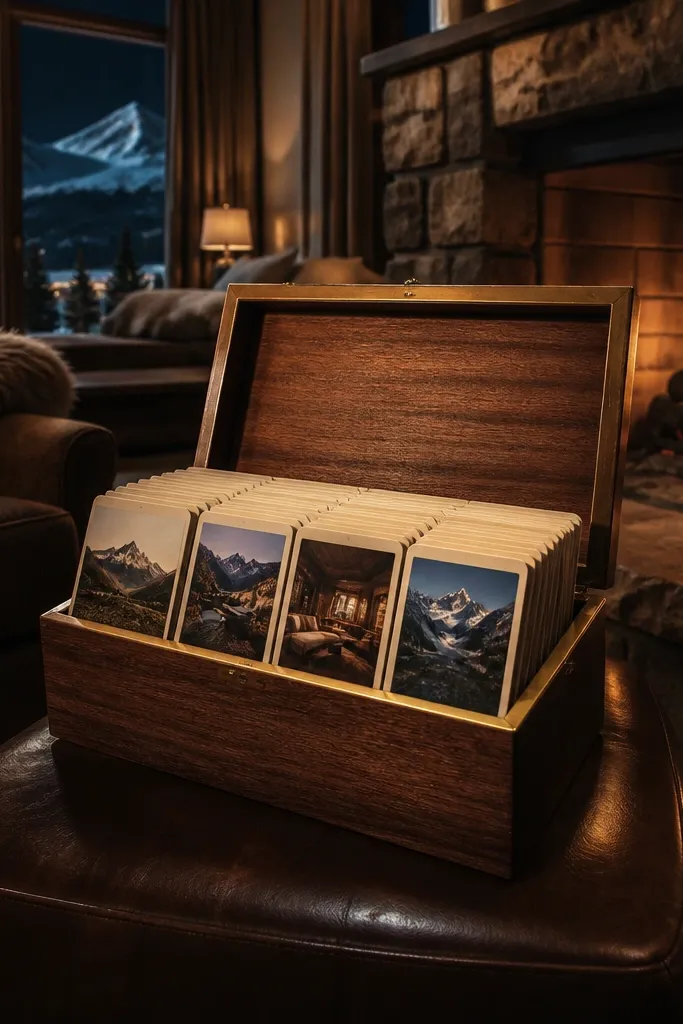
Matchbook-style cards look great in dim environments because the design stays readable and the lighting adds atmosphere. This box is perfect for winter trips, mountain lodges, or any itinerary with a cozy dinner or late dessert stop. It also creates a clean Day 3 reveal because matchbook cards fold neatly and open like a small booklet. If you want the proposal moment to feel intimate but still photogenic, this is the direction.
Quick tipChoose a matchbook card with thick paper so it doesn’t warp under restaurant humidity.
Start by creating matchbook-style proposal cards and placing the Day 3 reveal inside the final matchbook flap. Add a small candlewick charm or a mini candle as the immediate-use item. Next, pack the cards flat in a rigid box so the folds stay crisp. Finally, on Day 3, light a candle if allowed or use warm restaurant lighting, then open the matchbook card at the table for your reveal photos.
Skip thisSkip thin paper matchbooks; they bend and look worn immediately.
22. Ice Blue 'Winter Lodge' Box with Faux Snow Globe Notes
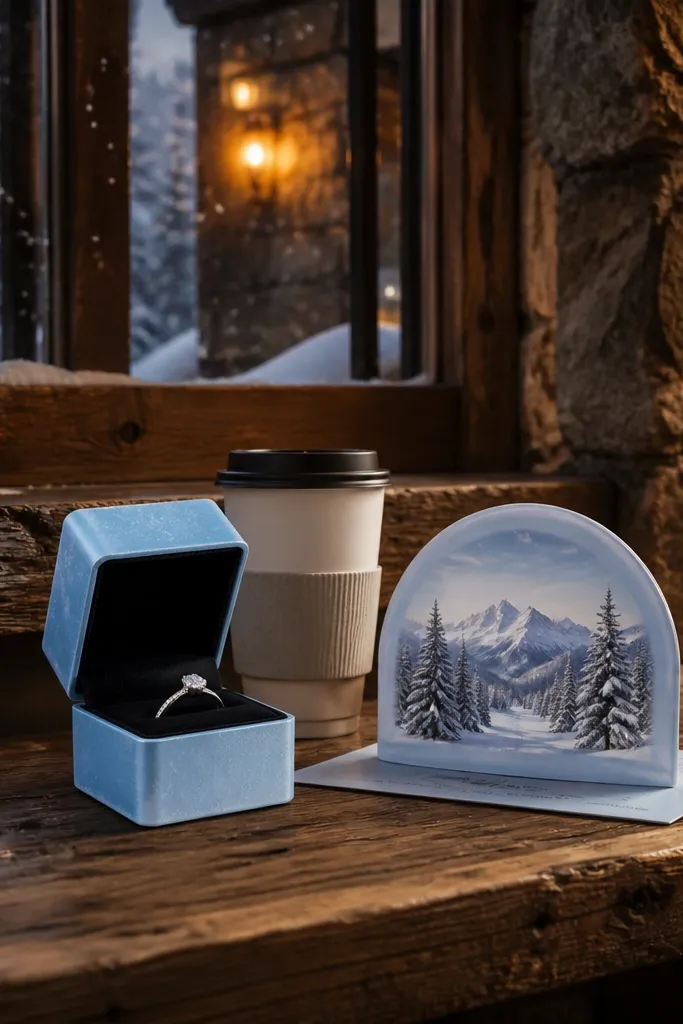
Ice blue packaging turns winter scenery into a photo-friendly backdrop. A snow-globe style card gives you a fun, enclosed visual for the proposal reveal without needing a heavy glass item. This idea works when your Day 2 is a snowy walk, tubing, or a scenic drive stop. Day 3 reveal looks best when there’s a window view or soft indoor light so the ice-blue tones stay clean and not washed out.
Start by using an ice blue gift box and insert a snow-globe style card with the Day 3 proposal inside. Add a small “location cue” note that tells them where to meet for the reveal photo. Next, include a warm accessory they’ll actually use, like a mini hand warmer or lip balm in a matching color. Finally, schedule Day 3 indoors near a window or fireplace area so you get soft, flattering light.
Avoid real snow globes in luggage. Use a lightweight card version for less risk and better packing.
Don’t add glitter snow. It looks like craft glitter under winter light.
23. Crisp White 'Museum Steps' Box with Museum Ticket Punch-Out
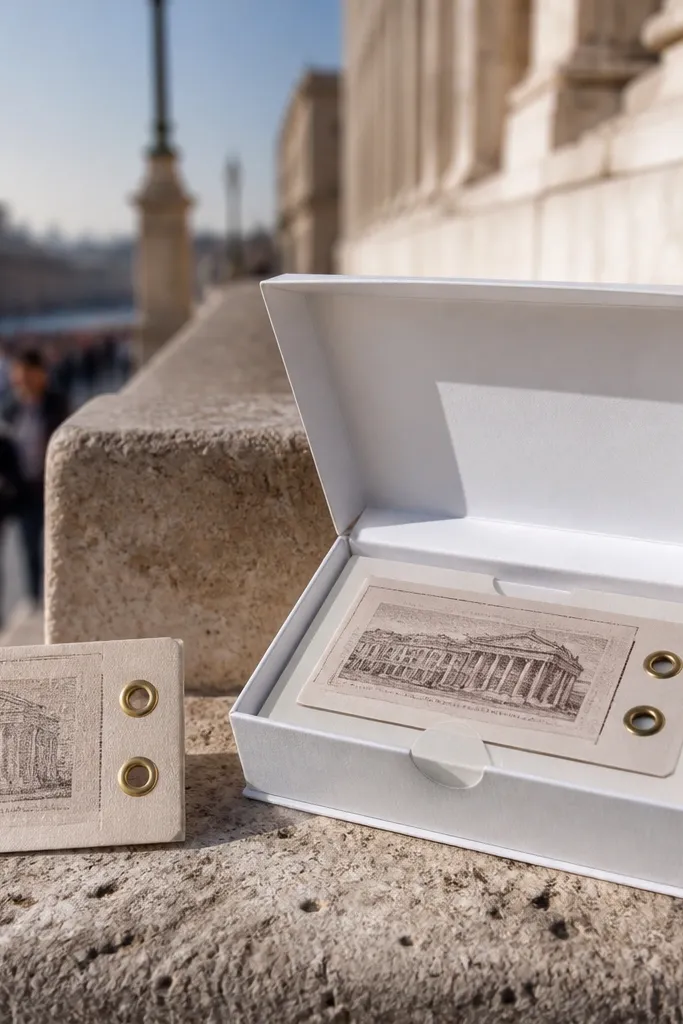
Museum-style design is clean, graphic, and reads well in urban travel photos. A ticket punch-out card gives you an instant prop for Day 1 and Day 2, and it keeps the box from looking like random wedding merch. This works best for trips with a museum day or a historic district where you’ll be photographing stone steps and doorways. The white box also keeps attention on the men and the proposal card.
Quick tipBring a black marker to write a short date line on the ticket cards for a more authentic look.
Start by building a crisp white box with a ticket punch-out insert for Day 1, Day 2, and Day 3. Put the proposal reveal in the Day 3 punch-out section so it feels like a final gate. Next, include a small folded map or “meeting point” card so the itinerary is tangible. Finally, plan Day 2 for museum time and take the group photo with the ticket punch-out held at chest height for even lighting.
Skip thisSkip colorful neon ticket cards. White and black ticket graphics look intentional against stone.
24. Sandstone & Copper 'Desert Dinner' Box with Copper Foil Borders
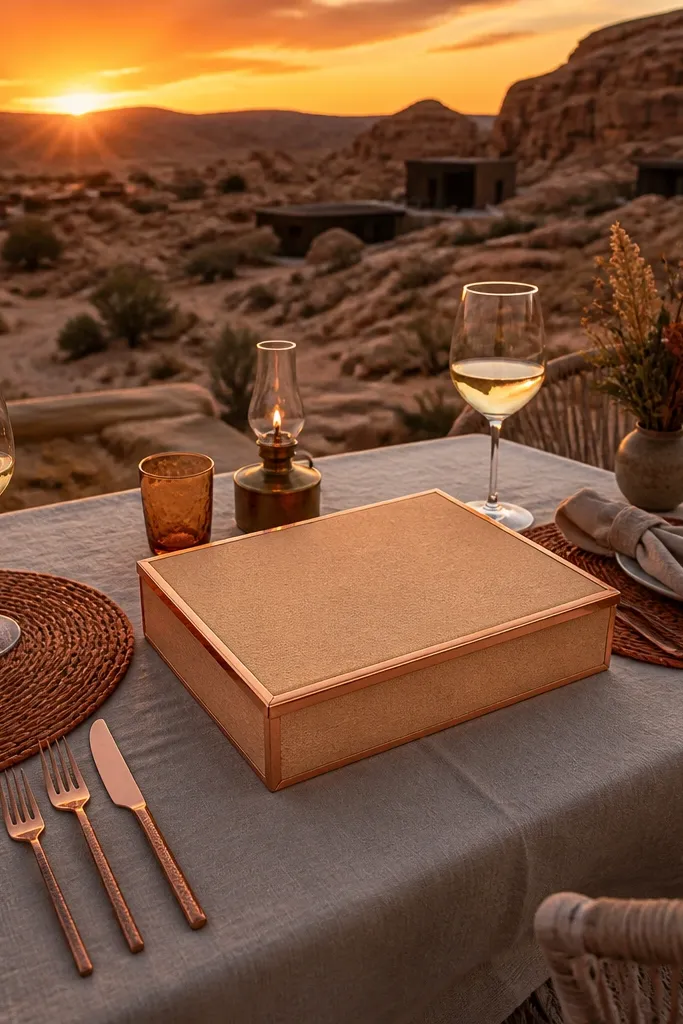
Copper borders make your proposal box look like it belongs in a desert resort. Sandstone tones keep it warm and calm, and the copper adds a metallic accent that photographs well at dinner. This is a strong pick for trips where your Day 3 is a planned dinner or a scenic restaurant with sunset views. The box feels like a keepsake because the design is restrained — it doesn’t need lots of pieces to look special.
Quick tipPhotograph copper accents at an angle, not straight-on. It prevents glare and keeps the border crisp.
Start by using sandstone cardstock for the outer box and add copper-foil border cards for the itinerary arc. Put the proposal letter inside a copper-bordered envelope labeled “Open after dinner.” Next, include one small practical item that matches the desert theme, like a compact lip balm or a tiny sunscreen stick, so the gift feels useful. Finally, schedule Day 3 reveal after dinner when lighting is warm and the copper border stays noticeable without glare.
Skip thisDon’t overpack the box with too many small items; copper borders need breathing room.
25. Charcoal Smoke 'BBQ Pit Crew' Box with Grill-Tongs Letter Opener
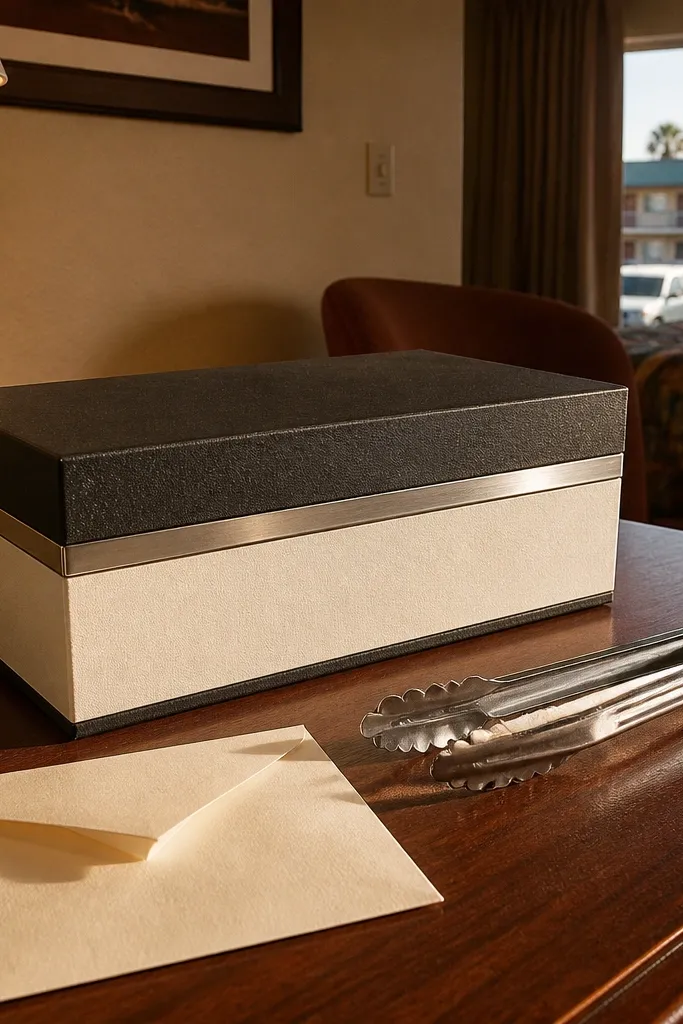
This is a bold, funny box that still looks good in photos because the colors stay controlled: charcoal, cream, and a single accent like stainless steel. A grill-tongs letter opener is a smart action item since it helps them open the proposal envelope quickly and neatly. It fits road trips, small-town weekends, and any itinerary with a barbecue dinner or food tour. Day 1 is the handoff moment, Day 2 is food adventures, and Day 3 is the big reveal at a restaurant table.
Start by building the box in charcoal with a cream proposal envelope and a stainless letter opener shaped like mini tongs. Add a “Day 2 food list” card so they know what to look for during your itinerary. Next, pack the metal tongs in bubble wrap or a snug cardboard sleeve to prevent scratches. Finally, schedule Day 3 for a BBQ or steakhouse dinner where the charcoal packaging matches the restaurant vibe and the opener looks like part of the scene.
Use thick paper for the proposal letter so it doesn’t curl near heat sources like cars and outdoor seating.
Skip random novelty gadgets. One strong action item beats five small ones.