1. Groomsmen bottle-and-tag clusters on a clear riser
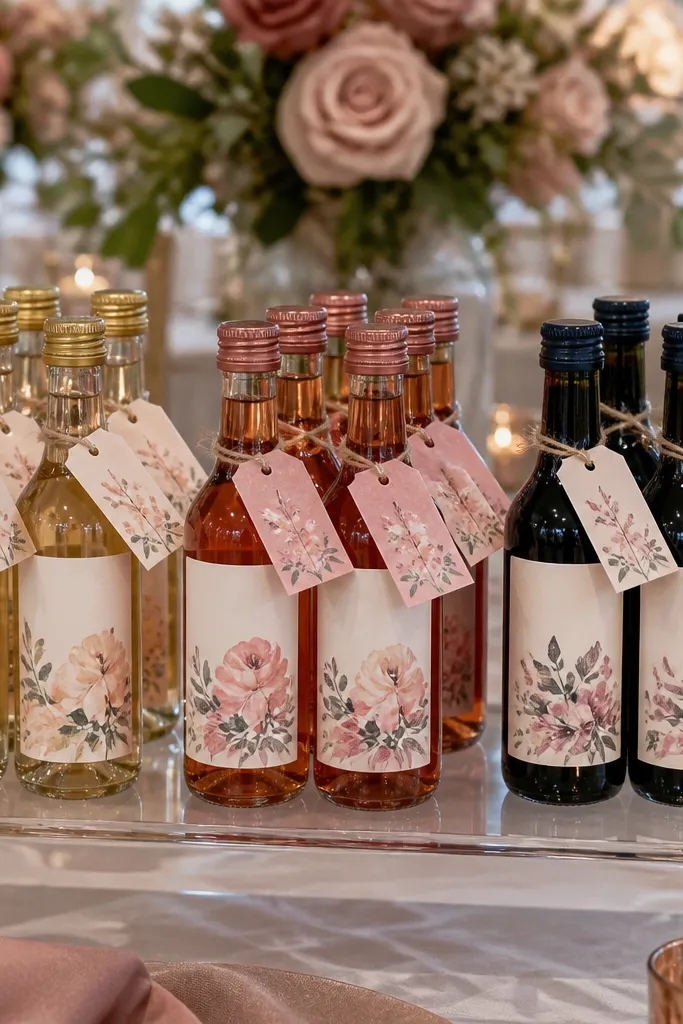
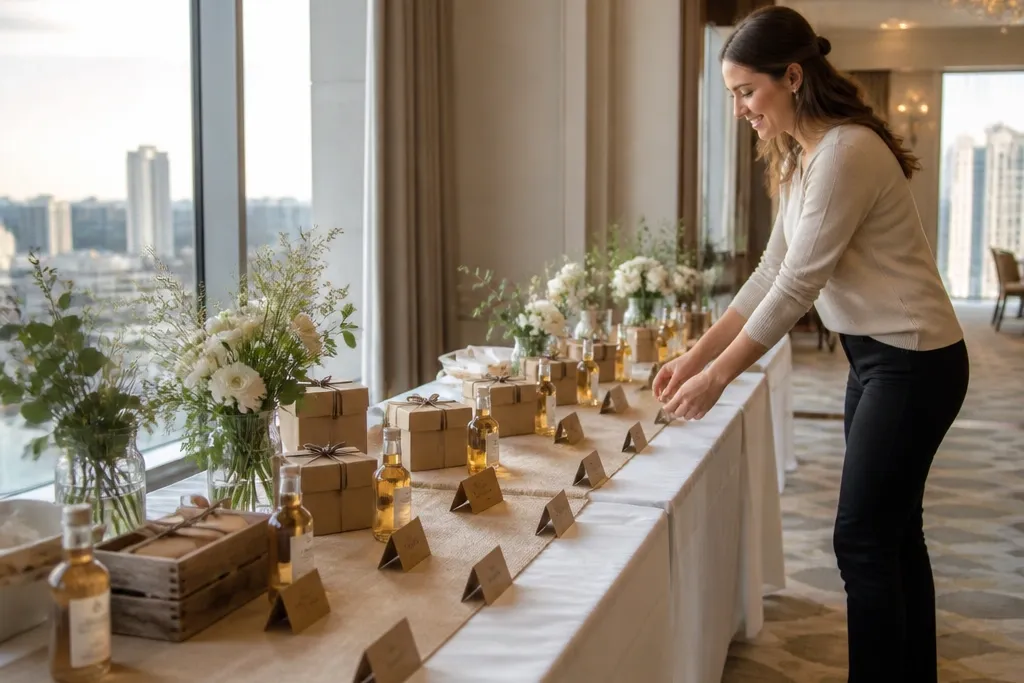
Start by placing a clear acrylic riser on a medium tray, centered. Then arrange bottles in a tight grid (two across, then two down) and attach one kraft tag to each bottle with twine so the tag hangs straight. Finally, add a single band of greenery along the back edge of the tray, not across the bottles. Expect 25-35 minutes if you prep tags ahead of time and don’t change placement after labeling.
A bottle cluster looks intentional because it has built-in height and a clean silhouette. For a groom and groomsmen gift table, use mini bottles or travel-size bottles and group them in sets of 2-4 so each cluster reads as a single unit. This style works best when the labels on the bottles are consistent in color or when you’re adding your own tag to unify them. It also photographs well because the clear riser keeps lines sharp and prevents the table from feeling flat.
Skip thisDon’t mix tall bottles and squat bottles in the same row — it creates a lopsided skyline.
Quick tipUse one tag string length for every bottle; uneven lengths make the whole table look rushed.
2. Mini candle lineup with uniform lids and name tags
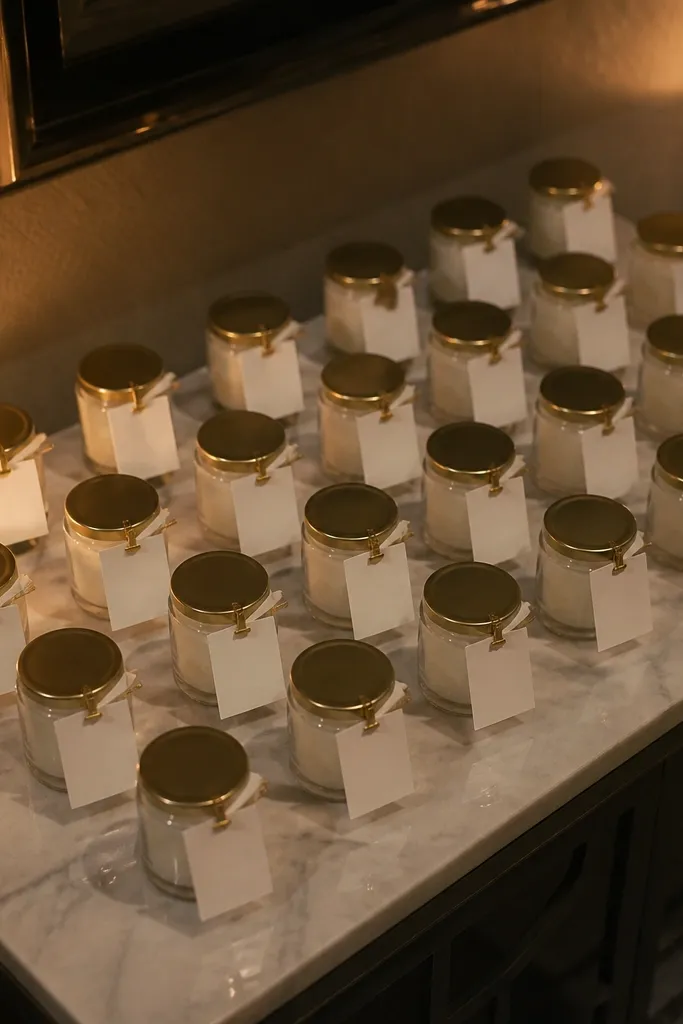
Candles give the table a warm, “gift-ready” feel without needing extra props. Keep the look clean by using candles that have the same jar shape or lid style, then add name tags so each gift is clearly assigned. This works especially well for evening weddings or any venue where you want a cozy mood without heavy decoration. The key is consistency: when every candle jar looks similar, the table reads neat even if the scents differ.
Place candles on a low tray in a single line or two staggered rows, leaving a thumb-width gap between jars. Then attach name tags to a small ribbon strip and wrap it around each jar lid so the tag stays centered. Finally, wipe jars with a dry cloth so fingerprints don’t show. You can assemble this in 20-30 minutes because it’s mostly arrangement and labeling.
If your candles are glass, line the tray with a plain sheet of tissue or thin parchment so the background looks smooth.
Skip mismatched candle heights — even a 1-inch difference shows up fast in photos.
3. Leather-look keychain display on a folded linen runner
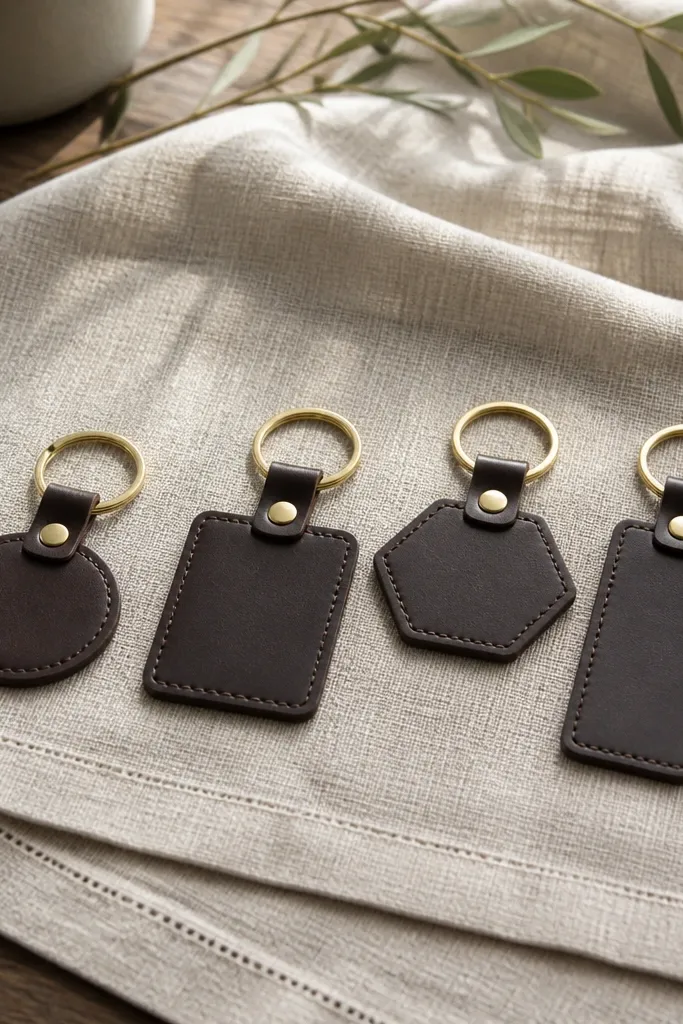
Keychains are small, which means they can look lost unless you give them a surface that frames them. A folded linen runner makes the gifts feel intentional and gives you a texture that looks good up close and from a distance. This is a strong fit for groom and groomsmen gifting because it’s personal but still simple to present. Best timing is daytime weddings or venues with warm wood tones where linen texture won’t look out of place.
Lay a linen runner on the table, then fold one edge under so it creates a clean border. Arrange keychains in straight rows and place one small card label beside each item, aligned to the same side of the runner. Finally, add a few tiny faux olive leaves at the far end to anchor the styling. Plan 25-35 minutes depending on how many groomsmen you’re labeling.
Use a ruler for label alignment; your eye catches crooked cards immediately.
Don’t place tiny items directly on a busy tablecloth — the runner is the whole point.
4. Two-tone snack tins with name ribbons
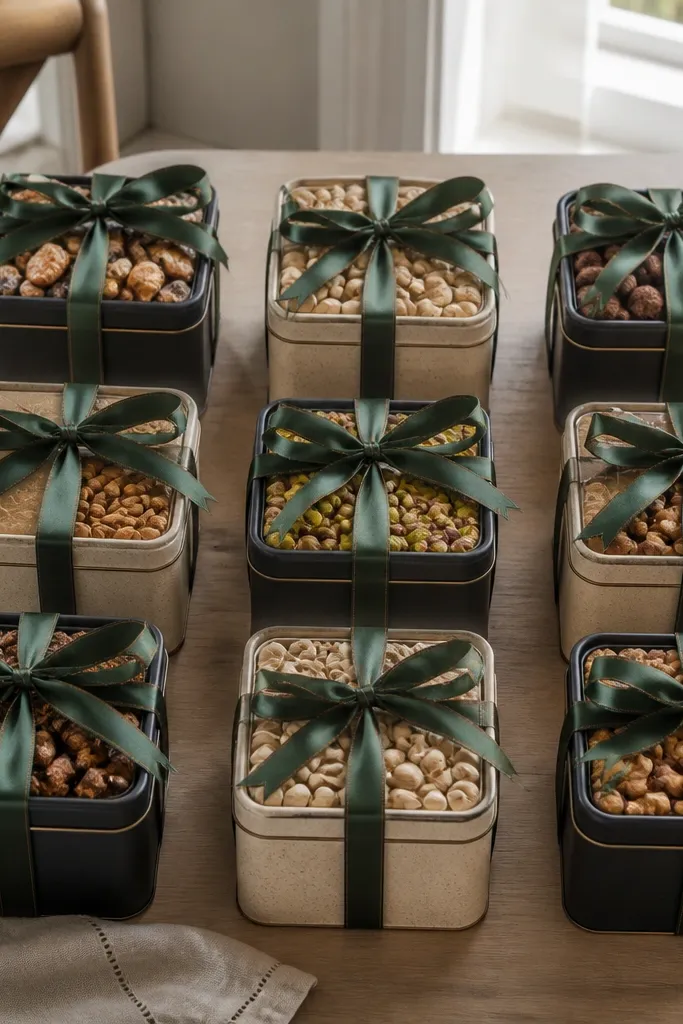
Set two large tins at the front corners and smaller tins behind them in a staggered layout. Tie name ribbons around each tin handle or lid using the same knot style for every person. Then place a small folded insert card under the ribbon so the name is readable even if the ribbon shifts. Assembly takes 20-40 minutes based on how many tins you’re filling and labeling.
Snack tins make the table feel practical and fun, and they’re easy to keep tidy. The look works when you use two tin colors and keep the rest of the table neutral. For groom and groomsmen gifting, tins also let you include a personal note without adding clutter. This setup fits daytime receptions and casual venues because it feels approachable, not formal.
Skip thisAvoid mixing three or more tin colors; it turns into a candy aisle look.
Quick tipPick tin colors that match your wedding paper (cream and black are the safest combo).
5. Tote-bag bundles with a single tag per bag
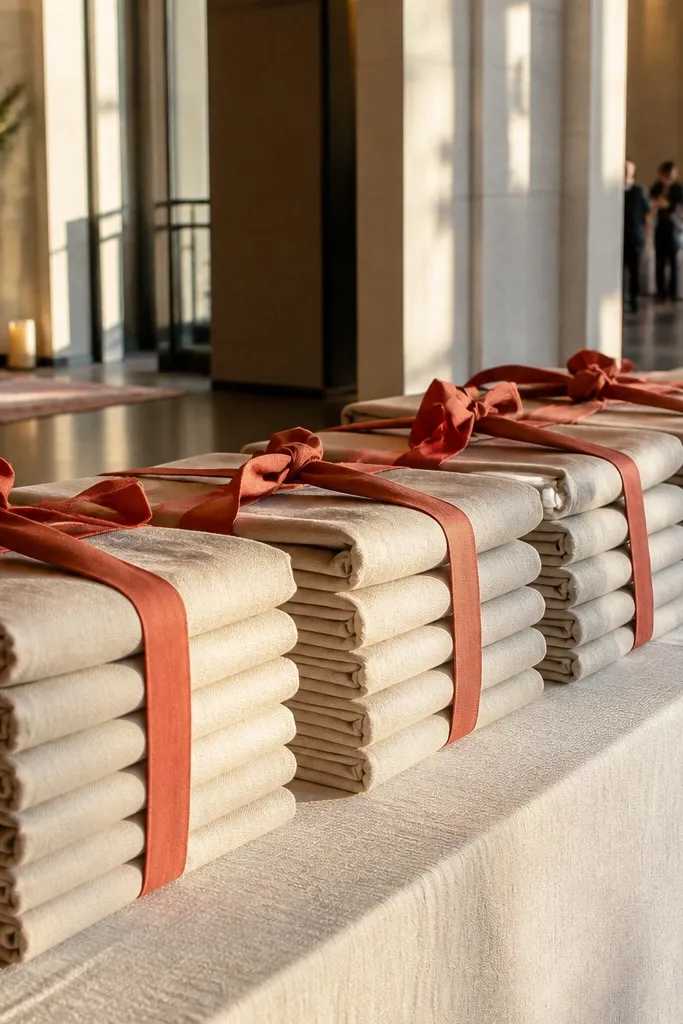
Fold all tote bags to the same height and stack them in pairs on two trays. Attach one tag at the same height on every bag, using twine or a ribbon loop so it doesn’t sag. Place a small strip of tissue inside the top fold to prevent the bags from collapsing. Budget 25-35 minutes if your bags are pre-filled or easy to fill.
If you’re gifting something practical like a tote, the table can look clean fast because the bags stack neatly. The trick is to keep each bag folded the same way and use one tag per bag, not multiple stickers and extra notes. This is a great option when you want the table to look sharp without adding lots of small items that get messy. It also works for indoor venues where you want the display to look tidy even when guests pass by quickly.
Skip thisSkip adding random extra cards — too many tags makes the whole table feel chaotic.
Quick tipUse a consistent tag placement height by measuring from the top seam — your eye will notice if it varies.
6. Pour-over coffee kit tray with a label strip
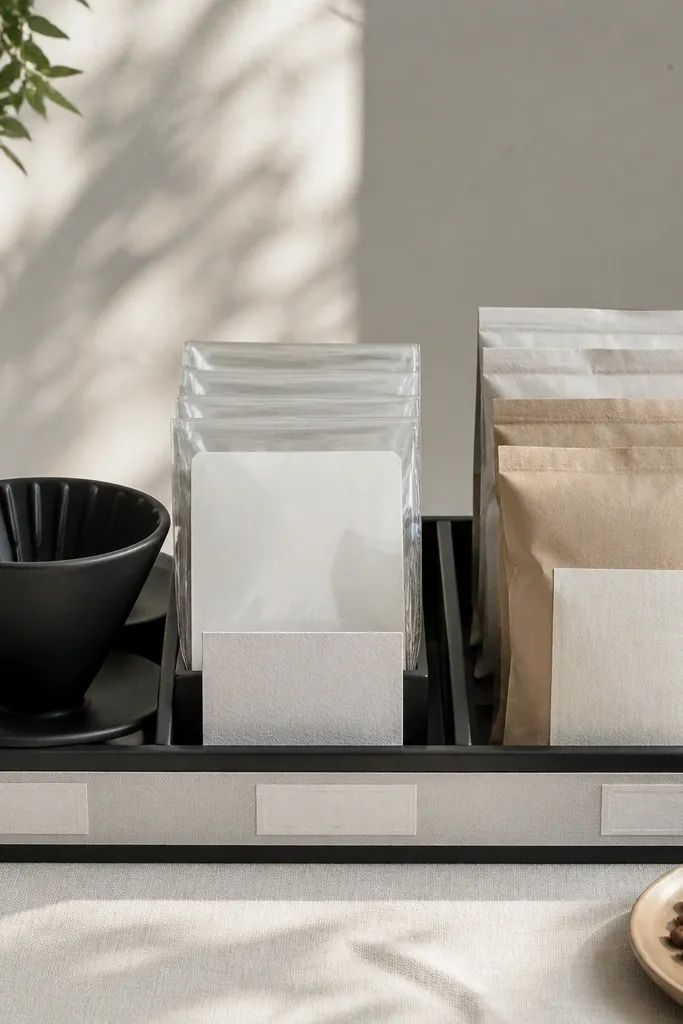
A coffee kit reads premium without being fussy, and it’s easy to keep styled because the items have clear shapes. Put each groomsman’s kit in the same tray footprint so the display looks uniform. This is a strong fit for morning receptions or weddings where the couple wants a practical, usable gift. The best part is that the table feels cohesive even if flavors differ, as long as the labels match.
Arrange each kit on a shallow tray so the front edge lines up across every kit. Add a label strip along the front of the tray with names in one font style, then attach the matching flavor card to the kit itself. Finally, use tissue paper to fill any gaps so kits look equally full. This takes about 30-45 minutes if you assemble kits and place labels carefully.
Use the same paper size for every flavor card; different sizes make a table look unplanned.
Don’t scatter small packets loose on the tray — they create a cluttered look instantly.
7. Travel soap and hand lotion row with matching pump tops
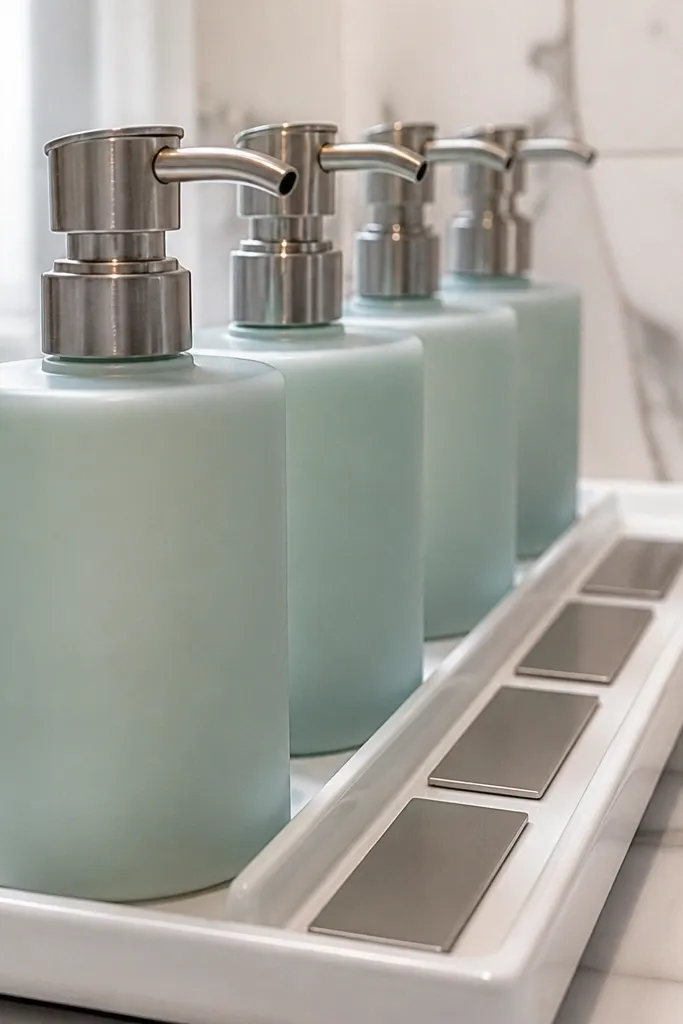
Place bottles in a straight line on a low tray with a consistent gap between each item. Attach a name tag to the bottle neck area using a narrow ribbon loop. Add one thin greenery line behind the tray so the bottles don’t look like they’re floating on a blank surface. Plan 20-30 minutes for a tidy assembly.
Bath and body items are small, but a neat row looks clean and modern. Keep pump tops or bottle shapes consistent so guests don’t see random silhouettes. This setup suits destination weekends and warm-weather weddings where guests appreciate practical self-care. It also works well when the venue has bright lighting because the bottles catch light and make the table feel fresh.
Skip thisAvoid mixing bottles with different label styles unless you cover them with matching tags.
Quick tipWipe labels with a dry microfiber cloth so glare doesn’t wash out names in photos.
8. Shoe-care kit with a brush, cream, and a centered monogram tag
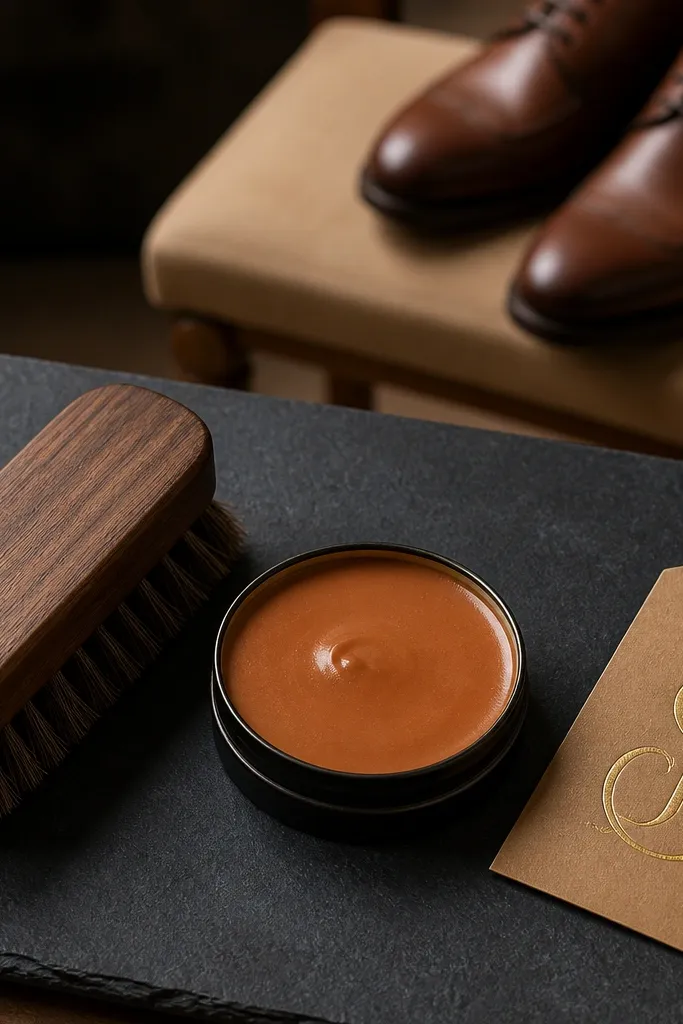
Use a medium tray and lay items flat so the tops align. Place a cloth in the center, cream on one side, brush on the other, then attach a tag to the front edge of the tray. Finish by wrapping a ribbon around the kit bag or sleeve so it stays neat when guests touch it. Assembly is about 30-40 minutes if you’re packing each kit in advance.
Shoe-care kits feel like a real groom-and-groomsmen gift because they connect to what guys actually use around wedding day. Style it like a flat-lay: brush, cream, and cloth arranged in a clean order with one centered tag per kit. This is best for weddings where the groom and groomsmen are wearing dress shoes and where you want the gift table to look sharp, not cutesy. It also gives you a “tool” look that feels masculine without trying too hard.
Skip thisDon’t overfill the kit bag — bulging makes the tray look messy.
Quick tipKeep tags matte and dark ink; glossy tags reflect venue lights and blur names.
9. Beer-or-soda sampler with a "front label" naming card
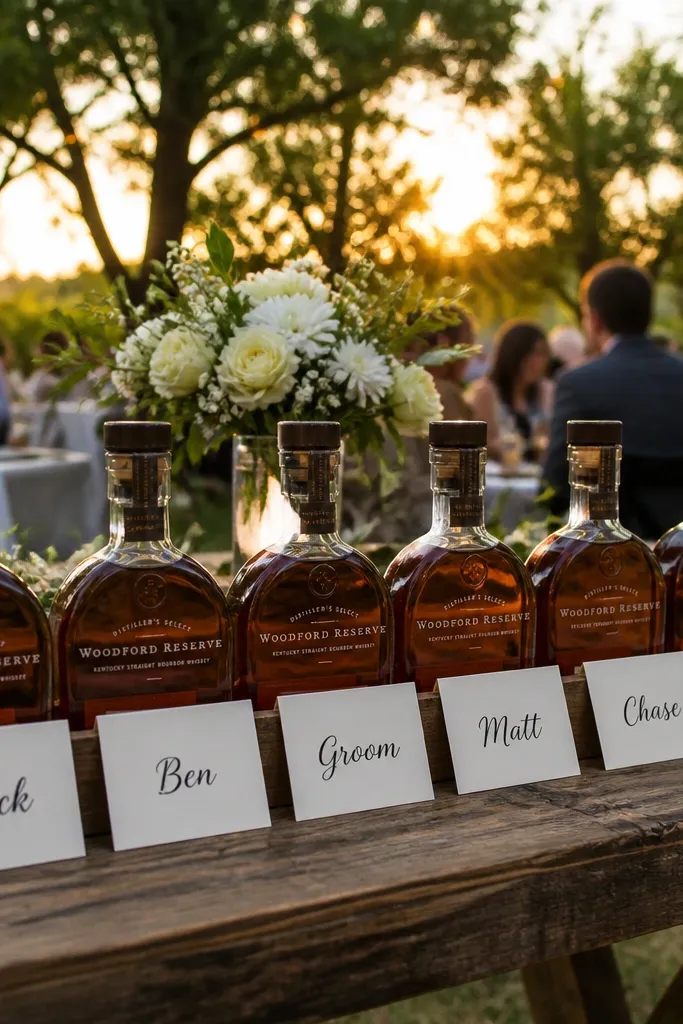
Place samplers in clusters on a tray and keep bottle caps facing forward. Create a small front card for each person that lists their name and what’s inside the cluster, then place the card at the front of the tray. Finally, add a small strip of kraft paper under the cluster so the background stays consistent. Give yourself 25-40 minutes depending on how many samplers you’re labeling.
Sampler packs work because they create variety without needing extra decorative items. The cleanest way to style them is to add one front naming card for each person, then keep bottles themselves looking uniform by using the same bottle size. This works well for casual outdoor weddings and destination weekends where guests like a little “try something” vibe. It also reduces table clutter because you’re not attaching tags to every single bottle.
Skip thisSkip attaching name tags to random spots on bottles — it makes the table look improvised.
Quick tipWrite names in one consistent line and keep card text short to avoid a “menu” look.
10. Cigar or smoke-free treat box with a ribbon pull tab
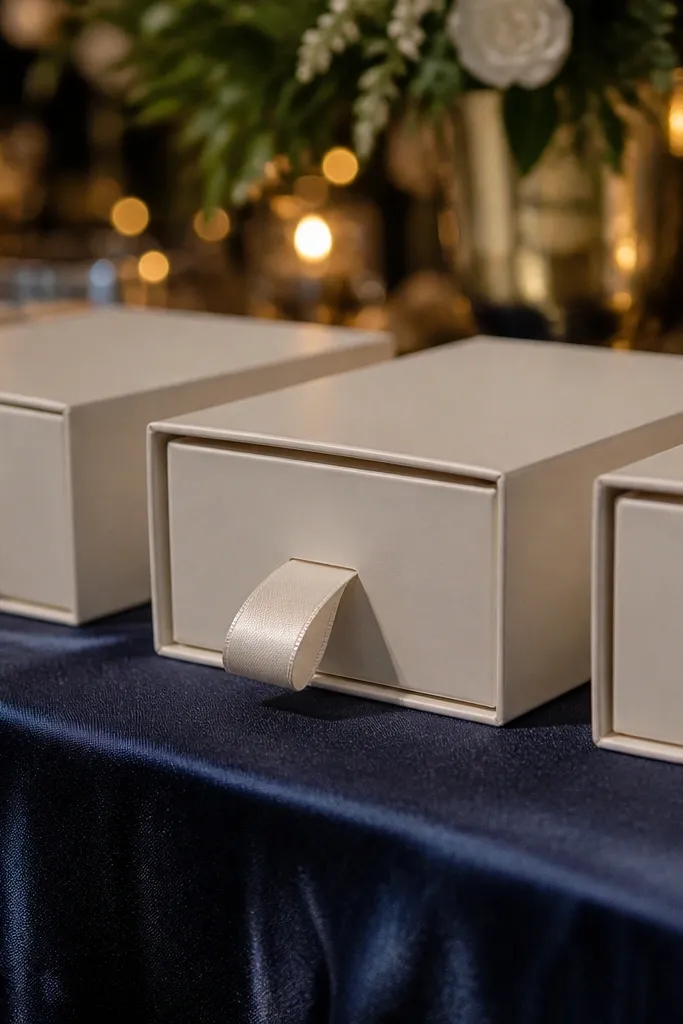
Arrange boxes in a grid on a tray, keeping the ribbon pull tab facing the same direction. Attach one name tag to the top ribbon pull so it’s visible. Then use a single filler element like tissue in one color to keep the trays from looking empty between boxes. Assembly takes 30-45 minutes if you’re tying ribbons for each person.
Even if your gift isn’t cigar-related, the “box with pull tab” idea reads premium and tidy. Use a small box or sleeve with a ribbon pull so guests can grab the gift without tearing packaging. This is a good choice for evening receptions because the box shape looks formal and the ribbon catches light. It also keeps the table neat because boxes don’t scatter like loose items.
Skip thisDon’t use different ribbon colors per person — it breaks the table’s unity.
Quick tipUse the same ribbon width for every box; thin ribbons look uneven next to thicker ones.
11. Personalized handkerchief stack with a folded-edge label
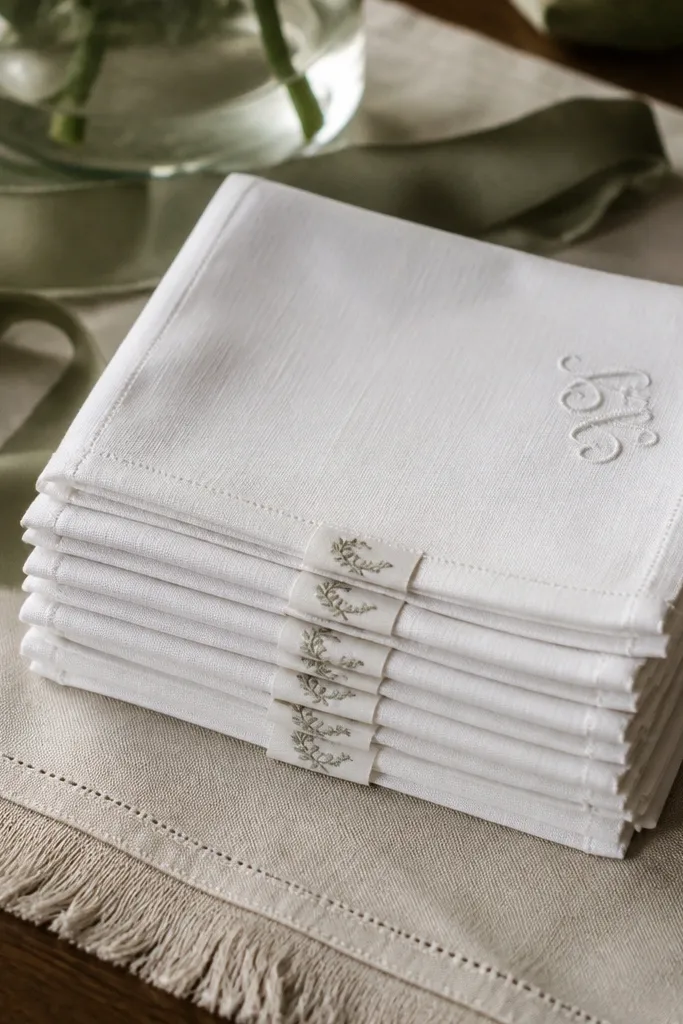
Handkerchiefs look clean and classic, but they need strong folding to avoid a wrinkled mess. Stack them so the folded edges line up and add a small label at the fold. This suits weddings where the groom’s style is more traditional or vintage-leaning. It also gives you a table that feels intentional even with minimal decor because the fabric texture does the work.
Fold each handkerchief the same way and stack them in pairs on a tray. Place the name tag on the folded edge so it stays flat and doesn’t curl. Add one neutral background layer under the stack, like cream tissue or a plain linen napkin, so the fabric color pops. Expect 25-35 minutes if you fold efficiently and label as you go.
Steam or iron the fold lines before stacking; a sloppy fold reads faster than any design choice.
Skip mixing knits and crisp cottons in the same stack — the textures clash visually.
12. "First drink" mocktail kit with mini mixers and a recipe card
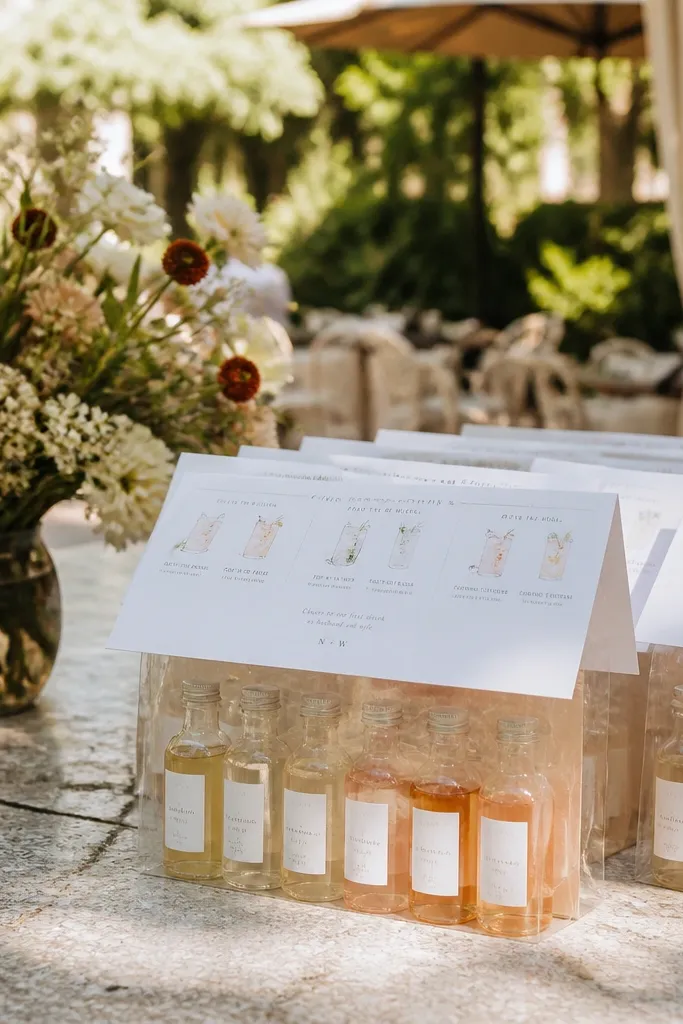
Arrange mixer bottles in a tray so labels face forward, then place a recipe card on top of each kit with the name at the top. Seal kits in clear sleeves so they stay neat and don’t tip when guests touch them. Finally, cluster kits in groups of 3-4 to avoid a sparse look. Assembly takes 35-50 minutes if you’re writing recipe cards by hand.
Mocktail kits are easy to present because bottles are uniform and recipe cards create structure. Put each person’s kit in a small clear bag or sleeve, then keep the recipe card on top like a menu. This works for weddings where you want inclusive gifting or where alcohol isn’t the focus. Best time is summer and early fall since the flavors feel fresh and guests remember the practical gift.
Skip thisDon’t hide the name on the side of the bag — guests need to find it quickly.
Quick tipUse short recipe cards with exact measurements like 2 oz mixer + 4 oz soda so the gift feels usable immediately.
13. Groomsmen photo strip + gift bag combo on a cork board
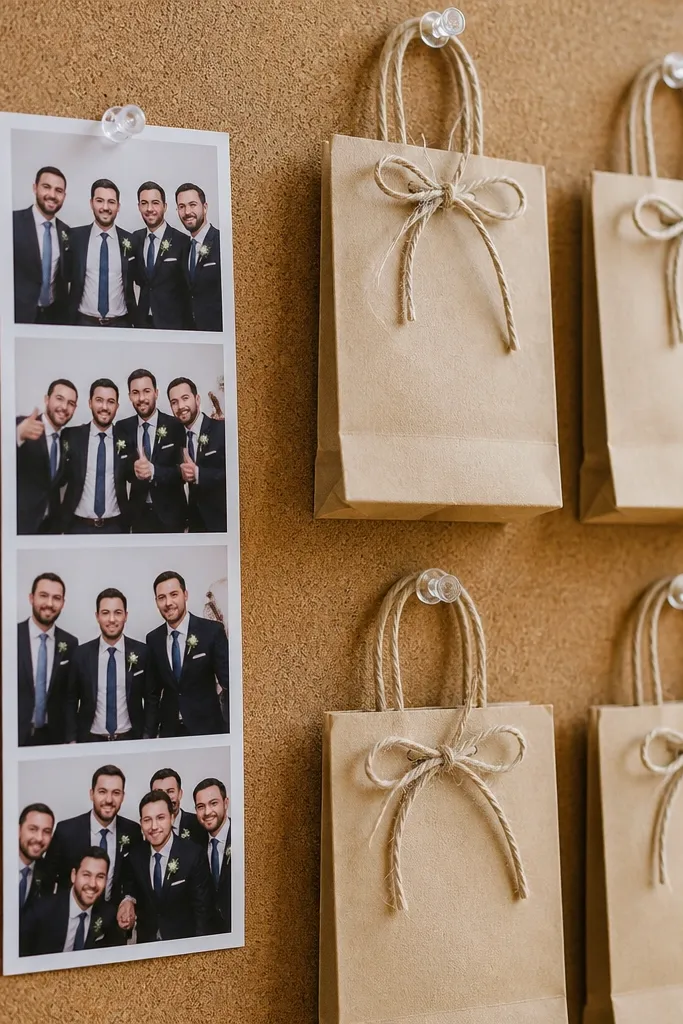
Pin photo strips to a cork board in a neat grid, then place matching gift bags beneath each row. Use mini clothespins so everything stays aligned and easy to adjust. Add one label card at the bottom with the groom’s name or date, then keep all other text minimal. Plan 30-45 minutes depending on how many photo strips you’re clipping.
This one looks styled fast because the cork board provides a structured background. Pair each groomsman’s mini photo strip with a matching small gift bag so the table tells a story without adding lots of decor. It’s a strong fit when you want the table to feel personal but you don’t want to build a full photo wall. Daytime weddings work best because cork texture reads warm under natural light.
Skip thisDon’t use different clip colors across the board — it looks like a last-minute craft table.
Quick tipTrim photo strips to the same width so the board looks intentional, not handmade and messy.
14. Dessert tasting cups with name stickers on the rim
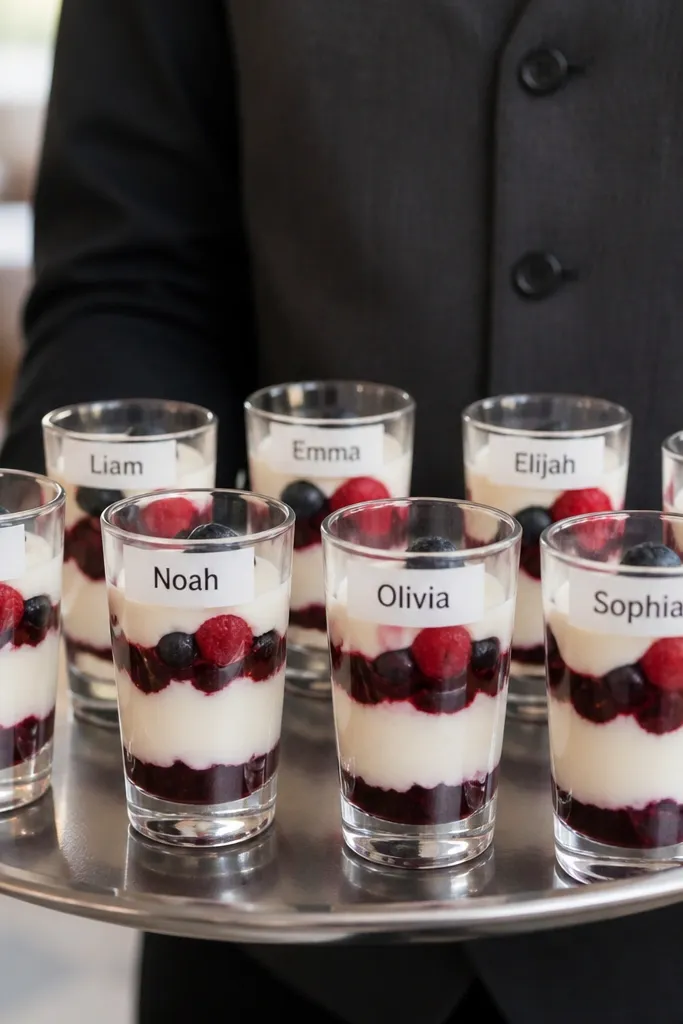
Arrange cups in rows on a tray with paper liners underneath so the surface stays tidy. Place a name sticker on the rim of each cup so it’s visible from standing height. Add a small drizzle or topping only after you place cups if they smear easily — that keeps the table looking fresh. Assembly takes 25-40 minutes depending on how many cups you’re portioning.
Individual tasting cups look clean and “event-ready” because each item is portioned. Sticker names on the rim are readable and don’t block the view of the dessert. This is a good fit for weddings where you want guests to grab gifts quickly without opening anything complicated. It also works for indoor venues where you can keep cups chilled and arranged without worrying about packaging collapse.
Skip thisAvoid putting name tags on the side — guests miss them and the table looks confusing.
Quick tipUse matte stickers to reduce glare from overhead lights.
15. Cufflink and watch accessories in a felt tray with tag corners
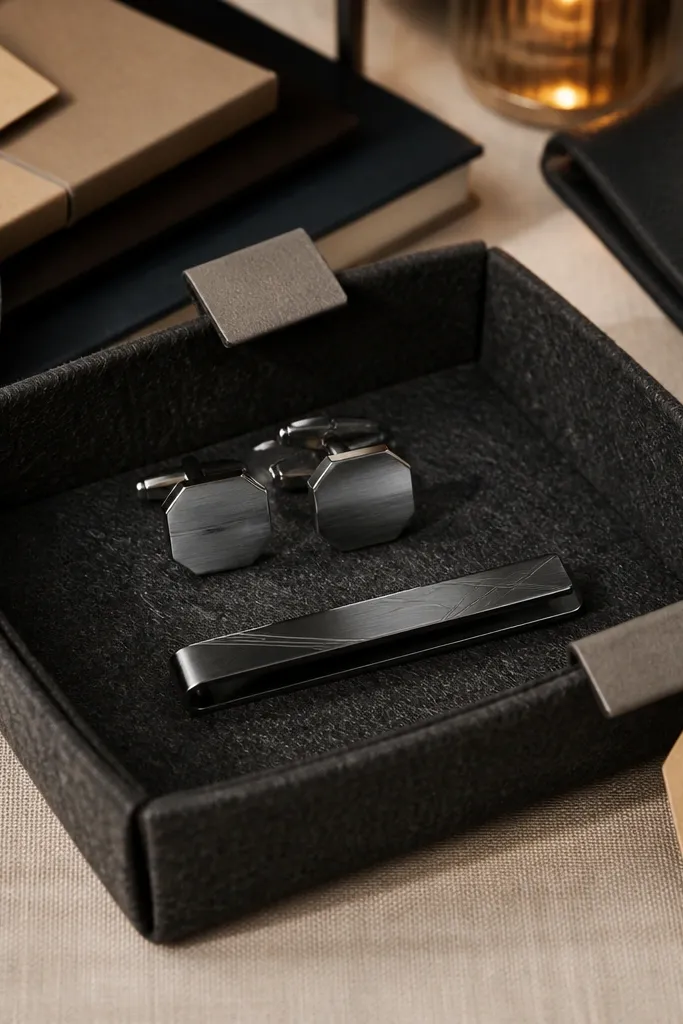
Lay felt inside a tray and place each accessory set so the metal faces the same direction. Add a small tag in the tray corner for each set, aligned to the same corner every time. If you’re using multiple trays, keep the felt color consistent so the table looks unified. Assembly takes about 30-45 minutes because you’re placing each set carefully.
Felt trays make small accessories look expensive and organized. The texture hides minor scuffs and keeps metal pieces from sliding, which matters when guests are moving around. This is ideal for groom and groomsmen gifts that are compact and personal, like cufflinks, tie clips, or watch accessories. It also looks great for fall and winter weddings because felt reads warm even in cooler lighting.
Skip thisDon’t stack accessories on top of each other — it turns into a pile.
Quick tipUse a sticky putty or a tiny dab of museum gel under pieces that roll; it prevents constant readjusting.
16. Greenery + candles + name cards on a long runner
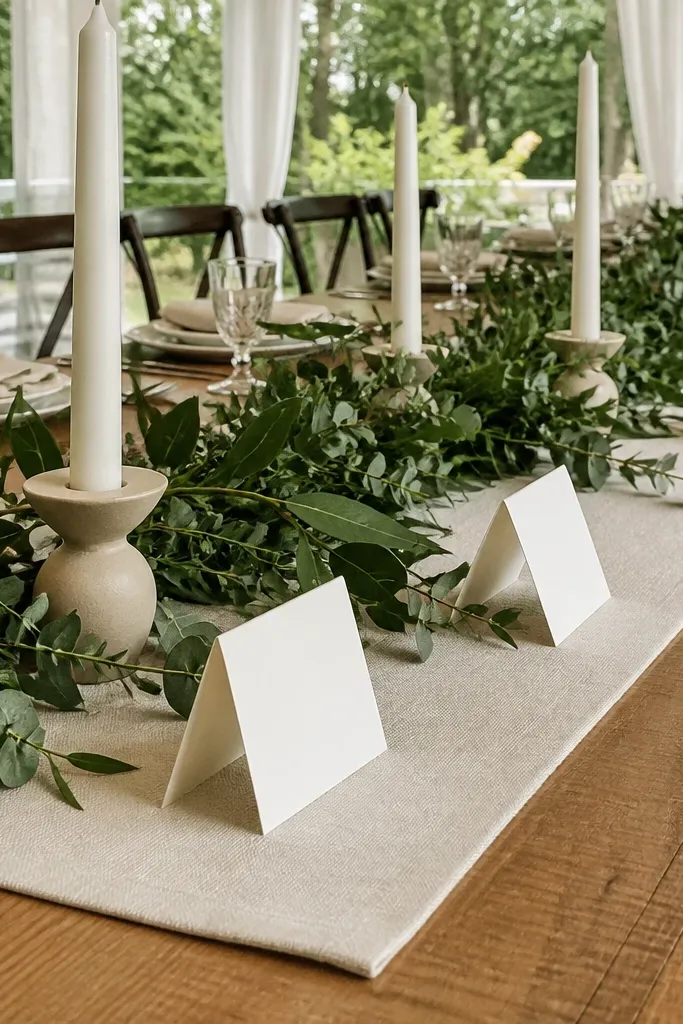
A long runner with greenery and candles gives you height and softness without looking overdecorated. Name cards make it clear who gets what, and the greenery line keeps the whole display tied together. This works for reception tables where you want the gift area to look like part of the design, not a random side table. Best timing is spring through early fall when greenery looks natural under light.
Spread a long runner down the center and tape a straight line so you place greenery evenly. Set candles along the runner with consistent spacing, then place name cards in front of each candle at the same distance from the edge. Finally, trim greenery so it doesn’t spill over the cards and block text. Plan 35-50 minutes for multiple groomsmen because you’re aligning everything.
Keep greenery density light at the front; heavy front greenery blocks name cards in photos.
Skip piling candles too close — the table starts to feel crowded and the names become harder to read.