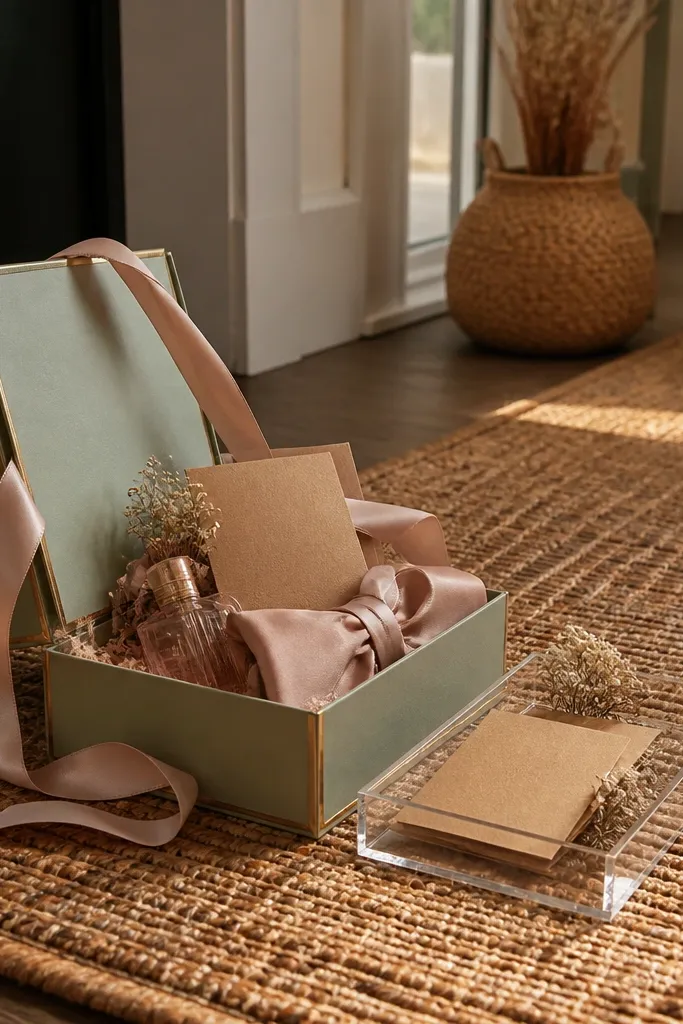
1. Mini Flower Bouquet Wrap + Yes Card
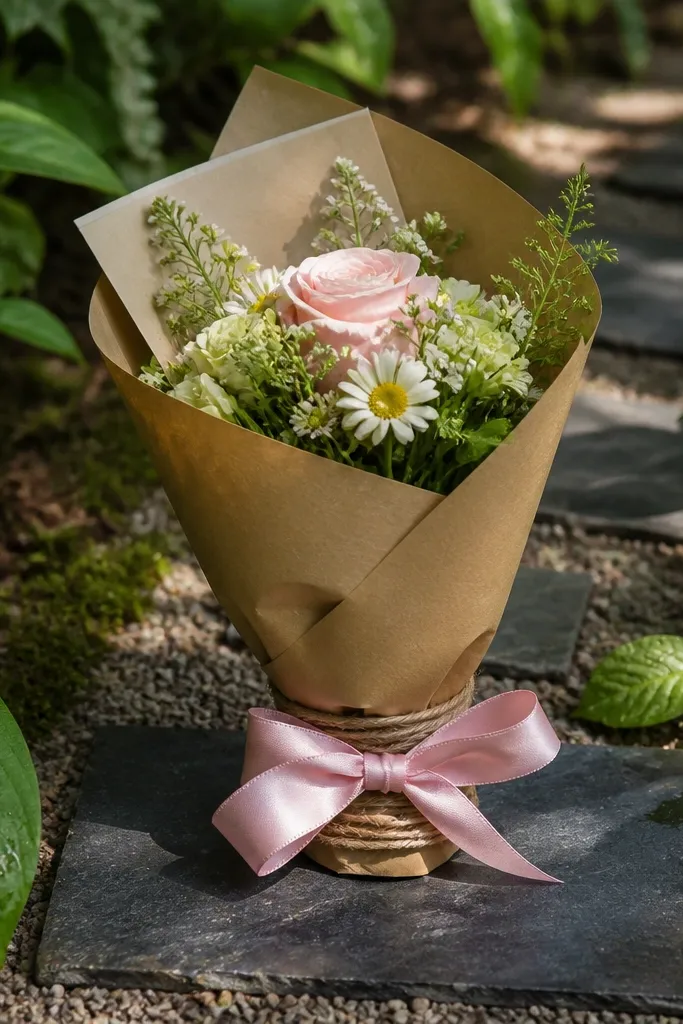
Start by buying 3-5 stems from a local grocery florist (choose one main flower and a filler like baby’s breath). Wrap the stems in kraft paper and tuck the ends so the bundle looks tidy. Then tie a ribbon around the center and attach a “Yes?” card with a hole punch and ribbon loop. For photos, set it on a white towel or light wood table so the kraft texture shows clearly. Spend about $15-30 and plan 20-30 minutes per bouquet.
This one looks sweet because it mimics a real bouquet — even when it’s tiny. You’ll get an instant aesthetic from kraft paper, twine, and one matching ribbon color. It works best for bridesmaid proposals where you want the message to feel soft and romantic without shipping anything complicated. Timing is friendly too: buy flowers the day before, then wrap and tie in the morning for crisp photos.
Skip thisDon’t use five different ribbon colors — it kills the clean look.
Quick tipIf your flowers wilt fast, mist lightly and keep bouquets in a cool room until you photograph.
2. Champagne Gummy Mini Kit in a Clear Cellophane Bag
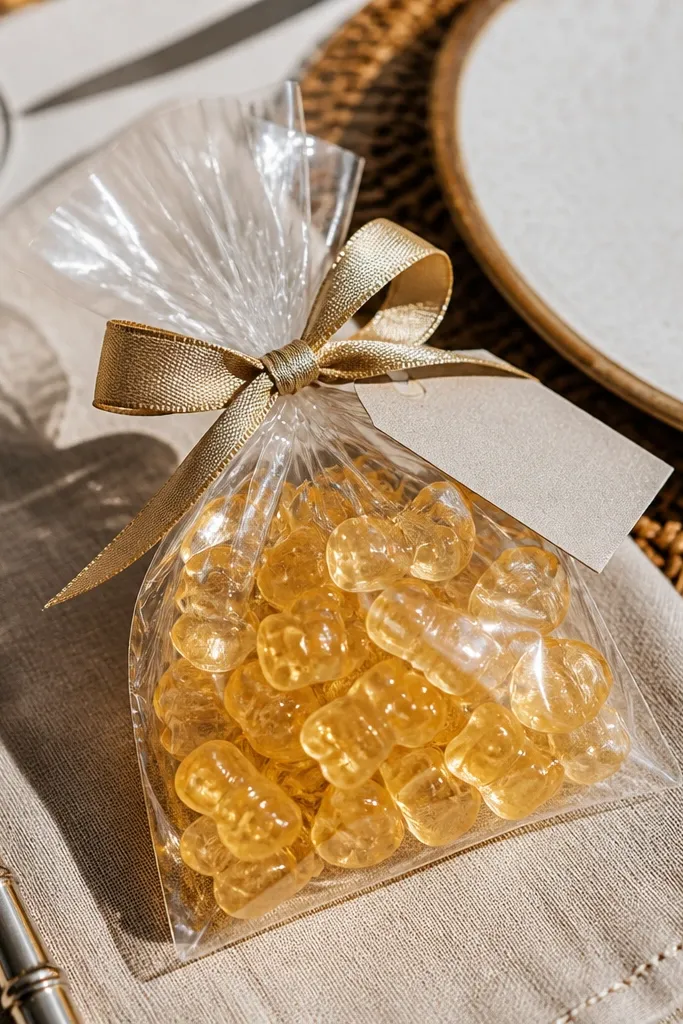
This proposal reads fun and modern because the clear bag lets the candy color show through. It’s photogenic because gold ribbon catches light and the gummies look playful in close-ups. It suits brides who want their bridesmaids to feel included in a celebration right away. It also stays stable for three days — gummies don’t need refrigeration and packaging holds shape.
Buy a small champagne gummy pack (or two mini packs) and a gold ribbon spool. Place the gummies in a clear cellophane bag, add a folded yes card on top, then twist and tie the ribbon into a neat bow. For the most “styled” look, press the bag flat against a cardstock backing before tying. Photograph on a glossy surface like a marble tray or a mirrored candle plate. Budget about $12-25 total and assemble in 10-15 minutes each.
Use a matte white cardstock behind the gummies so the photo doesn’t get washed out.
Skip bulky fillers inside the bag — they wrinkle cellophane and look messy.
3. Polaroid-Style Photo Card + Mini Perfume Sample
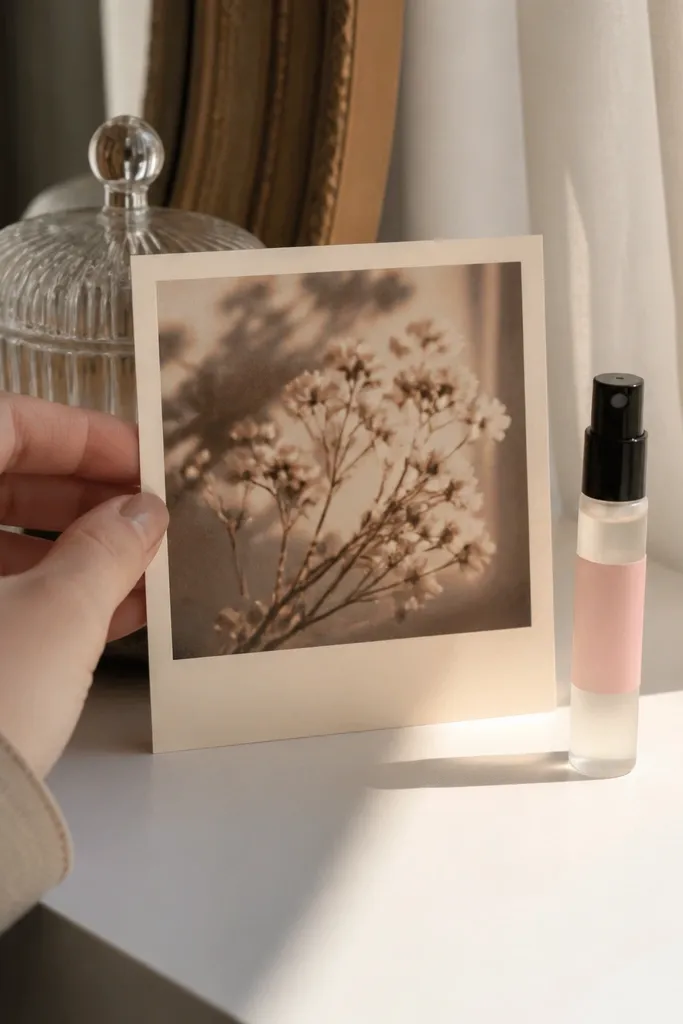
Print or write a polaroid-style card layout with your message and a tiny photo (even a printed selfie crop works). Put a mini perfume sample on a small piece of thick cardstock, then cover the edges with a strip of decorative tape. Slide everything into a small gift envelope or wrap in tissue and tie with a thin ribbon. For travel-friendly delivery, seal the tissue so nothing shifts. Costs run $10-20 plus any printing, and it takes about 15-20 minutes each.
This one is personal without being complicated. The polaroid-style card gives you that nostalgic, aesthetic framing, and the perfume sample adds a sensory “yes” moment. It fits bridesmaid groups that skew toward self-care and want something pretty on their vanity. Best time is daytime because perfume labels and the card edges show texture clearly in natural light.
Skip thisDon’t use a shiny card backing — it blows out highlights and makes the card hard to read.
Quick tipUse black ink for the card text so it stays readable in photos.
4. Satin Scrunchie Set in a Small Linen Drawstring Pouch
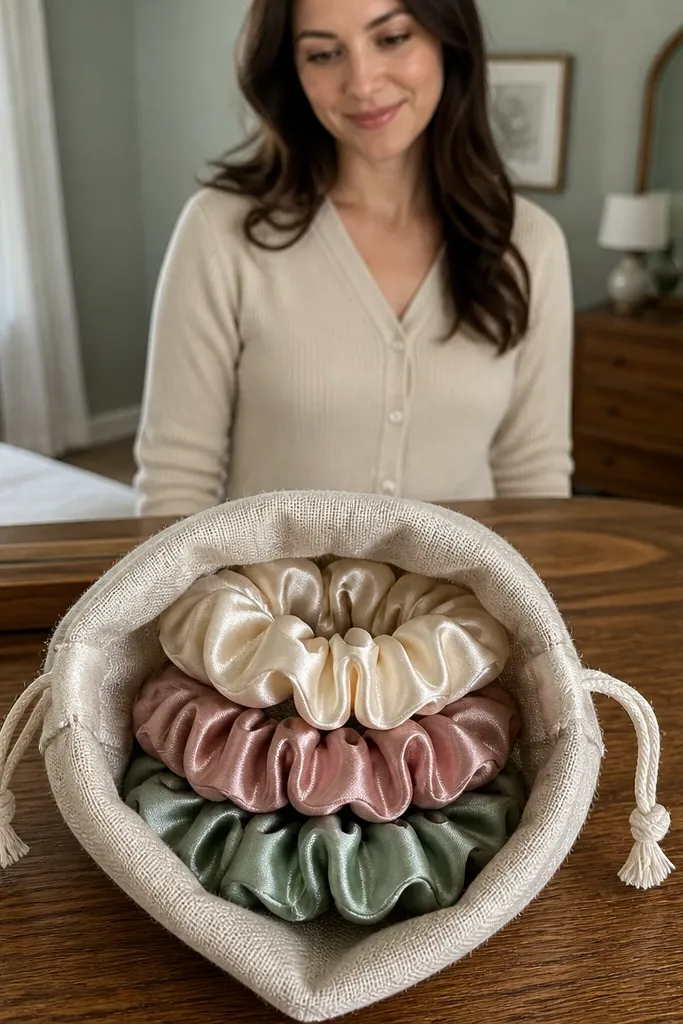
Scrunchies look good in photos because satin catches light and they stack neatly. The linen pouch adds texture and makes the whole thing feel intentional even if it’s simple. This is a solid choice for bridesmaids who will actually use hair accessories and like matching sets. It also handles the 3-day timeline well since you can buy and stuff everything quickly.
Buy a 2-pack or 3-pack of satin scrunchies in your accent color. Choose a small linen drawstring pouch in cream or light beige and slide the scrunchies inside. Tuck a yes card under the drawstring and tie the pouch so the card peeks out at a slight angle. For photos, place the pouch on a neutral blanket or textured napkin. Budget $18-35 depending on scrunchie brand, and assemble in 10 minutes.
Pick one accent color scrunchie and keep the pouch neutral so the set looks cohesive.
Avoid mixing satin and velvet textures in the same set — it reads chaotic on camera.
5. Garden Tea Sachet Tray with Mini Honey Stick
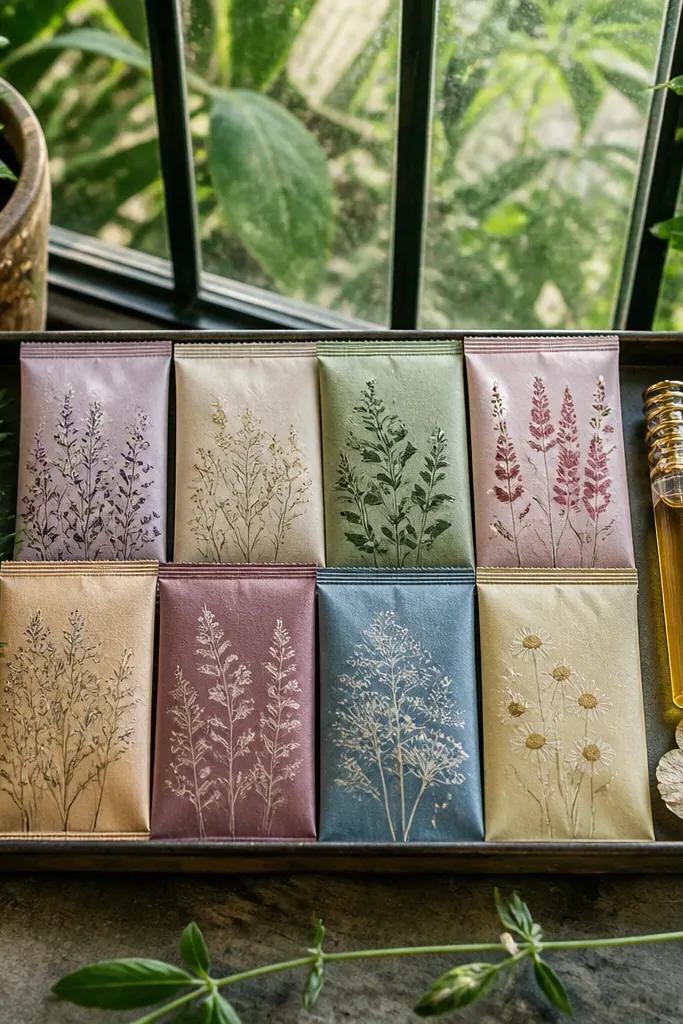
Buy 2-4 tea sachets in flavors that match your color story (think peach, vanilla, or light floral). Put them into a small shallow tray or wooden board, then add one mini honey stick and a yes card. Finish with a strip of ribbon and a tiny greenery sprig tucked behind the card. For the best look, photograph on light wood with a white linen cloth under the tray. Expect $15-30 in supplies and 20 minutes to assemble.
Tea proposals look classy without being fussy. You get a clean flat-lay when you arrange sachets in a tray, and the mini honey stick adds a warm gold accent. This is especially photogenic if you add a single sprig of greenery or a dried flower pressed into the tray corner. It fits brides who want a calm, cozy vibe for a daytime reveal.
Skip thisDon’t overfill — a crowded tray looks messy and reads cheap fast.
Quick tipUse a tray with raised edges so sachets don’t slide and ruin the arrangement.
6. Beach Postcard Bundle with Mini Sunscreen Stick
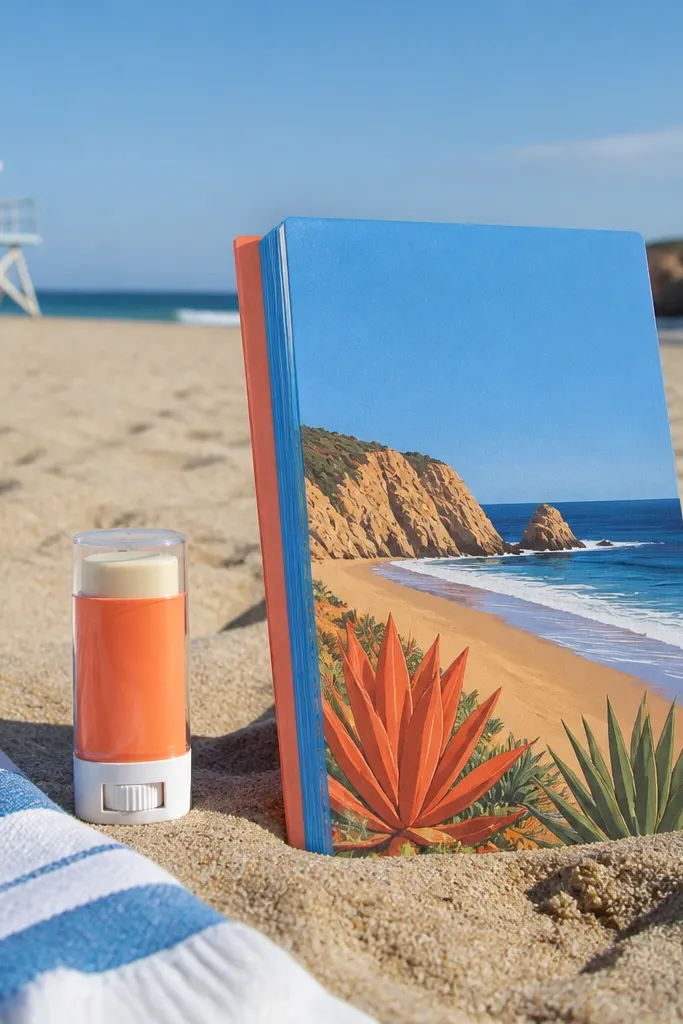
A beach-themed proposal is instantly photogenic because it uses bright, clean color blocks. The postcard gives you instant message clarity, and the sunscreen stick is a practical gift that looks good sitting upright. This works well for destination weddings or brides who want a sunny, playful feel. It’s also easy to assemble fast because you’re basically building a flat lay.
Grab a postcard set or thick postcard cardstock in a beachy color like sky blue or coral. Write your yes message on the back, then attach it to the front with a small piece of clear tape so it stands flat. Place a mini sunscreen stick beside it and tie everything with a thin ribbon loop. Photograph on a white tabletop with a shell or small sand-colored stone in one corner. Budget $10-25 and plan 15 minutes each.
Pick one shell or one starfish prop max — too many makes it look like a craft store.
Skip flimsy postcards that bend — they make the photo look sloppy.
7. Polished Keychain Gift Tag + Compact Lip Balm
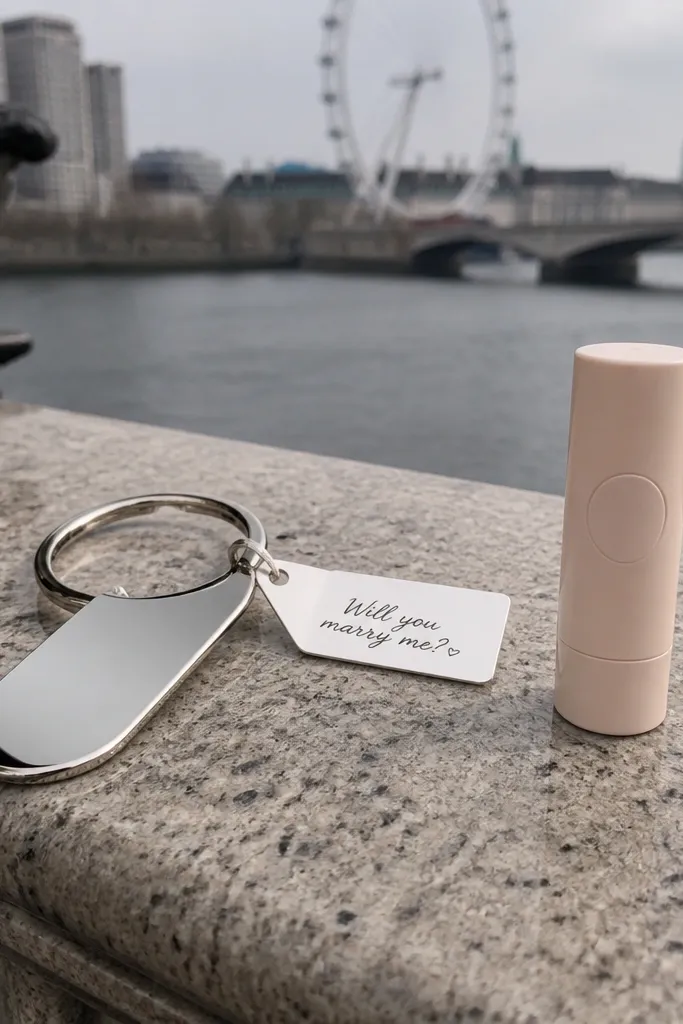
Buy a simple metal keychain tag (or a leather tag) in your accent color and attach a “Yes, will you be my bridesmaid?” card to it. Add a compact lip balm next to the tag and wrap with clear cellophane or place in a small gift box. Tie with a satin ribbon so the tag doesn’t flop during photos. For travel-friendly delivery, use a box insert so the balm doesn’t get scuffed. Cost is usually $15-35 and assembly takes 10-20 minutes.
This is a sleek, everyday proposal that photographs clean. The keychain tag adds shape and motion, while the lip balm gives a small pop of color. It suits bridesmaids who like practical gifts and want something they’ll actually carry. The look stays sharp because you can set it in a flat lay or hang it on a neat hook for photos.
Skip thisDon’t attach the card with random tape strips — it looks messy on camera.
Quick tipUse a dark background like navy cardstock so the tag and balm stand out.
8. Letterbox-Style Envelope with Layered Confetti Insert
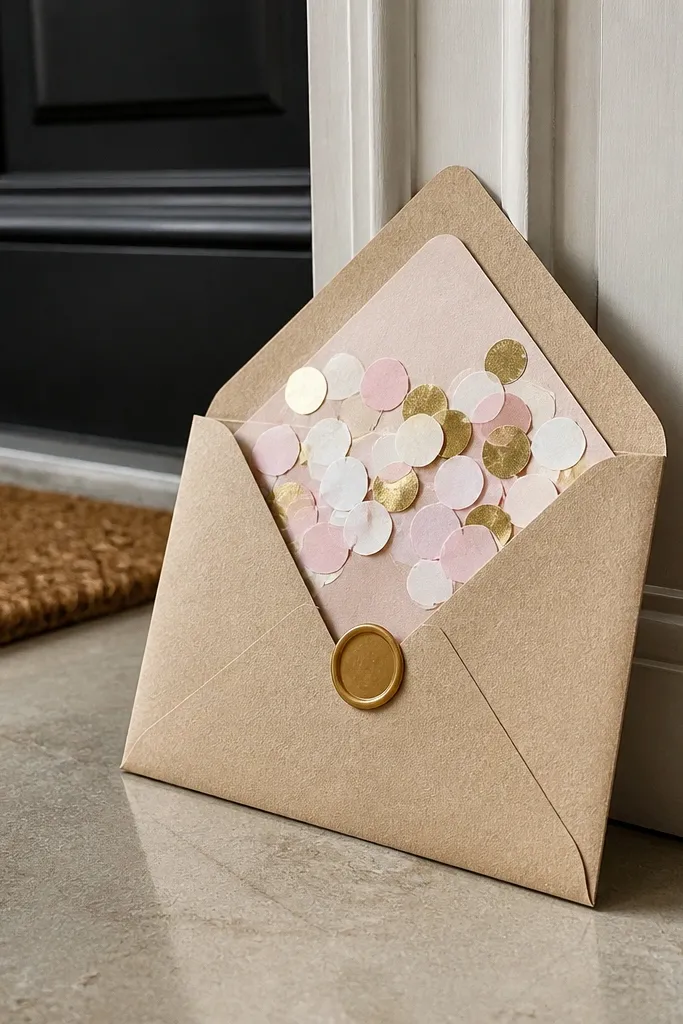
This proposal is built for drama in one photo. The envelope shape frames the reveal, and the confetti gives you that celebratory pop without needing a big gift. It suits brides who want a playful, modern look for a quick delivery. The best part is speed: you can assemble these in batches and still keep each one visually consistent.
Use a large kraft envelope and cut a confetti insert from tissue paper or pre-made metallic confetti. Fold your yes card and place it on top of the insert so it shows above the confetti. Seal the envelope, then tie a ribbon around the outside in one clean bow. Photograph against a plain wall or solid sheet so the envelope edge lines look crisp. Budget $8-20 depending on confetti and plan 10 minutes per piece.
Use metallic confetti in one color family like gold + blush so it doesn’t look scattered.
Skip mixed confetti colors — it makes the envelope look chaotic.
9. Mini Candle + Matchbook Card in a Small Gift Box
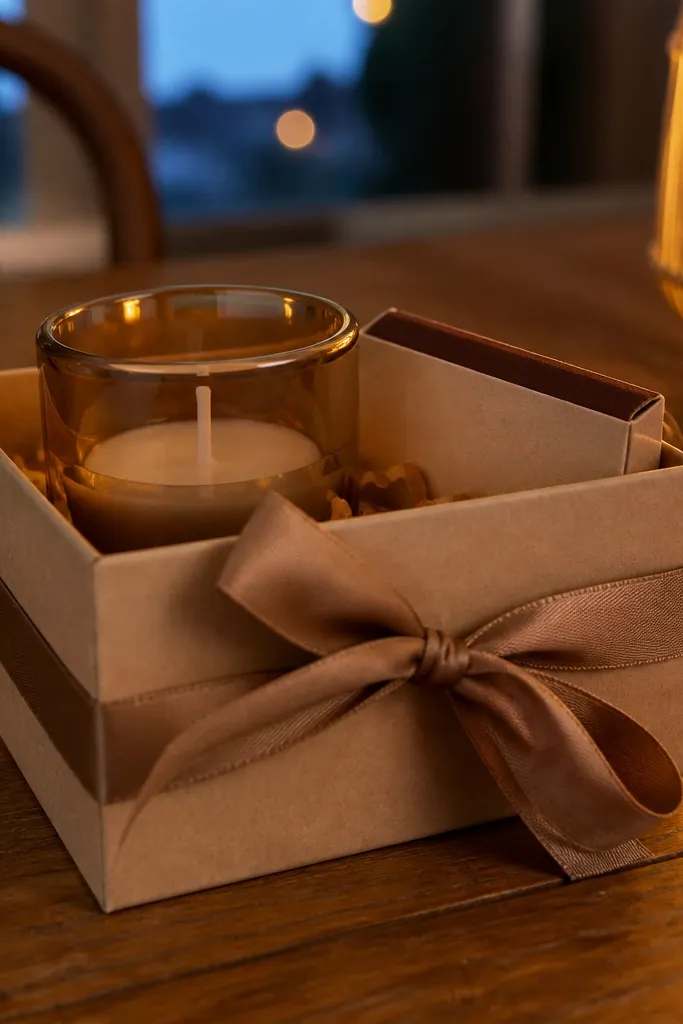
Candle proposals look expensive in photos because the glass shape is photogenic and the flame vibe is implied even when unlit. The matchbook-style card adds a fun, slightly vintage touch. This works for brides who want cozy, evening energy. It also scales well for groups because the candle and box are easy to keep consistent across everyone.
Buy a small 4-6 oz candle in a scent that matches your palette (vanilla, rose, sandalwood). Put it in a small gift box with tissue paper and add a matchbook-style yes card on top. Slide a couple of mini matches in a small pocket or tape them to the inside of the lid. Photograph on a dark wood surface for warm reflections. Expect $20-45 per candle and about 20 minutes to package.
Wipe the candle glass with a dry microfiber cloth before photographing.
Don’t choose a candle with a busy label — it fights your card for attention.
10. Rooftop Night City Map + Theater Ticket Style Card
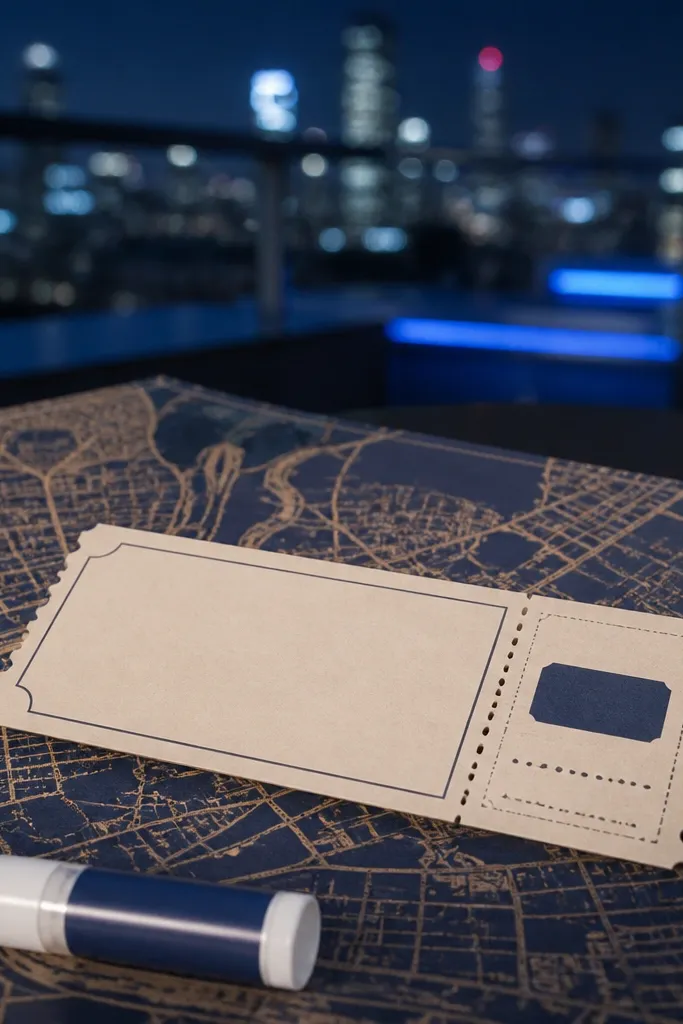
Print or buy a small city map sheet and cut a rectangle background. Place your ticket-style yes card on top, then tie a thin ribbon around a small stack of tissue or a mini envelope. Add one small item like a travel lip balm and seal it inside the mini envelope. Photograph on a matte black surface so the map lines show up clean. Budget $12-30 and assemble in 15-25 minutes.
If your wedding has a city-night vibe, this looks sharp and grown-up. The city map background gives texture, and the ticket-style card creates a clear focal point. Add a small travel-size lip gloss or mini perfume to keep it practical. This is great for bridesmaids who like modern aesthetics and want the proposal to look like part of an itinerary.
Skip thisAvoid folding the map too many times — creases make it look rushed.
Quick tipPick one landmark map section so the background looks intentional, not random.
11. Breakfast-In-Bed Style with Mini Jam Jar and Spoon
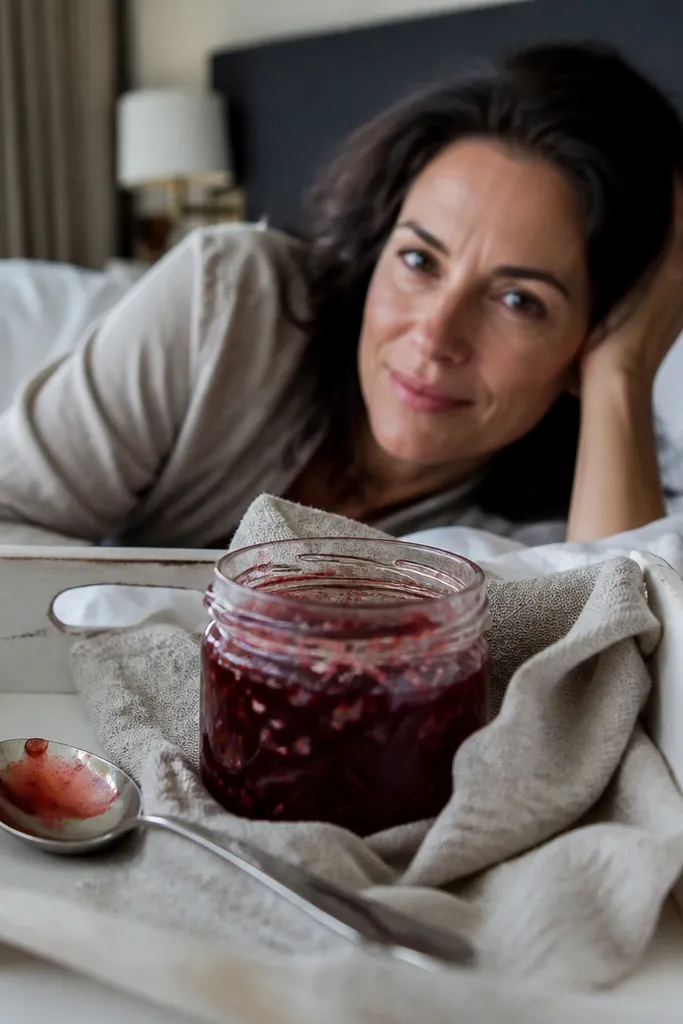
Buy a small jam jar (or honey jar) and a mini wooden spoon. Place them on a small breakfast tray with a folded yes card leaning against the jar. Add one simple garnish like a few berries or a single dried citrus slice for color. Photograph on a light countertop with a linen napkin underneath. Spend $18-35 and assemble in 15 minutes each.
This proposal feels warm and domestic, and the tray flat lay photographs beautifully. The mini jam jar has a nice glass shine, and the spoon adds a recognizable shape that reads instantly. It suits brides who want a soft, wholesome vibe. If you keep the styling to one fruit color like berries or peaches, the whole thing looks coordinated.
Skip thisDon’t add too many props — one fruit cluster is enough.
Quick tipUse a tray with a lip so jars don’t slide and ruin the alignment.
12. Linen Napkin Wrap with Champagne Flavored Tea Canister
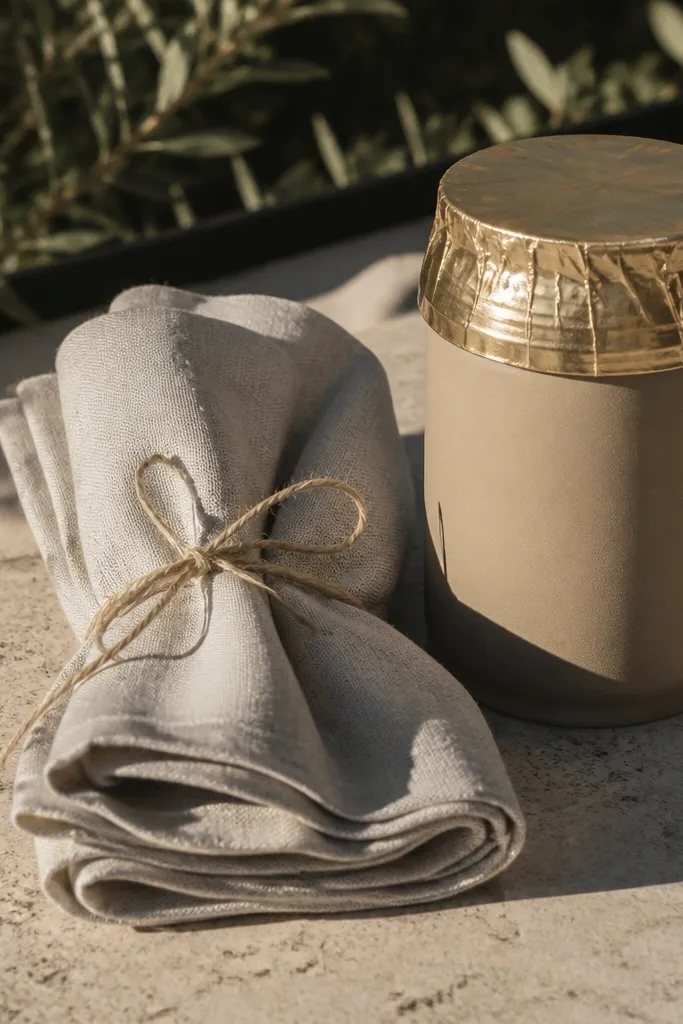
This reads chic because linen and clean folds look intentional in photos. The “champagne” flavored tea or sparkling drink mix in a small canister gives the celebration vibe without alcohol. It suits brides who want a sophisticated proposal that still feels fun. It’s also easy to assemble quickly and looks good even if you don’t have a lot of decoration.
Wrap a small tea canister in a piece of linen napkin, making a neat bundle with corners tucked in. Tie with a ribbon and attach a yes tag to the knot. Place the wrapped bundle on a neutral plate and add one tiny flower bud or greenery leaf next to it. Photograph in window light so the linen texture shows. Cost is often $15-30 and assembly takes 10-15 minutes.
Iron or steam the linen napkin before wrapping so the folds look crisp.
Skip slippery satin wrapping — the bundle loosens and looks messy.
13. Terracotta Planter Seed Kit with Tiny Label Card
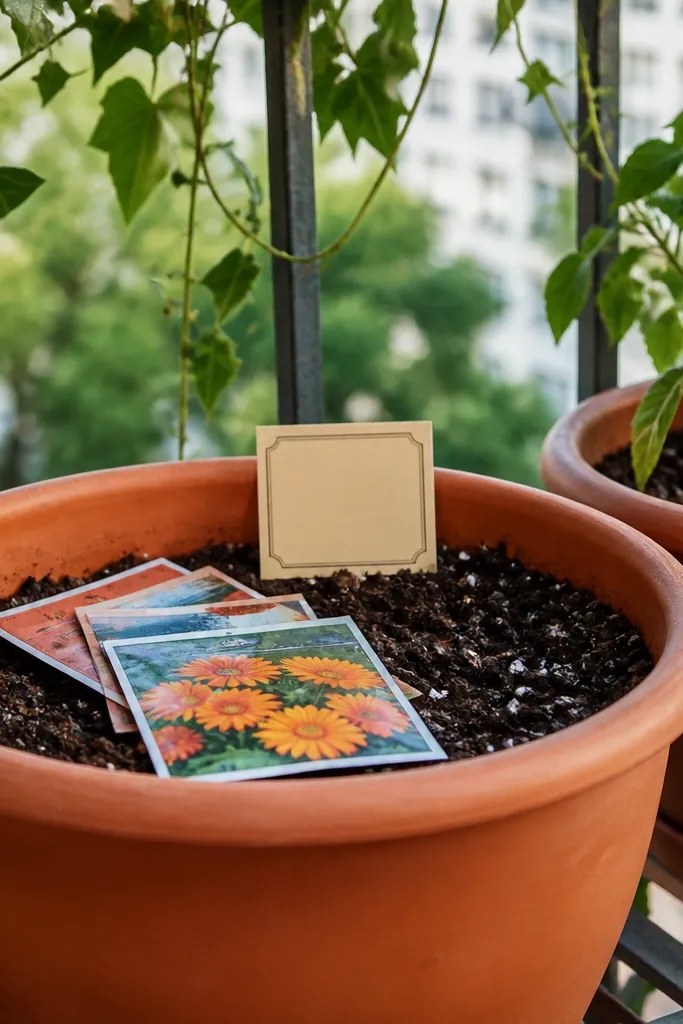
Seed kits are photogenic because terracotta and greenery read warm and earthy. The tiny label card makes it look like a handmade project, even if you buy the kit. This is perfect for brides who want the proposal to feel like a future promise — without getting overly sentimental. It also works for three days because pots can be prepped quickly and kept indoors.
Buy a small seed-starting kit in a terracotta mini pot or a pre-filled starter pot. Place your yes card as a label using a toothpick or small twist tie so it stands straight. Add a pinch of extra soil or a small sprig of dried moss on top if the kit looks plain. Photograph on a windowsill with natural light and a plain background. Budget $20-40 and assemble in 20-25 minutes depending on kit setup.
Use one seed type per group so the look stays consistent across bridesmaids.
Don’t over-water before gifting — wet soil smears and looks messy in photos.
14. Sunflower Mini Centerpiece + Thank-You Card
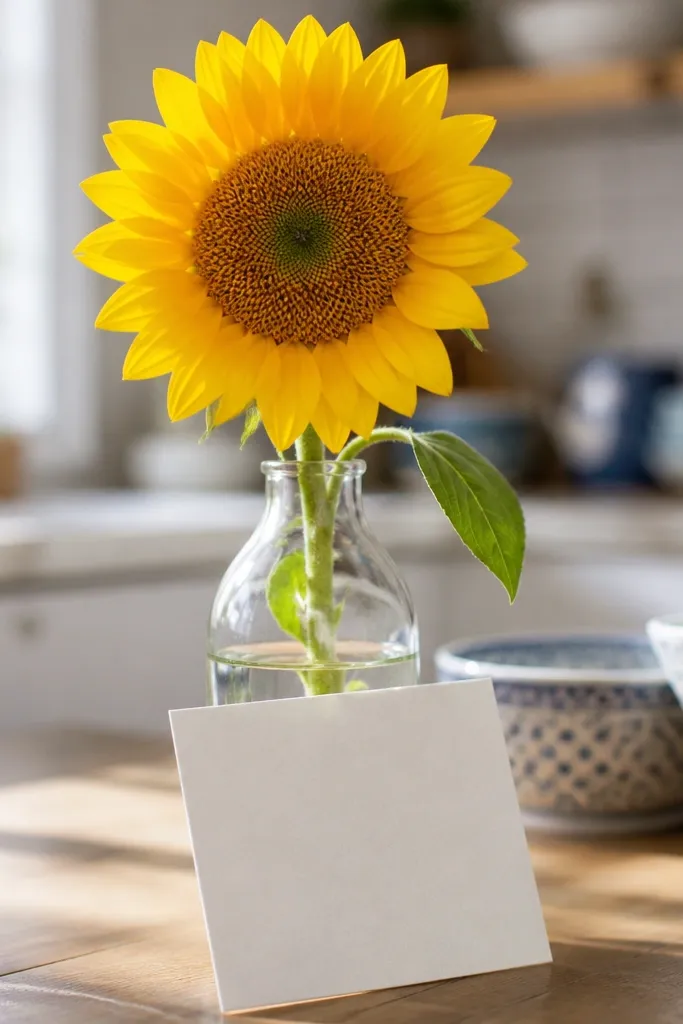
Buy one mini sunflower per bridesmaid and a small glass vase or jam jar. Add a strip of twine around the vase neck and tie a yes card to the twine. Arrange it with a single stem so it looks intentional, not crowded. Photograph on a wooden table with a light cloth under the vase. Budget $12-28 and assemble in 10-15 minutes each.
Sunflowers photograph like a guarantee. The bright center color pulls attention, and the simple vase gives you a clean vertical shape. This suits daytime proposals and anyone who wants a cheerful, warm energy. Keep it simple: one sunflower, a small vase, and a clean card — it looks styled without needing a big budget.
Skip thisSkip mixed flower bouquets if you need speed — they take longer to style.
Quick tipCut stems at an angle and change water right before you plan to photograph.
15. Tote Bag Proposal with Printed Bridesmaid Badge
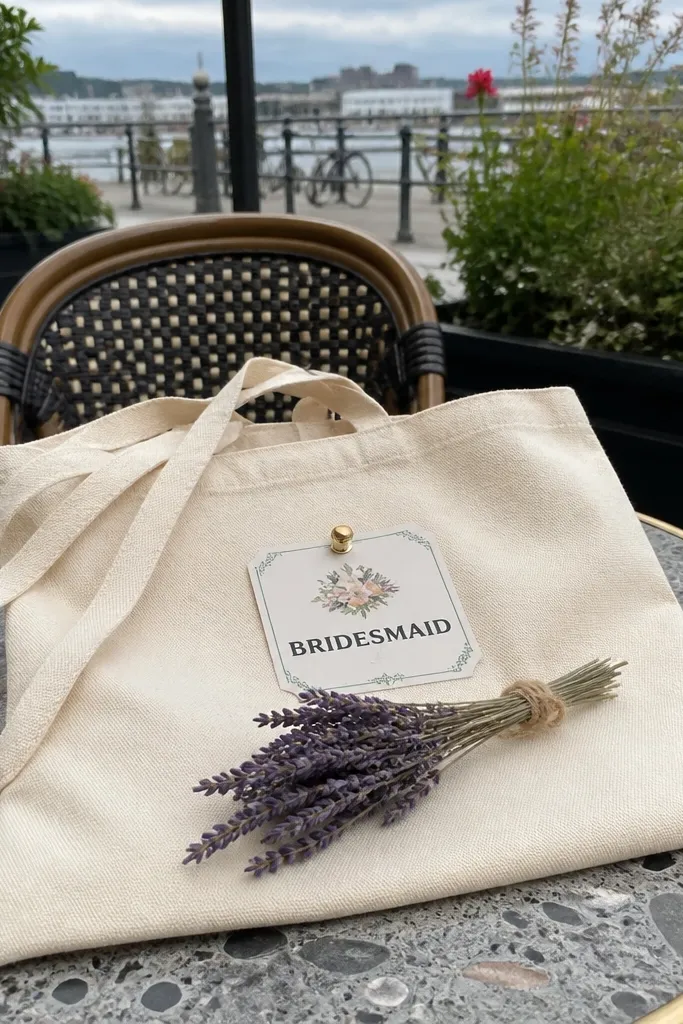
Buy a plain canvas tote in natural or white and print a badge-style yes card. Tape or sticker the badge to the front of the tote, then fold tissue paper inside and place a yes card in the handle area. Add one small item like a lip balm or mini perfume to make it feel like more than just a bag. Photograph with the tote held on a chair back or draped over a bench for clean lines. Costs run $20-50 and assembly takes 15-25 minutes.
A tote bag proposal looks great because it’s already a “container” and has a clear silhouette. Add a printed badge card that reads like a role title, and it instantly looks like a team announcement. This works for groups where you want the proposal to feel like an identity, not a one-time gift. It also travels well because totes don’t crush like boxed items.
Skip thisDon’t overload the tote with loose items — it makes the bag slump in pictures.
Quick tipUse one badge style for all bridesmaids so your photos look cohesive.
16. Kraft Paper Gift Box with Wax Seal Card
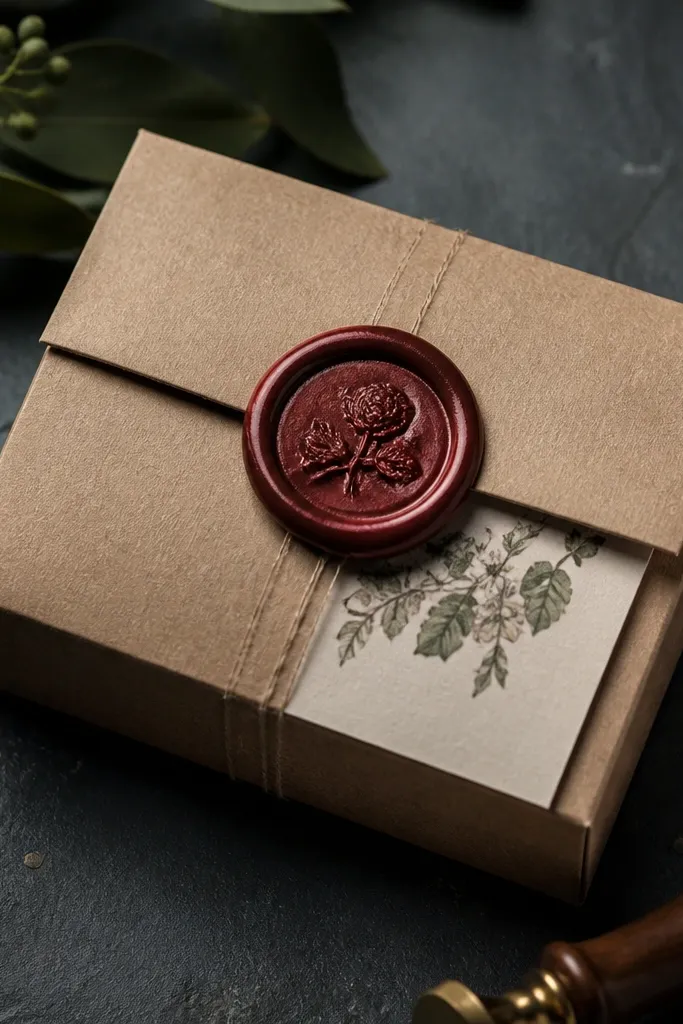
Wax seals make simple packaging look instantly elevated. It’s one of the fastest ways to create a premium photo moment because the seal is a strong visual focal point. This suits brides who want a classic, slightly formal vibe without complicated decor. Keep the contents small and beautiful: one candle, one snack, or one mini accessory.
Buy a small kraft gift box with a lid and ribbon. Write your yes message on a thick card, then attach it with a wax seal (or a peel-and-stick wax seal if you’re moving fast). Place one hero item inside and close the box, then tie ribbon around the box seam. Photograph against a plain wall or neutral sheet so the wax texture pops. Budget $18-40 and assemble in 20-30 minutes depending on seal method.
Choose one wax color per palette like deep red or black for a clean contrast.
Skip glitter cards — the wax seal becomes visually noisy.
17. Mini Charcuterie-Style Snack Board with Oui Card
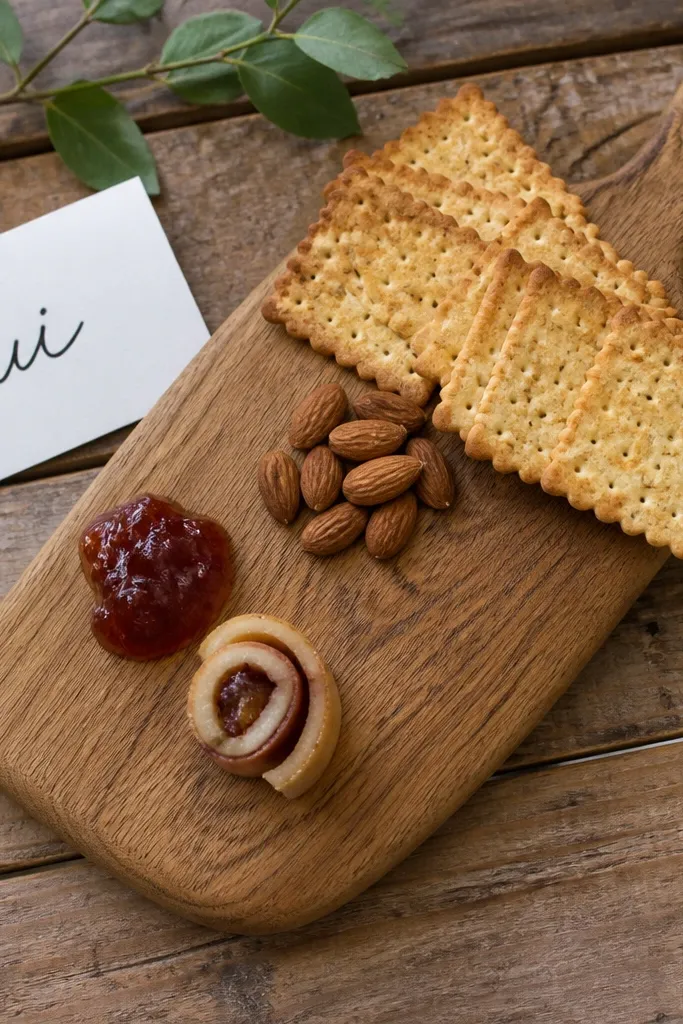
Snack boards look incredible in photos because you get color variety and natural texture. You can build the proposal around a mini board that includes crackers, jam, and a sweet bite, then place a yes card like a label. This suits brides who want a “let’s hang out” vibe. It also makes the reveal feel immediate, which is great for groups that meet in person to open gifts.
Buy a small wooden serving board (or a mini slate board) and pack snack items that won’t leak: crackers, jam packets, mini chocolate, and a small fruit or dried garnish. Place a yes card on a small stand or tuck it upright into the board edge. Add a short ribbon strip around the board for styling, not wrapping. Photograph on a warm countertop with one neutral napkin under the board. Budget $20-45 and assemble in 20 minutes.
Use jam packets instead of open jars so the board stays clean for photos.
Don’t add wet items like fresh berries — juice smears and ruins the look.
18. Museum Ticket + Mini Notebook Proposal
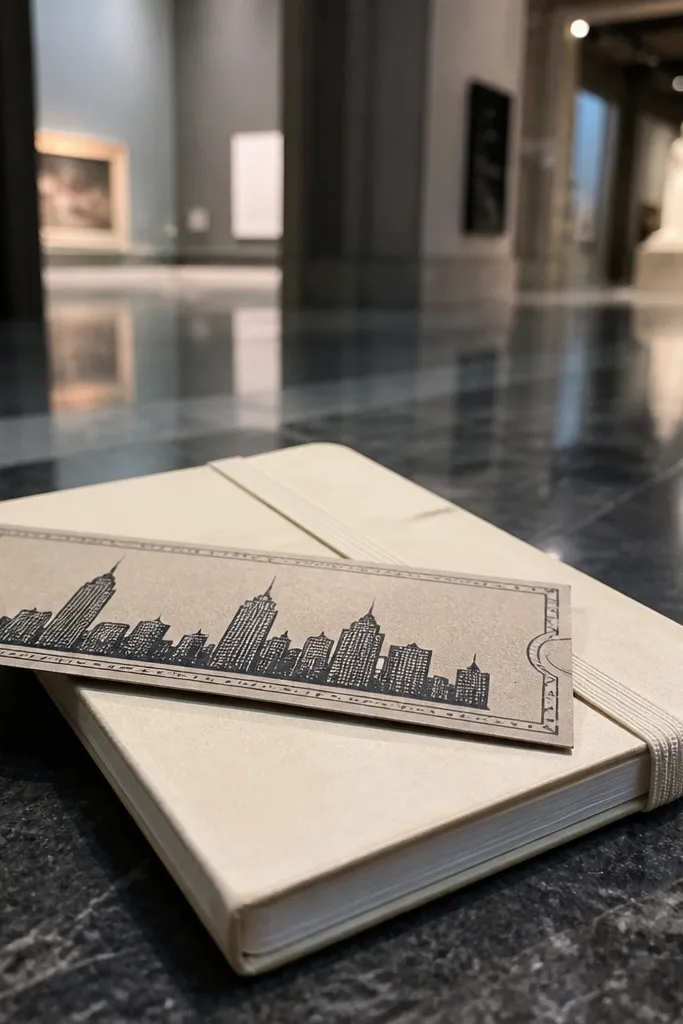
This one feels artsy and intentional because the ticket shape creates a strong graphic. A mini notebook looks cute in photos and adds a practical use for planning wedding days. It suits brides with a city or museum theme, or anyone who likes neat stationery. It also stays stable for 3-day timing since it doesn’t rely on fresh items.
Print a ticket-style yes card on thick paper and cut it into a rectangle with a ticket notch. Tie the card to a mini notebook with a ribbon strip so the card sits on the cover. Add one small pen or sticker sheet inside the notebook if you want extra charm. Photograph on a desk setup with a plain background and natural light. Costs are often $12-25 and assembly takes 10-15 minutes per notebook.
Use a single ink color for your card text so it looks crisp on camera.
Avoid busy notebook covers — the card text needs to be readable.
19. Sea Glass Candle in a Wrap + "Will You?" Tag
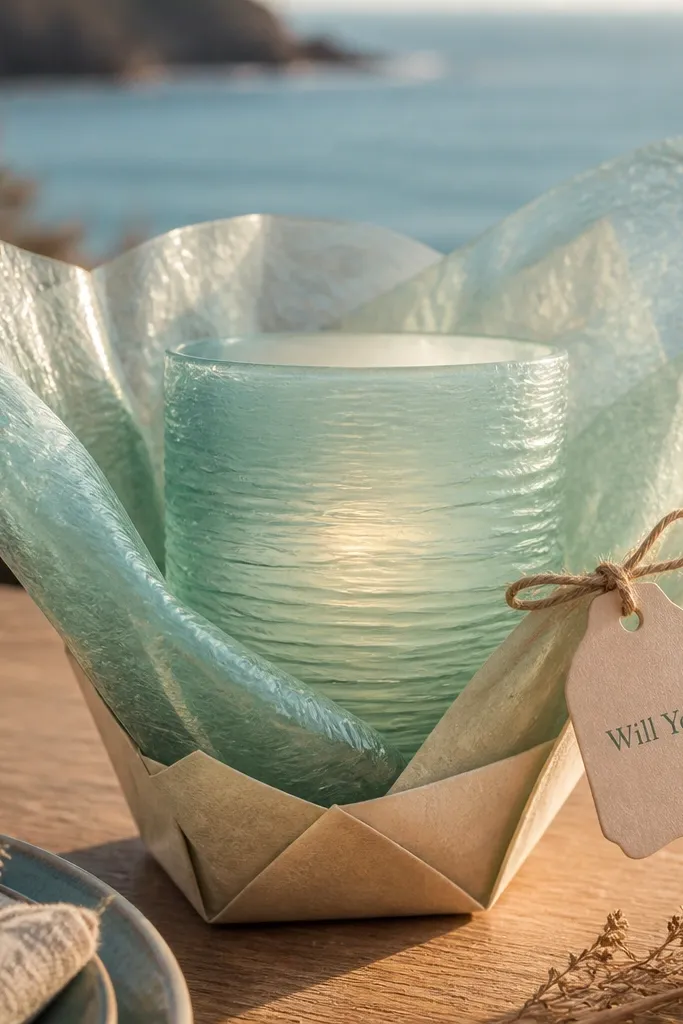
Sea-glass colored candles look gorgeous in photos because the color is soft and the glass has a gentle glow. The wrap around the candle adds texture and keeps the whole gift from looking like a store purchase. This proposal fits beach weddings, coastal weekends, and anyone who wants calm, pretty styling. It’s also a safe choice for three days because candles don’t require last-minute prep like flowers.
Buy a small candle in sea-glass tones like mint or pale aqua. Wrap it in kraft paper or off-white tissue, then tie with a ribbon that matches your accent color. Attach a “Will you be my bridesmaid?” tag with string so it sits centered on top. Photograph on a light blue or white background so the candle color stays the hero. Budget $20-45 and assemble in 15-20 minutes each.
Use a tissue layer between candle and wrap so the wrap doesn’t snag on wax residue.
Don’t use dark backgrounds if your candle is already mint — it can look dull.
20. Mini Photo Flip Book with One Line Message
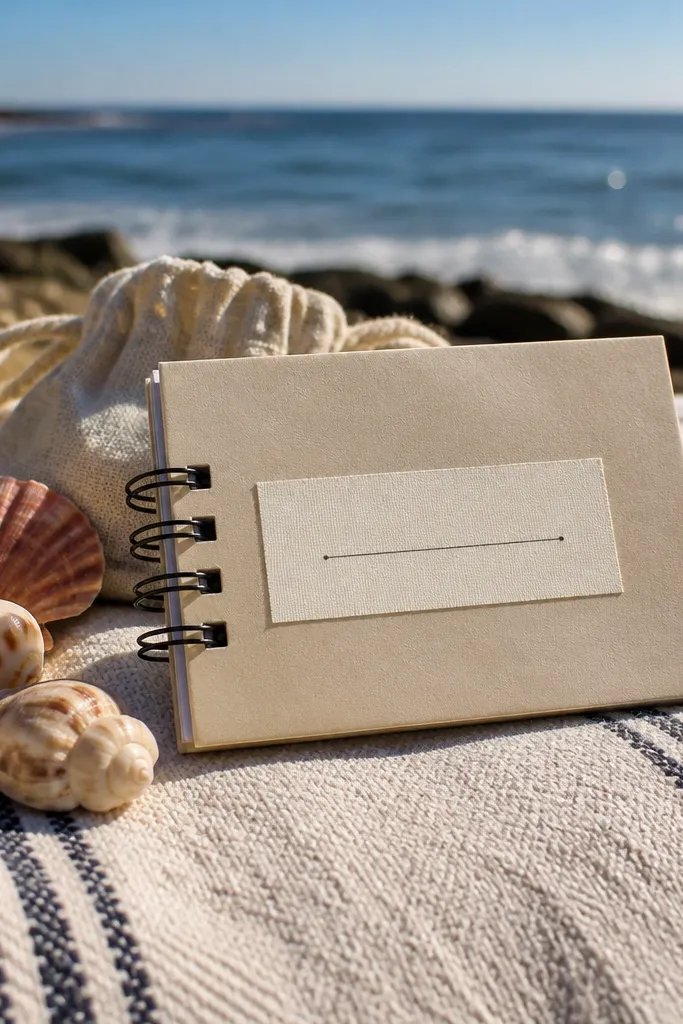
Print 4-6 small photos per bridesmaid and trim them to fit a mini flip book size. Add one short line message on the inside cover like “Will you be my bridesmaid?” Then glue or bind the photos into the flip book and tie with ribbon along the spine. Place it on a stack of books for height so photos look editorial. Costs are usually $10-25 for printing plus the book base. Assemble in about 30 minutes if you’re fast with layout.
A mini flip book is visually satisfying because you can photograph it closed and open, giving you two angles that look intentional. Keep the text to one line per page so it still reads clearly in photos. This proposal works for brides who have strong friendships and want to hint at shared memories without writing a novel. It also scales well because you’re repeating the same template for each bridesmaid.
Skip thisDon’t add too much text — long captions kill readability in a small book.
Quick tipUse thick photo paper so page corners look crisp instead of flimsy.