1. Neon Arcade Team Reveal (Scoreboard Sign + Controller Bouquet)
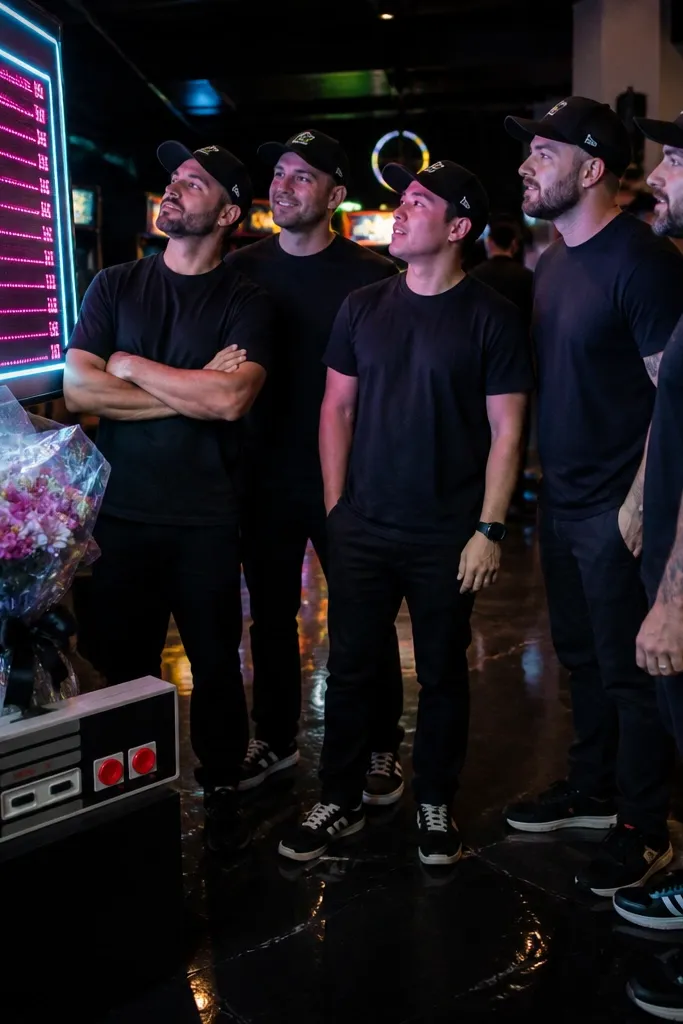
This is the easiest way to make a gamer proposal look intentional without heavy planning. Arcades already give you bright color bands, reflective floors, and a background that screams “video game energy.” The scoreboard sign makes the ask feel like a mission briefing, not a random card handoff. It looks best with matching outfits so the group reads as a team, and it photographs well at night when the neon is at full intensity.
Start by choosing a single arcade location and calling ahead to ask whether you can bring a small sign and one prop per person. Then plan your reveal so everyone stands shoulder-to-shoulder in front of the busiest neon wall, not scattered across machines. Finally, print scoreboard-style cards with each groomsman’s name in one bold color and bring one controller bouquet as the hero prop.
Pick one neon color theme (green/purple or blue/pink) and dress your group so the photos don’t look like a color accident.
Avoid asking inside a quiet corner with dim lighting where the neon fades and the sign turns unreadable.
2. Pixel-Grid Studio Shoot (Framed "Insert Coin" Cards)
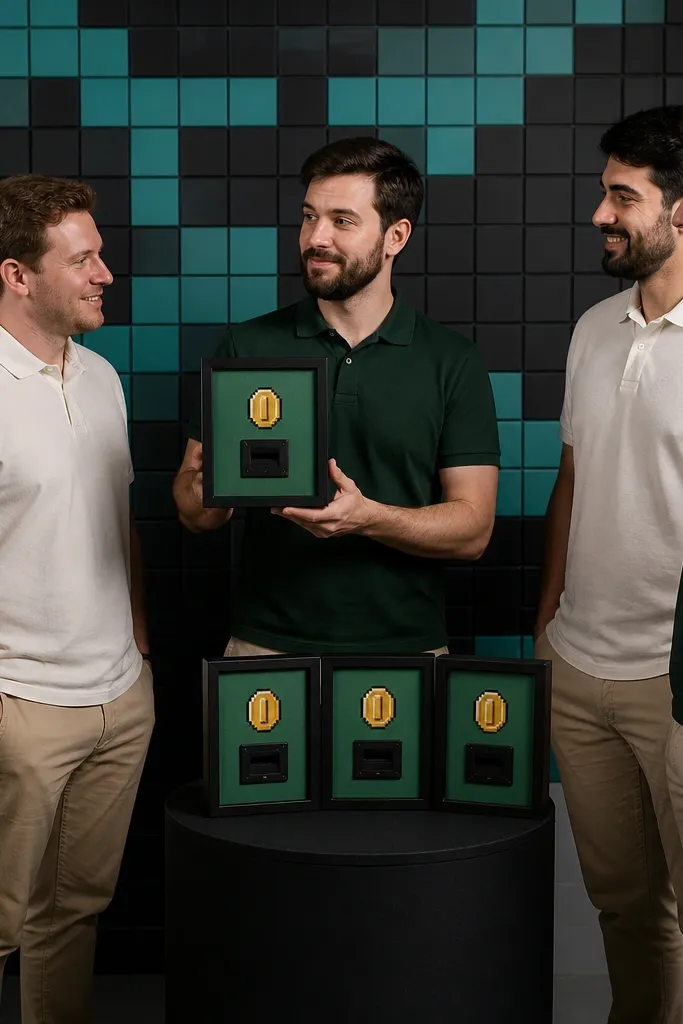
A studio lets you control the mess. Pixel-grid backdrops look clean, graphic, and very shareable, especially when your groomsmen wear solid colors that contrast the grid. Framed “Insert Coin” cards give the proposal a clear, readable moment that doesn’t rely on your venue’s lighting. This idea suits guys who want polished photos more than chaotic arcade fun.
Start by booking a small photo studio for a 60-90 minute slot and bring a pixel-grid printed backdrop or a ready-made backdrop panel. Then design each “Insert Coin” card with large text and a simple reveal phrase like “You’re on the team.” Finally, place the framed cards at chest height and have everyone hold one controller-shaped prop or a matching accessory so the photos stay consistent.
Schedule midweek afternoons so the studio lighting is steady and you’re not rushed by back-to-back bookings.
Avoid tiny text on the cards; in studio photos, small fonts still look small on phones.
3. Boardwalk Co-op Quest (Map-Style Cards + Team Bandanas)
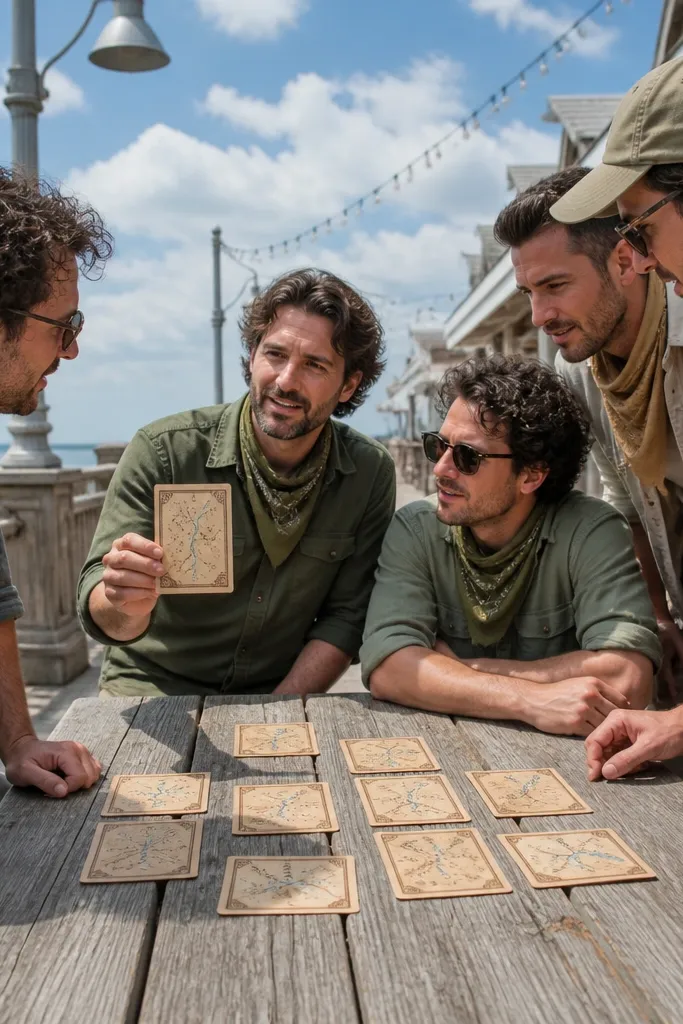
Boardwalks are perfect for a gamer proposal because they naturally create a “quest path” visual. Map-style cards make the ask feel playful and organized, and bandanas add a consistent team look without requiring matching suits. The photos come out bright and airy — great for summer and early fall when the sky gives you a clean horizon line. This one suits groups who want something outdoorsy but still photogenic.
Start by picking a boardwalk stretch with minimal crowds during a weekday or early morning. Then print map-style cards with a route graphic that ends with “Join the team” and bring bandanas in one color. Finally, set a simple photo spot near a landmark wall or railing and have everyone pose with the cards open toward the camera.
Bring a small clipboard to keep the cards flat; wind makes paper curl and ruins readability.
Avoid peak weekend crowds where the background turns into random people and your team loses focus.
4. Retro Console Picnic (Mini TV + "Press Start" Layout)
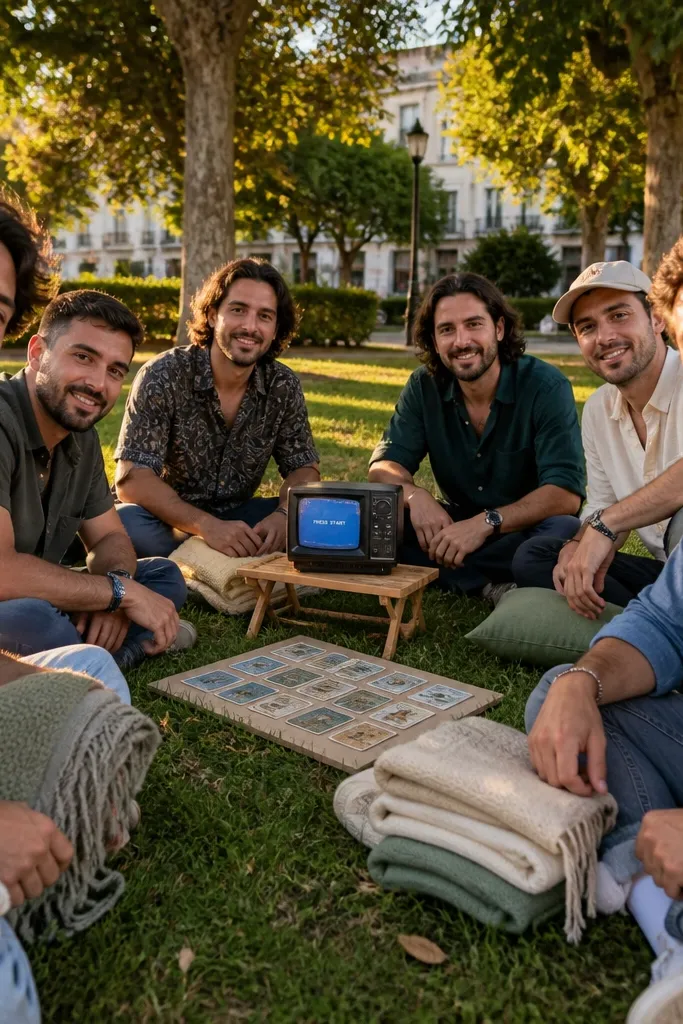
This is a clean, aesthetic option that looks like a set, not a random picnic. A mini TV or monitor and a “Press Start” layout gives your proposal a central visual cue, and blankets create a soft, cohesive background. It’s also flexible — you can do it in a park, beach lawn, or rooftop garden depending on your city. The vibe is playful but still photo-friendly, especially when you use one blanket color and one prop color.
Start by choosing a location with flat ground and a simple background wall or trees that blur well. Then lay a blanket with a “Press Start” card at the center and stack small name cards around it like a game menu. Finally, bring a small screen with a static “Press Start” graphic or a simple retro image, and have each groomsman pick up their name card for the reveal photo.
Quick tipUse one blanket color (cream, charcoal, or deep navy) so the photos don’t look like a cluttered store display.
Skip thisAvoid using five different blanket patterns; busy backgrounds kill the game-menu look.
5. Custom "Team Loadout" Gift Bags (Label Tags + Matching Keychains)
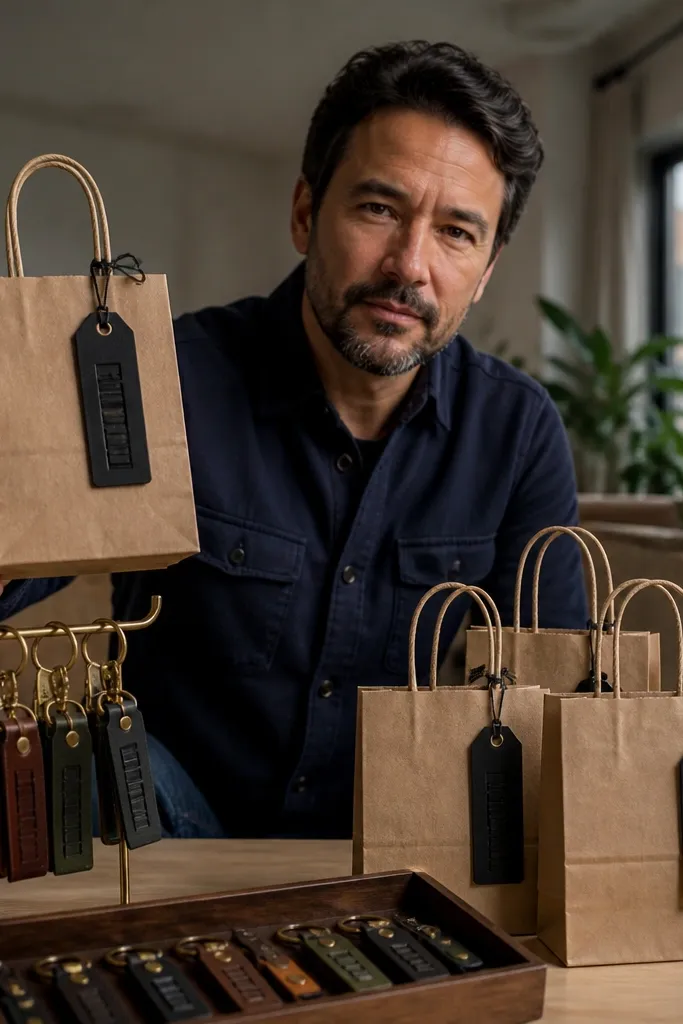
If you want the proposal to feel like gear, this is the move. “Loadout” labels make the reveal feel intentional, and matching keychains look great in close-up photos. It suits budgets where you want the photos to look styled without paying for a fancy venue. The best part is you can stage the table for photos anywhere — your place, a hotel lounge, or a rented room.
Start by buying matching gift bags in one color and printing loadout labels with clear, bold names. Then add one keychain per bag and arrange them in a grid so the camera sees order, not chaos. Finally, set a hero sign at the top of the table that says “Your loadout starts now” and have each groomsman lift their bag on cue.
Quick tipTake the hero photo before anyone opens bags; once hands start moving, bags and tags get messy fast.
Skip thisAvoid handwritten labels — they look uneven and cheap in photos.
6. D&D Tavern Invitation Night (Foil Scrolls + Candlelit Table)
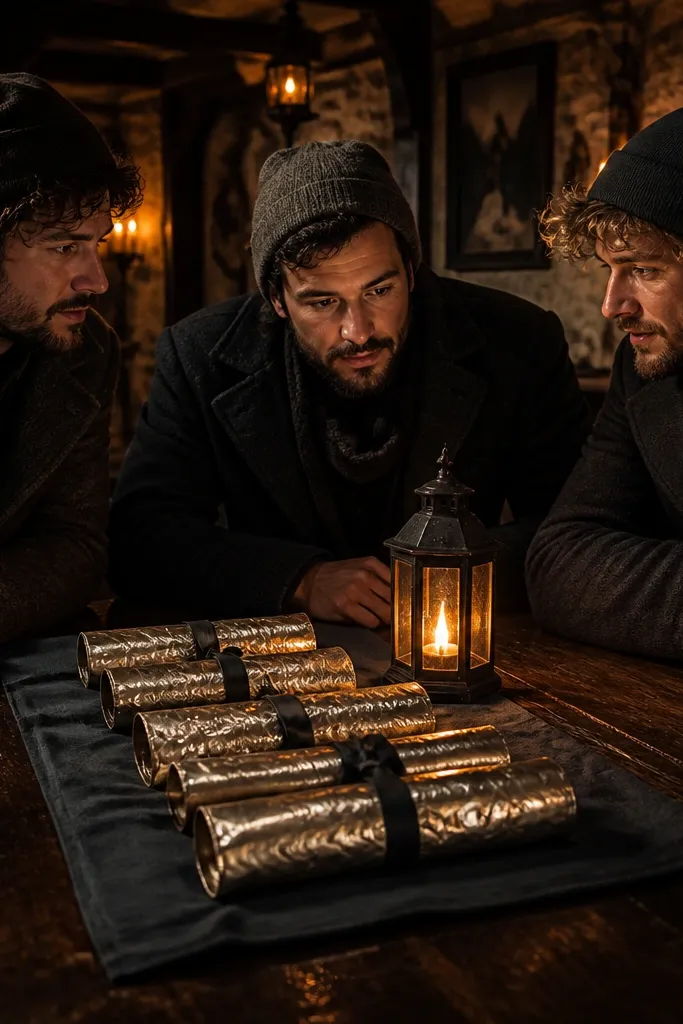
D&D-style proposals look instantly aesthetic because candles, dark wood, and foil textures read as “story” on camera. Foil scroll invitations add a premium feel without needing expensive event decor. This fits groups who want a cozy night vibe and a proposal that feels like a scene. It photographs best with dark clothing and warm lighting so the foil catches light instead of looking flat.
Start by choosing a table setup — dark tablecloth or brown runner, three to five candles, and simple goblet-style cups. Then roll foil scroll invitations with big text and place one scroll at each seat. Finally, dim the overhead lights and do the reveal when everyone is seated so the candle glow stays consistent.
Use battery candles if you’re worried about wax mess; the look is the same and cleanup is easy.
Avoid bright overhead lights; they wash out foil and kill the candle vibe.
7. Gamer Wedding Hangar (Jet-Black Backdrop + "Player One" Cards)
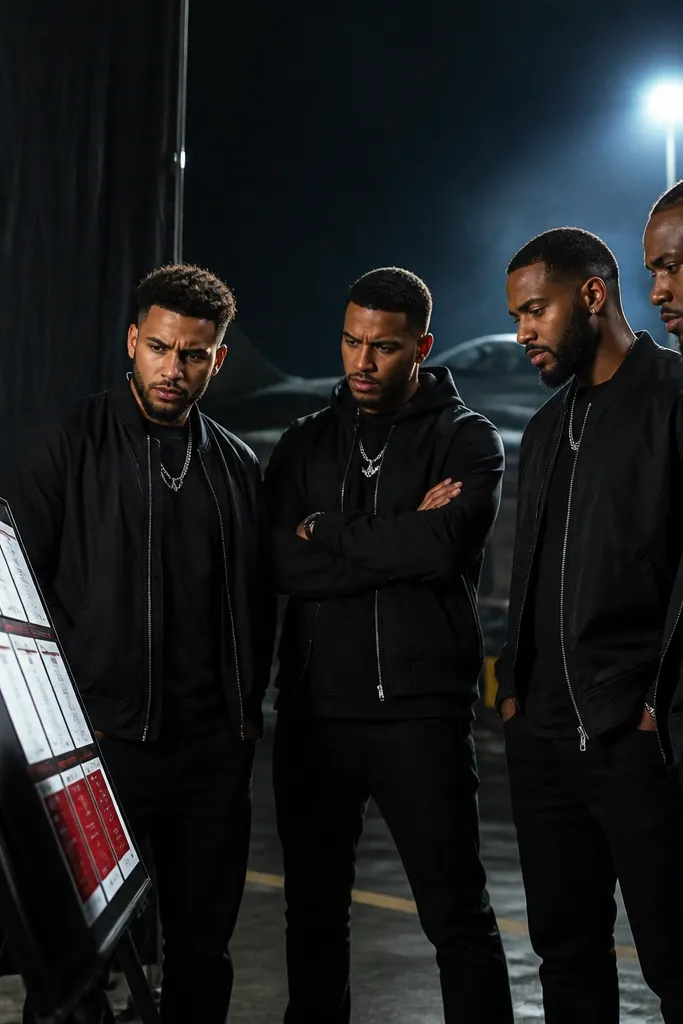
A jet-black backdrop gives you that high-contrast, graphic look that feels like gaming branding. “Player One” style cards make the ask feel like roles, not random gifts. This idea works for budgets that can rent a backdrop and a few props, and it suits groups who want clean, serious photos with a gamer twist. The photos look best when your groomsmen wear lighter tops or accessories so they pop against the black.
Start by renting a photo studio corner or bringing a portable black backdrop panel if you have space. Then print role cards with big names and one icon per groomsman (controller, headset, joystick). Finally, set a single light source angled from the side so faces and cards have shape, not flat lighting.
Quick tipPick one accent color for the cards and props — red, electric blue, or neon green — so the whole set looks intentional.
Skip thisAvoid placing the group too far from the backdrop; shadows and messy edges show up in photos.
8. Minecraft Brick Wall Prop (Chunk Cards + Green/Beige Team Outfits)
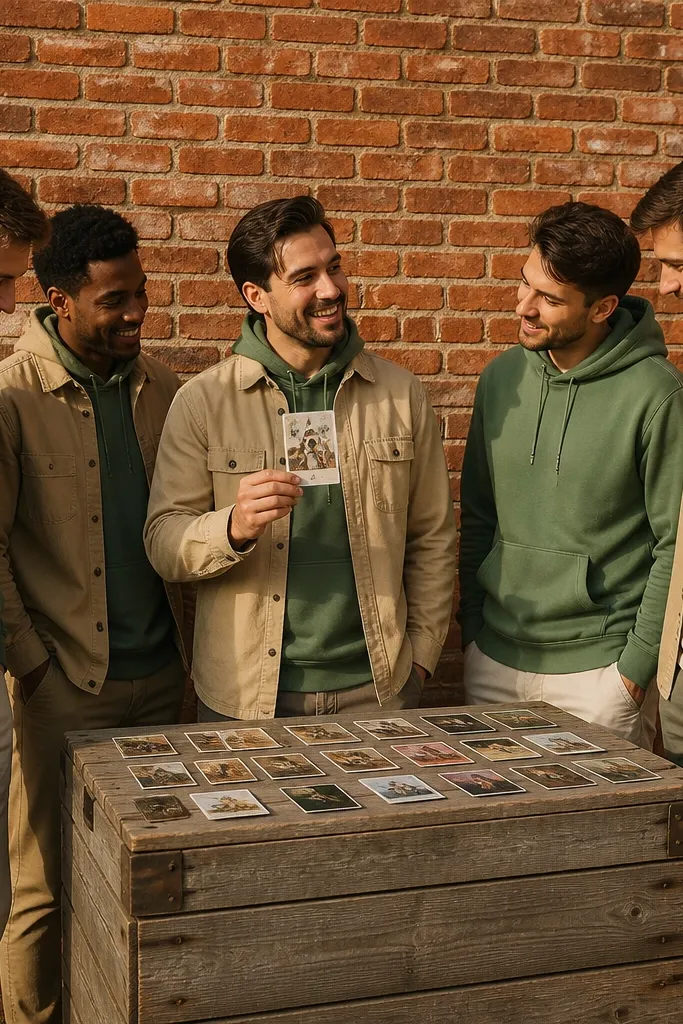
A brick wall texture instantly reads as Minecraft, and it’s one of the easiest gamer aesthetics to photograph. “Chunk” cards give you a clear visual theme, and the brick background makes everyone’s outfits look cohesive. This is best when you keep colors controlled — think green and beige tones for natural contrast. It also works in outdoor spaces where you can find a textured wall or use a printed prop panel.
Start by securing a brick-texture wall or printing a large faux-brick panel to lean against. Then design “Chunk” cards with a simple grid layout and your groomsmen’s names in bold blocks. Finally, have the group pose in a straight line so the cards sit evenly against the wall for clean photos.
Use matte finish card stock; glossy prints reflect the sun and make text harder to read.
Avoid crowding the frame with extra props; the brick wall already does the heavy lifting.
9. Arcade Bowling Night (Strike Cards + Neon Wristbands)
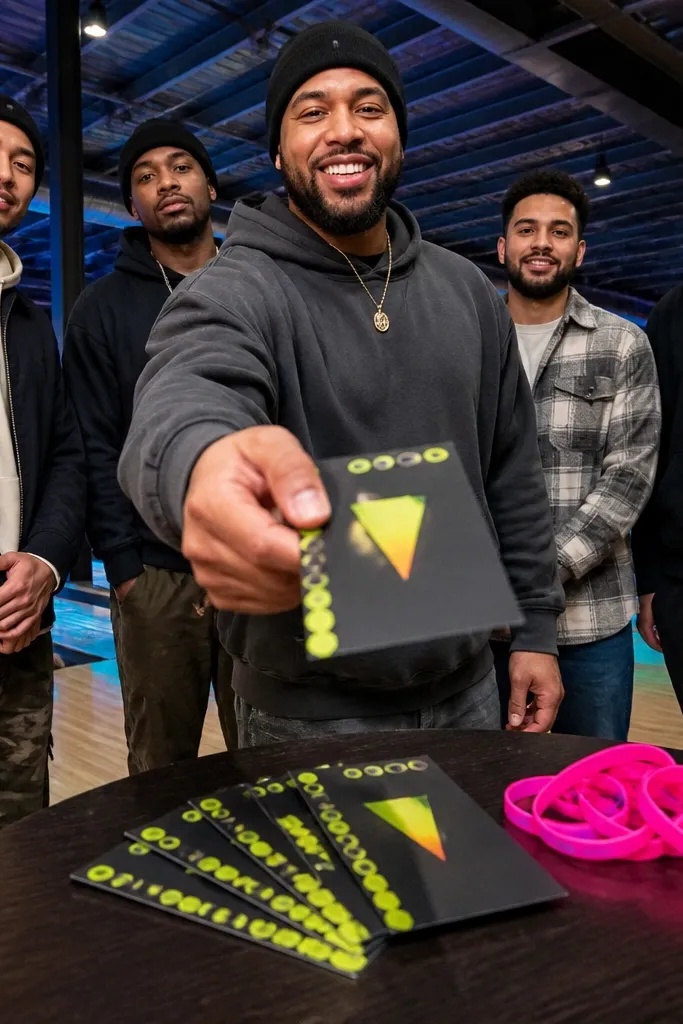
Bowling alleys give you motion, fun, and a gamer-friendly vibe without needing a full arcade. Strike-style cards keep the ask clear, and neon wristbands add that “team event” look. This is great for groups that want an easy plan: show up, play, then do the reveal between games. The photos look best when you schedule it so you get one posed moment before the first round starts.
Start by booking a lane time and bringing strike cards plus one neon wristband color set for your team. Then do the reveal right when everyone’s seated — cards up, wristbands visible, no standing in a crowded walkway. Finally, take two photos: one posed lineup and one action shot after the first strike, so the set feels dynamic.
Quick tipBring a small clip-on light or ask staff if the seating area has good overhead lighting for readable cards.
Skip thisAvoid trying to do the reveal while people are mid-game; faces and cards blur.
10. Cosplay Closet Reveal (Theme Shirts + Iron-On "Questline" Labels)
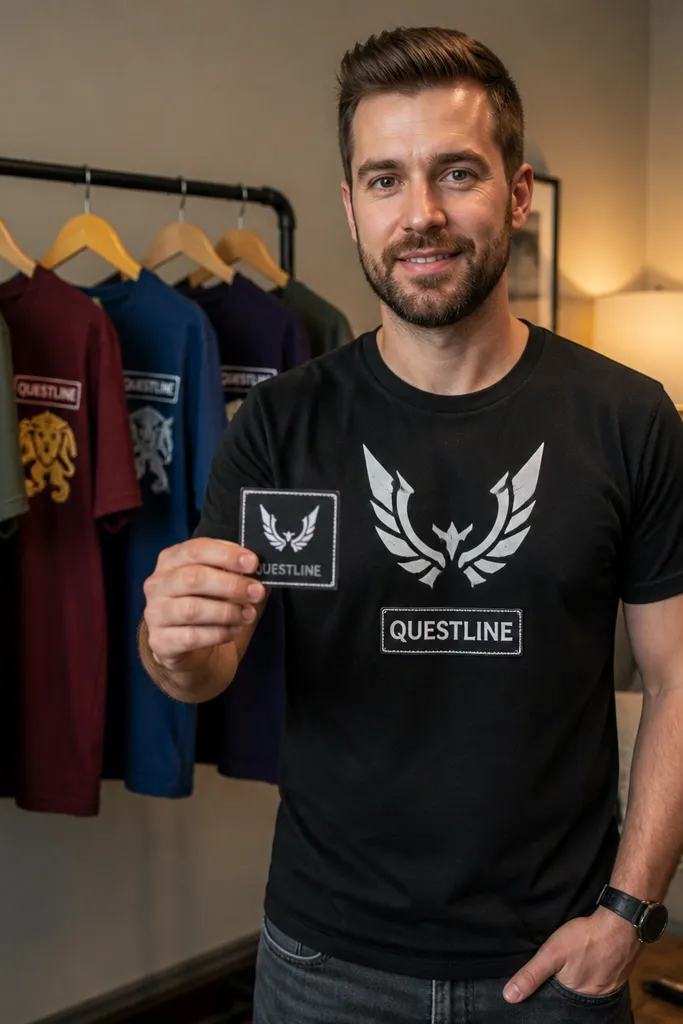
This one looks like an actual gaming party set. Matching theme shirts create an instant team identity, and iron-on “questline” labels make the proposal feel like a storyline. It suits indoor spaces where you can control background clutter, and it’s a strong option when you want photos that look coordinated without elaborate props. Choose one shirt color family and one label color so the photos don’t look random.
Start by buying plain shirts in one color and ordering iron-on labels with each groomsman’s name plus “Questline starts now.” Then set up a photo spot against a plain wall and hang one oversized “Questline” banner above the group. Finally, hand out shirts folded so the label is visible, and have everyone put them on for the final photo within 10 minutes.
Do a quick test iron on one scrap fabric; some materials need lower heat to avoid curling.
Avoid mixed shirt colors; it kills the cohesive gamer look.
11. Team Banner Photo Wall (Vinyl Letters + Matching Hats)
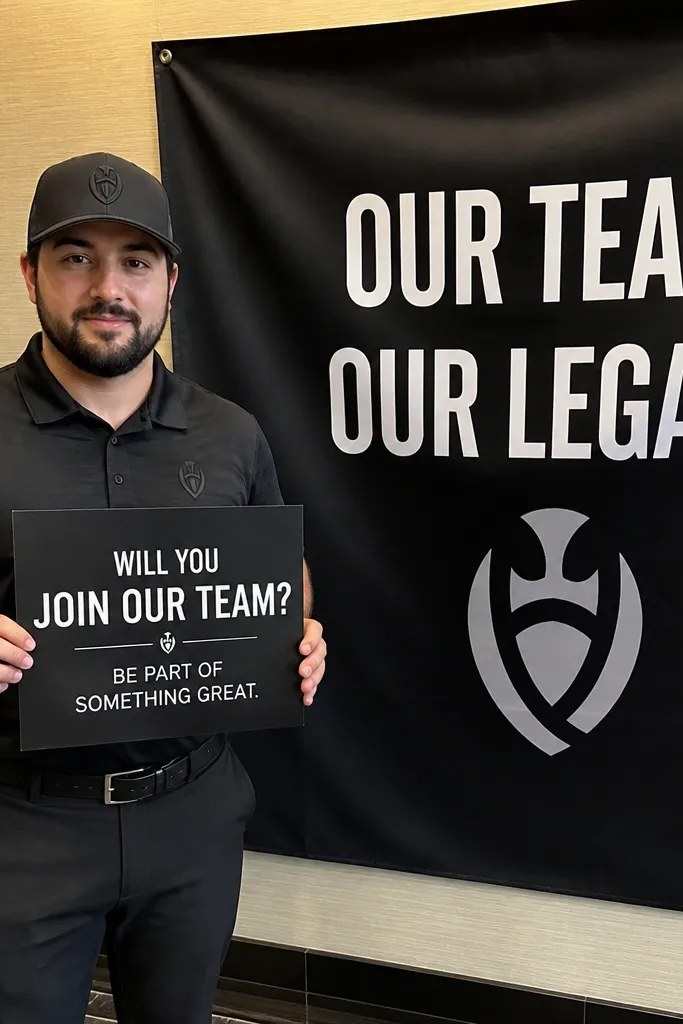
A vinyl-letter team banner is clean, bold, and easy to read in photos. Matching hats give you a consistent silhouette, and the background becomes a graphic element instead of a random room. This idea fits fast planning because you can set it up in a living room, hotel lobby corner, or event space. It’s also great for budgets because the banner does the visual heavy lifting.
Start by ordering or printing vinyl letters that spell your gamer-themed team phrase and mount them on a plain wall or board. Then buy matching hats in one color and place each groomsman’s name card under their hat spot. Finally, arrange everyone in a straight line so the banner stays centered and the names stay readable.
Use matte vinyl letters; shiny vinyl catches light and creates glare across faces.
Avoid placing the banner behind a window; daylight glare makes the text look washed out.
12. Retro Handheld Reveal (Case Cards + Screen-Style Name Labels)
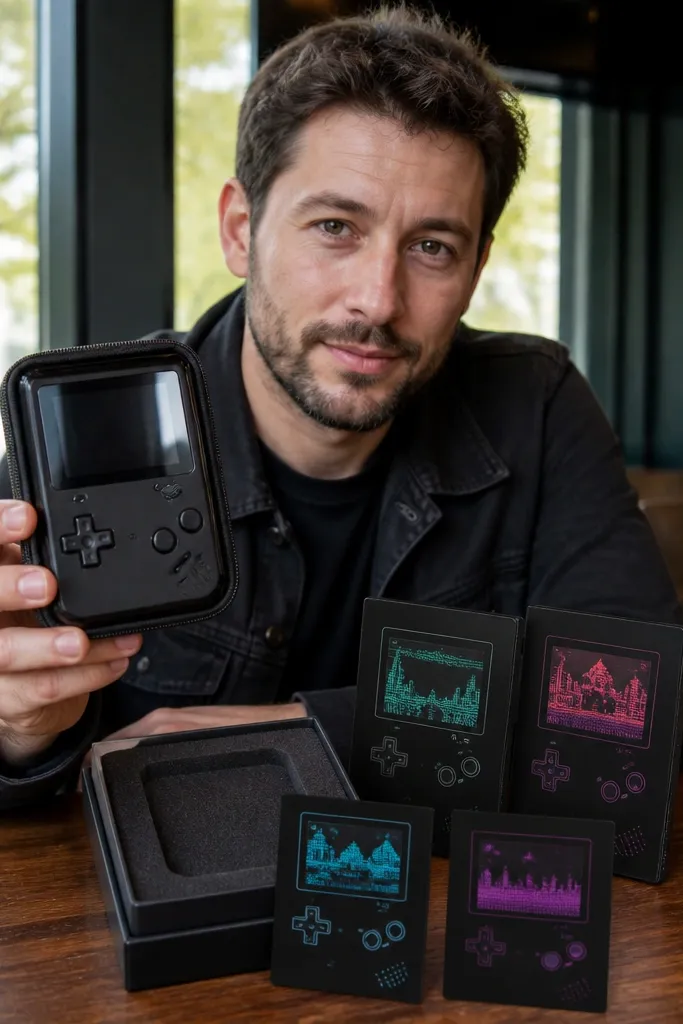
Handheld-game aesthetics look great because the format is naturally photo-friendly. “Screen-style” name labels make the ask look like a game display, and case cards keep everything tidy and premium-looking. This is perfect when you want something photogenic but compact — no big props, no messy staging. The best results come when you photograph the cards held at chest height with a simple background behind you.
Start by buying card cases or clear sleeves so the labels look like screens. Then design name labels with one icon and a bold border and slide them into each case. Finally, have everyone hold their case up for a posed photo, then take a second shot with the cases slightly angled to catch light on the label.
Choose a darker label background (black, deep navy) so white text stays readable on camera.
Avoid busy backgrounds; the screen label loses clarity when the wall has patterns.
13. Snowy Level-Up Proposal (Ski Slopes + "New Quest" Sign)
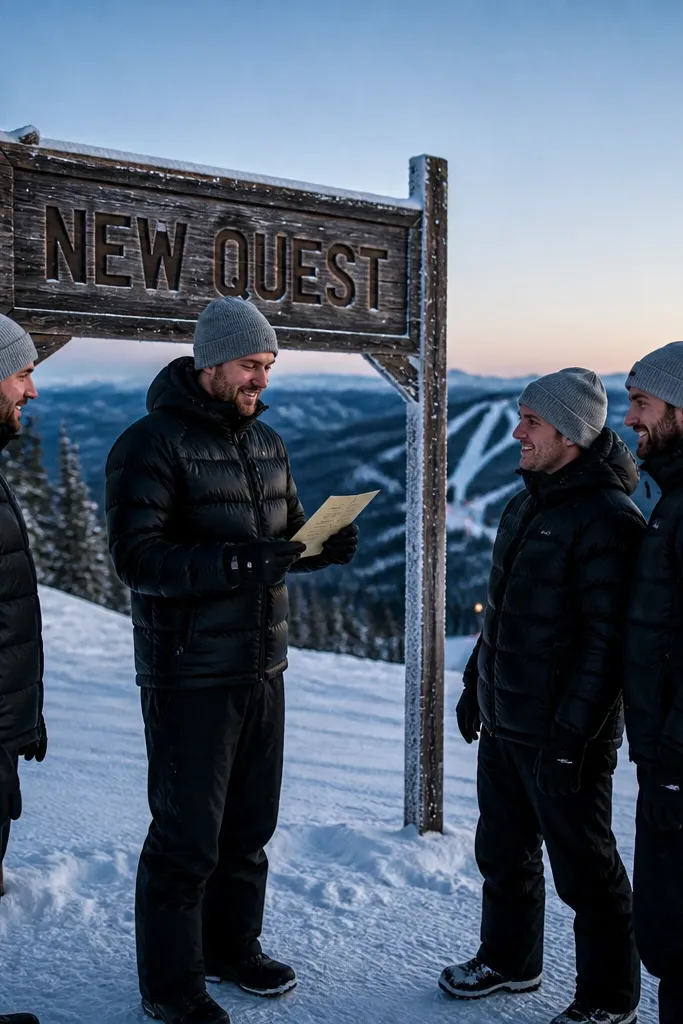
Snow scenes look insanely clean because the background is simple and bright. A “level up” or “new quest” sign becomes the hero element, and your groomsmen’s winter layers create a cohesive look. This is best for winter and early spring when you can get fresh snow and long light. It suits groups that want cinematic photos and don’t mind coordinating a meeting time.
Start by booking a time slot at a ski resort with a flat, open photo area near a lift or lodge wall. Then bring one large sign with high-contrast text and have everyone stand in a line so the sign stays centered. Finally, plan for about 45 minutes on-site for photos plus another 1-2 hours if you want a warm-up stop at the lodge.
Use dark sign material with white lettering; bright paper can wash out against snow glare.
Avoid windy days if you’re using paper signs; the flapping ruins the shot.
14. Desert Pixel Sunsets (Neon Props + "Respawn Together" Cards)
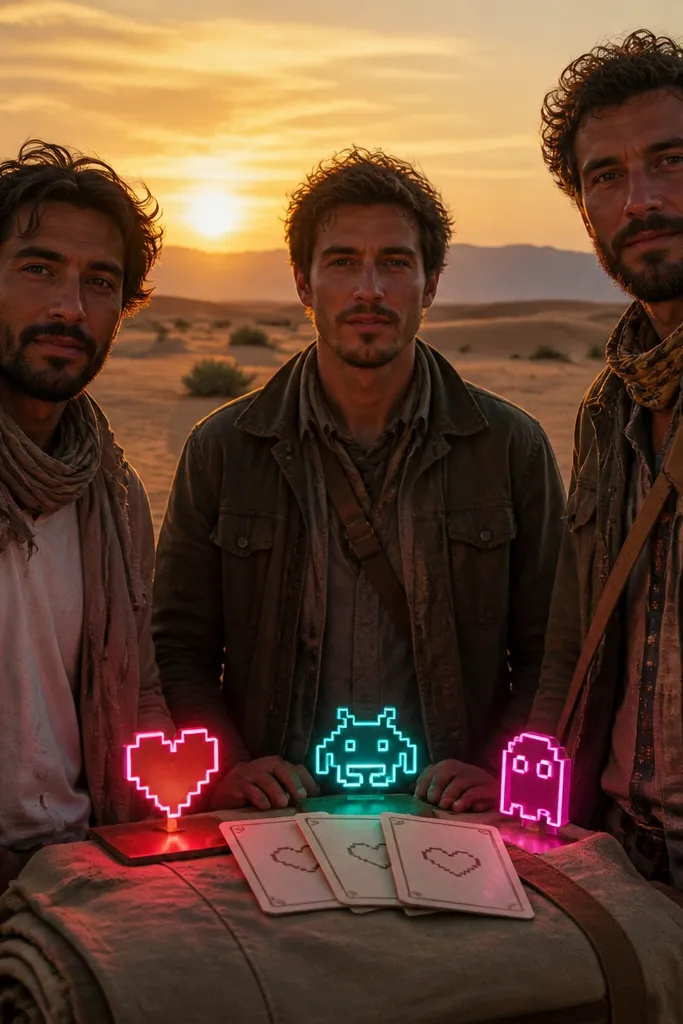
Desert sunsets give you a dramatic color gradient that makes gamer props look like they belong in a movie. “Respawn together” cards read well against sand tones, and neon accents pop in the low light. This idea is photogenic and different from the usual city proposals. It’s best in late afternoon when the light softens and the sky shifts from gold to deep orange.
Start by choosing a safe, open spot with minimal brush and a clear horizon — a lookout area or designated overlook helps. Then bring a single neon prop color and print cards with high-contrast text. Finally, schedule your photo window for the last 60 minutes of daylight and take one wide group shot plus one close card shot.
Bring a small handheld fan or towel to keep cards from blowing if your area has gusty wind.
Avoid midday heat; harsh sun creates squinting and blown highlights on your props.
15. City Night Photo Booth (LED Frame + "Join the Party" Readable Cards)
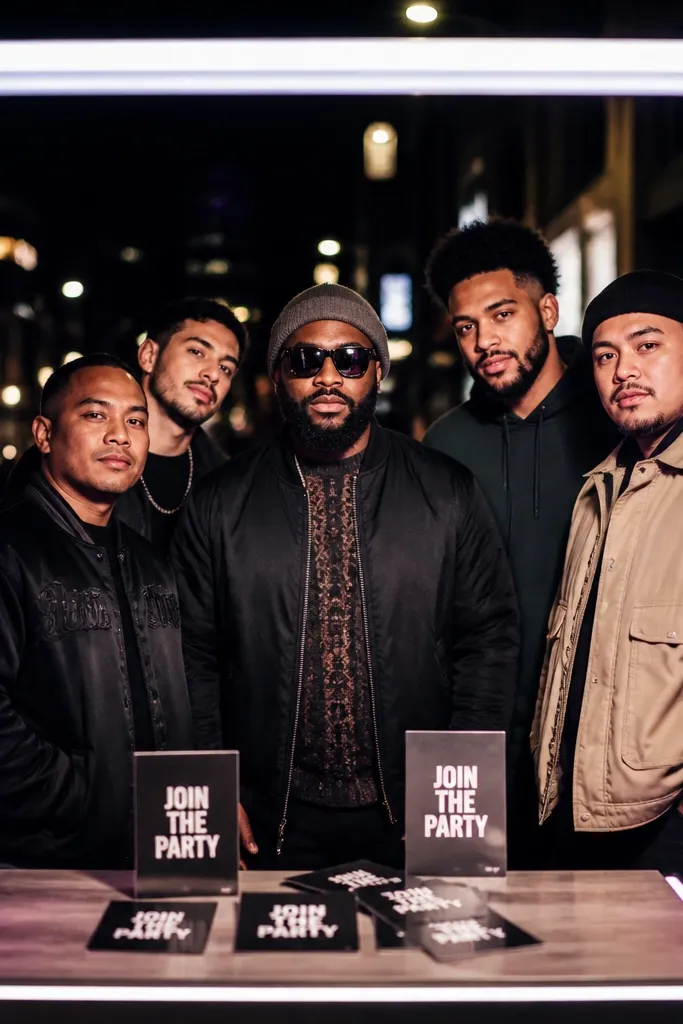
City night lights create depth without you having to find a perfect backdrop. An LED frame turns the proposal into a graphic moment, and readable cards stop the “did we miss the text?” problem. This works for budgets where you want the look to feel modern and high-contrast. It’s also great for groups who like photos with a little edge instead of cute cozy vibes.
Start by finding a spot with controlled background — a clean wall near street lights or a covered walkway with consistent lighting. Then bring an LED frame (or rent one) and print cards in one font style with thick borders. Finally, set everyone in a tight group so the LED frame stays centered and the cards are visible for the hero shot.
Quick tipShoot 10-15 minutes after sunset; the city lights are bright but the sky isn’t fully dark yet.
Skip thisAvoid placing cards too low; in night photos, low text becomes unreadable.
16. Karaoke Stage Invite (Lyric Card Props + Mic Stand Reveal)
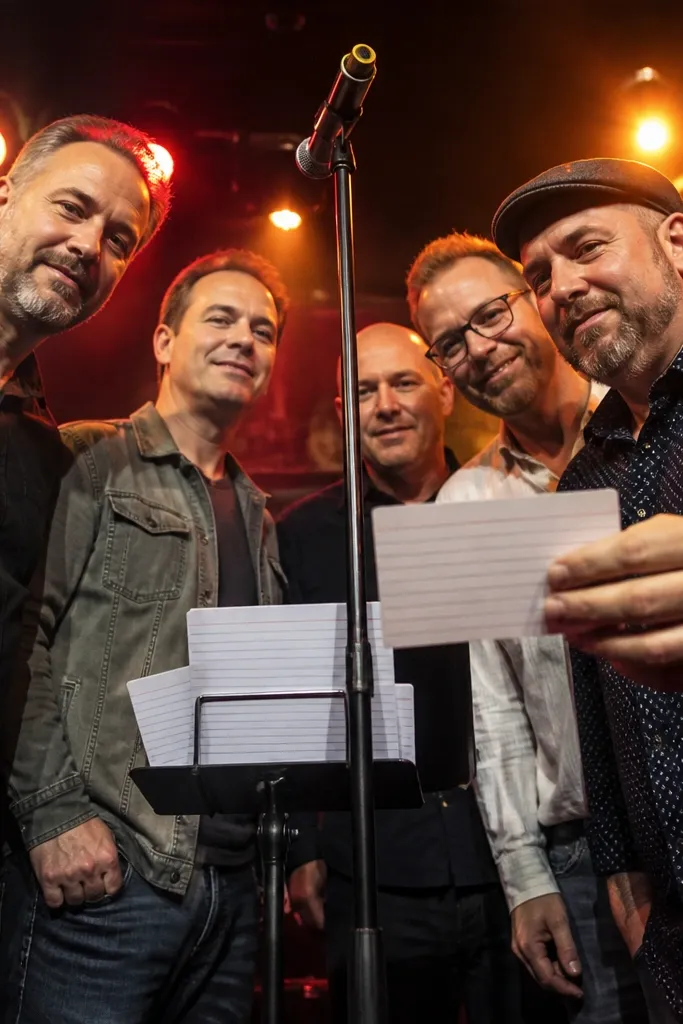
Karaoke stages are built-in photo arenas. Lyric-style cards make the ask look like a performance script, and the mic stand creates a strong vertical shape that frames your group. This idea looks fun and photogenic because stage lighting is designed for faces. It suits groups who want laughter and don’t mind a bit of public energy.
Start by booking a private room or choosing a time with fewer people watching. Then print lyric cards with your gamer-themed line like “You’re my co-op partner” and bring one small team sign for the mic stand. Finally, do the reveal before anyone sings — everyone gets a clear posed photo, then the party starts.
Ask staff where the stage camera angle is best so you can stand in the right spot for the most flattering shot.
Avoid doing the proposal while the room is dim and everyone’s looking down at song screens.
17. Poolside "Boss Fight" Setup (Ladder Props + Name Tags on Deck)
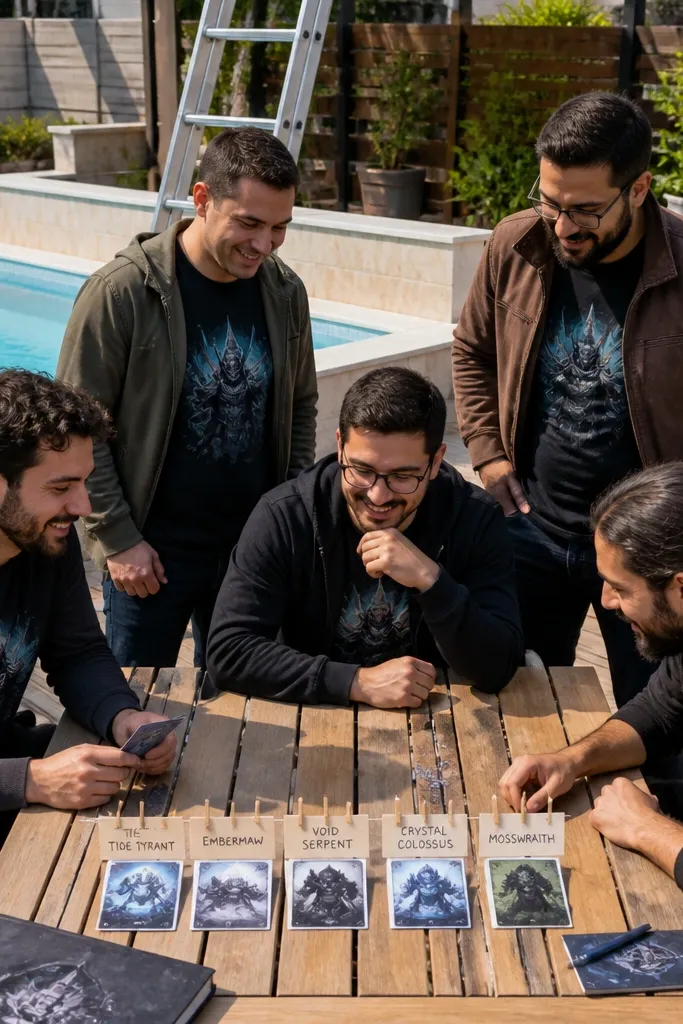
Poolside photos look expensive because the background is clean and the light is flattering when you control angles. A “boss fight” theme feels instantly gamer, and ladder props add a strong visual shape that reads well in wide shots. Name tags on the deck keep the ask clear and reduce fumbling. This works best in warm months and suits groups who want a laid-back but aesthetic event.
Start by choosing a venue with a quiet pool area and a flat deck where you can set props safely. Then place each groomsman’s name tag on the deck in a line and add one hero ladder prop behind them. Finally, have everyone step into position and hold their “boss fight” card at chest height for one clean group photo.
Quick tipUse water-resistant cardstock or laminate your cards so splashes don’t ruin the reveal.
Skip thisAvoid placing props too close to wet edges; cards and signs get soggy fast.
18. Rooftop "Patch Notes" Proposal (Printed Roll-Up Banner + Team Watches)
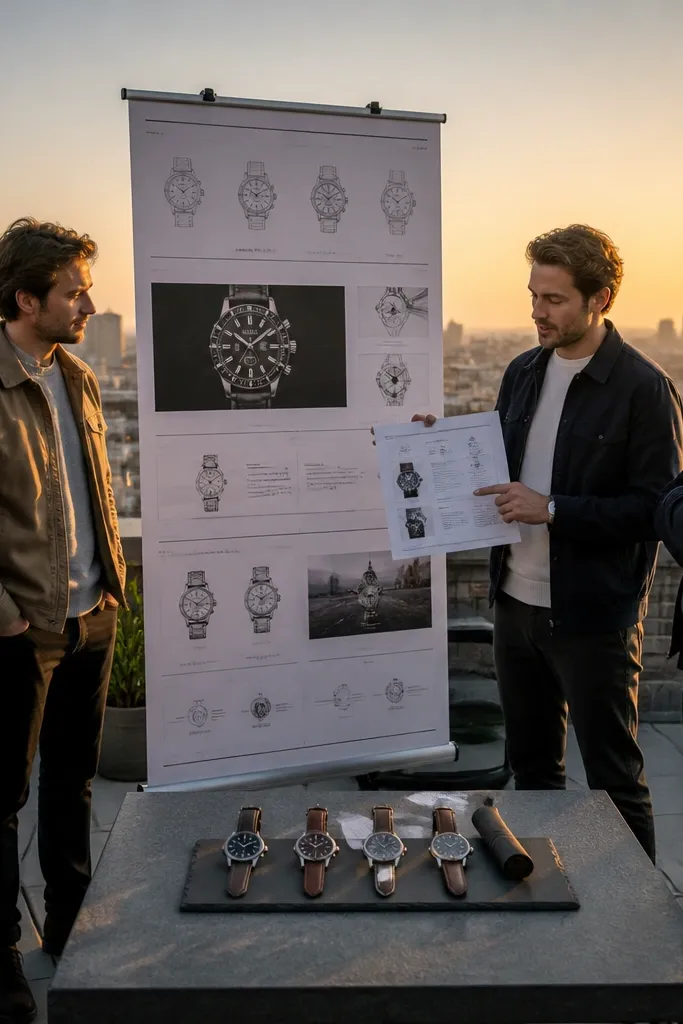
Patch notes look good because they’re structured, like a clean graphic. A roll-up banner gives you readable text without worrying about paper flutter, and watches add a subtle team uniform. Rooftops also give you a clean horizon line, which makes the photos feel cinematic. This suits late spring through early fall when you can get stable weather and a good sky.
Start by renting or buying a roll-up banner with your patch-note title and each groomsman’s name. Then coordinate one matching watch style or one accessory color so the group looks like a set, not random guests. Finally, schedule your photo window 30-60 minutes before sunset and position the banner where wind won’t shake it.
Quick tipBring a small weight or sandbag for the banner stand; rooftop gusts are the enemy of sharp text.
Skip thisAvoid using thin paper signs; rooftop wind makes them look sloppy instantly.
19. Haunted Arcade Pop-Up (Fog Machine Look + "Spooky Co-op" Cards)
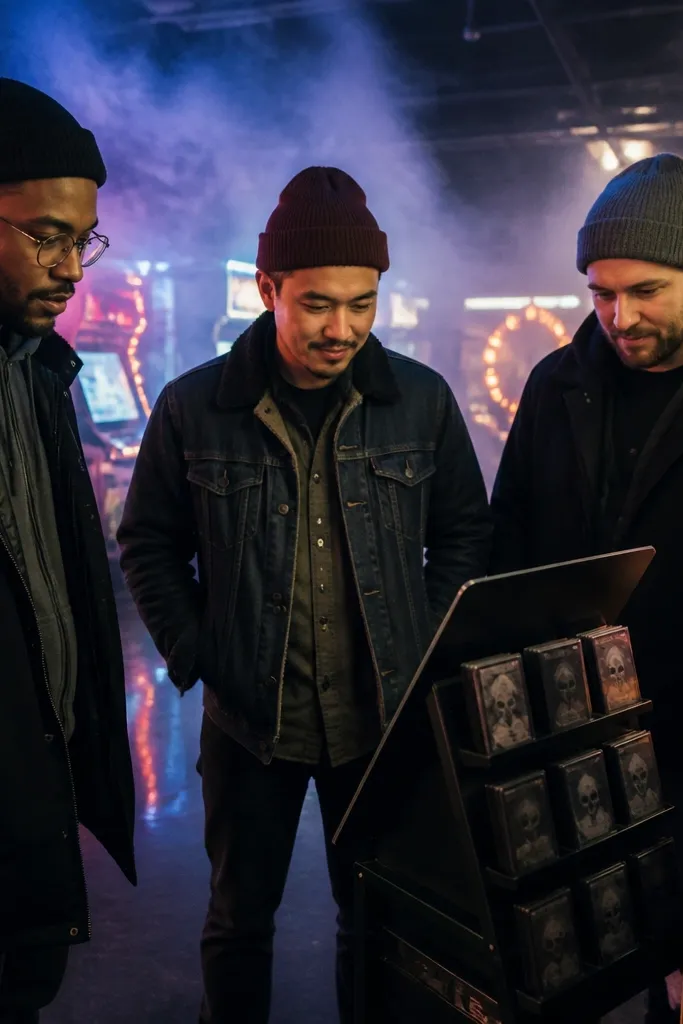
If you want gamer proposals with a Halloween edge, this is the one that photographs like a theme park set. Fog effects add depth to neon and make your hero prop stand out. “Spooky co-op” cards keep the ask clear, and the dark palette makes everyone look dramatic in photos. This idea works best in October and early November when you can lean into the theme without forcing it.
Start by choosing a venue that allows a small fog machine or stage haze and ask about restrictions. Then print cards with thick borders and large text so they stay readable in low light. Finally, do the reveal in a tight circle — one hero sign in the center, everyone holding their cards toward the camera.
Use matte black cards with neon lettering so the text stays crisp under haze.
Avoid overdoing fog; too much haze turns faces into silhouettes and kills the proposal moment.
20. Gaming-Themed Cruise Day (Deck Photo + "Crew Member" Badges)
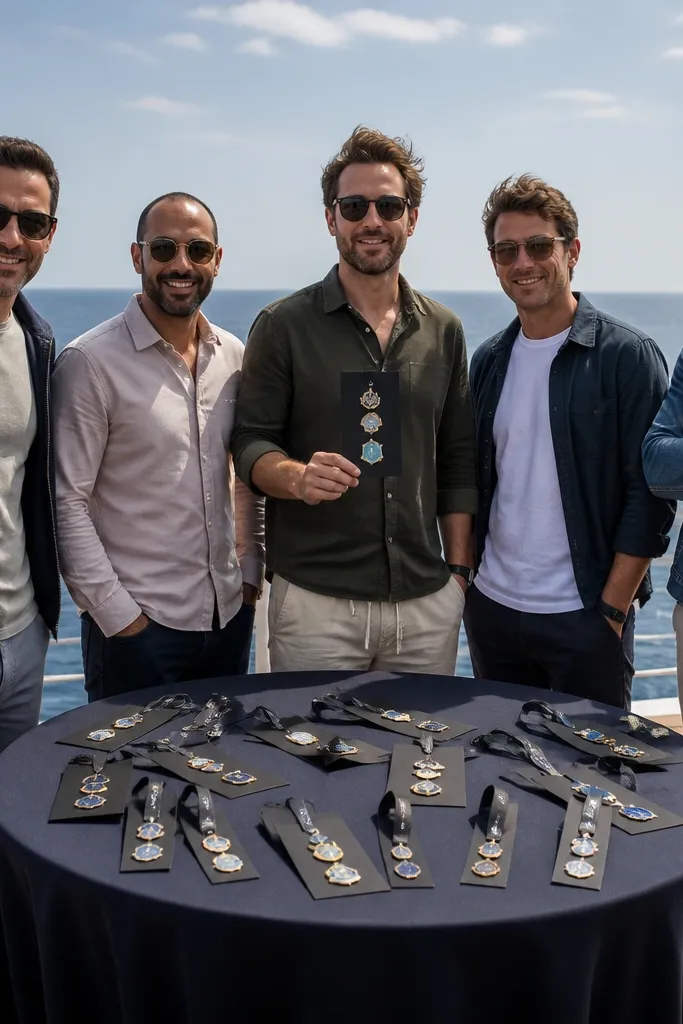
A cruise day is a “built-in backdrop” idea because the background changes every few minutes. “Crew member” badges make the proposal feel official, and the deck creates a clean, wide photo space that looks good even with a larger group. This suits budgets that want a memorable outing and photos that look varied, not repetitive. It’s best when the route has open deck areas and you can schedule a photo moment around golden hour.
Start by booking a day trip or short sailing with open deck time and fewer crowds onboard. Then order badges with names and a simple title like “Co-op Crew” and have everyone wear them before the photo. Finally, take one wide deck shot and one close badge shot while the light is warm, then do the reveal with a single sign card held high.
Bring a small microfiber cloth; salt spray on badges makes photos look dull.
Avoid windy deck moments with paper badges; they flap and smear ink.