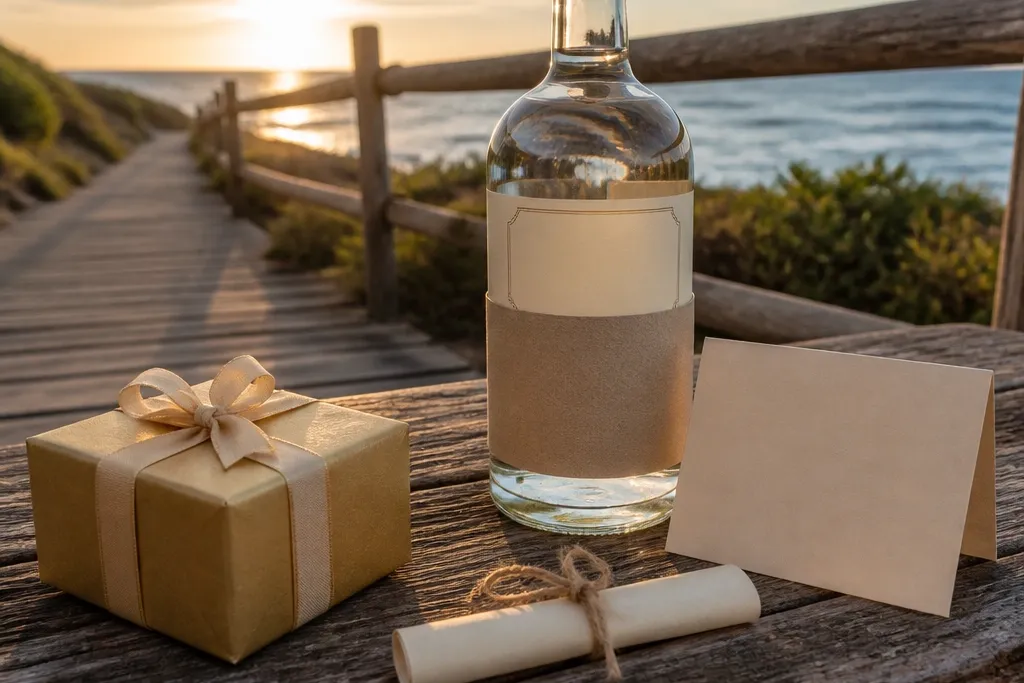
1. Boardwalk Bottle + Name Tag at Golden Hour
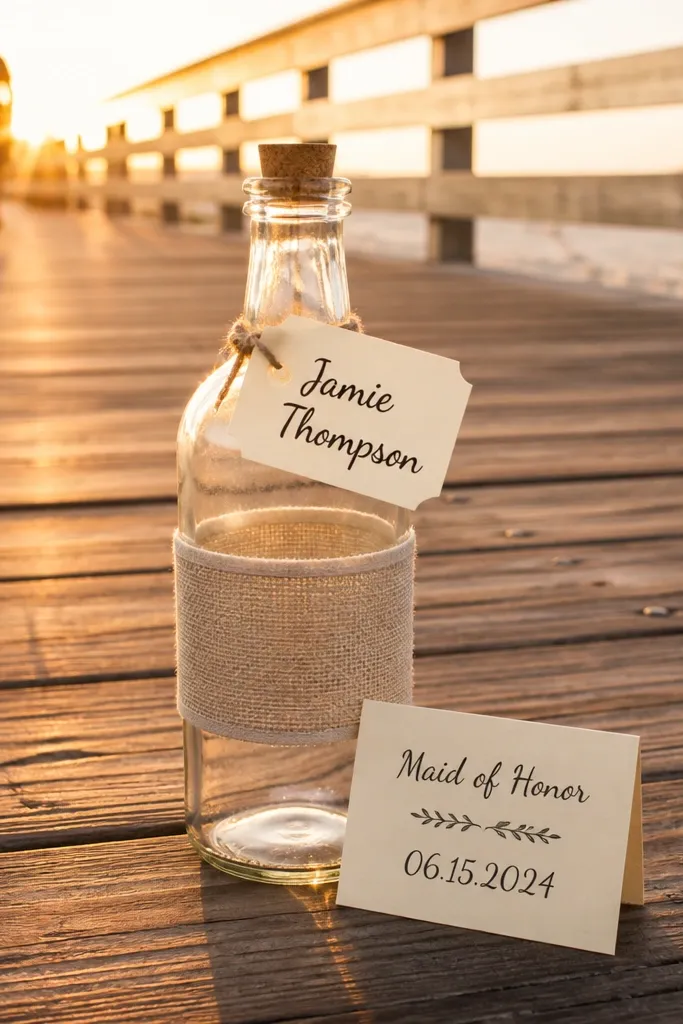
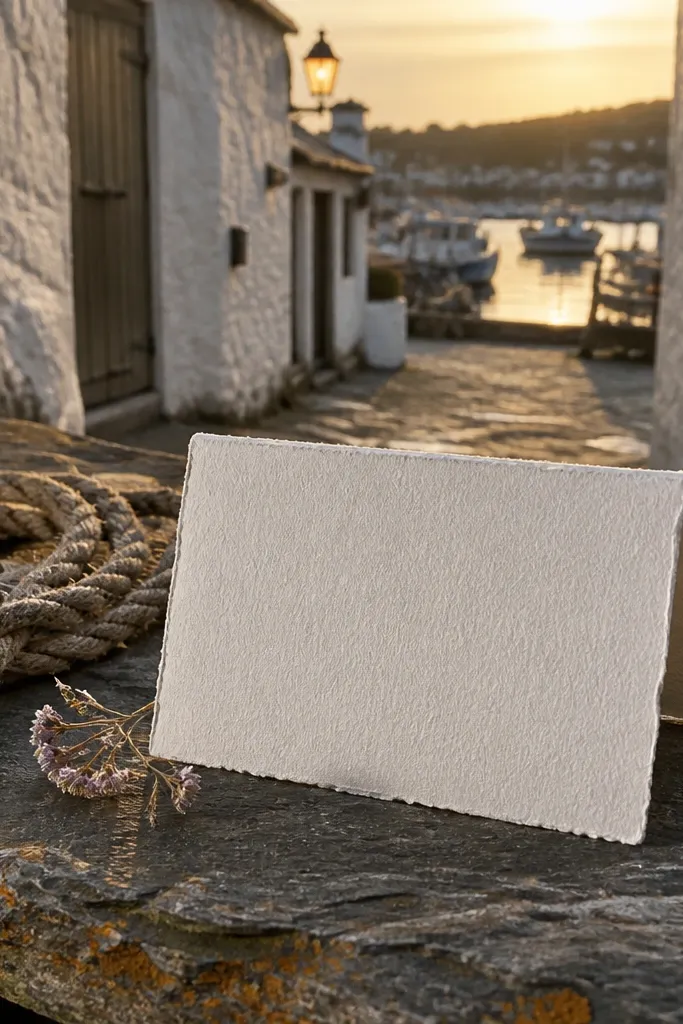
This one looks good because it mixes movement with clean lines. A simple glass bottle wrapped with a neutral band and topped with a handwritten name tag reads intentional in photos, especially against boardwalk planks. Add a small card that says the exact role and date so it feels like a real proposal, not a generic favor. It suits beachy weddings, summer weekends, and anyone who likes a casual, coastal look. The best time is golden hour when the bottle catches warm highlights instead of flat daylight.
Start by buying a small bottle (clear glass, 8-10 oz) and printing the message card on thick cream paper. Then wrap the bottle with a 1- to 2-inch strip of tan or white twine around the neck and tie the name tag on top. Finally, head to a boardwalk area with long straight planks, place the bottle on a clean ledge, and take the photo with the horizon lines behind it. Budget is usually $10-25 per person for bottle + paper + supplies, and you’ll spend about 15-25 minutes per person. Book nothing — but plan your trip timing so you’re shooting 60-90 minutes before sunset.
Use a matte card, not glossy — glossy labels reflect and ruin the look in sun.
Don’t use bright neon wrapping on boardwalks; it clashes with the warm wood tones.
2. City Sidewalk Sign + Pocket Folded Note
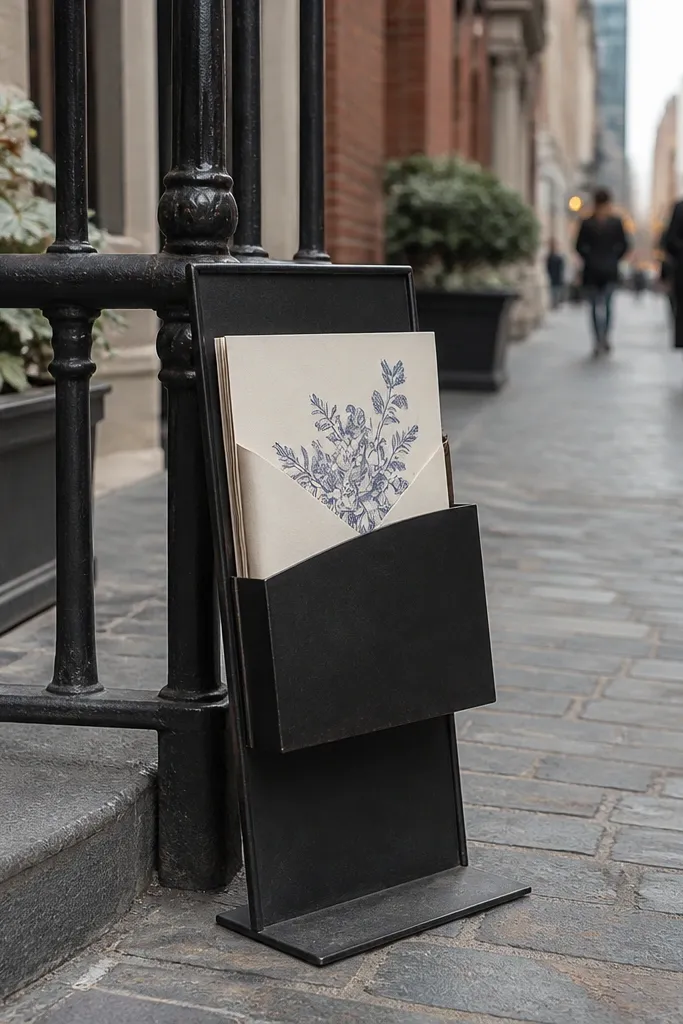
Cities give you built-in texture, so your gift can stay simple and still look high-end. A small standing sign (think mini chalkboard or metal placard style) beside a folded note creates a “moment” that reads clearly in photos. Choose a message card that matches the wedding color palette — black, cream, or a muted blue looks sharp against street concrete. This suits urban getaways, courthouse weddings, and winter city trips. It works best at dusk when storefront lighting makes the note look crisp.
Start by printing a folded card that fits in a small pocket on the sign or is clipped to the side. Then pick a sign color that matches your wedding theme — matte black or brushed silver looks clean in most cities. Finally, photograph it on a sidewalk corner with one strong background element like a doorway or streetlight. Expect about $8-18 per person for the sign + printing, and 10-20 minutes per stop. If you’re doing multiple groomsmen, group them by neighborhood so you don’t waste time traveling between photos.
Bring a black fineliner — sidewalk light makes thick markers look messy.
Skip busy backgrounds like parked cars filling the frame; they steal attention from the note.
3. Trailhead Leather Key Wallet + Coordinates Card
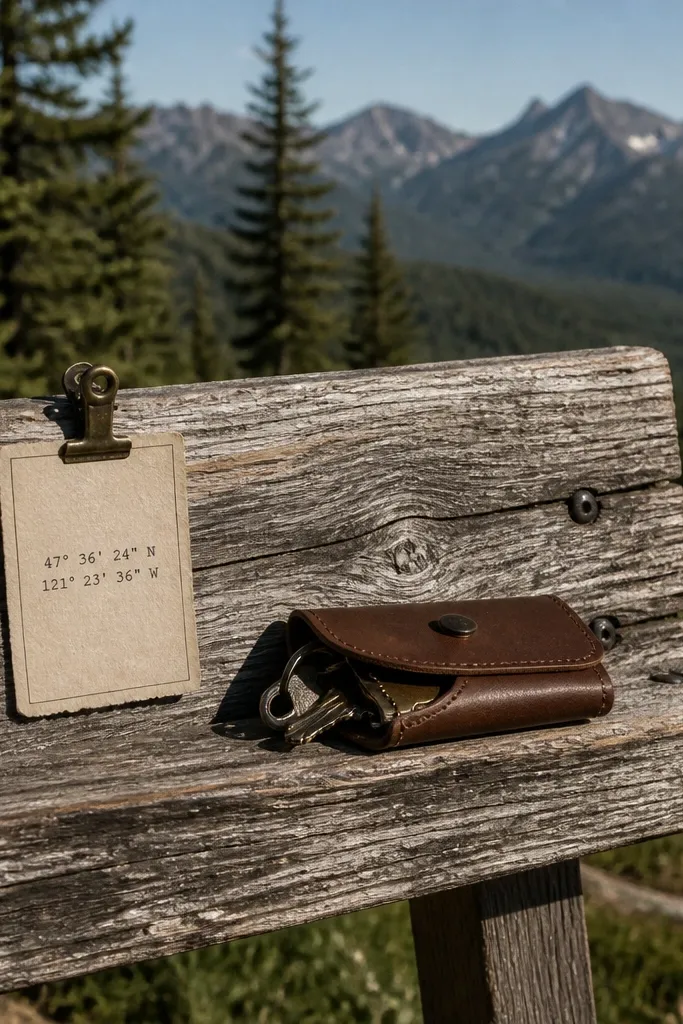
Mountains and trails make leather look right. A compact leather key wallet placed on a trail bench or rock reads tough, clean, and masculine in a way that photographs beautifully. Add a coordinates card that points to the exact trailhead spot where you’re proposing — it feels personal without needing a long speech. This suits mountain weekends, national park trips, and fall weddings. The best light is late morning to early afternoon when shadows are soft and textures show.
Start by buying a slim leather key wallet (dark brown or black) and printing a small coordinates card with the date and a short line. Then place the wallet flat, add a folded card under it so it stays visible, and take the photo with the trail path leading behind. Finally, keep the prop clean — wipe dust off the leather before you shoot. Budget is usually $15-35 per person depending on wallet quality, and 15 minutes per person to set up and photograph. For travel logistics, park at the trailhead and plan for a 20-minute walk so you can find a clean rock or bench area without crowds.
Quick tipUse a dark wallet on bright rock; it creates contrast that looks intentional in photos.
Skip thisDon’t choose bright colors like red — they fight with natural greens and browns.
4. Lakeside Canvas Tote + Map Pin Sticker
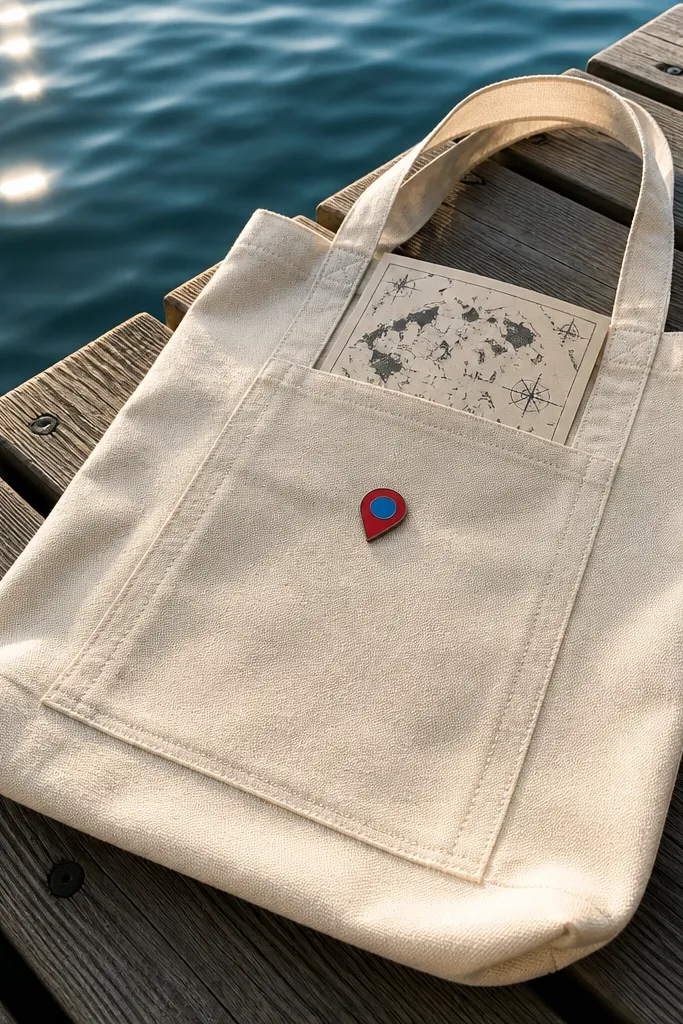
A canvas tote looks great because it ties to travel and it holds the whole story in one frame. Set it on a dock plank or lakeside bench and add a small map pin sticker to show the exact place you’re making the moment. Include a folded card that names the groomsmen and gives the promise — help, date, and a short line about being there. This suits lake weekends, cabin stays, and spring trips when the light is soft. Shoot in morning so the water background is calm and doesn’t glare.
Start by buying a natural canvas tote and printing a small card on matte paper. Then place the card inside the tote opening so it peeks out, and add the map pin sticker to the tote corner. Finally, photograph it on the dock with your card facing the lens and the water behind. Costs are typically $12-28 per person for tote + paper + sticker, and you’ll spend about 20 minutes per person. If you’re doing multiple people, pack a stack of totes and cards so you can swap names quickly without rewrapping.
Use matte stickers and matte paper; glossy ones reflect off water in a way that looks messy.
Skip flimsy cheap totes that crease badly — the photo will show it.
5. Hotel Lobby Tray + Champagne-Color Gift Wrap
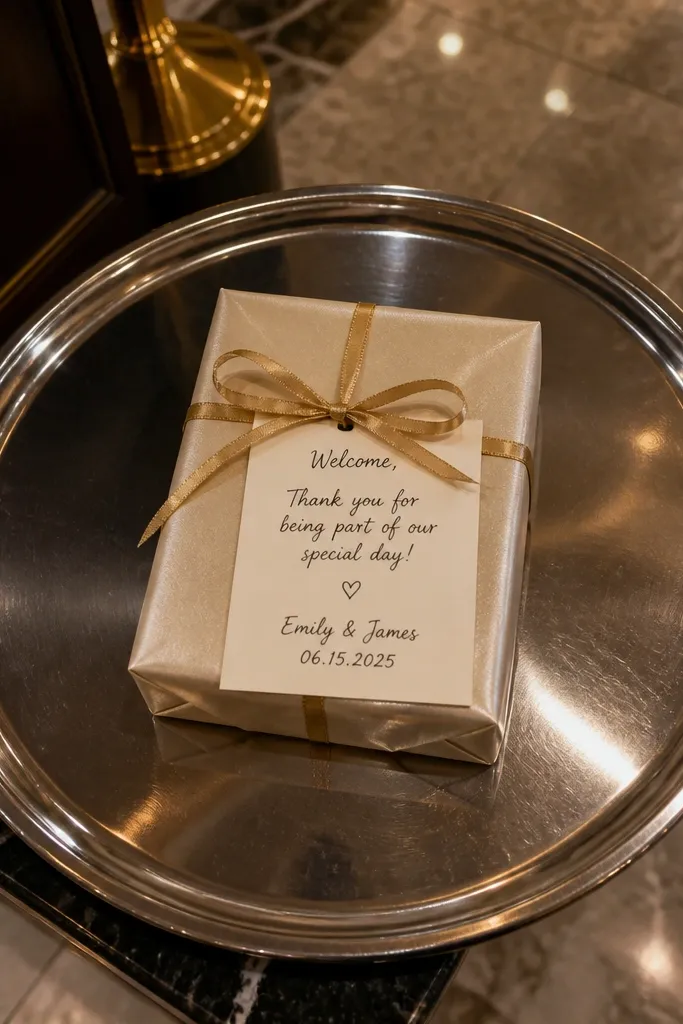
Hotel lobbies are made for clean, aesthetic photos. A small gift wrapped in champagne or soft gold paper on a metal tray looks polished fast, and the lobby background gives you a consistent look even if you’re traveling. Add a handwritten note card with your wedding date and the groomsman’s name so the moment reads personal. This suits city hotels, weekend stays, and anytime you want a “formal but quick” vibe. Best time is late afternoon when lobby lights are warm and backgrounds don’t look flat.
Start by choosing a small gift that fits a tray — a travel-ready item like a compact grooming kit or a bottle of something non-liquid. Then wrap it in champagne paper and tie with a thin ribbon in cream or black. Finally, place it on a hotel tray next to the note card, stand in front of a plain wall section, and shoot at chest height. Budget is usually $20-60 per person depending on the gift, and setup takes about 10-15 minutes. Check lighting in the lobby first, then pick one corner and repeat the photo angle for every groomsman.
Ask the front desk about where photography looks best — some lobbies have spotless plain-wall spots.
Don’t wrap in bright silver foil; it creates harsh highlights that wash out the note.
6. Museum Steps + Framed Ticket-Style Proposal Card
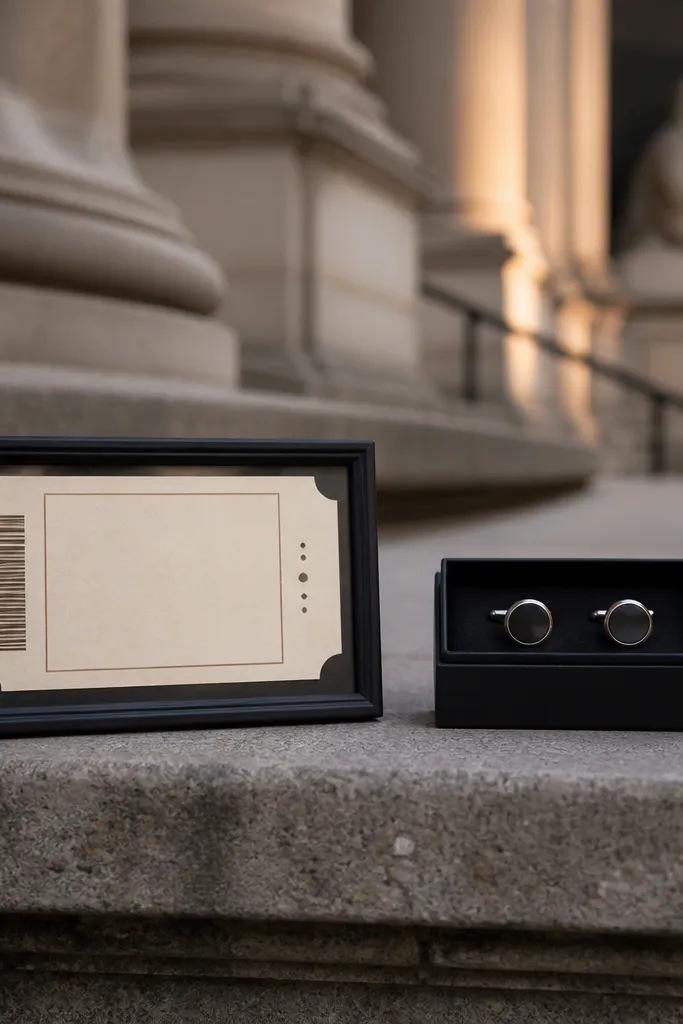
Museums and historic buildings give you architecture that makes a small gift look styled. A framed ticket-style proposal card — printed to look like admission — is a smart way to make the message readable and photogenic at once. Pair it with a small item tied to the wedding theme, like cufflinks in a simple box or a mini grooming set. This suits travel weekends with planned sightseeing. Shoot on the exterior steps in late afternoon for warm stone tones without harsh noon shadows.
Start by designing a ticket-style card with the groomsman’s name, your date, and a short line about being part of the day. Then place the card beside a compact gift in a box so it fills the lower half of the frame. Finally, take the photo with the building columns behind it and keep the card centered. Costs depend on gift choice, usually $18-55 per person, and you’ll spend about 15 minutes per location. If the museum has rules about filming outdoors, pick a quiet exterior spot away from entrances.
Quick tipPrint the ticket card on thick paper so it stands up without curling in outdoor wind.
Skip thisSkip super small gifts that disappear against big stone steps.
7. Airport Lounge Tray + Black Card with Boarding Pass Clip
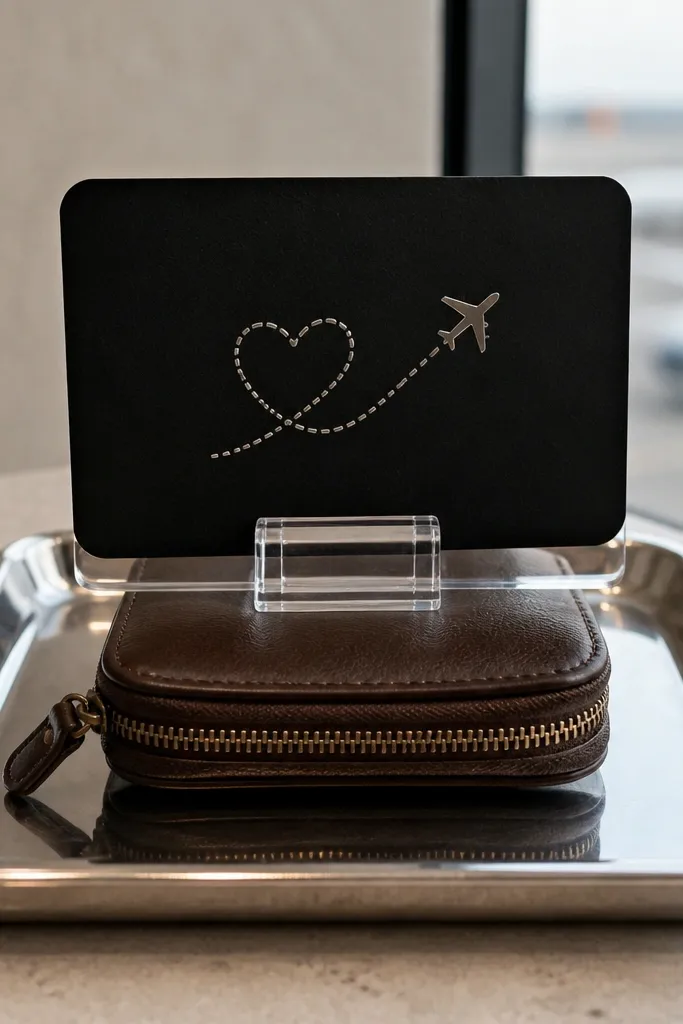
If your groomsmen are coming from different places, airport logistics can still look good. A black proposal card clipped with a boarding-pass style holder creates instant visual structure, and a tray gives you a tidy, symmetrical frame. Add a small, travel-friendly gift that matches the day-of vibe like a compact leather cardholder or travel-size cologne. This suits last-minute proposals and people who live in transit. Best time is during lounge daylight hours when the tray and card can be lit evenly.
Start by printing a matte black card on thick cardstock and adding a boarding pass clip or clip-style holder. Then attach your small gift to the tray so it sits low and the card is readable. Finally, photograph from directly above or slightly angled so the clip and card are sharp. Budget is usually $15-45 per person, and the setup is fast — 10-20 minutes. Plan to do all photos at the same lounge so the background lighting stays consistent across the set.
Bring a small lint roller; airport surfaces pick up dust and it shows on black paper.
Don’t use a glossy card; reflections make the text hard to read in photos.
8. Desert Sunset Bandana + Small Bottle of Local Flavor
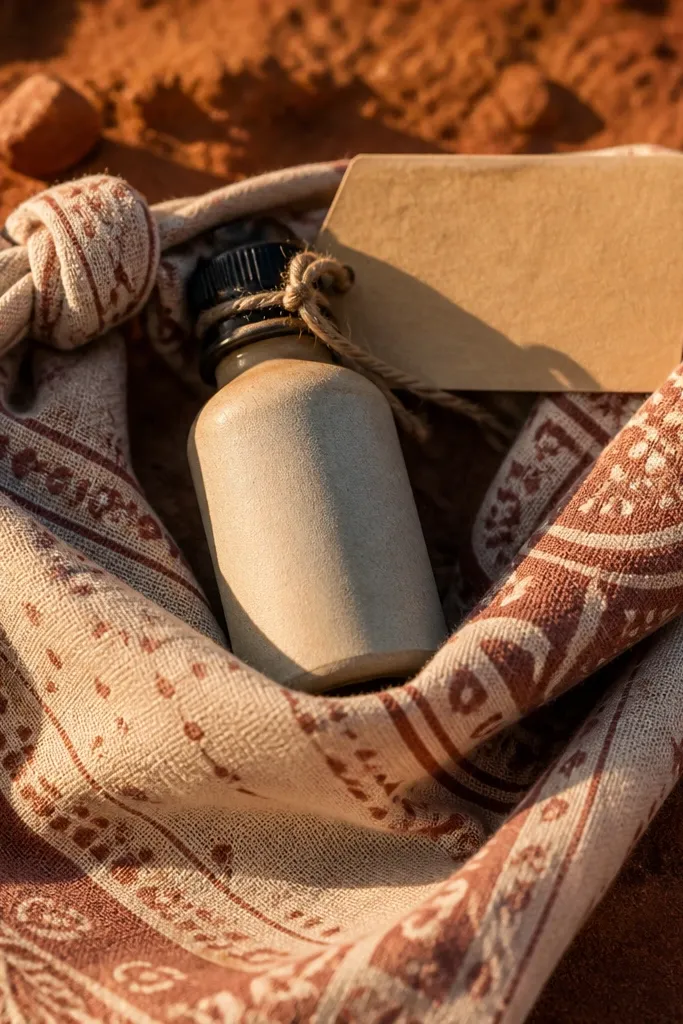
Desert colors look incredible in wedding photos, especially with a bandana texture. Tie a small bottle of local flavor (non-liquid if you want to avoid travel rules) with a bandana in cream or muted rust, then add a card that names the groomsman and your date. The bandana gives you pattern without needing complicated props. This suits desert weekends, fall trips, and anyone who wants a rugged, warm aesthetic. Shoot close to sunset so the sand glows and the fabric texture shows.
Start by choosing a bandana color that matches your wedding palette — cream + rust works with most neutrals. Then tie it around a small bottle or jar and tuck the card under the knot. Finally, photograph on sand near a simple rock — avoid piles of clutter so the background stays clean. Costs are about $12-30 per person for bandana + card + gift, and you’ll spend 15-25 minutes per person. If you’re traveling with bottles, check local rules for liquids and bring sealed, labeled containers.
Keep the bandana slightly wrinkled on purpose; perfect creases look fake in photos.
Skip bright lime green bandanas; they look harsh against desert tones.
9. Rainy Day Umbrella Handle Tag + Note
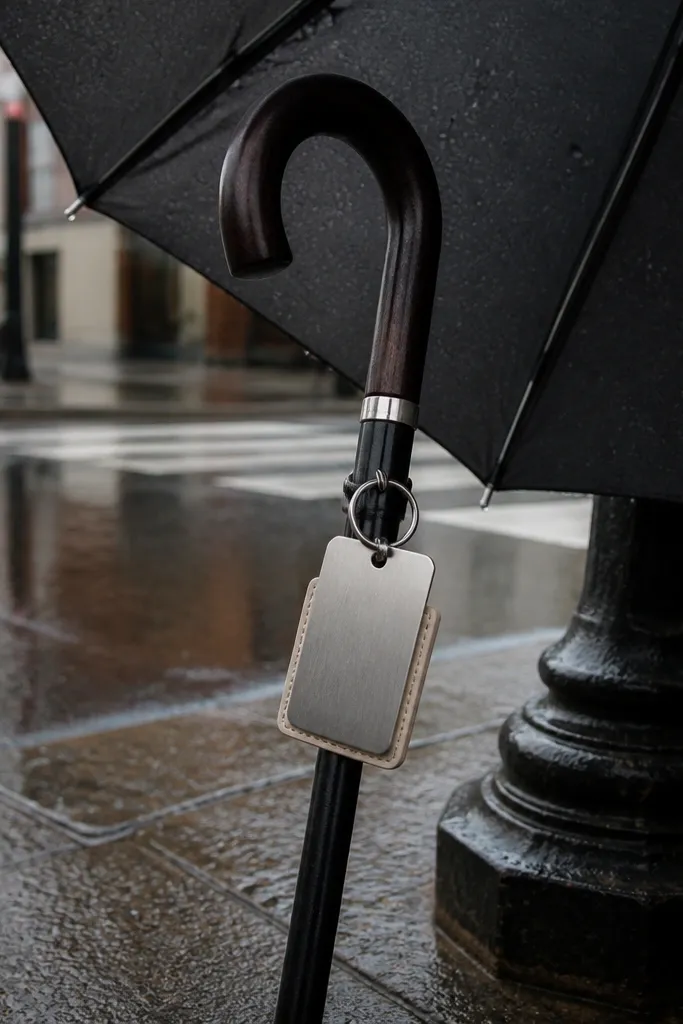
Rainy weather makes everything look cinematic, and it’s perfect for a quick proposal that still looks stylish. Use a dark umbrella and attach a name tag plus a small card to the handle — the raindrops and reflections give you texture without extra props. Pair it with a simple gift inside a clear sleeve or a small pouch that matches the umbrella color. This suits spring trips, coastal towns, and off-season travel when rain is possible. Best time is right when the rain starts so you get reflections without muddy backgrounds.
Start by buying one umbrella color for the group — black or deep navy looks best in photos. Then attach a thick paper name tag to the handle with a ribbon and tuck the proposal card into a small pouch on the umbrella strap. Finally, photograph under awnings or near a window with controlled background so raindrops catch light. Budget is usually $20-50 per person depending on umbrella reuse plans, and setup takes 5-10 minutes per person. If you’re not sharing umbrellas, bring a small hook clip so the tag can be swapped fast.
Quick tipUse waterproof ink pens on the tags so the text stays legible in drizzle.
Skip thisDon’t place the umbrella on wet ground; it looks dirty and distracts from the tag.
10. Farmers Market Basket + Handwritten Weight Card
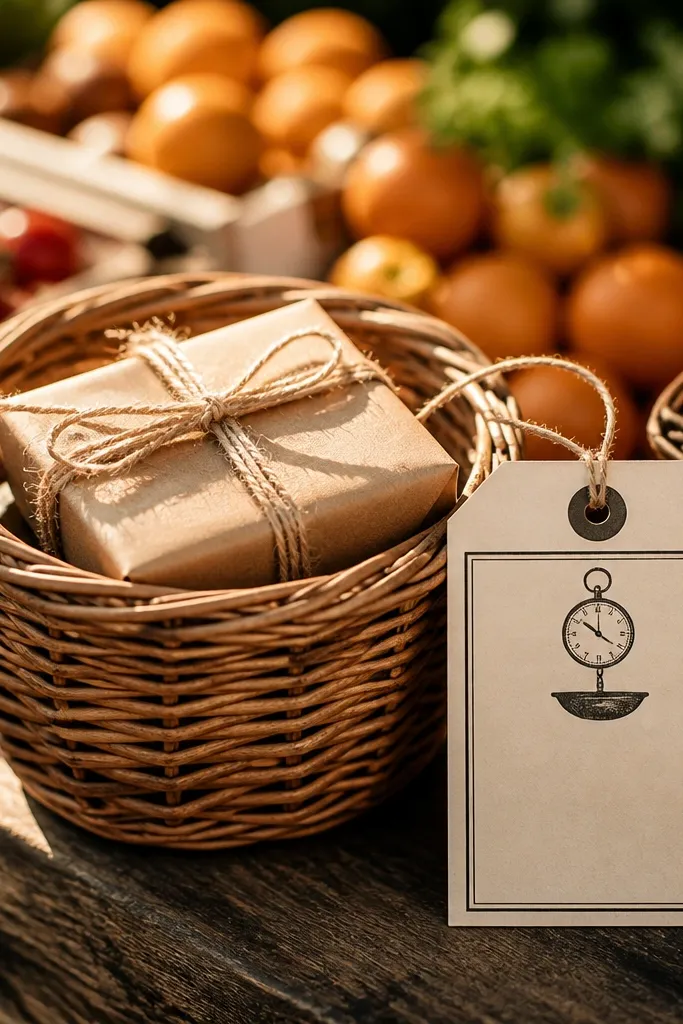
Farmers markets are packed with color, but you can still keep the look clean by choosing one basket and one paper style. Put a small gift in a wicker basket and add a card that looks like a market weight tag — simple, charming, and instantly readable. This creates a warm aesthetic that feels local and thoughtful without being complicated. It suits countryside trips, spring weekends, and weddings that lean relaxed. Shoot in the morning when stalls are organized and lighting is softer.
Start by buying a medium wicker basket (or using a market basket) and printing weight-tag style cards on thick white paper. Then place the gift in the center and clip the card to the basket handle so it’s visible from the front. Finally, photograph with the basket against a stall backdrop but keep the card in the sharpest focus. Costs are typically $10-35 per person depending on gift choice, and you’ll spend about 15 minutes per person. If you’re doing multiple groomsmen, keep the basket style consistent so your photo set looks like one theme.
Quick tipUse one neutral gift color — black, brown, or cream — so market produce doesn’t overpower the frame.
Skip thisSkip busy card designs with lots of colors; one clean card looks better.
11. Coastal Cliff Lookout + Compass-Stamped Card
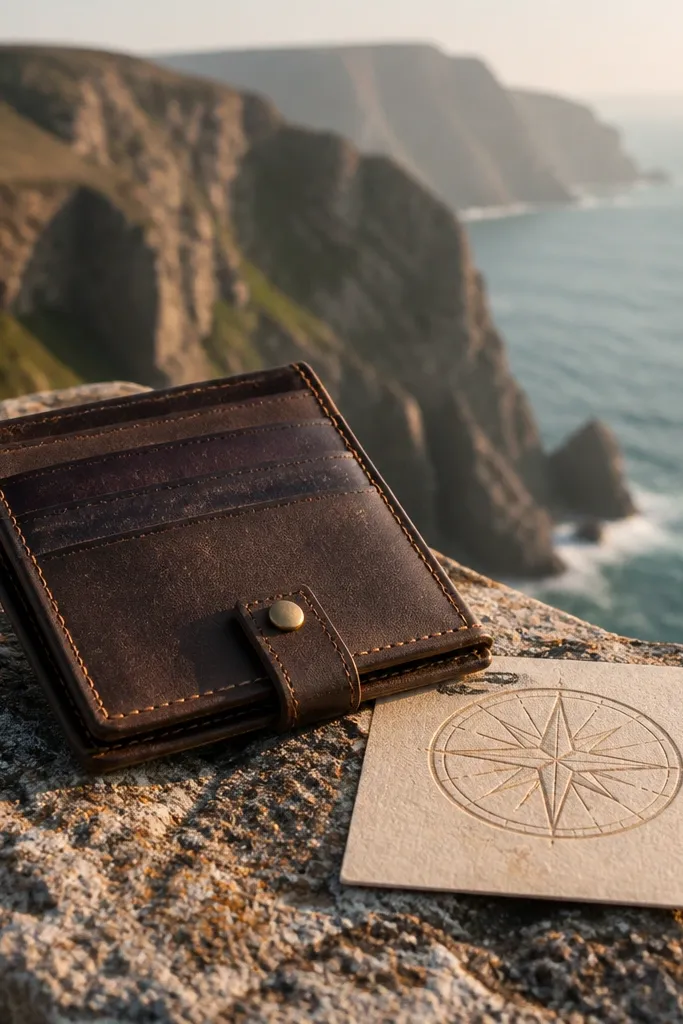
Lookouts give you a dramatic background that makes even a small gift look epic. A compass-stamped card is a smart way to tie the travel setting to the proposal without extra props. Pair it with a compact item like a leather bracelet or travel cardholder so it looks man-friendly and doesn’t feel like a random souvenir. This suits coastal weddings, cliffs, and any place with strong horizon lines. Best time is late afternoon when the sky has color and the railing doesn’t cast harsh shadows.
Start by stamping or printing a compass design on thick card stock in black ink. Then place the card on a railing ledge and set a small gift beside it, keeping the composition simple and centered. Finally, step back slightly so the horizon fills the top half and the card stays readable at the bottom. Budget is usually $15-45 per person, and you’ll spend 15-25 minutes per lookout stop. Plan your route so you can shoot each person at the same railing angle for consistency.
Quick tipBring a small microfiber cloth to wipe salt spray off the gift and card before you shoot.
Skip thisDon’t use light-colored ribbon on windy cliffs; it whips and ruins the photo.
12. Lounge Chair Poolside + Monochrome Sunglasses Pouch
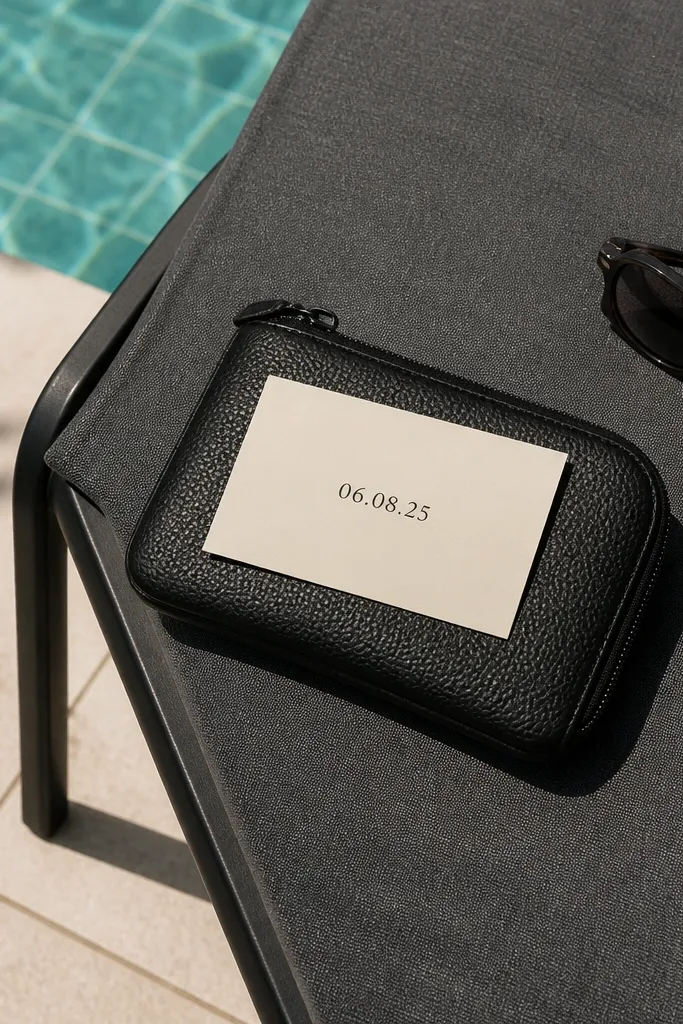
Poolside looks clean when you keep the palette monochrome. A sunglasses pouch in black or tortoise tones placed on a lounge chair creates a sharp, travel-ready frame, and it’s easy to photograph from above. Add a simple card with your message and date — printed in a single ink color — so it’s readable against the chair fabric. This suits resort weekends and summer travel where you want a sleek, modern aesthetic. Shoot in early morning or late afternoon so chair textures don’t turn the whole frame into glare.
Start by buying a sunglasses pouch and printing cards in one color palette (cream paper with black text is the safest). Then place the pouch at the center of the lounge chair and set the card beside it so both are visible. Finally, photograph with the horizon line low so the chair texture and pouch are the focus. Costs are usually $18-40 per person, and setup takes 10-15 minutes. If you’re using the same resort, you can reuse the same chair style for a consistent photo set.
Avoid glossy cards and laminations; pool light makes them streak in photos.
Don’t crowd the frame with extra items like towels and bottles.
13. Old Town Cobblestone + Polaroid-Style Proposal Card
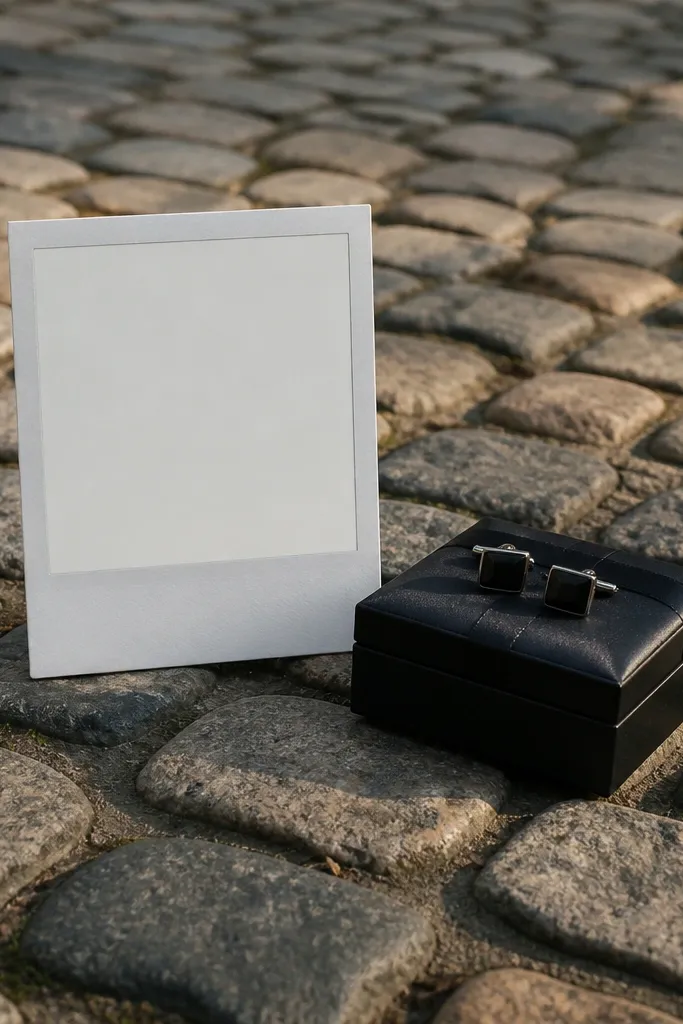
Cobblestones make everything look styled because the texture is already doing the work. A polaroid-style card turns your message into a prop, which helps it look cohesive across multiple groomsmen photos. Pair it with a small gift that matches the wedding color theme, like a cufflink box or a compact flask alternative. This fits historic towns, European-style streets, and fall city trips where the streets are photogenic. Best time is after midday when shadows are softer and you can keep the card readable.
Start by printing a polaroid-style frame card with the groomsman’s name and your date, then add a short line. Then place the card on clean cobblestones and set the gift beside it, keeping a gap so the composition doesn’t look cluttered. Finally, take the photo at a slight angle so cobblestones lead into the background. Budget is about $12-45 per person, depending on the gift, and you’ll spend 15-20 minutes per person. Bring a small piece of clear tape to keep the card from sliding on uneven stones.
Quick tipChoose cobblestones with a clean area; muddy stones make the whole photo look dirty.
Skip thisDon’t use patterned gifts that blend into the cobblestone texture.
14. Forest Cabin Doorstep + Matchbox Letter + Candle
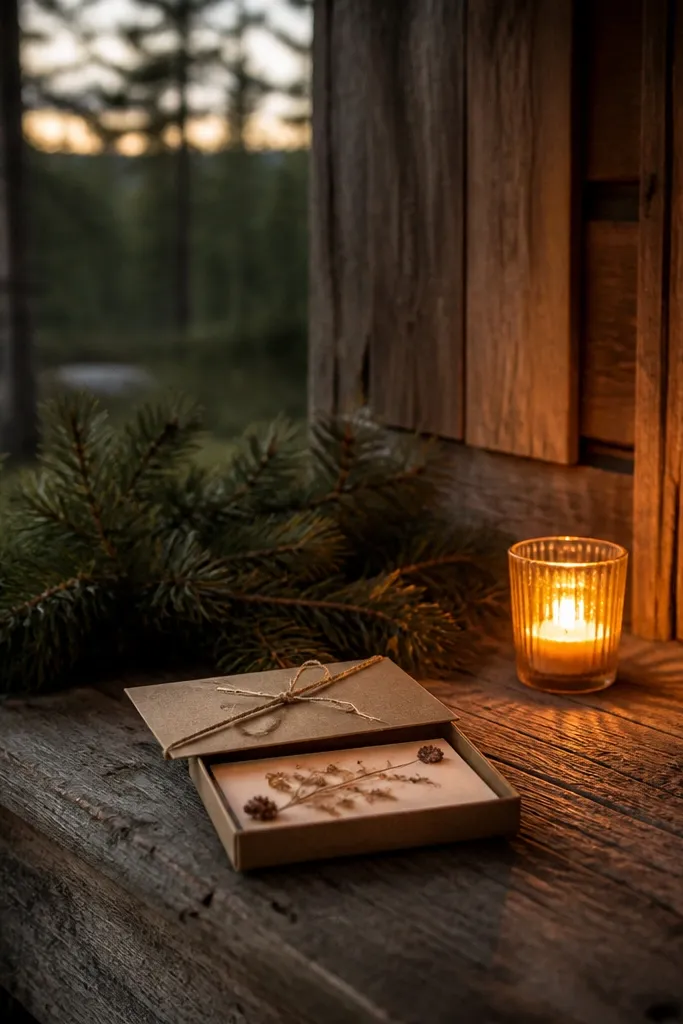
Cabin doorsteps are made for cozy, warm photos. A matchbox-style letter is a clever way to make the message look like a prop, and a small candle adds a warm glow that photographs nicely in forest light. Keep the gift size small so the frame looks clean and not crowded with tourist clutter. This suits winter trips, fall cabins, and weddings that lean rustic without going messy. Shoot near dusk when the cabin light warms the scene and the candle glow looks natural.
Start by printing a letter on thick paper and folding it into a matchbox size, then tuck it into a small matchbox-shaped holder. Add a tea-light candle in a glass holder so it looks neat and safe. Then place the matchbox letter and candle on the doorstep in a simple line, and photograph from slightly above. Costs are usually $10-30 per person, and setup takes about 10-15 minutes. If you’re doing this in cold weather, keep the paper away from damp door surfaces so it doesn’t curl.
Quick tipUse a glass tea light holder — it looks polished and reduces wax mess in photos.
Skip thisSkip loose candles without a holder; melted wax ruins the look fast.
15. Snowy Bench + Knit Beanie Tag with Date Card
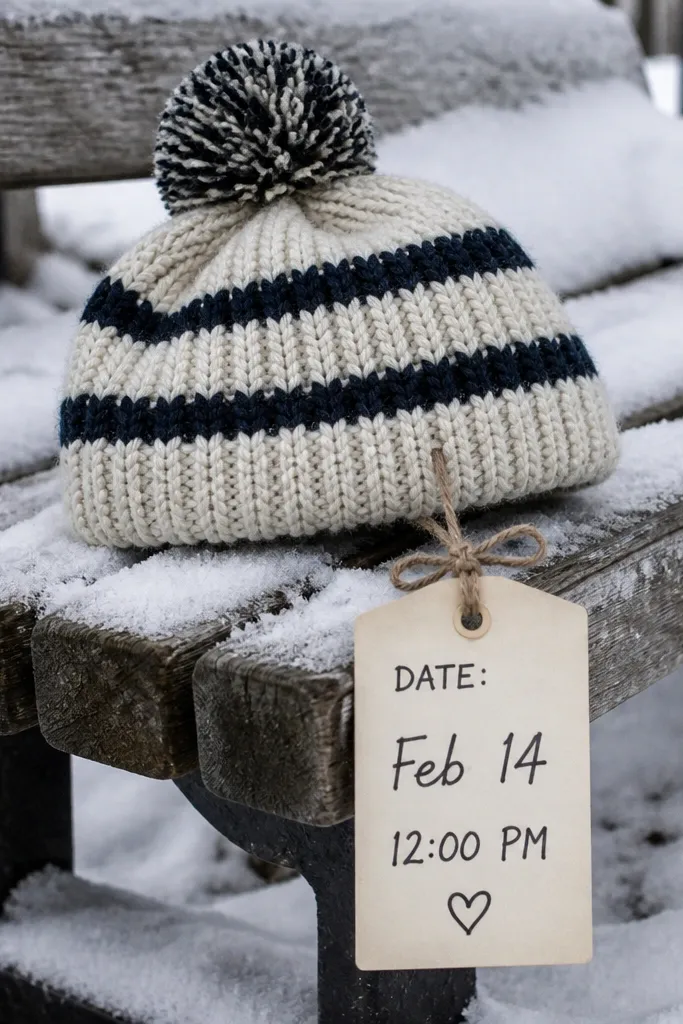
Snow backgrounds make your gift look high-contrast and clean, which is what you want for quick and easy proposals. A knit beanie with a tied date card looks warm and thoughtful, and the texture of the yarn shows beautifully in winter light. Keep the colors tight — cream, charcoal, and navy — so the photo set looks cohesive. This suits winter destination weekends and cold-weather cabins. Best time is mid-morning when the snow is bright but not overexposed.
Start by buying beanies in two tones max, then print cards with your message on thick cardstock. Tie the card to the beanie with twine or a thin ribbon, then place it on a simple snowy bench or railing ledge. Finally, shoot with the sun behind you so the card doesn’t blow out and the yarn texture stays visible. Budget is usually $15-40 per person, and you’ll spend 10-20 minutes per person. Wear gloves and pack extra twine because it’s easy for the knot to slip in cold wind.
Choose matte twine, not shiny — shiny twine catches light and distracts from the card.
Don’t use white-on-white paper; switch to charcoal ink so the message stays readable.
16. Desert Motel Neon + Clear Acrylic Name Stand
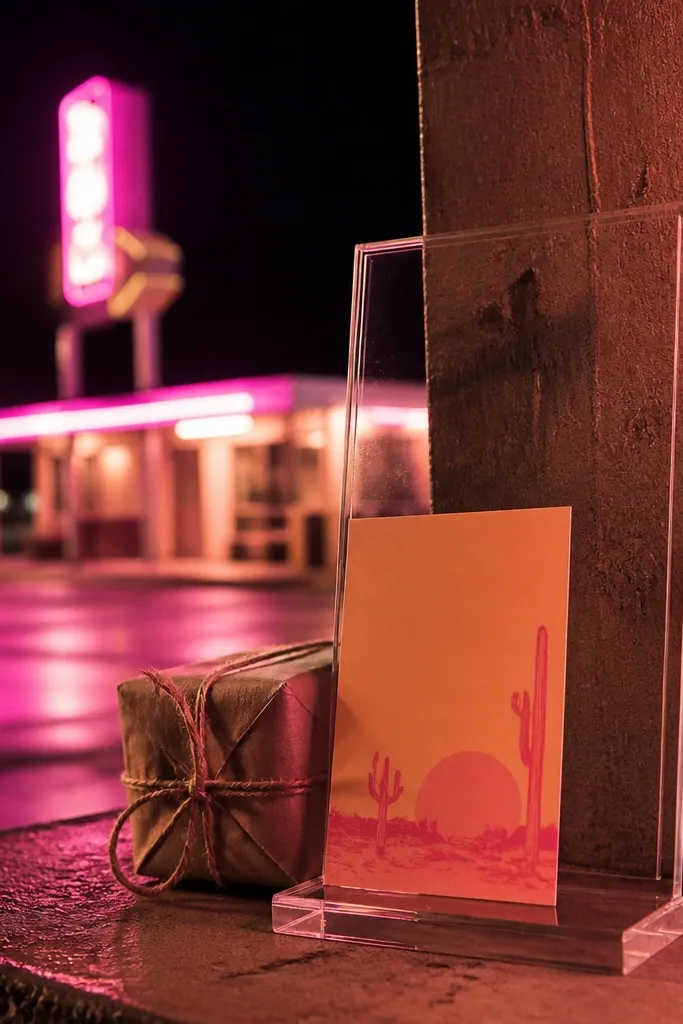
Neon signs look amazing in photos, and clear acrylic keeps the focus on your message. Put a small gift at the base of a clear name stand, then use a card that matches the neon color — pink, aqua, or warm amber. This creates a bold, aesthetic proposal moment that still feels personal. It suits road trips, desert motels, and night shoots when you want something different from daylight beach photos. Best time is after dark when the neon is fully lit.
Start by buying or borrowing a small clear acrylic name stand and printing cards sized to fit cleanly behind it. Then set the gift at the stand base and place the stand on a flat walkway area with strong neon behind. Finally, turn off flash and shoot with steady hands or a tripod so the background glow looks smooth. Costs are usually $20-70 per person depending on the gift, and the photo time is 10-20 minutes. Plan your route so you can shoot multiple groomsmen in the same motel area without moving constantly.
Bring a small black cloth to wipe fingerprints off the acrylic before each photo.
Skip cluttered motel grounds; keep the frame clean so neon doesn’t look chaotic.
17. Subway Tile Wall + Matchbook-Style Promise Card
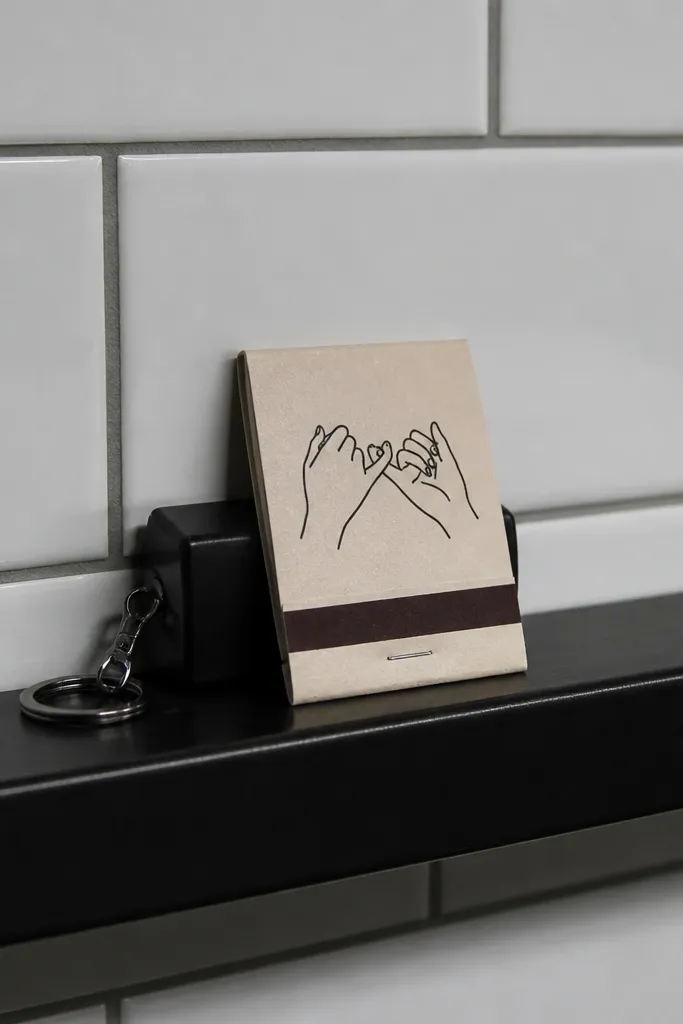
Subway tile walls give you graphic lines that make a small card look designed. A matchbook-style promise card is compact and readable, and it fits the travel theme without feeling gimmicky. Pair it with a small gift like a keychain or cufflink box so it doesn’t fight the background. This suits big-city trips and winter schedules when you’re moving indoors and out. Shoot near a tile wall with clean grout lines for the sharpest look.
Start by printing a matchbook-style card with your message and date, then fold it so it pops open toward the camera. Place the card on a ledge or against the wall with a small gift beside it, keeping the composition centered. Finally, photograph from chest height so the card stays readable and the tiles form a consistent background. Budget is usually $10-35 per person, and setup takes 10-15 minutes. Pick one station area and repeat the same angle for every groomsman to keep the set looking cohesive.
Use a card holder or small tape to keep the card from falling — subway walls are dusty.
Avoid subway entrances where crowds constantly block the frame.
18. Rooftop Terrace + Leather Cardholder + Skyline Note
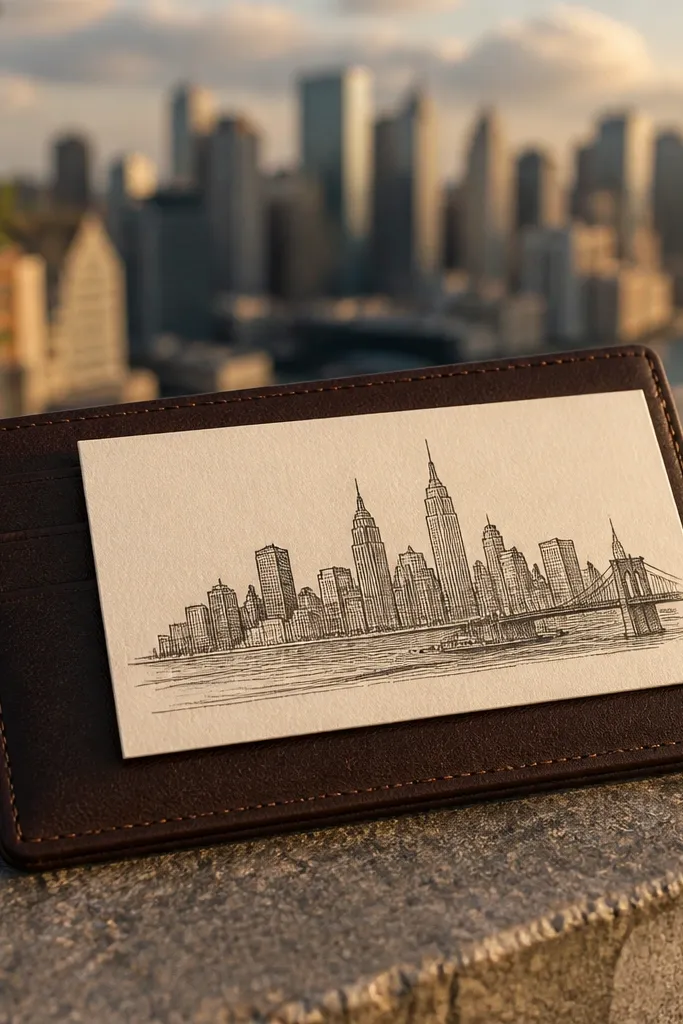
Rooftops look expensive in photos, even when the gift is simple. A leather cardholder in dark brown or black looks classy against a bright skyline, and it’s masculine without being bulky. Add a skyline note card with the groomsman’s name and your date, keeping the design minimal so the background stays the star. This suits city weekends, spring evenings, and weddings with a modern vibe. Best time is 45-75 minutes before full night so you get sky color and readable text.
Start by choosing one leather color for the group and printing minimal cards on cream paper. Then place the cardholder on a rooftop table or flat stone surface and set the card upright so it reads clearly. Finally, photograph with the skyline behind and keep the horizon level so the image looks intentional. Costs are usually $20-60 per person depending on cardholder quality, and you’ll spend 15-25 minutes per person. If rooftop access is limited, schedule one shoot window and do all photos in that same spot.
Bring a small steam wand or lint brush for leather — dust shows fast on light rooftops.
Don’t use heavy ribbons that flap in wind; leather stays still and looks cleaner.
19. Wine Country Picnic Blanket + Monogram Spoon Rest Card
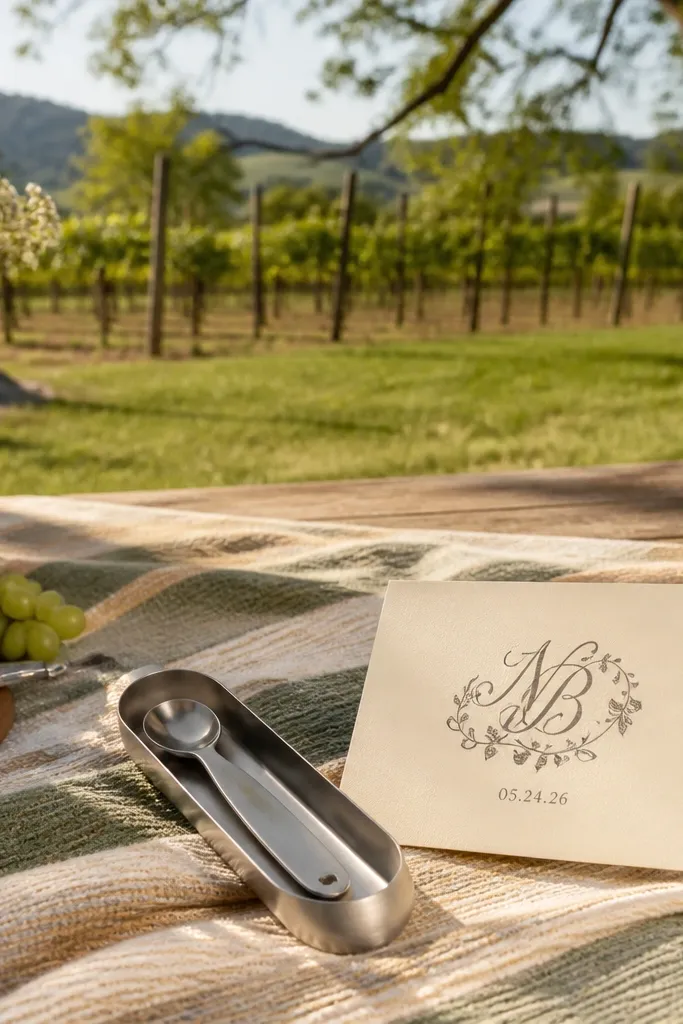
Wine country makes a quick proposal look styled because the scenery already has soft greens and warm earth tones. Use a picnic blanket in muted stripes or solid cream, then pair it with a small gift that sits neatly like a compact travel utensil set or a mini bottle-sized item that follows local rules. A spoon-rest style card holder gives your message structure and keeps it from curling. This suits countryside trips, spring picnics, and relaxed wedding weekends. Shoot in late afternoon when vineyard light turns golden and blankets show texture.
Start by choosing a blanket color that matches your wedding palette and printing cards with the groomsman name in a single ink color. Then place the card in a small holder so it stands up on the blanket, and set the gift beside it without covering the card. Finally, photograph with vines or rows blurred in the background so the card stays sharp. Budget is usually $15-50 per person, and setup takes 15 minutes. If you’re doing multiple groomsmen, keep the blanket folded the same way each time so your photos match.
Use a clip-on card holder instead of taping; it looks cleaner and moves faster.
Skip bright multicolor blankets — they make the card text harder to read.
20. Board Game Cafe Table + Dice Cup Proposal Card
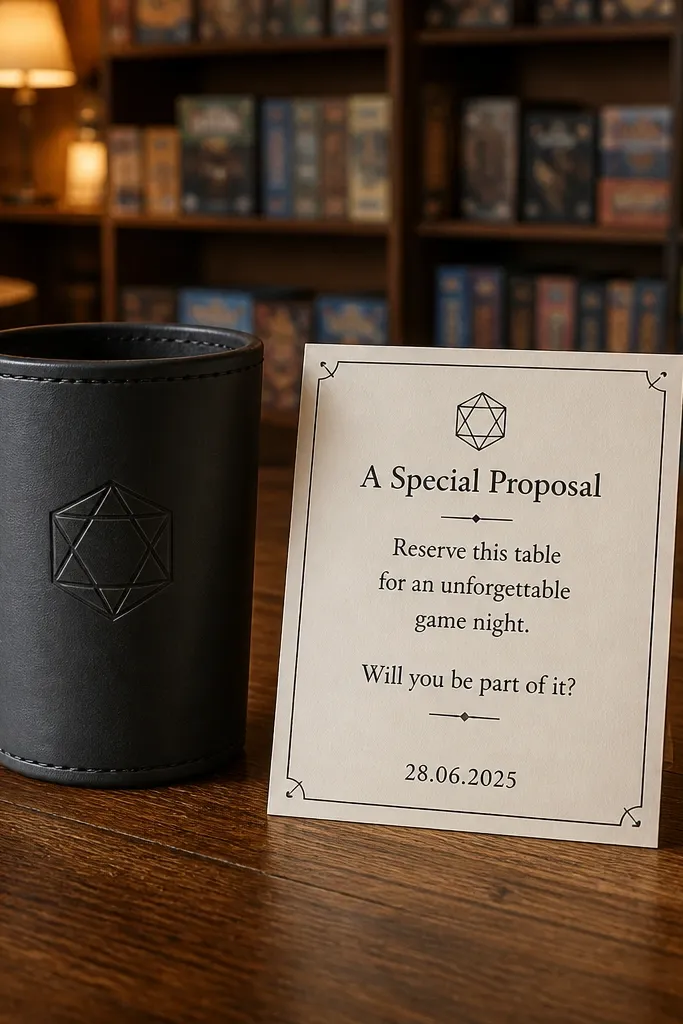
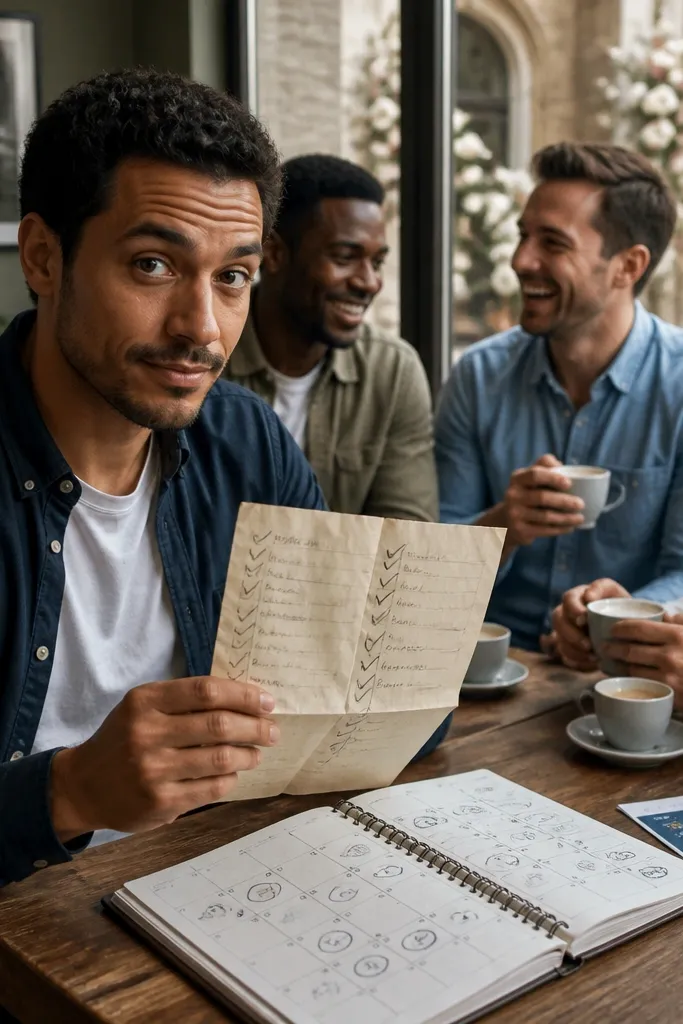
This is the “fun but still aesthetic” option when you’re not doing outdoors. A dice cup is a strong visual prop, and it turns your proposal message into something that fits the environment instantly. Choose a card design that matches the cafe tones — cream paper with dark ink works almost anywhere. Pair it with a small gift like a keychain or mini bottle opener that fits the theme. This suits rainy trips, city weekends, and groups that like games and casual hangouts. Best time is whenever the cafe has consistent lighting, usually early evening.
Start by picking one dice cup (clear or dark) and printing a card with each groomsman name and date. Then place the dice cup in the same spot on the table and set the card next to it, keeping the gift small enough to avoid clutter. Finally, photograph from the same angle each time so the set looks coordinated. Budget is usually $10-35 per person, and you can finish in 45-60 minutes for multiple groomsmen. Call ahead if you want a quiet table — it saves time and reduces awkward background interruptions.
Quick tipUse a matte card sleeve if the cafe table is glossy; it reduces glare under lights.
Skip thisDon’t scatter multiple props like cards, drinks, and snacks; it makes the photo look messy.