1. Champagne Cart Sign on the 1st Tee
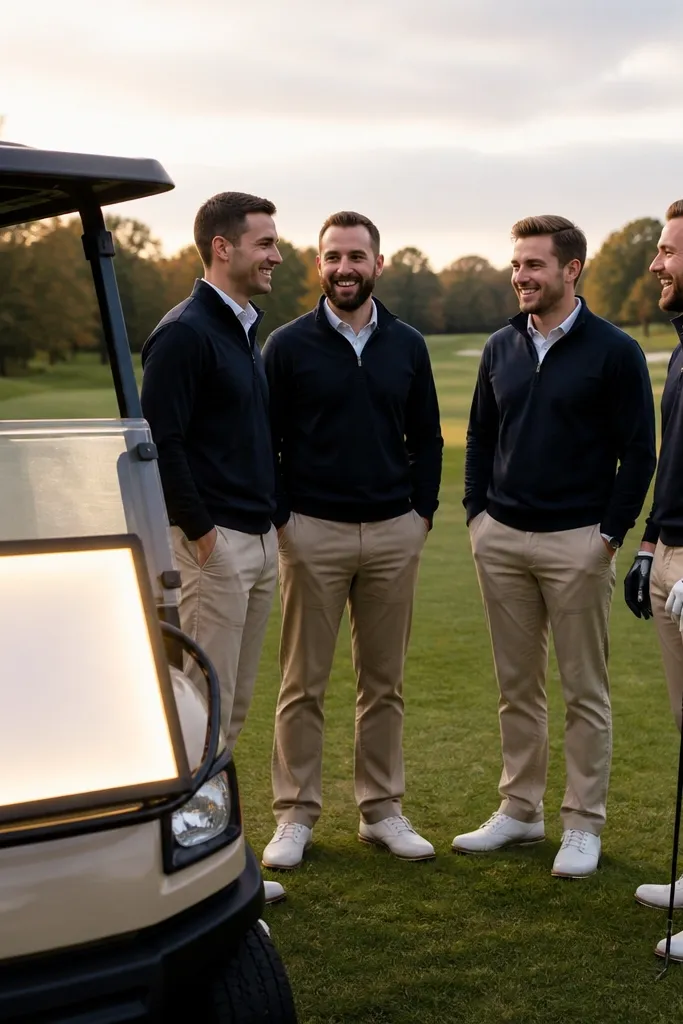
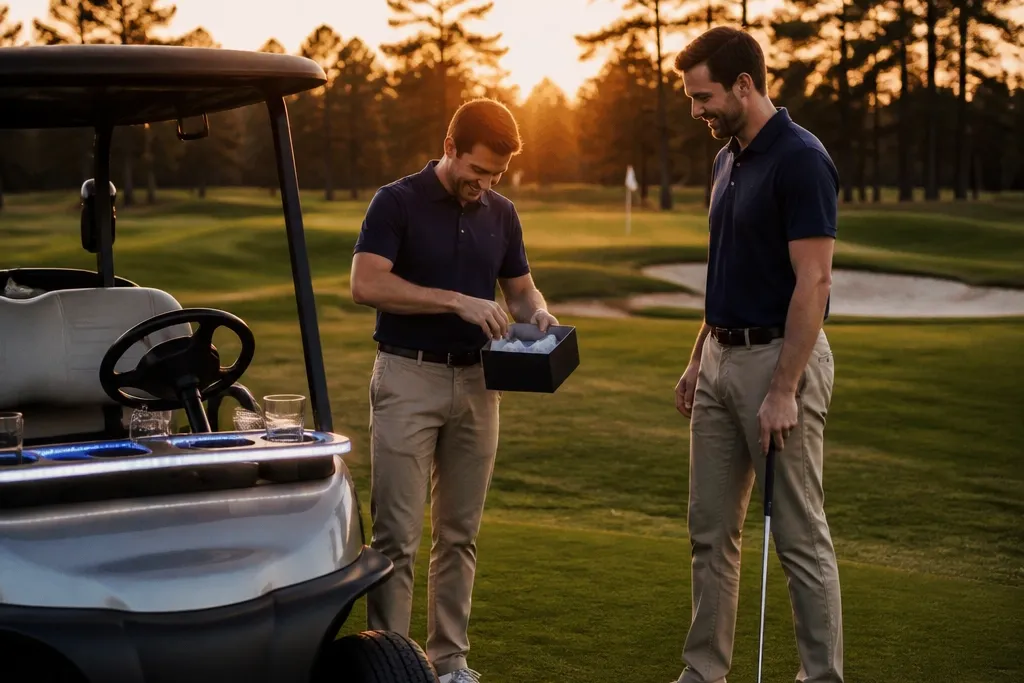
Start by booking a tee time that has carts allowed at the first tee and ask if you can stage a single cart near the starting line 10-15 minutes before your group arrives. Then write your sign message in bold black on white (keep it short) and place two champagne bottles in front so it reads from a few feet away. Finally, run the reveal right after everyone finishes lining up for the photo at the tee — you get the best faces and the cart stays in frame. Expect simple costs for the bottles plus the sign print, and plan about 15 minutes for staging and photos.
This is the cleanest “we’re celebrating” visual on a course: a cart that looks intentional, a bright sign against the green, and a reveal that happens right where people already gather. For the ultimate crew, it works best when your groomsmen wear coordinated neutrals — tan pants and navy/black tops — so the sign pops. The moment photographs well because the tee box has open background space and the group naturally forms a line. Do it for year round proposals by choosing a covered tee area or early tee time in winter so you still get soft light and no harsh shadows.
Skip thisDon’t use a busy, multicolor sign — it turns into visual noise against the course.
Quick tipUse matte paper for the sign so it doesn’t glare in sun or overhead lights.
2. Green-Edge Headcover Reveal
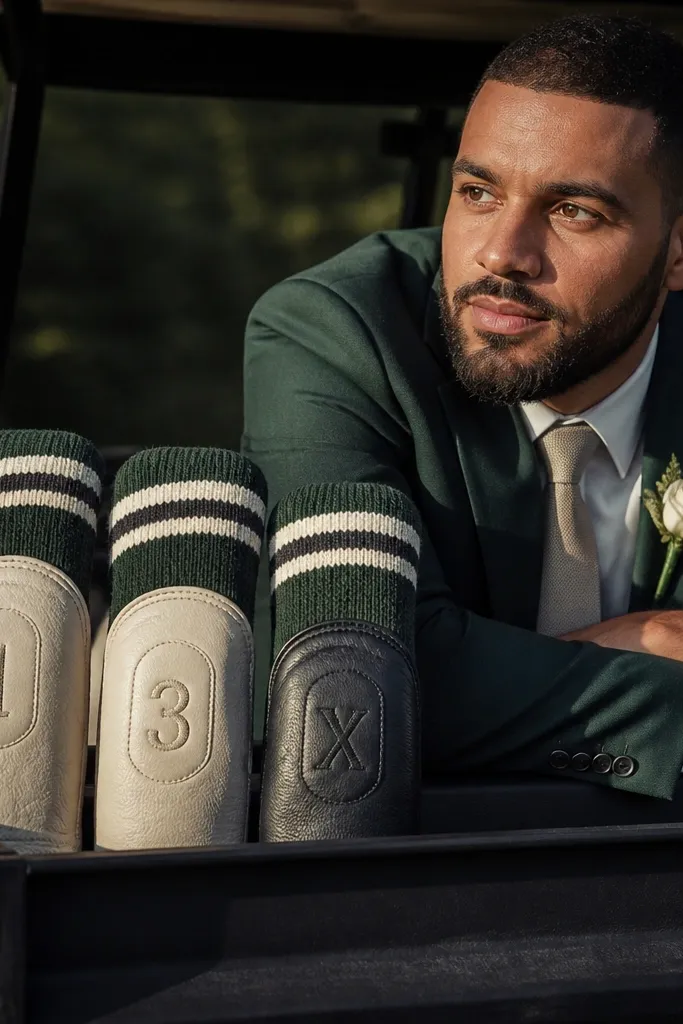
Start by ordering matching headcovers with one shared design and one personal initial or number per person. Then arrange them on a small stand or the trunk of a car near the putting green so the lineup looks tidy and intentional. Finally, hand them out right before the first putt session, and take a group photo from waist height so the covers fill the frame. Plan about 20 minutes for lineup and photos, and keep the headcovers in protective packaging until the reveal so they look crisp.
Headcovers are small, but they photograph like a product shot when they’re lined up cleanly. For a groomsmen proposal, you can give each guy a headcover that matches the course palette — think forest green, cream, and charcoal — so the group looks cohesive in every photo. The reveal works because golfers instantly recognize the item, and you can hand them out at the edge of the putting green where everyone can stand shoulder-to-shoulder. This is especially strong year round because headcovers don’t care about weather and you can stage the moment in the clubhouse before play if rain hits.
Skip thisSkip complicated wording on the headcovers; initials + a short date reads best.
Quick tipChoose a fabric that looks structured in photos, like a thick knit or canvas blend, not thin felt.
3. Scorecard "Will You Be My Groomsman?" Drop
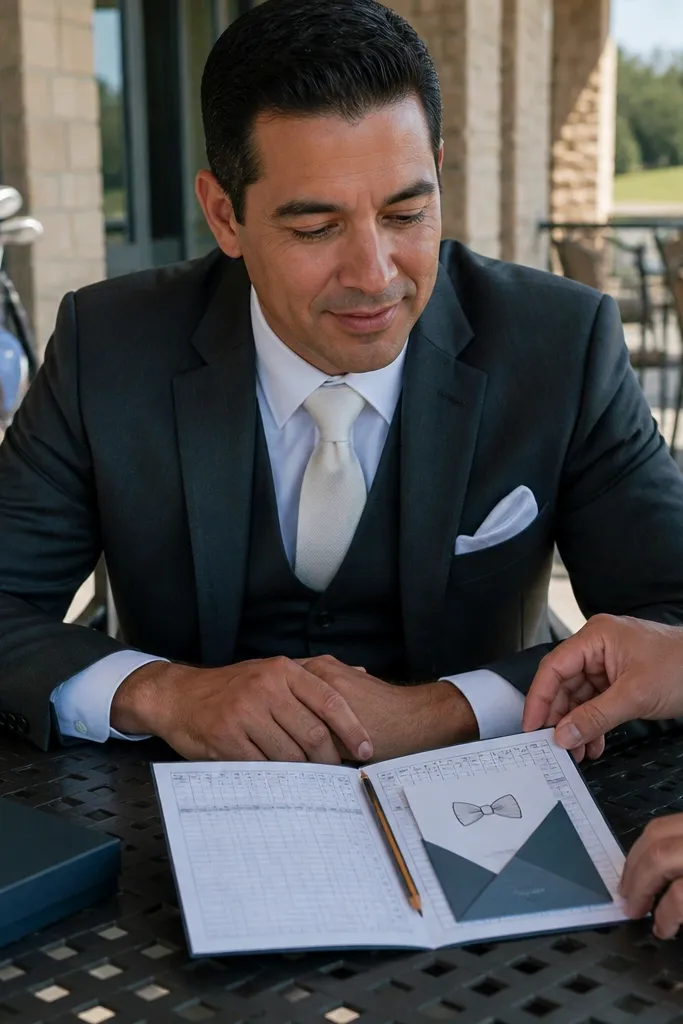
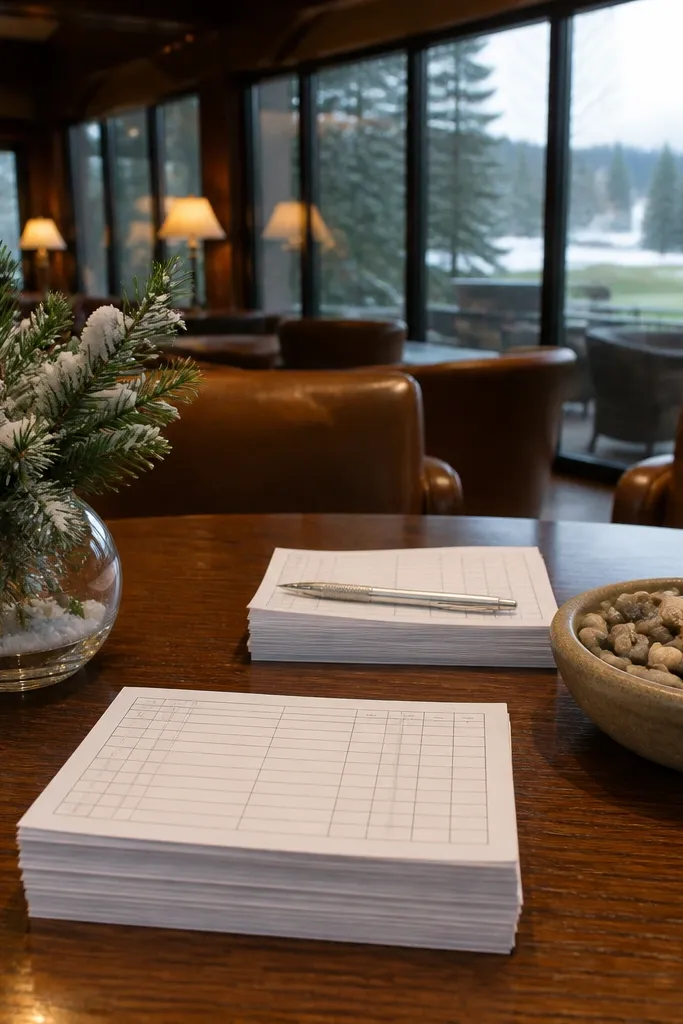
Start by printing a small insert that says “Will you be my groomsman?” with a date and a matching color border. Then put one insert on top of each scorecard and add a branded pencil sleeve or a simple wooden pencil so the kit looks finished. Finally, hand the scorecards at check-in or right after they grab their clubs, and take photos before they start writing scores. Budget for printing and pencils, and plan 30 minutes before tee-off so nobody misses the reveal.
This proposal is subtle in the best way: it feels like a normal part of golf, then the question lands when they open the scorecard. The look is clean because scorecards and pencils create a natural flat-lay vibe with no extra clutter. It suits crews who want something classic rather than flashy. The best setting is the clubhouse table by big windows, because the light makes the paper look bright and readable. For year round Groomsmen Proposal ideas, you can run this indoors in winter and keep the same aesthetic on a covered patio in spring and fall.
Skip thisDon’t hide the question inside the back pocket of the scorecard; people miss it mid-game.
Quick tipUse thick paper (cardstock) for the question insert so it doesn’t look flimsy in photos.
4. Putting Green Neon Night Proposal
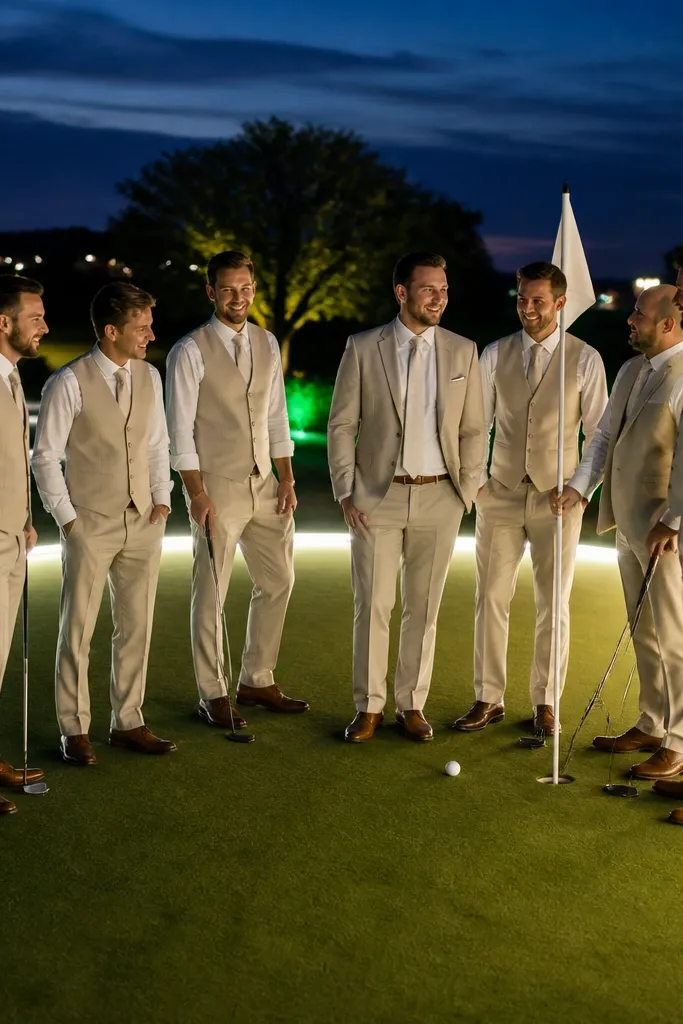
If you want the most photogenic vibe, do a dusk proposal with controlled lighting. A putting green with neon-style accents or LED edge lighting creates a high-contrast look that makes faces pop and keeps backgrounds clean. This is a great angle for year round because you can schedule it around early evenings in winter and it still looks intentional. Dress the crew in dark layers — black or charcoal — and add one small matching accent color in your props, like electric green or gold. The moment feels like a mini event without turning into a full party.
Start by booking a course or facility that offers night play or a lit putting green, then reserve a 45-60 minute window for the proposal and a short practice session. Then set a single LED sign on a tripod near the cup line and place your proposal cards or gift boxes at the edge of the green where they won’t get kicked. Finally, gather everyone for a group shot, then hand the cards out one at a time so the photos look orderly. Plan for about $20-60 for lighting props depending on what you buy versus rent, and keep the reveal within one hour.
Pick one accent color for the night — keep everything else neutral so the LED doesn’t turn the photos chaotic.
Skip reflective foil props; they blow out highlights under LEDs.
5. Clubhouse Window Steam-Print Proposal
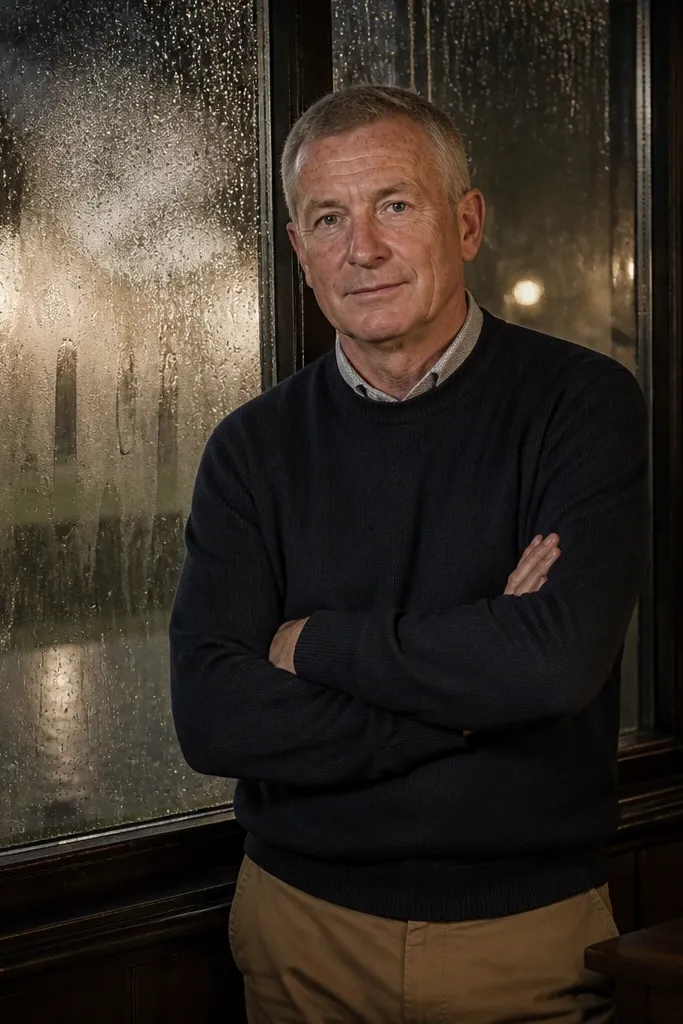
Start by contacting the clubhouse manager to confirm you can create a temporary message on a window (use a removable method) and choose a room with large glass panels. Then set up your gift stack on a small table in front of the window so the background message stays centered behind the group. Finally, run the reveal right after everyone steps into the room, then do one wide group photo and two close ones from the side. Keep the whole thing to 20-30 minutes so it doesn’t feel rushed between booking and play.
Indoor proposals can still look cinematic if you use the right surface. A steam-print style message on a clubhouse window creates a clean, readable graphic in the background while the men stand in the foreground. It’s especially good for winter and rainy seasons because you get consistent lighting and an easy place to gather without wind. The look is modern and photo-friendly, and it works for groups because everyone can face the window and still see the message. Pair it with simple gifts like golf tees or a mini bottle of hand sanitizer in matching wrappers to keep the setup tidy.
Skip thisDon’t block the window with too many props; the message should stay the background star.
Quick tipUse a high-contrast color for the message so it reads from across the room in photos.
6. Cart Tray "Groomsmen Tee Time" Boarding Pass
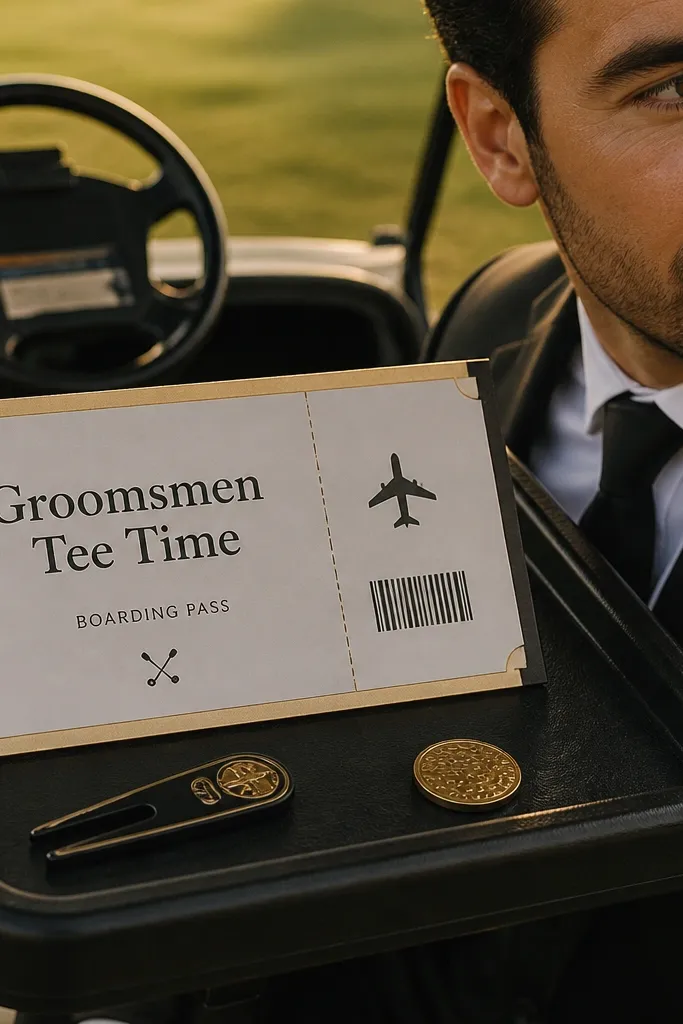
Start by designing cards that include a short message on the front and the question on the back: “Will you be my groomsman?” plus a date. Then attach each card to a golf tee holder or a small clip and place them in a neat row on the cart tray. Finally, hand the cards out right as the group boards the cart for hole one and take a photo with the cards visible before anyone opens them. Budget for printing and tees, and plan 10-15 minutes at the start.
Boarding-pass style cards look sharp and feel like a planned itinerary, which makes the proposal feel special without being cheesy. Put the cards on a golf cart tray or a small clipboard display so the layout looks graphic and clean in photos. This is a strong year round idea because it works in any season — the card aesthetic stays the same even if the course changes. Best for crews who like a “theme” but want it minimal. You can also add a QR code that links to a short itinerary for the proposal day, keeping everything organized.
Skip thisSkip handwritten cards for the question; printed text reads better and looks cleaner.
Quick tipUse a matte finish on the card so it doesn’t glare under clubhouse lights.
7. Par 3 "Team Flag" Photo Reveal
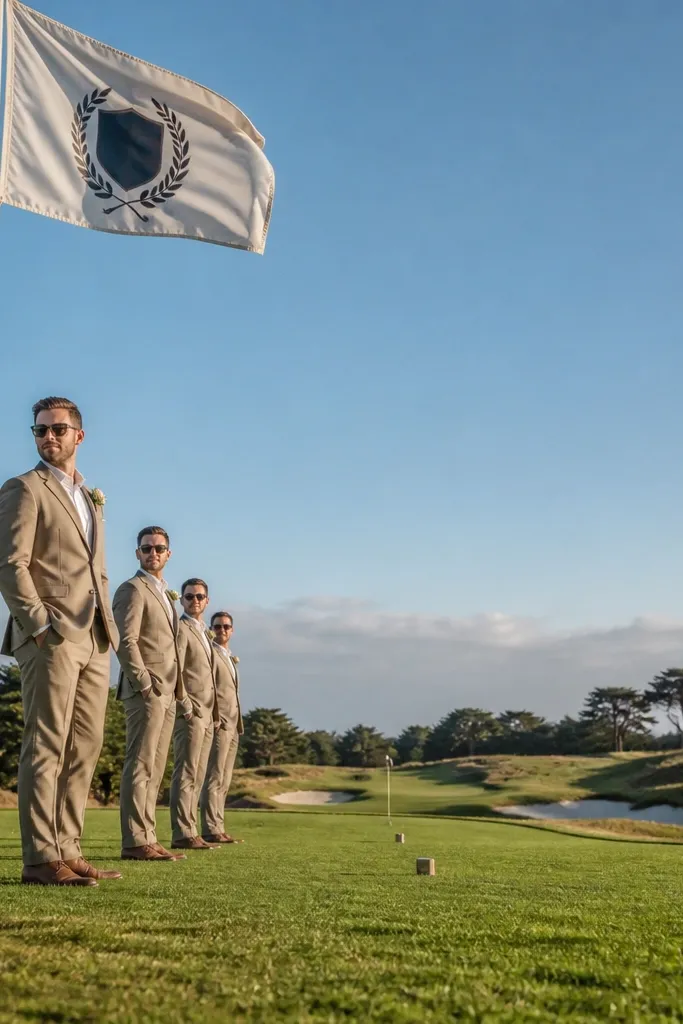
Start by buying or printing small custom flags and securing them to tee markers or a lightweight stand near the par 3 tee. Then place individual mini gifts (like branded ball markers) in a neat stack with a card on top that makes the question obvious. Finally, gather everyone at the tee for one photo, then hand the gifts out right after the group lines up for swings. Give yourself 25-35 minutes total for staging, photos, and the brief reveal.
Flags are pure golf. A custom “Team [Last Name]” flag at a par 3 gives you a perfect photo moment because everyone naturally lines up near the tee. This proposal reads instantly: the flag is the theme, then the cards or gifts confirm the ask. It’s one of the best year round Groomsmen Proposal ideas because par 3s are easy to play quickly and you can time the reveal right before they hit. Choose a course with a clean, uncluttered background behind the tee, like water or open fairway, so the flag stands out.
Skip thisDon’t use flags that look wrinkled or thin; they photograph cheap against manicured greens.
Quick tipPick a flag color that contrasts with the course — white or bright yellow reads best against green turf.
8. Towel Wrap "Groomsman Player Number"
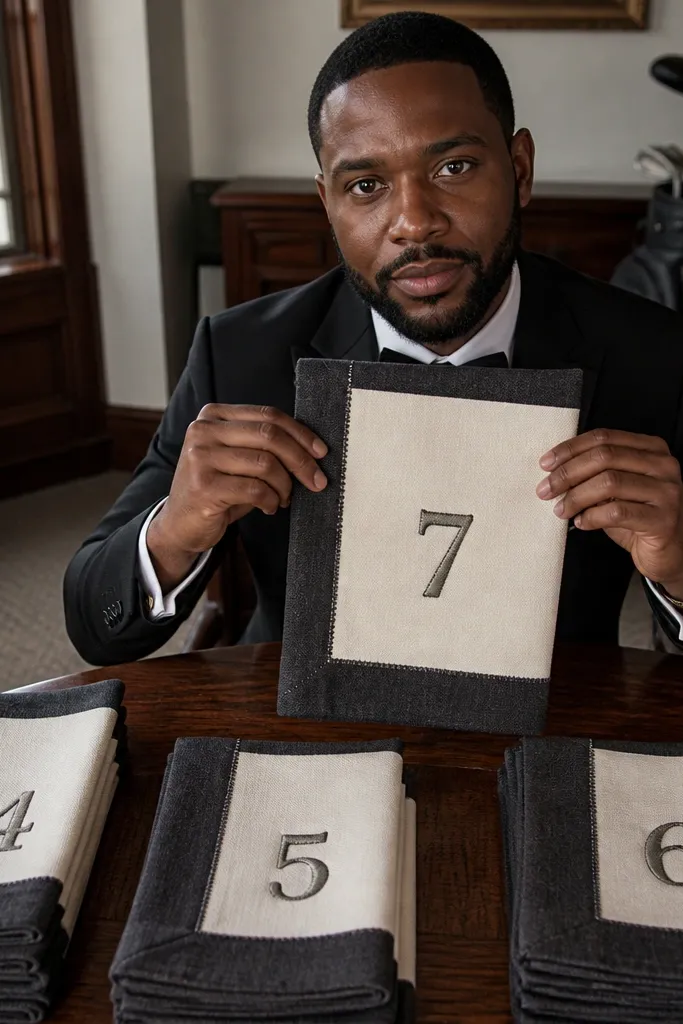
Start by ordering thick, absorbent towels in one base color with numbered tags in a contrasting color. Then fold each towel the same way and attach the proposal tag with a small clip so it looks intentional, not taped. Finally, set them on a table at the clubhouse and do the reveal before anyone starts warming up. Plan 20 minutes for the lineup and photos, and keep the rest of the meeting short so they get excited to play.
A towel wrap looks polished because it’s neat, uniform, and easy to photograph on a table or cart. Each groomsman gets a towel with their player number and the question tag attached to the fold. The visual payoff is strong because the towels create a clean grid of matching colors. This works year round since towels are useful in every season and you can stage them indoors in winter or on a covered patio in summer. It also feels like a “real golf kit,” which makes it land well with serious players.
Skip thisSkip thin, scratchy towels; they look flat and cheap in photos.
Quick tipUse a consistent fold style like a simple tri-fold so the tag sits centered every time.
9. Range Bucket "Yes or No" Ping-Pong Ball Reveal
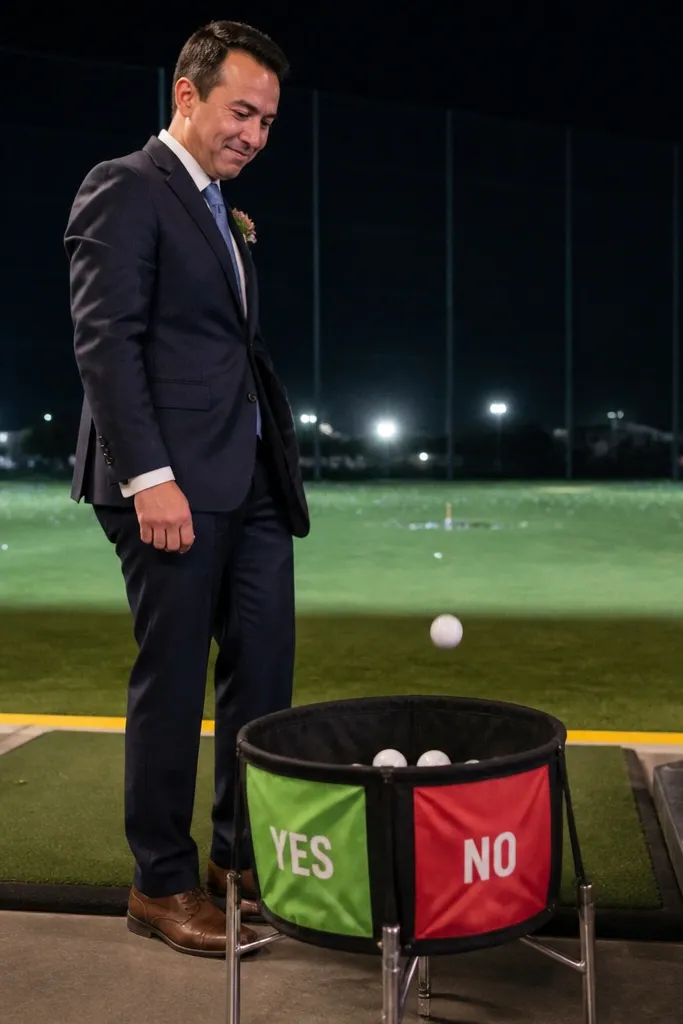
This one is playful and still looks organized. You set up a labeled bucket at the driving range — “YES” and “NO” — and each groomsman pulls a ball that reveals their proposal status. Then you follow immediately with the actual cards or gifts tied to the yes answer. It’s photogenic because the range has structured lines and the group naturally stands in a semi-circle. For year round proposals, it’s reliable because you can run it on a cloudy day or rainy week as long as the range is open.
Start by bringing a bucket or tray with two compartments and clearly printed labels that match your color theme. Then prepare one ball for each person — better if the ball color matches the theme, with the question printed on the card inside the wrapper attached to the ball. Finally, gather the group at the same point on the range, do the pull, and take photos before anyone starts swinging. Budget for printing and a small set of balls, and plan 15-20 minutes so the group doesn’t lose range time.
Choose a range with visible bays so the background stays clean and the group looks aligned.
Don’t do this too close to active swings; you want calm spacing for photos and safety.
10. Cart Bag Tag Reveal at the Turn
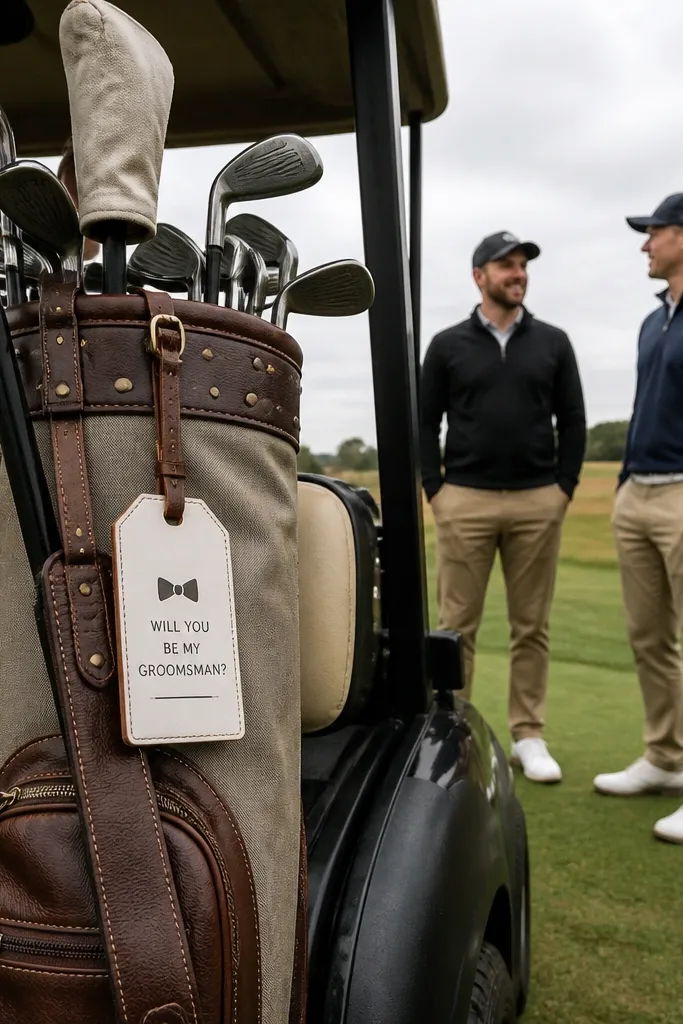
The turn is the perfect timing sweet spot: everyone is already grouped up, and the course energy is steady. Bag tags make the moment look like a real golf accessory, and they photograph well because they’re visible against bags and carts. For year round Groomsmen Proposal ideas, this works even in shoulder seasons because you can stage it in a covered area during rain and keep the look consistent. Choose a bag tag material that looks premium in daylight, like leatherette or thick rubber with clean typography. The reveal feels smooth because it doesn’t interrupt play — it fits the natural break.
Start by buying bag tags for each groomsman and attaching a small card or stamped message on the tag backing. Then arrange a quick staging spot near the clubhouse or cart return so you can hand them out in one visible lineup. Finally, at the turn, gather the group, do the reveal, and take photos right after they clip the tags on. Plan for 20 minutes at the turn so it doesn’t stretch into the next nine.
Use a consistent font and keep the message short; crowded tags look messy in photos.
Skip flimsy tags that curl or flap; they look sloppy and distract from the reveal.
11. Ball Marker "Hole-in-One" Name Plate
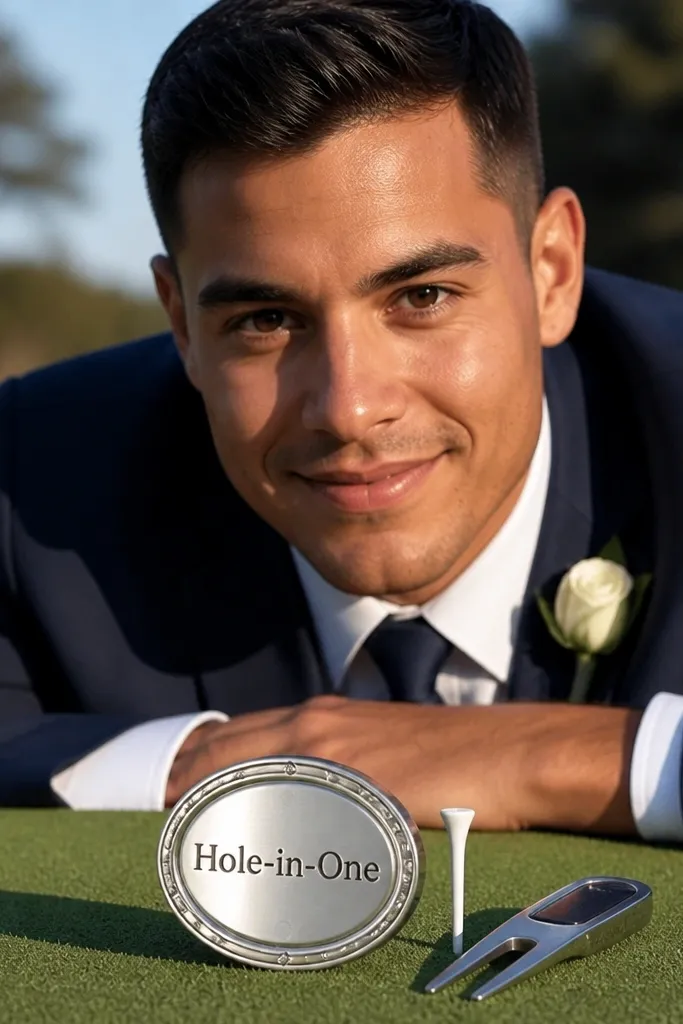
Ball markers are small, but they’re the exact kind of golf detail that looks intentional up close. You can propose with a named marker that includes the question on the back, then use the putting green as the stage. This is one of the best photogenic year round ideas because it creates a close, crisp look even when the background is busy. Put the group in a line at the edge of the green and hold the markers at chest height for clear photos. For winter and spring, the putting green often stays accessible and lets you keep the photo style consistent.
Start by ordering metal or thick acrylic ball markers with clean engraving and a back that reads “Will you be my groomsman?” with a date. Then set up a small display stand near the putting green with each marker in a separate slot so the lineup looks organized. Finally, hand them out after a group putt session begins, then take a set of photos from two angles: straight-on and a slight side angle for depth. Budget for markers and a stand, and plan 20-30 minutes total.
Engraving that’s crisp and high-contrast reads best in photos; avoid tiny text.
Don’t rely on paper inserts for the question; they wrinkle and look messy.
12. Clubhouse Bar Coaster Ask
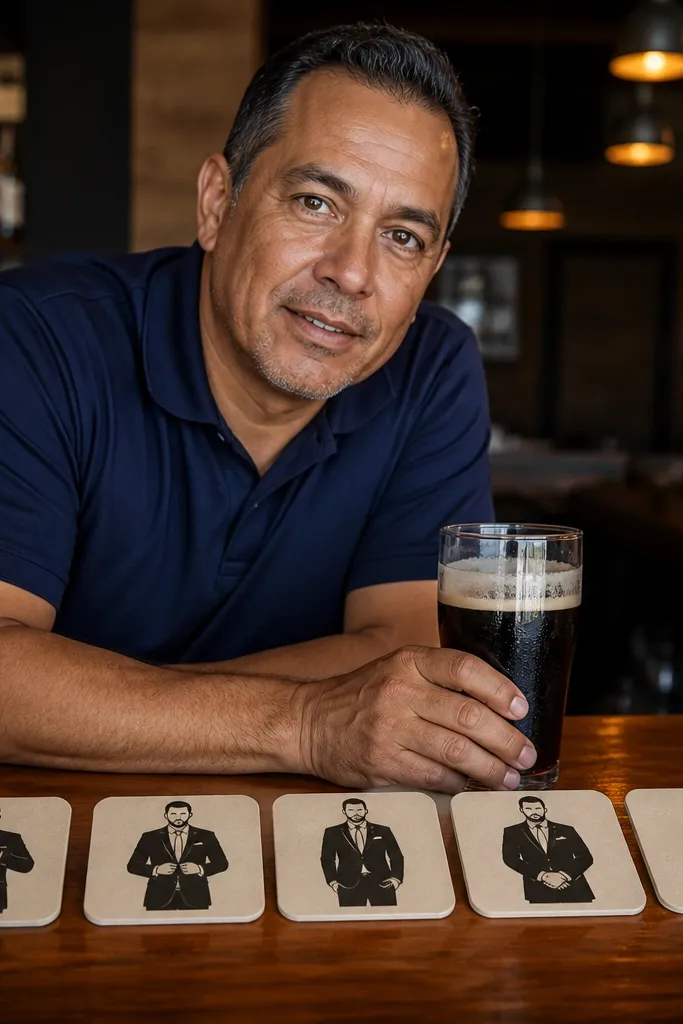
Start by ordering coasters with a bold front graphic and the question on the reverse so it’s readable when they flip or look down. Then bring the coasters in a stack with matching drink napkins or a small label so the table looks styled. Finally, place one coaster in front of each person right as they sit, and take a photo once everyone notices the question. Keep it to 30-45 minutes and plan it at a time when the bar isn’t packed so you can get clean shots.
This is a strong option for groomsmen who love the social side of golf. Coasters look clean on a bar surface and create a repeatable layout for a group photo. You can ask the question on each coaster and then do the reveal while the men grab drinks after the round or during a simulator session. The look is photogenic because bar lighting is flattering and the coasters add a graphic moment without needing big props. It works year round because you’re indoors, and you can keep the same design across seasons.
Skip thisDon’t put the question in faint ink; bar lighting kills low-contrast text.
Quick tipChoose a coaster design that doesn’t blend into the bar surface; white or light backgrounds read best.
13. Winter Pod Simulator Proposal with Score Overlay

Start by booking simulator time for your group and ask if you can display a custom message on the screen or via the in-room projector. Then prepare matching shirts or outer layers in two colors so the group looks cohesive against the dark simulator room. Finally, run the proposal right after the first mini-game ends, when everyone is looking at the screen, then take photos with the overlay visible. Plan about 60-90 minutes total including the proposal and a couple of quick shots, and budget for simulator booking plus a small gift.
When weather gets ugly, indoor simulators look better than outdoor scrambling. A simulator screen gives you a big, clean background and a built-in moment to reveal the ask on a simple overlay. This is a smart year round Groomsmen Proposal idea because it keeps the vibe consistent in winter, and it still looks polished in summer on rainy days. The aesthetic is modern: dark flooring, tech lighting, and your crew in coordinated layers. You can also time it right after they finish one short game so the reveal feels like a fun “next level” moment.
Skip thisSkip overly complicated overlays; keep text short so it stays readable in motion.
Quick tipBring a small physical prop too, like a card holder, so the proposal feels real even if the screen misses a photo.
14. Sunset Cart Photo with Monogram Umbrella
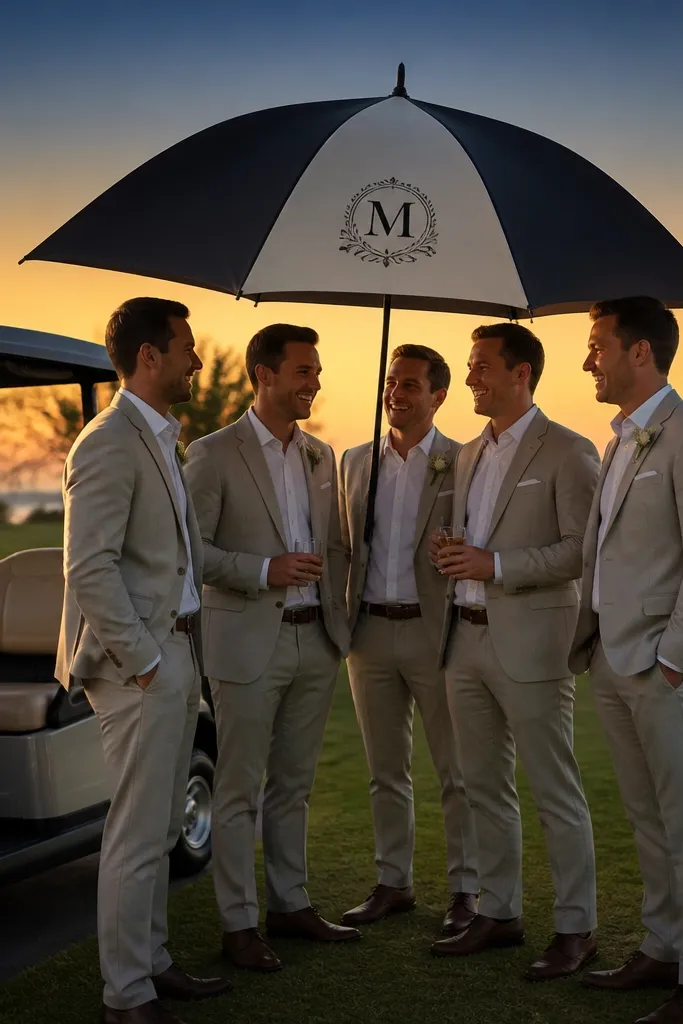
Start by selecting a course with open views for sunset and booking a tee time that lets you finish near the clubhouse around 60-90 minutes before dusk. Then stage the umbrella on the cart or beside the cart so it frames the group during the reveal. Finally, take your main photo, then hand out the proposal cards or gifts right after the shot so the moment stays connected to the visual. Expect costs for printing or buying the umbrella plus your gifts, and plan 20 minutes for photos at the end.
Sunset gives you the best color for photos, but umbrellas can make it look messy if they’re random. A monogram umbrella — one consistent logo, clean colors — looks intentional and gives you a strong silhouette at dusk. This proposal is great for year round because you can schedule it for golden hour in summer and early afternoon in fall when the sun still warms the scene. The cart adds structure, and the umbrella creates a focal point that reads well in group pictures. Pair it with simple gifts in a matching color, like golf towels or ball markers, to keep the look tight.
Skip thisDon’t use a crowded pattern umbrella; it pulls attention off faces and the proposal.
Quick tipChoose one umbrella color that complements your outfit palette; navy and cream are reliable.
15. Clubhouse Mantel "Crew Tee" Box Opening
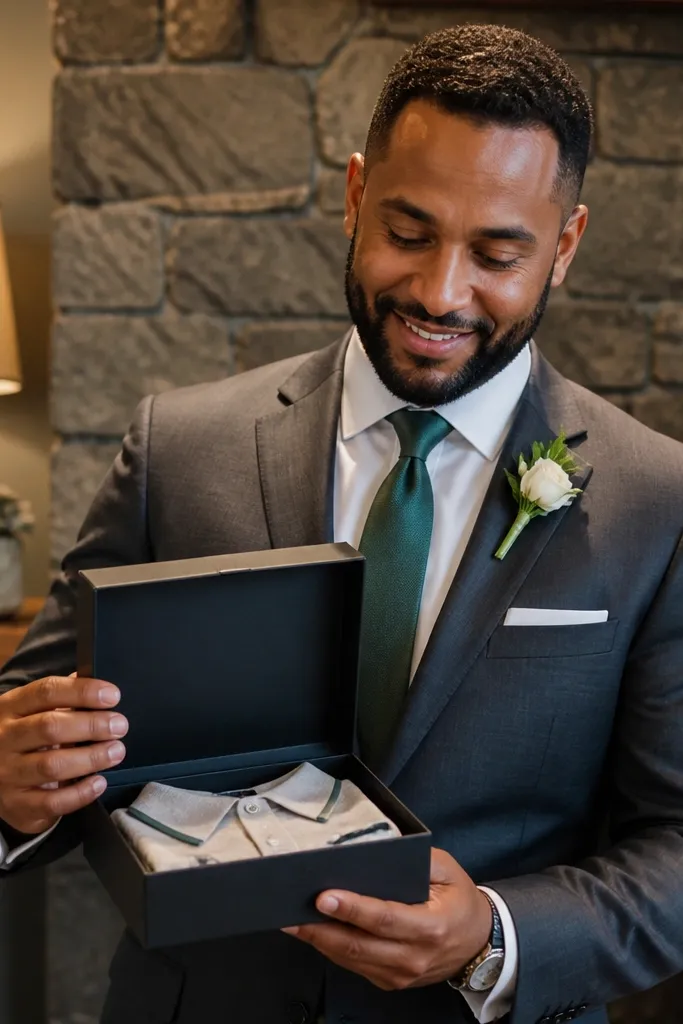
A gift box opening looks great when the background is clean. The clubhouse mantel or a simple shelf with minimal decor makes a tidy stage where the box becomes the hero object. The proposal is easy: each groomsman opens a box, reads the note, then gets the “crew tee” or golf accessory inside. This is a strong year round idea because mantels and indoor displays are consistent across seasons, and the lighting is usually warm. If your crew cares about aesthetics, this delivers because the setup looks like a styled moment, not a random handout.
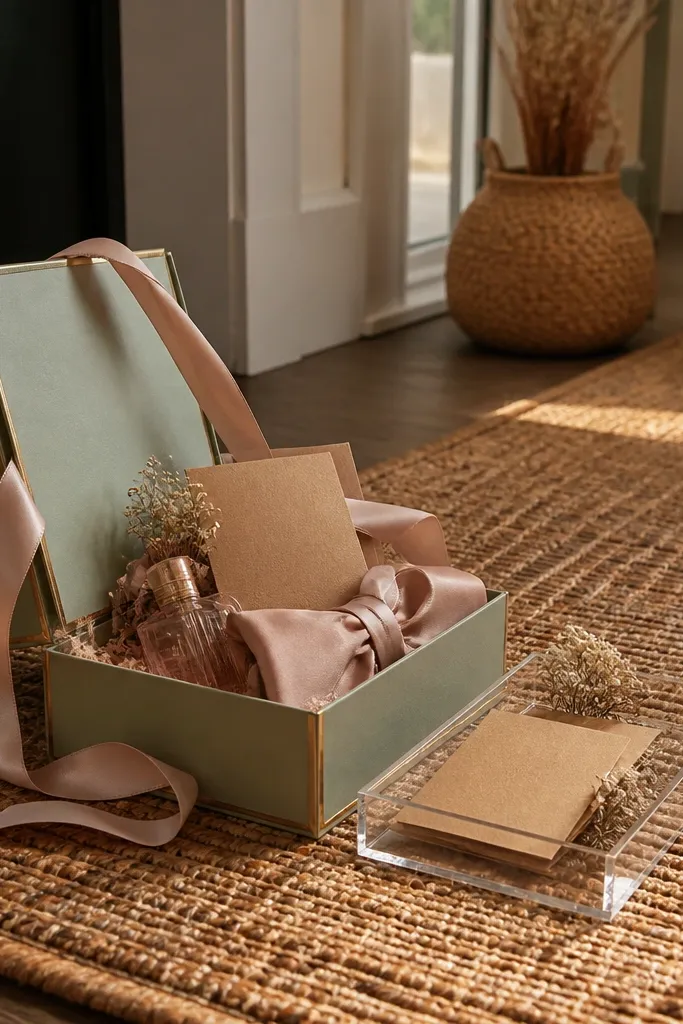
Start by ordering a set of matching gift boxes in one color and packing each with a golf tee set, a ball marker, and a printed question card on top. Then place the boxes in a neat row on the mantel so the lineup is visible before anyone touches them. Finally, gather the group, do one wide photo, and then open boxes one person at a time to keep the reveal readable. Plan 25-40 minutes, including photos and opening time, and bring a small trash bag so the area stays clean.
Use tissue paper in one color only; mixed paper patterns ruin the clean look.
Avoid complicated box inserts that fall apart; you want the opening to look smooth.