1. Gold-edged "You're in" passport-style card set
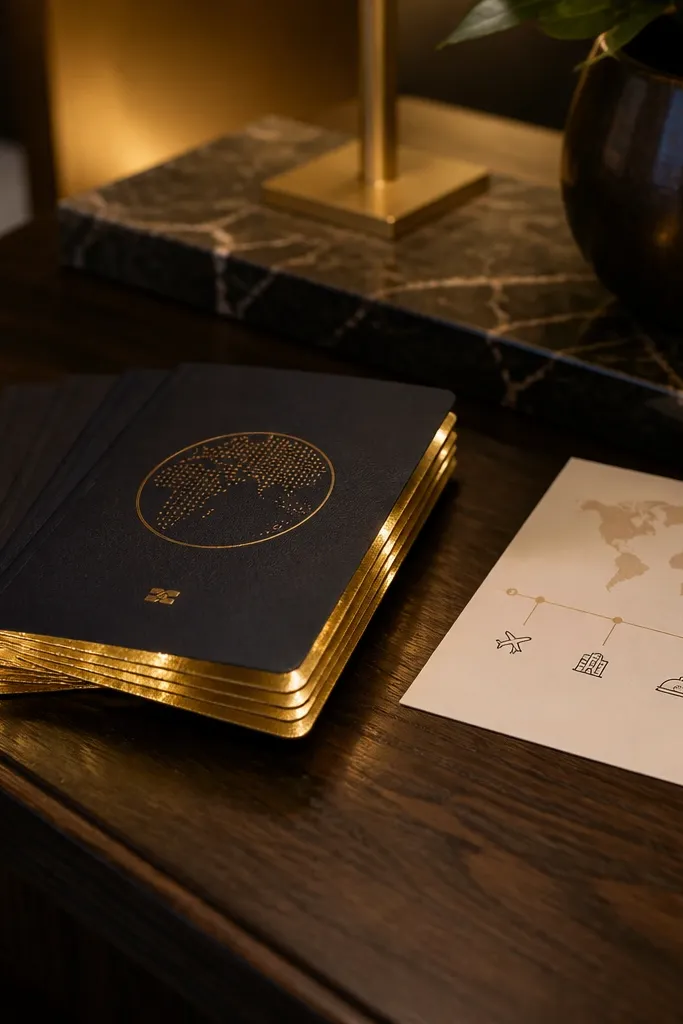
This is the proposal that reads instantly as “trip energy” without looking cheesy. The passport shape gives you built-in structure, and the gold edge catches light in every photo, even under warm indoor lighting. Each groomsman gets a front page with his name and a tiny icon that matches your destination theme — think palm tree, skyline, or coordinates. It works best for group gifting because you can repeat the same layout and swap only names and one icon. The best time to use it is right before travel, when everyone is already in a packing mindset and the card feels like part of the plan.
Start by cutting cardstock into a passport booklet size (about 4 x 6 inches closed) and adding a gold metallic edge tape to the outer sides. Then print or hand-letter a single-page “You’re in” front with a name tab and a destination icon in the corner, keeping text to one line. Finally, slide a folded “itinerary teaser” note inside (2-4 sentences max) and tie the booklet shut with a 6-inch ribbon strip. Cost is low because you’re using cardstock and tape, and assembly takes about 45-75 minutes per person if you batch-cut. Pack them flat in a folder so the edges stay crisp.
Quick tipUse gold edge tape instead of painting — it looks cleaner and doesn’t rub off as easily.
Skip thisDon’t add multiple glitter materials; it clumps and looks messy in close-up photos.
2. Mini "wedding weekend" map sleeve with coordinates bookmark
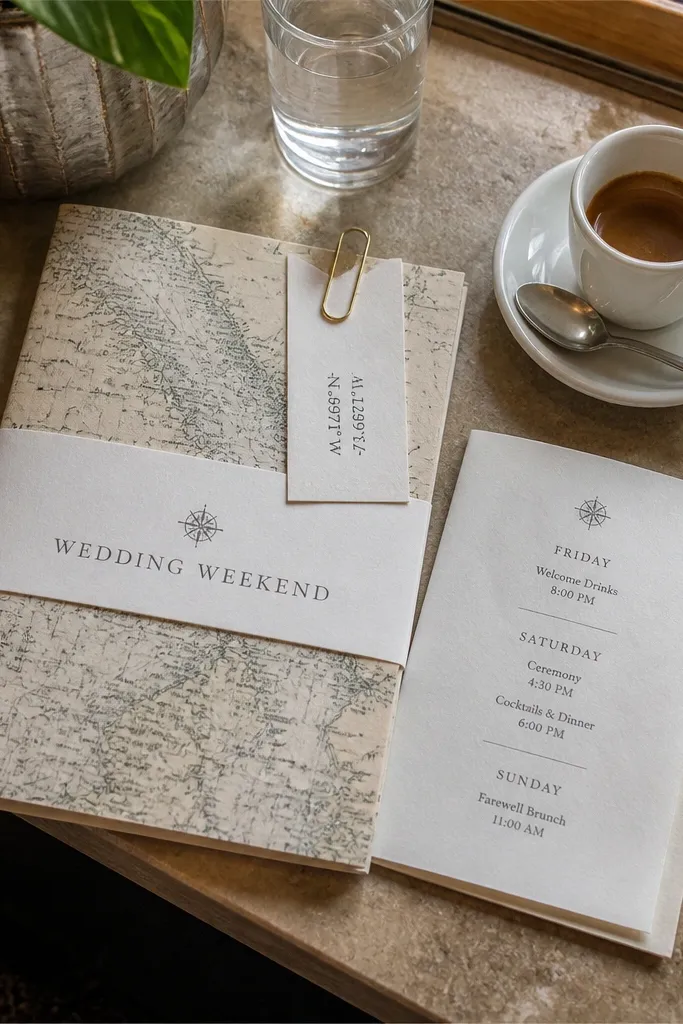
This idea is worth it when you want the proposal to feel specific to your weekend plans. A map sleeve is visually interesting, and the coordinates bookmark gives a satisfying “found it” moment when they open it. You can make the map area match where you’ll meet for photos, dinner, or the ceremony — so it looks intentional, not random. It’s also easy to repeat across groomsmen without everyone receiving the same exact thing; just change the bookmark name line and keep the map style consistent. This works well in spring and summer because it pairs nicely with lighter paper tones and clean travel photos.
Start by printing a simple black-and-white map (or a stylized screenshot) cropped to your key meeting point, then mount it on a 5 x 8 inch cardstock sleeve. Cut a bookmark (about 2 x 6 inches) and add the coordinates and their name in a single block of text. Then slip the bookmark into the sleeve with a thin strip of tissue paper so it slides out smoothly. You can assemble 6 sleeves in one sitting by cutting all bookmarks first and then stacking. Expect $15-30 for supplies depending on paper quality, and plan 2-3 hours total if you batch-print.
Print the map in grayscale and keep the text dark gray, not black — it looks softer on camera.
Skip full-color maps; they can look chaotic and reduce readability in photos.
3. Dried-flower sprig + "clink" bottle tag proposal
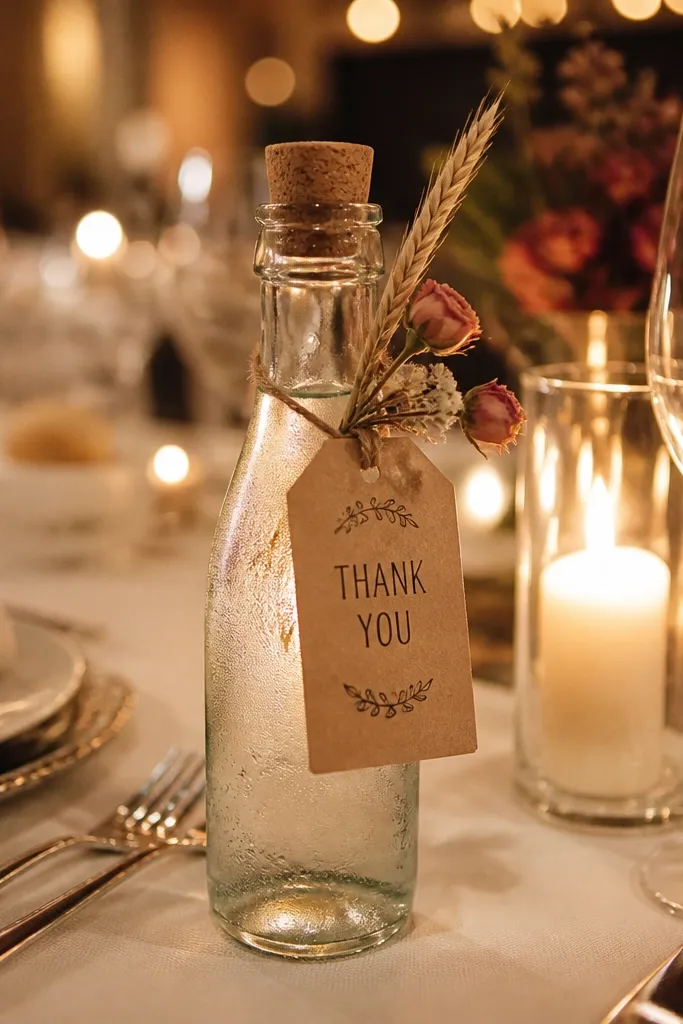
If you want proposals that photograph like a styled dinner, this is it. The dried-flower sprig gives texture and a warm, natural look, while the bottle tag reads clearly even from across the table. You can attach the tag to a small mini bottle of sparkling water, soda, or a travel-friendly spirit — and it still looks elevated without needing fancy packaging. This is a great choice for a “first hang” night, when you want the groomsmen to open their gift right away. It’s especially photogenic in golden-hour light because the paper and petals catch warm highlights.
Start by writing a short tag message on thick cardstock (about 2 x 4 inches), like “To the crew. Clink — you’re in.” Punch a hole and thread a 4-6 inch ribbon through it. Then tie the dried sprig to the ribbon knot so it sits near the top of the bottle label area. Finally, add a second tiny card on the back with a meeting time/date for your weekend plan. This takes about 20-35 minutes per bottle once you have tags cut. Costs stay reasonable, and you can pack bottles safely in a box with paper cushioning.
Quick tipUse flat dried flowers (thin sprigs) instead of bulky arrangements so the tag stays neat in photos.
Skip thisDon’t use fresh flowers; they wilt fast and look sad in a photo sequence.
4. Monogram patch iron-on tote tag proposal
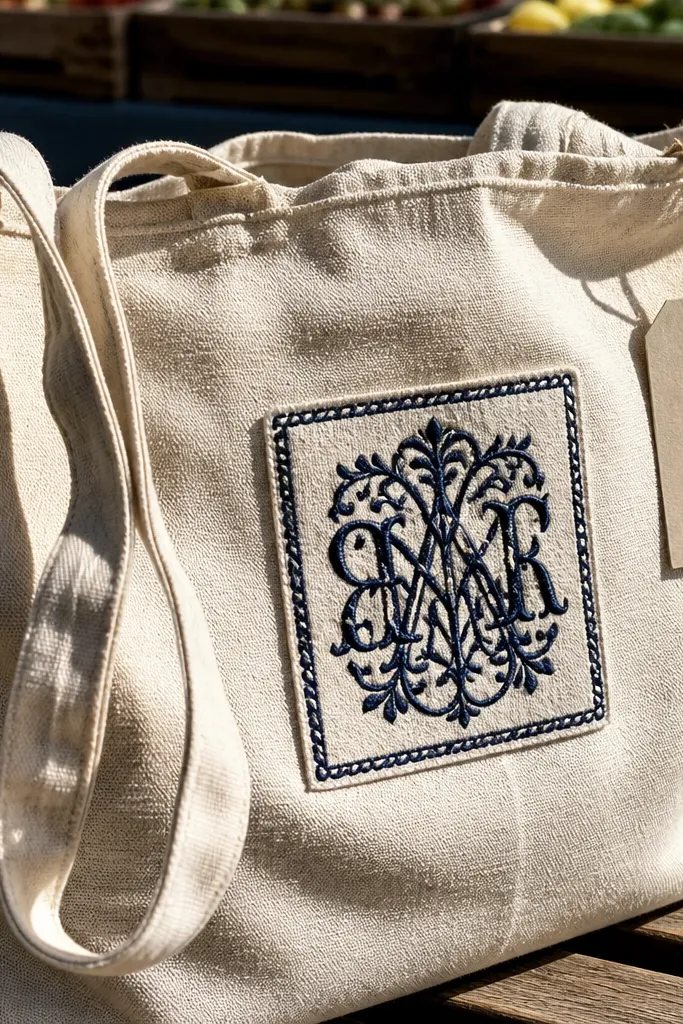
This is a “wear it on the trip” proposal that looks good immediately. A small monogram patch on a tote bag is simple, but the texture shows up in photos and feels personal without being overly sentimental. The tote also solves a practical problem: everyone needs a bag for shoes, toiletries, or a day plan. It’s worth it when you’re going somewhere with street photos or casual dinners because the tote becomes part of the outfit. Best seasons are late spring through fall when people actually use totes outside and you get more outdoor shots.
Start with a blank canvas tote and position a small patch centered on the front (about 2 inches wide). Iron it on using a medium heat setting with a thin cloth barrier, then let it cool flat for 10 minutes. Next, tie a cardstock tag to the tote handle with a satin ribbon and write “You’re in for [destination]” plus the date. Finally, tuck a small folded note inside the tote with one RSVP detail so they have something to read right away. Assembly is 45-70 minutes total for one person if you iron carefully. Budget $20-40 per tote depending on size and print quality.
Quick tipChoose patches with a clean border; they look sharper in close-up and won’t blur on camera.
Skip thisDon’t use thin adhesive-backed patches that peel — they look cheap by day two.
5. Black tie-ish mini frame with "Will you stand with me?"
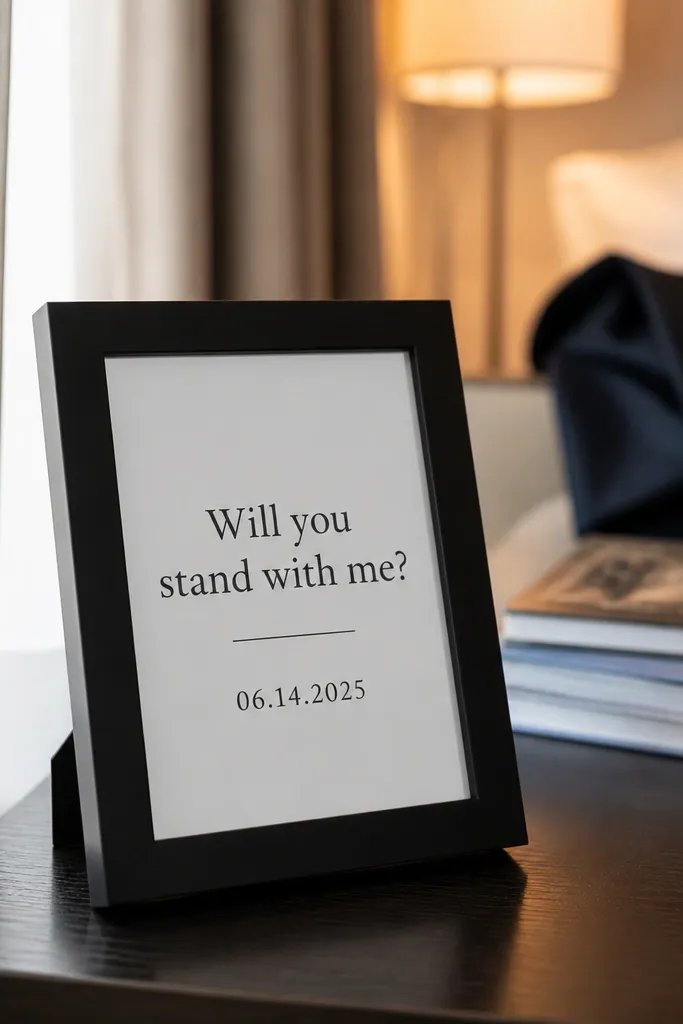
A mini frame looks expensive because it has a display-ready structure. It also makes the proposal feel ceremonial, which fits groomsmen energy without needing an actual suit moment. Put a simple typographic design inside: “Will you stand with me?” and their name, plus a date line. The frame keeps the paper flat, so it photographs clean on a desk, coffee table, or restaurant table. This works best for winter and indoor gifting because the dark tones and crisp lettering read well under warm lighting.
Start by printing your text on thick paper (at least 200gsm) sized to your mini frame opening, then test-fit before final cutting. Insert the print into the frame and close it; keep everything centered with a ruler so it looks intentional. Then wrap the frame in tissue and add a ribbon band around the middle with a short tag that repeats “You’re in.” If you want extra travel ease, use frames that have a clip closure and lie flat in a bag. Plan 30-45 minutes per frame for printing and assembly. Costs are higher than paper-only ideas, but the visual payoff is strong.
Use dark charcoal paper with white lettering for a high-contrast photo look.
Skip busy fonts; readability beats style for a proposal photo.
6. Cigar band style card with "Crew leader" strip
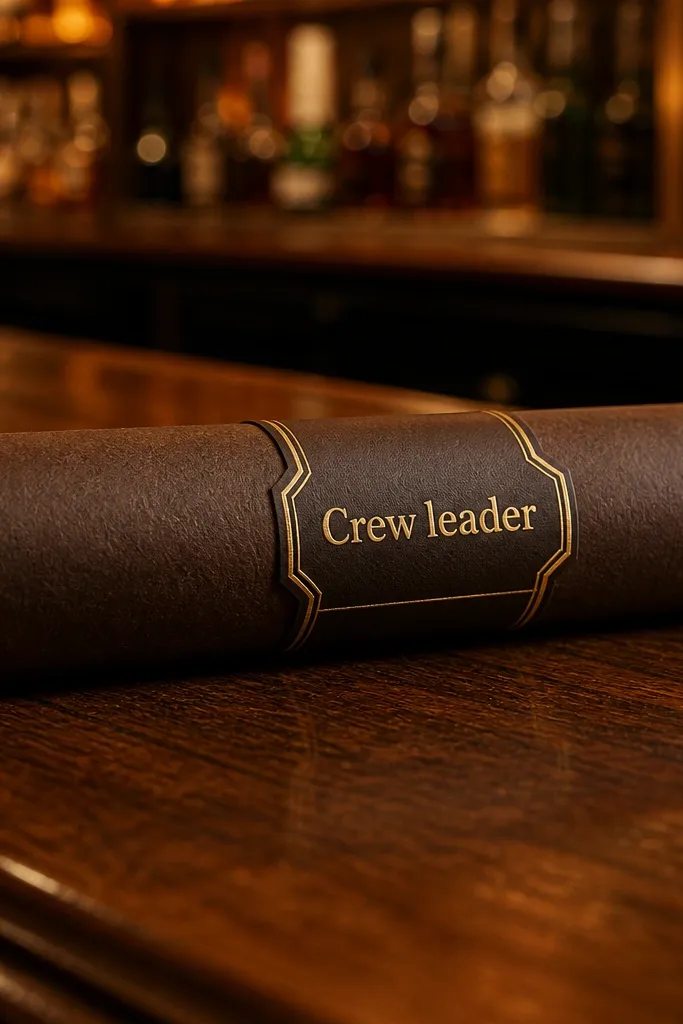
This one is funny, stylish, and very photogenic because it borrows the look of cigar bands. You’re basically creating a “label moment” that reads like a premium product, which is exactly what makes it feel worth it. The card is rolled so it has a clean silhouette, and the band label gives you a bold focal point. It’s a great fit if you want a proposal that feels more playful than formal. Best time is late afternoon when you get better side-light on the rolled edges.
Start by cutting card stock into a rectangle that wraps around a pencil or dowel (aim for about 3.5-4 inches tall). Roll it tightly, then secure with a tiny dot of double-sided tape on the inside seam. Next, make a band label (about 1.5 inches tall) with their name and “Crew leader” or “Stand with me” in a single bold line. Finally, add a small ribbon tie and a micro card inside the roll with your weekend date. Assembly takes 20-30 minutes per person once you have band templates. Budget $10-20 total for paper, tape, and ribbon.
Quick tipUse matte cardstock for the band label; it avoids glare and looks crisp on camera.
Skip thisDon’t oversize the roll; thick rolls cast shadows that make the text harder to read.
7. "Flight-ready" luggage tag + boarding pass mini card
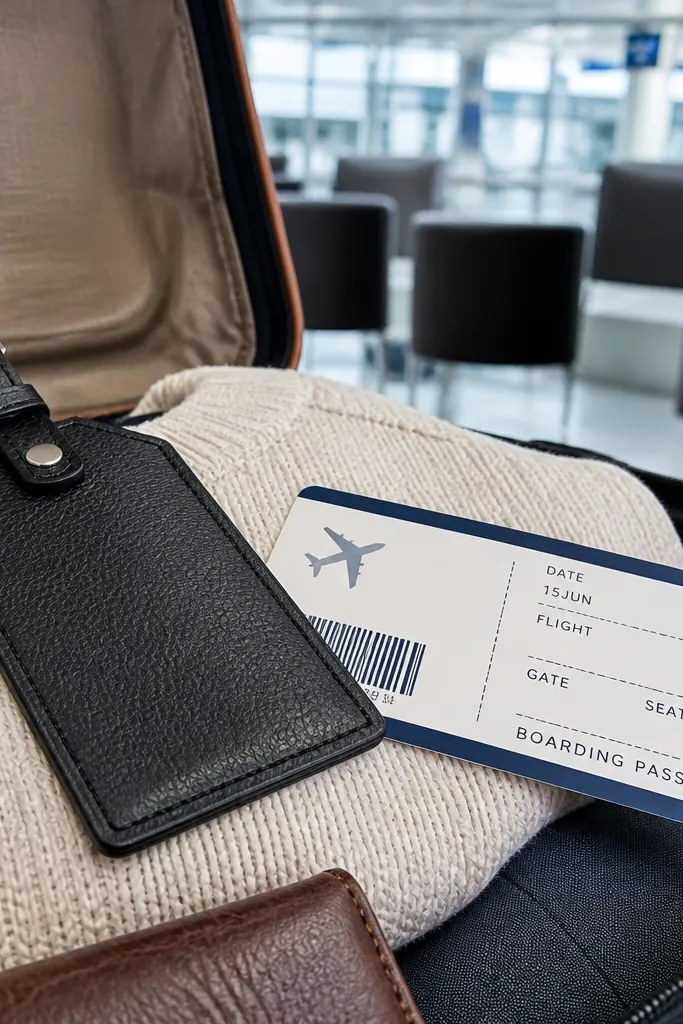
This is the best vs worth it choice when your groomsmen proposals happen during travel. A luggage tag instantly signals “we’re going somewhere,” and the boarding pass card makes it feel like a real ticket. The best part is how easy it is to photograph: tag on a bag, pass in hand, date visible. It also keeps your message short and clear, which is what looks good in photos. If you’re planning a weekend trip, this idea ties the proposal to the trip plan without extra explanation.
Start by buying blank luggage tags and printing a label insert for each groomsman (about 4 x 2.5 inches). Add their name and a short line like “Gate to the wedding weekend: [date]” plus a meeting location. Then cut a boarding pass-style mini card (about 3.5 x 2 inches) with a perforation effect using a scoring tool. Finally, slide the boarding pass card into a clear sleeve on the tag or tuck it under the tag strap. Plan 20-40 minutes per person if you batch-print inserts. Costs are moderate, and you already get something useful for the trip.
Quick tipUse bold black text on off-white paper so it stays readable in motion shots.
Skip thisAvoid glossy inserts; they reflect overhead lighting and wash out the text.
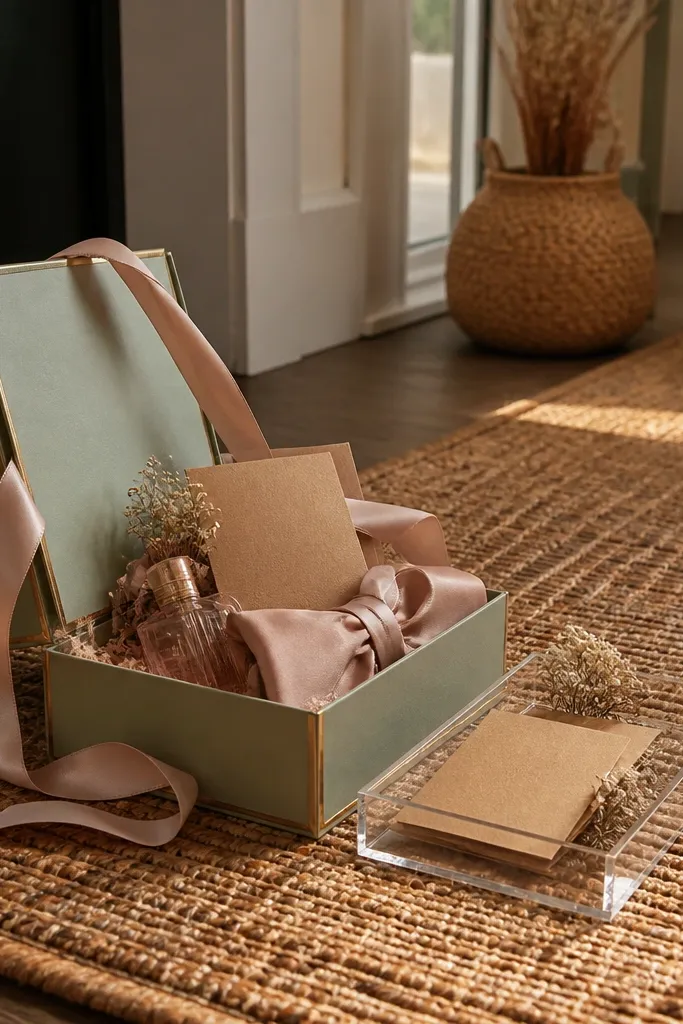
8. Satin ribbon wrapped "stand with me" gift box
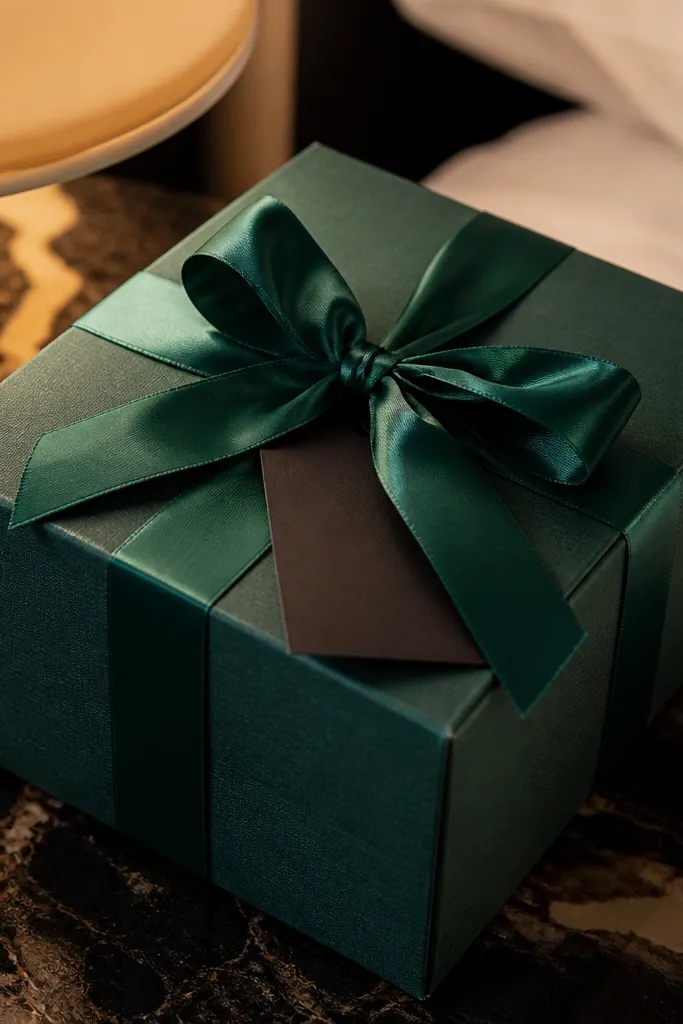
Gift boxes look premium because they create a reveal. The satin ribbon makes the proposal look styled, and you can pick a color that matches your wedding palette. Keep the inside simple: one folded letter, one tiny keepsake, and a single line of destination detail. This is worth it when you want the proposal to feel like a moment, not just a note. It photographs well from overhead and from table-level angles, especially if the ribbon sits neatly and the tag is centered.
Start by choosing small boxes that are easy to close flat in a bag (about 6 x 4 x 2 inches). Wrap each box with a pre-cut satin ribbon strip and secure it with double-sided tape under the ribbon seam. Then attach a cardstock tag that reads “Stand with me” and their name in one line. Finally, place a folded letter inside with 3 bullets max: where you’ll meet, when, and what to bring (like “dark jeans” or “comfortable shoes”). Assembly is 45-60 minutes per person if you batch-cut tags. Budget $25-60 depending on box quality and ribbon width.
Use a thick cardstock tag (at least 250gsm) so it doesn’t bend when you tie the ribbon.
Skip too-small tags; they look cramped and unreadable in photos.
9. Beer label style "You're in" sticker sheet
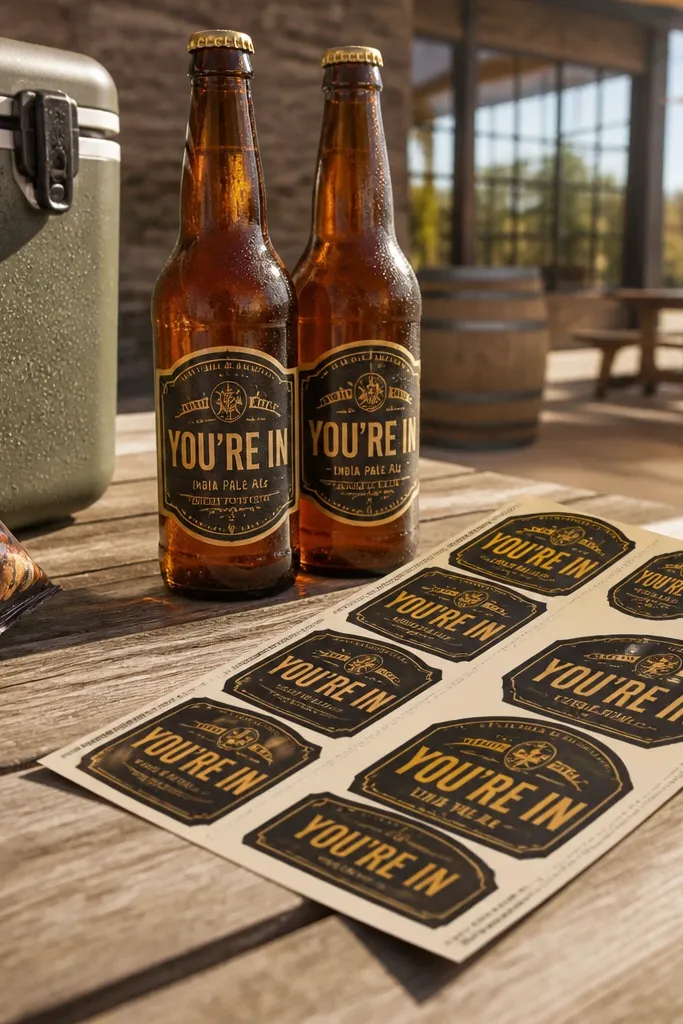
If you want a proposal that’s funny and still polished, label-style stickers are the move. They let you decorate bottles, snack bags, or mini coolers, and the look stays consistent across a group. The “beer label” format is naturally graphic, so it photographs clean even when you slap it on a bag or bottle. This fits groomsmen who like practical gifts and casual weekends. It’s best for summer trips and outdoor hangouts because the labels pop against coolers and glass.
Start by designing a sticker with their name, “You’re in,” and a date line in a single layout. Print on sticker paper and cut clean edges with a craft blade (straight cuts matter here). Then stick one label on a mini bottle or snack bag and place a matching mini card on top of the gift pile. Finally, add a second label to a small envelope that holds their weekend note. You can make 8-10 sticker sets from one print run, so assembly is fast after design. Expect $15-25 in printing supplies for a small batch.
Quick tipUse a matte sticker finish — it avoids glare from bottle reflections.
Skip thisDon’t use tiny fonts; sticker edges shrink on camera and the message becomes unreadable.
10. Fabric bandana proposal kit with embroidered-style text
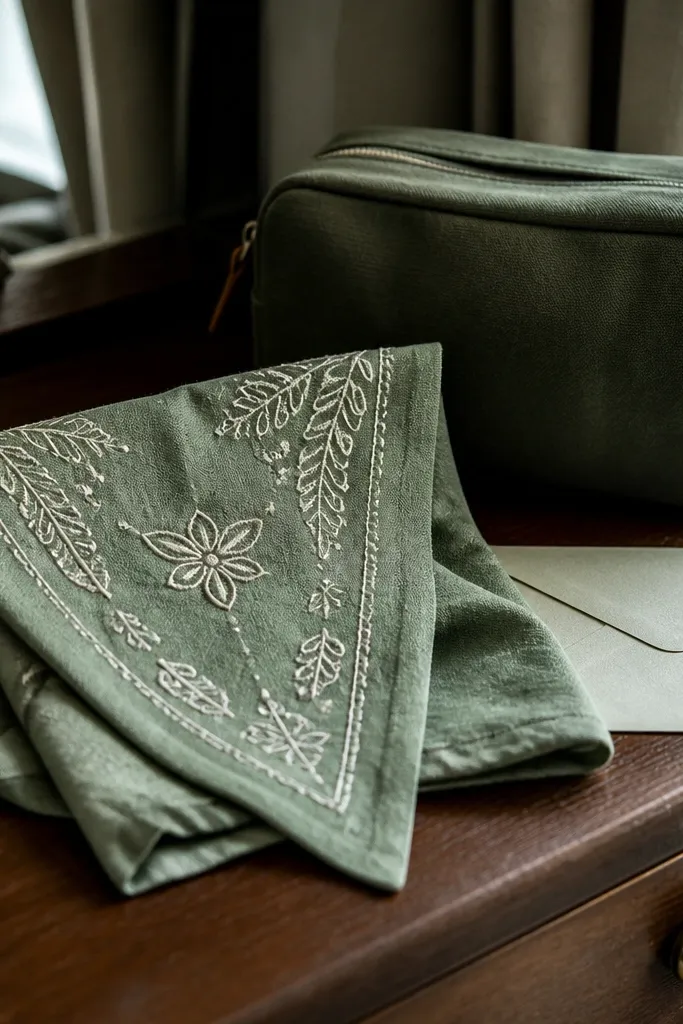
A bandana is one of the most photogenic DIY groomsmen gifts because it adds color to outfits instantly. You can make the text look embroidered by using iron-on transfer vinyl, and the fabric texture shows up in close shots. It also works for travel because it folds small and doesn’t crush easily. This is worth it when your weekend has casual dinners, sightseeing, or beach plans where you’ll see the bandana in photos. Summer and early fall are best since the bandana looks right in warm-weather outfits.
Start by buying solid-color bandanas (black, cream, or navy) and ironing on a simple one-line transfer like “Crew” or “Stand with me.” Then fold each bandana into a neat rectangle and place it in a clear sleeve or small paper bag. Add a tie-on tag to the bag with the groomsman’s name and your date. Finally, include a tiny note that tells them how you want them to wear it for a specific moment (like “night dinner photo”). Assembly is 30-50 minutes per person depending on your pressing time. Budget $12-30 per kit depending on bandana quality and transfer paper.
Quick tipPick a bandana color that contrasts with your wedding palette — contrast reads best in photos.
Skip thisDon’t choose a transfer design with thin lines; they peel or fade faster on fabric.
11. Polaroid-style photo frame card with fake caption strip
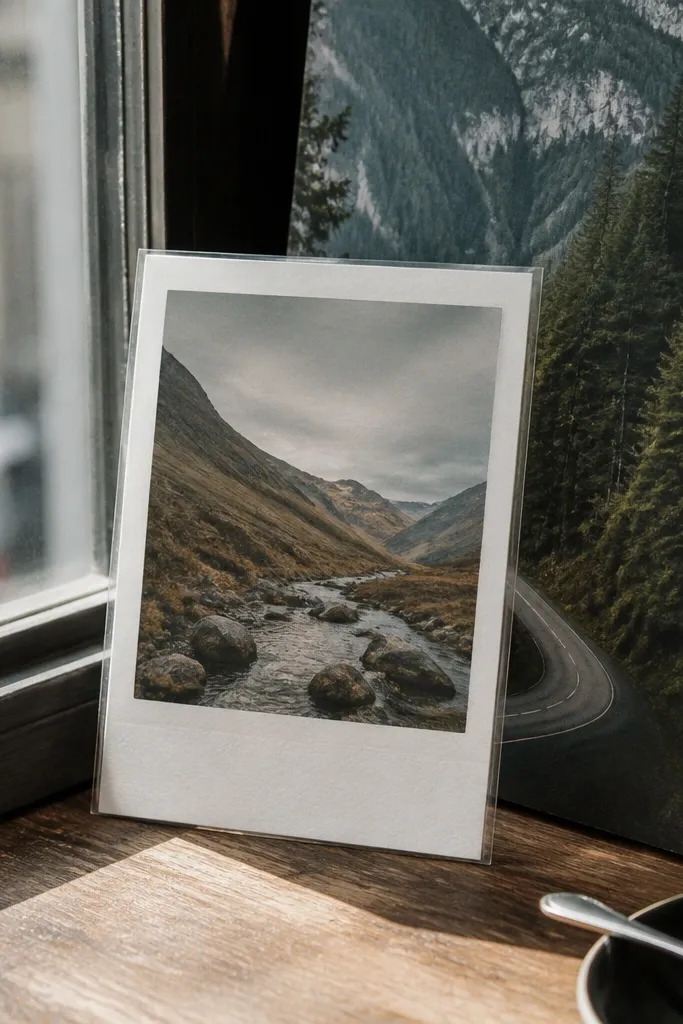
This is the “aesthetic” pick when you want the proposal to look like a keepsake instantly. The faux polaroid layout has built-in margins and a caption strip, so the design looks styled even if you keep the text minimal. It’s also easy to photograph because it holds flat and has a recognizable frame shape. Use it best for a destination weekend where you can later snap a real photo with them and swap it into the frame style. Best seasons are all-year, but it shines in overcast days because the card doesn’t glare.
Start by printing a polaroid-style card on thick paper with a caption strip at the bottom that includes their name and “You’re in.” Add a small destination icon in the top corner to tie it to your trip. Then cut the card to a polaroid ratio (around 3.5 x 4.5 inches) and mount it on a second sheet for a crisp border. Finally, place it into a clear photo sleeve or a mini frame envelope so it looks finished when gifted. Assembly takes 25-40 minutes per person once you have the print file. Costs are low since you’re using paper and sleeves.
Make the caption strip a slightly darker gray than the rest of the card; it adds depth without color chaos.
Skip reflective laminations; they create glare that ruins the polaroid look.
12. Candle matchbook proposal with a scent + date card
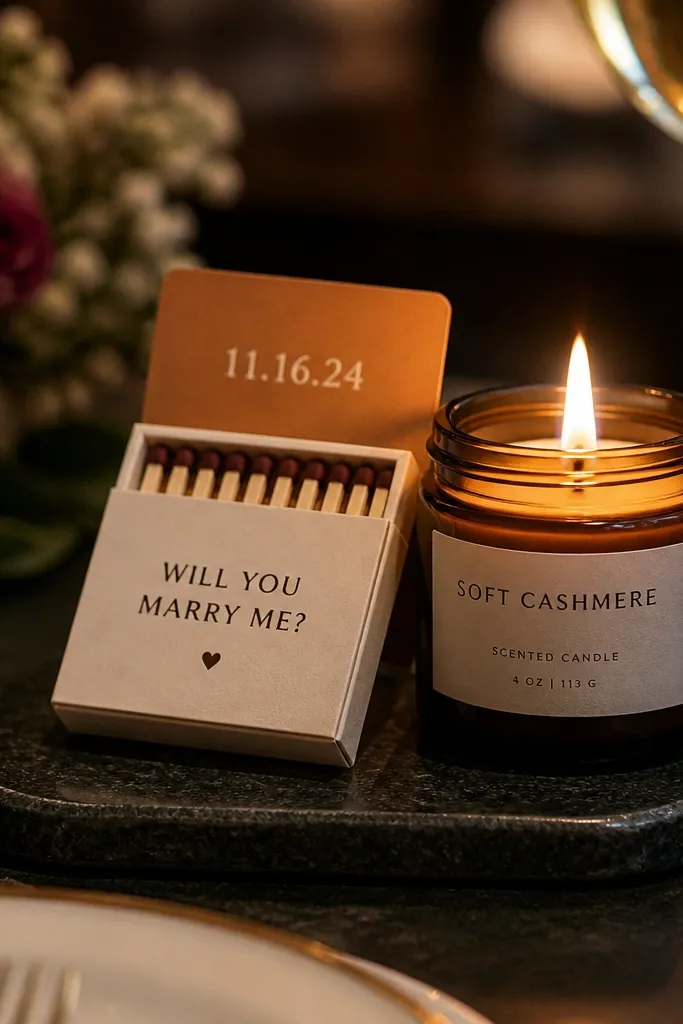
This one is for groomsmen who enjoy a cozy vibe and clean design. A matchbook has great photo shape, and the candle-scent label gives you a sensory detail even if you keep everything DIY. The date card inside keeps the proposal practical, so you’re not just gifting a prop. It’s worth it when you’re doing a dinner night or a quiet hotel hang, because the matchbook sits nicely on tables and looks intentional in lifestyle shots. Winter and rainy-season weekends are the sweet spot.
Start by writing your message on a slim date card (about 2.5 x 3.5 inches) and choosing one scent note to include, like cedar or citrus. Then buy plain matchbooks or small match boxes and attach a label sticker to the front with their name. Finally, tuck the date card into the matchbook sleeve and add a small ribbon or tissue wrap around it. Assembly takes 15-25 minutes per person if you batch label stickers. Budget $10-25 per kit depending on matchbook style and how nice you go on labels.
Quick tipUse a matte label and keep the message to two lines so it reads instantly.
Skip thisDon’t use too much fragrance; it can overpower and make the gift feel off in enclosed spaces.
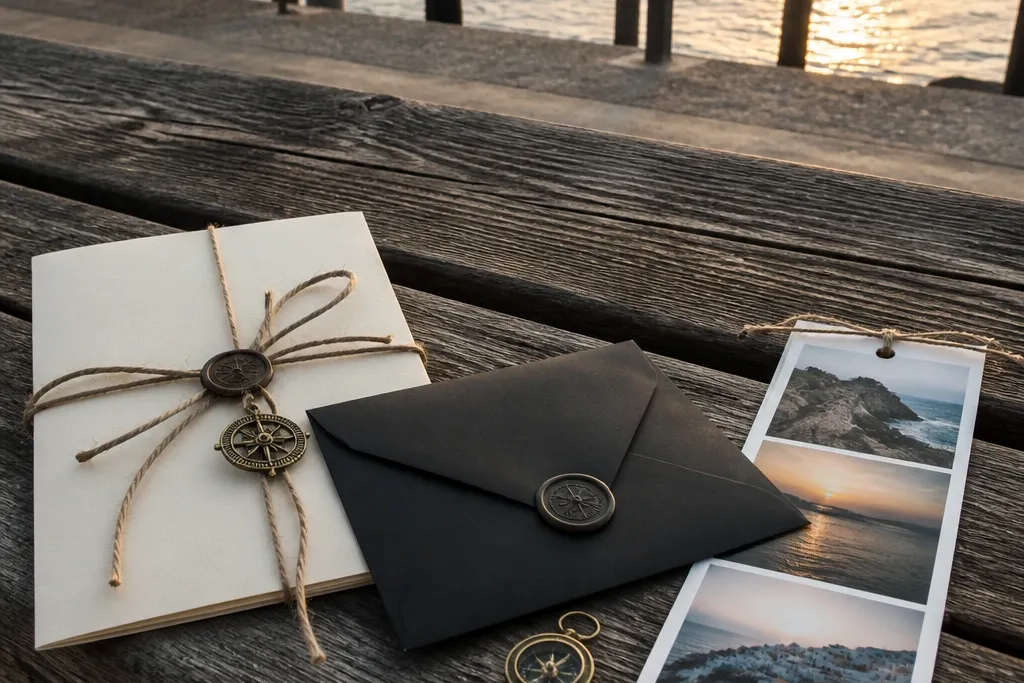
13. Destination postcard stack with wax-seal style stickers
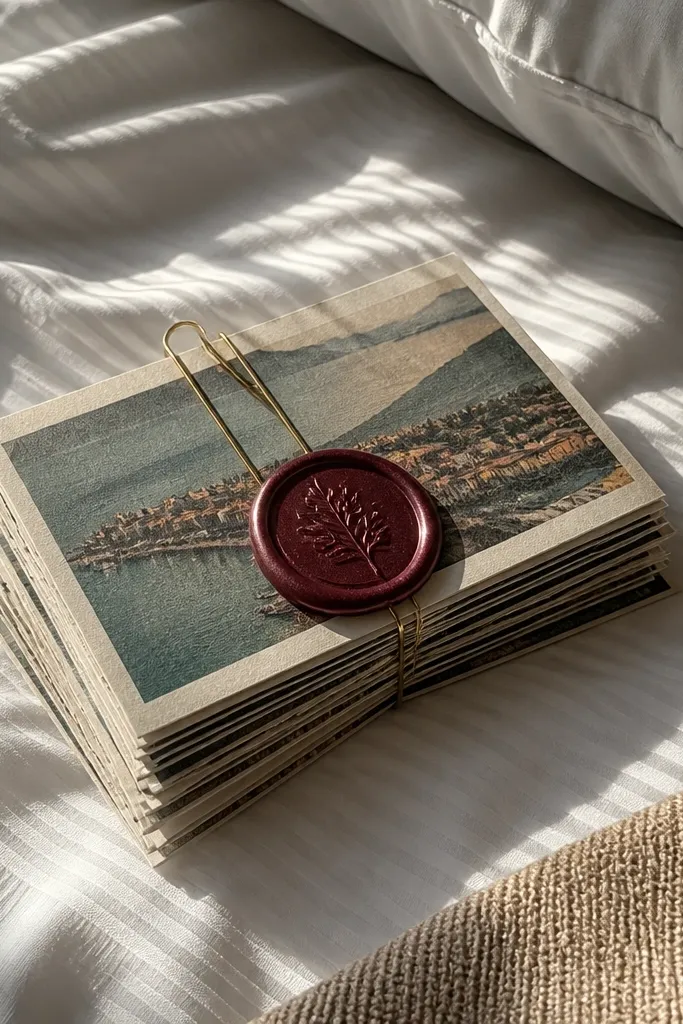
Postcard stacks look great because they create a layered, travel-authentic feel. A wax-seal style sticker adds a premium focal point without you needing real sealing wax. Each groomsman gets his own postcard front with a clear name and a simple “You’re in” line, plus a back that holds a short message. This is worth it when you want the proposals to feel like part of the trip story. It’s especially photogenic in bright daylight — think café tables, hotel lobbies, and outdoor patios.
Start by printing destination postcards on thick paper (postcard size, about 4 x 6 inches) with a consistent design and one icon or landmark. Then add a wax-seal style sticker on the front where you’d normally put a stamp, and write the groomsman’s name next to it. Next, fold or trim the back message so it’s one short paragraph, not a letter. Finally, stack the postcards with a belly band ribbon that matches your accent color palette. Plan 1-2 hours total for a batch of 6-8 if you print and cut once. Costs are low, and you get something that feels like souvenirs.
Quick tipUse cream paper and black ink; color postcards with neon accents look messy in photos.
Skip thisSkip long messages; postcards look best with short, punchy text.
14. "Groomsmen photo day" outfit card + mini color swatch
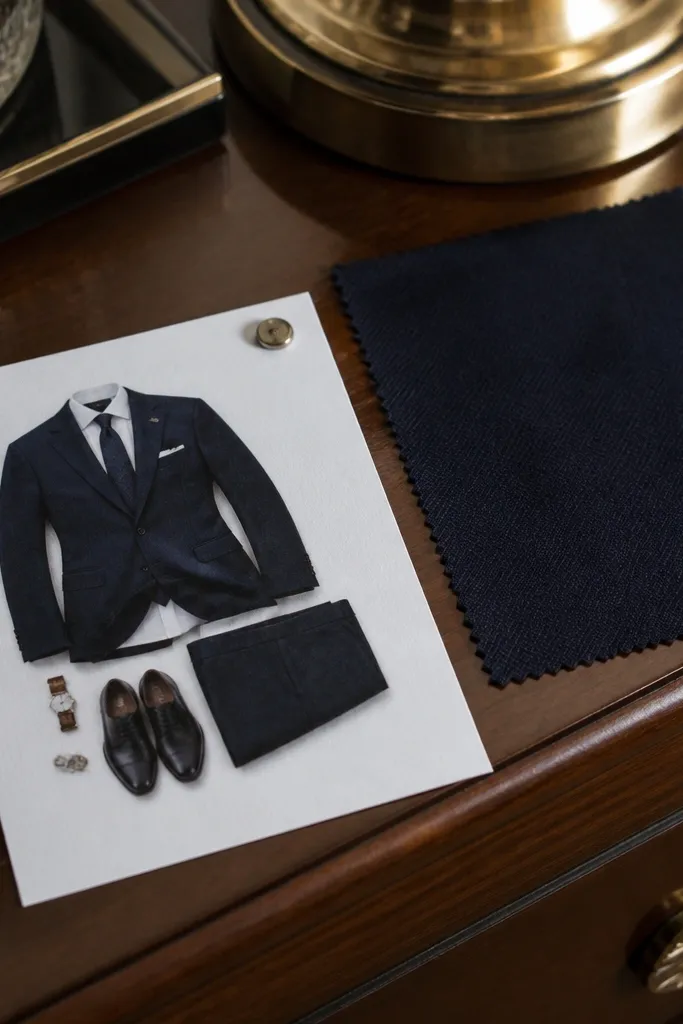
This idea is worth it when you want the proposal to look sharp and also solve outfit coordination. The card tells them what to wear for a specific photo moment, and the tiny fabric swatch makes the visual direction clear. It’s aesthetic because it looks like a styled wardrobe note, not a random instruction sheet. Choose one accent color swatch tied to your wedding palette — like a deep green, warm tan, or navy — and keep the rest neutral. It’s best during months when you can plan outfits ahead and get photos in consistent lighting.
Start by printing an outfit card on thick paper with a simple layout: photo moment, time, and the exact color guidance (example: “dark denim or charcoal jeans, brown boots, black/white top”). Then attach a mini fabric swatch using a clear tape hinge or a small fabric glue dot on the back of the swatch. Finally, fold the card into thirds and place it inside a clear sleeve so it stays crisp. Add a tag on the outside that says “You’re in” and their name. Assembly is 30-60 minutes per person if you cut swatches in advance. Budget $8-20 total per person depending on how premium you go on fabric.
Quick tipPick swatches from a single fabric source so the color matches across all groomsmen sets.
Skip thisDon’t use fabric swatches that fray — fraying looks messy in close-ups.
15. Hotel keycard holder with "check in for the crew" note
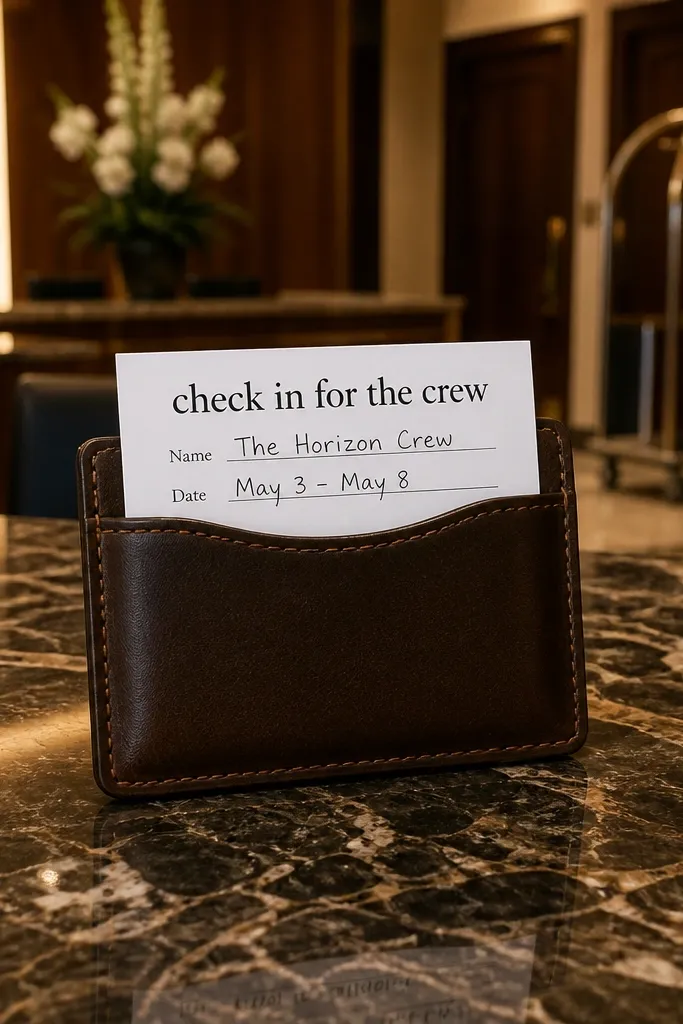
This one is pure travel aesthetics. A keycard holder is already designed to be carried and displayed, and your note becomes the readable focal point. It’s worth it when you’re staying in hotels because the gift feels instantly relevant and practical. Keep the design minimal: one line for their name, one line for the date, and one icon that matches your destination. The look is clean and modern, and it photographs well in hotel lobbies and room shots. Best time is when you’re doing a group check-in or arriving early.
Start by buying simple keycard holders and cutting a small insert card (about 3 x 2 inches) for each groomsman. Print or write “Check in for the crew” plus their name and the main meeting time. Then slide the insert into the keycard holder and wrap a ribbon band around the top with a small tag that says “You’re in.” Finally, tuck a mini instruction note behind the insert that tells them what to bring for the first photo. Assembly takes 15-25 minutes per person once inserts are cut. Costs are moderate, but the holder is reusable.
Quick tipUse thick inserts so they don’t bend and blur in photos when held at an angle.
Skip thisDon’t cram multiple lines of text; keycard holders show only a small portion clearly.