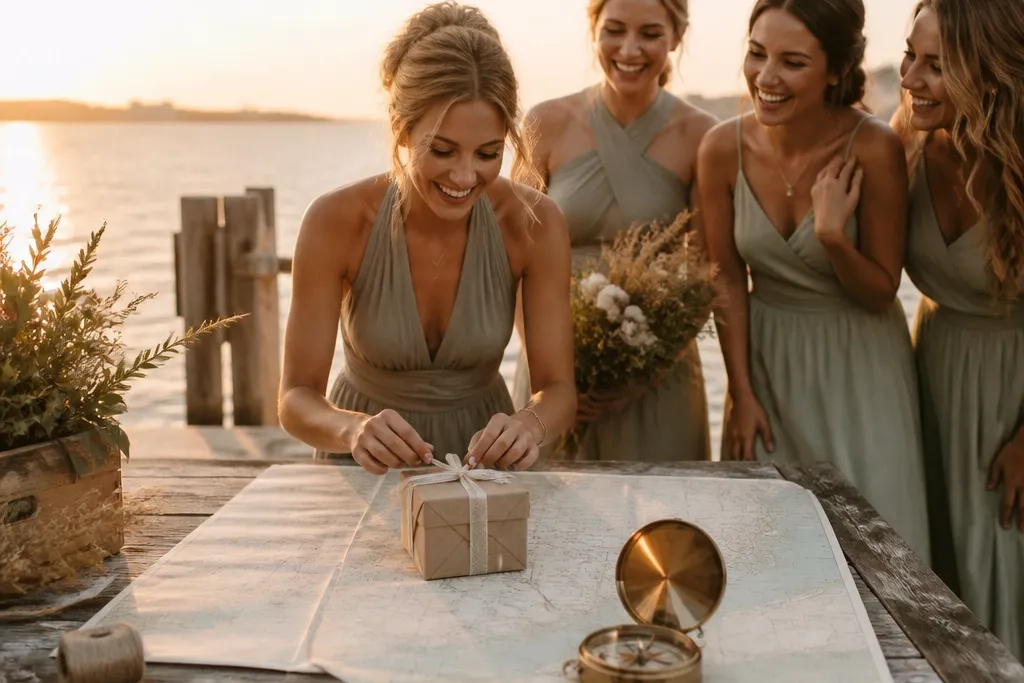
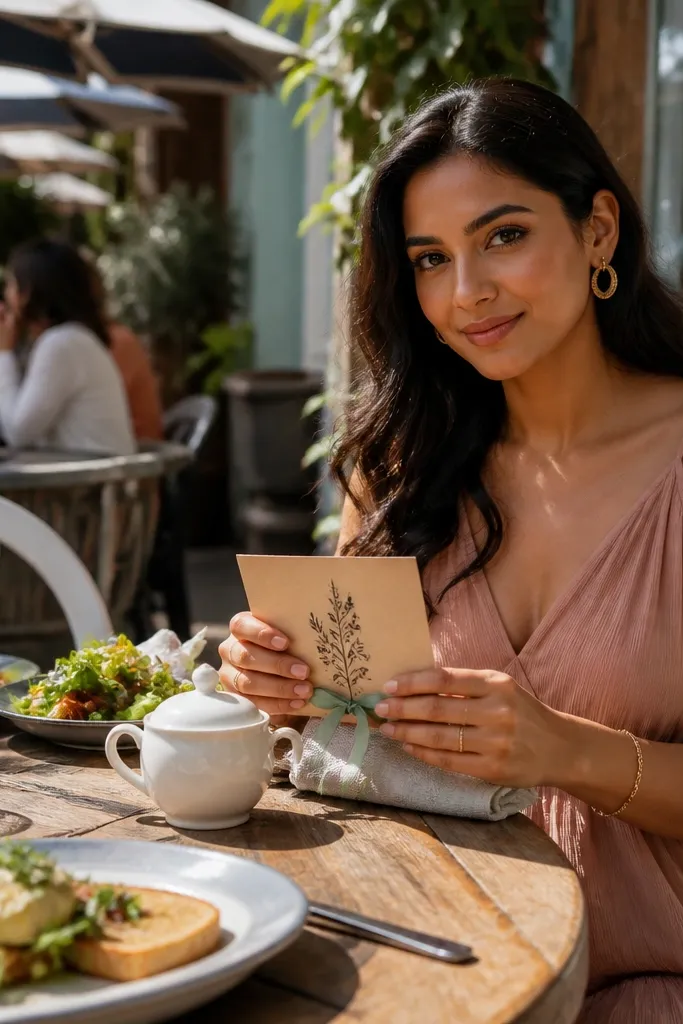
1. Sunset Ferry Reveal with a Mini Map Sleeve
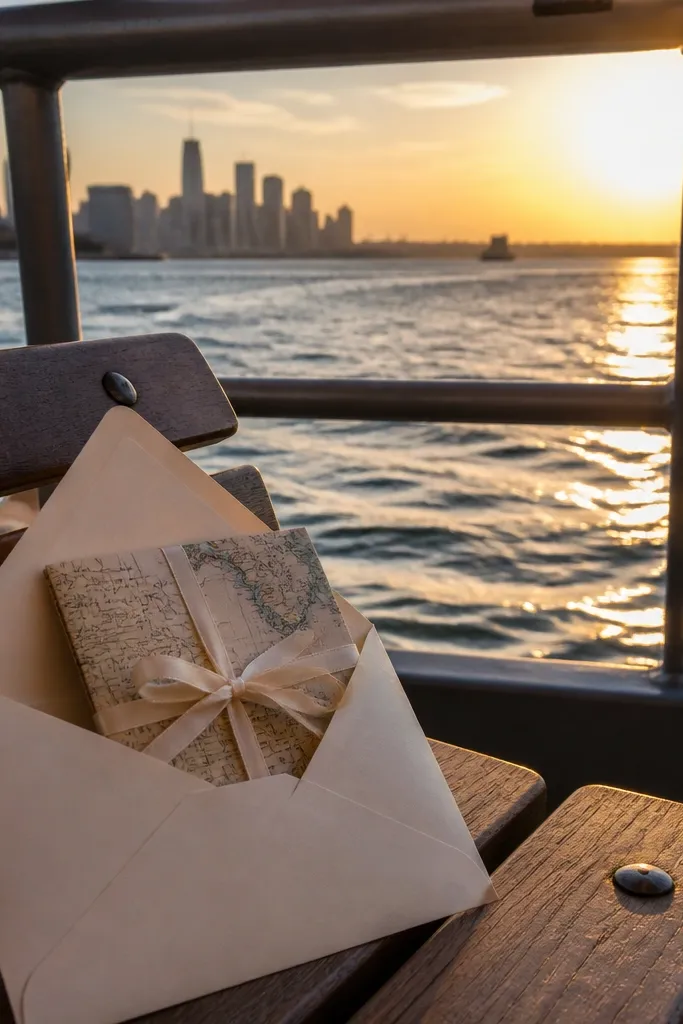
This works because ferries create natural framing — the water line gives you clean composition and the sunset makes skin tones look better in photos. You’re not asking them to “guess what it is,” you’re giving them a tiny artifact that matches the trip. Put the proposal inside a folded map sleeve tied with a ribbon color that matches your wedding palette. The moment lands best when you hand it over right as the ferry pulls away, so the background is already glowing.
Start by choosing a route with a scenic water view and a predictable departure time. Then mail or pack the map sleeves in advance, so you can hand them over the moment they board. Finally, schedule your photo window for 10 minutes around sunset — arrive early, find a spot with an open view, and keep the sleeve closed until you’re ready to shoot. Cost is usually low because you’re paying for ferry tickets, not a venue.
Quick tipBring a small clip-on fan or hand towel — wind on ferries smears lipstick and makes paper corners curl.
Skip thisDon’t pick a ferry that docks behind tall buildings; the reveal needs sky and water in the frame.
2. Rainy-Day Conservatory Proposal with a Hanging Glass Jar
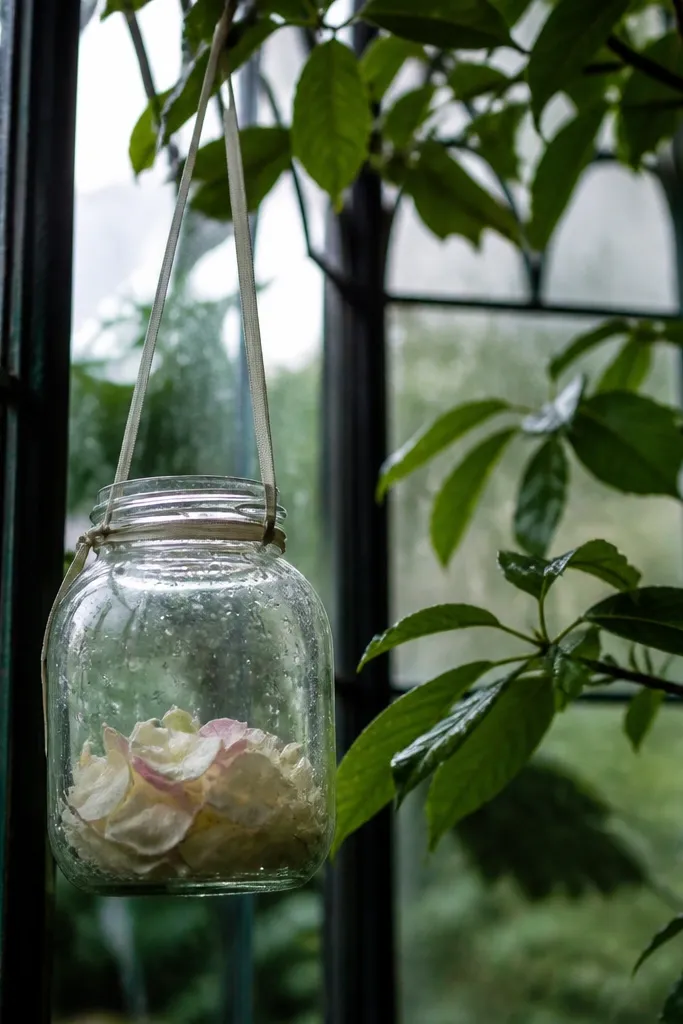
If you want dreamy without chasing perfect weather, a conservatory is a cheat code. The glass walls and plant shadows add depth, so even a simple proposal looks designed. Use a hanging glass jar with a ribbon loop — it reads instantly as “gift” and it’s photogenic against green leaves. This is best for bridesmaids who like soft, moody photos rather than bright street scenes.
Start by booking a timed entry to a botanical conservatory or greenhouse open to visitors. Then assemble one jar per bridesmaid: card, tiny dried-flower sprig, and a small charm that matches your wedding theme. Finally, hang the jars at your meeting spot before they arrive, then open the card when you’re all together. Aim for daytime entry because indoor light makes paper look flat if it’s too dim.
Quick tipUse matte card stock for the proposal note — glossy paper reflects the glass and ruins readability in photos.
Skip thisSkip crowded hours; you’ll lose the calm atmosphere and you’ll struggle to get clean shots.
3. Night Market Lantern Box with a Wrapped "Yes" Ticket
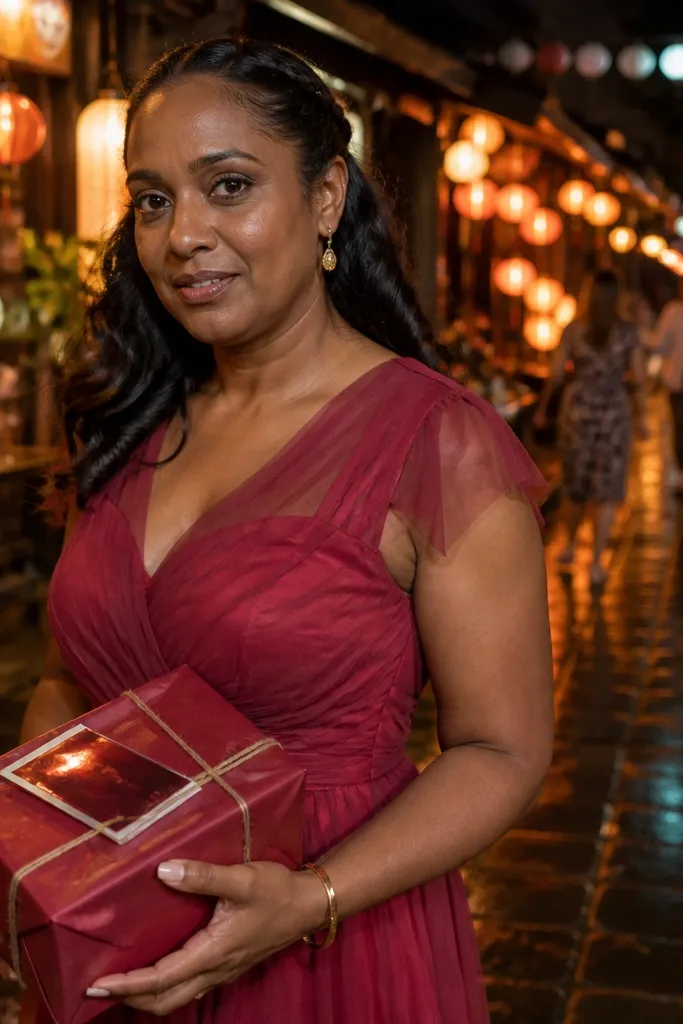
Night markets are loud, bright, and full of color, which is exactly why this works for a visual surprise. The lantern theme ties the gift to the environment so it doesn’t look out of place. Instead of a standard card, give them a wrapped “Yes” ticket that looks like it belongs to the market. When you hand it over near a lantern wall, your photos look like a story, not just an announcement.
Start by choosing a night market with clear lantern displays and a place to pause for photos. Then pack a lantern-shaped box for each person with a ribbon closure that’s easy to open one-handed. Finally, plan your reveal for 15 minutes after you arrive, when everyone is settled and the lights are strongest. Budget for food and a small amount of shopping — the proposal moment feels more natural when you’re walking and sharing bites.
Quick tipBring a dark tote bag for your boxes; it keeps paper from getting scuffed by busy crowds.
Skip thisDon’t use plain white boxes — they disappear against the market’s colors and your reveal loses impact.
4. Coastal Cliff Walk with a Shell-Stamped Proposal Envelope
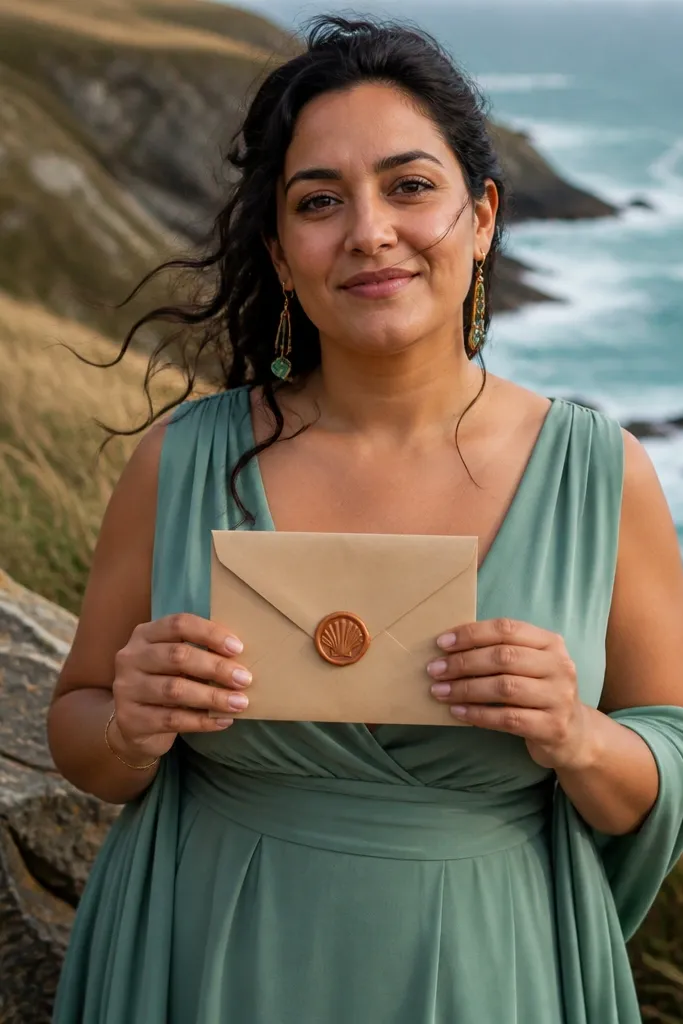
A cliff walk gives you dramatic perspective, and it makes the gift feel like it belongs to the place. Shell stamping adds texture you can see in photos, so you’re not relying on fancy typography. Use kraft envelopes with a wax-seal style stamp made from a real shell or a shell-shaped stamp. This is perfect for bridesmaids who love nature aesthetics and clean, windy shots.
Start by picking a coastal trail with safe viewpoints and a parking area close to the best overlook. Then prepare envelopes ahead of time — stamp them, add a short note, and tie each with twine. Finally, meet at the viewpoint at least 20 minutes before the light changes, then hand the envelope when the wind is quiet enough to keep paper flat. Spend 60-90 minutes on the walk so you’re not rushing the photo.
Use a zip bag inside your tote for each envelope — salt air ruins paper faster than you think.
Skip slippery cliffs in bad weather; the photos aren’t worth the safety risk.
5. Desert Sunrise Proposal with a Fabric Tent Flag
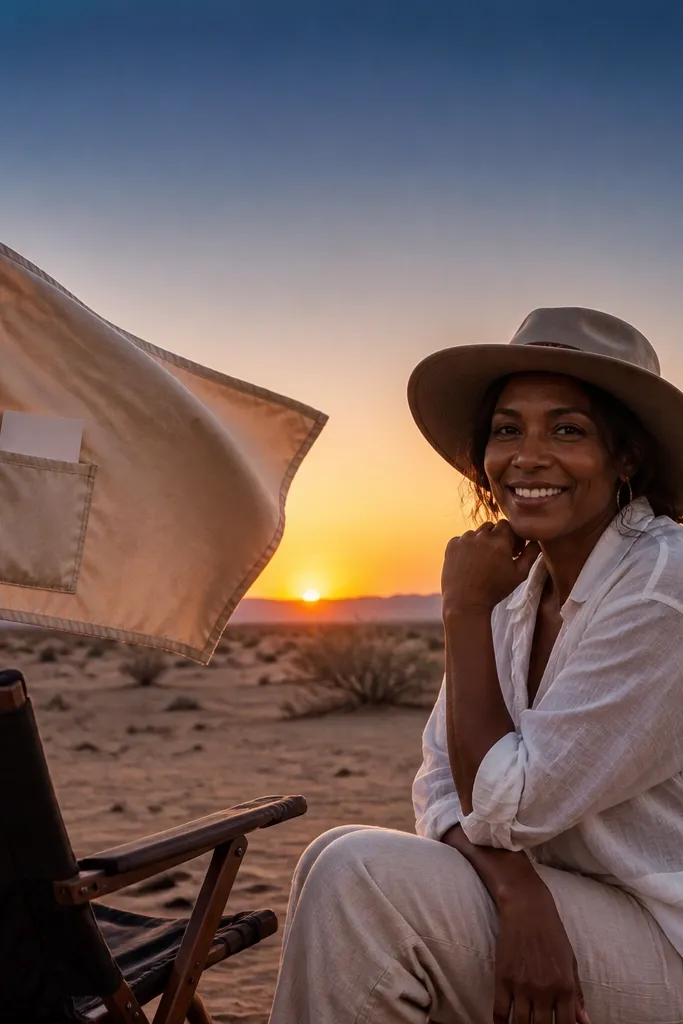
Desert sunrise photos look expensive because the horizon is wide and the sky gradient is smooth. A fabric tent flag is a strong visual prop — it reads instantly as “trip” and it creates motion in wind shots. Put your proposal inside the flag’s pocket or tuck it behind a small stitched flap. This is a great fit for a group that likes bold, graphic images rather than delicate florals.
Start by choosing a desert viewpoint with permitted access and a clear sunrise window. Then make the flag pockets: insert the proposal card and tie a small ribbon pull for easy opening. Finally, arrive early, set up your photo spot, and coordinate a reveal when the sun first hits the horizon. Plan for about 2 hours total — pre-dawn setup, sunrise moment, and 20 minutes of photos.
Pack hand warmers; cold fingers make ribbon-handling slow and your photos will look rushed.
Don’t rely on street parking far from the viewpoint; you’ll waste time in the dark.
6. Old Town Doorstep Reveal with a Wreath and Key Tag
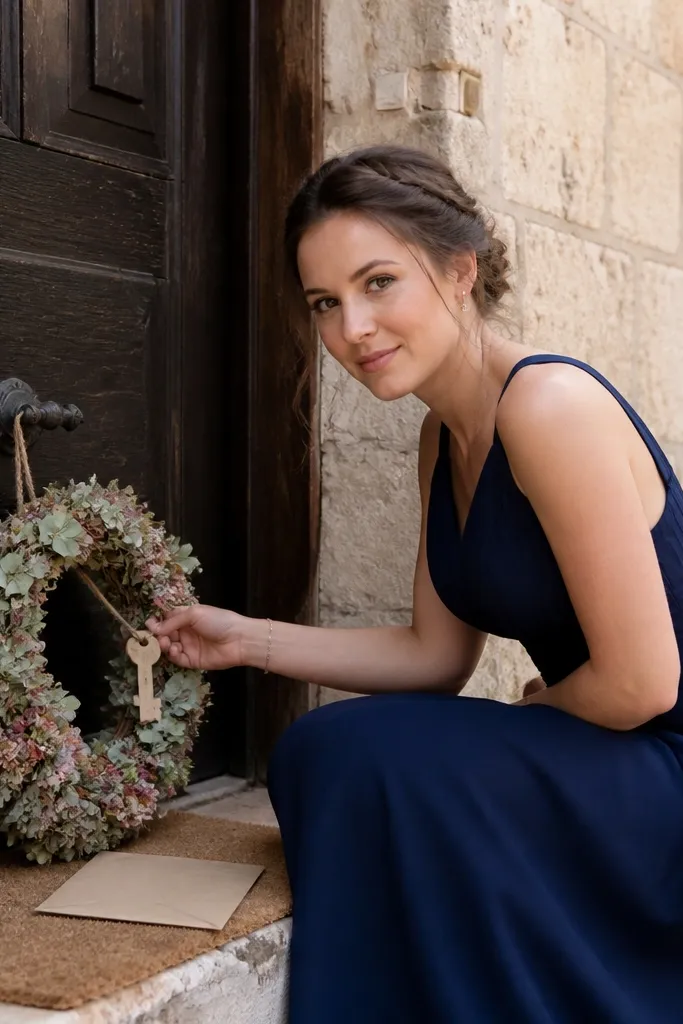
Old towns photograph beautifully because the architecture gives you consistent texture and color blocks. A wreath and key tag makes the proposal feel like a real tradition, not a random gift. Use a tiny wreath in a color that matches your palette and attach a key-shaped tag with “Will you be my bridesmaid?” on one side and the date on the other. Hand it to them outside a door you’ve chosen as your photo spot, so the background looks intentional.
Start by scouting one narrow street or alley with charming doors and minimal foot traffic. Then assemble each wreath with a key tag and a card — keep the card short so it doesn’t dominate the frame. Finally, schedule the reveal for late afternoon when door shadows add depth. Plan a 45-60 minute window so you can move between a couple of photo angles without fatigue.
Quick tipUse removable adhesive hooks designed for temporary use — you want clean door photos without damage.
Skip thisDon’t choose a location with busy tour groups every 30 seconds; you’ll fight for space and light.
7. Forest Trail Proposal with a Pinecone Photo Frame Card
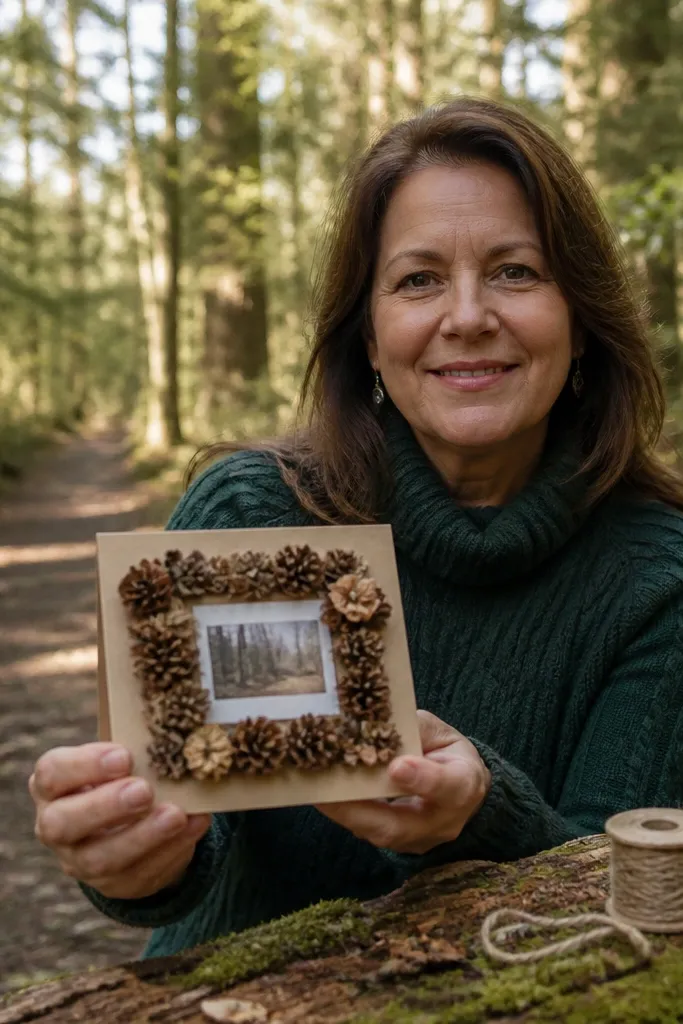
A forest trail creates calm, and it makes your gift look grounded and handmade. The pinecone photo frame card is the trick: it gives you a prop that looks good even before the message is read. Put a mini photo or illustrated placeholder inside so they can hold it like a frame for photos. This is best for bridesmaids who love earthy tones and want a surprise that feels personal without being complicated.
Start by picking a trail with a bench or natural clearing where you can pause safely. Then build a card set: kraft base, pinecone frame element, and the proposal tucked behind a fold. Finally, bring the cards in a tote, meet at the clearing, and ask them to hold the frame for one photo before opening the final flap. Spend about 90 minutes including walking, so the reveal doesn’t feel rushed.
Quick tipUse a thin laminate sleeve for the card set — misty air can smear ink fast.
Skip thisSkip bright neon ribbons; they look wrong against deep green and muddy browns.
8. Lake Cabin Welcome Board with Chalk Letter "Bridesmaid?"
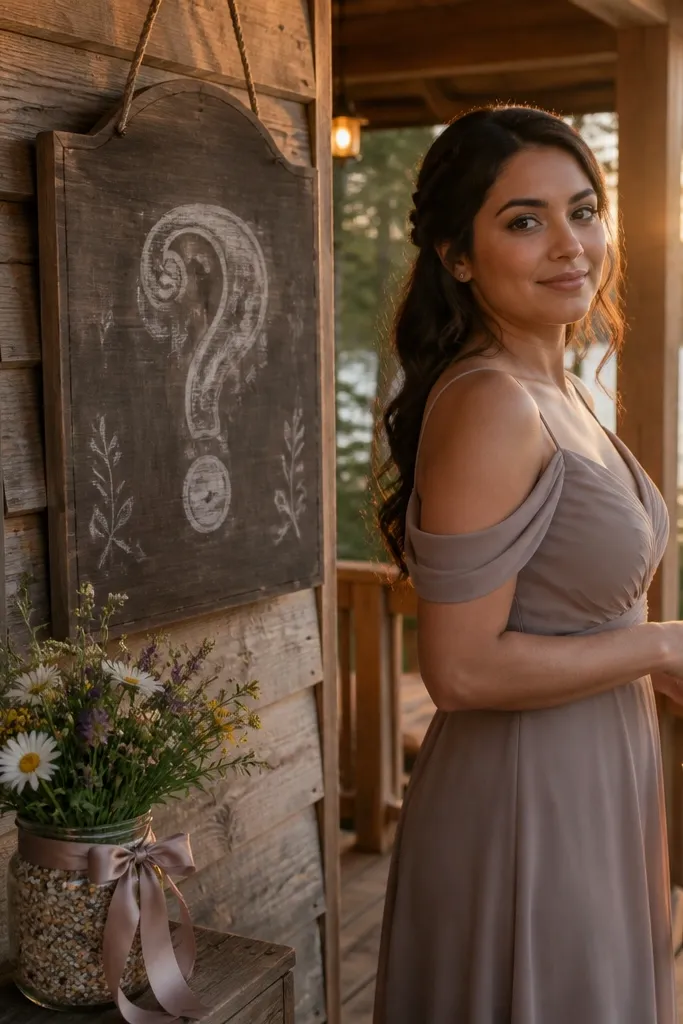
Cabin porch photos look cozy and dreamy because the background is already styled: wood grain, soft light, and a simple horizon. A chalk-letter question on a welcome board creates instant curiosity without needing a big speech. Pair it with a small ribbon-wrapped jar of something themed, like cocoa mix or wildflower seeds. Hand the jar at the same time you reveal the chalk question so the whole scene reads as one story.
Start by renting a cabin or booking a cabin-style stay with a porch or entry area that has good light. Then bring a portable chalkboard or foam board you can write on, plus one jar per bridesmaid. Finally, place the board before they arrive and keep the jar hidden until you’re ready to shoot. Book a stay that allows check-in during golden hour so your photos look warm, not harsh.
Quick tipPack a small cloth for chalk smudges; cabin porches collect dust and your lines can get messy.
Skip thisDon’t write tiny letters; chalk needs bold strokes to read in phone photos.
9. Museum Sculpture Hall Reveal with a Velvet Ring Box
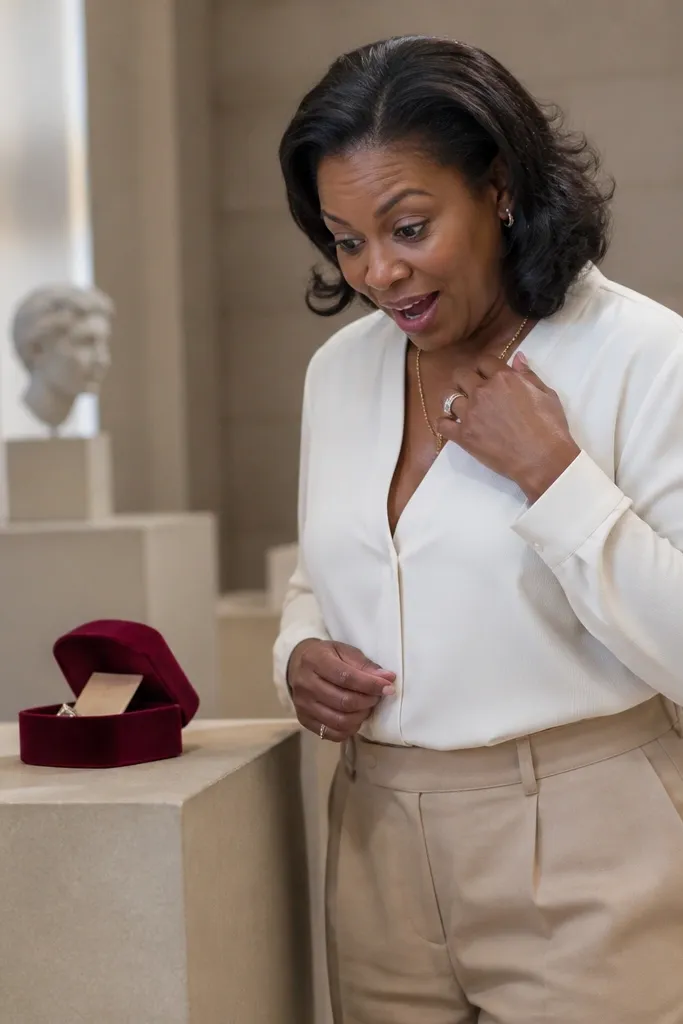
Museums are photogenic because the lighting is controlled and the backgrounds are clean. A velvet ring box is a strong visual cue for a “real moment,” and it photographs well against neutral stone. Put the proposal card under the lid so it’s revealed like a secret. This is ideal if your bridesmaids don’t want outdoors weather and you want a sophisticated, minimal look.
Start by choosing a museum with a sculpture gallery and rules that allow small gifts during visitor hours. Then bring one velvet box per person with a ribbon tag attached to the inside lid. Finally, coordinate your reveal at a spot with even lighting — stand a step away from the wall so the box doesn’t cast a harsh shadow. Plan for 60-75 minutes so you can walk to two angles without running out of time.
Quick tipUse a neutral card stock so the ink doesn’t reflect under museum lights.
Skip thisSkip flash photography; it ruins the velvet texture and makes the background look washed out.
10. Snowy Town Market Proposal with a Candle-Glass Lantern
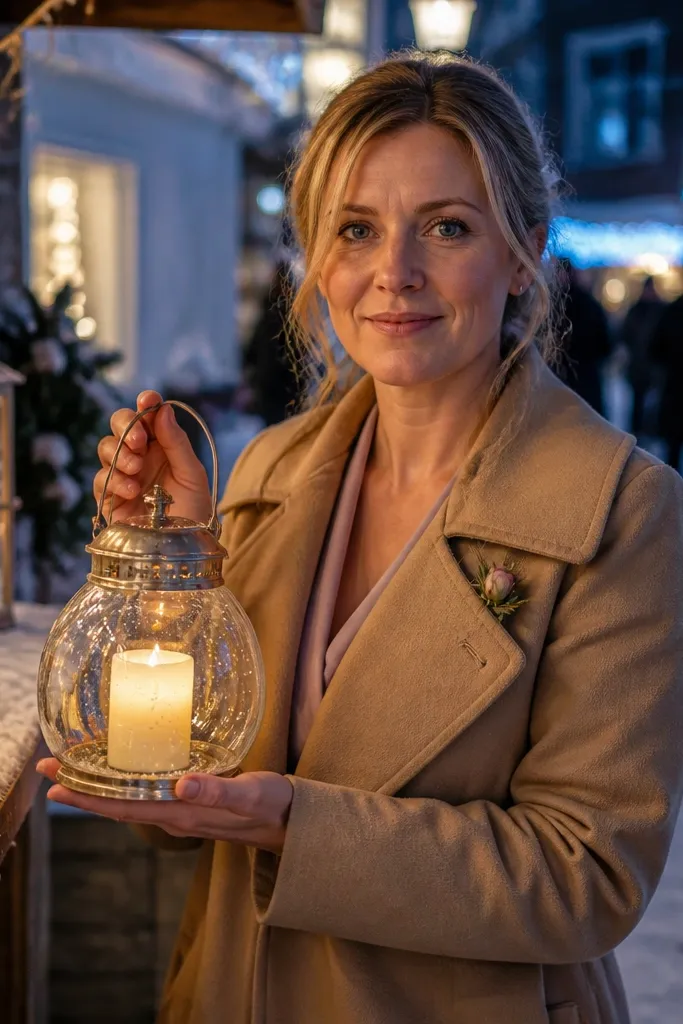
Snow turns ordinary streets into dreamy scenes, and a glass lantern looks magical against white backgrounds. This proposal is built for evening market lighting, where warm candle glow contrasts with cool snow. Instead of a paper-only card, use a candle-glass lantern with a sealed card sleeve inside. When you light the candle right as they open the lantern, the moment looks cinematic.
Start by picking a winter town market with evening stalls and real string lights. Then assemble lanterns with a card sleeve and a small ribbon around the handle. Finally, time the reveal for when the market lights are on and the snow is softly falling, then keep the lantern steady for photos. Budget for market entry and warm drinks; plan about 2 hours.
Quick tipUse battery candles if open flames aren’t allowed — the glow still photographs well and you stay safe.
Skip thisDon’t use thin paper notes; cold air makes them curl and they look messy on camera.
11. Rooftop Garden Proposal with a Hanging Photo String
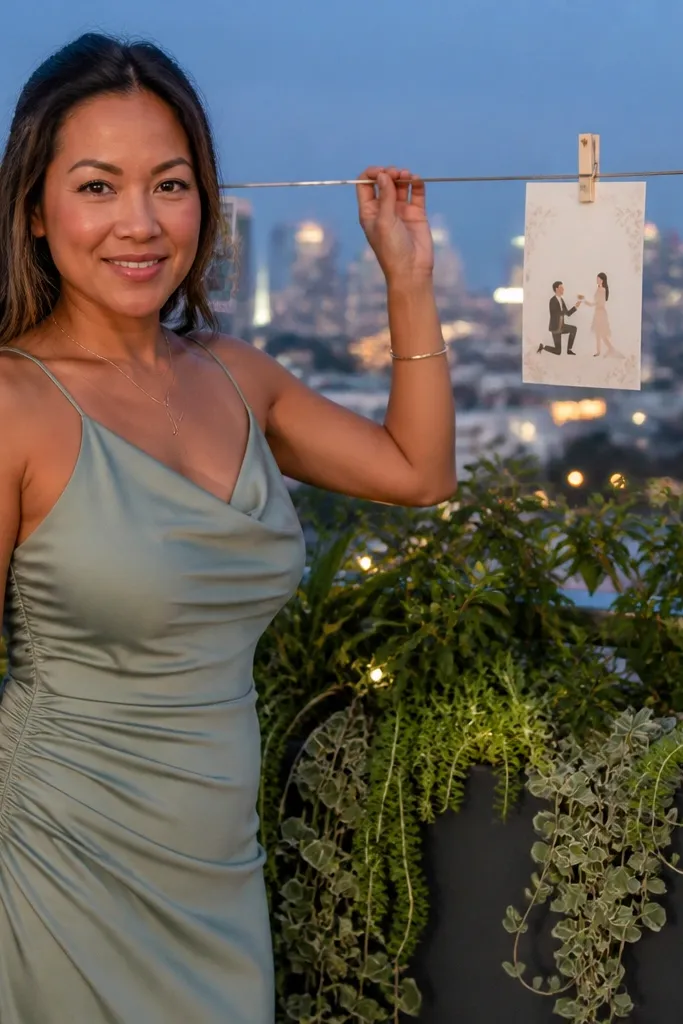
Rooftop gardens give you skyline depth and soft greenery, which is a perfect mix for romantic photos. A hanging photo string is visually playful, and it builds a mini backdrop around the reveal. Clip the proposal card to the string with clothespins so it looks like part of the decor. This is best for bridesmaids who love Instagram-ready scenes and want a gift that becomes a photo prop.
Start by choosing a rooftop garden with permission for small decor — hotels and event spaces sometimes allow it with notice. Then create a photo string: 6-8 small prints in a consistent border color, plus one clip holding the proposal card. Finally, arrive 30 minutes before your reveal and set the string so it frames the skyline, not the sky. Keep the group spaced so you can shoot without random heads blocking the background.
Quick tipBring a lint roller; rooftop plants trap dust and it shows on light-colored paper.
Skip thisDon’t use too many print sizes; mixed sizes make the string look messy instead of intentional.
12. Desert Motel Poolside Proposal with a Neon Sign Card Sleeve
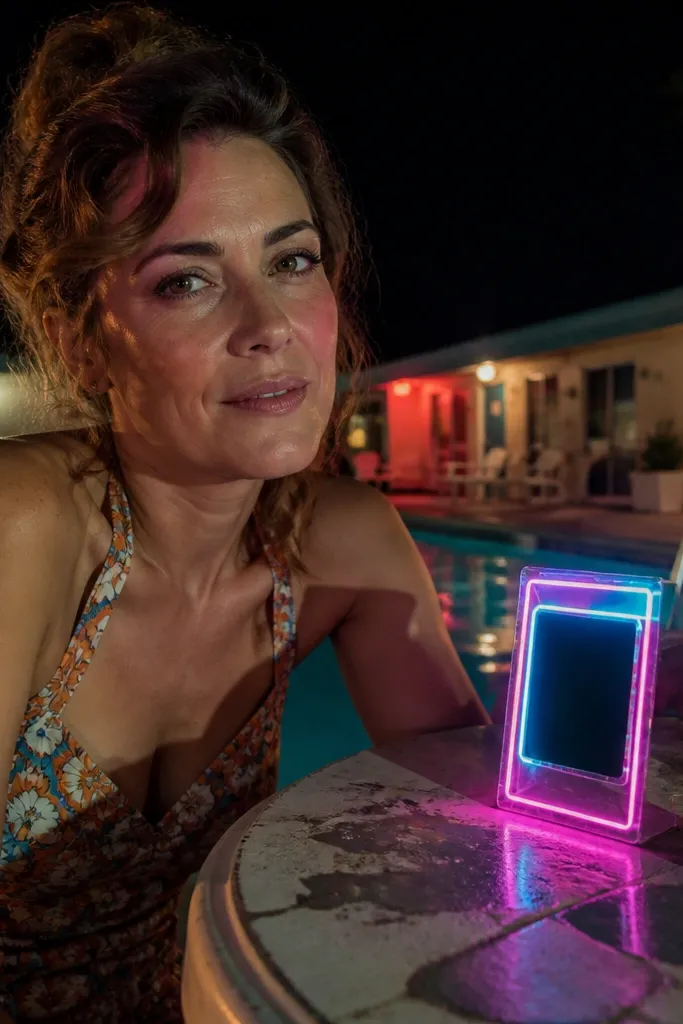
Retro motel aesthetics photograph like editorial — bold shapes, strong shadows, and that desert light. A neon sign card sleeve gives you a graphic focal point that pops in photos. Put the proposal card inside a clear sleeve with a neon-colored backing so the text area is clean and readable. This is great for groups that like playful, slightly edgy travel vibes.
Start by selecting a motel with a pool and obvious retro signage or clean mid-century architecture. Then design the card sleeves: cut a neon-colored backing panel and place the proposal card in a clear sleeve with a ribbon pull. Finally, schedule your reveal for late afternoon when shadows are long and the pool area looks cinematic. Plan for 60 minutes total so the light doesn’t shift too far.
Bring a small handheld fan; even mild wind makes paper sleeves crinkle loudly and it ruins the calm vibe.
Skip poorly lit pool areas; neon-style props need real contrast to look good.
13. Train Platform Proposal with a Timed "Boarding Pass" Envelope
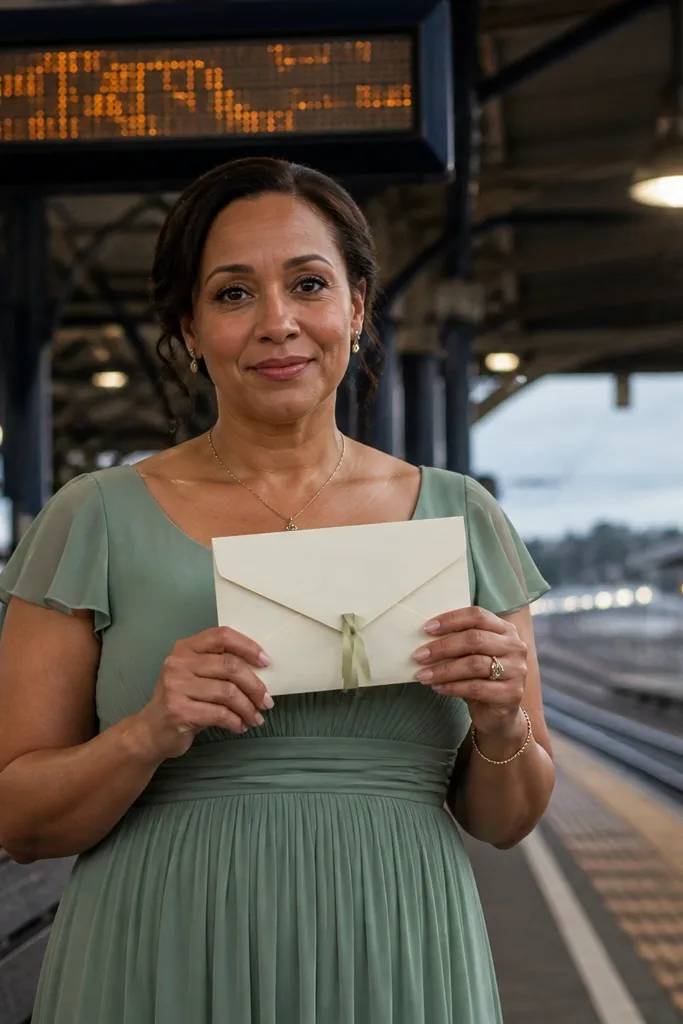
Train platforms are instantly photogenic because lines and signage create structure. A boarding-pass envelope makes the proposal feel like a ticket to a shared journey, which photographs cleanly with minimal effort. The reveal hits hardest when it matches a real departure time — you’re giving them something that feels urgent and exciting. This is ideal if your bridesmaids are spread out and you can meet at a station for a quick, dramatic moment.
Start by choosing a station with clear signage and a bench or open space for photos. Then assemble boarding-pass envelopes using sturdy cardstock and a ribbon pull so it opens fast. Finally, time your reveal for 5 minutes before boarding — you’ll get that adrenaline glow and you won’t be waiting around. Keep it short: 20-30 minutes on site, then go somewhere nearby for a second photo angle.
Quick tipWrite the proposal date in the same font style you use for the “gate” text so it looks like one designed piece.
Skip thisDon’t use flimsy paper; platform wind turns thin cards into curled messes.
14. Waterfall Overlook Proposal with a Waterproof Roll-Up Scroll
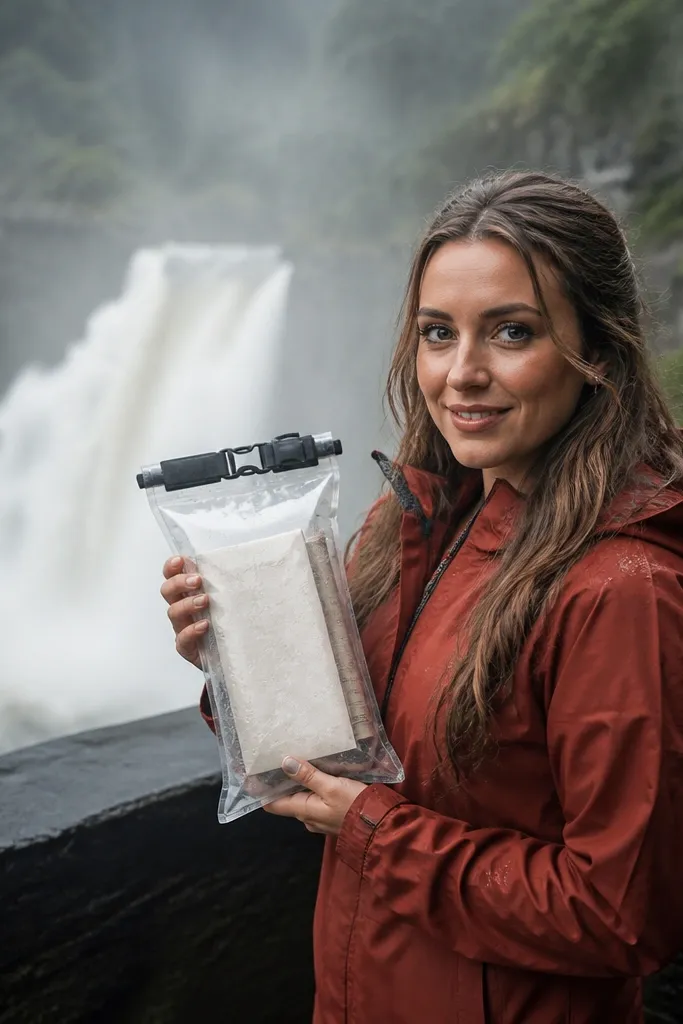
Waterfalls add motion, mist, and a natural glow, which makes your proposal feel cinematic. A waterproof roll-up scroll is the right prop because it survives mist and it looks elegant in photos. Use a clear dry bag so the scroll is protected, then seal the reveal card inside a wax-paper pocket. Hand it over at the overlook when you’re all framed against the falls.
Start by picking a viewpoint with safe railings and a short path from parking. Then prepare scrolls: roll the proposal card with a belly band, slide into a waterproof sleeve, and tie a ribbon around the dry bag. Finally, meet at the overlook and reveal when the group is ready — mist can blur photos if you’re still searching for the bag. Plan about 75-90 minutes including travel time and a slow walk to the best angle.
Quick tipUse a microfiber cloth in your pocket; mist spots ruin the scroll and the ribbon sheen.
Skip thisDon’t stand too close to spray; you’ll soak the gift and the photos will be blurry.
15. Street Art Wall Reveal with a Paint-Splash Envelope and Black Ribbon
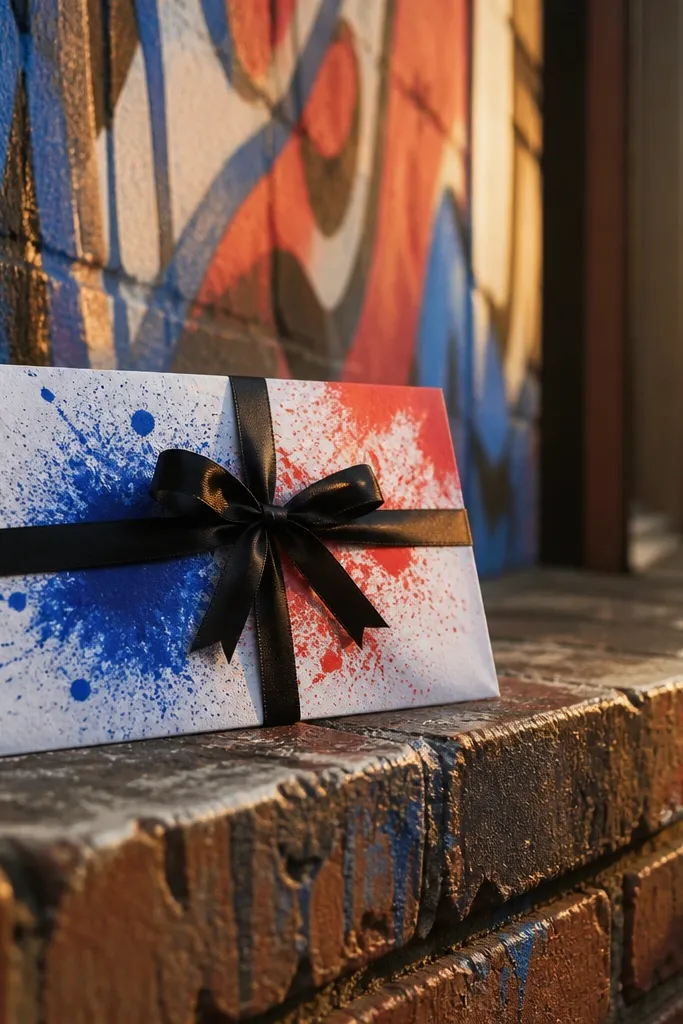
Street art walls are the fastest way to get “wow” photos without fancy planning. The key is to match your gift’s color energy to the wall so it looks like it belongs. A paint-splash envelope does that — it gives the proposal a graphic texture that reads instantly on phone cameras. Keep the ribbon black or deep brown so the message stays readable and the gift looks intentional.
Start by scouting a street art wall that has one dominant color block you can coordinate with your palette. Then print or paint splash patterns onto envelopes using a stencil, and add your proposal card inside with a clean pocket. Finally, arrive at a time with less crowding and stand at one consistent distance from the wall for all photos. Spend 45-60 minutes max so you don’t end up chasing light changes and foot traffic.
Bring a small measuring tape; keeping the gift at the same height makes your group photos look consistent.
Don’t pick a wall with too many tiny elements; it turns the photos into visual clutter.