1. Kraft Envelope + Mini Map "Mission" Cards
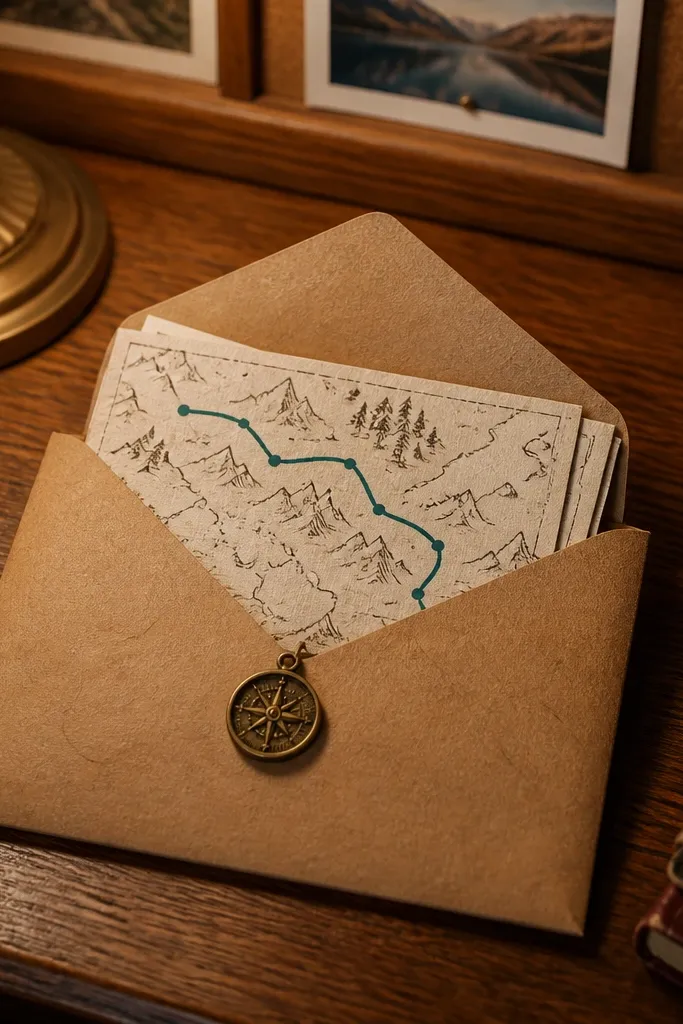
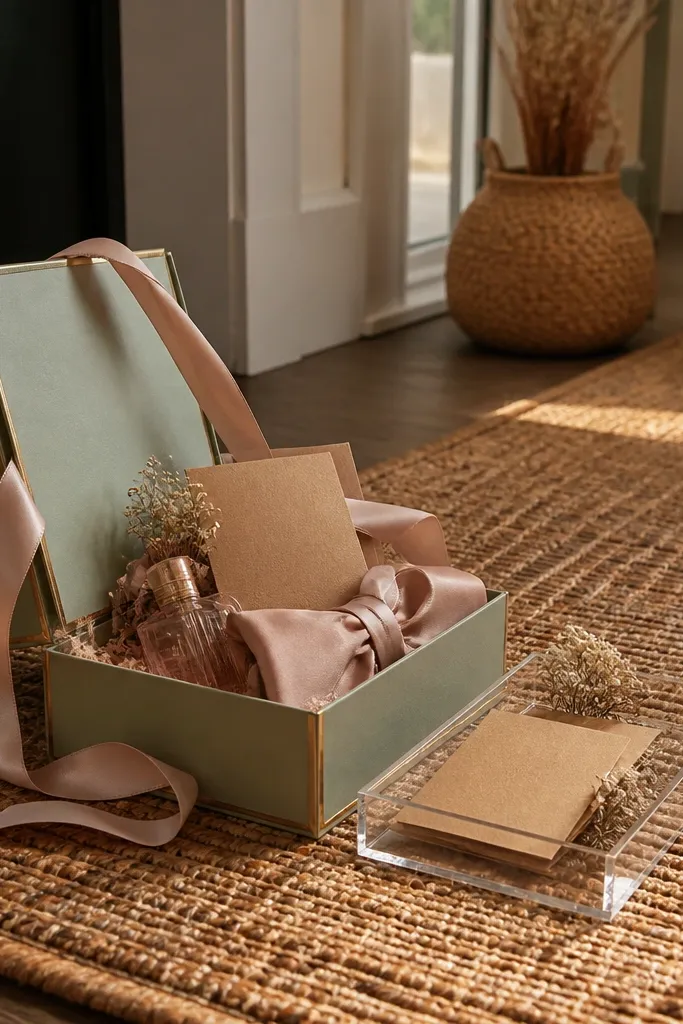
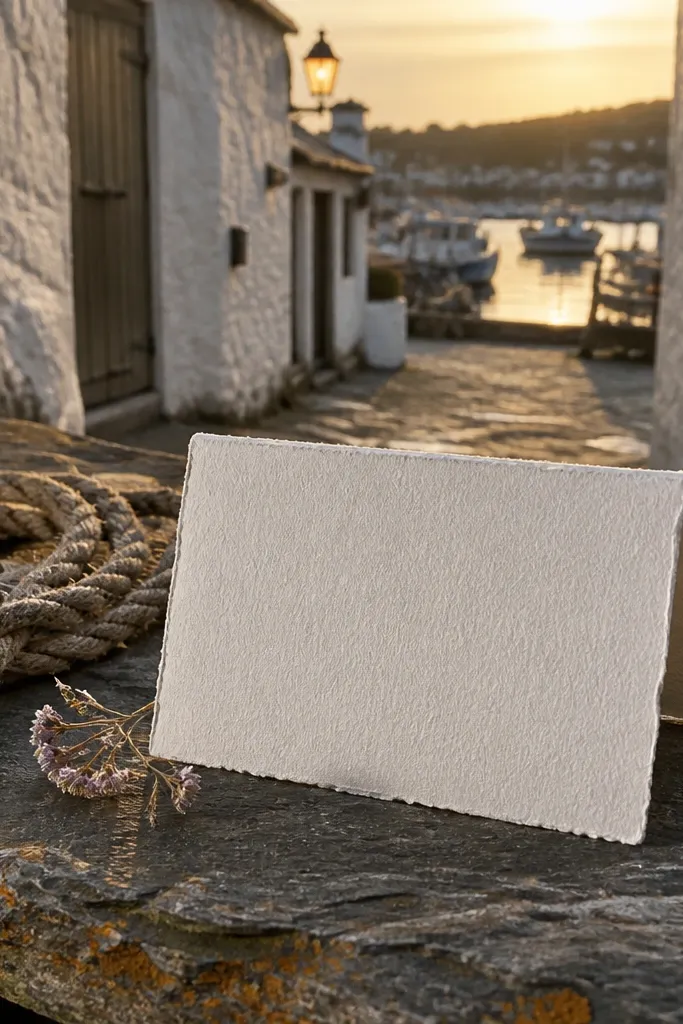
Start by buying kraft envelopes in bulk and printing your mini map cards on thick cardstock. Then add one small prop per person — a tiny keychain bottle opener or mini compass — and slide everything into the envelope. Finally, stage the photo with the envelope resting on a flat surface (wood, stone, or a light wall) and keep the background uncluttered. Budget stays low because you’re printing and repurposing paper, not buying expensive keepsakes.
This is the kind of proposal that looks curated without costing much. The envelope gives you instant texture, and the mini map card creates a clear story even if you only add one small prop. Pair the map with a single accent marker line showing a route, then write your invite like it’s a “mission.” It’s photogenic because the paper edges and ink lines catch light, especially on a wooden table or sidewalk curb.
Skip thisAvoid multiple fonts and stickers; too many elements make it look like a craft project.
Quick tipUse black waterproof ink so the lines stay crisp in outdoor photos.
2. Sage Linen Napkin Roll with "Role" Tag
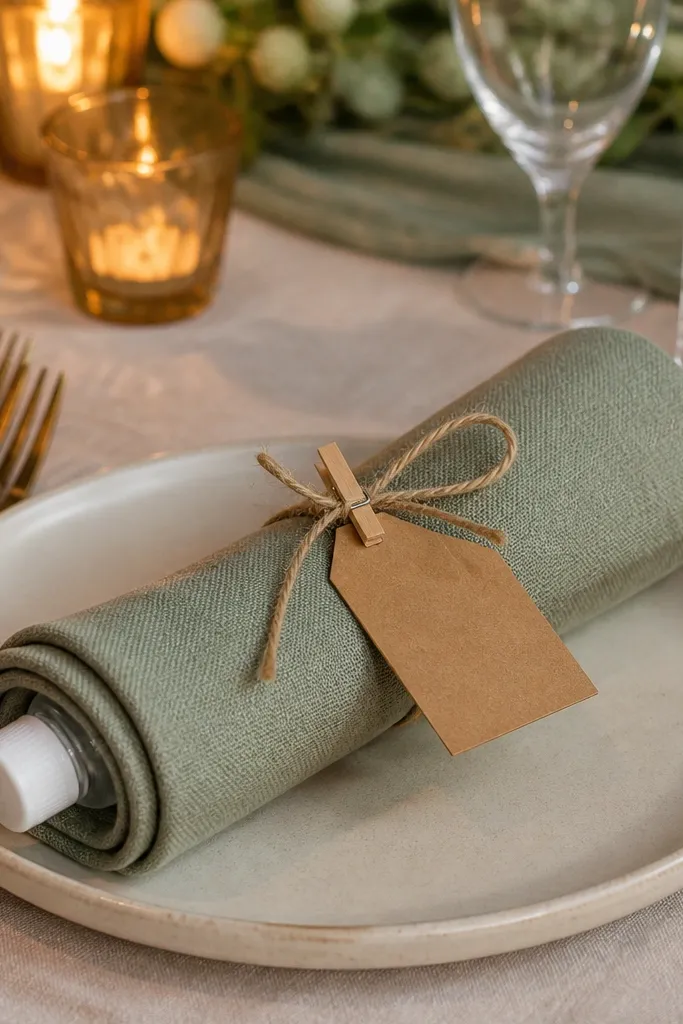
Start by buying linen-look napkins in one color and cutting tags from matte cardstock. Then write a short “will you be my groomsman” line and tuck it into the roll along with one small practical item. Finally, photograph each roll on the same surface and angle so the set looks consistent. If you’re traveling, do it at your rental’s dining table with one window light source.
A rolled napkin sounds basic until you photograph it. Sage linen (or a linen-look fabric) looks expensive in a simple frame, and the roll shape makes the moment feel like an event. Tie it with twine and attach a tag that names the groomsman role. Add one neat item inside the roll — like a mini bottle of hand sanitizer for travel or a small card with your proposal text. The texture and folds create depth that cheap packaging can’t fake.
Skip thisSkip shiny ribbon; it blows out highlights and reads cheap in daylight.
Quick tipKeep the tag size consistent — about the width of your thumb — so every photo looks matched.
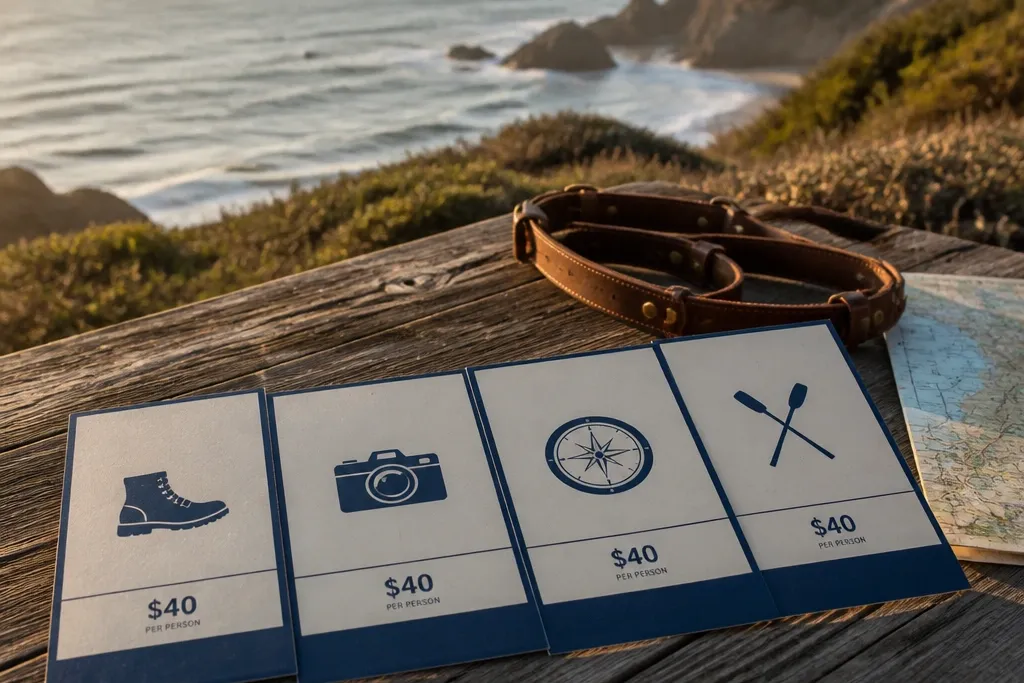
3. Brown Boots-Themed Photo Walk Invitation
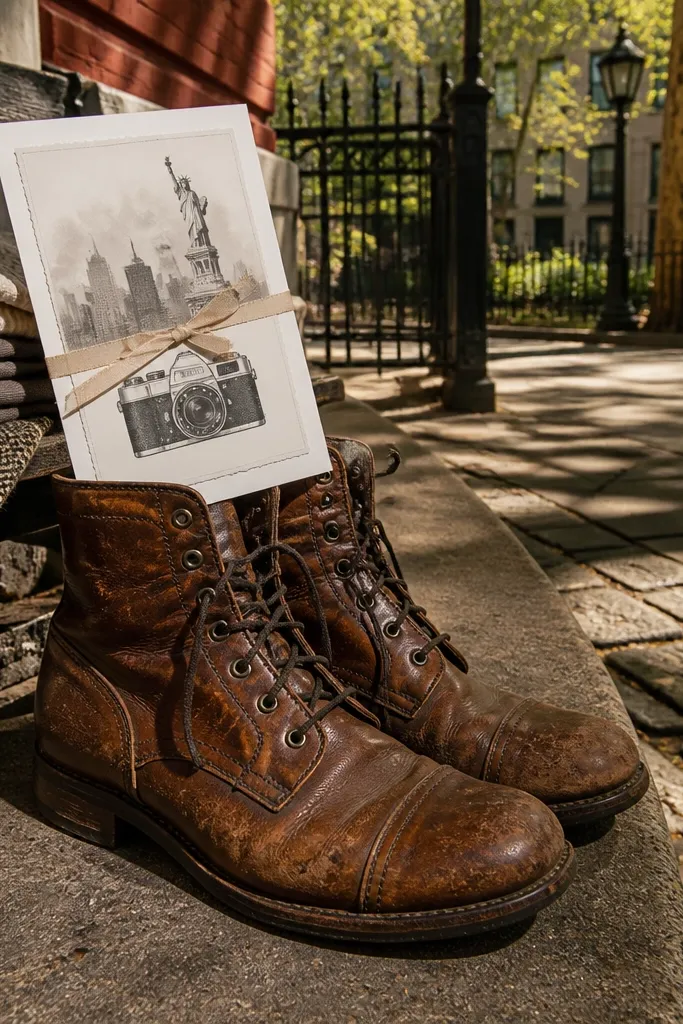
Start by printing one card per person on thick matte paper and bringing a pair of brown boots or a boot-shaped prop. Then pick a location with repeating textures — brick steps, a boardwalk, or a walkway with uniform lighting. Finally, pose each person next to the boots for 2-3 shots and hand them the card right after. Travel tip: choose a place within 10 minutes of where you’re staying so you don’t lose daylight.
If your groom squad loves being outside, this proposal looks great and feels fun. Bring one printed card and take a short “photo walk” where each groomsman stands near the same boot prop. The theme anchors the look: brown boots plus a neutral outfit palette makes everyone match the visual story. You’re not spending on gifts; you’re spending on a strong visual cue and a clean setting.
Skip thisDon’t use a cluttered street background; cars and signs distract from the card.
Quick tipPick a single time window and stick to it — golden hour gives the boots richer tones.
4. Polaroid-Style Proposal Cards on a Mini Clip Line
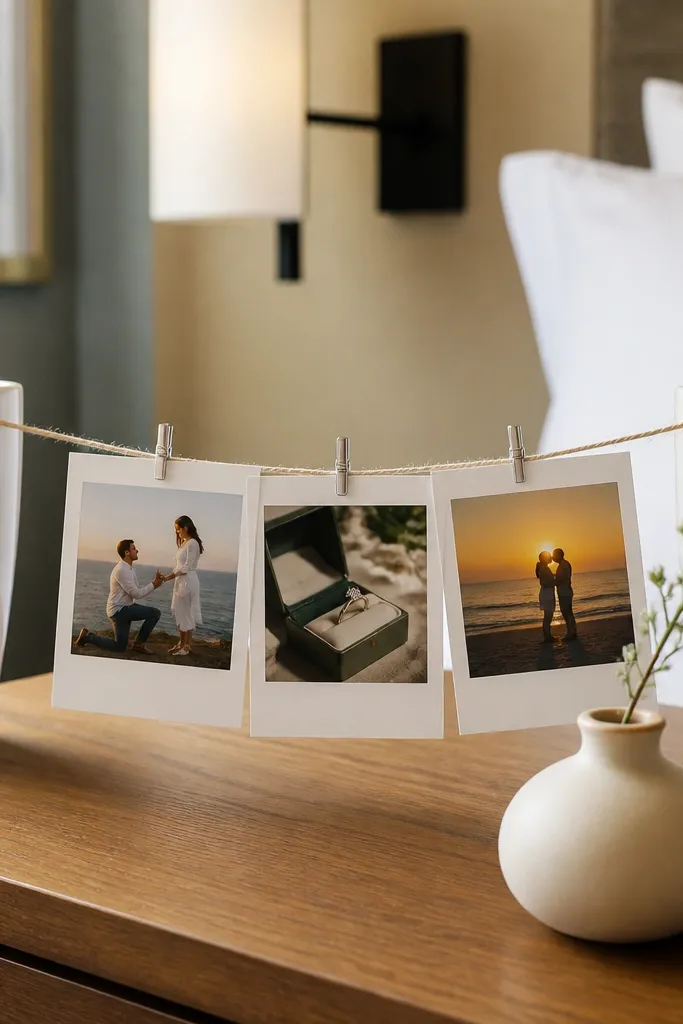
Start by printing cards on thick paper (matte looks best) and cutting them to a consistent size. Then string twine between two points — chair backs, a door hook, or a light stand — and clip one card per person. Finally, take photos straight-on so the line stays level and the cards read clearly. Costs are mostly printing and clips, which keeps this in the cheap zone.
This looks like a studio setup even when it’s just paper and clips. Print each groomsman’s proposal card with a Polaroid-style border, then hang them on a mini line using clothespins. The repeated layout is what makes it aesthetic — it becomes a “set,” not random gifts. Pair with simple styling: one small vase or a plain wall behind the line. It’s also easy to scale for multiple groomsmen since you can hang everything at once.
Skip thisAvoid busy backgrounds behind the line; it makes the cards blend in.
Quick tipUse two binder clips at the ends to stop the line from sagging halfway through photos.
5. Coffee Sleeve "Be My Groomsman" Wrap
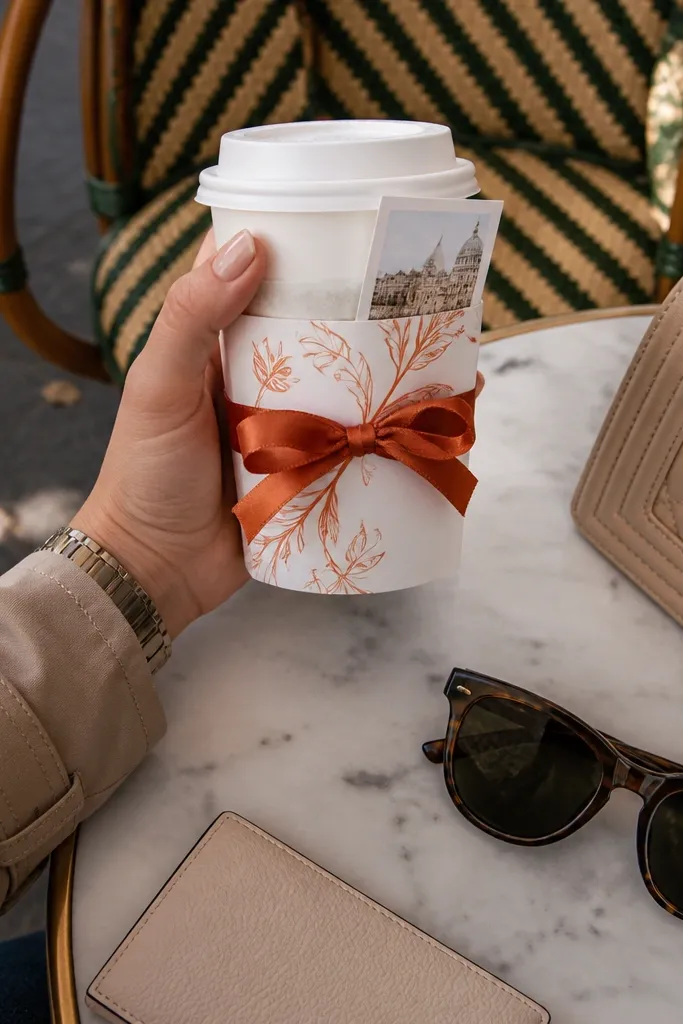
Start by designing a sleeve wrap that fits a standard coffee cup diameter and printing it on sturdy paper. Then wrap each sleeve around a fresh cup and add a small tag with the proposal line. Finally, shoot in a bright spot — café window light or a sunny patio — with the background blurred by distance. Budget stays low because you’re using a normal purchase and upgrading the packaging with paper.
This is the low-effort idea with the highest “cute in a photo” payoff. A printed coffee sleeve creates instant branding, and the cup shape frames the message. Choose one accent color and stick to it across all groomsmen so the set looks coordinated. Add a tiny bow or a strip of ribbon, and the whole thing reads thoughtful instead of last-minute.
Skip thisSkip glossy paper; glare kills legibility in photos.
Quick tipPrint sleeves with a slight matte finish so text stays readable in sunlight.
6. Mini Candle + Matchbook "Will You?" Card
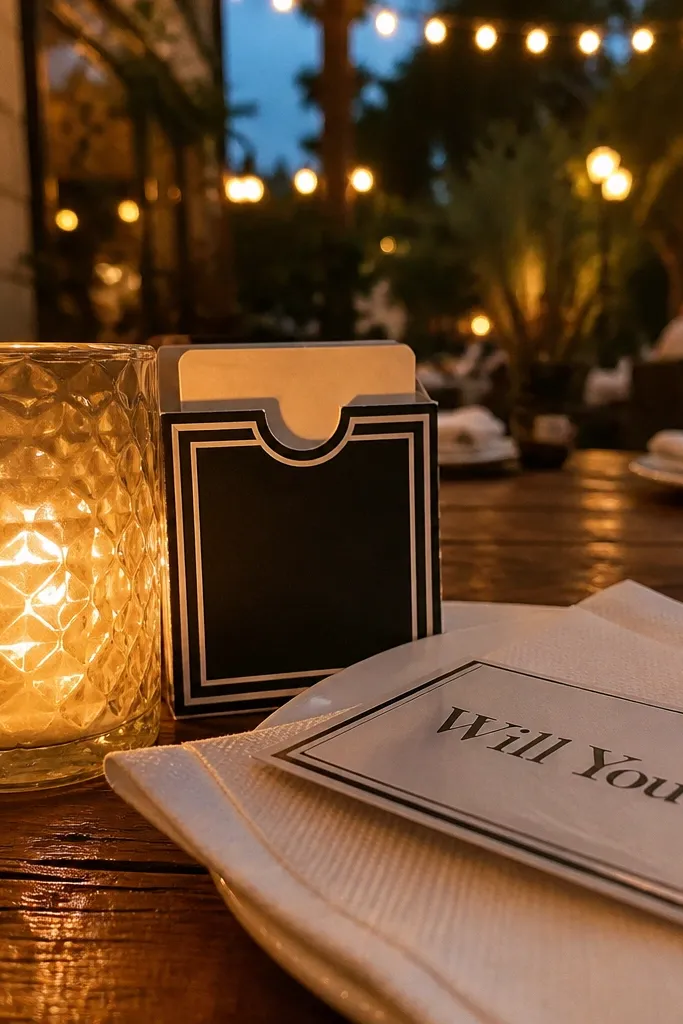
Start by buying unscented or light-scent mini candles in uniform glass jars. Then print a matchbook card template and glue the fold so it opens cleanly. Add the proposal message inside and place the candle next to it for photos. For travel logistics, pack candles in a sturdy box and hand-deliver so you don’t risk smudging labels.
A mini candle makes the moment feel like a real gift without expensive branding. Pair it with a matchbook-style card so the proposal has a clear theme: you’re starting something, you’re lighting the night. The flame-free photo still looks warm because of the candle’s glow tone and the matchbook’s graphic shape. It looks best on a dark wood table or a simple hotel bedside surface with no messy items.
Skip thisAvoid scented candles with strong labels; they steal attention from your card.
Quick tipChoose candle jars in one shade — clear, frosted, or amber — for a consistent photo series.
7. Beach Shell + Twine Tag "Yes?" Proposal
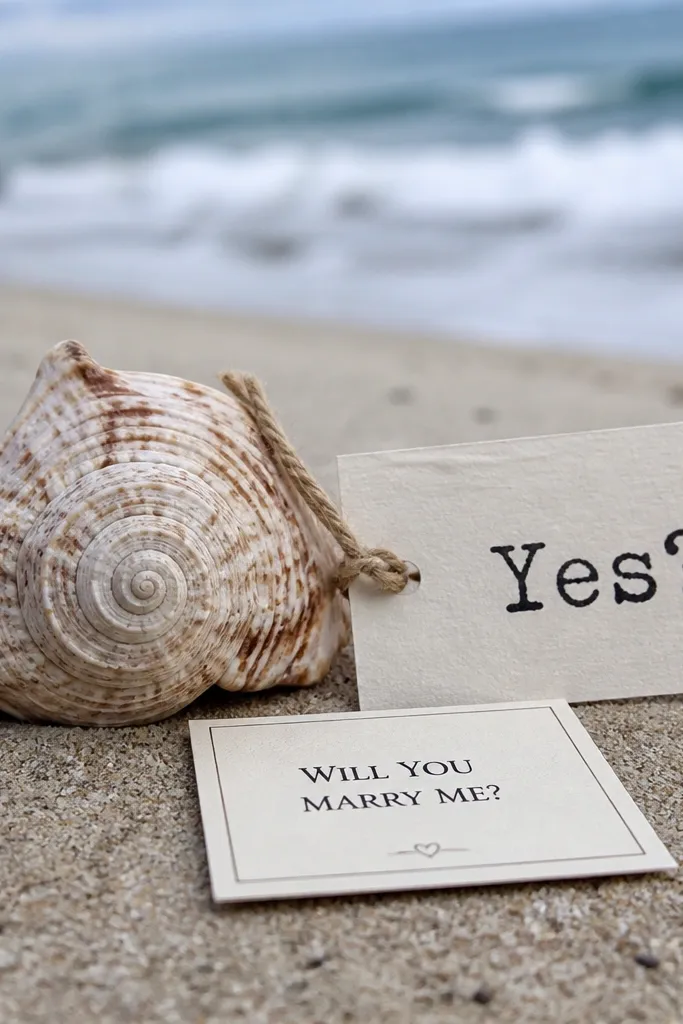
Start by collecting shells or buying a small jar of clean shells if you’re not sure you’ll find good ones. Then attach each shell to a tag using twine and punch a hole so it hangs straight. Finally, photograph on a light towel or a piece of neutral fabric so the shell color pops. If you’re traveling, bring a small zip bag so you can keep shells clean and dry between photos.
If you’re near water, this is one of the prettiest cheap proposals you can do. The shell is naturally photogenic, and the twine tag looks intentional instead of random. Keep the tag simple: black text on cream paper, one line of proposal, one small symbol. This works especially well for groomsmen who like casual, outdoorsy vibes. It also makes a clean “flat lay” photo because shells sit nicely on sand-colored surfaces.
Skip thisAvoid overcrowding the frame; one shell per photo makes it look styled.
Quick tipUse a cream tag, not bright white — it looks warmer next to shell tones.
8. Sunset View Ticket Stub Invite
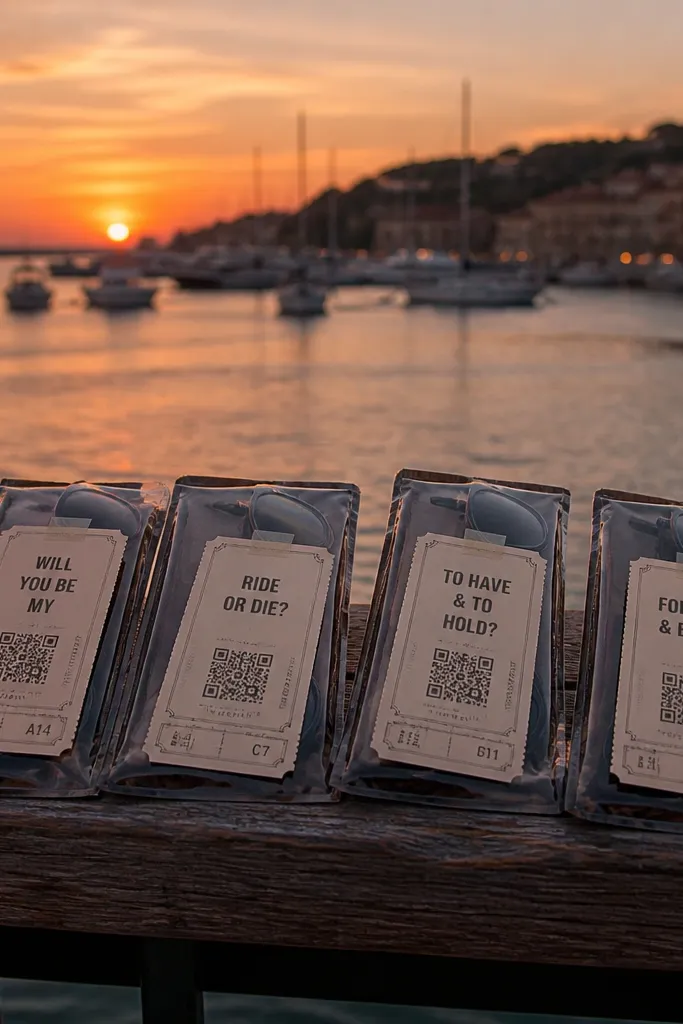
This turns a location into the gift. Print a ticket-stub style card for each groomsman that reads like your proposal is an event: date, time, and a one-line reason. Then tape it to the back of a small item they’ll carry — a phone case card sleeve, a sunglasses pouch, or a small notebook. It looks like real memorabilia because the layout mimics tickets and boarding passes. It’s also easy to do quickly when you arrive at your viewing spot.
Start by designing ticket stubs with a thick border and printing them on cardstock. Then attach each stub to a small carry item with clear tape so it doesn’t peel in wind. Finally, photograph at the exact viewing location at sunset, with the horizon behind the item. Budget stays cheap because you’re printing and using a normal travel accessory.
Print the date and time in the same place on every stub so the set looks uniform.
Skip tiny text; ticket layouts fail when the message is hard to read.
9. Hotel Keycard Holder + "Your Room Awaits" Card
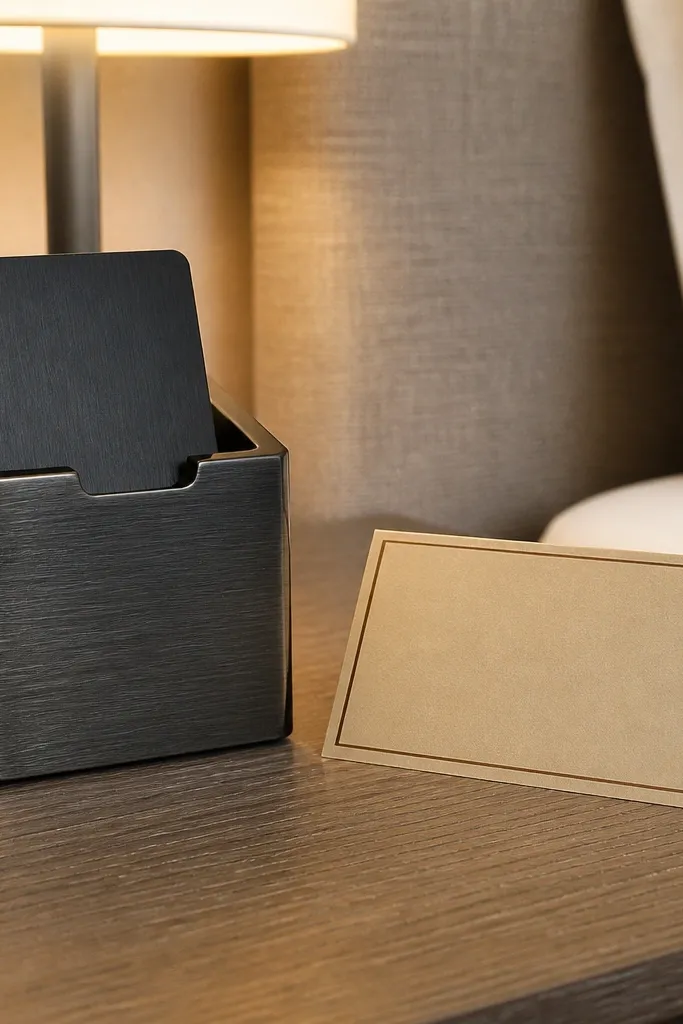
Start by picking one keycard holder color (black or navy look best in photos) and printing a small card insert. Then put the proposal card into the holder and hand it over at check-in or right before you head out. Finally, take a photo in the hotel lobby or near the room door with a plain background. Costs are low because you’re buying holders once and printing inserts.
Hotels give you a built-in aesthetic. The keycard holder is sleek, modern, and instantly travel-looking, so your proposal doesn’t need a fancy gift. Slide in a small card with your message and a simple line about where you’ll be meeting (or what you’ll do together). This is especially good for destination weekends where you already have keys and lanyards around. The photo looks clean because the holder is a solid color shape.
Skip thisAvoid placing the holder on patterned bedding; it muddles the outline.
Quick tipUse a card insert size that fits snugly so it doesn’t flop around in photos.
10. Mini Fresh Herb Pot + Tag on the Soil
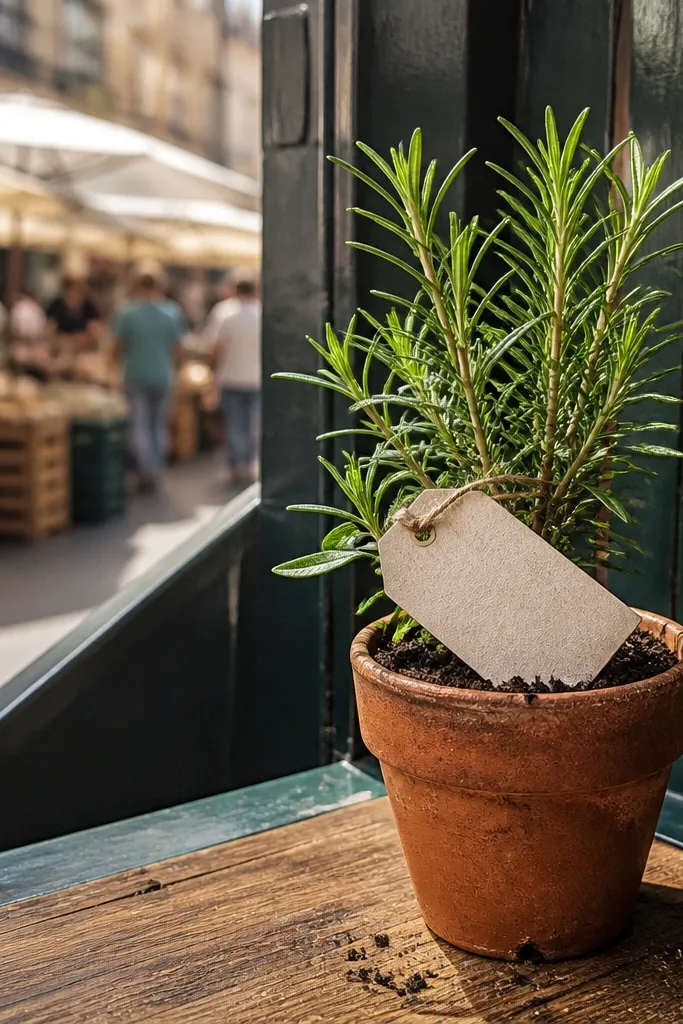
This one looks expensive because plants photograph better than almost any small item. A mini herb pot has color and texture, and the soil surface gives you a natural place to attach your tag. Choose one herb type per batch — basil or rosemary — and keep the pot style consistent. The proposal feels thoughtful without being costly, and it’s also practical for people who cook. For photos, set it on a kitchen counter with one plain background wall.
Start by buying mini herb pots in the same size so your photo series stays consistent. Then tie a printed tag around the pot or slip it into a small hole in a ribbon so it sits straight. Finally, photograph at midday near a window — the leaves look crisp and don’t go dark. Travel tip: pack them in a rigid tray so leaves don’t crush.
Water the plant lightly right before pickup so leaves look fuller in photos.
Skip mixed plant sizes; mismatched pots make the set look random.
11. Dark Denim + Bow Tie Gift Box with One Item
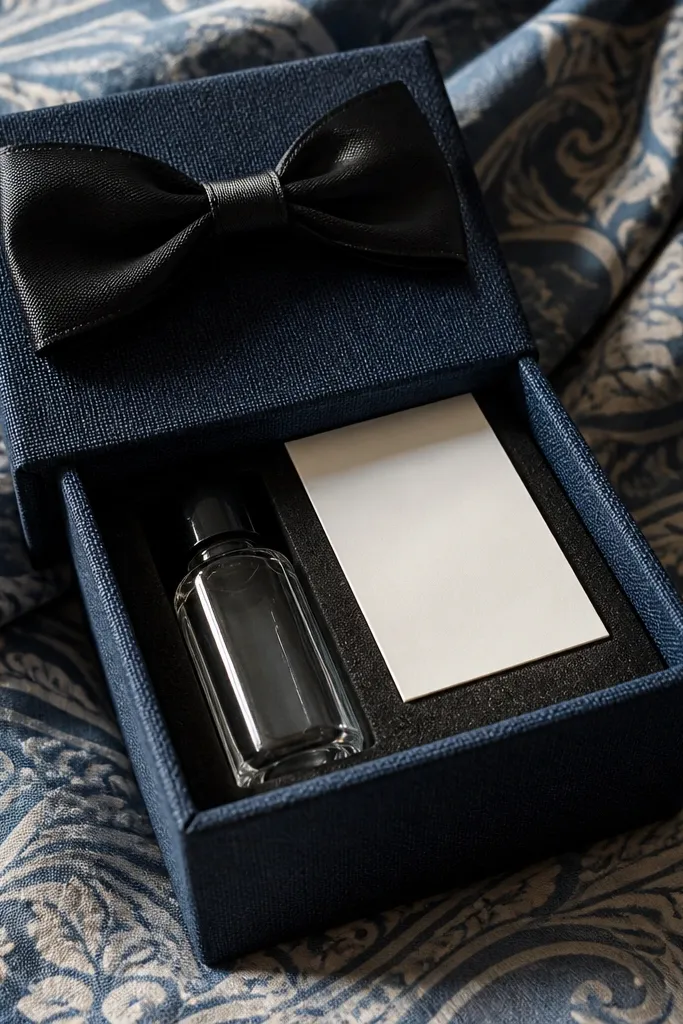
This is an aesthetic trick: wrap a small item in dark fabric and the whole thing looks like a tailored gift. Denim is forgiving, hides wrinkles, and looks great in both indoor and outdoor light. Add a black bow tie and one clean label with the proposal text. Inside, you only need one item — a mini bottle of their favorite drink, a pair of socks, or a travel-sized cologne sample. The fabric wrap is what sells the look.
Start by buying denim fabric squares or using gift wrap fabric and cutting it into consistent sizes for each box. Then place one item in a small kraft or cardboard box, wrap with denim, and tie the bow. Finally, photograph on a plain surface like a wooden table or dark floor tile so denim texture shows. Costs stay low because the wrap does the heavy lifting visually.
Use a matte black label — gloss creates glare and makes the text hard to read.
Avoid wrapping with multiple fabrics; one denim layer keeps it clean.
12. Boardwalk Candy Jar Label Proposal
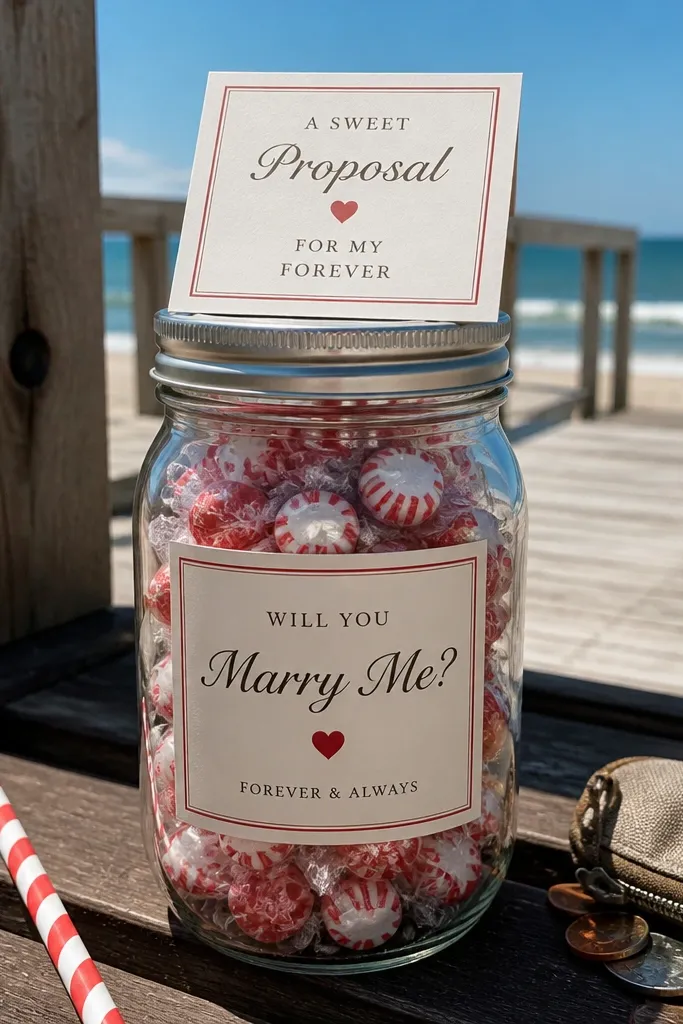
Start by buying small glass jars and filling them with candy that matches your color story. Then print labels on matte paper and apply them straight so they don’t wrinkle. Finally, photograph the jar on a flat surface with a simple background behind it, like a wooden railing or a light wall. If you’re doing this with multiple groomsmen, prep all jars the night before so you’re not rushing in the morning.
A jar is a cheat code for photos. Even a small jar filled with colorful candy looks intentional when the label is clean and readable. This proposal works great for travel destinations with boardwalks, markets, or tourist streets because the jar matches the “treat” vibe. Choose one candy color palette — like red and white, or pastel — so the jar looks styled instead of messy. It’s also easy to hand off while you’re already walking around.
Skip thisAvoid overfilling; candy spills make your jar look chaotic.
Quick tipLeave a 1-inch border at the top of the label for a cleaner edge in photos.
13. Polaroid Frame with Empty Space for Their Photo
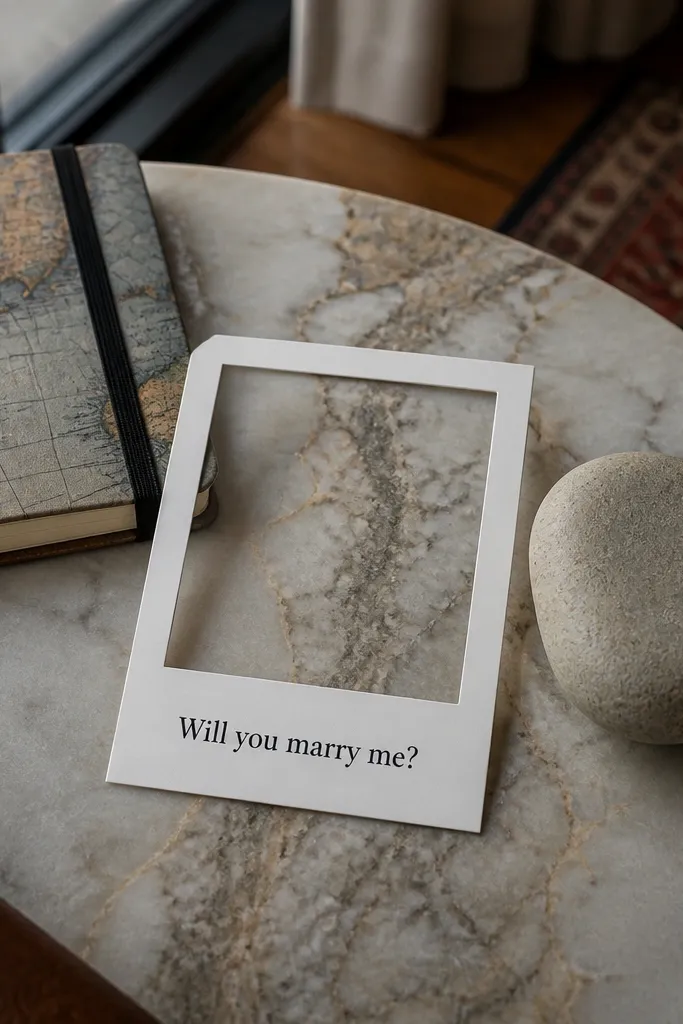
This is a cheap way to make the proposal feel like a keepsake. The frame gives you a ready-made aesthetic border, and the blank photo space lets you add a real photo during the moment. Print the proposal text on the bottom and keep the top photo window empty until you take the snapshot. The result is a “we did this together” photo that looks designed. It’s great for groomsmen who love being in pictures.
Start by printing polaroid-style frames on thick paper and cutting them to the same size. Then write the proposal line on the bottom and bring a small instant-print photo or a smartphone photo you can place later. Finally, take a quick photo of each groomsman holding the frame, then swap in their picture. Cost stays low because the frame is paper and the photo is whatever you capture on your phone.
Use a consistent background for the frame shot, like a wall with one color.
Skip complicated designs; a simple border reads best in photos.
14. Candlelit Dinner Receipt Holder Proposal
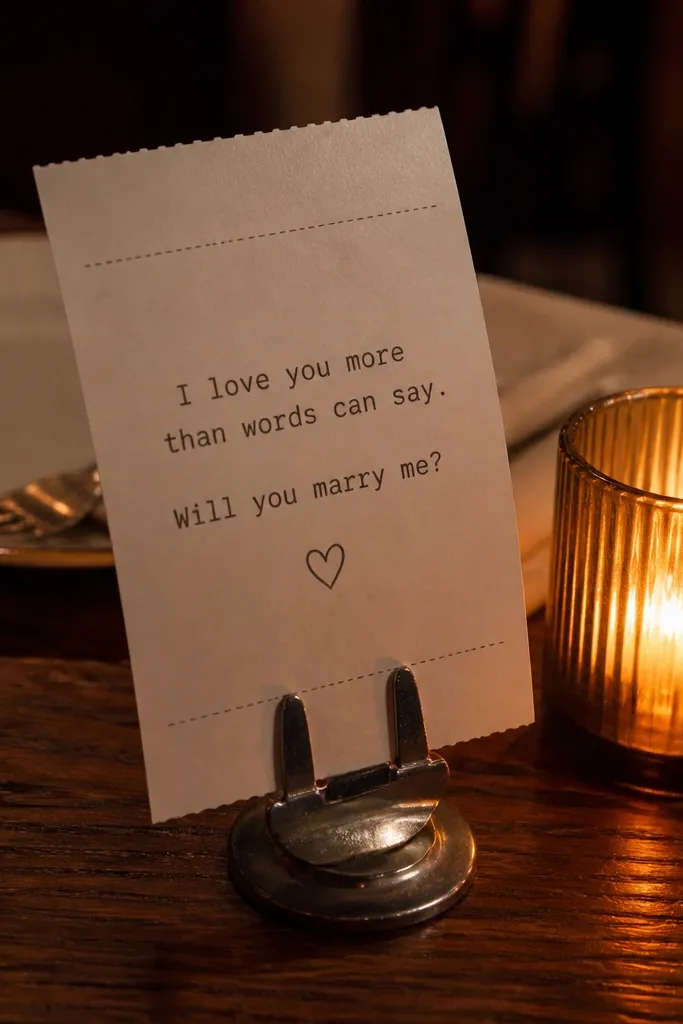
This idea looks like you planned a whole moment, even if you didn’t. Receipt-style cards have a built-in graphic layout, and adding them to a small holder keeps everything neat. Pair it with a dinner table scene or a simple café table with a candle or warm lamp. Your proposal card reads like part of the meal, not an afterthought. It’s best for quieter groomsmen who like low-key, thoughtful gestures.
Start by printing receipt-style cards with the proposal text and a date line for the dinner. Then keep them in a small clear card holder so the paper doesn’t bend. Finally, photograph at the table with warm light and minimal clutter — one plate, one glass, one card. Costs are low because you’re printing and using basic table items.
Turn off harsh overhead lights; warm lamps make the card look more premium.
Avoid flash photography; it flattens the card and makes everything glare.
15. Airbnb Pantry Label Set with "Your Job" Cards
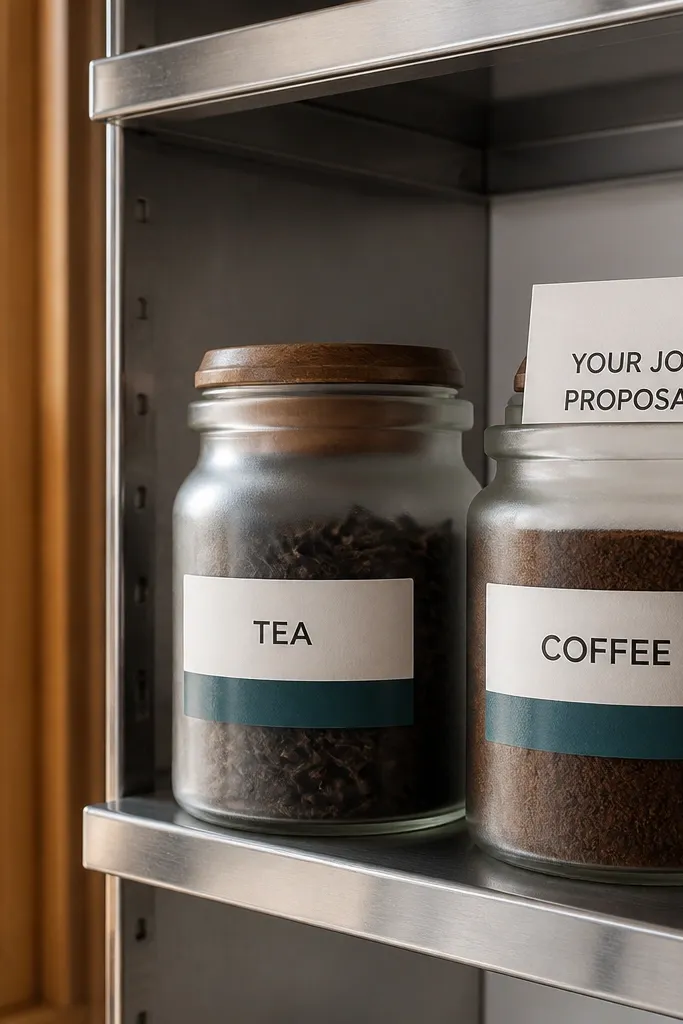
Start by buying matching small jars and printing label strips in one color. Then place the proposal card inside one jar per groomsman and label it with a job title like “Taster” or “Toast Master” (keep it short). Finally, stage the photo with the jars lined up on the counter and one clean backdrop. Budget stays cheap because jars and labels are a one-time buy and the cards are print-only.
Pantry labeling looks so clean that people assume it was expensive. Put each proposal card inside a small jar or tuck it behind a label on a pantry item like tea or coffee. The visual consistency is the magic: same jar shape, same label font, same color strip. This works well for groups staying in one rental and wanting a coordinated, aesthetic reveal. The background is already styled, so your proposal blends in naturally.
Skip thisSkip random jar sizes; uniform shapes are what make it look intentional.
Quick tipPrint labels slightly matte and use a straight edge to apply them — crooked labels scream “cheap.”