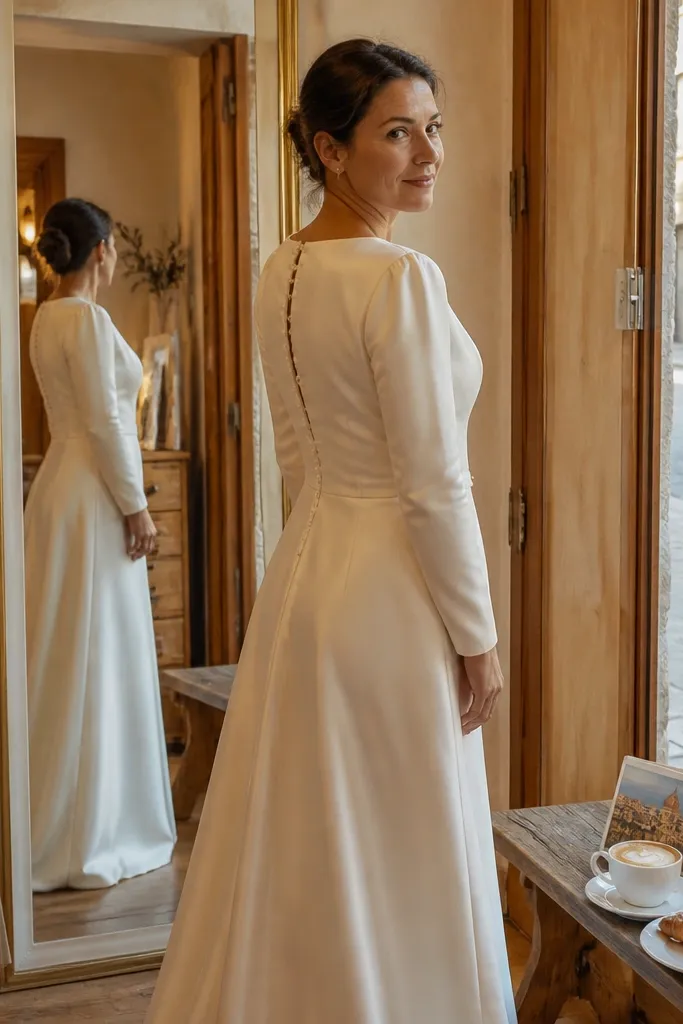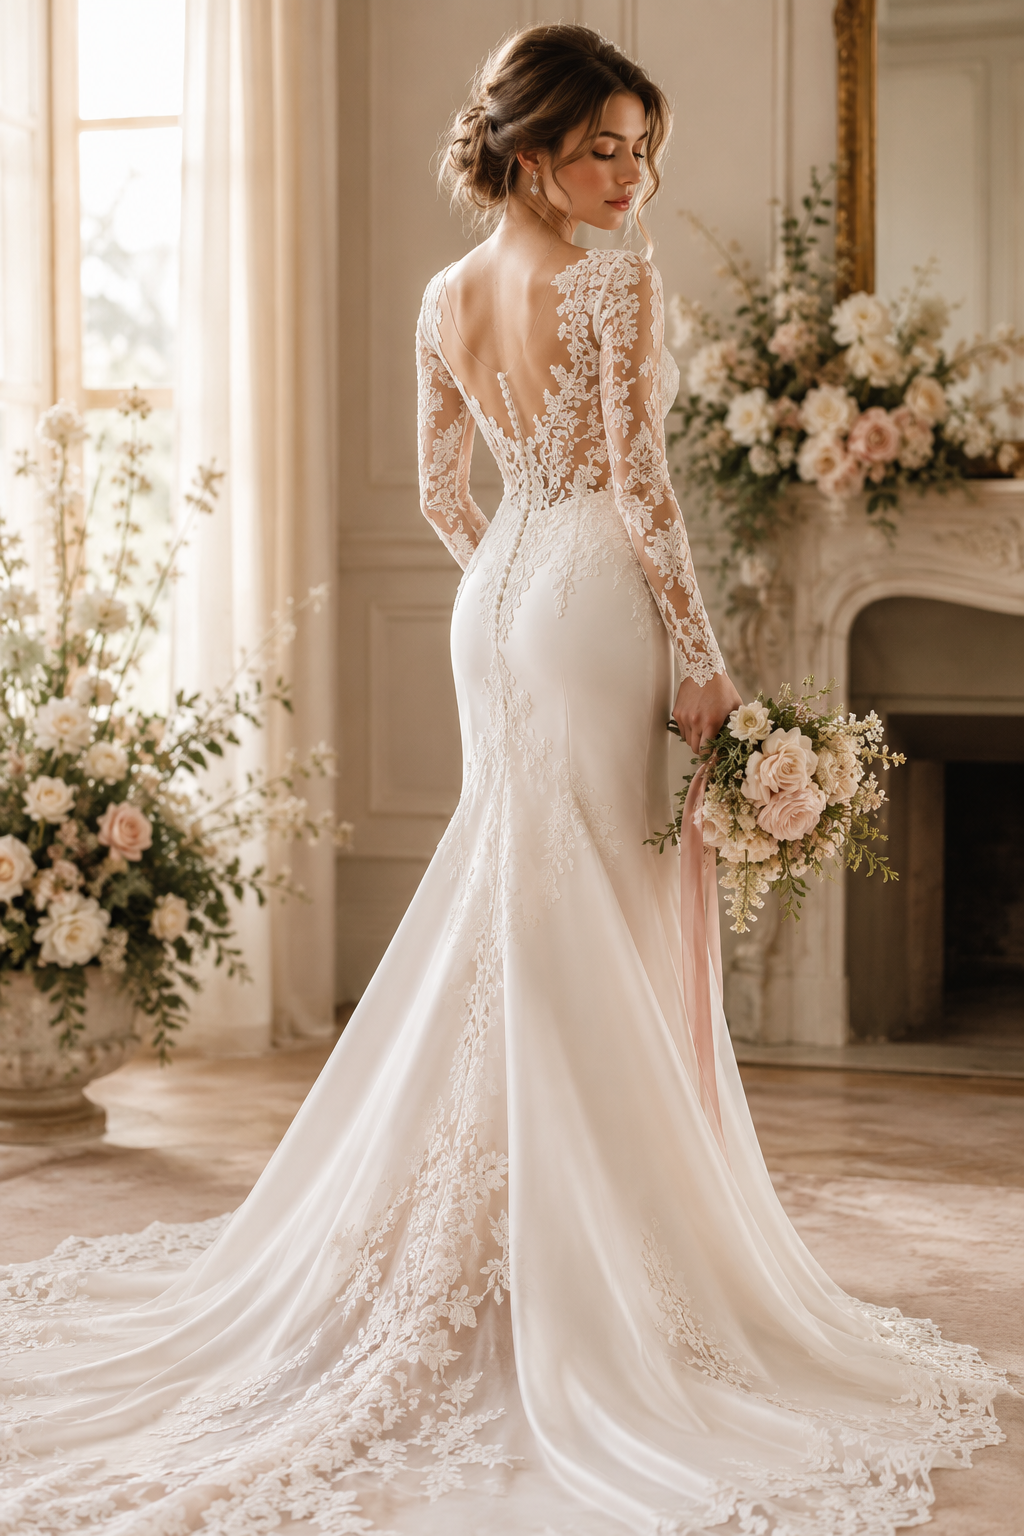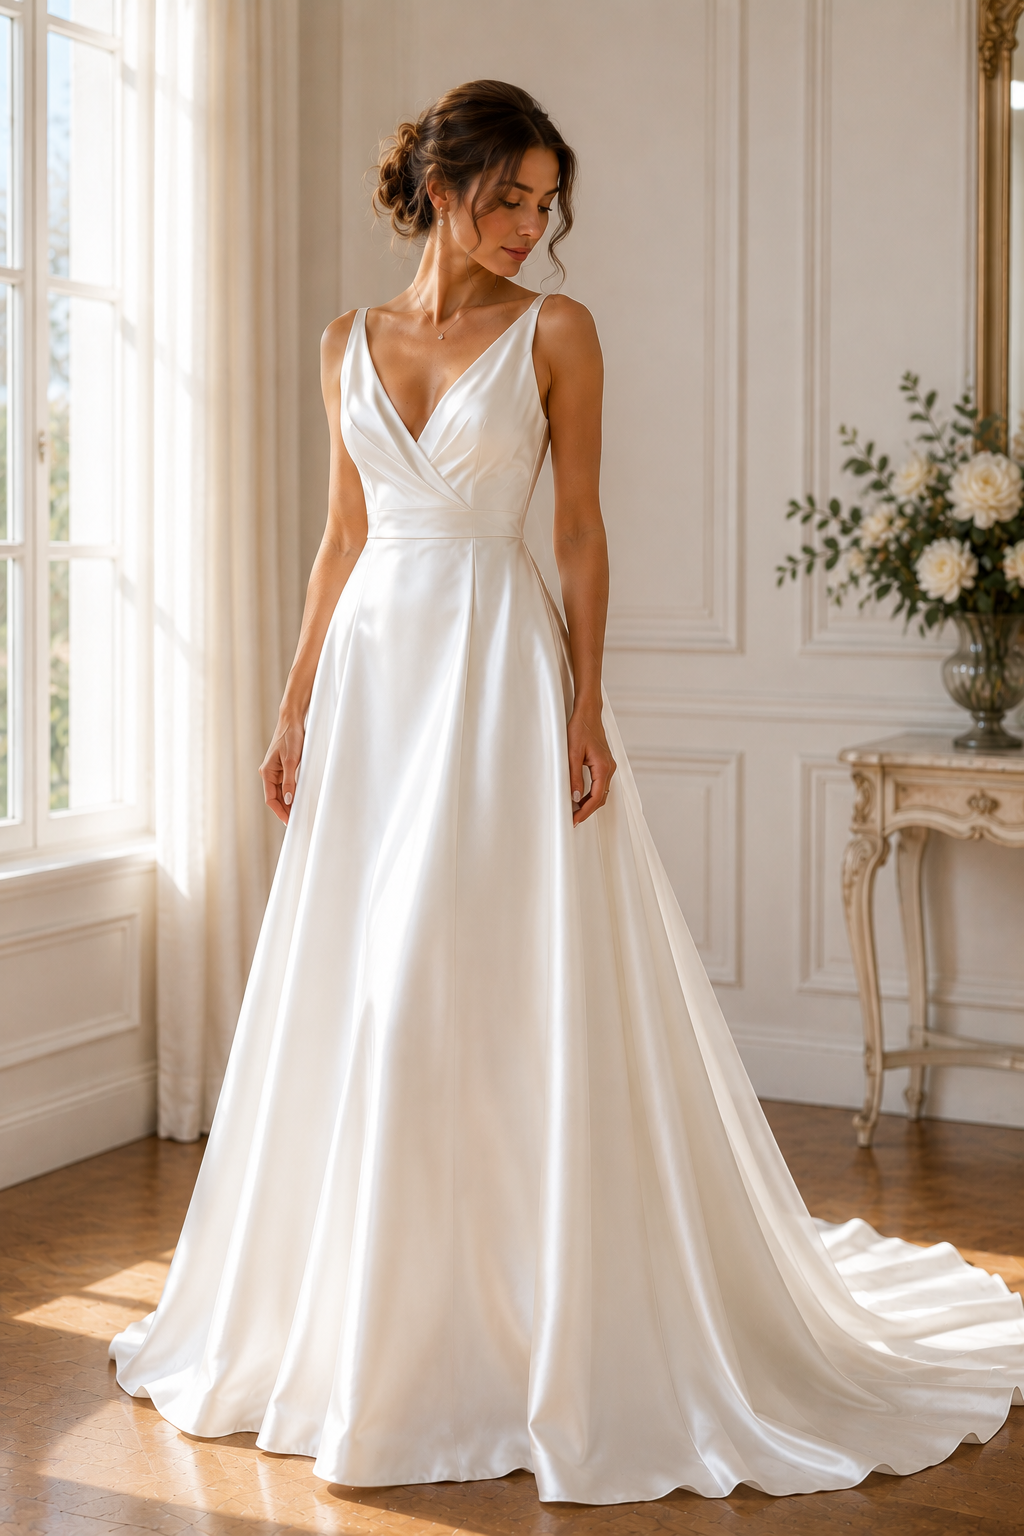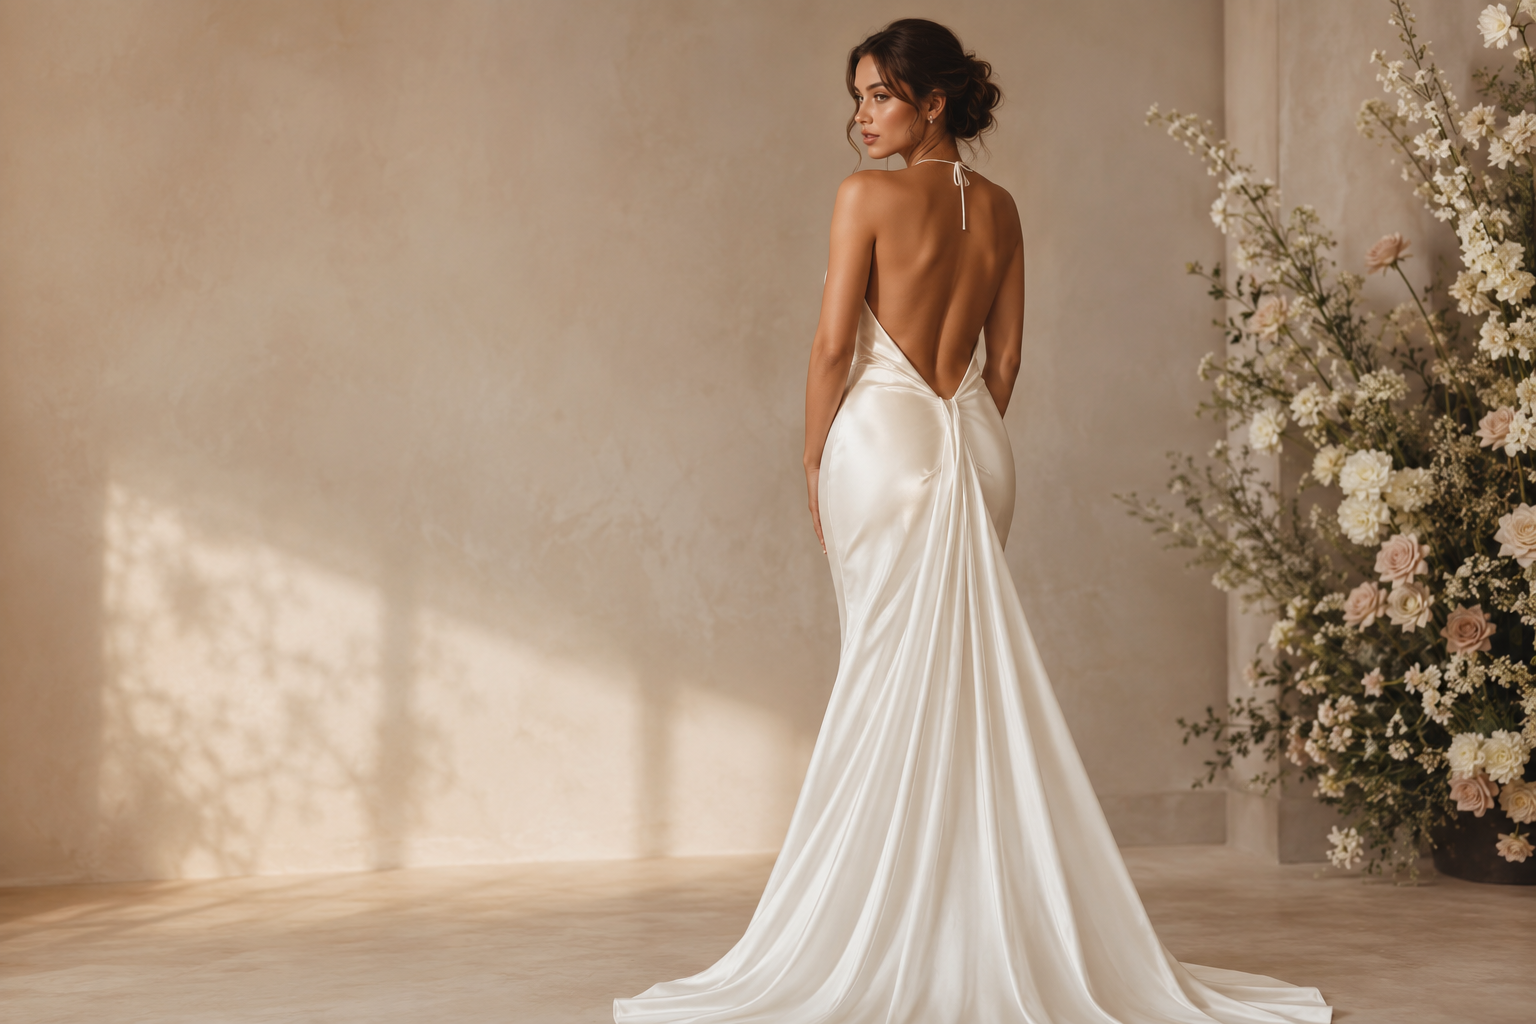
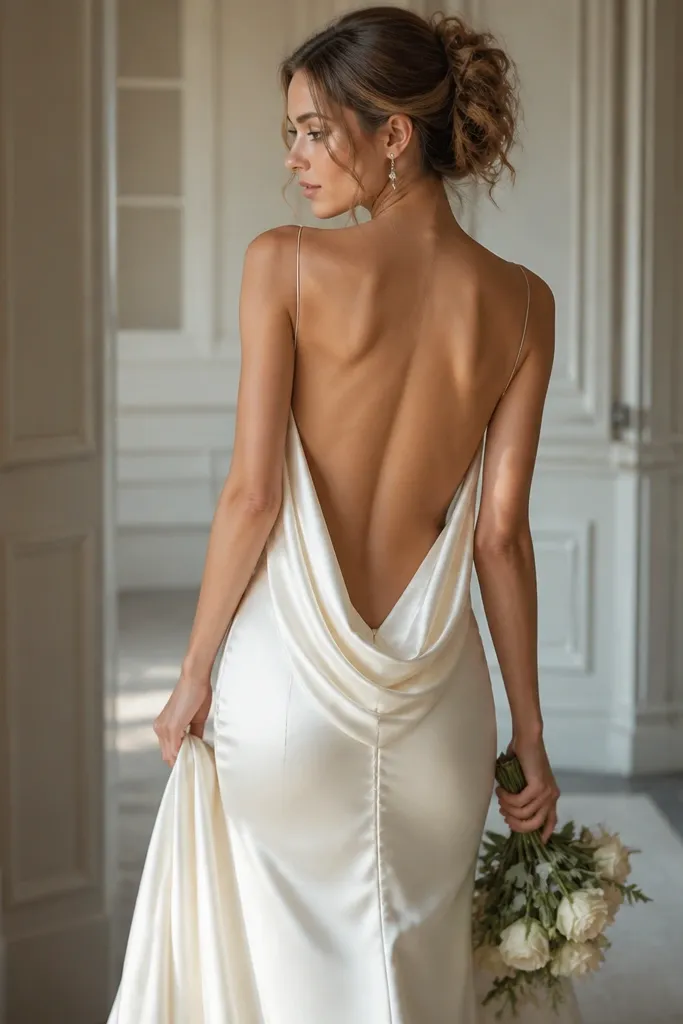
1. Low-V Back with Built-In Waist Structure
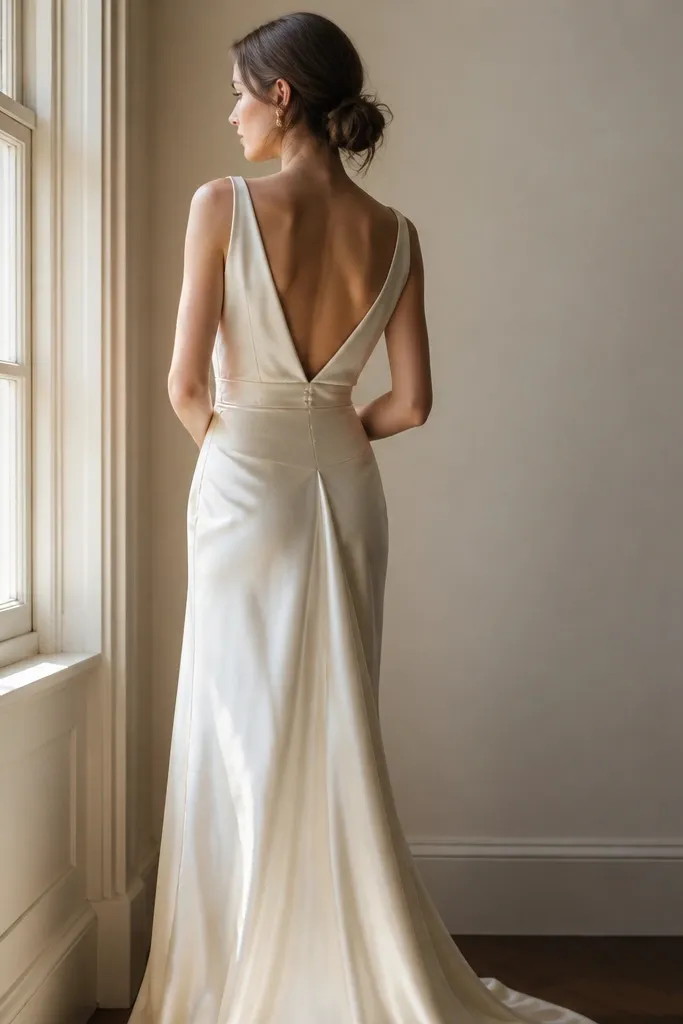
A low V back looks clean and classic because it draws one clear line from the shoulder blades down to the waist. The version that photographs best has built-in waist structure so the silk doesn’t ripple or fold at the narrowest part of your body. When the waist panel holds, the back opening stays symmetrical even when you move for photos. This is a great choice for anyone who wants a “flawless from every angle” look without adding extra straps that break the silhouette.
Quick tipBuy the dress with a plan for steam timing: hang it in the bathroom during a hot shower for 10-15 minutes the night before.
Start by checking the back panel seam — it should sit straight across your waist without twisting when you raise your arms. Then look for a fabric layer that feels sturdier than the outer silk near the waist, like a structured lining or internal boning channel. Finally, test the silhouette by standing in front of a mirror and taking one photo from chest height — if the V shape wobbles, the dress needs more back support.
Skip thisAvoid ultra-light silk with a low V back and no internal structure — it gaps and wrinkles fast.
2. Illusion Back Tulle with Silk Skirt Contrast
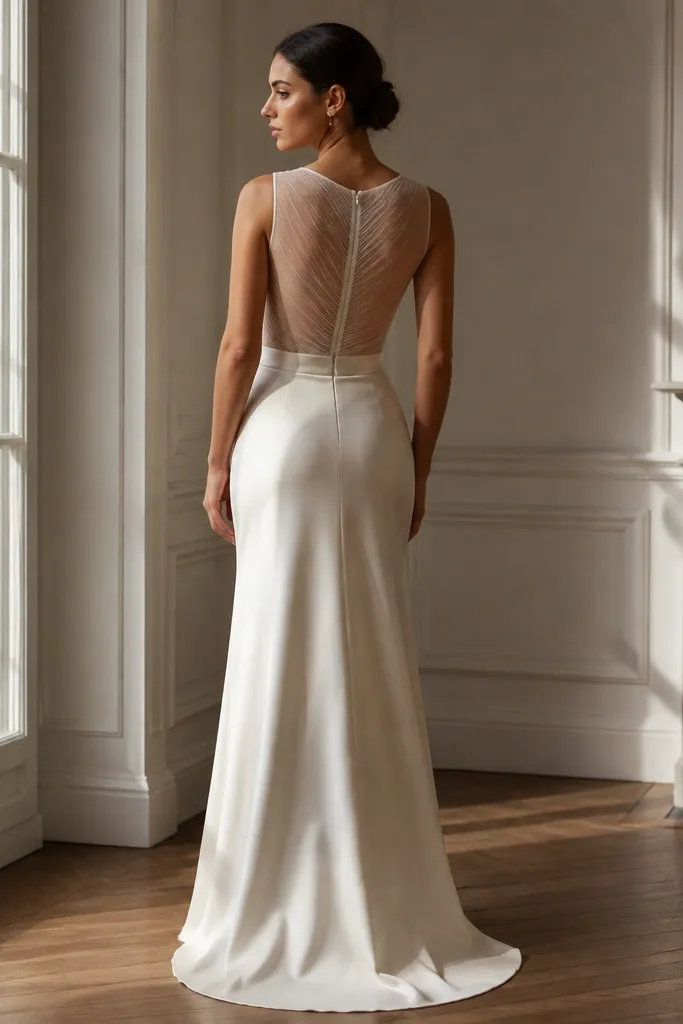
Illusion backs look expensive because the skin-toned base makes the exposed area look intentional instead of “bare fabric.” The trick is contrast: pair the illusion back with a silk skirt so the gown still reads as silk when photographed from the front. This style works especially well if you want coverage across the upper back while keeping the lower back open and flattering. It’s also a lifesaver for travel because the illusion layer hides minor seam lines that can shift in transit.
Start by choosing illusion tulle that matches your skin tone closely — not white, not bright beige. Then confirm the tulle is anchored to the silk at the edges so it doesn’t flutter when you turn. Finally, do a quick fit test: pull your shoulders back slightly and check that the illusion back stays smooth without puckering at the side seams.
Bring a small lint roller and a travel garment brush — tulle shows lint more than silk.
Avoid illusion backs with too much stretch — they stretch out and look uneven by photo time.
3. Strapless Silk Bodice with One-Shoulder Back Detail
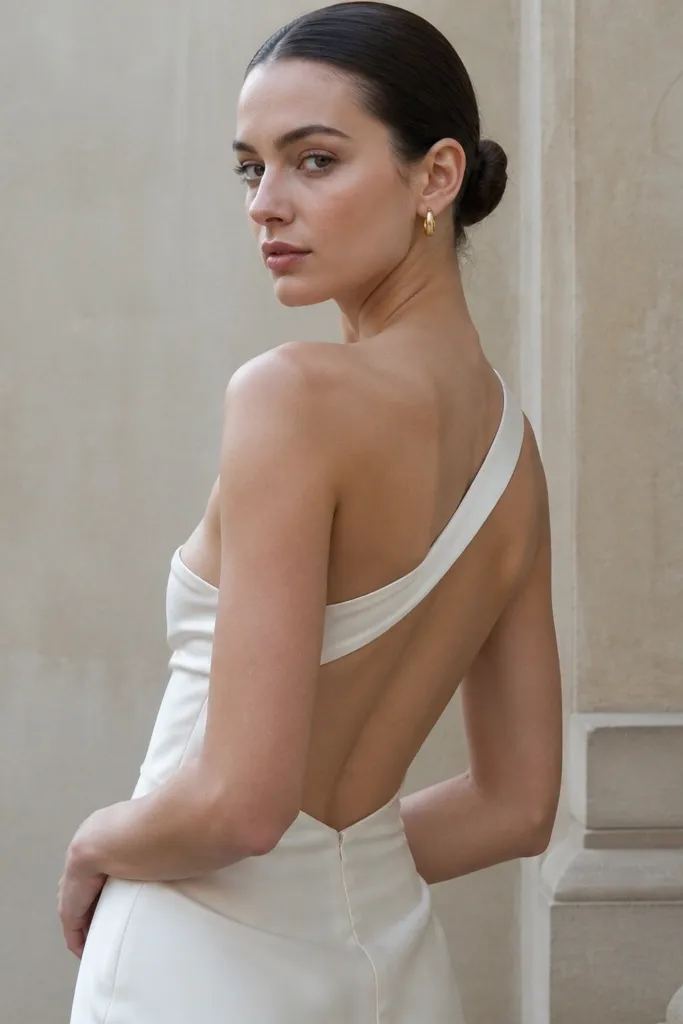
This is one of the prettiest “backless without going too bare” looks because the one-shoulder detail gives the eye a guided path. The strapless front keeps the silhouette clean, while the single strap on the back adds stability so the gown doesn’t slide when you’re dancing or adjusting the train. Photographically, the asymmetry is flattering and makes the back feel designed, not accidental. It also suits people who hate the look of multiple back straps or a straight, plain cut.
Quick tipIf you’re traveling, pack fashion tape in your kit — it’s faster than re-adjusting a strap in a hotel mirror.
Start by aligning the one-shoulder strap so it sits over the shoulder without pulling the neckline forward. Then make sure the back opening doesn’t dip too low — aim for a back cut that still shows skin but keeps the seam line above where your posture naturally bends. Finally, test mobility: sit down once and check for pulling at the strap junction and any gaping around the side seam.
Skip thisAvoid strapless bodices that rely on loose cups — you’ll get back drift and a messy back opening.
4. Sculpted Corset Back in Silk with Paneling
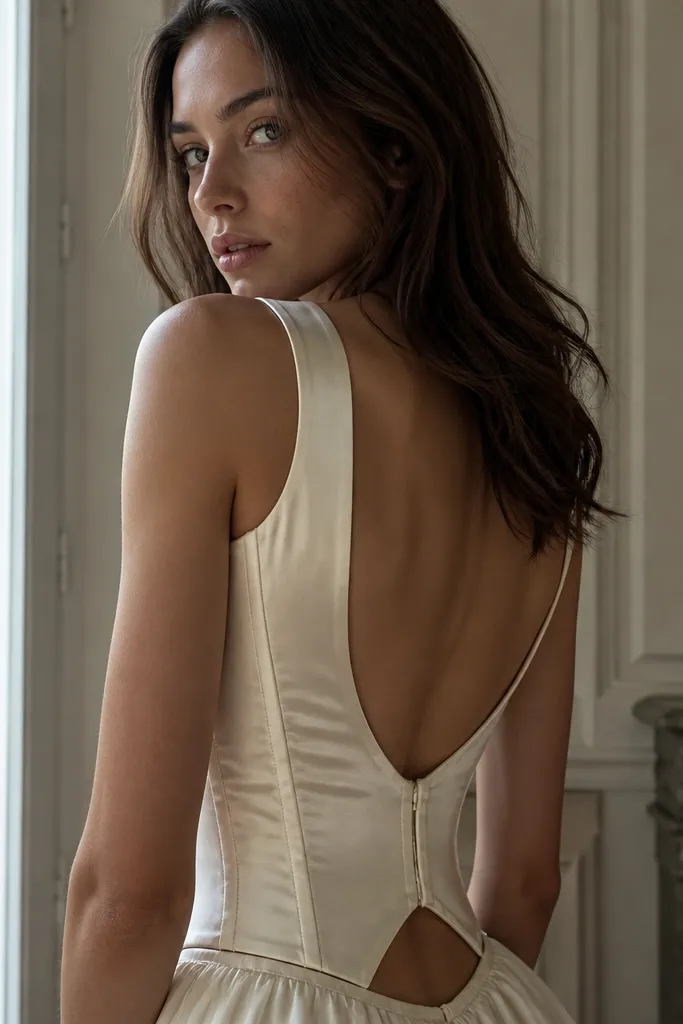
A silk corset back is the most controlled way to get a backless look that stays photo-ready all day. Paneling matters — it shapes your torso so the back opening looks deliberate and your curves read smoothly instead of wrinkling. This style is perfect if you want the back to look sharp in close-up shots, especially with flash photography. It also helps if your frame needs more shaping than a slip-on dress provides, because the corset keeps the silk from collapsing.
Quick tipSteam the outside only and keep the corset interior dry — moisture can mess with the structure.
Start by checking the corset construction: you want a firm interior layer and seams that feel supportive, not just decorative panel lines. Then choose a back opening height that matches your posture — stand tall and see where the cut naturally lands without pulling. Finally, plan for closure: corset lacing needs a clear reach, so check it before you commit and make sure you have a helper or a travel-friendly lacing setup.
Skip thisAvoid corset backs that are “mostly decorative” with flimsy lining — the silk still collapses.
5. Keyhole Back with Skinny Band Edge
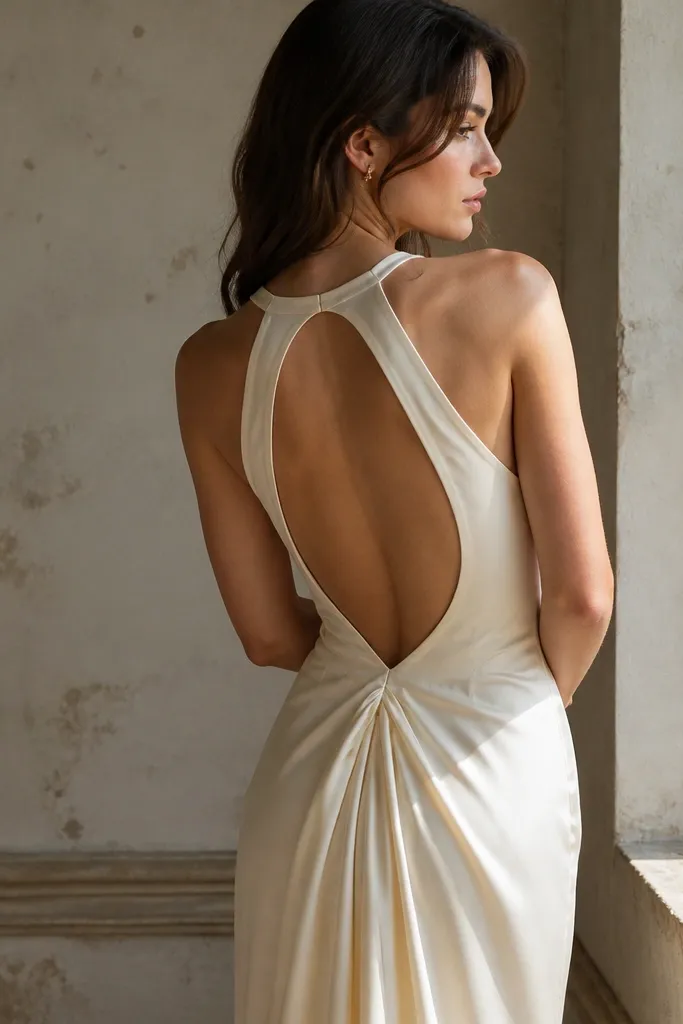
A keyhole back is a sneaky good option if you want backless drama without the full open-back risk. The slim band edge frames the opening and keeps the shape crisp, so you don’t get the common “soft collapse” look that happens with wide back cutouts. It photographs beautifully because the center line reads straight, even from a side angle. This is also a great choice for ceremonies where you want a little more coverage while still looking stunning in portraits.
Quick tipSchedule your fitting with your ceremony shoes — posture changes the way keyholes sit.
Start by looking for a band edge that is the same fabric or a tightly finished binding, not a loose facing that flips. Then choose the depth of the keyhole: too shallow looks like a mistake, too deep can tug when you sit. Finally, test in motion — do one slow turn and check for gaping or twisting at the keyhole edges.
Skip thisAvoid keyholes with raw-looking edges or loose binding — they curl and show in photos.
6. Backless Column Dress with Straight Train
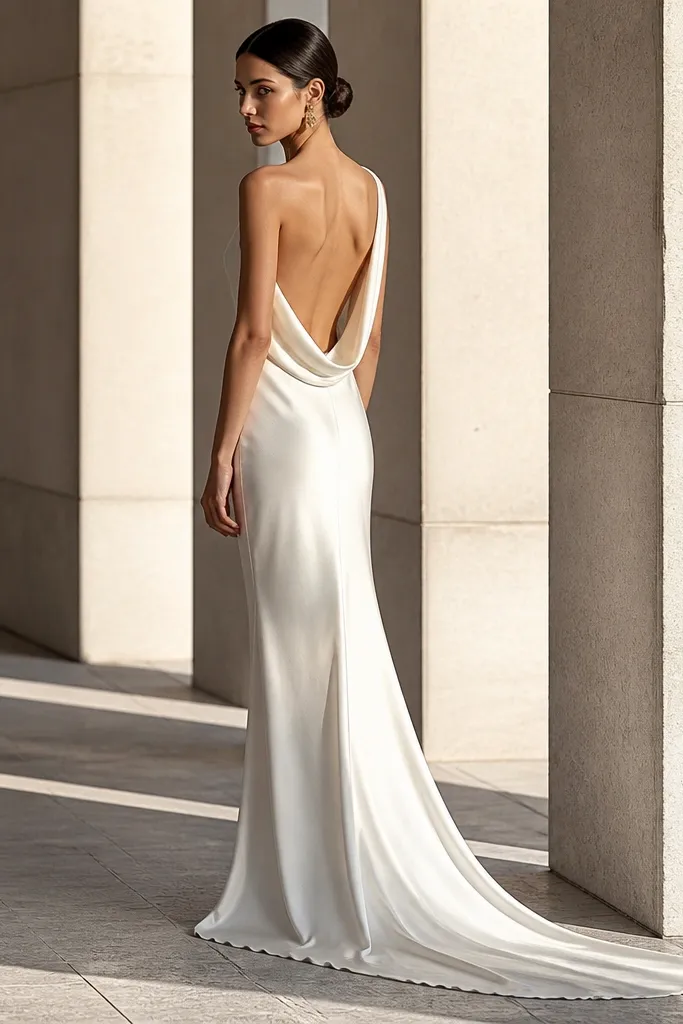
If you want an athletic, clean look, a silk backless column with a straight train is hard to beat. The column silhouette keeps the body line smooth, while a straight train gives you a crisp photo shape that doesn’t bunch. Wide back openings look bold here because the rest of the dress stays simple, so the back becomes the feature. This works best for outdoor portraits where you want the gown to move without snagging.
Quick tipFor destination weddings, wear a slip or anti-chafe shorts under the column — silk clings in dry heat.
Start by choosing a back opening that doesn’t extend so far down that it hits your lower back seam when you sit. Then check the hem weight: the train should feel like it has enough fabric to fall straight, not float and drag sideways. Finally, for travel, plan your packing method — fold along the side seams and keep the train from bending, since a sharp crease shows on silk.
Skip thisAvoid backless columns with thin lining — they crease and cling in ways that ruin the clean photo line.
7. Halterneck Backless Silk with Low-Cut Center Spine
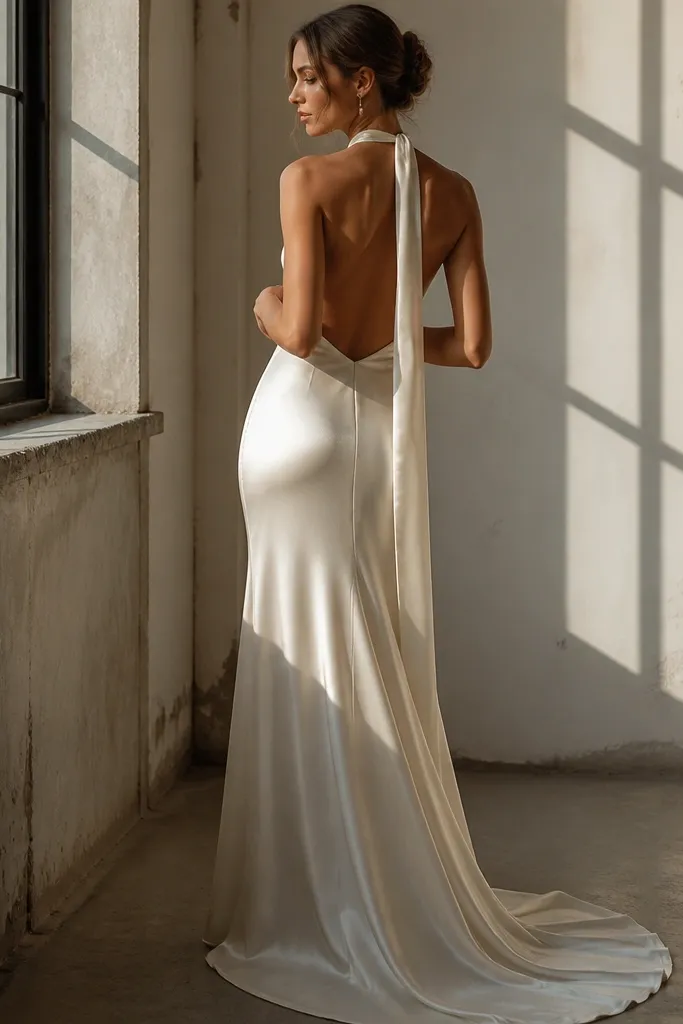
A halterneck backless silk dress looks engineered, not accidental. The halter holds the shoulders so the back opening stays centered, which is a big deal for photos where your posture and camera angle shift. The low-cut center spine is especially flattering because it frames the spine and shoulders as one continuous line. If you want that sculpted “fashion editorial” vibe in wedding photos, this is the direction that delivers.
Start by checking strap width and placement: halter straps that are too thin dig in and pull the back opening off-center. Then look at the center spine seam — it should lie flat, not curve outward when you stand. Finally, test the neck fit by raising your arms — if the halter rides up, the back will shift too.
Pack a spare safety pin and a small strip of fashion tape — halter straps can shift during long travel days.
Avoid halter backs with slippery silk on the strap — it slides and makes the center line look off.
8. Racerback Illusion with Tiny Back Bow
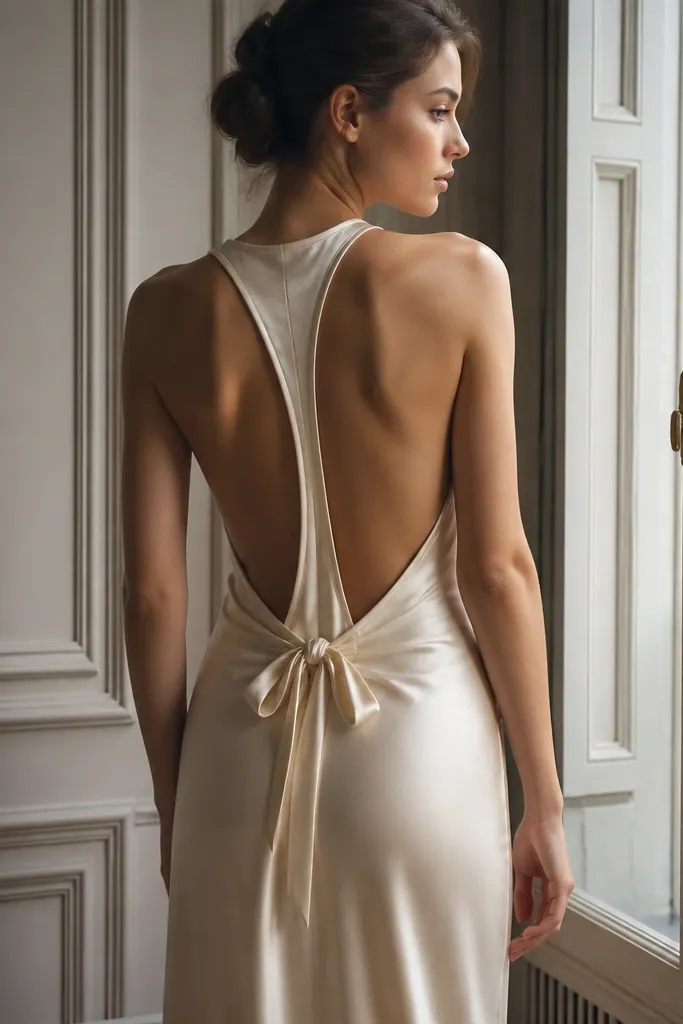
This is for people who want backless but still want a sweet, romantic detail. The racerback cut keeps the shoulders supported, while the tiny bow adds a point of interest that reads well in portraits. The illusion layer makes the back look lighter and more intentional, especially when the bow sits at the lower back where photos catch it. It’s photogenic at events with movement — think welcome dinners and dancing, where the back detail flashes naturally.
Start by choosing a bow placement that doesn’t sit over a seam — if it lands on a seam, it warps the silk and looks wrinkled. Then confirm the racerback depth is high enough to keep straps off your bra line. Finally, check that the illusion panel is anchored and doesn’t ripple; press the back gently with your fingers and see if it springs back flat.
Take one test photo while turning your torso — bows look cute until they twist.
Avoid oversized bows or heavy appliques on the back panel — they weigh silk down and create sag.
9. Wide Back Cut with Soft Draped Side Panels
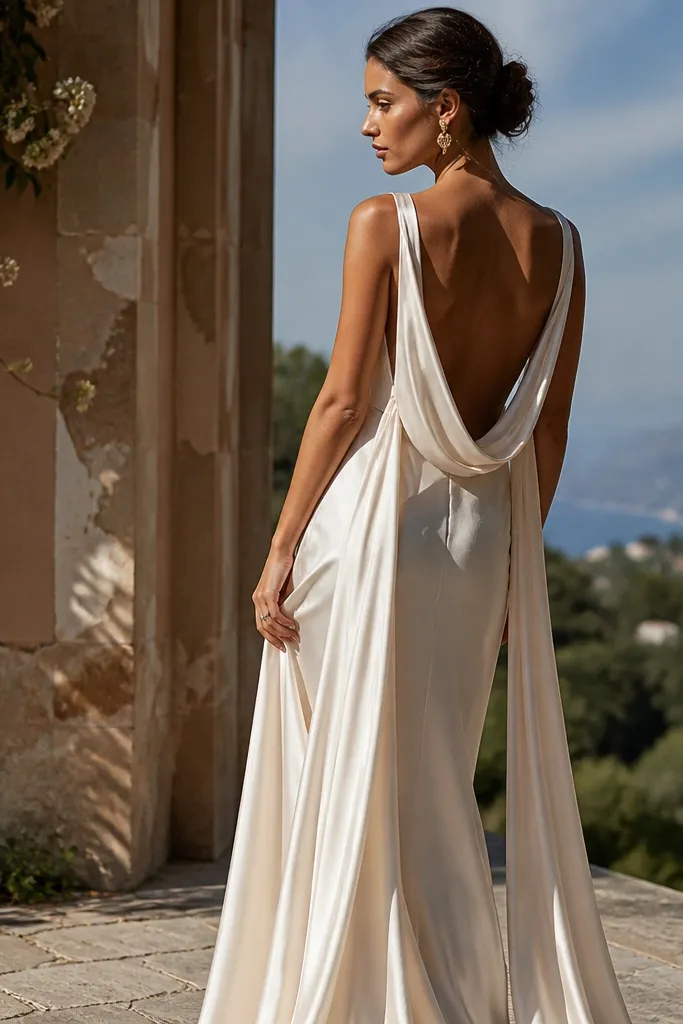
Wide back cuts are dramatic, but they can look messy if the sides don’t hold their shape. Dresses with soft draped side panels look luxe because they create movement without opening the seams in awkward places. The side drape acts like a frame around the back opening, so your photos look intentional rather than “too much skin showing.” This works best for low-key destination weddings where you’re wearing the dress in warm weather and want it to flow.
Quick tipUse a garment bag with breathable fabric and avoid compressing the draped sides — silk remembers creases.
Start by checking that the drape is attached at multiple points, not just one loose panel. Then choose a drape length that ends above the widest point of your hip so it doesn’t pull when you walk. Finally, do a sitting test — wide backs with draped sides often shift when you sit, so check for gaping at the lower edge.
Skip thisAvoid wide back cuts with only one loose drape attachment — the sides swing and the back edge looks uneven.
10. Spaghetti Strap Backless Silk with Support Lining
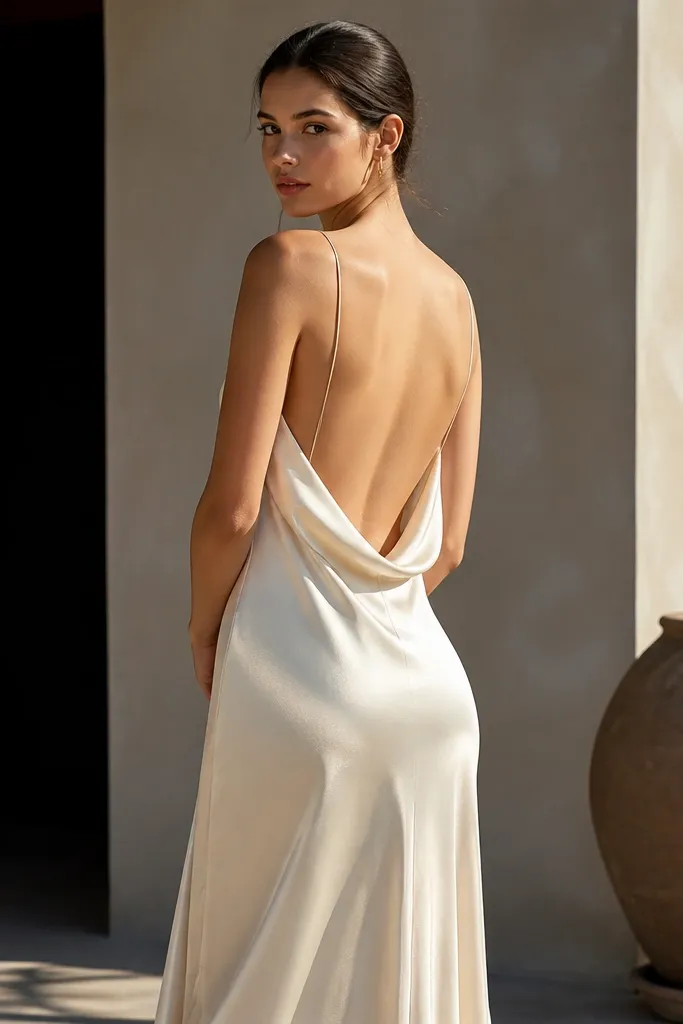
Spaghetti strap backless silk can look delicate, but only if the lining supports the straps and the back opening stays flat. The best versions use a supportive interior layer so the silk doesn’t stretch out around the straps. This is a strong pick for photo-heavy days because the straps create a fine frame around your upper back and look great against bright backgrounds. It’s also a good option for people who want a simple silhouette that still looks special.
Quick tipBring double-sided fashion tape and apply it to the lining, not your skin, to reduce irritation during long photo sessions.
Start by choosing strap thickness that won’t twist — thin straps that roll off shoulders wreck the back line. Then check the strap attachment points: they should be reinforced so the tension doesn’t distort the silk panel. Finally, plan your bra or bodysuit — a backless low-back bodysuit in a matching tone keeps the straps from pulling the dress out of place.
Skip thisAvoid spaghetti strap dresses with no reinforced strap junction — the back opening will stretch and look uneven.
11. Backless Silk with Side Slit for Walking Photos
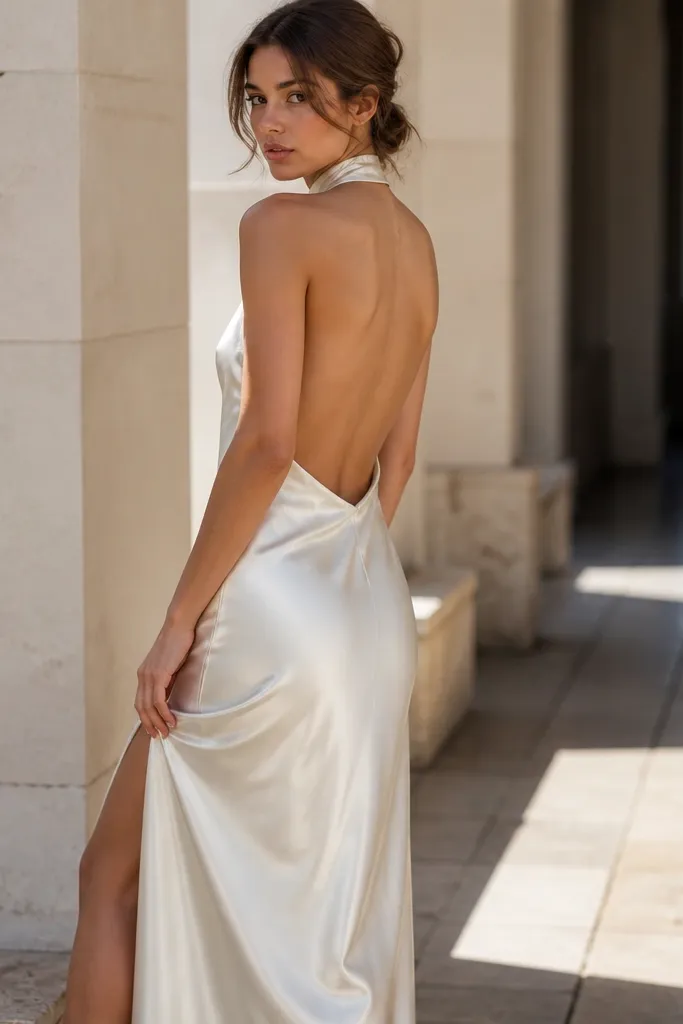
A side slit turns backless silk into a motion dress. When you walk, the slit controls where the fabric falls, so the silk doesn’t bunch and smear across your legs. That means your back opening stays visible in a flattering way without exposing the dress’s inner seams. It’s a great choice for destination weddings where you want portraits during golden hour and then dinner with movement.
Start by checking slit height while standing — it should hit the mid-thigh area for most frames so it stays elegant in photos. Then confirm the slit is finished cleanly and doesn’t pull the back panel when you step. Finally, for travel, measure your stair exposure: if your venue has steep stairs, plan a hem check so the slit doesn’t snag the first time you walk.
Do a slow walk test in the dress before you finalize — if the slit swings wide, the back will look stretched too.
Avoid side slits that are too low — they trip and make backless silk look sloppy in motion.
12. Satin-Silk Slip Backless with Minimal Seams
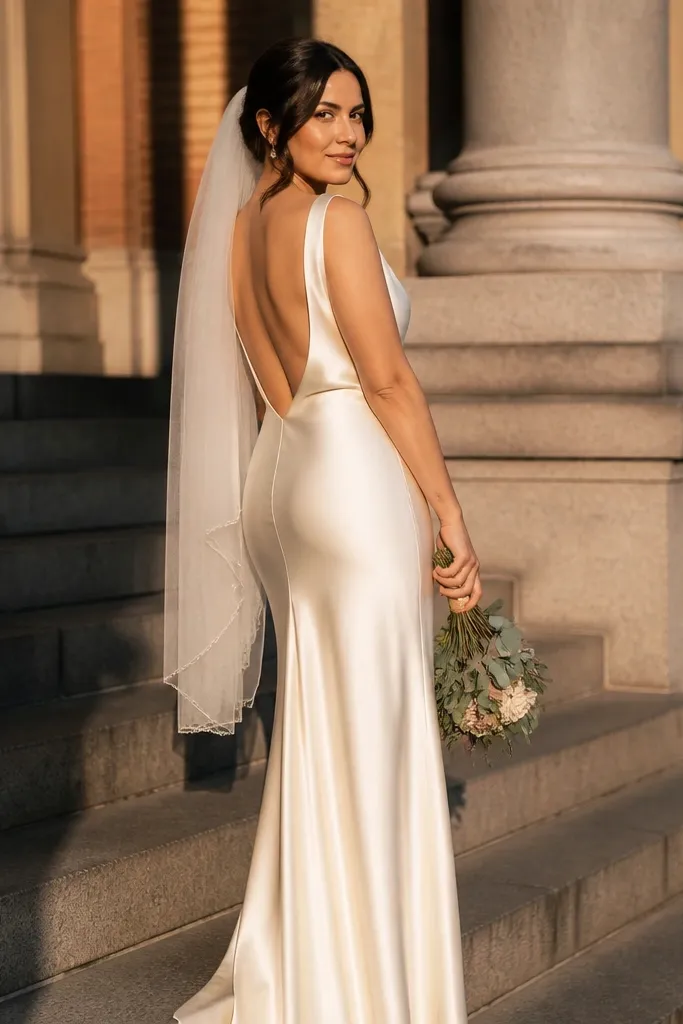
A satin-silk slip style is all about smoothness. Minimal seam lines keep the back looking sleek, and satin catches light in a way that makes the back opening look intentional in photos. This is great for courthouse weddings, elopements, and beach ceremonies where you want the dress to feel light and look polished without heavy structure. The tradeoff is that slip styles demand good fit and smart support, but when you get it right, the photos look effortless.
Start by choosing a slip with a lining that grips just enough so it doesn’t slide — plain satin lining slips and wrinkles fast. Then check the back edge finish: it should be clean and pressed, not raw or loose. Finally, test the fit around the lower back — if it pulls when you stand, you’ll see it in the back opening shape.
If you’re packing for travel, roll it around tissue paper instead of folding — fewer creases.
Avoid slip dresses with loose, floppy seams — the back outline turns wavy in every picture.
13. Button-Backless Silk with Illusion Coverage Panel
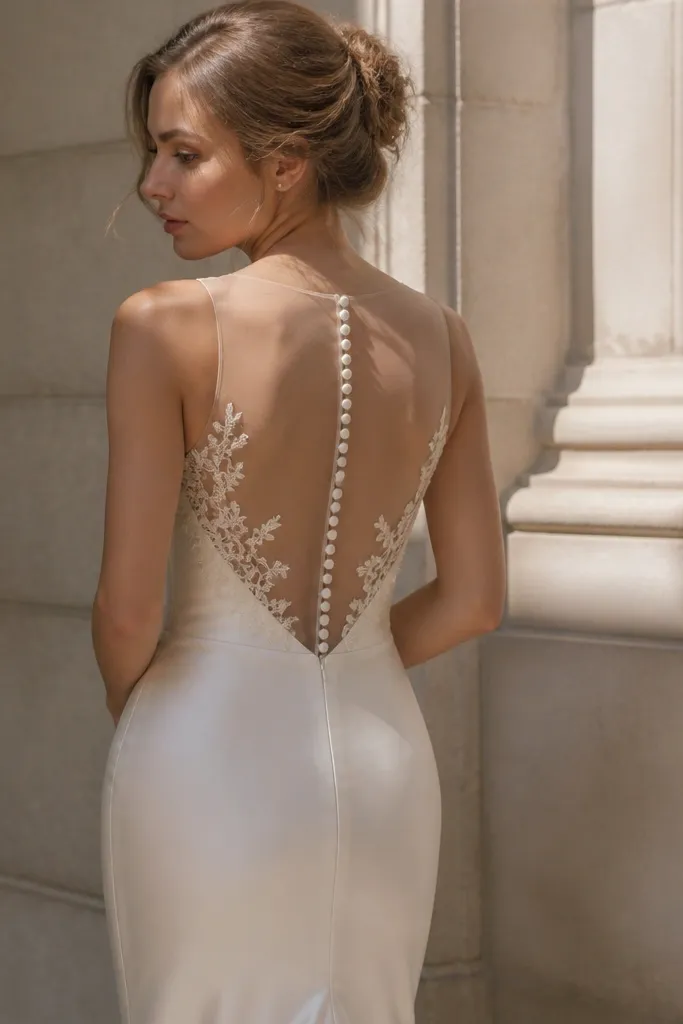
This look adds a readable design line: the buttons. The best backless versions use an illusion coverage panel so the buttons look like part of the dress, not an exposed hardware problem. Buttons give you a structured vertical visual that photographs well and helps keep the back opening aligned. It also gives you a “stays put” effect because the closure points limit how much the silk can shift.
Start by checking button spacing — tight spacing keeps the back edge straight, while wide spacing lets the panel bow. Then confirm the illusion panel covers the right area so you don’t see underlayers. Finally, plan for dressing time: button backs can take longer in a hotel room, so rehearse the closure sequence before the wedding day.
Pack a mini sewing kit with matching thread — one loose thread near a button can ruin close-ups.
Avoid backless button designs that put hardware right on the widest back area — it creates pressure lines in photos.
14. Corset-Style Backless with Lace-Up Side Panels
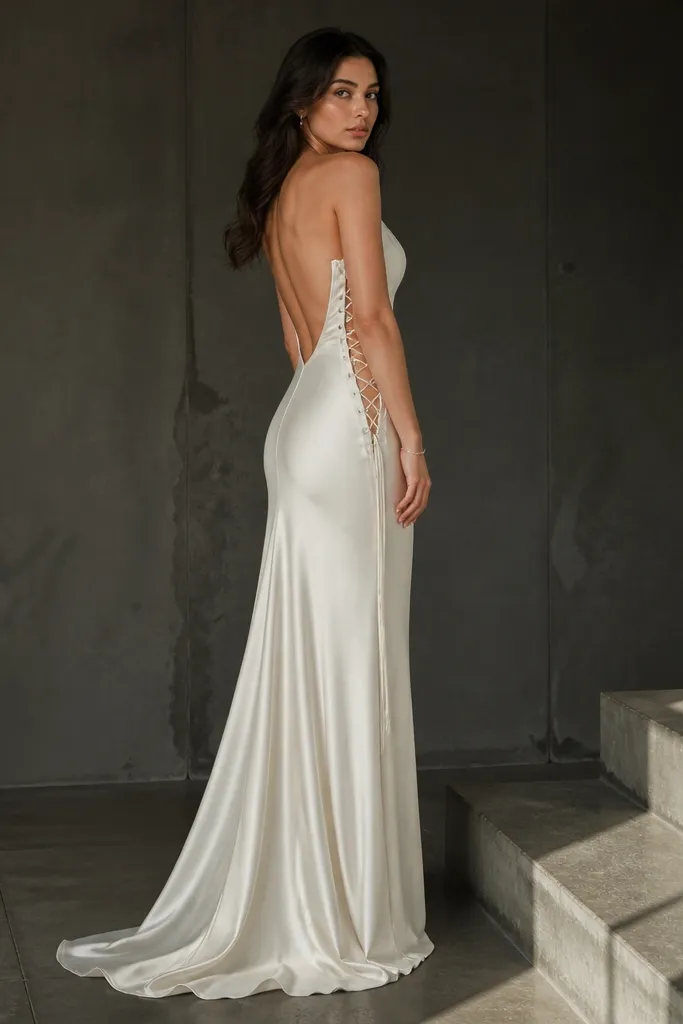
Lace-up side panels give you adjustable shaping without relying on a single rigid corset back. That means you can fine-tune the back opening line for fit, which is one of the biggest reasons backless silk looks great in photos. Lace-up designs also photograph beautifully because the tension creates natural curves, making the back look sculpted rather than flat. This is a smart choice if you’re changing sizes between fittings or if you want comfort during a long day.
Quick tipTie your lace-up the same way every time — consistent tension keeps the back opening symmetrical.
Start by checking that the lace-up is on the sides, not directly across the widest point of your back — side placement reads cleaner in pictures. Then make sure the silk around the lace-up is reinforced so it doesn’t pucker. Finally, plan the adjustment window: you need time to tighten gradually, so schedule your final lacing before hair and makeup start.
Skip thisAvoid lace-up backs with flimsy eyelets — they bend and the silk puckers around the holes.
15. Backless Silk with Plunging V and Wide Strap Frame
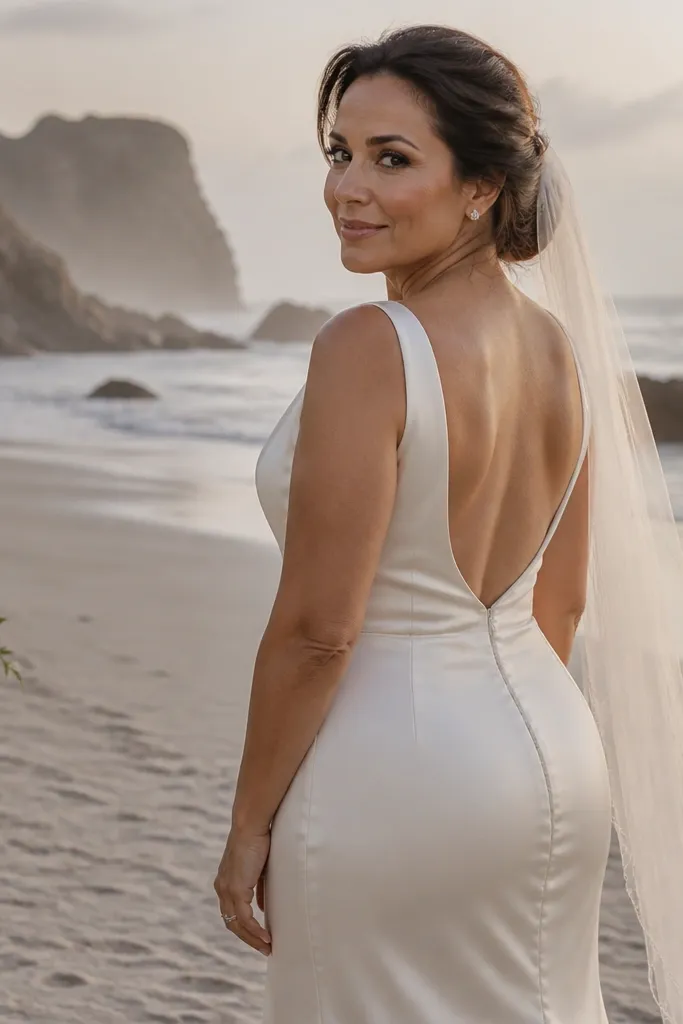
A plunging V back with a wide strap frame creates the most flattering “architectural” look. Wide straps distribute tension, so the silk stays smooth instead of pulling and wrinkling at the shoulders and upper back. In photos, the wide frame makes the opening look intentional and balanced, even if you’re wearing a veil or have updo hair. This is a strong choice for people who want maximum back drama but hate the discomfort of thin straps.
Start by measuring the width of the strap frame against your shoulder width — the straps should sit comfortably without sliding. Then check the seam alignment at the top of the V — it should sit flat, not create a ridge that shows on camera. Finally, test sitting and leaning forward slightly; wide frames can shift if the internal structure isn’t firm enough.
Choose a skin-tone bodysuit that matches your undertone, not just your skin shade, to avoid visible lines under bright venue lighting.
Avoid plunging V backs with narrow straps — you get shoulder pull and a wrinkled upper back edge.